Leaderboard


Popular Content
Showing content with the highest reputation on 07/08/2019 in all areas
-
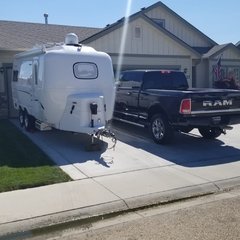
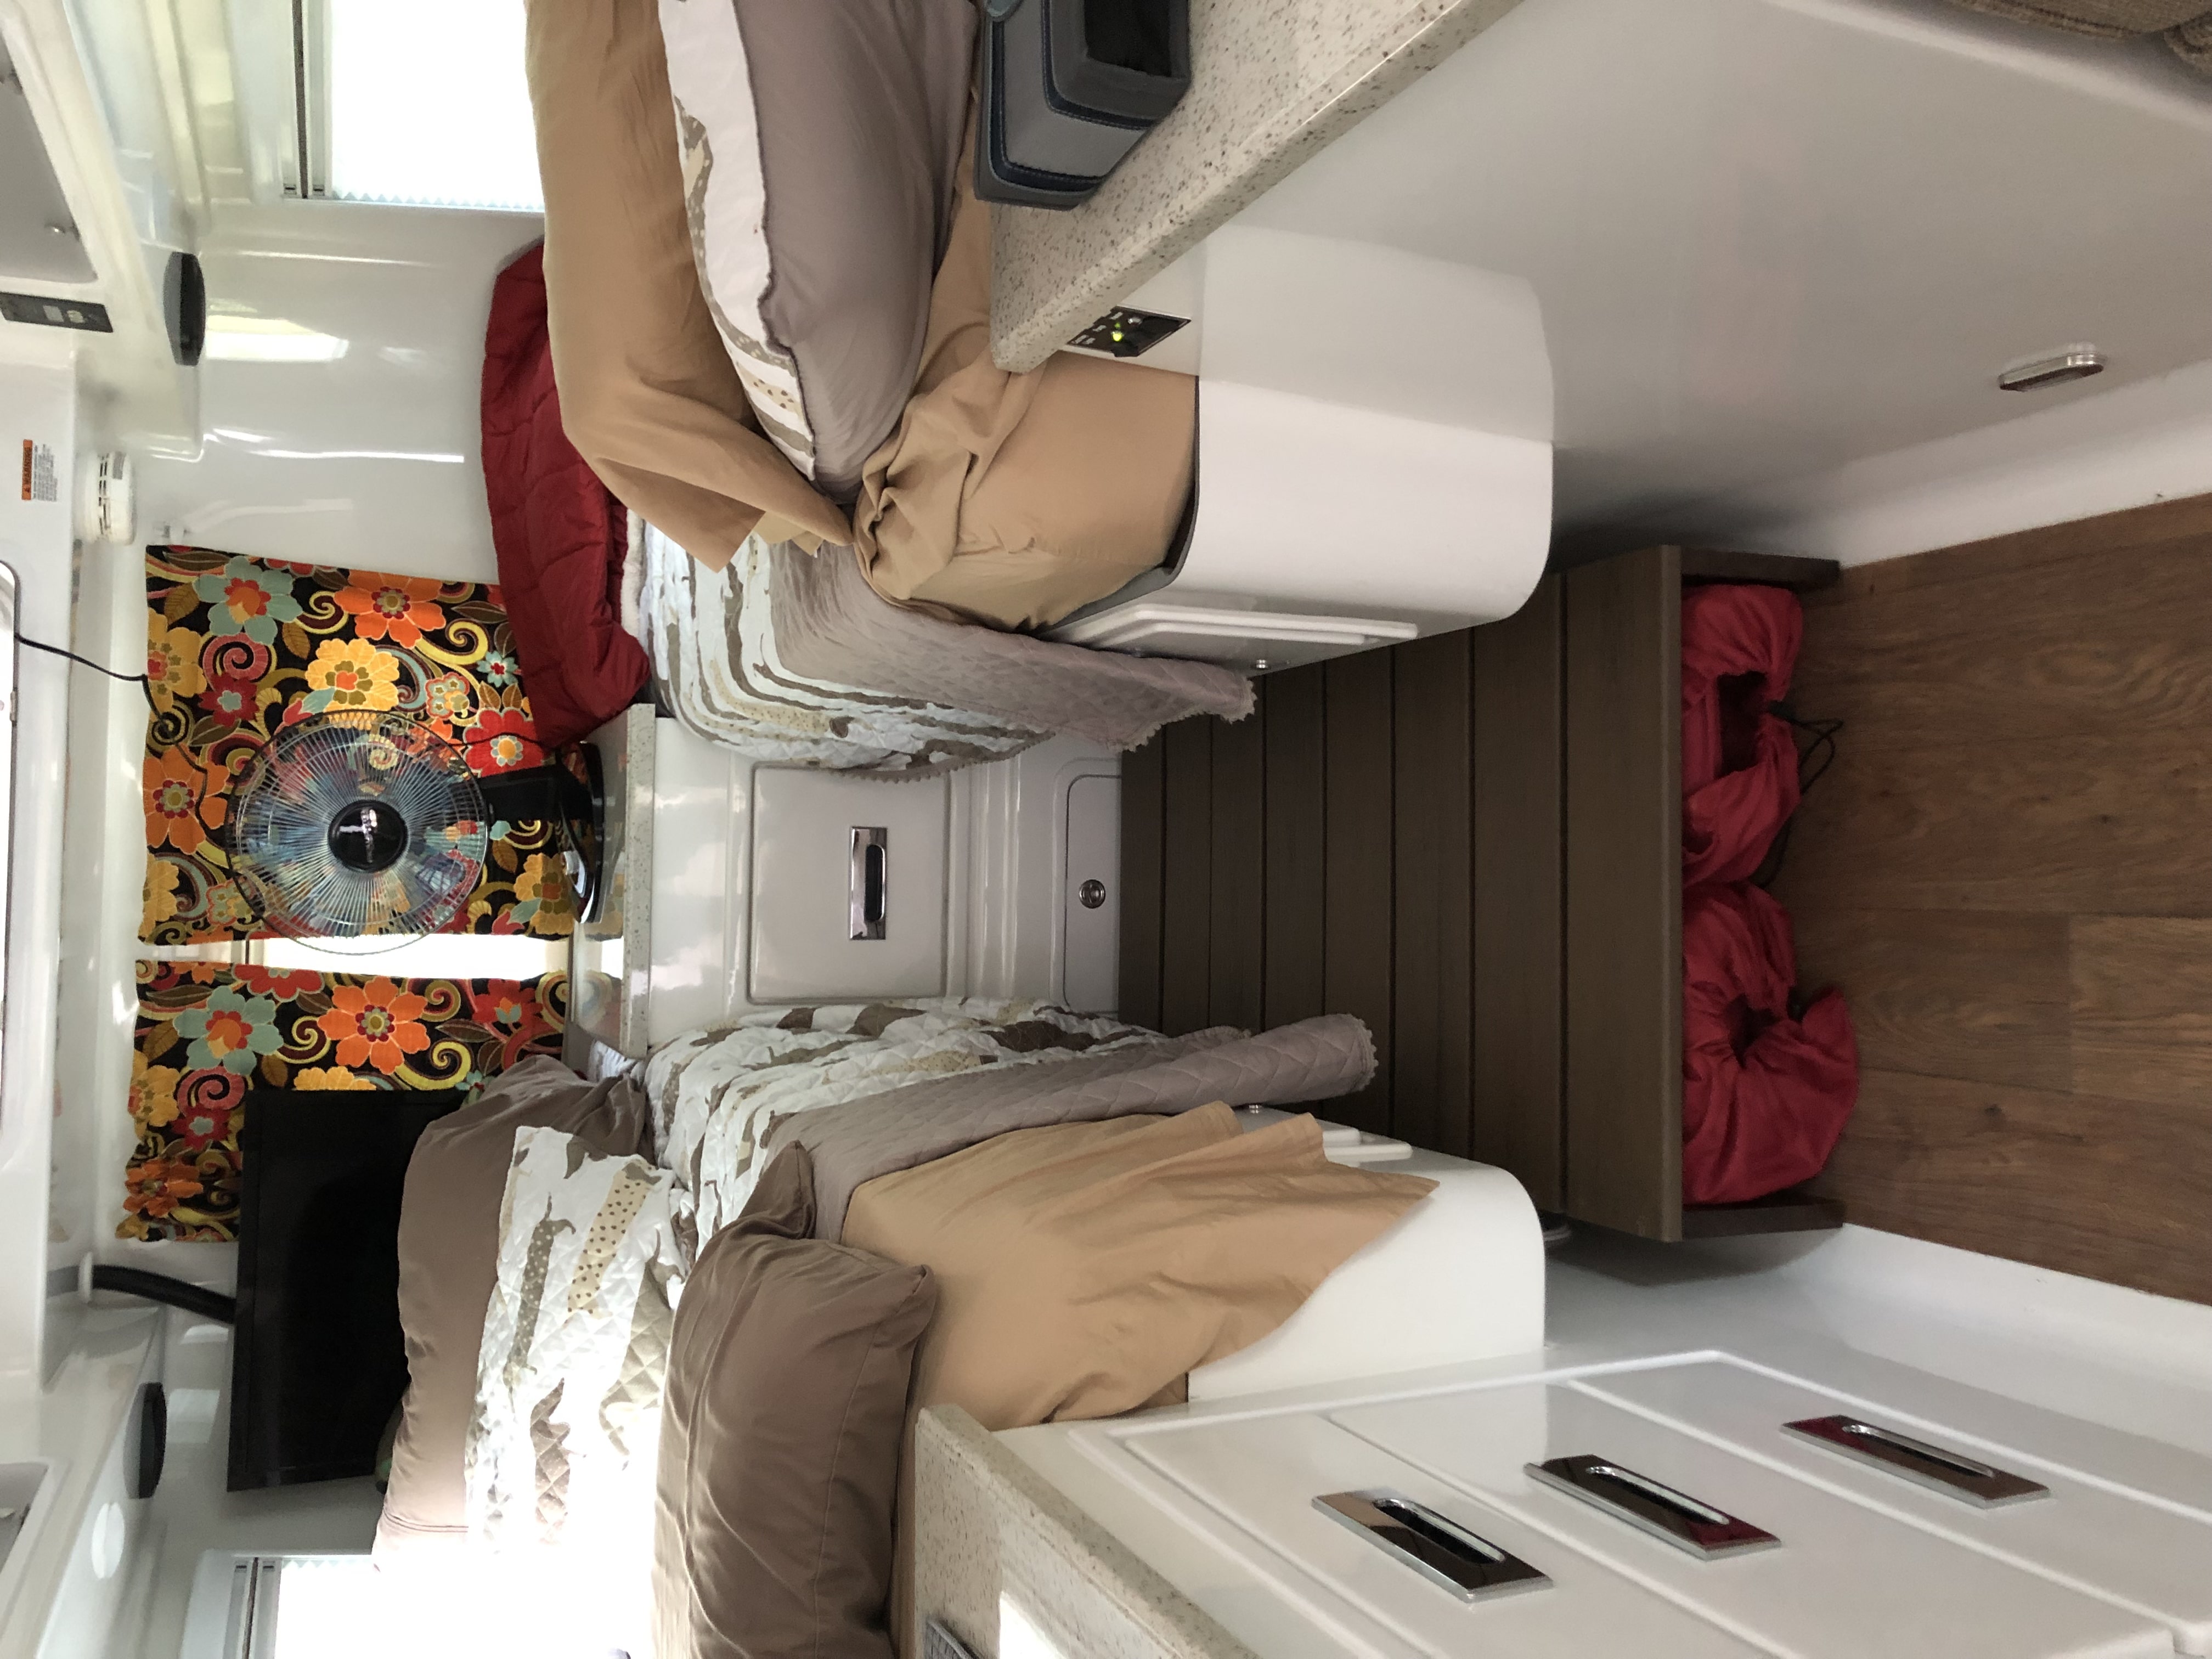
Here is what I built you can see my fold up chairs fit nicely underneath
 2 points
 -
Check these out. All I've read indicates they excellent. *** Also, they've made them for Ollies already and have all the necessary dimensions. Not inexpensive however...around $700. https://calmarkcovers.com/ Greg2 points
-
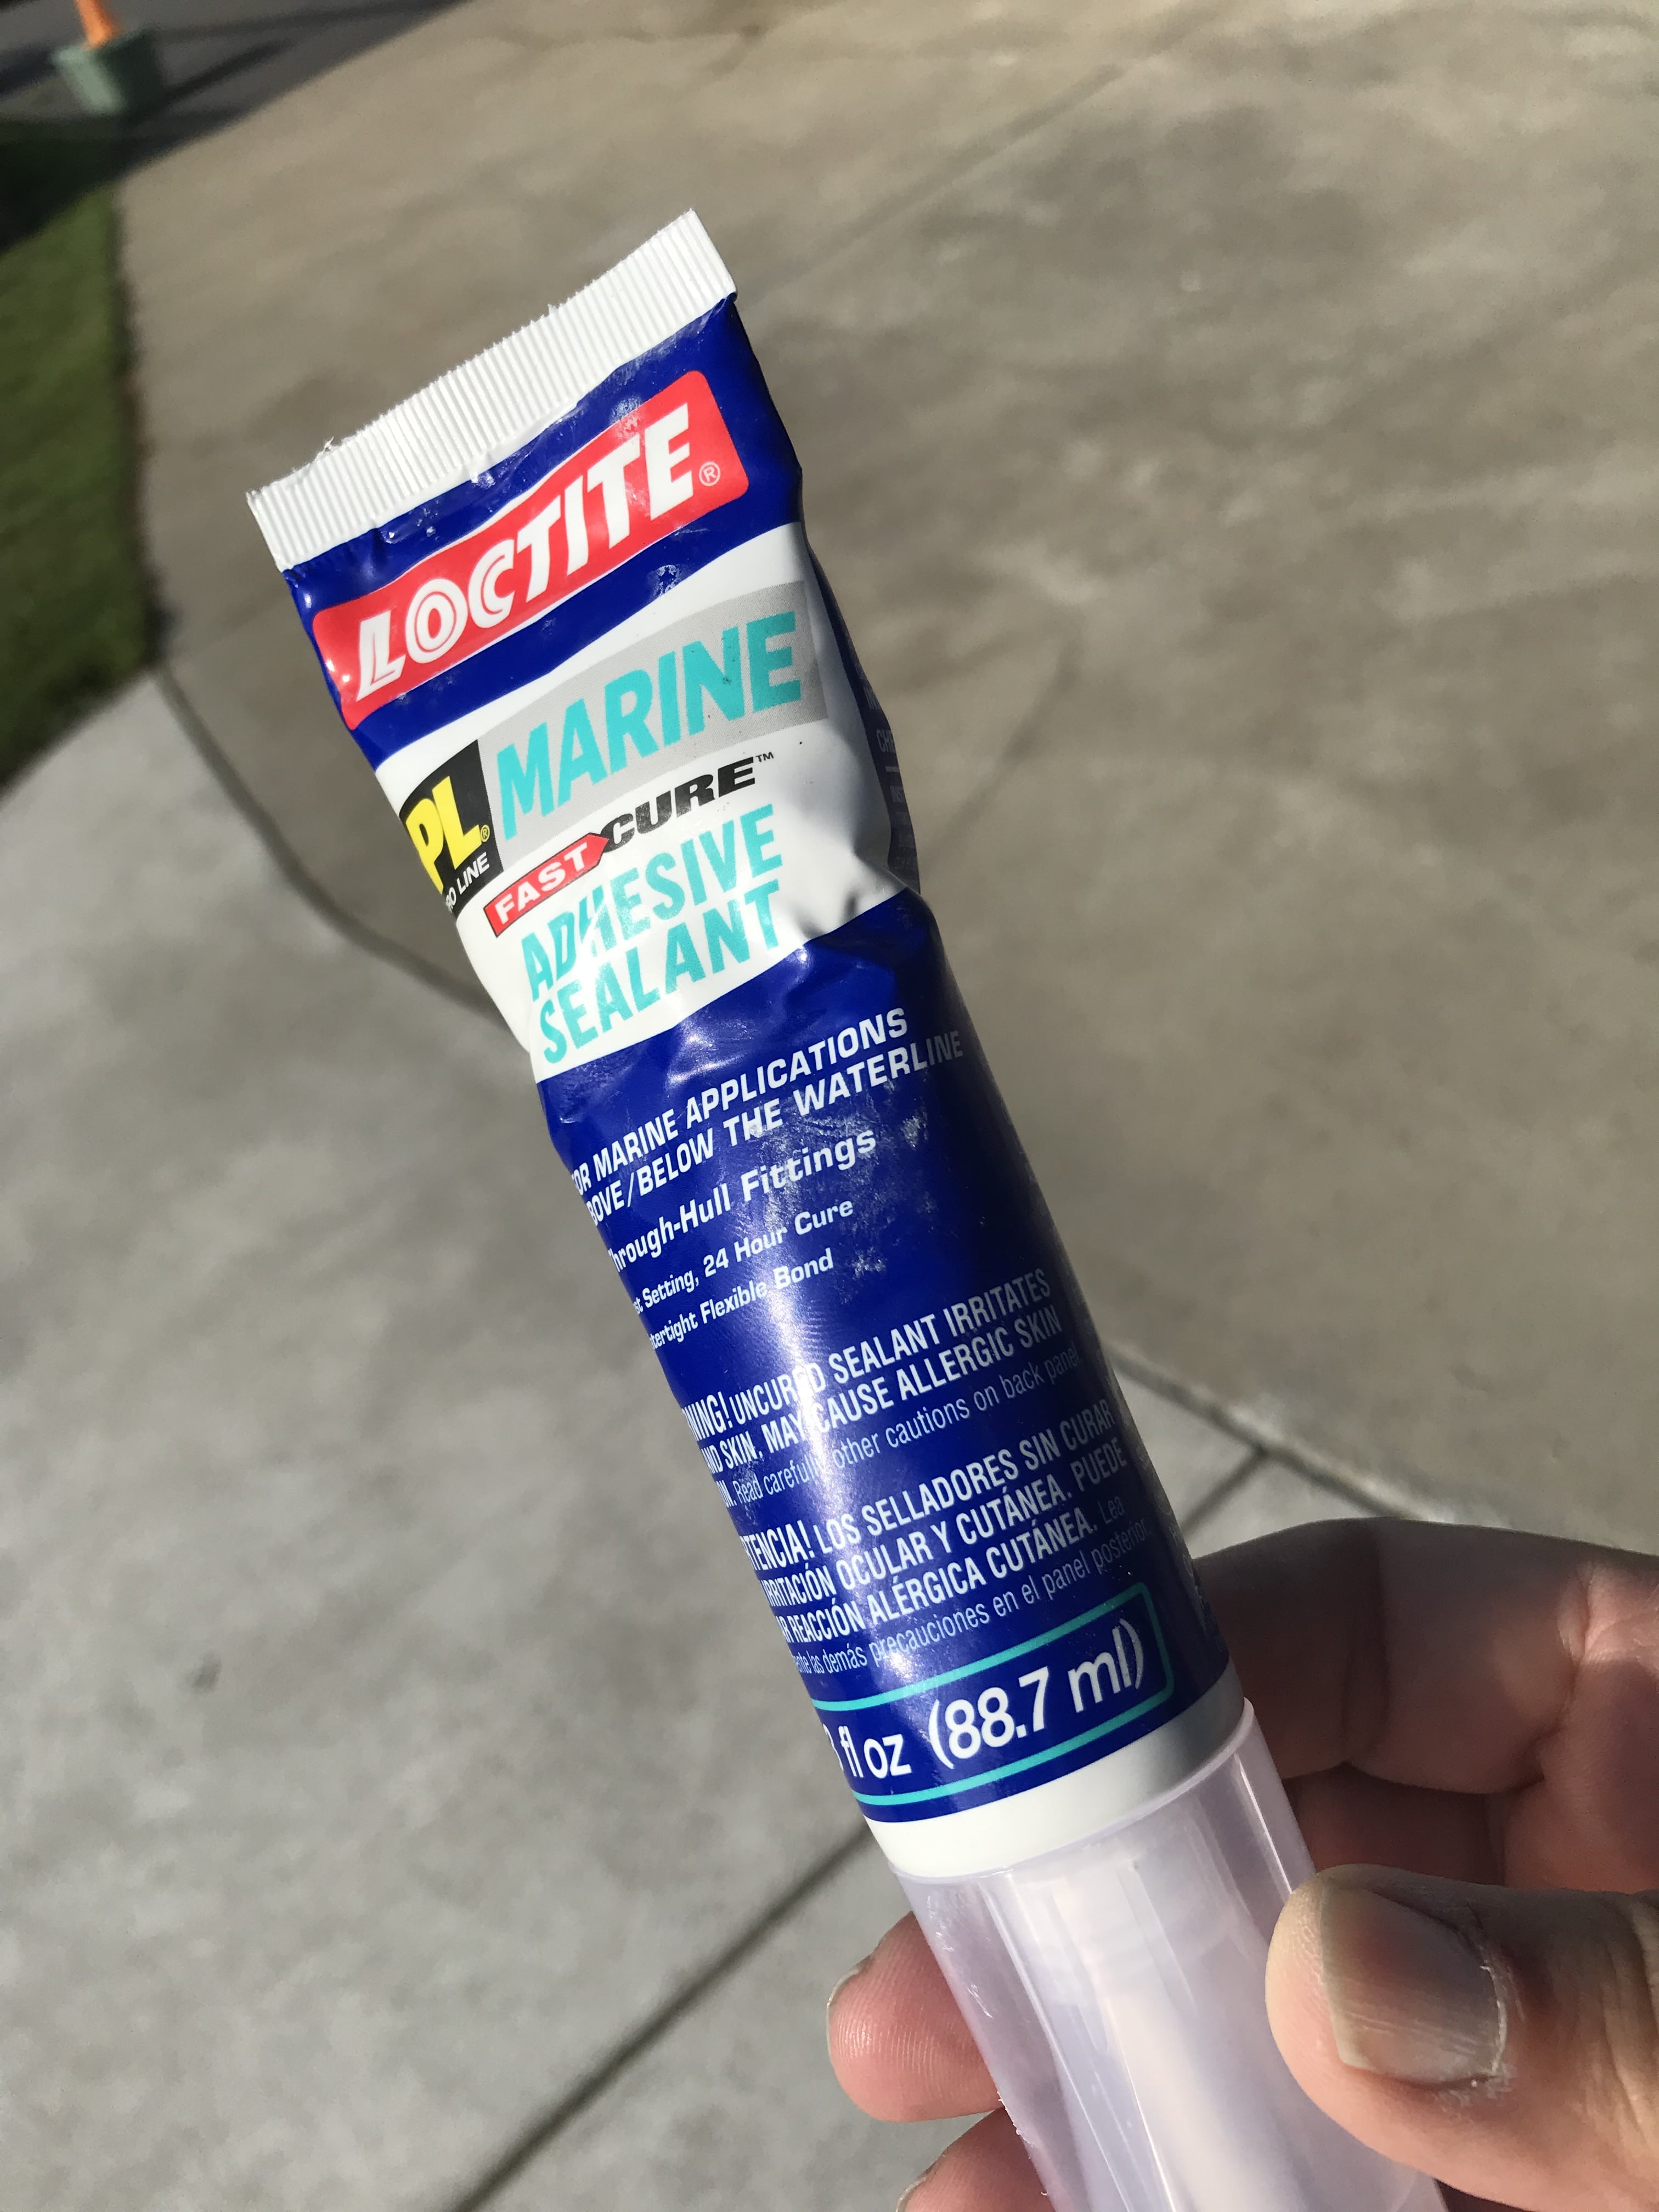
Up on the Roof.... Spend the last few days up on the roof of #145 waxing and checking seals. Found that the MaxxAir fan seals were cracked and worn. Removed the old and applied new sealant. I used Loctite PL Marine Adhesive Sealant. It was a bit expensive..... about $9 for this small tube. But went on very easy, dried quick and appears to be a tough, durable seal. Pics attached.... Be careful up there. Scotty
2 points
-
[postquote quote=180294][/postquote] Yes.1 point
-
Great RV campground, clean and fun theme park. Santa Claus, Indiana.1 point
-
[postquote quote=180264][/postquote] The first answer is that you have to match the controller to the panels, both in maximum voltage and amperage. But, depending on what 'normal' is, I'd say yes. The smallest charge controller that Victron makes, for example, is rated to 75 volts. If you go to the web page for their controllers, they now have a calculator at the top where you can input what panels you have, how many in parallel, series, etc., and they'll tell you which charge controllers will work. (But if I put in 2 100w panels in series, it tells me to buy their smallest controller). The second answer is that you wouldn't want to combine a 24v panel and a 12v one to the same charge controller. You could do it, but the voltage of the combined units would be limited to that of the lowest panel, and you'd lose half the power of the 24v panel. But with two controllers, each will output its standard charge profile regardless of what's happening on the input side. So from the battery bank standpoint, it doesn't matter if one array is 24v and the other is 12v - all it sees is the 14.4v (or whatever stage they're in) that the charge controllers are putting out. Similar situation to having both a solar charge controller and shore power hooked up. Here's a nice primer on the do's and don'ts of mixing panels.1 point
-
I have the Elite1 with 200 watt PV on the roof. My MPPT Blue Sky controller is rated to a max PV input of 340 watts. So my thinking is that I would be fine to wire in a remote 90 watt panel like this in to my existing system. This would keep the distance from the controller to the batteries to a minimum, reducing voltage drop. And since the voltage from the solar panels to the controller is much higher, close to 18 volts, running a 20' x 10 gauge cable would not create as much energy loss to voltage drop. I'm no electrician, but this is what I have learned so far...subject to editing! Dave1 point
-
geO, This is interesting. On my 2015, all the windows, maxxair vent, bathroom fan, plumbing vent, and all the other penetrations were factory sealed with 3M Fast Cure 4000 UV. Oliver uses this all over the trailer inside and out. The porch lights and the markers were factory sealed with silicone. Many of those sealed with the silicone have failed. I would not use silicone over the 3M 4000. I had a few gaps here and there in the window trim that I redid. And I also cleaned up some "less than adequate" joints on the interior, especially in the bathroom and around the kitchen sink. The only issue with the 3M 4000, other than it's cost, is that once opened, it has a very short shelf life. So get all your spots lined up and do the inside and outside all at once. Cut the tip on your tube sparingly! Clean your rig well to remove any dirt and wax. Give a quick pre-wipe with acetone or MEK (my preference) on a rag around where the joint is. On the inside, I then tape both sides of the joint with thin blue tape (delicate surfaces). Carefully squeeze a fine bead in the joint and smooth out with your finger. Immediately pull the tape and lightly swipe again to get the ridges from the tape to blend in. You may not like to, but I wipe a little paint thinner on my finger to lubricate it a bit, works good. Too much sealant in the joint and you'll have a mess. Use the sealant sparingly. The first wipe should be tight to the tape edge, not going over the top. It's a judgement call depending on the size of the fill. The 3M 4000 can clean up with paint thinner so if there is some that gets away from you, you can carefully clean up with that. The stuff skins over pretty fast so be organized, work small areas, and don't forget to breathe! On the outside, I just very carefully apply the bead and smooth it out with my finger. If the sealant line gets messy, some thinner on a rag drawn along the edge of the sealant cleans it up nicely. Warning though: don't use thinner or any other solvent around your chromed plastic light fixtures, it will mess up the finish! I don't know why Oliver recommended silicone to you when most of what you'll be sealing was done with the 3M product. Good luck! RE: the marker lights, I would like to hear how others have sealed those as I think I have a few leakers, and yes they were factory sealed with silicone! Can the chromed escutcheon ring be removed somehow for sealing? Dave1 point


-
Recent Achievements
-


")
")

")


