Leaderboard


Popular Content
Showing content with the highest reputation on 05/22/2023 in all areas
-
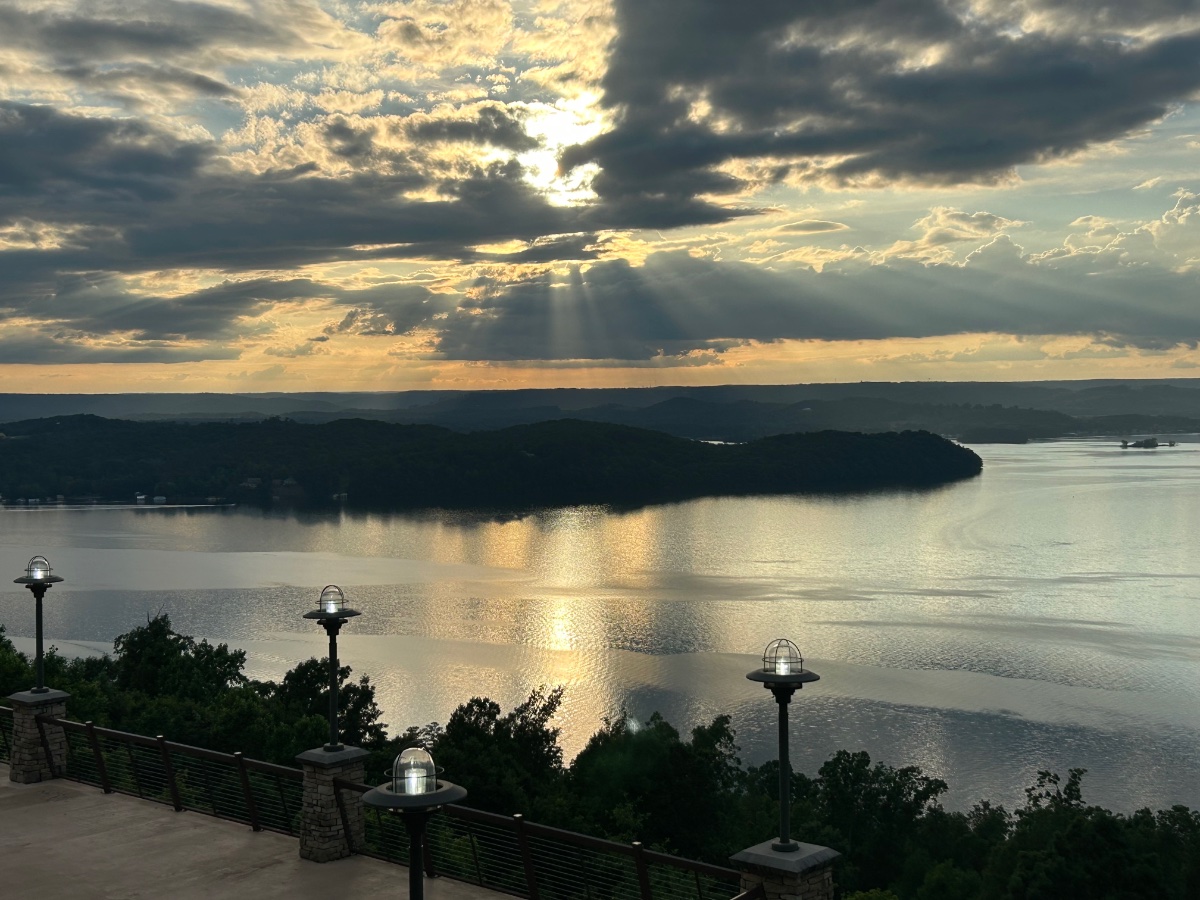
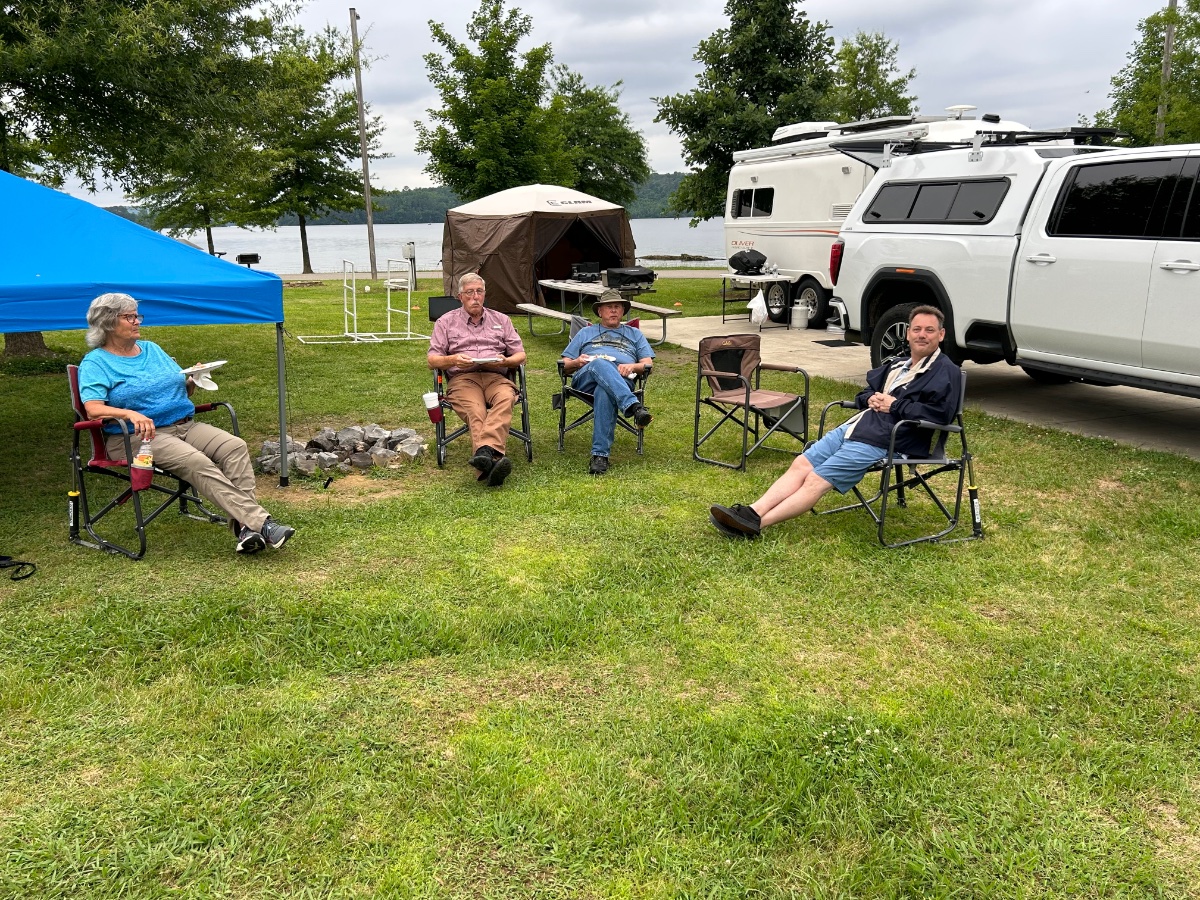
Great rally this year! Thanks to Scott Oliver and his staff and the great folks at Lake Guntersville State Park. If you have pictures this is the place to post them! Here’s the sunset from the lodge after Wednesday’s dinner. One of the best rally activities, sitting around talking! Right to left - Scott Oliver, Ken Cvacho, Lee Slusher and Terry Slusher. This group grew as the evening progressed! Trailers with a view of the lake.
 8 points
 -
Made it home to Indiana from the rally safe and sound today. Nine hours driving straight through with three stops. Traffic was heavier than I would expect on a Sunday but manageable. My neighbor mowed my grass because he's such a great guy! Site reserved for next year and can't wait. It was such a blast! Safe travels everyone!6 points
-
Just about finished installing the cargo box we ordered from Amazon. FYI: Used 6 each, 1 1/4" self-tapping screws with lock washers over a 1/8" x 2" x 18" aluminum band across the back (port/stbd) to distribute the load. Used a shorter 8" piece (fore/aft) in the center. A single screw with a fender washer was used for the forward-most position over the A-frame where a spacer was used under the box. We're using the box to secure items such as OTT 30A Furrion power cord & adapters, surge protector, fresh water hose/filter, plastic "Leggo" blocks, wheel chocks, torque wrench, Magnus' cable lanyard, and there's room left over. Thanks to @John E Davies, @ScubaRx, @Ollie-Haus and others for their suggestions and recommendations... We also think this idea will be a game changer for better access to items needed for set-up. Beats the "deep knee squat - bending over drill" to pull boxes out of the rear storage compartment! HA! IMG_7354.HEIC IMG_7353.HEIC
5 points
-
I posted some pictures years ago when I installed my box but I can’t find the thread. Part of my box is on the fiberglass and part is over the aluminum tongue. I used a piece of a workout mat (square puzzle like pieces) on top of the aluminum to make the mounting surface even. Then, I simply drilled three holes through the box and through the fiberglass and used some stainless steel bolts to secure the box. I have a piece of yoga mat on the bottom of the box to cover the bolt heads. I’ll try to find some pictures. Here’s a shot of the bolts, the placement was determined by the configuration of the tongue underneath. A blurry shot from underneath the tongue. It doesn’t look like much but it has been very stable over the last 5 years or so.
5 points
-
https://wildliferaffle.com/4 points
-
Thank you, Chris. I was genuinely surprised at how many people we saw using the list! I’m glad that it came in handy. It was funny, because when I’d handout a contact card, invariably, the response would be “Oh, you’re the list guy” or “ Oh, you’re Curiously! I loved the story” We met so many wonderful people and already look forward to next year. You’ll again find us on G23. We’ve also made plans with several Ohio, Indiana, and at least one Illinois owners to get together in Indiana late September or early October. Thank you all for making our first rally so memorable! Steve and Deb4 points
-
I was too! There may other, more elegant ways to mount it. I figured it wasn’t coming off and if it did I’d replace it with something so the holes won’t show.4 points
-
All for a good cause.. $20 a single ticket, 10 for $100. (Enters you in all the packages, including a voucher for a brand new truck!) Thanks for the link, @Katjo!3 points
-
Mike, could you (or others that have installed this or a similar box) perhaps send some photos of how you attached it to the trailer frame? If doing it again, might you do it differently? Thanks!3 points
-
@Steve Morris Thanks for you site-to-name list you maintained for this year's rally. It was very helpful to have it bookmarked on my phone to cross reference who I was face-to-face with. Hopefully someone will take up the torch for next year's rally. I know many of us have already reserved out site for next year.3 points
-
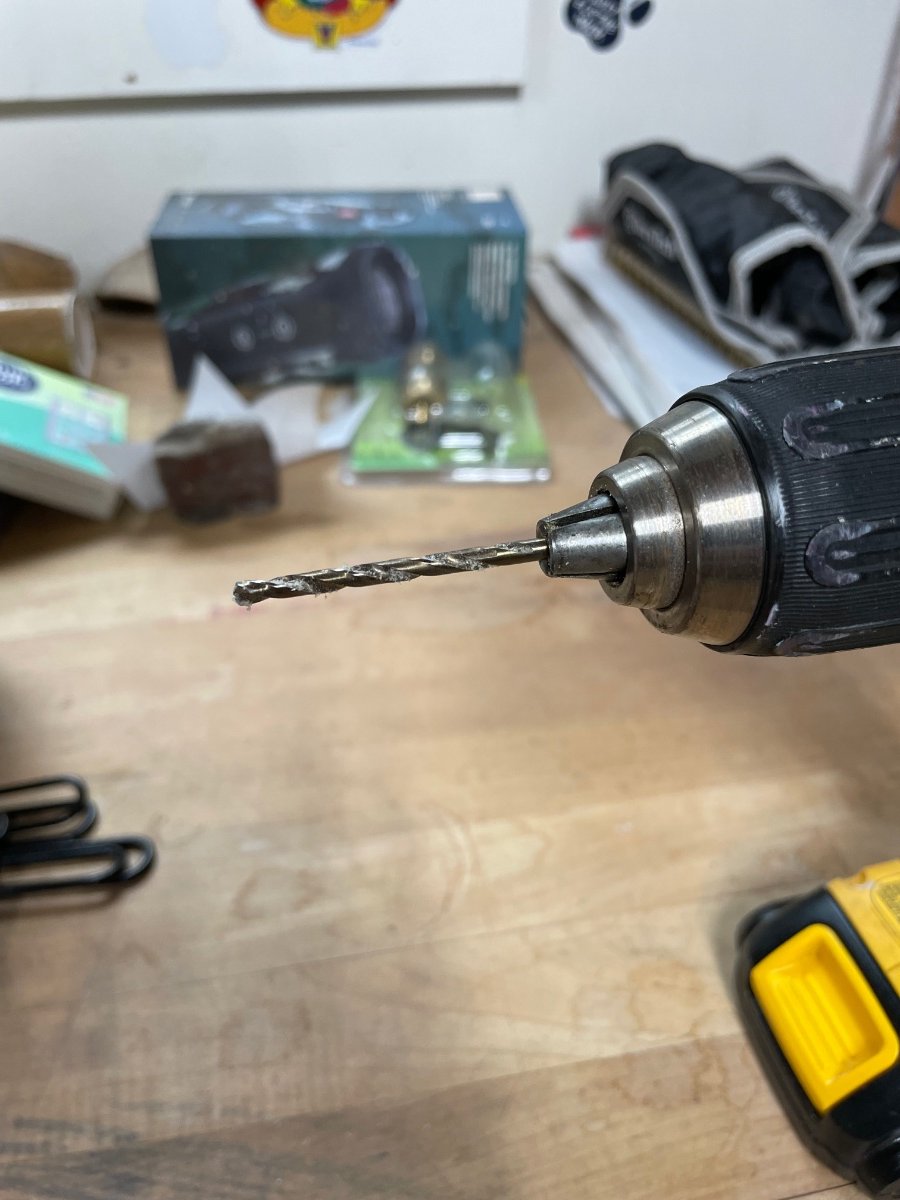
SAME Here, in fact I was actually working on tightening it up, when I thought I would "Go To The Forum" and find a remedy. and here i am... Ours has worked its way loose since delivery/pickup many times. You have a better picture than I was able to get. I believe what we are seeing here is something like a "Delta Mounting Nut", on their single stem kitchen sinks. Back off the 2 "tightening screws" about one turn, then hand tighten the "mounting nut" (you can see the threads) as tight as you can, then tighten up the 2 screws. that should put enough tweak on the mounting nut to hold it in place. on my delta sink at home, it has one tighten screw, so when tightened, it puts a little tweak but just on one side, but that has held for years and is used a hundred times a day... I am going to work on mine now and see if I can get it tightened up before we leave for "VACA"...
2 points
-
Great question! We’ve been wanting to add a box to ours as well. We are swaying on buying the one Mike and Carol posted, I’m just a little nervous about drilling through the fiberglass.😬2 points
-
Mileage seems about the same, but it sure does feel slick. I’m sure washing will be easier too.2 points
-
The last several years we have had our share of forest fires in Oregon. I will still camp if I smell the smoke, it has become almost normal in the summer. I will pick up and go home if there is visible ash in the air, and the sky is grayish orange. I do not want to get trapped close to a fire. We evacuated a few years ago for a couple of days because the fires were close. The Oliver is now our relocation home in the advent of another evacuation.2 points
-
Oh my, that is impressive. I would be curious to know if you noticed any difference in mileage. Probably too negligible to tell, but has to improve a little.2 points
-
We are staying at a hoity toity resort RV park in Bend OR, $210 for 2 nights. For the low rent spots. I think the best spots require your first born child. I seldom dump into a raised sewer pipe, so I never bought a sewer snake, I thought it would just gather dust. So I improvised with the ramp for the 1-Up bike tray. I dislike hookups that require you to lay your fresh water hose on ground that has been irrigated regularly with sewage spills, so I bypassed that area. Off to the ocean tomorrow - Tillicum Beach CG USFS, we will have to rough it once again. Then I can fret about rogue waves and tsunamis instead of germs. We lost one of our Australian Labradoodles the day before we departed home, we had to euthanize Zadie. Zack, her son for ten years, is quite lost and forlorn, as are my wife and I. John Davies Spokane WA
2 points
-
Another voting option is needed- ”Not affected but still concerned for those who are affected”.2 points
-
We just installed this before leaving on a 6 week trip. It's been a game changer! https://a.co/d/a6BiZn5
2 points
-
Couldn't beat the price point and description of this one... Just ordered: For us... a game changer. Thanks for the link!
2 points
-
I am looking for an enclosed aluminum box to mount where the factory "basket" goes on the front frame. Has anyone found one that fits well and has some room for tools and odds and ends?1 point
-
Tiered annual fee determines how often the application scans for last minute cancellations and availability, across multiple reservation sites. https://www.prnewswire.com/news-releases/harvest-hosts-launches-campscanner-to-help-campers-score-sold-out-national-parks-and-state-parks-301827777.htm https://www.campscanner.com/
1 point
-
Living in SW Montana summer fires have become a major issue here and it's not always the fires within our state. As often as not it has been fires from as far away as CA, OR, WA, NV & ID. Typically the prevailing winds are southwest to northeast this time of year but it can also change to dead west but this past week or so we had AQI's of over 150 on most days due to the fires in Canada especially Alberta. Unusual jet stream for this time of the year. Our valley is surrounded by mountains yet we could not see any of them due to the smoke, well maybe the Bridgers were slightly detectable on a few days in the mornings. And it's only May! This was a first in almost half a century of living here. Every single county within the state was on air quality alerts, and this is the 4th largest state just behind CA in size. Had planned on going out for a short night or two this past week but what was the point? Nothing to see out there. So yes fires do change when and where we camp. The sad part is there seems to be no end in sight looking into the distant future. It is worth noting today was much better with AQI of mid 40's with all mountain ranges visible. How long this clear spell last is anyone's guess. In conclusion I really feel for the folks who travel long distances to see the beauty of the west only to be met with smoke filled skies and no hope of even seeing these majestic landscapes. Safe travels.1 point
-
I backed off the tension screws 3-4 rev's and was able to get another 1/4 turn on the mounting nut. Then re-tightened the 2 tension screws. the tightening screws appear to grip/anchor into the underside of the countertop, so that may end up being problematic, as it does not appear to have a metal washer between under side of sink counter and the mounting nut. A large Philips head with a 10-12" shank could possibly make it easier. One more item checked off before we leave. B~Out
1 point
-
You’re welcome! It’s a great raffle, those prizes…WoW!1 point
-
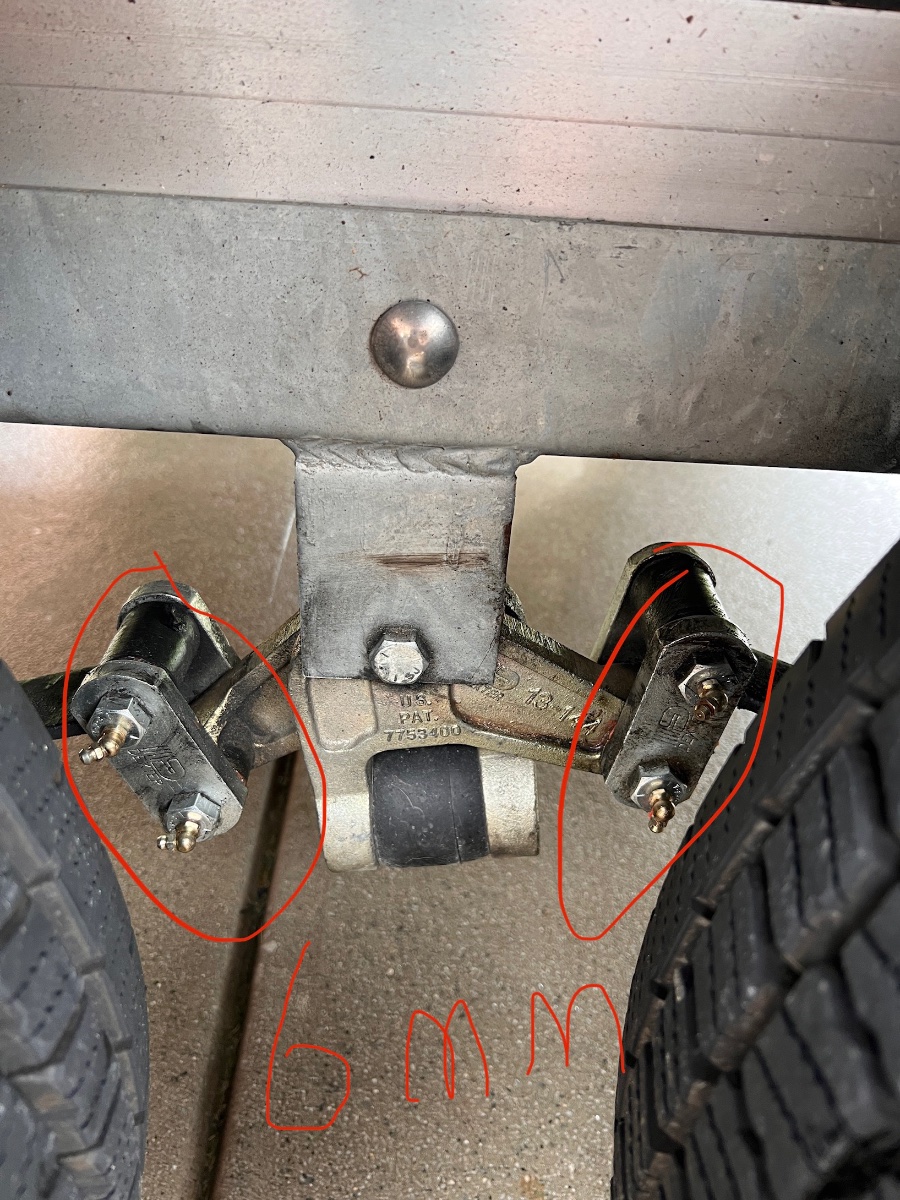
OK, so on my 2021 the ones between the wheels were 6mm and the outside ones were 1/4. Sure would be nice if they lined up where you wanted when they bottomed out. 🤷♂️
1 point
-
@Katjo: Here's the link: ARKSEN 29 Inch Aluminum Diamond Plate Tongue Box Tool Chest, Waterproof Under Truck Storage for Pick Up Truck Bed, RV Trailer, ATV with Lock and Keys - Silver1 point
-
The grease fitting ends are all the same but the thread sizes differ. Some are SAE, some are metric. Take one with you when you go to buy the new ones.1 point
-
@Mark Meadows: Thanks, Mark - no worries! We made it back as scheduled after having a great time at Rocky Point. The Playa Bonita RV Park was probably 80-90% full capacity and we were lucky to have been assigned the last "on the beach" site. The 64 mile run from the border town of Sonoyta to Rocky Point was on very good roads and our "caravan" made it easily without hassle. We made reservations for next year before leaving.1 point
-
You’d have been welcomed to do more than ogle! I’ve been surprised at how durable it’s been, especially considering the price. Will be interested in what you do. Mike1 point
-
Chuckle of the day!
1 point
-
I like the concept, but probably really only good for small sized hail. I doubt that it would do much for softball sized hail which is rare but does happen. I noticed a lot of one star reviews as well. But again, I like the idea. Probably better than pulling out blankets. 😀1 point
-
Rocky Point #2.pdf Maybe a OTT "Spine of the Rockies - Hot Springs Tour"... any interest?1 point
-
1 point
-
Interesting. Carrie and I always carry our propane fire pit with us now. Growing up I was in the group of “it’s not camping without a big wood fire”. It’s good that some of us can evolve. Kirk1 point
-
We live and camp in the eastern US. Barring drought, wildfires are less a concern, since most are contained early on. However, we’ve been camping in crowded parks where Smokey campfires we’re bothersome. I understand some parks will be designating some areas / loops as “campfire free”. I sincerely hope that western areas address the wildfire issue, as it has affected where we can go, road closures, etc. it’s a shame that it has affected your appreciation for camping to the point of considering not going.1 point
-
Oh wow, that’s horrible! It sure can do a lot of damage.1 point
-
These boxes are absolutely top of the line. Jim Oliver swore by them.1 point
-
Here if you want a “custom” gen box- https://kshmarine.com/custom-generator-boxes/1 point
-
I've had this box on the tongue of my utility trailer for about 8 years. It's actually a very nice box. Gas strut still works and the lock works fine if you need it. I purchased mine at Tractor Supply. They usually have them in stock at their stores.1 point
-
Be aware that an inexpensive box is made of VERY thin aluminum, that is good for keeping down tongue weight, but it is super easy to damage or break into. A plastic version might prove to be more durable, and lighter. This box is less than 20 pounds shipping weight, it is one of those fragile ones. John Davies Spokane WA
1 point
-
I’ve had this on my tongue for 4 or 5 years. Holds all my chocks, blocks, gloves, some tools and 20 big yellow legos. I got it on Amazon, there were several to choose from. It was a little over $100 then.
1 point
-
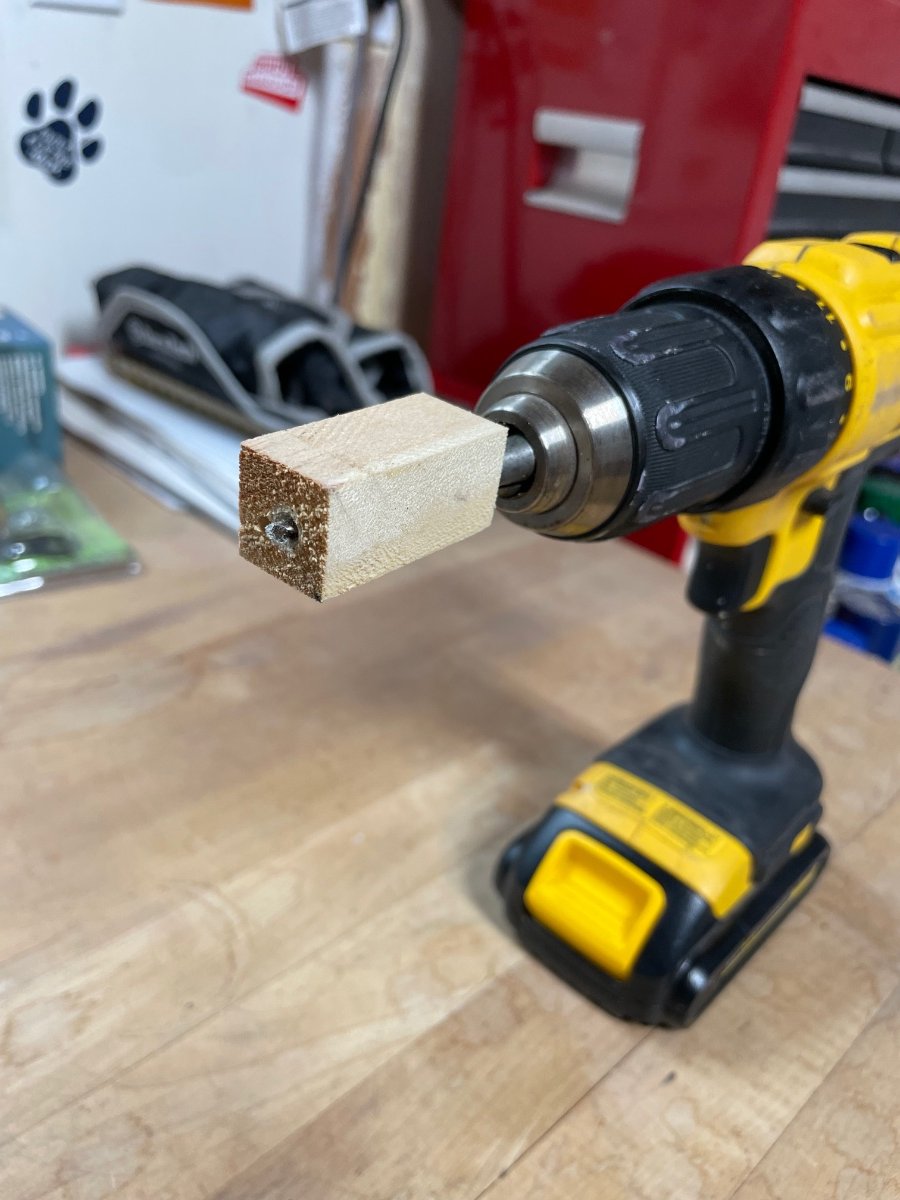
Follow up and result. I drilled out the rivet. 1/8” bit. I rigged a guard so I wouldn’t go to deep at first. I’ll try to add a picture. The nut was off inside the cover and this was reattached and I applied a drop of removable Loctite. Used the drill bit to push the rivet stem thru the fiberglass above. Lined up the holes and replaced the original rivets with 1/8” diameter by 1/2” length aluminum rivets.
1 point
-
We used what's called a, "synthetic clay mitt" before applying the base wax. They work great, just keep them "lubed" with either plain water or very diluted spray cleaner (we use Simple Green). It's definitely not for everyone, but we've got the time so we knock it out. The clay mitt removes any small debris and oxidation after the surface has been washed. We noticed that our "new-to-us" OTT had some oxidation buildup and the mitt cut right through it making the gelcoat look like and feel just like new. We've done our vehicles with the mitt for quite some time and by the end of the drill, the treated surface really looks great and makes subsequent washing/waxing much easier and quicker.1 point
-
Mossey, ours also looked better than the day we picked it up :)1 point
-
We had ours done last June...nice to get rid of the wax :) CGI did a wonderful job! John1 point
-
The Red "Jelly Bean" Hull #010 owned by Brandi Schaffer is the lowest numbered hull that I know that is still on the road. It was originally delivered in January of 2008. She said that she'll be at the rally. Larry and Betty Harmon (mountainborn) bought the first Oliver sold Hull #003. It was delivered in September of 2007. I have seen it once since Larry sold it over 10 years ago. The Black "Gambler's Edition" Hull #009 was spotted behind an old building in Reno or Las Vegas several years ago. I don't have any more current info about it. But, if you take it one step further and look at who has the lowest Hull number AND is the original owner that would be Paul and Sherry Cavanaugh (SeaDawg) in their Hull # 012 originally delivered in February of 2008.1 point
-
@Katjo: We also bought our Ollie used after a couple years of ogling over our friend's, reading threads, selling our SOBs, and then finally dropped the hammer on "Casablanca" back in March. So, we're new at the OTT ownership thing - but we're really loving everything about it. Been doing quite a bit of business with Ryder back at the Mothership's Parts Team - he's been helping us out routinely on many levels. One surprise we had (and there's been quite a few) was discovering the secret compartment below the pantry hatch about 7 weeks after we brought CB home. The PO didn't mention it during our walk-around inspection/intro. But inside (SURPRISE!) was a brand new kitchen sink cutting board made by Foy! I had just previously made one for my wife from an extra bamboo cutting board we had - so like I've said to her many times over the years, "ONE is None and TWO is ONE!" HA! Looking forward to hearing some more experiences along these lines from others! Cheers, y'all!1 point
-
That is an impressive shine you have on that Ollie! Nice work! 😊1 point
-
When you feel it necessary to personally reprimand or admonish a poster, please do it privately in an email, a PM, or over the phone. The quickest way to insure that this forum will turn bitter and discourteous is for moderators to scold board members in front of all other board members. This is a major NO No when dealing with people. Thanks for your consideration, Doug As a forum member here "Please do not speak for me" . If in your above post you were referring to yourself.... well then I may understand. Moderation of this forum is anything but oppressive and i don't think members are going to rally with you under the banner of "The Downtrodden" . Even the biggest of egos here seem able to be the friendliest and most helpful of any of the forums I frequent, aaah ...such a breath of fresh air! I for one would certainly be disappointed if things went the way you suggested they might. Hoping all will be able to offer each other a handshake of reconciliation on this forum when disagreements arise I wish you all long sunny days and happy travels. -Wayne1 point


.thumb.jpg.79d7e8d10b37de38659b3e2851de60b2.jpg)


.jpg.7b3db532b69d9dfa3308f8d50659fd3c.jpg)


-
Recent Achievements
-


")
")

")


