

ScubaRx
-
Posts
3,122 -
Joined
-
Last visited
-
Days Won
160
Posts posted by ScubaRx
-
-
Susan, does your 2013 F350 really have a 3.2L diesel?
-
 1
1
-
-
I numbered my tanks # 1and # 2. Let's assume both are completely full, mounted in the trailer with the hoses attached.
Open the valves on BOTH tanks. Turn the lever on the regulator toward either tank. The indicator will be green. Use your trailer and appliances normally. When the first tank is empty, the regulator will automatically begin using from the second tank. There will be no interruption of the flow of propane, but indicator will now be red. The lever on the the regulator DOES NOT physically move.
You will need to be aware of how long a tank will last you and after a period of heavy usage, check the color indicator. When you see it is red, close the valve on the empty tank, remove the hose and take it to be filled.
At that point swap the lever to the remaining tank. The indicator will change back to green. When the first tank is replaced, leave the lever pointed toward the second tank until the indicator again turns red indicating the second tank is now empty.
I use and highly recommend the Mopeka tank monitoring system. I can check the level of propane in the tanks from inside the coach on a readout or with an app on my phone.
I also invested in a couple of these.
-
 1
1
-
 1
1
-
-
Just for everyone's information. Oliver does not balance the tires themselves. They buy the tires already mounted and balanced. I spoke with the plant manager today and he stated that's the way they have done it since he came in 2017. Scott Oliver states they have always been balanced. I'm not convinced they've been doing since 2014. Mine were not as it was the first delivered Elite II, but I've had it done during the intervening years.
Since this issue has likely not existed in the last 3-4 years, I think we're beating a dead horse. Like BackofBeyond: "I'm gonna find something else to think about..."
-
1
-
-
5 hours ago, NCeagle said:
I can't vote because I'm in a bit of shock. I ASSUMED the tires would be balanced - why wouldn't they? I just ran out into the freezing cold and checked and unless they are magically balanced rims, there's no lead anywhere on any of them.
So this is now on the top of my list. I really do find this hard to believe. My answer to the poll is "They were not balanced and I'm shocked. I'm going to have them balanced ASAP" 😞
The way this poll is constructed makes our answers a little ambiguous. Oliver has not always balanced the tires on their trailers. The tires that are currently being installed arrive at the factory already balanced, but the poll provides us with no way for one to tell if the trailer was delivered prior to or after Oliver started providing this needed task. I would suggest adding the hull number or, at least, the year of production.
Out of curiosity, what year/hull number do you own?
-
1
-
-
On 2/5/2021 at 9:02 PM, rideandfly said:
2 Each Bearings Dexter # 031-029-02 or Timken # 15123
2 each Bearings Dexter #031-030-02 or Timken #25580
2 each Seals Dexter #010-036-00 seal or CR #22532
Hope this helps,
These are the correct bearing and seal Part Numbers for all the Elites and the VERY FEW Elite II's that are equipped with 5200 pound axles.
-
1
-
-
The door "might" unlatch if you failed to close it correctly, but it won't come open while driving down the road, air pressure would keep it from doing so. We have towed ours over 130K miles and none of this has ever happened. If you're worried about it, just lock your door while you drive. I can't see how this is "...a workmanship problem that should have been repaired during the quality check prior to delivery..."
-
3
-
-
The word on the street is that the 2022 models will come with 5200 pound axles (de-rated to 3500 pounds due to the smaller 4 leaf spring pack.) Disc brakes will either be standard or an option (I'm unclear.) They will have 6 bolt patterns and 12 inch brakes. They will also have never-lube hubs.
-
1
-
2
-
-
I think it's great, I tried to get one of our single daughters to go find him.
-
1
-
3
-
-
He stated in one of his videos that he makes $80K per month off his you tube channel.
-
1
-
-
Phantom loads can be more insidious than you think. Even if your PL is only 0.4 amps, that's 9.6 amps/day. With the AGM's usable capacity of 200 amps, with no AC power connected and no solar, you will use all this in less than 3 weeks.
-
2
-
-
4 hours ago, SeaDawg said:
...I'm thinking there might be access in the cupboards over the windows for proper backing and fasteners, in the Oliver...
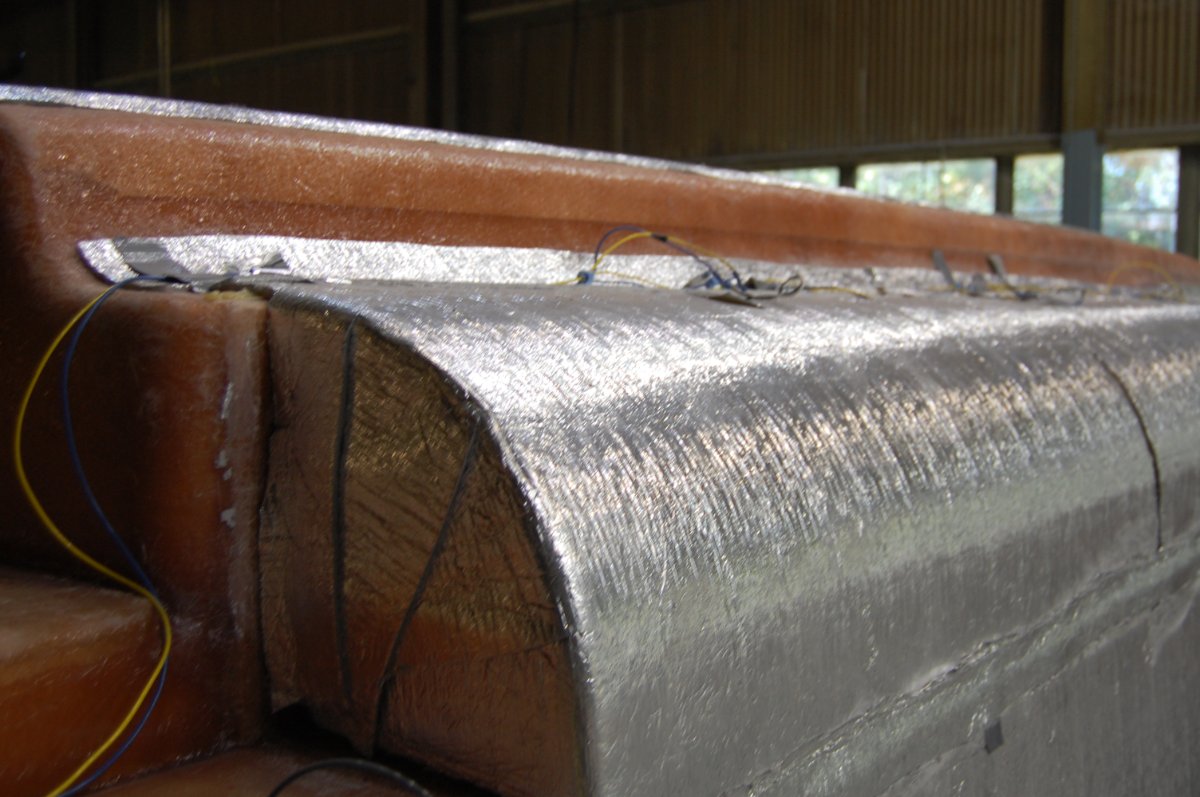
On all the units manufactured post 2009, there are inner liners on all the cabinets (except the bathroom and center rear). This will prevent you from (easily) being able to access the inside of the outer hull to mount any kind of backing plate.
This curved piece is the inside liner for the cabinets. It is made of fiberglass.
This photo is of Hull # 050 taken in 2013 during construction.

-
1
-
-
3 hours ago, Jps190 said:
... I would like to swap the zamp controller and install a victory MPPT out of sight and then install the victron gx touch 50 where the zamp controller was. Thoughts?
John
Are you comfortable cutting your own hole? I would just ask them to NOT mount the Zamp controller (I agree you should replace it), purchase my own controller and mount the control panel myself.
-
After seeing your response to JD about how you acquired this hitch, I completely understand that you want to use it. This should be one hell of a hitch and is probably as strong or stronger than 95% of all the hitches pulling Oliver's. That thing will make pulling your new Oliver smooth as butter. Make sure you select a strong stinger (ball mount) and ball to go into it.
-
Are you looking for a used or new trailer?
-
Our AC will freeze you out of the trailer.
-
1
-
-
On 1/10/2021 at 3:59 AM, zoelakin said:
I needed help ventilating my camper fridge. Before when it reached 90 degrees or higher outside my fridge couldn't keep up.
What brand refrigerator were you using? Are you running on propane or AC. What's the average temperature this time of year in Bac Giang, Vietnam? That may be your problem.
-
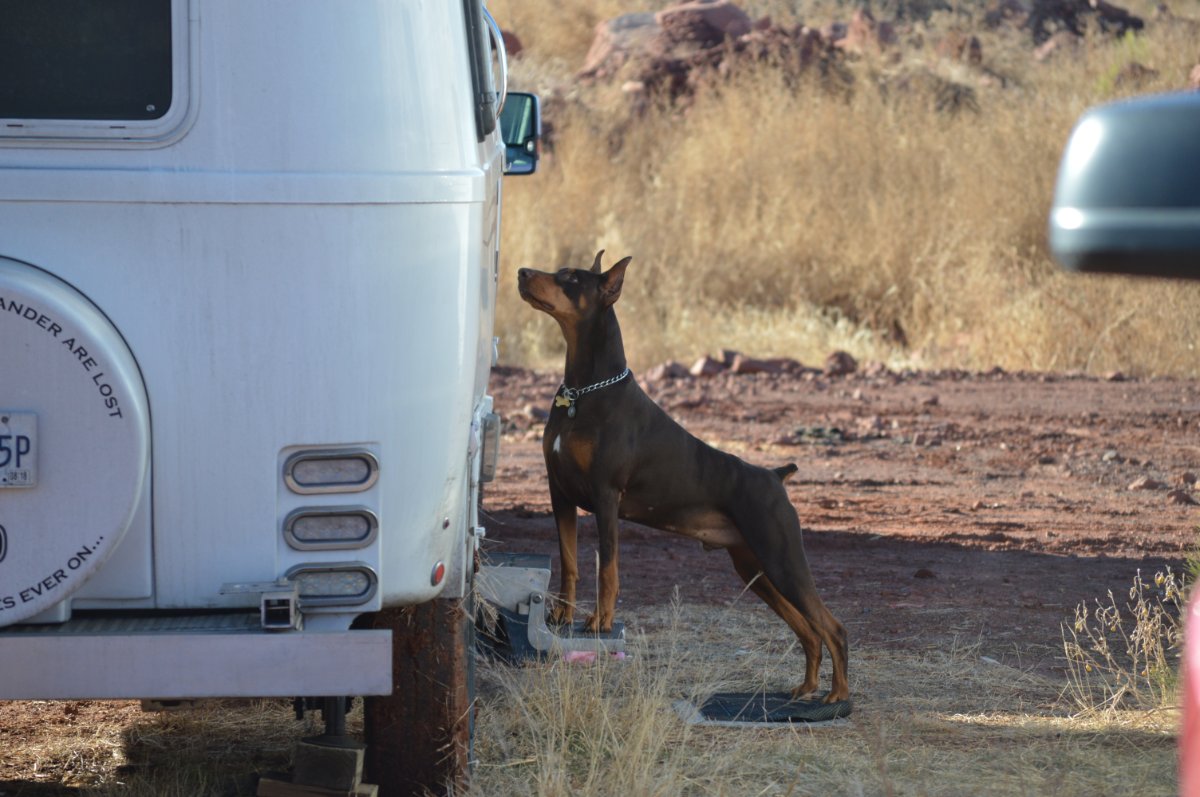
That's a very good looking dog. Is it an English Pointer?
We travel with three dogs. We find that in warmer temps, if we need to be away from them for shorter (one to two hours) periods of time it's best to leave them in the trailer with the air conditioner running on the generator. In colder weather, under the same time constraints, we just leave the furnace on low. We've been doing it this way for 13 years and it has never been a problem.
Here's Reacher, Rocky and Lucy...
-
3
-
-
That hitch is fine. It is most certainly overkill for our "little" 6-7K pound trailers. That being said, if you already own it, then use it. I probably would not advise someone to purchase it for this use as I'm reasonably sure it is expensive. Certainly more so than a simpler hitch platform. I'm surprised that your Ford F-250 did not already have a hitch from the factory.
-
54 minutes ago, Xuxu said:
...
1. I plan to add an Andersen anti-sway hitch to the trailer/tow vehicle. However, I have another utility trailer which I would also like to use the anti-sway hitch with. This trailer uses a 2 5/16 inch ball. I would like to modify the hitch on the Oliver (essentially replace the Bulldog 028243 with the Bulldog 0282462). From the pictures in the brochures, it appears both of these units are weld on, however, it also appears Oliver Trailers has drilled holes in the hitch and bolted it on. I would match drill the holes, however, it would be helpful if I could know if it is bolt on or a combination of bolt on and weld on.
It is completely bolt on. You could not weld a steel hitch to an aluminum frame. I swapped mine out also.
2. Looking at pictures of the current models, it appears the trailer frame is covered with fiberglass to the Bulldog hitch. If this is the case, how is the anti-sway hitch installed? Does it require the fiberglass to be modified? Can the Aluminum Storage Shelf be used with the anti-sway hitch?
There is no need for any modifications to the fiberglass. Oliver will do all the installation of the Andersen. You can fully use the front basket
3. Does anyone have any transport service they would recommend?
I can't help you here. But I would suggest that, if you can, make the trip to pick up your trailer. I promise you it will be enjoyable and educational.
Thanks in advance for any information that is provided.
Congrats on your pending Oliver from Hull # 050, The Outlaw Oliver.
-
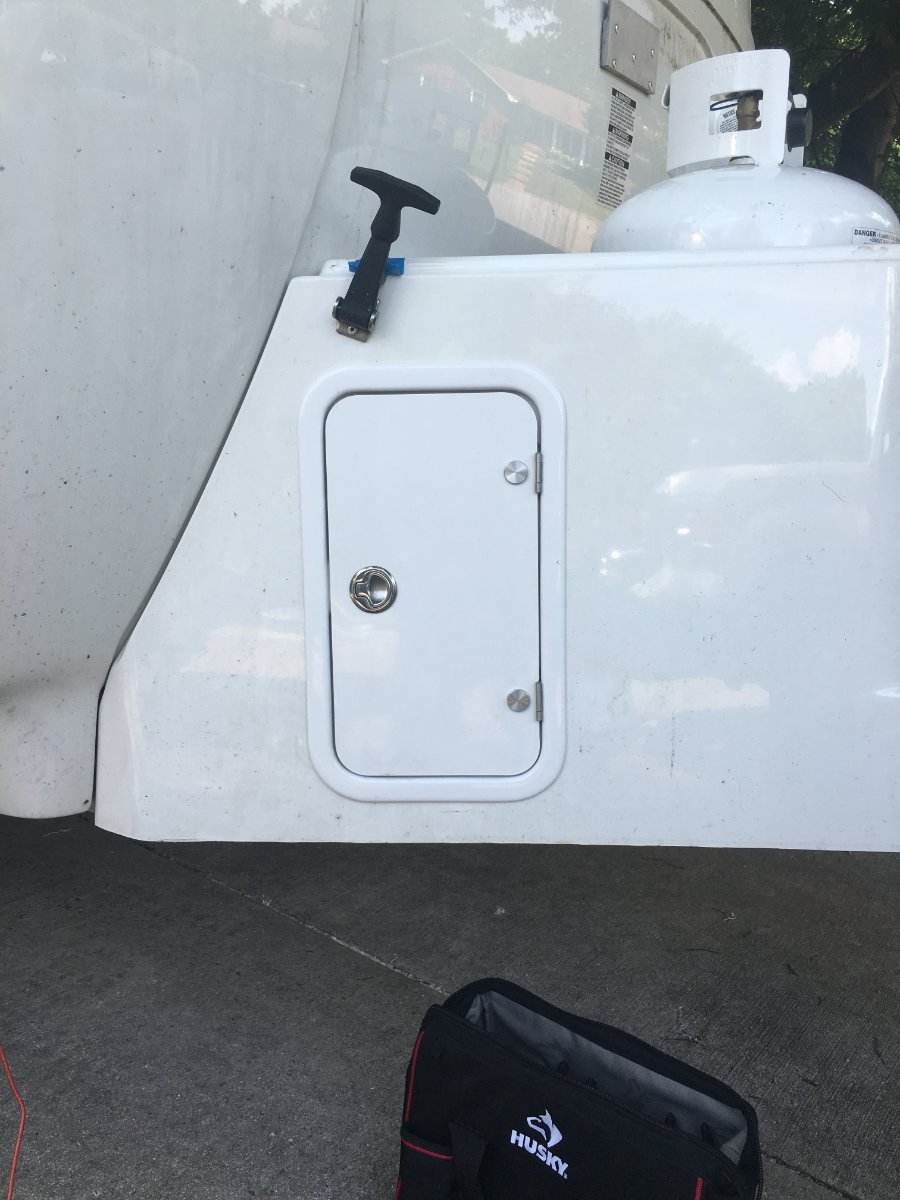
I have plenty of genuine Oliver Fiberglass panel that is the perfect thickness that I cut from our propane cover during my mod to create storage behind the propane tanks.
If anyone else wants/needs a set let me know via PM.
-
2
-
-
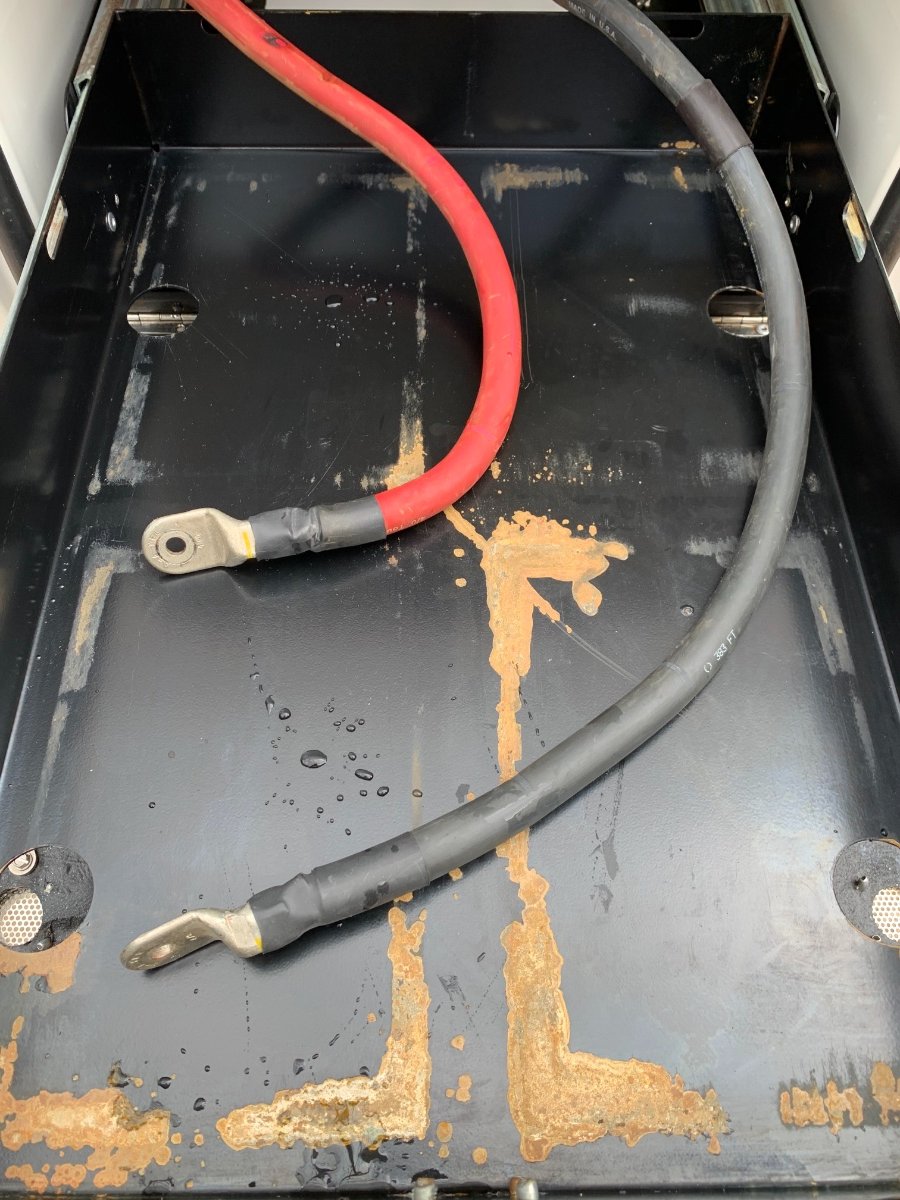
10 hours ago, Mike and Carol said:
I still need to treat the bare metal on my battery tray. Blue Sky controller is reprogrammed waiting for the new batteries.
Mike, I recommend that you plug those vent holes I see peeking through the bottom or you battery tray. I can cut you some fiberglass plugs the right thickness to fit them if you like. Just drop them into the backside of the door and glue with some two-part epoxy. I also recommend insulating the inside of the door with some closed cell foam. I bought one of these at Dicks Sporting Goods. They are exactly the right thickness to fit the inside of the battery hatch. There is enough to insulate the basement hatch also. I used contact cement to attach. Just make yourself a pattern out of heavy construction paper or cardboard and cut to fit.
-
1
-
-
We have six of the 12 volt ports and ten of the USB ports. Four of the 12 volt ports are in constant use and three of the USB ports always have something plugged into them with an additional two more in almost constant use charging something. I have installed them in places that are handy and, being all about overkill, I want whichever port I need to be within arm's reach. We have a lot of batteries that are constantly being charged, cameras, drone, Go-Pro's, walkies-talkies, etc.
-
2
-
1
-
-
So that's where that white smoke came from...
Actually, those wires are not involved in this project, as they are not part of the charger/converter replacement. I do notice in an earlier picture that strand of wire is not there. Perhaps it was an errant clipping that just fell onto the board. Hopefully, it fell off at some point.
-
1
-
-
13 hours ago, NCeagle said:
Anyone have any tips on removing the white caps covering the screws on the bathroom vanity panel without damaging them? They are being stubborn - I'm trying to use plastic auto trim tools so I don't scratch anything, but that's not working. I thought this would be the easy part. 🙂
They probably have a dab of silicone (type) caulk behind them to "glue" them on. Try harder...
-
1
-


Xantrex XCPro 3000 warning code
in General Discussion
Posted
This page has links to the firmware update and instructions for installation.