
Nick R.
-
Posts
23 -
Joined
-
Last visited
-
Days Won
1
Posts posted by Nick R.
-
-
Tejas Smokers is another company I worked with to get the tubing and quick disconnect fittings replacing the regulator on my grill. They were very helpful in getting it figured out and working great!
-
 1
1
-
 1
1
-
-
22 hours ago, BackofBeyond said:
Another Yeomans tale from an ingenious Oliver owner. Great effort.
The downside - Oliver has yet to execute a manufacturing process that reduces variation to very small percentages .
This is just one more tale of failure.
This is not a communication error in an inverter, Nor is it a solar charge optimization issue. it is a connect the part A to part B failure.
Not simple, but every day stuff in modern manufacturing. At $70K plus for a rolling boat - Olive has work to do,
RB
Former Happy Oliver Owner.
I agree... I'm just thankful it was something I could do myself.
-
On 5/6/2021 at 5:24 AM, johnwen said:
For all you full-timers, how often do you clean your solar panels? I've seen comments, elsewhere, from every couple of months to twice a year.
John
Hi John, I'm a full-timer. I try to wash mine a minimum every two months, this seems to be plenty for me. Naturally, if under trees, etc. there's going to be more debris. I find it easy to do from my multi-function ladder and using an extension brush with my 2050 psi pressure washer, that I have with me all the time.
NR
-
1
-
1
-
-
On 7/28/2021 at 5:30 PM, jordanv said:
You did all of this from that one small duct vent hole on the floor?!
Yes, and also with the help of my trained octopus!
-
2
-
 1
1
-
-
6 hours ago, mccrusn said:
Mike... We ordered our Oliver with the two 30lb propane tanks and the two exterior propane quick connects. I anticipated using this in the same arrangement they had in the display room at Oliver... with one fire bowl hooked up outside and one grill. I'm understanding (from these posts) that the Oliver propane "quick connects" require a non regulated hose coming from Oliver to Weber Grill (we have Q1200). I believe I've found the kit (Torjik) that requires the Weber regulator to come off and thus be hooked directly to the Oliver (now with only one regulator in line).
I also confirmed that my Outlander gas fire bowl has a regulator as a sub-assembly of the hose itself. Is there a quick connect hose assembly without the regulator that I can also plug directly into the Oliver quick connect... and is that set up satisfactory? I guess this is coming from the fact that you sometimes use a separate 20Lb propane bottle that I was hoping not to need to bring along, especially with my two 30Lb bottles.
Hi mccrusn,
My experience with the regulator on the Oliver is this; I run a Napolean TRAVELQ 285X BBQ. It came with an onboard regulator, but I got very poor performance due to the second regulator on the grill and could not grill! What I found is, I needed to remove the regulator on the grill and run a straight hose to my grill.
I was able to find the right one at Camping World as shown here: https://www.campingworld.com/coleman-road-trip-conversion-kit-with-female-quick-disconnect-me66cp-115951.html#q=quick%2Bdisconnect%2Bhose&lang=default&start=2&cgid=maintain-your-rv%2Fpropane%2Fpropane-hoses-adapters
After this modification, I can now run my BBQ no problem and get temps 400+ deg.
You ONLY need the regulator on the Oliver, no others. Regulators are designed to allow a specific flow rate, adding another regulator will cause poor performance and not give you the desired flow you need.
As you stated with your 20LB tank, you should be fine with the reg on that hose.
I hope this helps!
NR
-
1
-
1
-
-
Hi Ralph! I'm sorry this happened, I hope its not going to be too much trouble getting it back where you need it. I agree with John E Davies, this is not the best solution for this type of application. Anytime you have sharp bends and pressure with these kind of straps, this is of course is going to be the result. A solid band of heavier gauge would be a better idea. I hope this doesn't slow you down!
NR
-
1
-
-
1 hour ago, Overland said:
Pretty cool. I’d love to see it in person. My only concern is that it would be difficult to clean, with the texture and all the joints. Is it?
Hi Overland, that was my number one concern. If I do notice a spot, which is very rare for me, I just use a mixture of organic disinfectant/cleaner and it's a good as new.
Samples are the best way to decide, I just went for it and I'm real happy with it!
-
1
-
-
3 hours ago, Ray and Susan Huff said:
Whoa . . . . . almost $200/sq ft! Is that correct? Definitely a "rich" look 😀
Oops!. . . . I read it wrong. $200 is for the kit of 15 sq ft. That's more reasonable
Hi Ray and Susan, I was able to find a discount coupon on the Internet before I placed my order, so I got it for less... don't pay retail, right?
I knew the look I wanted, so I went for it and haven't looked back.
-
1 hour ago, SeaDawg said:
I think it looks really nice, and quite a rich look!
So, real thin stone, and ok to use behind the stove?
Thanks SeaDawg!
Yes, each tile is very thin with a 3M type backing. No problem behind my stove.
I’ve had this on for almost 1.5 yrs and easy to wipe off. Very minor pealing in a spot or two but a very small drop of Locktite SG Gel and problem solved.
Easy to clean, no staining. Actually better and safer than bare fiberglass.
The stone will actually shield flames/heat infinitely better than without it.
I don’t get a lot of splatter from my iron skillet, but it still looks as good as the day I installed it.
The 3M backing plus the natural stone keeps the dining area around the window cool to the touch in summer temps in Las Vegas (118 deg), in addition the Ollie’s double insulation.
Naturally, the metal window frame is still blistering hot inside in those temps. 👍
-
1
-
-
Hi Everyone!
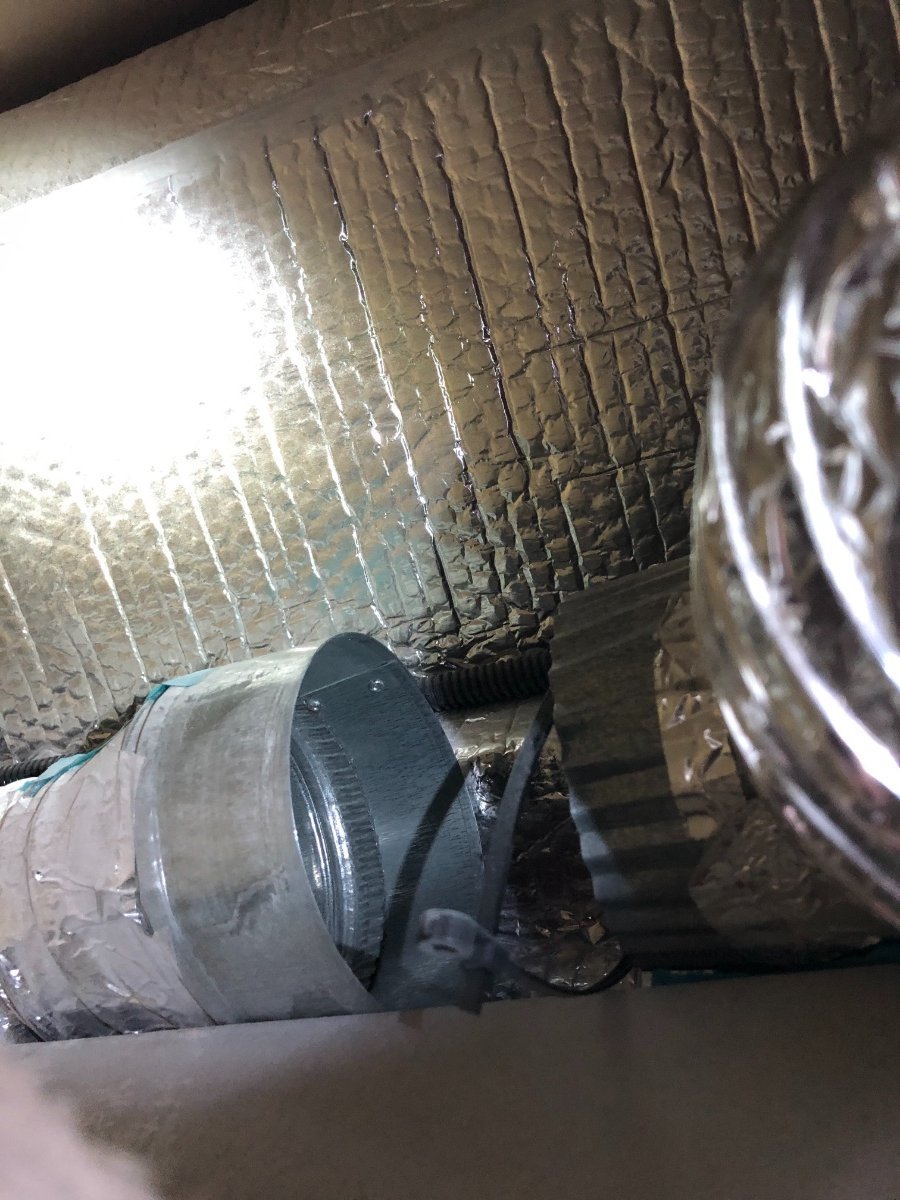
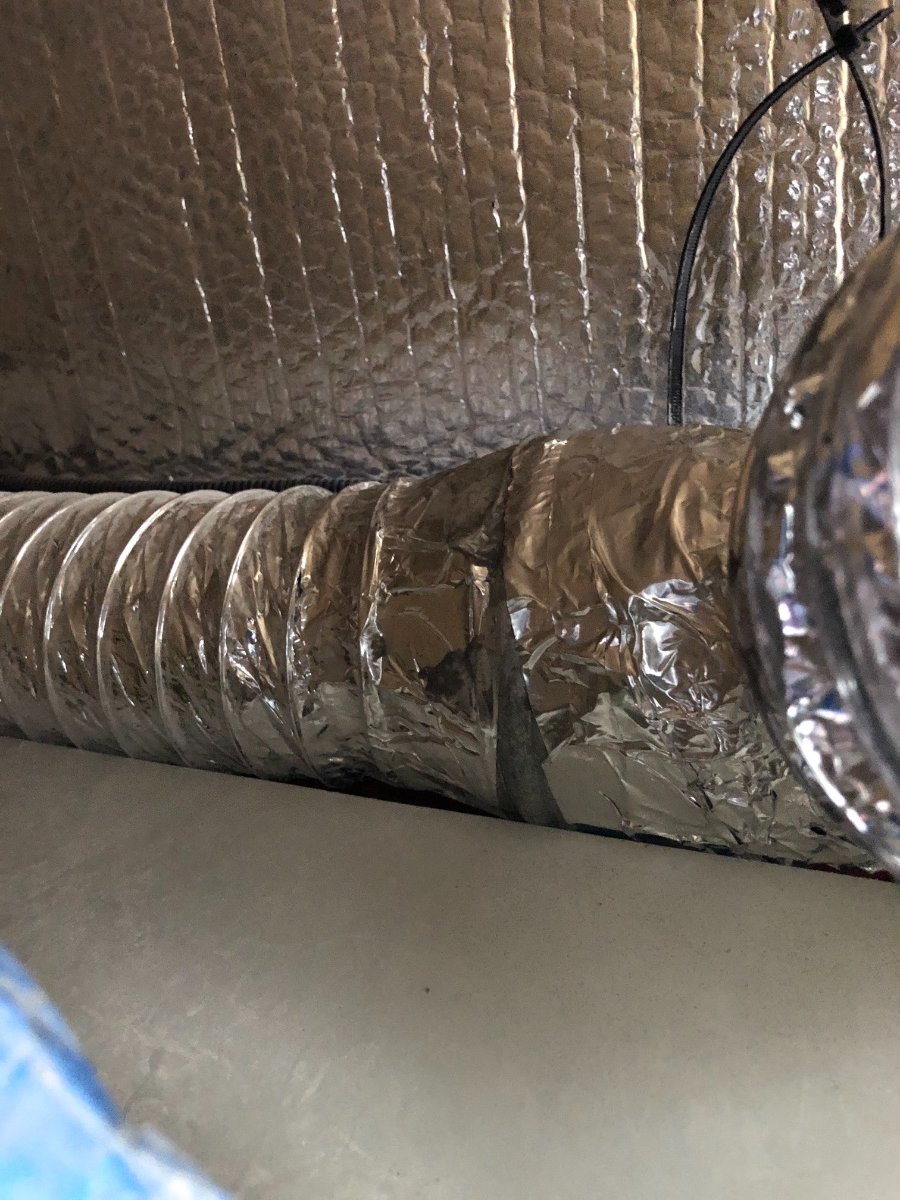
In the past, I've seen talk in the threads regarding the low flow from the furnace to the bath vent, well, I experienced that too. Here's what I found after a little detective work...
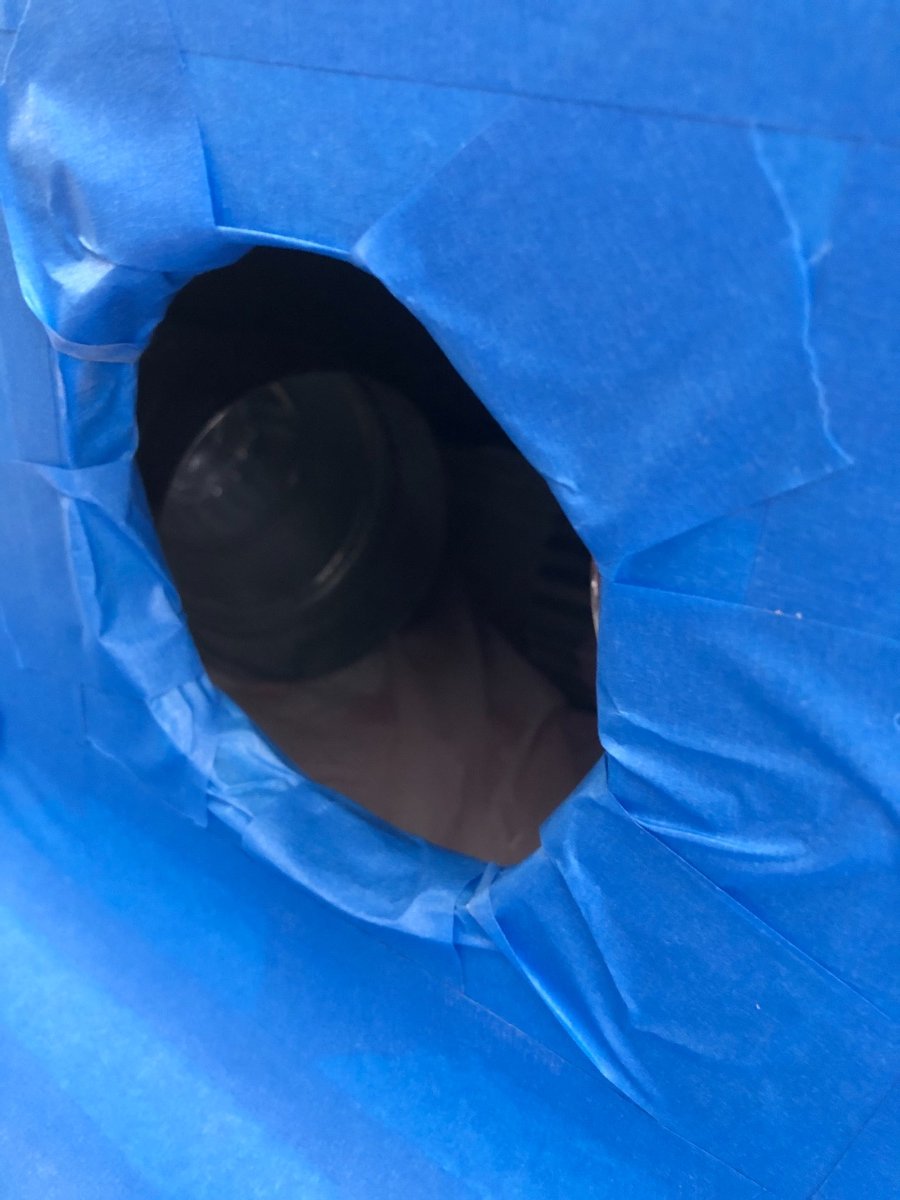
Well no wonder! It helps when you connect the duct together. Yes, it was never connected, no wonder I only felt a very faint breeze from the bath vent. This shot was taken looking toward the kitchen sink, directly under the galley sink.

The only way I could access this was to remove the plastic vent cover under the galley sink to connect the duct together. If this had not been possible, then the ONLY way would be to destroy the cabinetry to gain access to it. This was my first view, not touching anything and snapping this photo after I gained access.
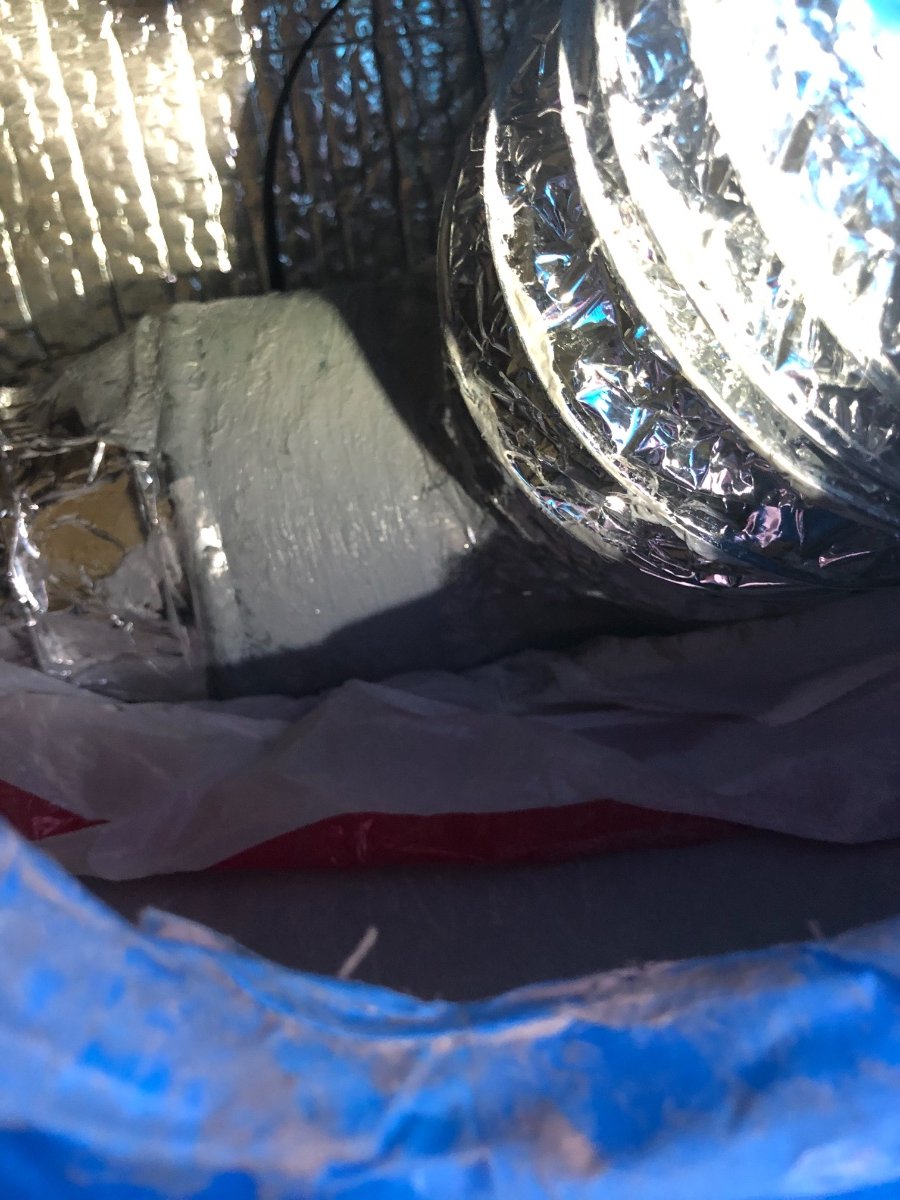
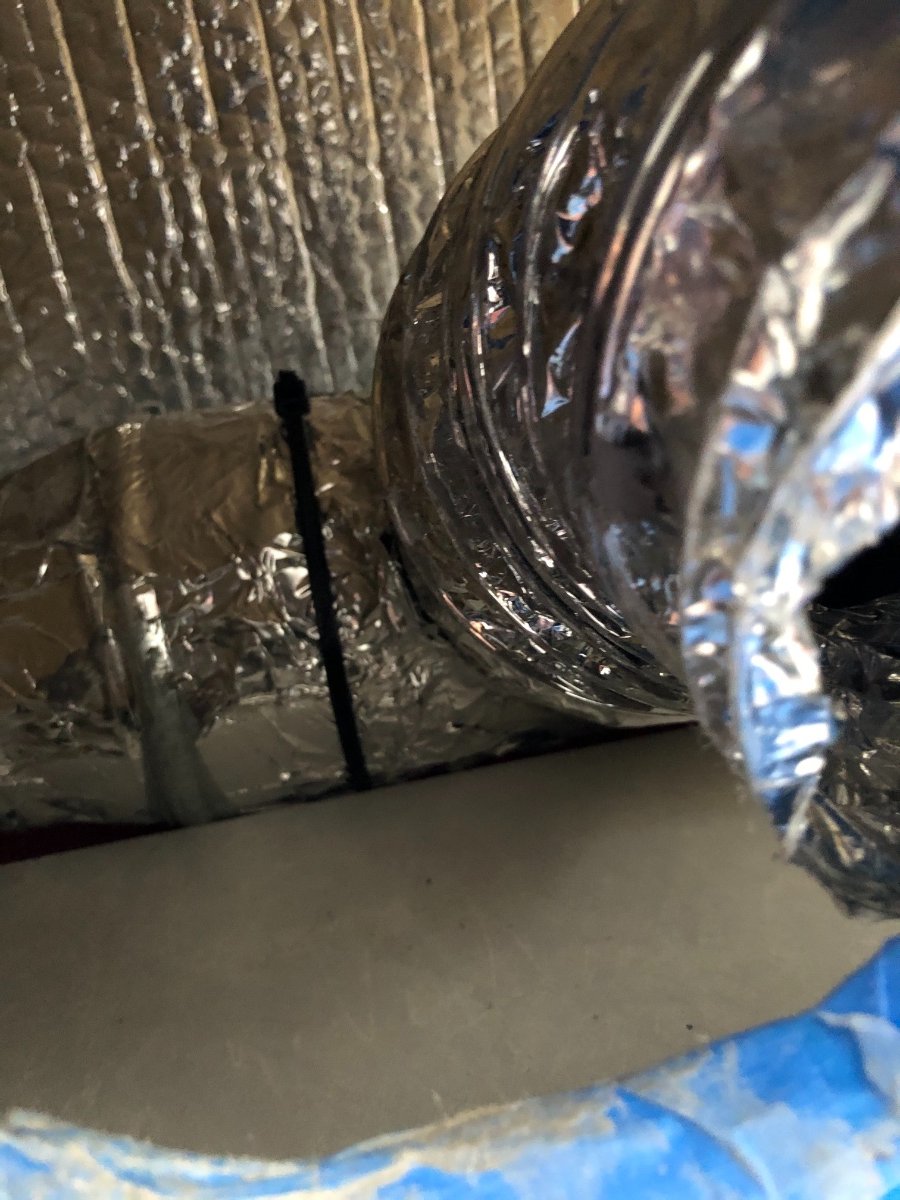
As you can see in this shot, there is no duct sealant or sheet metal screws, only a lone zip-tie that could not have possibly held this together properly. Notice, I put a plastic bag underneath to get ready to apply duct sealant.
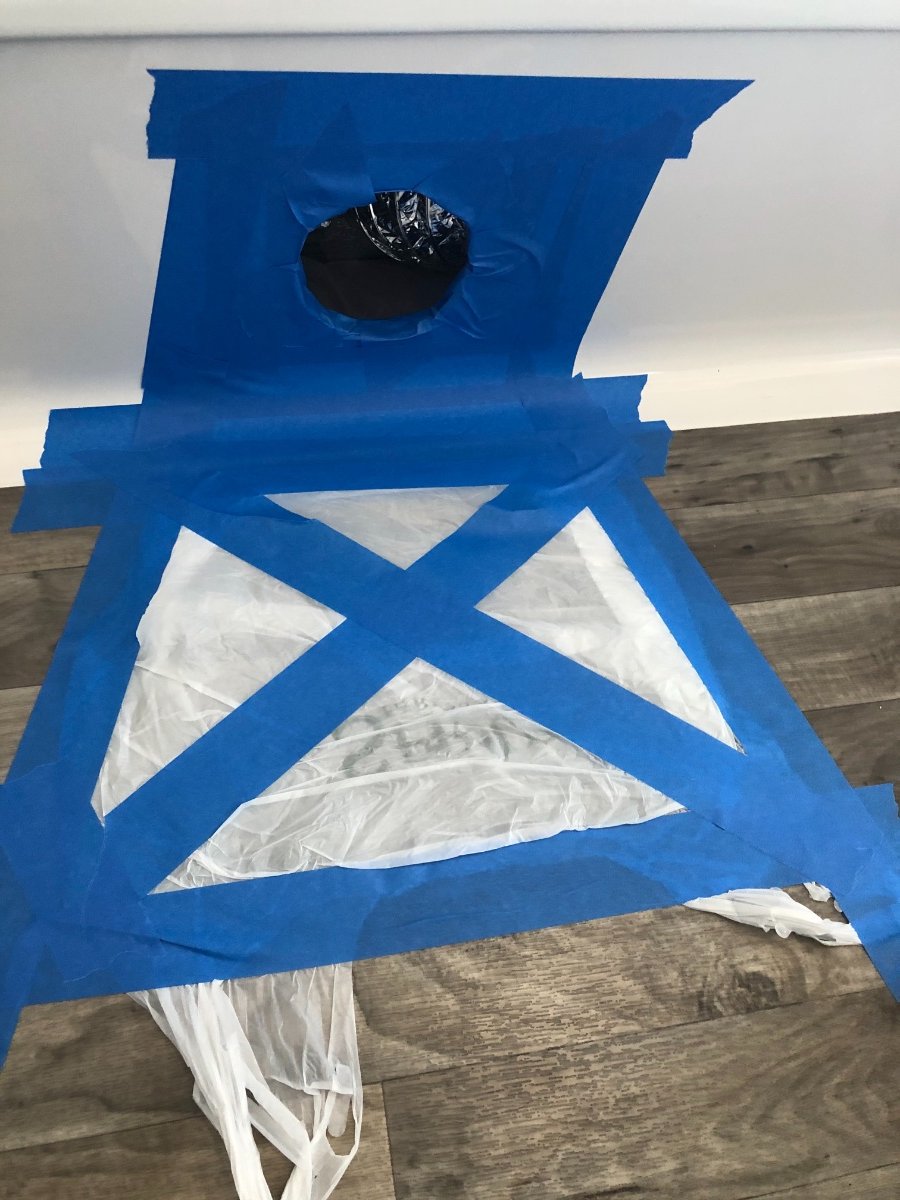
This blue tape was on the duct in two locations, possibly to note that this needed to be corrected before this area was closed up?
Prepping the floor so I don't get duct sealant all over the place.
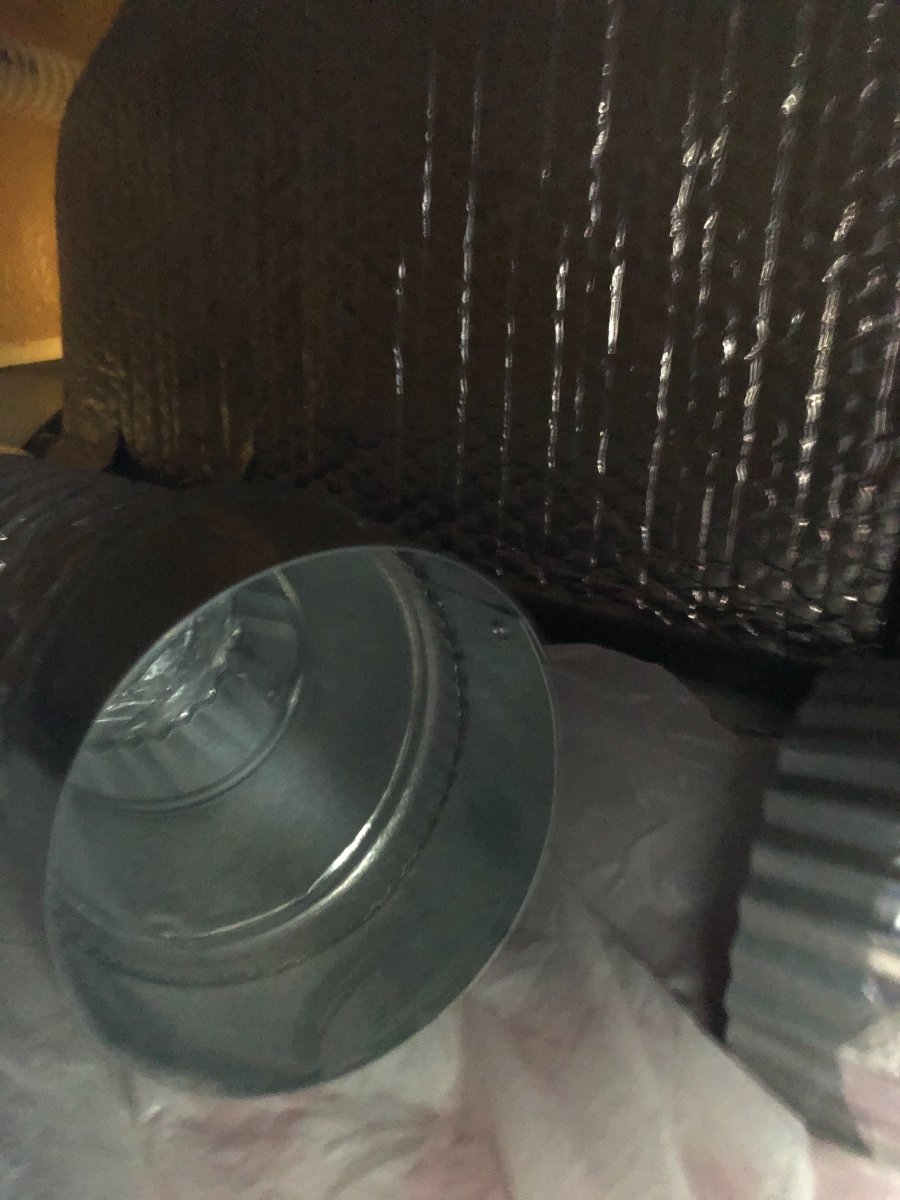
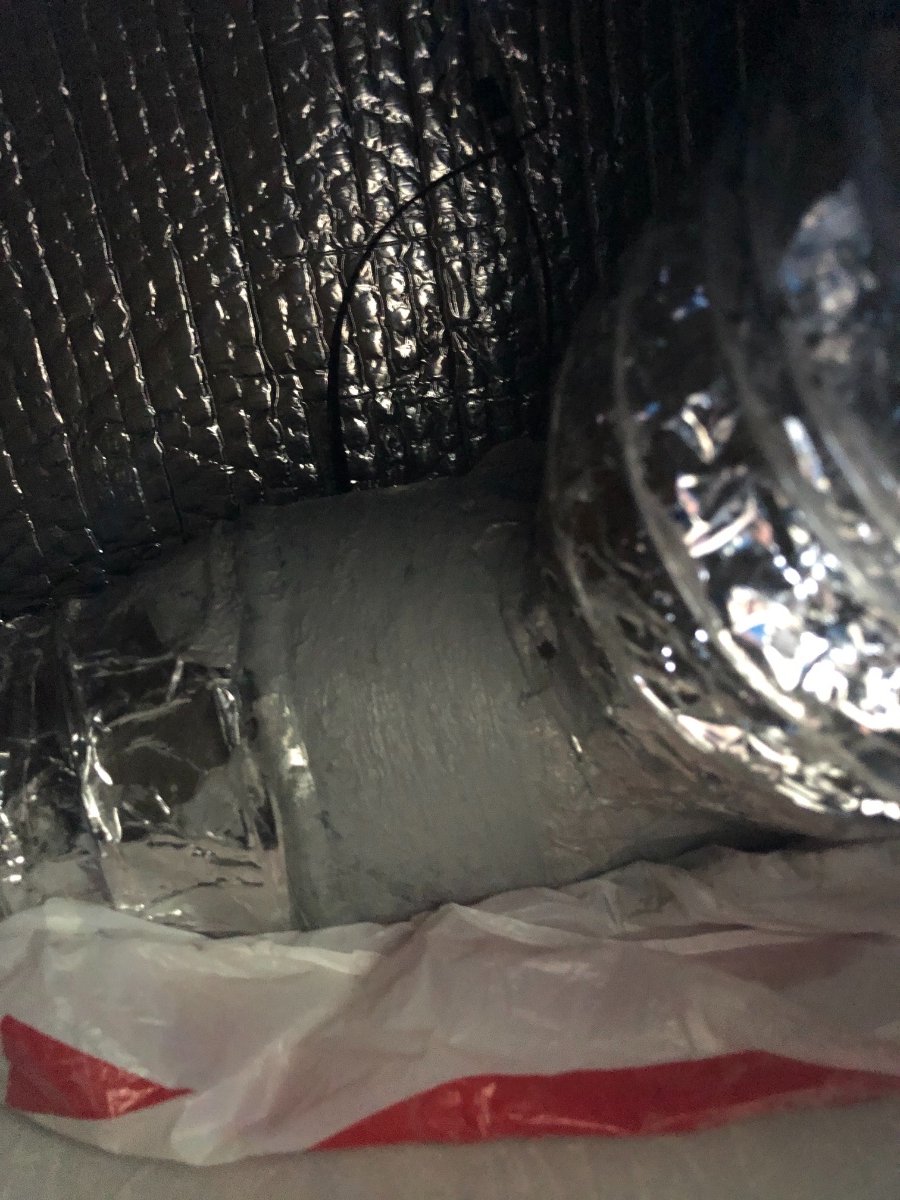
Here's a look inside through the vent access directly looking at the disconnected furnace vent.
The proper solution... three (3) sheet metal screws to follow.
Keeping it neat and clean and getting a good bond.
All dry, ready for the sheet metal screws...
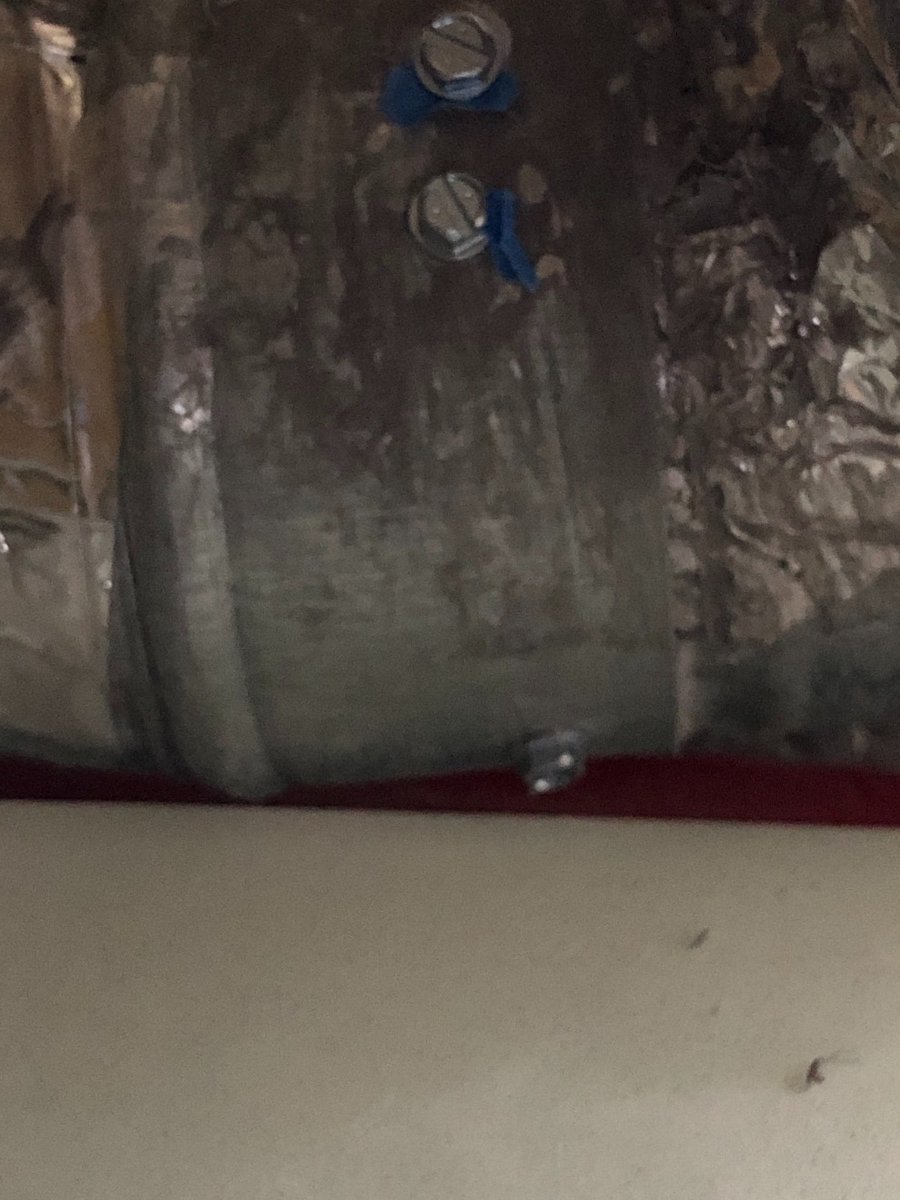
Due to the extreme limited space and only able to work with one hand, I had to tape the screws to the vent and use a hand driver to get the three sheet metal screws in the vent. It was impossible to access the other side however this is more than sufficient, especially with a generous application of the duct sealant and what is to follow...
Ah yes, after the duct sealant completely dried and three sheet metal screws, I wrapped the joint with real duct tape and finished it with a fresh zip-tie to complete the surgery.
And there you have it ladies and gentlemen... mission accomplished!
I later purchased some inserts for the vent ducts that allow me to open and close the amount of flow that I want from the furnace in the bath. I simply adjust the two in the galley to my desired comfort and I'm a warm, happy camper!
BTW, the awesome folks at Oliver Travel Trailers were very kind and reimbursed me for the materials, so we're both delighted with the result!
For anyone experiencing low/no flow to their bath, this is the very first place I would look. Simply remove the vent cover under the galley sink, carefully disconnect the duct and see if your distribution tee is properly connected. If it is, I would strongly recommend the adjustable registers that can be purchased for these vents, my Ollie did not come with them. You only need two (2) for the sink vent and the bed vent. They are approx. $10 ea. When I run my furnace, I adjust them and can get a good flow of warm air in the bath. Problem solved!
-
4
-
5
-
 4
4
-
-
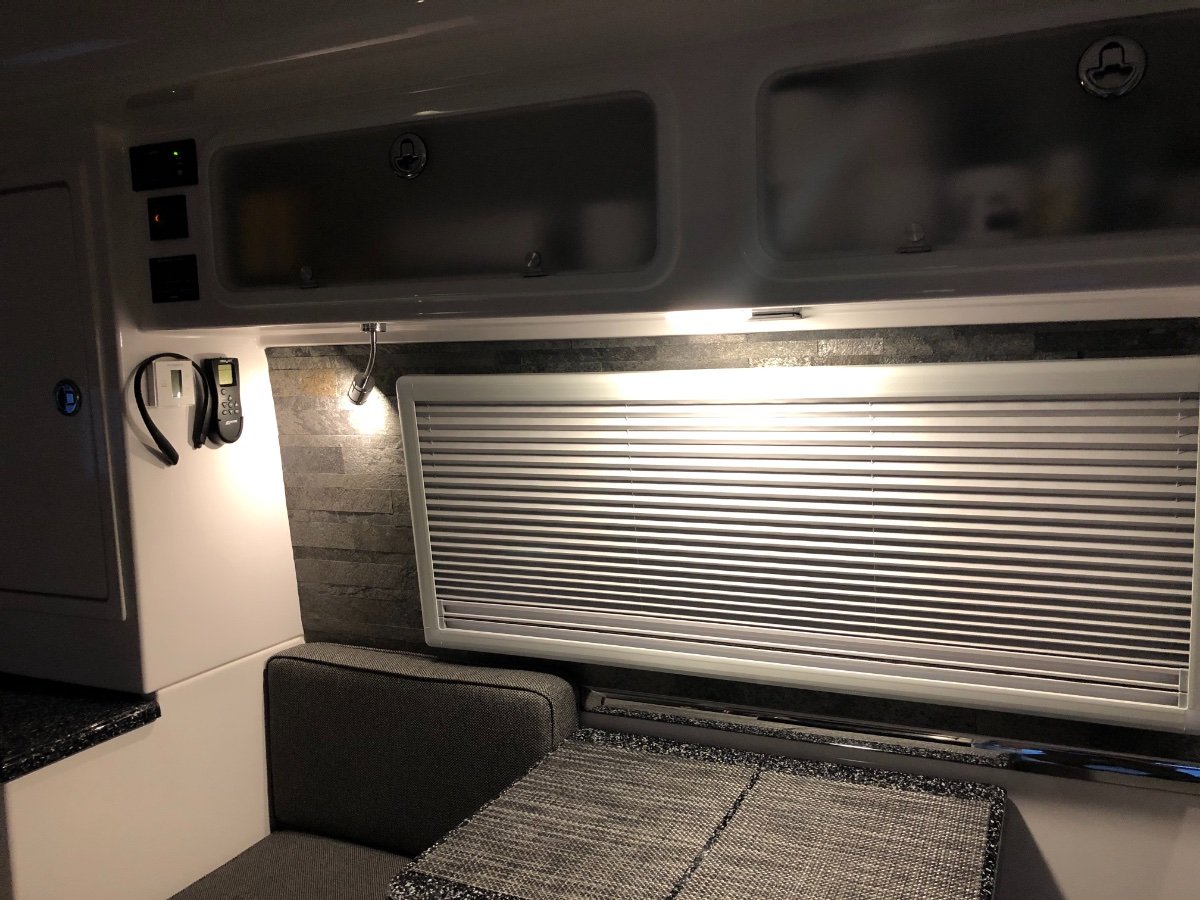
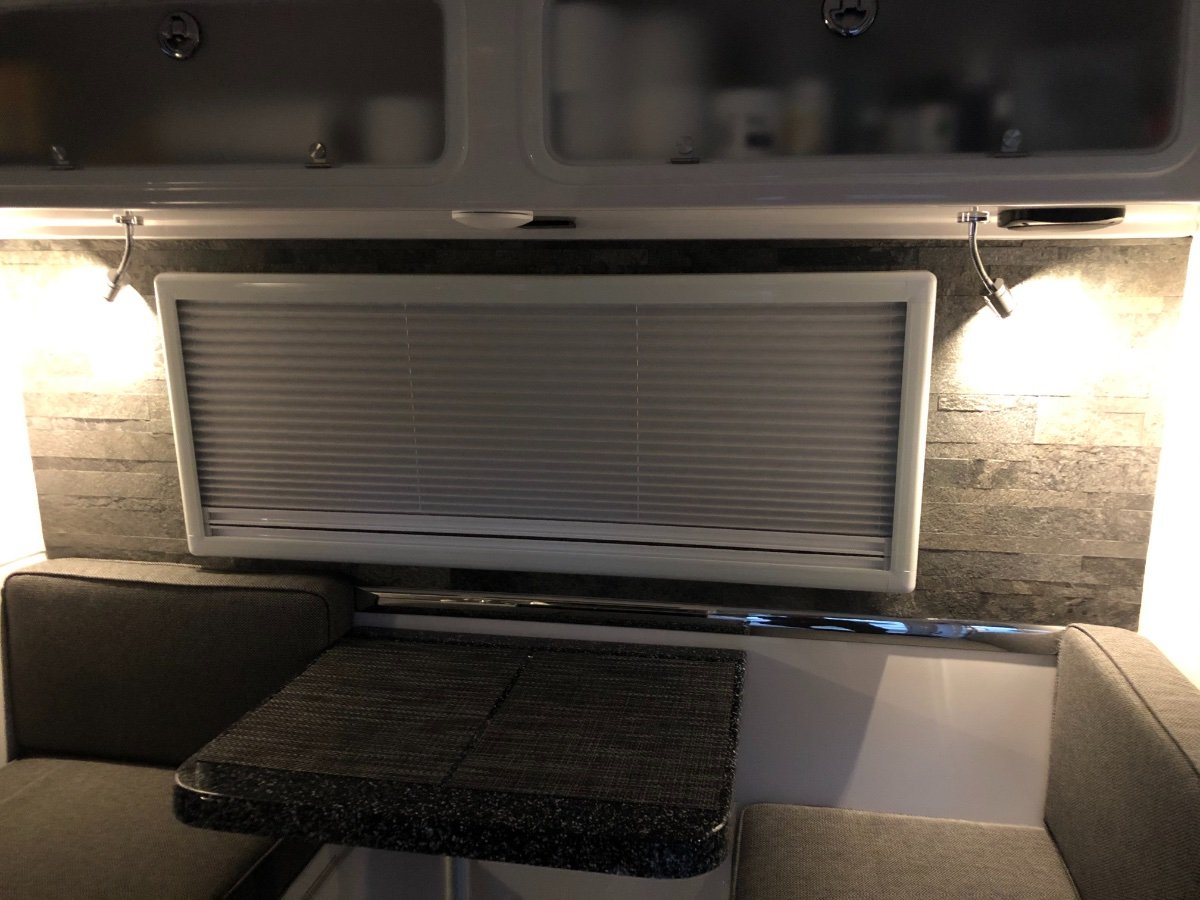
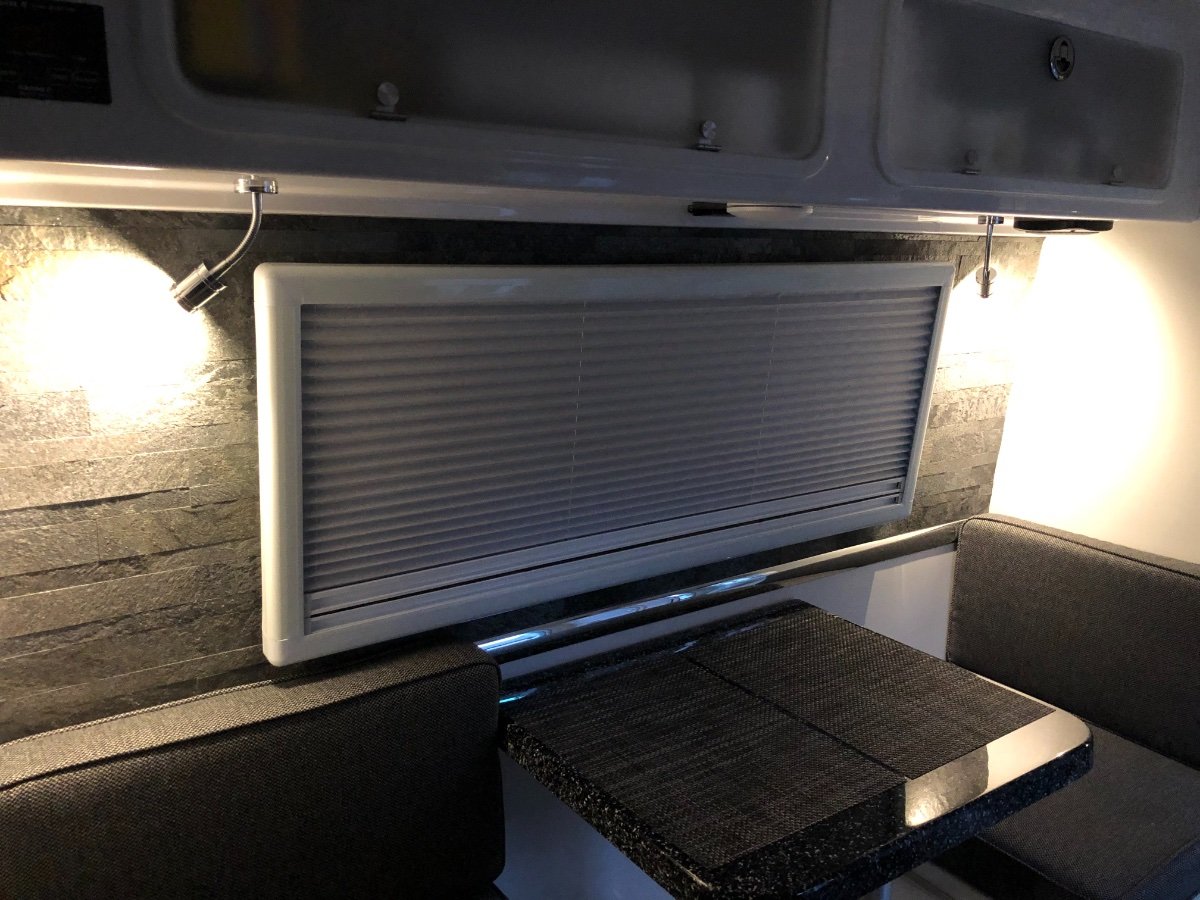
No, not at all... there's still so much white that reflects from the light, I don't notice it. Maybe because I took the photos with the blinds closed and the LED's are on it may seem that way. It really makes it look "classy".
-
1
-
1
-
-
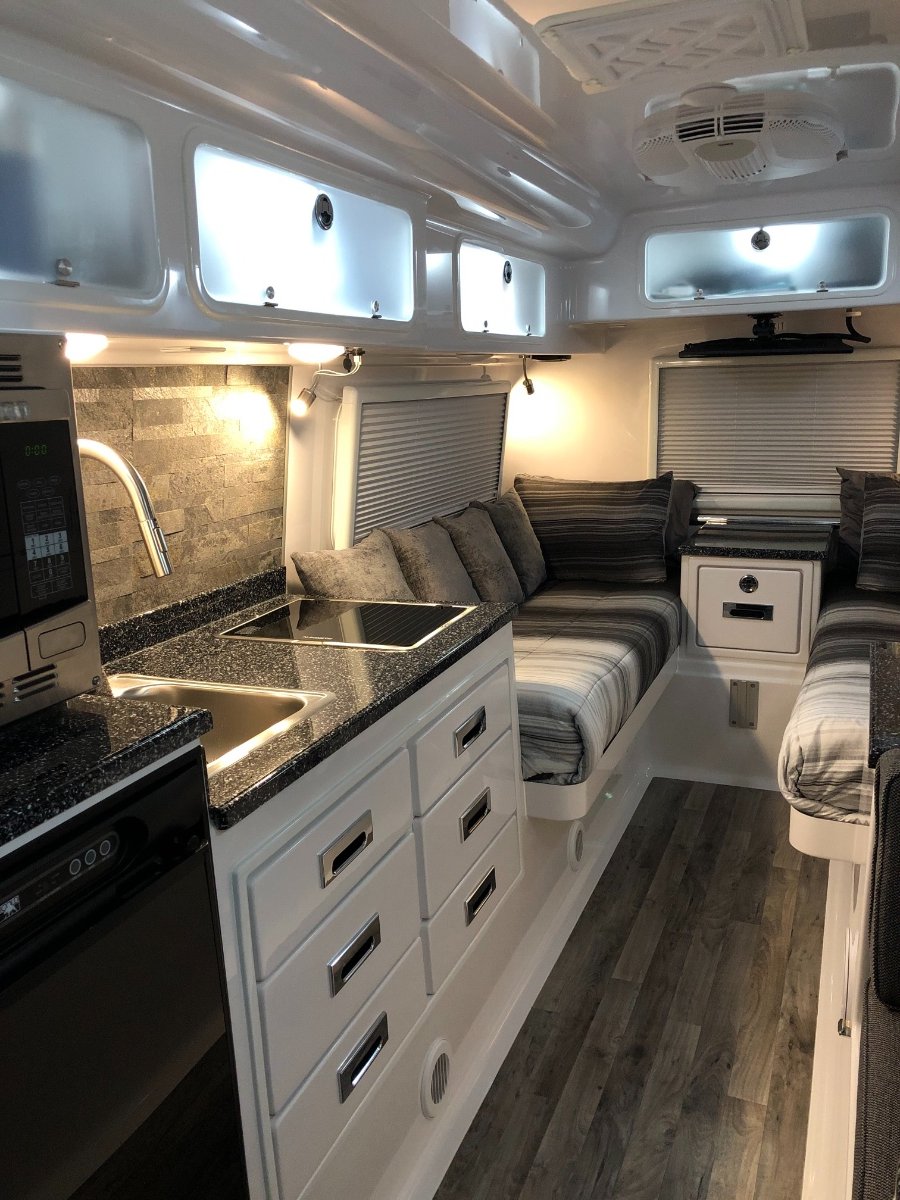
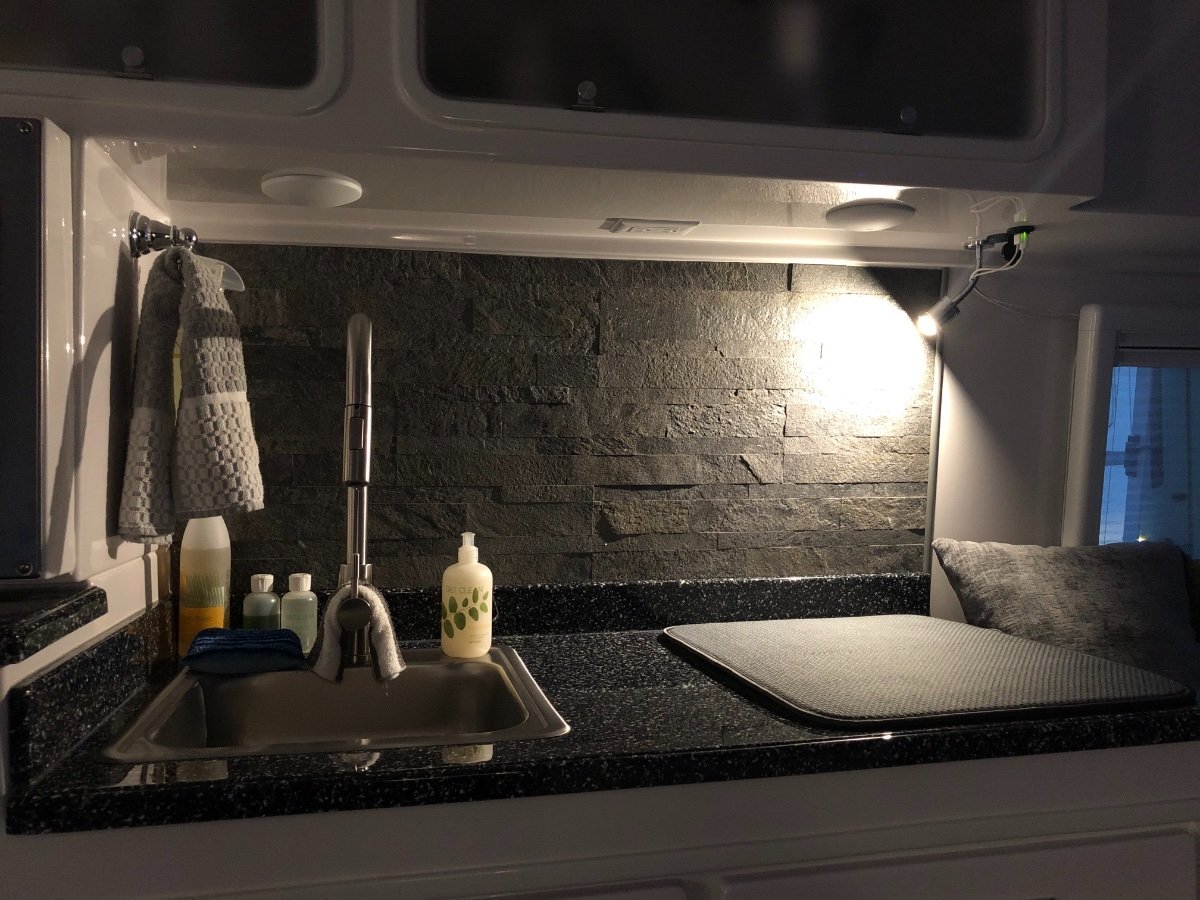
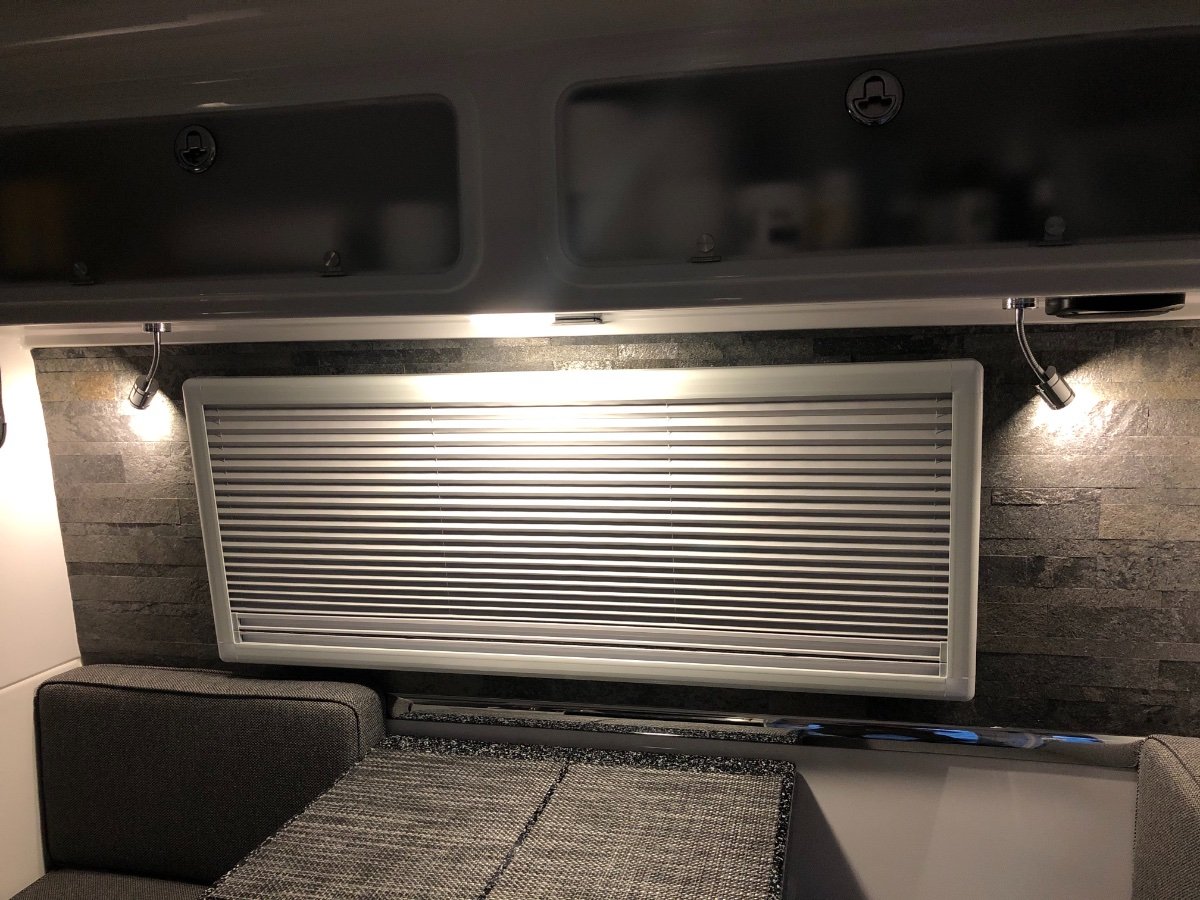
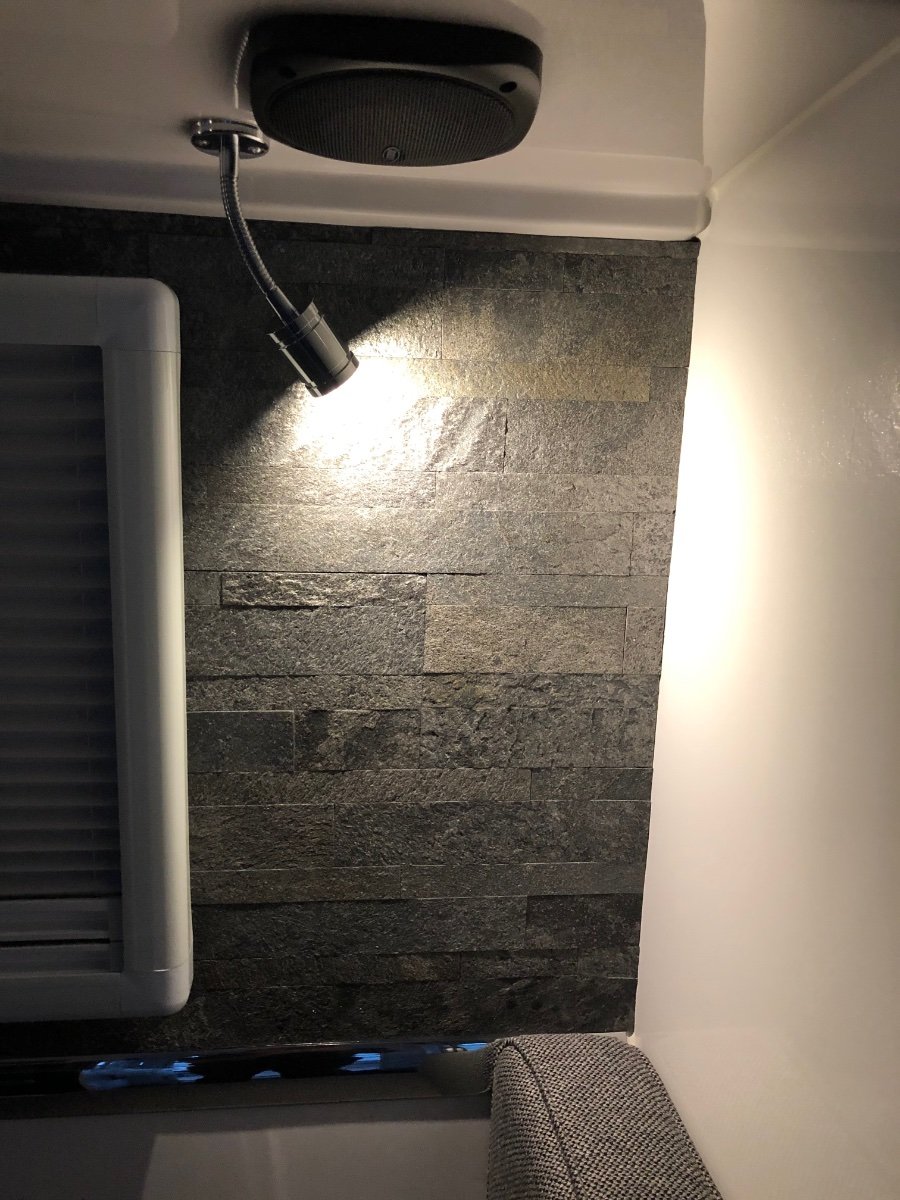
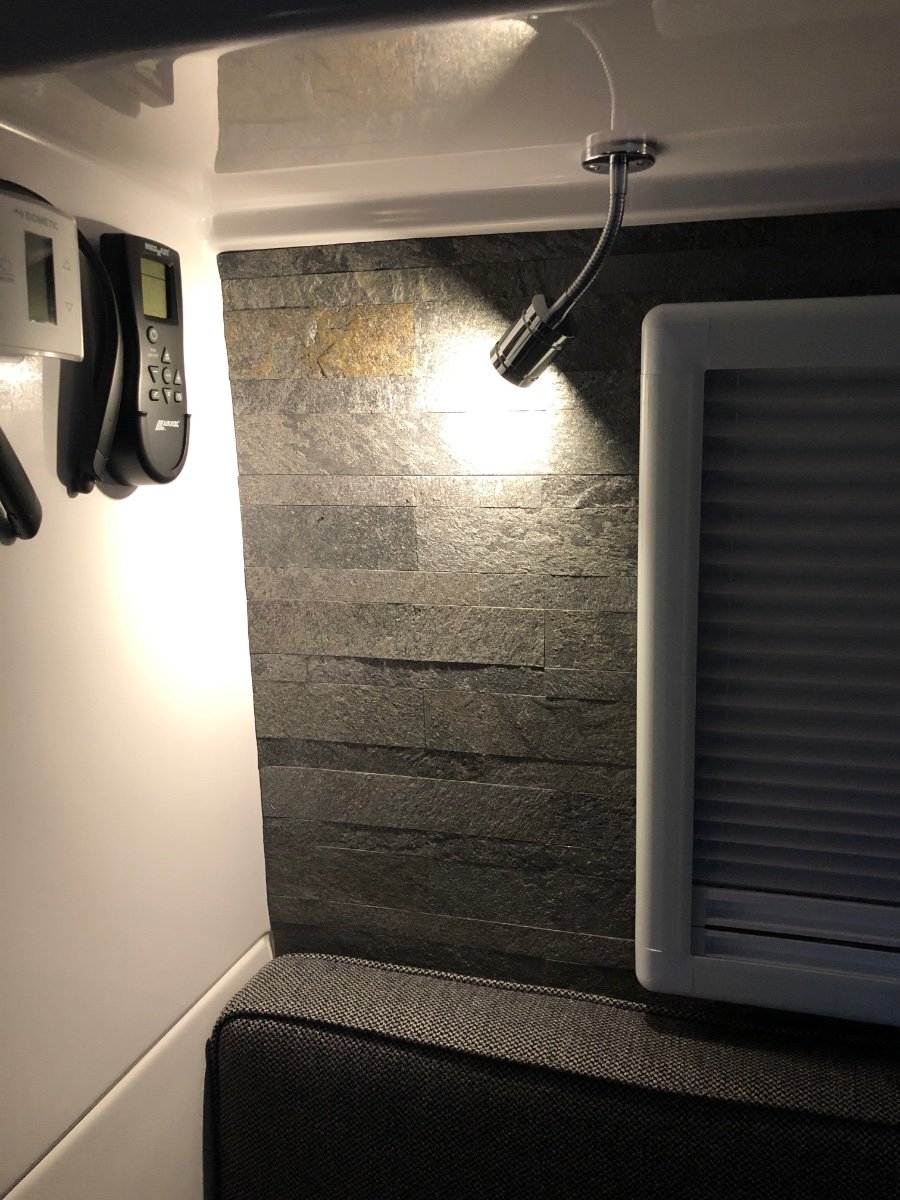
Hi Everyone!
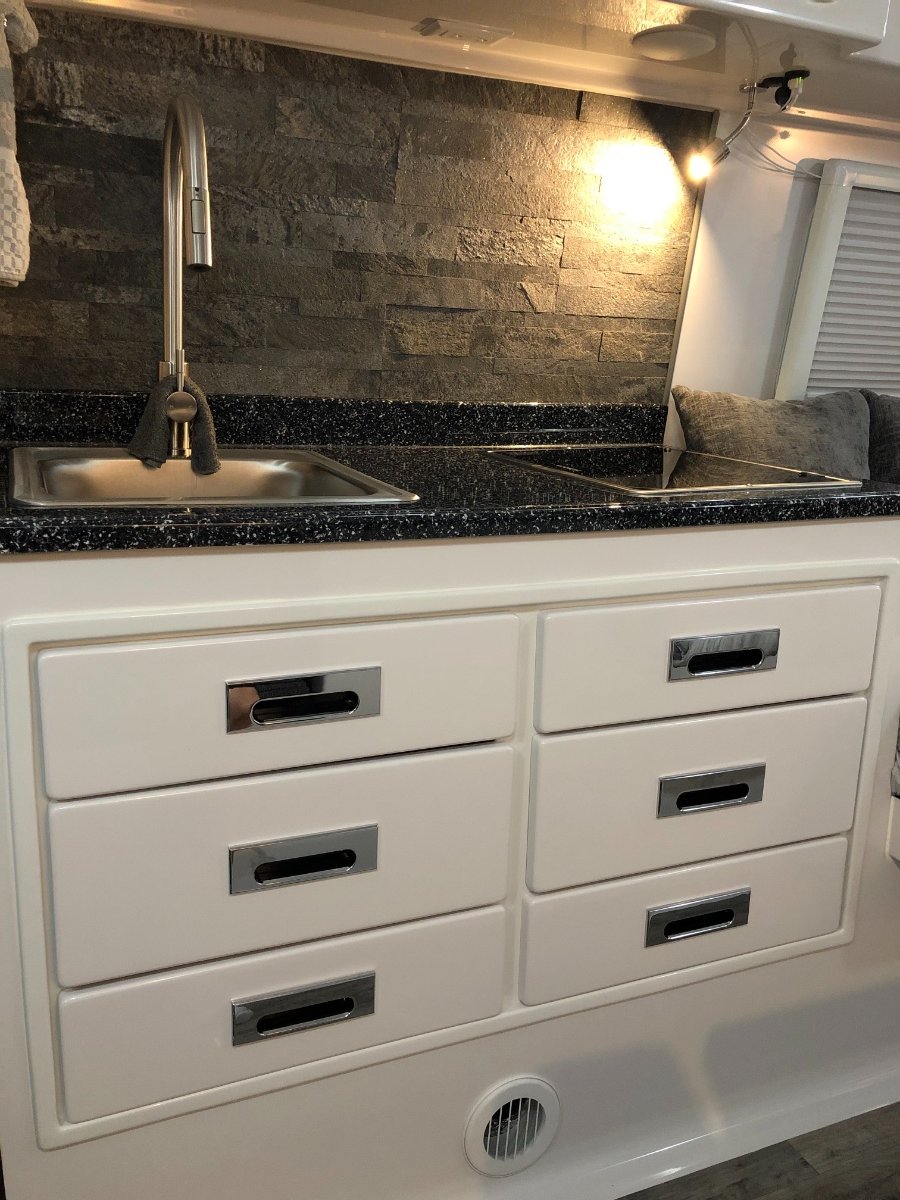
It was time to spice up the Ollie, so I decided to add some contrast to break up that "sterile" look of all white in the kitchen and dining areas... So, I added some Aspect Frosted Quartz Stone! It's pretty easy to apply, it's a "lick 'em, stick 'em" product (peel and stick). It is "real" quartz stone, doesn't add too much weight but worth it's weight in looks!
Here's what I come up with...
There's lot's of flavors to choose from... here's the link where I got mine if you're interested.
https://diydecorstore.com/product/aspect-peel-and-stick-stone-backsplash/
-
1
-
5
-
-
Hi John, I think we've all kicked that can down the road, at least a couple times. You make perfect sense and with that said; I think you both would have no regrets enjoying great times you're both going to have in your new Ollie.
When the storms blow and the elements are demanding, you'll both be safe, secure and comfortable in your little home on wheels. I personally belive an Ollie is an investment, you'll definitely spend less time being concerned about the quality of your purchase.
When I bought mine sight-unseen, I stumbled upon Oliver Travel Trailers on the Internet and never looked back... I had never even been in one until the day I got mine. The worst that could happen is, your investment will hold it's value better than most and you'll have some great times along the way.
Thanks John, for stopping by and reaching out!
Nicky Ray
-
1
-
-
Extra hose and fittings is a great idea and doesn’t take up much space or weight, that’s a great idea ScubaRx!
Thanks Mike and Carol! 👍
-
1
-
-
2 hours ago, Jps190 said:
I understand why (money) plastic fittings are used but it couldn’t coast more than an extra $30 to do it correctly and use brass fittings. At this price I would expect the best materials to be used during manufacturing.
John
Hi John, that was my thought when this happened. I agree, I expected better too but it’s all good now.
These fittings got teeth, like a shark and it won’t be happening again, that’s for sure! 👍
-
3
-
-
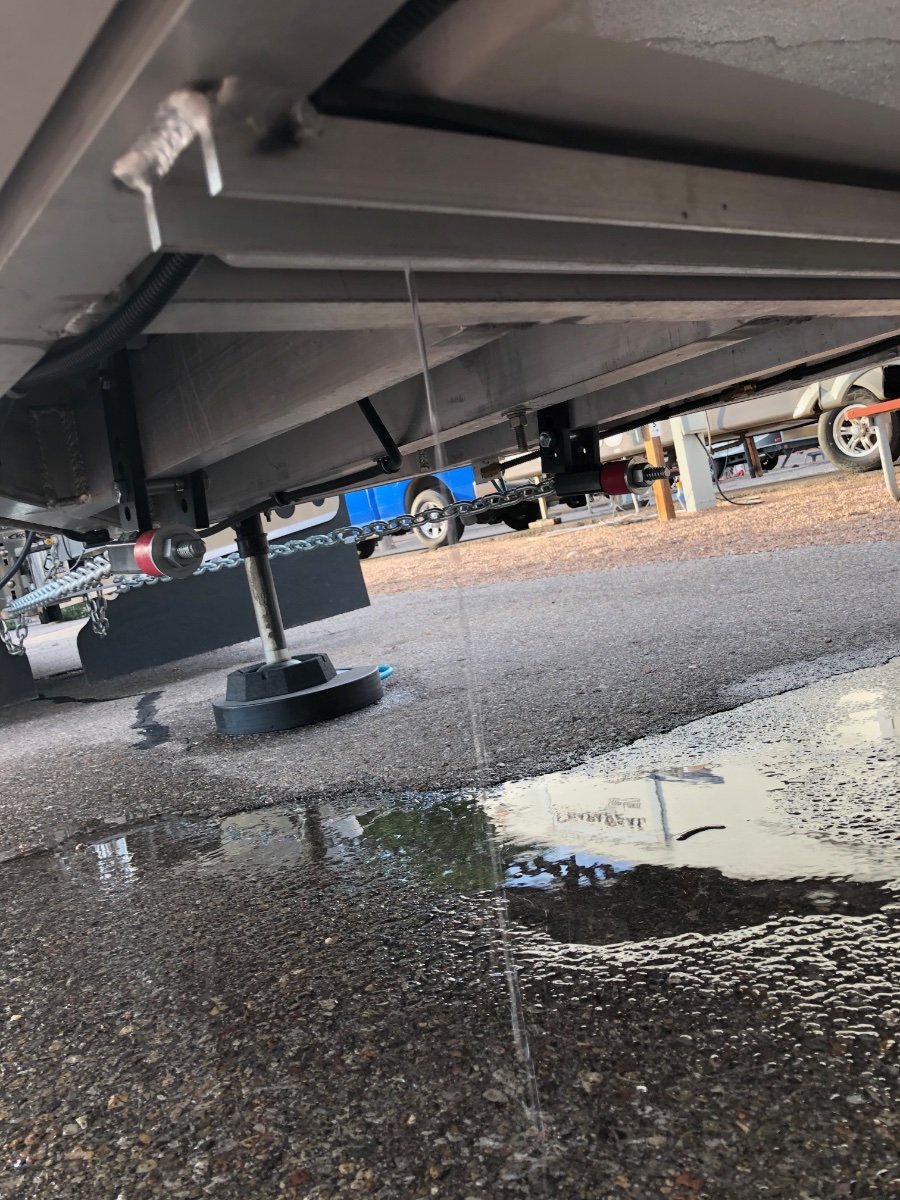
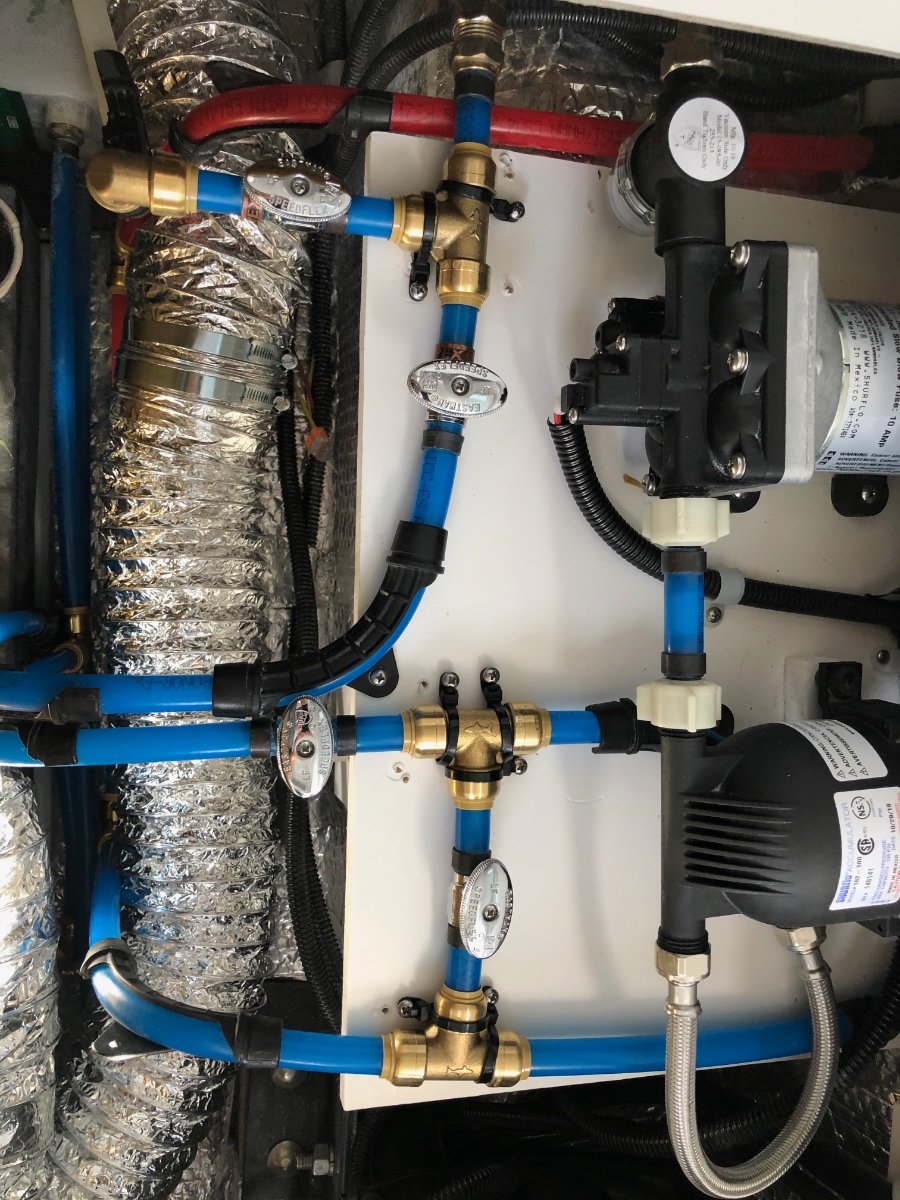
Hi everyone!
I wanted to share a plumbing episode that I experienced in Albuquerque, NM last year (6/2020) after getting it serviced in TN. After two (2) days of driving, I hooked up my WPS (water/power/sewer) connections at a KOA and had a major plumbing issue, or so I thought...
After shutting the water off and inspecting under my curbside bed, I found the culprit.
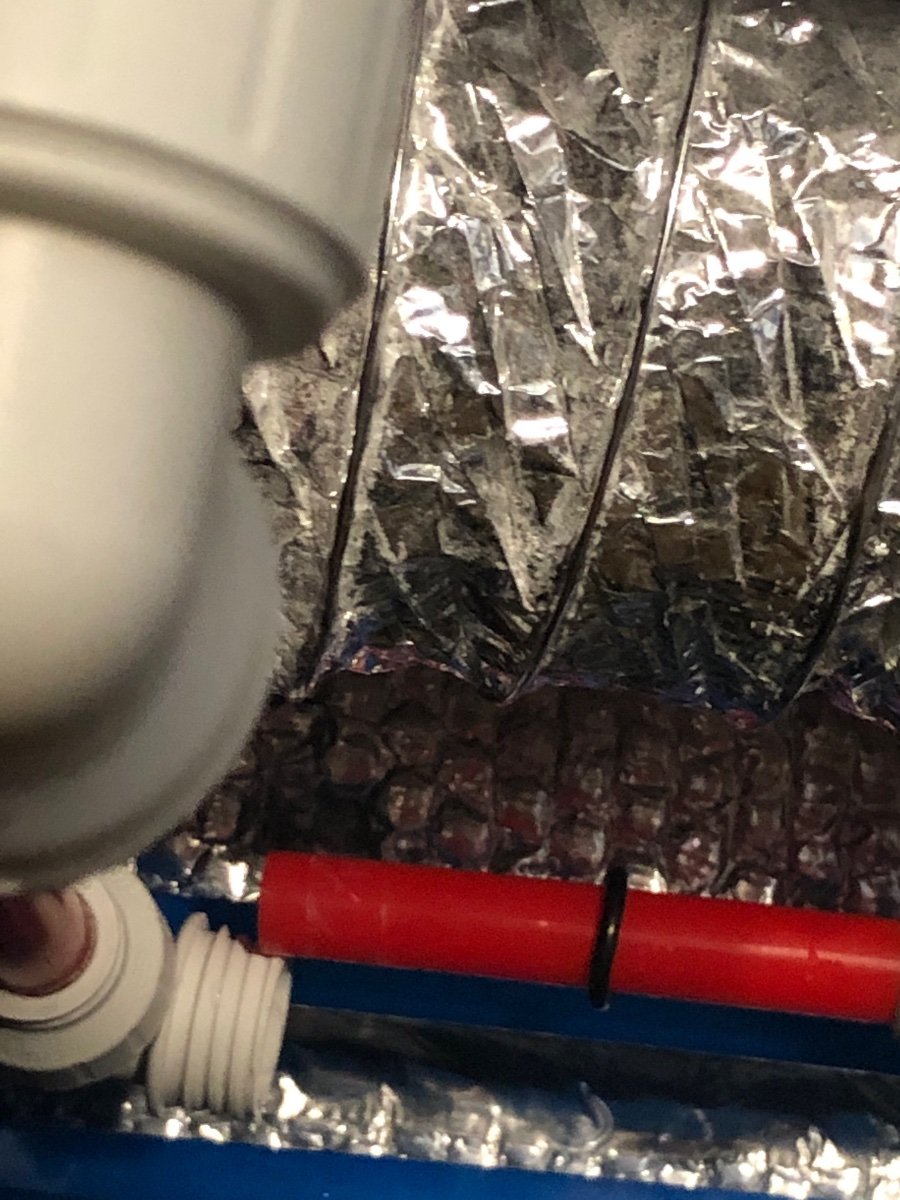
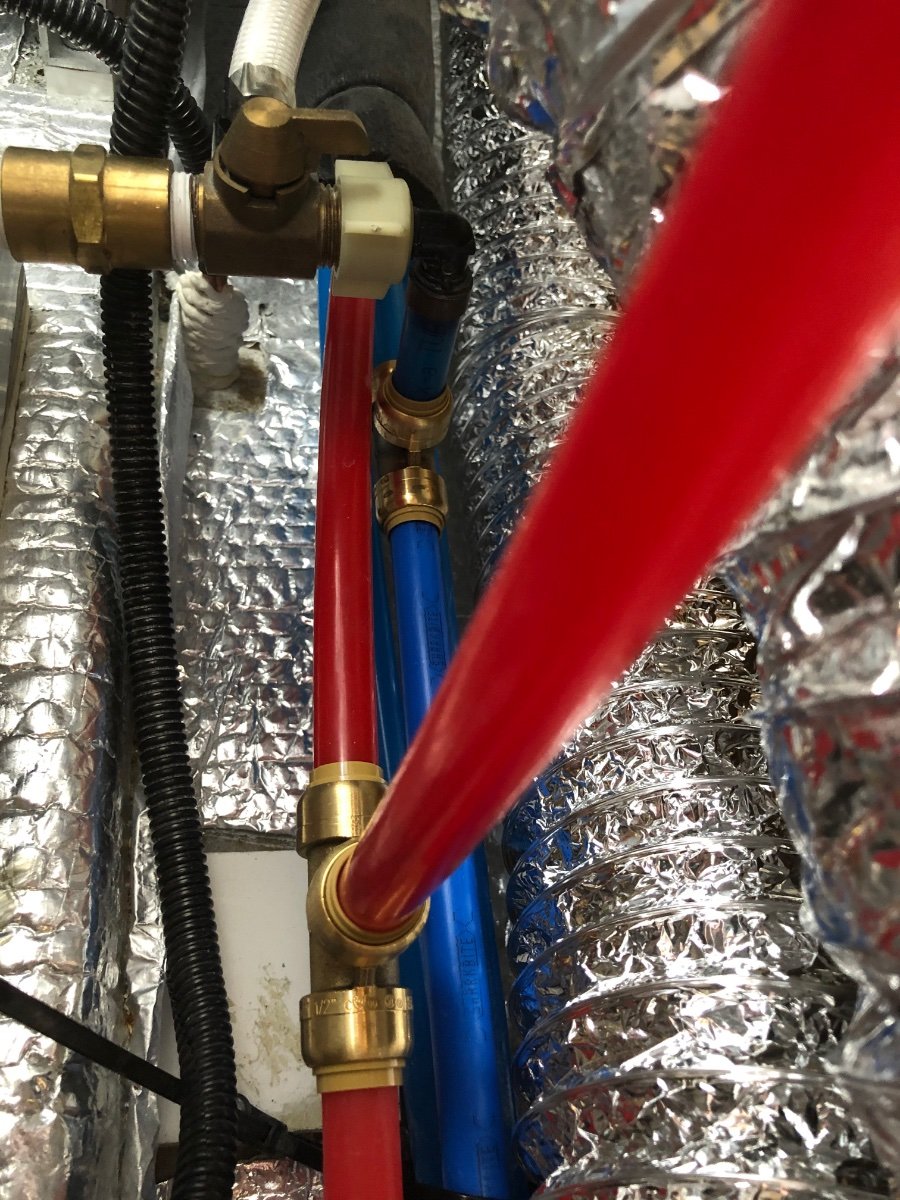
It seems that, the offending hot water line to this tee fitting was cut about a half-inch too short when installed at the factory.
Mind you, this happened after a few thousand miles on the road and after a few bad miles on I-40 in Oklahoma before this manifested.
After understanding just exactly why this happened, I contacted our good friends in the service department and Jason was able to offer some very helpful assistance.
Luckily, there was a Home Depot just a few miles down the road and I was able to purchase a longer length of the same hot water line installed on the Ollie and Jason recommended the "SharkBite" brass fittings as a permanent replacement for the plastic ones installed at the factory.
This was a quick and easy fix and I have had no problems or worries since.
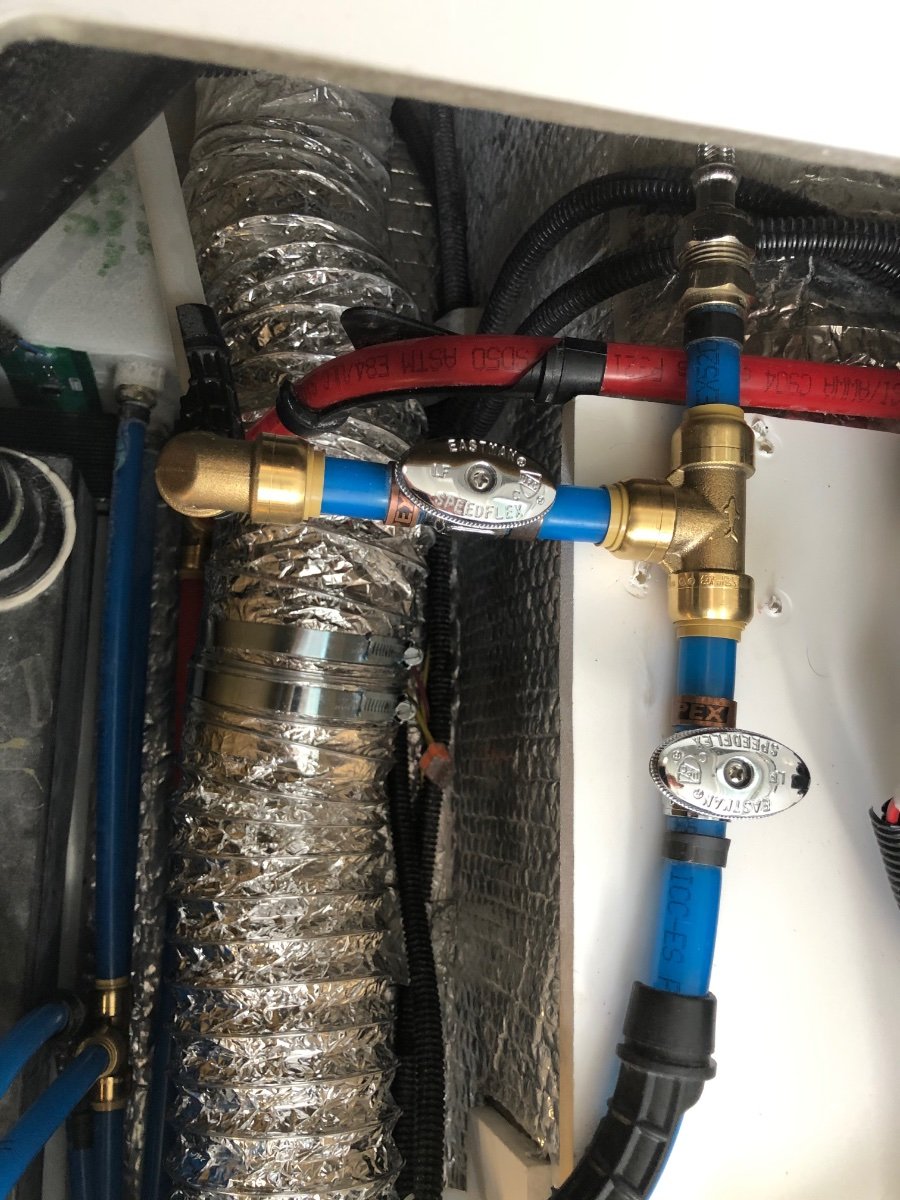
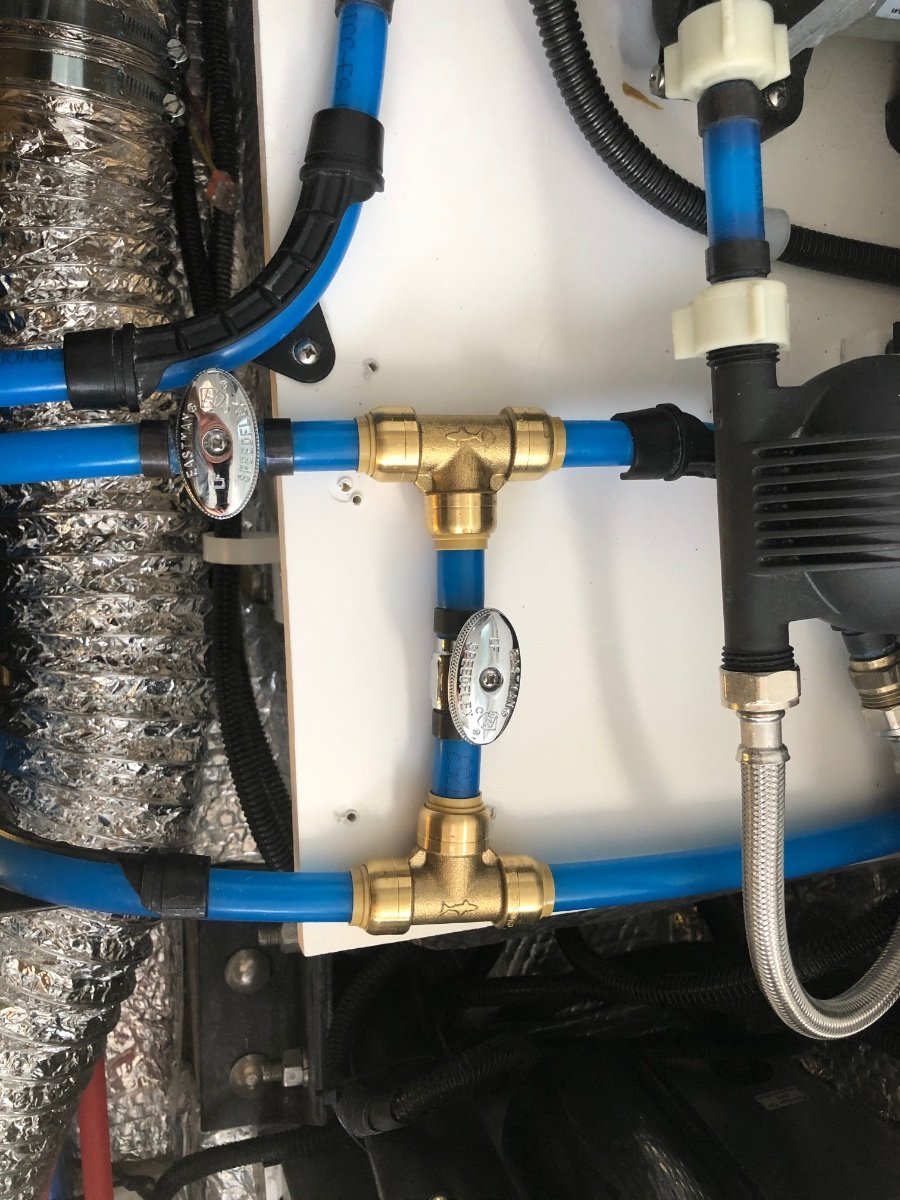
The SharkBite fittings are the best and I decided I didn't ever want an episode like this to happen again, so I later replaced every elbow and tee fitting in my Ollie with the SharkBite brass fittings.
The Team at Oliver was great and reimbursed me for all materials for the tee that caused this problem. I came out-of-pocket and did the rest on my own.
I highly recommend these fittings and wish they would have used these in the first place. Below are photos of my experience...
Nicky Ray
-
10
-
-
Thank you Mike and Carol!
-
Hi John, check this out... https://ferriesbc.proboards.com/thread/8185/northland-navigation-photos-discussion
When we returned, we loaded our car on the Northland Prince Ship and went to Vancouver. This ship has long since been retired, maybe something like this may be an option if they have one now that has room for an Ollie?
-
1
-
-
Hi John, I traveled to Bella Coola BC in 1972 when I was 10 yrs old in my uncle's Ford LTD. He had friends that owned a farm there. I remember it was a single lane gravel road about 300 miles, shared with big simi logging trucks. I actually felt a rock put a dent under the floorboard where my foot was. It was totally worth the drive and the most beautiful country I ever saw. You are correct, lots of grizzlies and first-time I had ever fished. I don't know what that road is like now but if logging trucks can make it and my uncle's Ford LTD, I'm confident you can too.
Nicky Ray
Las Vegas, NV
-
2
-
-
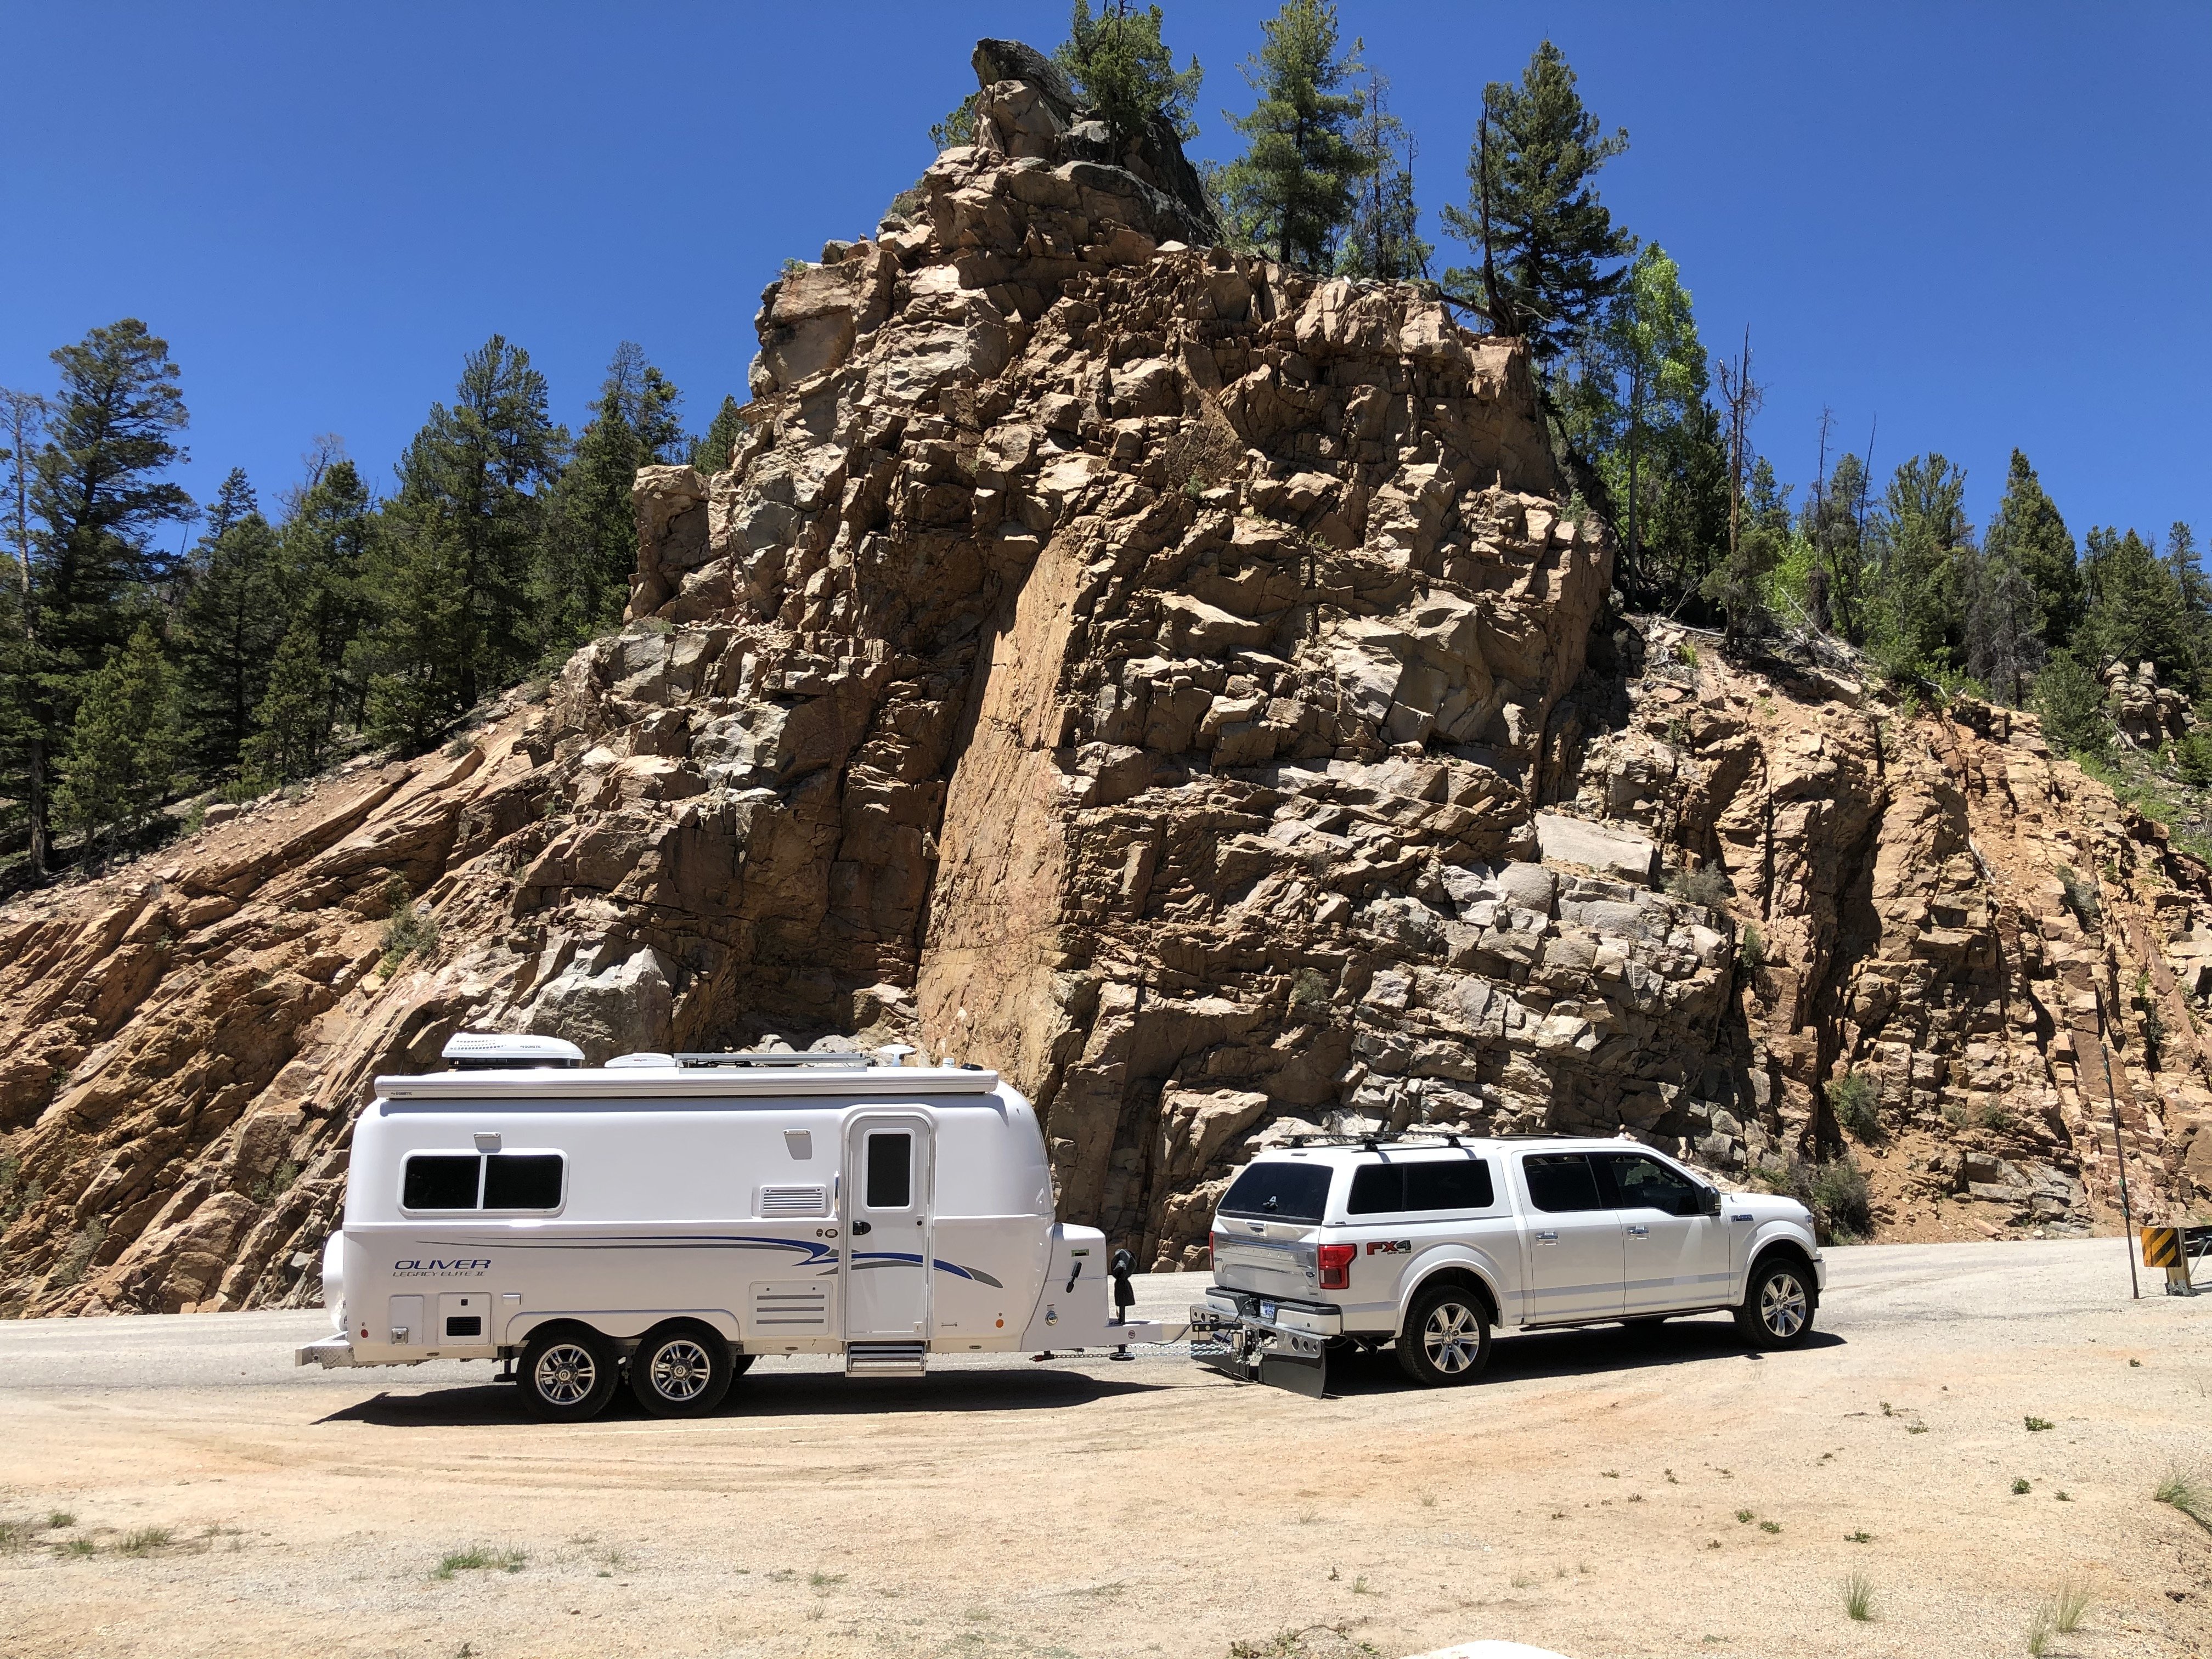
Hi everyone...
This is my first post in the forums. I became an Ollie owner on March 18, 2020 and haven't looked back. I'm a full-timer and I love my Oliver LE II and have zero regrets in my investment. I look forward to getting to know all of you and sharing my knowledge and experiences.
This forum was a big help to me in the beginning, when I made my final decision to buy an Oliver LE II, sight unseen. Now I feel that I have something that I can share and give back to the community.
Nicky Ray
#612 - 2020 Oliver LE II
2020 Ford F-150 Platinum FX4
-
1
-


David Mazone
in Mechanical & Technical Tips
Posted
I use four small throw pillows I picked up at WM I double them up for more support, easy to move around and stow if needed.