hobojoe
-
Posts
13 -
Joined
-
Last visited
hobojoe's Achievements
")


-
Well unfortunately that is what happens, compressor will start to cycle before reaching set temperature so to keep compressor on and humidity low we set temp to 60 until reaching about 72 degrees in camper.
-
The Recpro 9.5 kept us cool while on trip to Minnesota. It was 92 degrees first day there then cooled off nicely. On the days we had to run A/C the Recpro is quieter than the Coleman Mach 8 it replaced so that is a plus. The cycling on/off as described in previous post didn't seem to bother us and we definitely slept better at night due to lower noise levels. However: (1) if the unit could be controlled by a wall thermostat that would be the way to go. (2)The unit is not as loud as the unit it replaced but the days and nights we didn't have to run the A/C was much more pleasant. That is to say in a Casita which is only 17' long, with the unit mounted on roof over the bed, when it is off your glad it is off. (3) Having low speed fan cycle on/off is definitely the way to go. The compressor on times when set to low fan really depends on outside temperatures, the hotter it gets the more the compressor cycles on. (3) We always started unit on high and set temp to 60 to get camper cooled then switched to low fan setting and adjusted temperature to desired level.
-
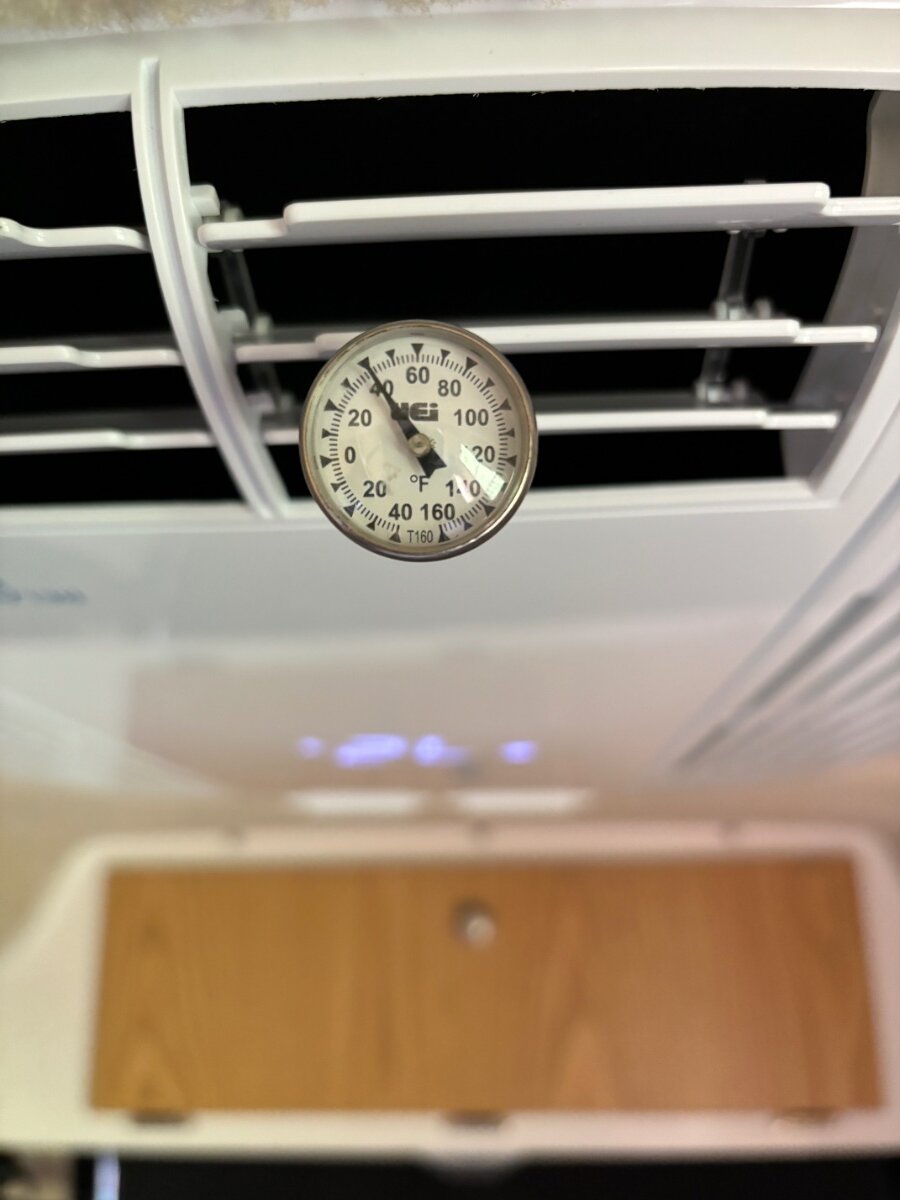
Correct. Compressor cycle depends on outside temperatures, as temps rise compressor cycles on more frequently. We have been in a heat wave here, in the 90s most days, these settings have worked good for now. We will be on a 10 day trip soon and the real world test will be if wife is happy lol. At end of compressor run cycle the supply air is at 40 degrees so I decided to adjust T1 up to 60 seconds to clear more of this cold air from unit and into cabin. This new setting doesn't seem to be causing humidity issues but it seems to help compressor cycle on more as outside temperatures rise and more consistent temps inside camper.

-
I settled on the timer/relay setup with details provided by member MTT for the 2801 9.5 BTU installed on our 2018 Casita. After several tests settled on the following P1-5 timer settings: T1-45, T2-120. Times are in seconds. We are leaving for a 10 day trip to Minnesota later this month so will have actual performance to report back how unit performed on the road, different climates. Also tried changing thermistor location with details provided by GSM. With new thermistor from Amazon the installation was very simple on the 9.5, was able to follow same path as factory thermistor to route wire from control box to inside. With timer removed, tested operation with relay and new thermistor relocated to cabin at different locations, I found for my situation the timer provided better temperature consistency. With timer/relay setup installed I would start unit and adjust set temperature to 60, run on high fan until set temperature met, then with remote change set temperature to desired level and low fan. From there unit performed good, cycled off/on, humidity low, and temps were good. Am going to stay with this setup until we complete out of town trip. If time allows I would like to play with T1 setting of 45 seconds, perhaps increase to 60 seconds.
-
I wondered same thing, compressor stayed on until set temperature was met. On the 3rd test yesterday, for one cycle after changing T2 to 180, supply temp got down to 40 and compressor ran for 4 minutes. In a hurry to capture data between cycles I thought perhaps I had read temperature of supply air wrong. The only difference I can think of from yesterday and today is today I started the unit with set temp at 60 and high fan. Yesterday unit had ran for awhile, and not getting down to set temp, I then lowered set temp as low as it would go-but the compressor cycled anyways. Will try to simulate longer compressor on time to see if it will repeat.
-
Started AC on high fan, set to 60 around 6:45 this morning, temperatures 79 and humidity 76%. Unit ran beautifully, compressor on for 12:30 with supply temps close to 40 degrees, humidity dropped to 49% at end of cycle. Changed set temp to 73, adjusted fan to low, cycled off. Also T2 was changed to 120 prior to start this morning. On low fan unit went through 10 cycles or almost 30 minutes until compressor came on, and then it only stayed on 1:34. During off time humidity had risen from 49 to 64%. Let unit cycle on low fan and the temperature maintained but humidity remained in the low to mid 60s. For our climate here where the humidity can be a problem, if the compressor is not on, the problem with humidity will remain or made worse by inducing moist air when compressor off and fan running. For my next test will setup unit to operate with relay only. Correction: Since I posted about an hour ago outside temperatures have risen to 89 degrees. Before making additional changes to Timer/relay decided to check how things were performing in camper. I had left unit on and I was pleasantly surprised to find set temperature (73) was good, humidity down to 52%, and unit was cycling through low fan setting. Will continue to monitor unit performance at current settings and report back. What Changed: If you look at outside temps of initial test this morning they were 10 degrees cooler at 79 degrees. Unit met set temp, cycled off, and took almost 30 minutes to cycle back on. During this off time fan was blowing moist air into cabin. Does this make sense?
-
For those of you that have this unit, does it operate same as mine ? As described in the first test?
-
Amazon delivered all the parts yesterday and this morning was able to complete install of timer and relay. Data will be from a Houghton 9.5 BTU, model 2801AC, mounted on a 2018 Casita Spirit Deluxe. Camper always parked under large carport where we formerly had our 5th wheel. Outside temps today were in the mid 80s and humidity was around 52%. Inside temp of Casita was 83 degrees. First test was to run unit on high fan, set to 68 degrees. After about 30 minutes inside temps didn't go any lower than 73 degrees. The unit would cycle compressor off for 3 minutes-consistently- then cycle compressor on. On times of compressor would vary from as high as 3:15 seconds to low as 2:57 seconds. This is so annoying! We were never going to get to set temperature with compressor off half the time! Lowered temperature on unit as low as it would go, 60 degrees. Compressor off time didn't change, consistently off for 3 minutes. Compressor on times were as high as 3:36 seconds and low as 2:52 seconds. Inside temp got down to 72 degrees. At end of compressor on time supply air was always around 54 degrees with humidity around 44%. At end of compressor off time of 3 minutes supply air had risen to about 62 degrees, humidity risen to 48%. Second test was to try new relay and timer. Set unit to low fan (Not Auto) and changed set temperature to 72. Relay and timer working good. Ran this way for one cycle and shutdown power to adjust T2 time from 360 to 180. Long off time of compressor allowing too much temperature rise. By this time temp inside Casita has risen to 79 degrees, humidity at 51%. Third test with T2 set to 180: Compressor came on and stayed on for 4 minutes, supply temp 40 degrees at end of cycle, humidity 44%, Casita at 77 degrees. Fan on 45/off 3 minutes/ fan on 45/compressor starts. cycles on for 2:59 seconds, humidity at 45%, temp at 77. Fan on 45/off 3 minutes/fan on 45/.About 5 seconds into off time compressor comes on for 3 minutes, humidity 44%, temp at 77. Fan on 45/off 3 minutes/fan on 45/off for about 27 seconds then compressor came on. On for 2:50 seconds, humidity 45%, temp 77. End of test. Will do more tomorrow. I don't understand the 3 minute compressor off time when unit operating on high fan-to me this makes no sense and will never get to set temp. Just when the air is feeling really good the compressor shuts off. Challenge: solve the 3 minute compressor off time! Timer/ relay on low fan: This has promise, I ran out of time but tomorrow I will be playing with T1 and T2. The air was not as humid inside camper. Again any thoughts, ideas, suggestions would be appreciated. This unit is MUCH quieter and worth fighting for.
-
Curious if the "box" used to mount your timer and relay is the same plastic device that has to be removed to get into electrical box? Just have to cut out the plastic dividers to allow room to install devices? The 18/4 in the parts list can be used to make connections from circuit board to devices?
-
All power disconnected from RV Removed the cover from the 2801 AC, located the metal electrical box and removed cover. I was able to locate terminals for Low fan, compressor, and looking for possible location for new timer/relay box. Thanks again for your quick response to my questions. When it comes to electrical the only dumb question (for me) is the one I don't ask. In this case I would have done some real damage "assuming" I understood how to proceed.
-
Question for MTT, wiring diagram, low speed fan wire: Should I piggyback wire from low speed spade on circuit board to COM of relay? No need to relocate factory wire ? S2: Wire from S2 goes to NO of relay and branches to "IF". Could you give a little more detail as to what "IF" is and how connection is made. Thanks much
-
Thanks to all-much appreciated. Am waiting for Amazon deliveries to start this project but once completed will report back results of installation.
-
Have a question concerning low speed fan wire in the above diagram going to NO of the relay and a new wire from COM to where wire was removed on circuit board. An earlier post with attachment v2 shows thin white wire removed and attached to COM port, then new wire from NO to where wire was removed from circuit board. Am curious which is correct or will either one work?