Search the Community
Showing results for tags 'table lamp'.
Found 1 result
-
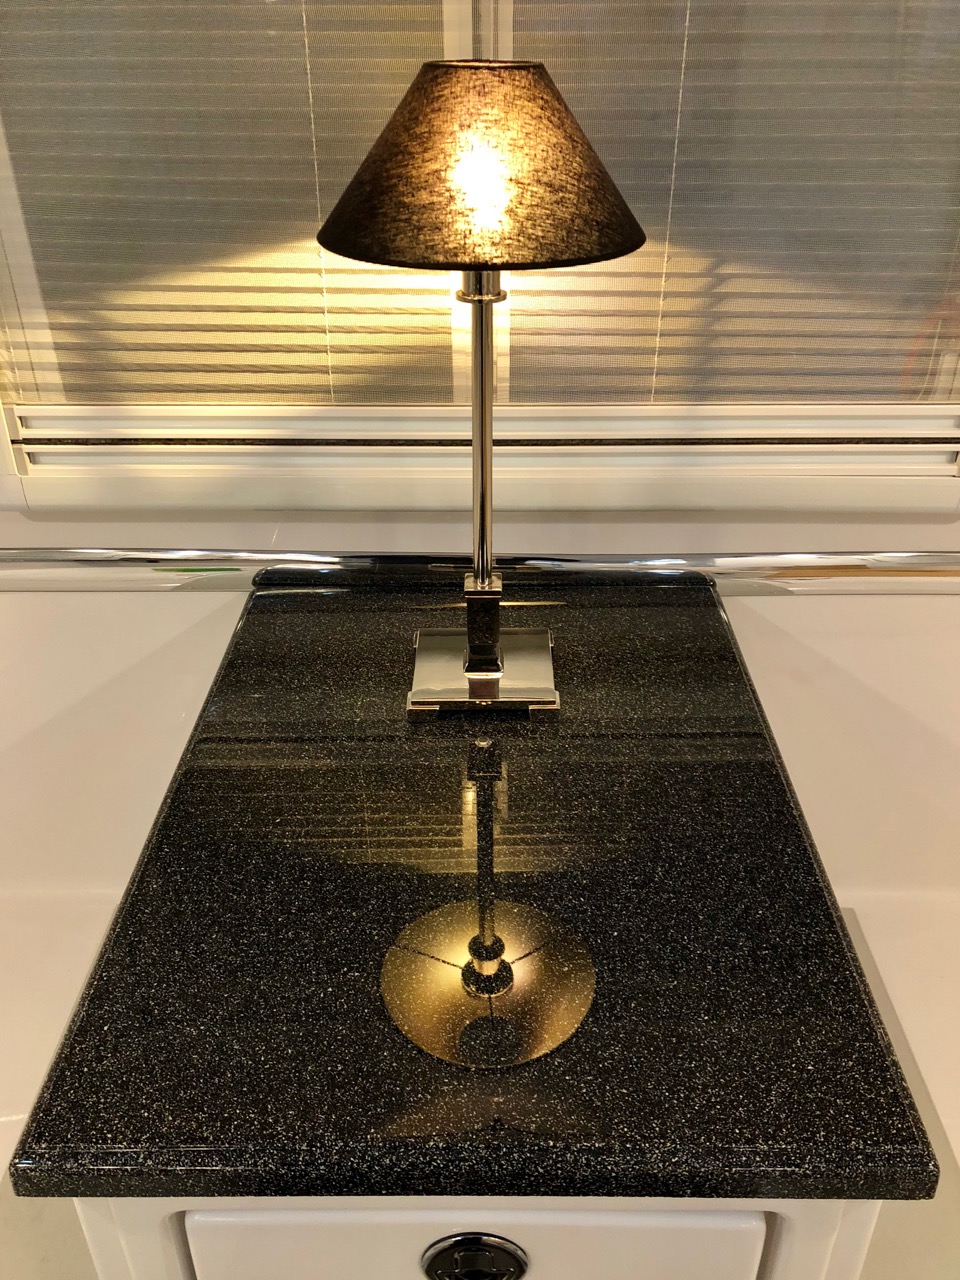
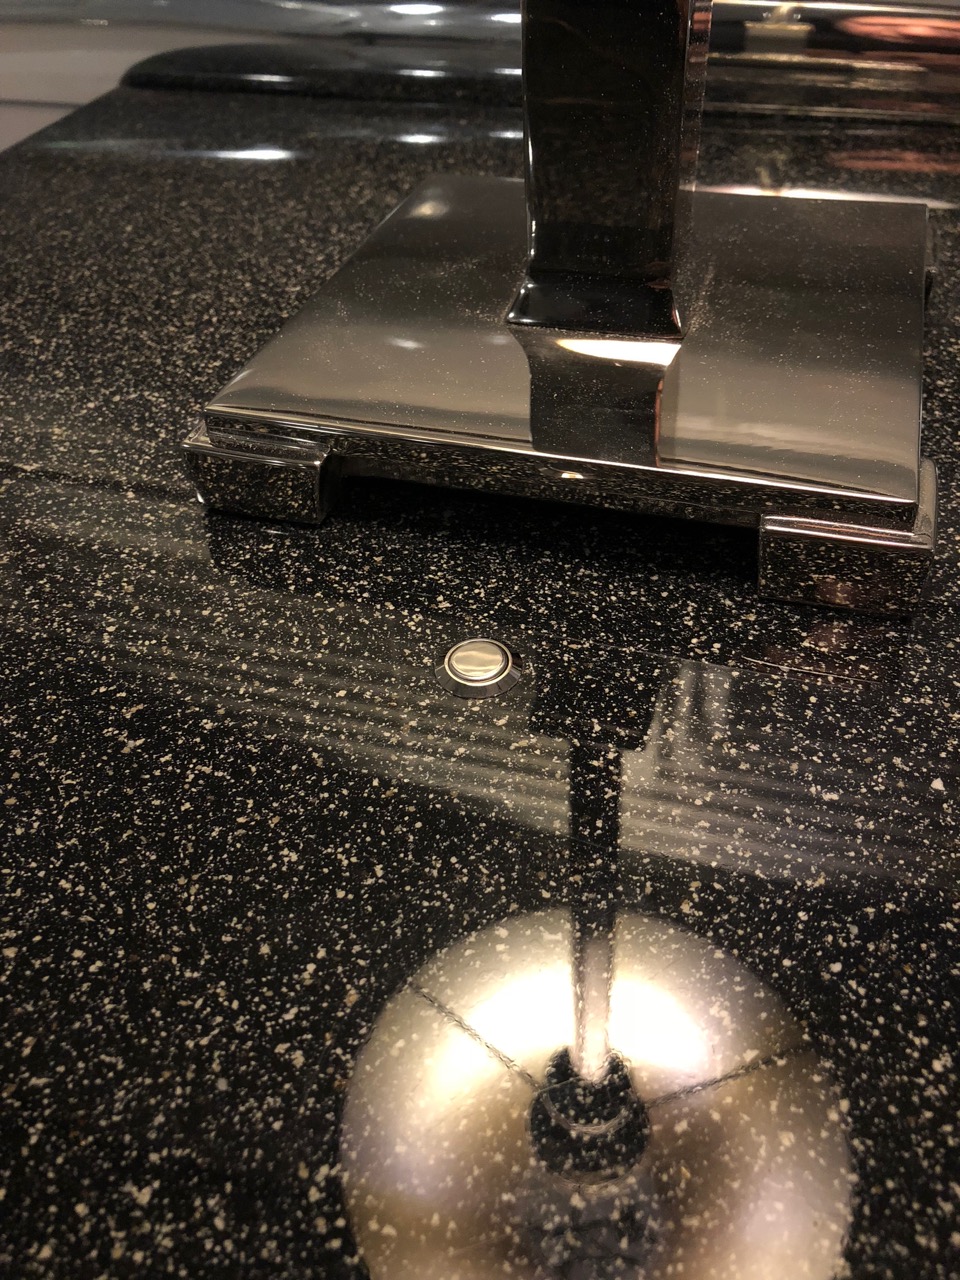
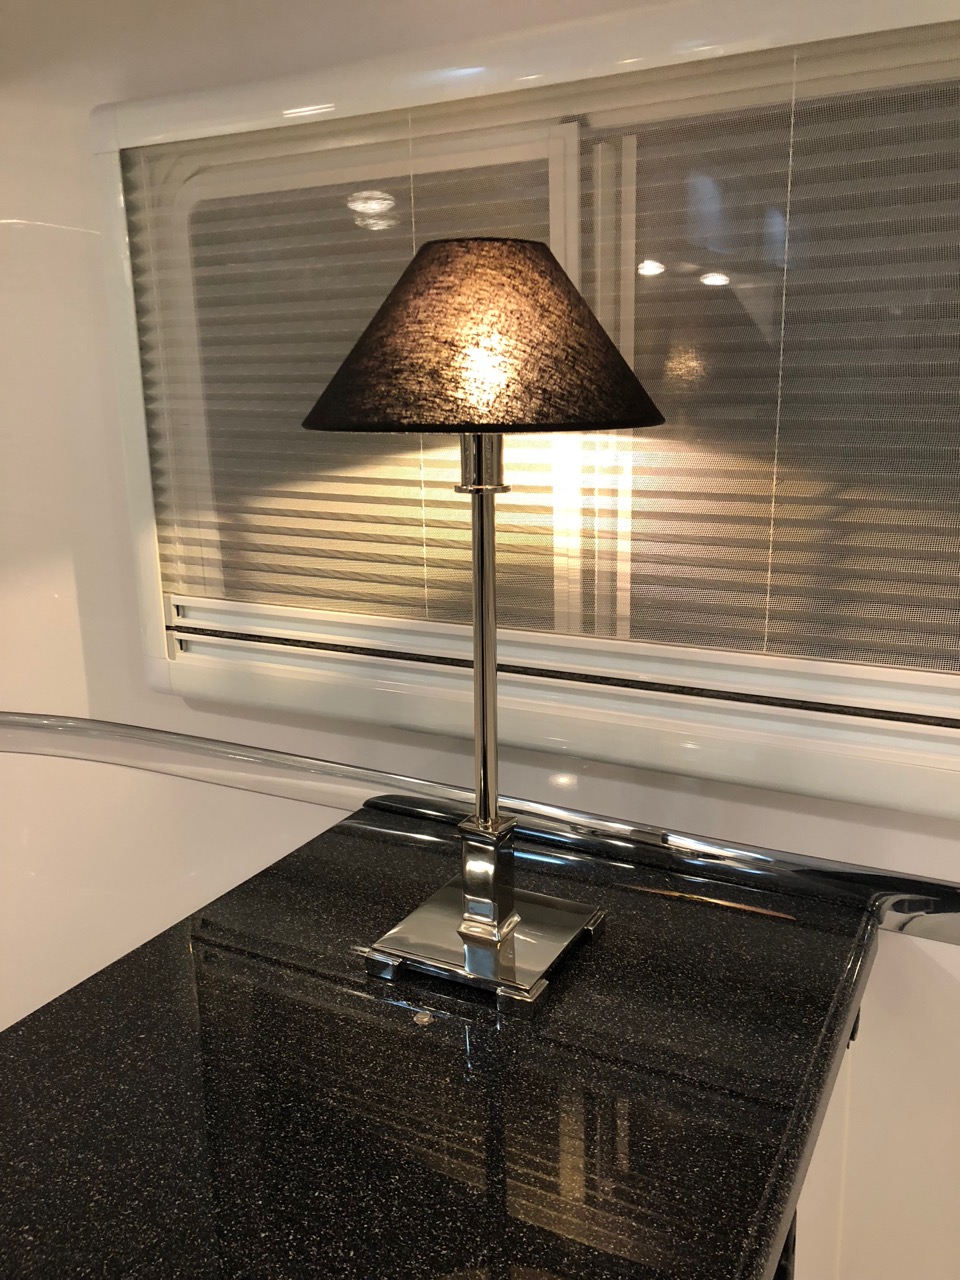
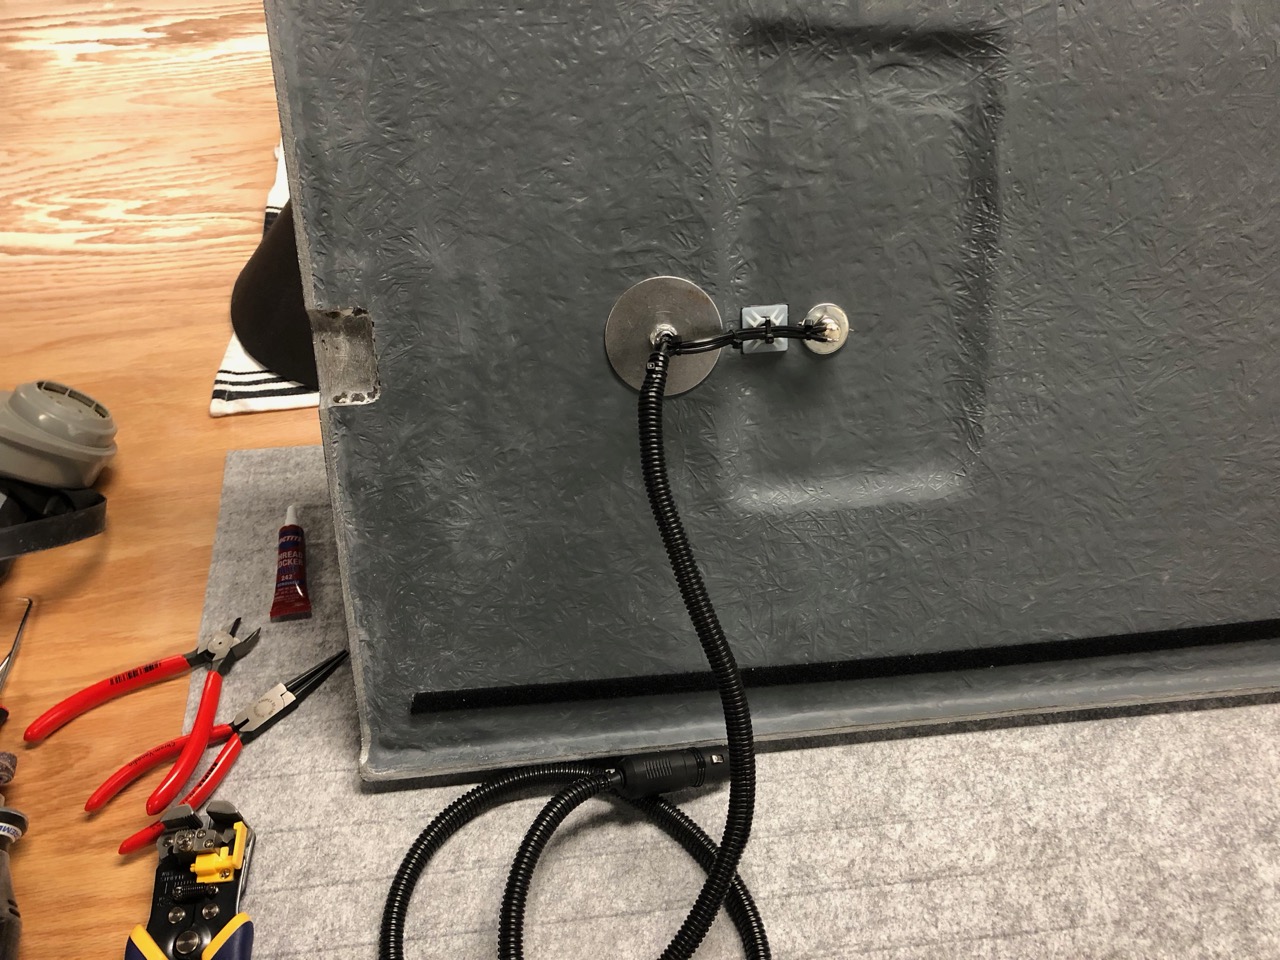
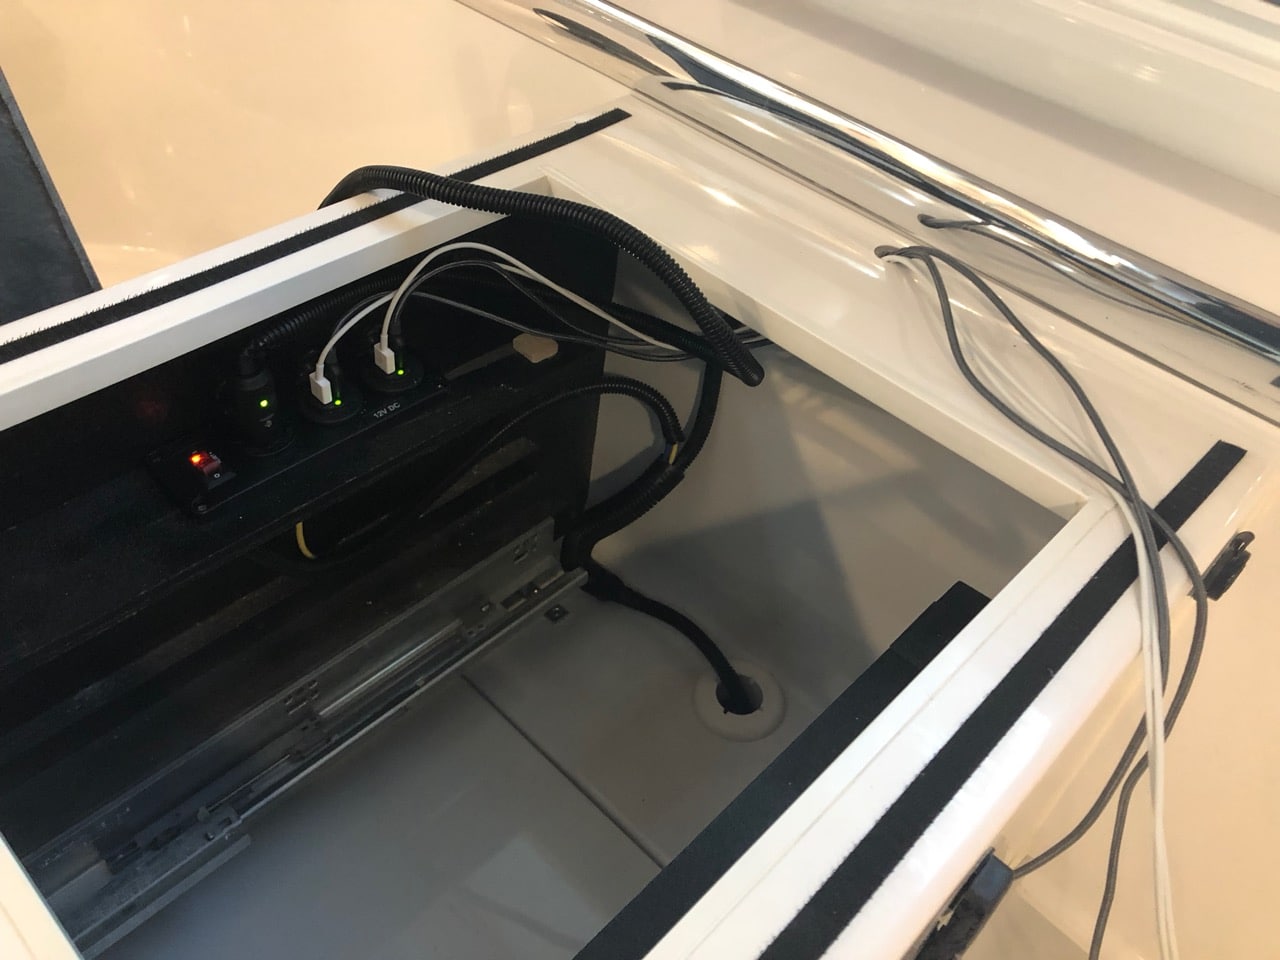
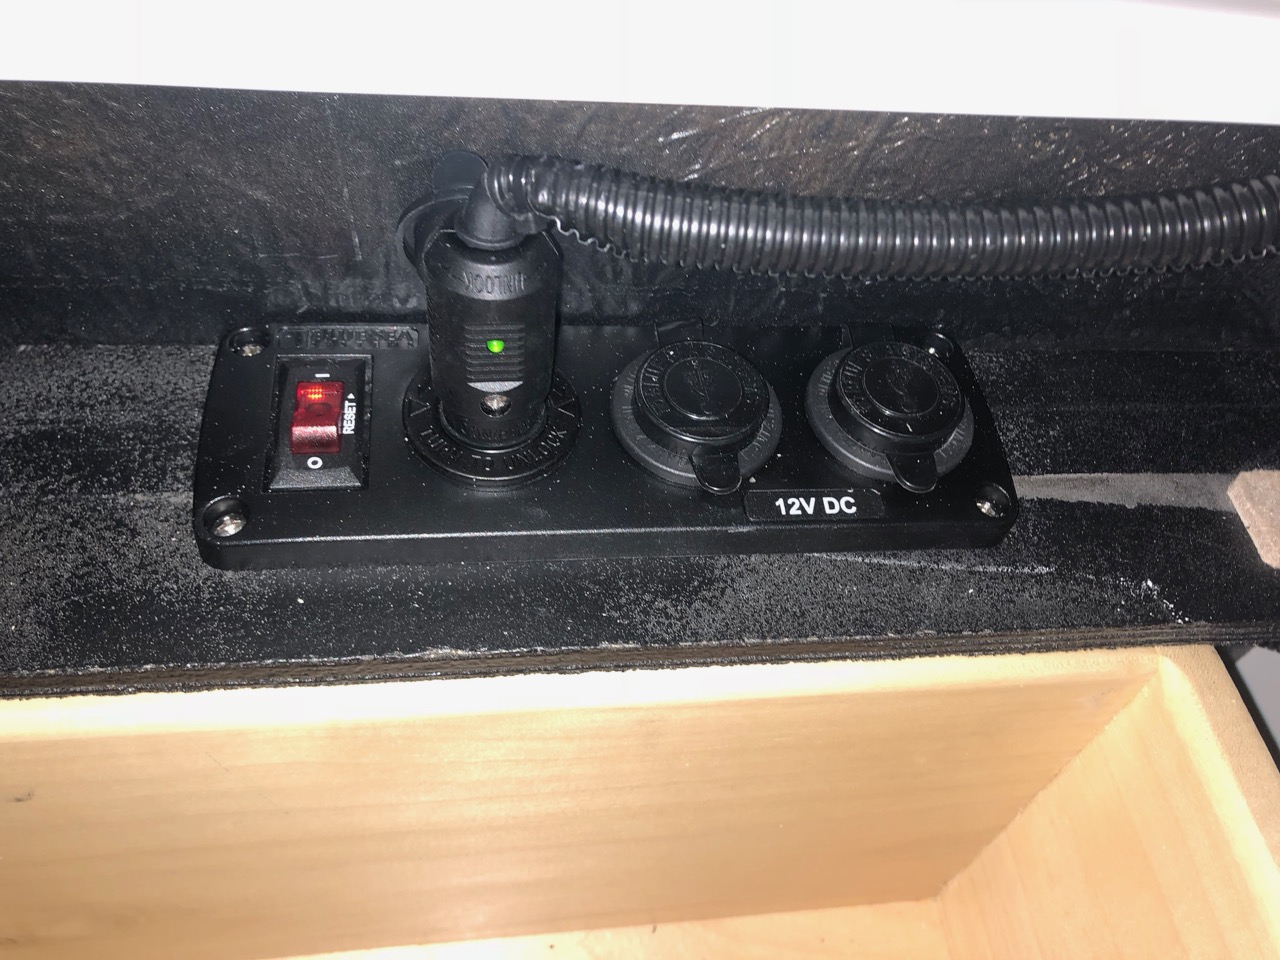
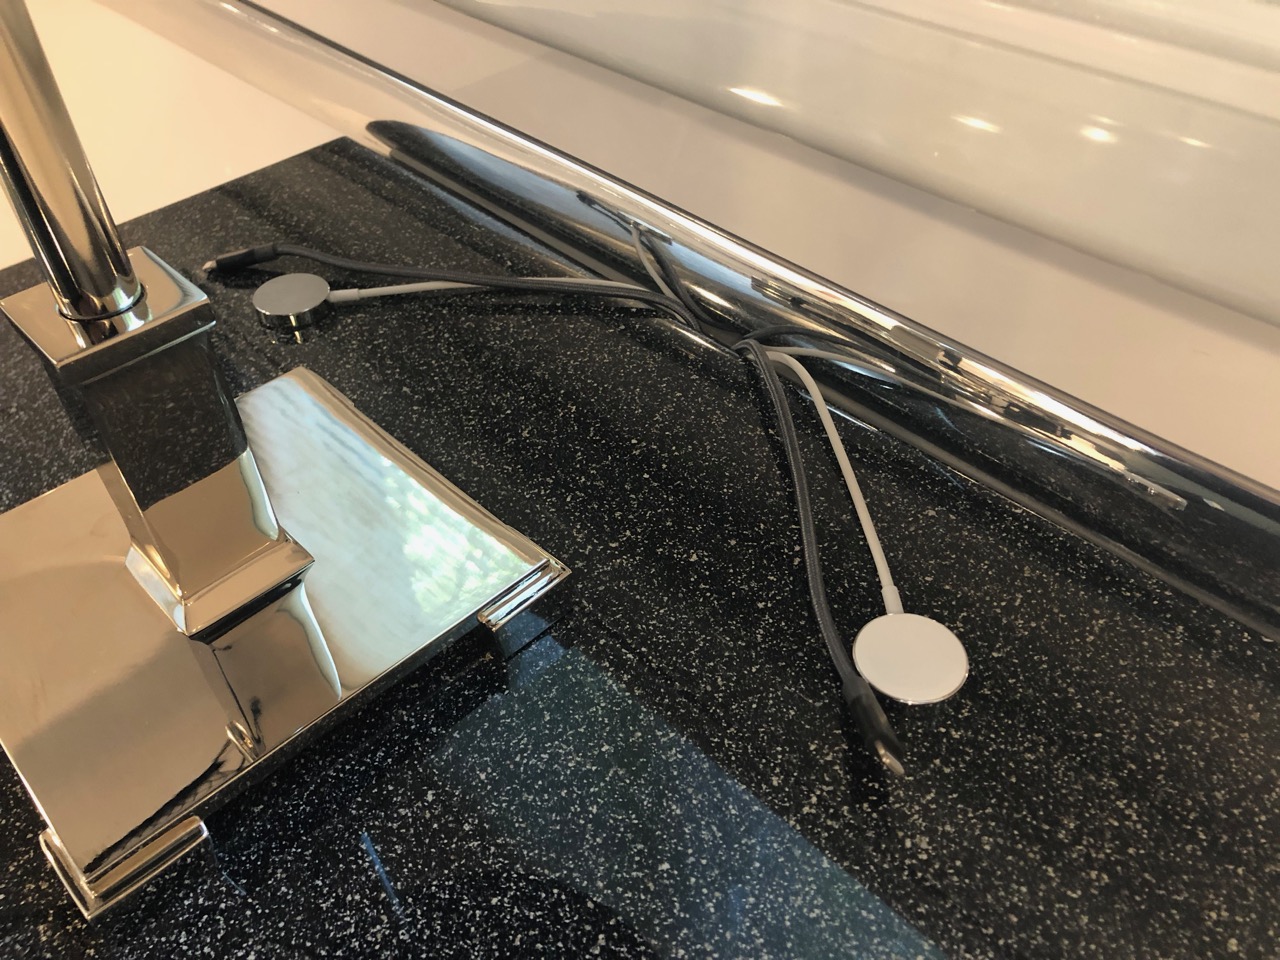
One thing we noticed the first few nights sleeping in the Ollie was that there's not a convenient light or light switch that can be reached from the bed. If you're on the curb side, you can sit up and flip a switch if you remember which one to flip but otherwise you have to get out of bed to turn on or off the lights. I loved the cool table lamp that @scubarx installed in the Outlaw Oliver, so I added a lamp to the list of to do's. My list of requirements for the lamp were: that it be 12 volt so that I didn't need to be plugged in or have the inverter on to use it; that it be securely mounted but easily removed; that all the wiring should be hidden and everything look completely built in; that the bulb have a nice warm temperature (I'm a believer in having only low temp lighting on for at least an hour before bed); that it have a switch that's easily accessible while lying in bed; and that the lamp itself should be high quality, able to withstand bumps and vibrations, and last the life of the trailer. So, with all that in mind, I first picked out the lamp. We went with the Petite Candlestick Lamp from Restoration Hardware. I would have preferred something a little bit more modern, but this one was the right size and has an Art Deco feel to it that I think goes fine with everything else we've done and with the trailer itself. It's way too tall as it comes, but dismantling it and cutting it down to a reasonable height for the trailer is pretty straightforward. I've gotten several lamps from Restoration Hardware, and they've all been super high quality and this one is no exception. They have a yearly or twice yearly half-off sale on lighting, so if you get one from them, be patient and wait because they're arguably overpriced at retail. Secondly, I found these bulbs on Amazon, which you can get in warm white or daylight, whichever you prefer. That's really all you need to convert a lamp to 12 volt these days, apart from swapping out the plug or direct wiring it to the trailer. I went with a lighter plug since I wanted to be able to remove the lamp. You can get those anywhere, but I highly recommend a locking marine style plug because the quality difference is substantial. Third, you'll need a socket for the plug if you go that route. I was fortunate in that I had asked Oliver to provide us with USB ports on the nightstand, so I already had 12 volt power run. If you don't, then you'll need to tap into the wiring behind the breaker panel on the right side of the attic and then run your wiring down to the basement and then up through the base of the nightstand. Shouldn't be too difficult but I can't say for sure since I didn't have to go that route. But I did need the socket, and while I was at it I wanted to add some USB ports inside the nightstand as well. (That's actually what I'd asked for, but Oliver placed the outlets on the side of the nightstand instead. Easily accessible, but otherwise you've got to deal with cords getting in the way of bedding and a little green light shining in your eyes.) So I ordered a combination outlet panel by Blue Sea off Amazon. It has a pair of dual USB sockets and a lighter outlet, and also has a switch and circuit breaker inside. It's a really nice panel. Finally, I decided that a little chrome push button mounted to the table top in front of the lamp would make for a great switch. This one was perfect. So, how to mount the lamp to the table. Steve and Tali had the genius idea of glueing magnets to the base of their lamp and to the underside of the table top. I experimented with that but just couldn't get it to work. Maybe the table tops are different or thicker, but I just got a really weak hold even with some super strong magnets. So instead, I decided to bolt through. Since I had the lamp apart anyway, I just swapped out the threaded rod holding it together with one that was a few inches longer than what I needed. (The way the original rod was made it couldn't be cut down.) When I put the lamp back together, I left the extra rod sitting out the base at the bottom. Then carefully drilled a ½" hole where I wanted the lamp, put the rod through the hole and screwed it in. I got the biggest washer I could find to distribute the load on the tabletop. Then I drilled another ½" hole just in front of the lamp and mounted the switch. The switch is just a tad mushy for my taste, but it's acceptable and I like the way it kind of disappears in all the reflections on the top. Underneath, wiring it up was a simple task and the only tricky part was that I had to solder the connections to the switch, and I've never developed good soldering skills. But it works. I added a few zip tie mounts with VHB tape to hold the wiring in place out of the way and keep it from vibrating too much. The switch connection is a bit exposed, so I think I might paint some plasti dip on the leads. Finally, I added the lighter plug, leaving plenty of slack in the cord, and covered the cord with wire wrap to protect it. In the nightstand, I removed one of the little shelves that hold the tray in place and mounted the outlet panel there. The panel is a bit too wide, but it's a good spot for it, so I cut a little notch on the bottom of the tray for it to fit back. I just unclipped the wiring from one of the USB outlets Oliver had installed and clipped it to the new panel. I'll probably run a jumper back to that outlet even though I doubt we'll ever use it now. I don't like the angle of the wire coming out of the plug, so I'll need to add another zip tie mount or something there, but I was down to the two I used on the top so I'll need to get some more. I then cut a scallop out of the back of the tray to run the wire, and any other cords we might have for charging stuff in the tray. You'll also notice in the pics that I drilled a hole in the back of the nightstand for USB cords to run, and ground out a little notch in the bottom of the top for the cords. I think I need to grind out a notch along the back as well, since right now I have to pull the top out a bit for the cords. And that's it. Pics...

- 8 replies
-
- 8
-

-
- lighting
- table lamp
- (and 4 more)