

johnwen
-
Posts
639 -
Joined
-
Last visited
-
Days Won
3
Posts posted by johnwen
-
-
JD,
On a side note...I thought I was wasting my time and money with our dc to dc install last year at the Q, as I have barely used it the past year and a half but I sure am happy I did as we've had so many cloudy days since getting into Canada on our way to Alaska. Each day we travel we get them charged back up in a respectable amount of time. Of course we mostly boondock as you know. I only used 6ga so don't get things through as fast as you but I still have plenty to satisfy me.
John
-
 1
1
-
-
11 hours ago, Galileo said:
My understanding is that running the fridge on DC is terribly inefficient. (I guess that’s why you got to toss your old AGMs?)
It was.
-
1
-
-
6 hours ago, Galileo said:
And correct on the “auto” mode on the Norcold fridge switching to A/C when available. It normally does this. When it stayed in LP mode even with shore power connected is when I went into trouble-shooting mode. The issue was not my failure to understand or select the operating mode I desired.
My experience....with our 2022 LE2 Norcold I left my setting on auto while boondocking and my LP ran out. The result was an automatic switch to DC while we were away for 2 days. On a good note, with help from Steve L. and JD I got to throw away my 4 6v agms and switch to 600 ahs worth of Epoch Lithuims. Albeit an expensive lesson I couldn't be happier that it happened :)
-
1
-
 1
1
-
-
JD, I need to talk to Wen about this :)
Thanks for all your testing and research!
John
-
1
-
-
1 hour ago, jd1923 said:
June 7th went by and our Oliver has been parked for a few weeks on the corner of our property. The A/C running, set at 80F on battery (😎) since it's getting hot again. We've had a most beautiful Spring that has literally lasted for months. Clear skies every day until some clouds blew in. Just heard some thunder, always hoping for rain. Maybe a monsoon or two will come early this year...
I forgot all about her on our third anniversary! We're not traveling again until Labor Day which starts our new travel season and there's nothing big scheduled in mods like our last two summers. She looks and performs a whole lot better than she did 3 years ago! 🤣
The 7th is also Chris' birthday! I certainly did not forget that nor our 32nd wedding anniversary on the 1st! Charley turned 12 yesterday. He got a summer cut and a bone! He loves traveling in our tow vehicle and camping in the Oliver! (see pic above)
Thankful to have our Oliver! It's improved our lifestyle, with the ability to leave on moment's notice and glamp (never really liked that word but how true it is). Looking forward to another great year with our Oliver. Even giving some thought to that Rally...

Love you both...Wen and John :)
-
 1
1
-
-
I wonder if the 2022 models can be fitted with the 2027 windows...
-
1
-
-
Yes...those flex lanes are great. Went that route about a month ago :)
-
2
-
-
I'm sure glad things went well, JD.
Blessings from us :)
-
1
-
-
7 minutes ago, jd1923 said:
Another good reason to DELETE the awning! 😎
Sorry, JD.....I need my anchor 🙂
-
1
-
-
Having been up on the roof a few times I will say I only walk on the side with the awning 🙂
-
We also have just 1 awning. True we don't use it very often but are happy we have it. We probably would use it a little more if the fabric was not black. BTW...I recently (2 weeks ago) got a quote from Mike at Oliver and at $4600 for adding another, we will be happy with just the 1 we have.
Congrats on your future new Oliver
John
-
2
-
-
Welcome fellow 2022'r :) Safe travels!
John
-
1
-
-
On 2/12/2026 at 7:16 AM, Patriot said:
Consider a set of these for your new Oliver. We installed snap pads on delivery day and they have served us well. It advertises for a 2023 OLE2. Oliver has not changed the size of the leveler base plate to my knowledge. Keep in mind you will only need 3 snap pads. You could inquire with the company and see if they would sell you a 3 pack.
Congrats on your new Olive and welcome to the fourm!
Hi David...hope ya'll are well. We're n Quartzsite at the moment. Do these pads add any stabilization against rocking (IYO)? They do not sell in 3 packs but will sell individually and that makes them a little more expensive than the discounted 4 pack of $121.45
Thanks :)
John
-
1
-
-
12 hours ago, gbergh said:
Hull 218 "Mouse" is for sale located in SE Michigan. North Dakota, I lived in Grand Forks for 5 years as I was attending UND to acquire a Chemistry Degree. The weather was worse than terrible. One has to live there to understand. -12 last night.
4 yrs in Minot, back in the 70's ...I feel your pain :(
-
 1
1
-
-
JD...I did save Geoff's number at Epoch. (888) 859-7544
-
JD, I talked to Geoff last year about adding a new, third battery to my two existing 300's and he said that they indeed don't play well together. I couldn't tell you why as it's over my head. But he did tell me if I added a third battery I should only use it and not the other two until I cycle the new one through 20 - 30 charge cycles and then all should behave. But my disclaimer is to talk to Geoff. I'm not totally sure of the number of charge cycles. See you tomorrow :)
John
-
1
-
-
8 hours ago, Roger said:
Don't ask how I learned this (more than once 😁)
Ditto :) Thanks Wendy...
-
2
-
-
Always working....labor of love :)
-
1
-
-
Count us in :)
-
 1
1
-
-
13 hours ago, John Dorrer said:
Goosenecks State Park, UT, not to far from Moab. Camped on the rim for $10/night. High above the San Juan River. You get an option, campground or along the rim. No brainer.
Been there a few times...don't get too close to the edge :)
-
1
-
3
-
-
9 hours ago, Mike and Carol said:
We haven’t had any content shifting issues. My impression so far is that the trailer seems more sure footed with the ALCANs. Mike
Same here with 15,000 mi since install early this year :)
-
1
-
3
-
-
Also, try "pip pins" :)
-
1
-
-
4 hours ago, ScubaRx said:
No graphics are currently included on a new build. This is in response to many of the latest buyers requesting the trailers be delivered naked. So there you go.
:)
-
11 hours ago, Mike and Carol said:
…speaking of coatings, the CGI guys (Gavin and Colin) did a renew on our ceramic coating this week. Looks better than new (except for the chips on the lower front)!
Nice :)
-
1
-


Where’s Ollie?
in Campgrounds & Parks
Posted · Edited by johnwen
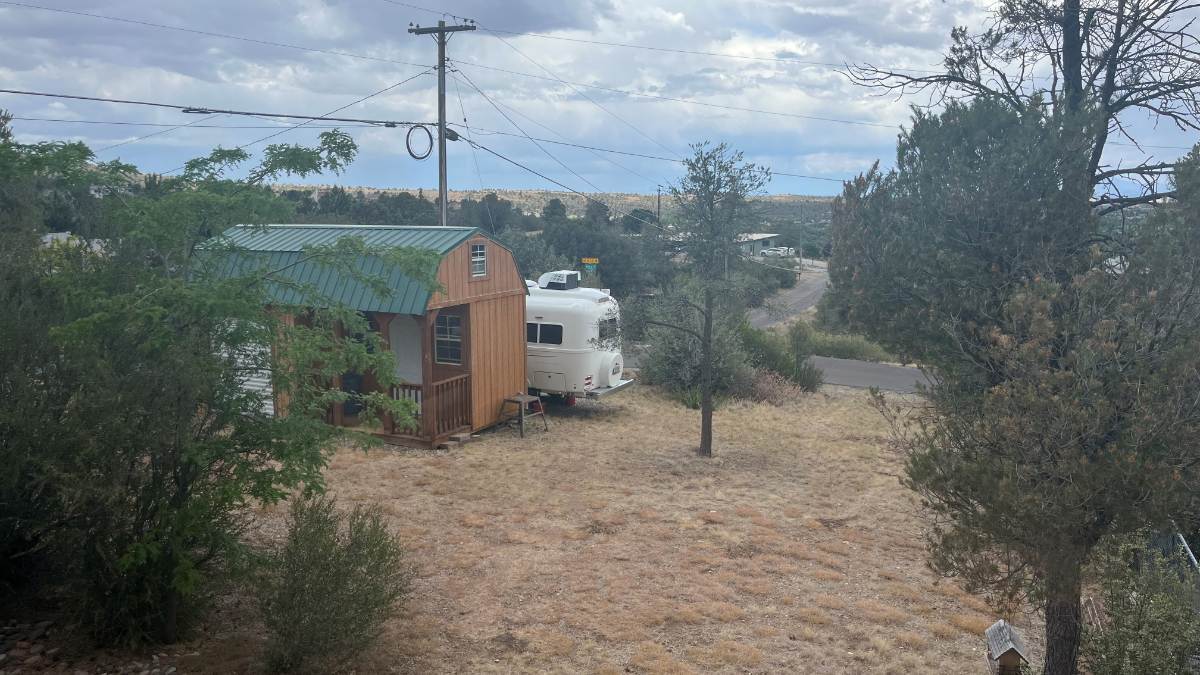
Walker Fork Campground (BLM) approx 15 miles north of Chicken, AK. 33 degrees this morning but warmed up nicely while we panned for gold...not much luck...this time. Dirt courtesy of Top of the World Highway coming from Dawson City, Yukon Territory.