QuestionMark
-
Posts
84 -
Joined
-
Last visited
-
Days Won
5
Everything posted by QuestionMark
-
That is the exact same site that was assigned to us for our first couple of nights after initial pickup. We called and extended our stay another night just in case we needed to follow-up with Oliver on any issues that might arise. Excellent spot and easy access to bathrooms. Enjoy the stay.
-
Bill, Welcome to the family of Ollie E1 owners. It just seems like yesterday we picked up our Elite I Hull #664 on September 14. We also live in Texas and have really enjoyed exploring the State Parks over the past few months. Wishing you safe travels to wherever your journey takes you. Mark
-

Code 10, norcold 3000 series fridge
QuestionMark replied to Moonlight Mile's topic in General Discussion
As others have already stated, the most likely cause is that the refrigerator has come unplugged and needs to be plugged back in. It happened twice on our Elite I during the first few months of ownership and at first I was baffled by the 10 error code. I was able to come across a post someone had submitted awhile back that described the location of the plug. Once plugged back in it works as designed. Jason recommended we use a zip-tie to secure once we had it plugged back in. We have not had another problem with the refrigerator since. -
As others have already stated, the most likely cause is that the refrigerator has come unplugged and needs to be plugged back in. It happened twice on our Elite I during the first few months of ownership and at first I was baffled by the 10 error code. I was able to come across a post someone had submitted awhile back that described the location of the plug. Once plugged back in it works as designed. Jason recommended we use a zip-tie to secure once we had it plugged back in. We have not had another problem with the refrigerator since. As for your outside door cable breaking loose, you can see my previous post "First few months of ownership" where we had the same thing happen to us. We used gorilla two part epoxy per Jason's recommendation to reattach and have not had another problem.
-
We are booked for Site #E28. We will be arriving on 5/13 and heading out on 5/15. We will only be there a couple of nights but we are looking forward to meeting the other Ollie owners.
-
Replace 12v Port With a Dual USB Port
QuestionMark replied to QuestionMark's topic in Ollie Modifications
mjrendon, The smaller Elite 1 trailer also has a 12v port located in the attic. Post this install, we now have two open 12v ports (1 under cabinet, 1 attic) and 2 dual usb ports. Perhaps we will need the 12v ports for other uses we just haven't come across yet. For now, wife and I are both happy we can now charge our phones/watches at the same time without the need of an adapter. -
Oliver Owners, It was mentioned to us when picking up our Oliver that we might want to consider purchasing a portable water softener for use with the trailer. We arrived on pickup day with a water filter but never considered the need for a water softener before. Not sure if others on this forum have had issues with hard water but our orientation rep indicated that they had several trailers in the shop for decalcification while we were there. Upon returning home I purchased an inexpensive kit to measure the hardness of our water here at home and was surprised to find we were on the upper end of the scale. Hence, we went ahead and purchased a portable water softener to use while traveling. I have listed what we purchased below but there are several other options out there to consider. We have found it easy to use, simple to regenerate with table salt, hooks inline easily when attaching the trailer to a water supply and have even used it when washing the trailer to reduce water spotting. Something you might want to consider if you find yourself frequently hooking up to hard water supplies at the campgrounds you visit. On The Go OTG3NTP3M Portable Water Softener Please note that when you use a water softener, a little bit of soap goes a long way when washing hands, hair, dishes, etc.

-
The Legacy Elite I trailer has two interior 12v ports and one dual USB port located under the cabinets just before you get to the bed. We replaced one of the 12V ports to a dual USB port after we discovered our USB adaptor for the 12V port pulls out easily. I would frequently end up with my phone not charged the next morning.🙁 Perhaps it was just my adapter as the 12v ports have a twist-lock feature that is supposed to reduce this from happening. Can't ever think of a reason we would ever need the 12v port anyway and this allows my wife and I to charge our phones and apple watches (4 USB ports now). Here is a link to what I installed: https://www.amazon.com/gp/product/B086PRHKC1/ref=ppx_yo_dt_b_asin_title_o02_s00?ie=UTF8&psc=1 Installation was very simple as you can access the 12v port via the access hatch within the cabinet. Simply unscrew the holding ring from the back of the 12v port, lower it down to slide off the connectors (make sure you look at the color of the + wire as you will need to hookup correctly on the replacement plug), put the new holding ring onto the wires if you do not use the existing holder, attach the new dual usb plug to the +/- wires correctly, and reinstall into the existing hole. Total time to replace was about 5 min.
-
Even with the new 6' cable, the cable is stretched out pretty much as well but it has not been a problem when traveling.
-
Overland, The original cable was just a straight cable about 4' in length (not sure as I threw it away). We could only clip it on one of the trailer chains (not a good option) until we could replace it with the longer cable. I decided to go with the "coiled" style to eliminate any slack caused when turning left. The bright red color ended up being an additional benefit in that it is easy to see and acts as an additional reminder when hooking up the trailer.
-
Not sure if others came across the same problem but when we went to pickup our trailer with our F150, the original trailer breakaway cable was not long enough to connect to the hitch on the truck as required. We have since replaced the original standard cable with a longer "coiled" cable that allows for the cable to reach the hitch connection point on the truck and eliminated any slack in the cable while towing. Below is a link to what we purchased and installed on the trailer and have been very happy with it. Fastway Zip 6 Foot Breakaway Cable 80-01-2160 To replace you only need to cut off the old cable and install the new one. Takes about 2-5 min.
-
First few months of ownership (Legacy Elite I) -
QuestionMark replied to QuestionMark's topic in Mechanical & Technical Tips
JRK, I just saw this after responding to your private message. Please see my response there and let me know if you have any additional questions. -
First few months of ownership (Legacy Elite I) -
QuestionMark replied to QuestionMark's topic in Mechanical & Technical Tips
In response to Mainiac's question above: That would be a cool idea. Might get confused with the Joker in Batman tho. 🤣 -
First few months of ownership (Legacy Elite I) -
QuestionMark replied to QuestionMark's topic in Mechanical & Technical Tips
I must say Oliver (Jason and the Service Team) has been great and have asked if I would want to repair on my own or take it to a shop. I have chosen to do the repairs myself as the overall issues have been mechanically easy to fix, once the parts arrive, and having my trailer sit at a shop that is backed-up is not ideal. It would have taken me longer to drive to a potential shop than it took me to replace the window frame and doing it myself ensures it meets my expectations while educating myself on the inner workings of the trailer. The door window frame problem took a little longer to resolve due to the shortage of parts from the manufacturer (Lippert). The suspension bushings and u-bolts won't be a problem for me to just take care of myself as well as it is the same type of deal as the window frame. The squeaky shower floor is a lot more involved and I would rather wait until we take the trailer back to Oliver as they have the tools/knowledge to fix quickly and correctly. Overall, we have been very happy with the Oliver Trailer and the Service Team's response to our questions/fixes. My objective was not to give people the impression that Oliver trailers are not the best trailer out there but rather to share some of the things we have learned since picking up the trailer as it might help someone catch it earlier than we did and get it resolved before leaving the factory. We consider it much like the process when purchasing/building a new house and developing a punch-list of items to have fixed or addressed before moving in. Yes, I agree that Oliver should have caught some of these but we know that nobody is perfect and sometimes things get missed. -
First few months of ownership (Legacy Elite I) -
QuestionMark replied to QuestionMark's topic in Mechanical & Technical Tips
Just a quick note to let everyone know that our new door window frame came in today. Happy to report that it was easy to replace and is now as good as new. Please note that you have to have special plastic "keys" to get the old frame to release and install the new one. Oliver had the "keys" sent with the new frame so I could replace without having to take the trailer anywhere for repair. After removing the old frame it was clear that the initial install at the door factory did not have the frames lined up correctly when pressing together, thereby breaking a few of the clips. As for the squeaky suspension, Jason is sending me some new bushings for the springs and new u-bolts/nuts as the factory installed ones were not "balanced" between the two sides. I will report back once I replace both and see if I am successful in eliminating the annoying squeak. On a lighter side, I think my wife and I have somewhat agreed to nickname the trailer as "Squeaky" due to the suspension and shower floor. -
Topgun2, Yes, I used a straight razor blade to cut off the excess once I applied a piece to the light fixture that was a little larger than the lens. Going forward, I think I will make a template to cut several of them to have on hand. We have traveled several times through various rain events after the application and the film still looks as good as the day it was applied so I am not sure I will ever have to replace.
-
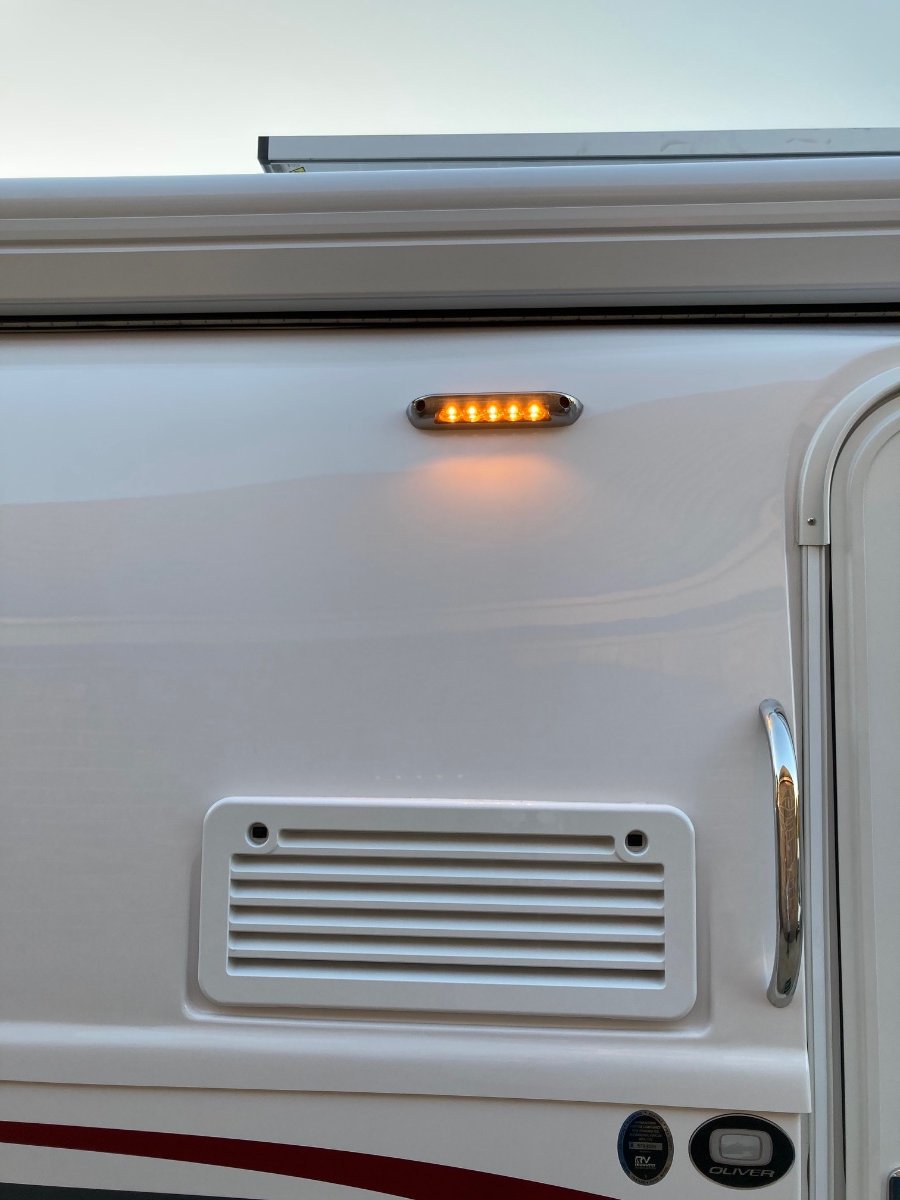
Not sure if everyone else in the country experiences this but, here in South East Texas our Bright White Porch Light attracts every flying creature known to man. After doing some research, it appears yellow light is less attractive to flying insects. We recently purchased some yellow film to place over the porch light and have found it to help out considerably. Of course, we are not in the middle of summer now so only time will tell next spring if the theory holds true. Below is the link to the film I purchased and applied to the lens portion of the light along with a couple of photos of how it looks. I now have enough film to redo the lens another 100+ times if needed in the future as it is easy to pull off. Time needed to place the film over the lens and cut to fit was around 5 min. https://www.amazon.com/dp/B01N4PDXBD/ref=twister_B01N7TJDQG
-
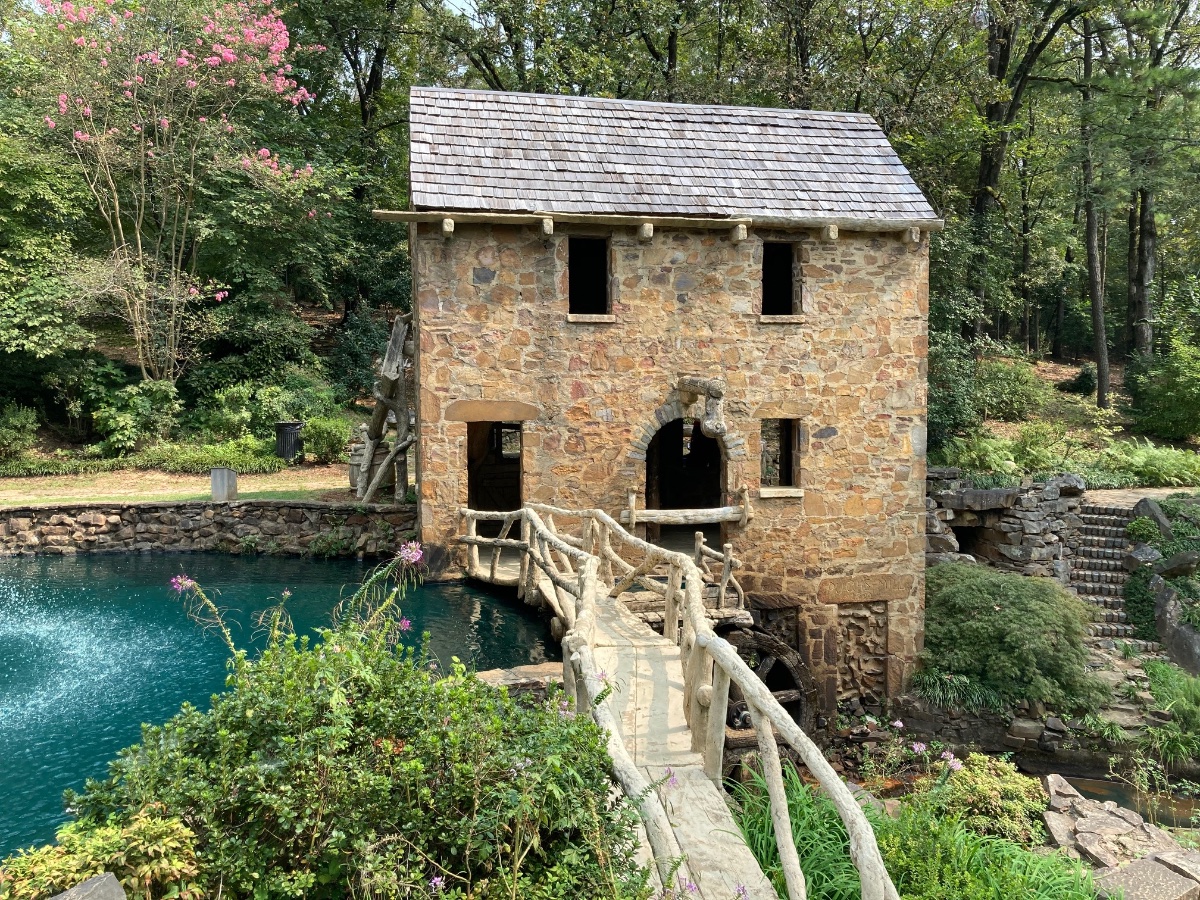
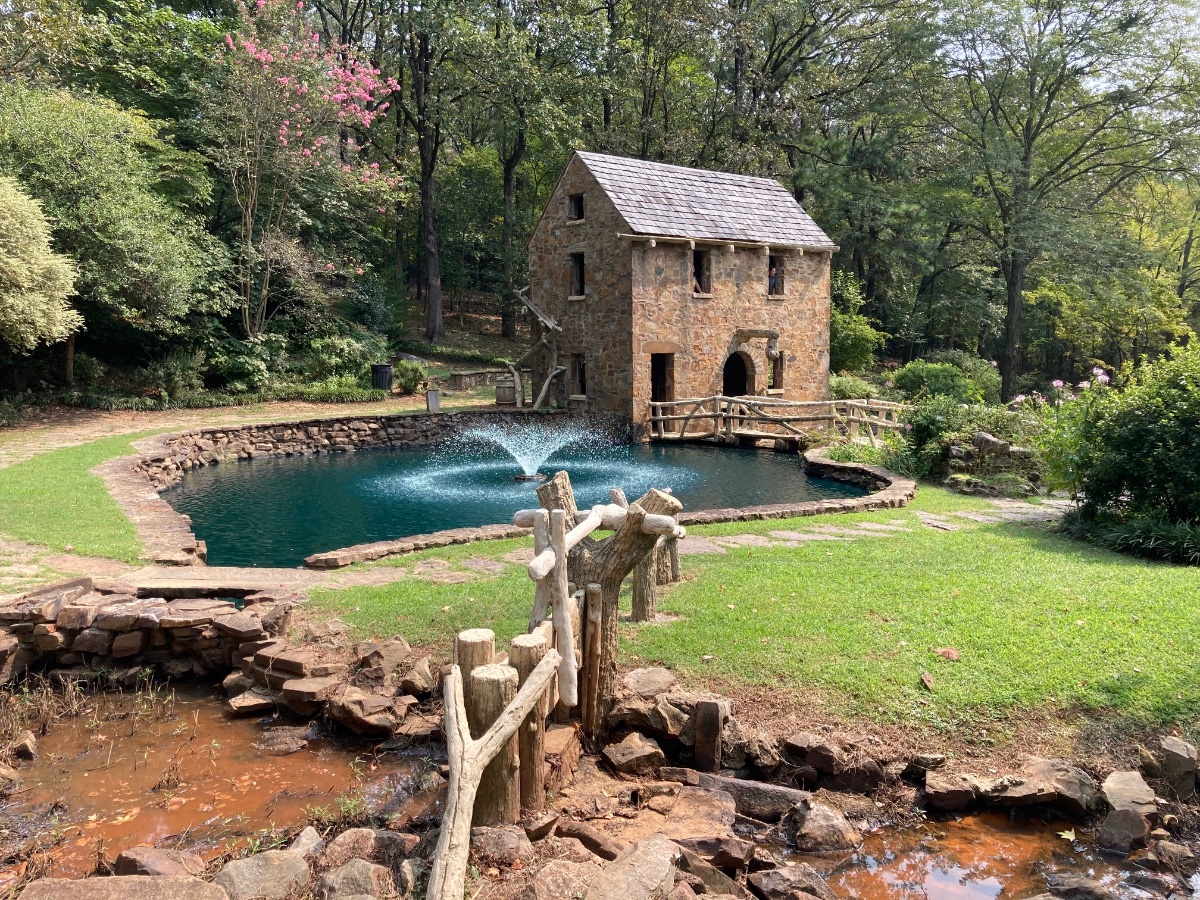
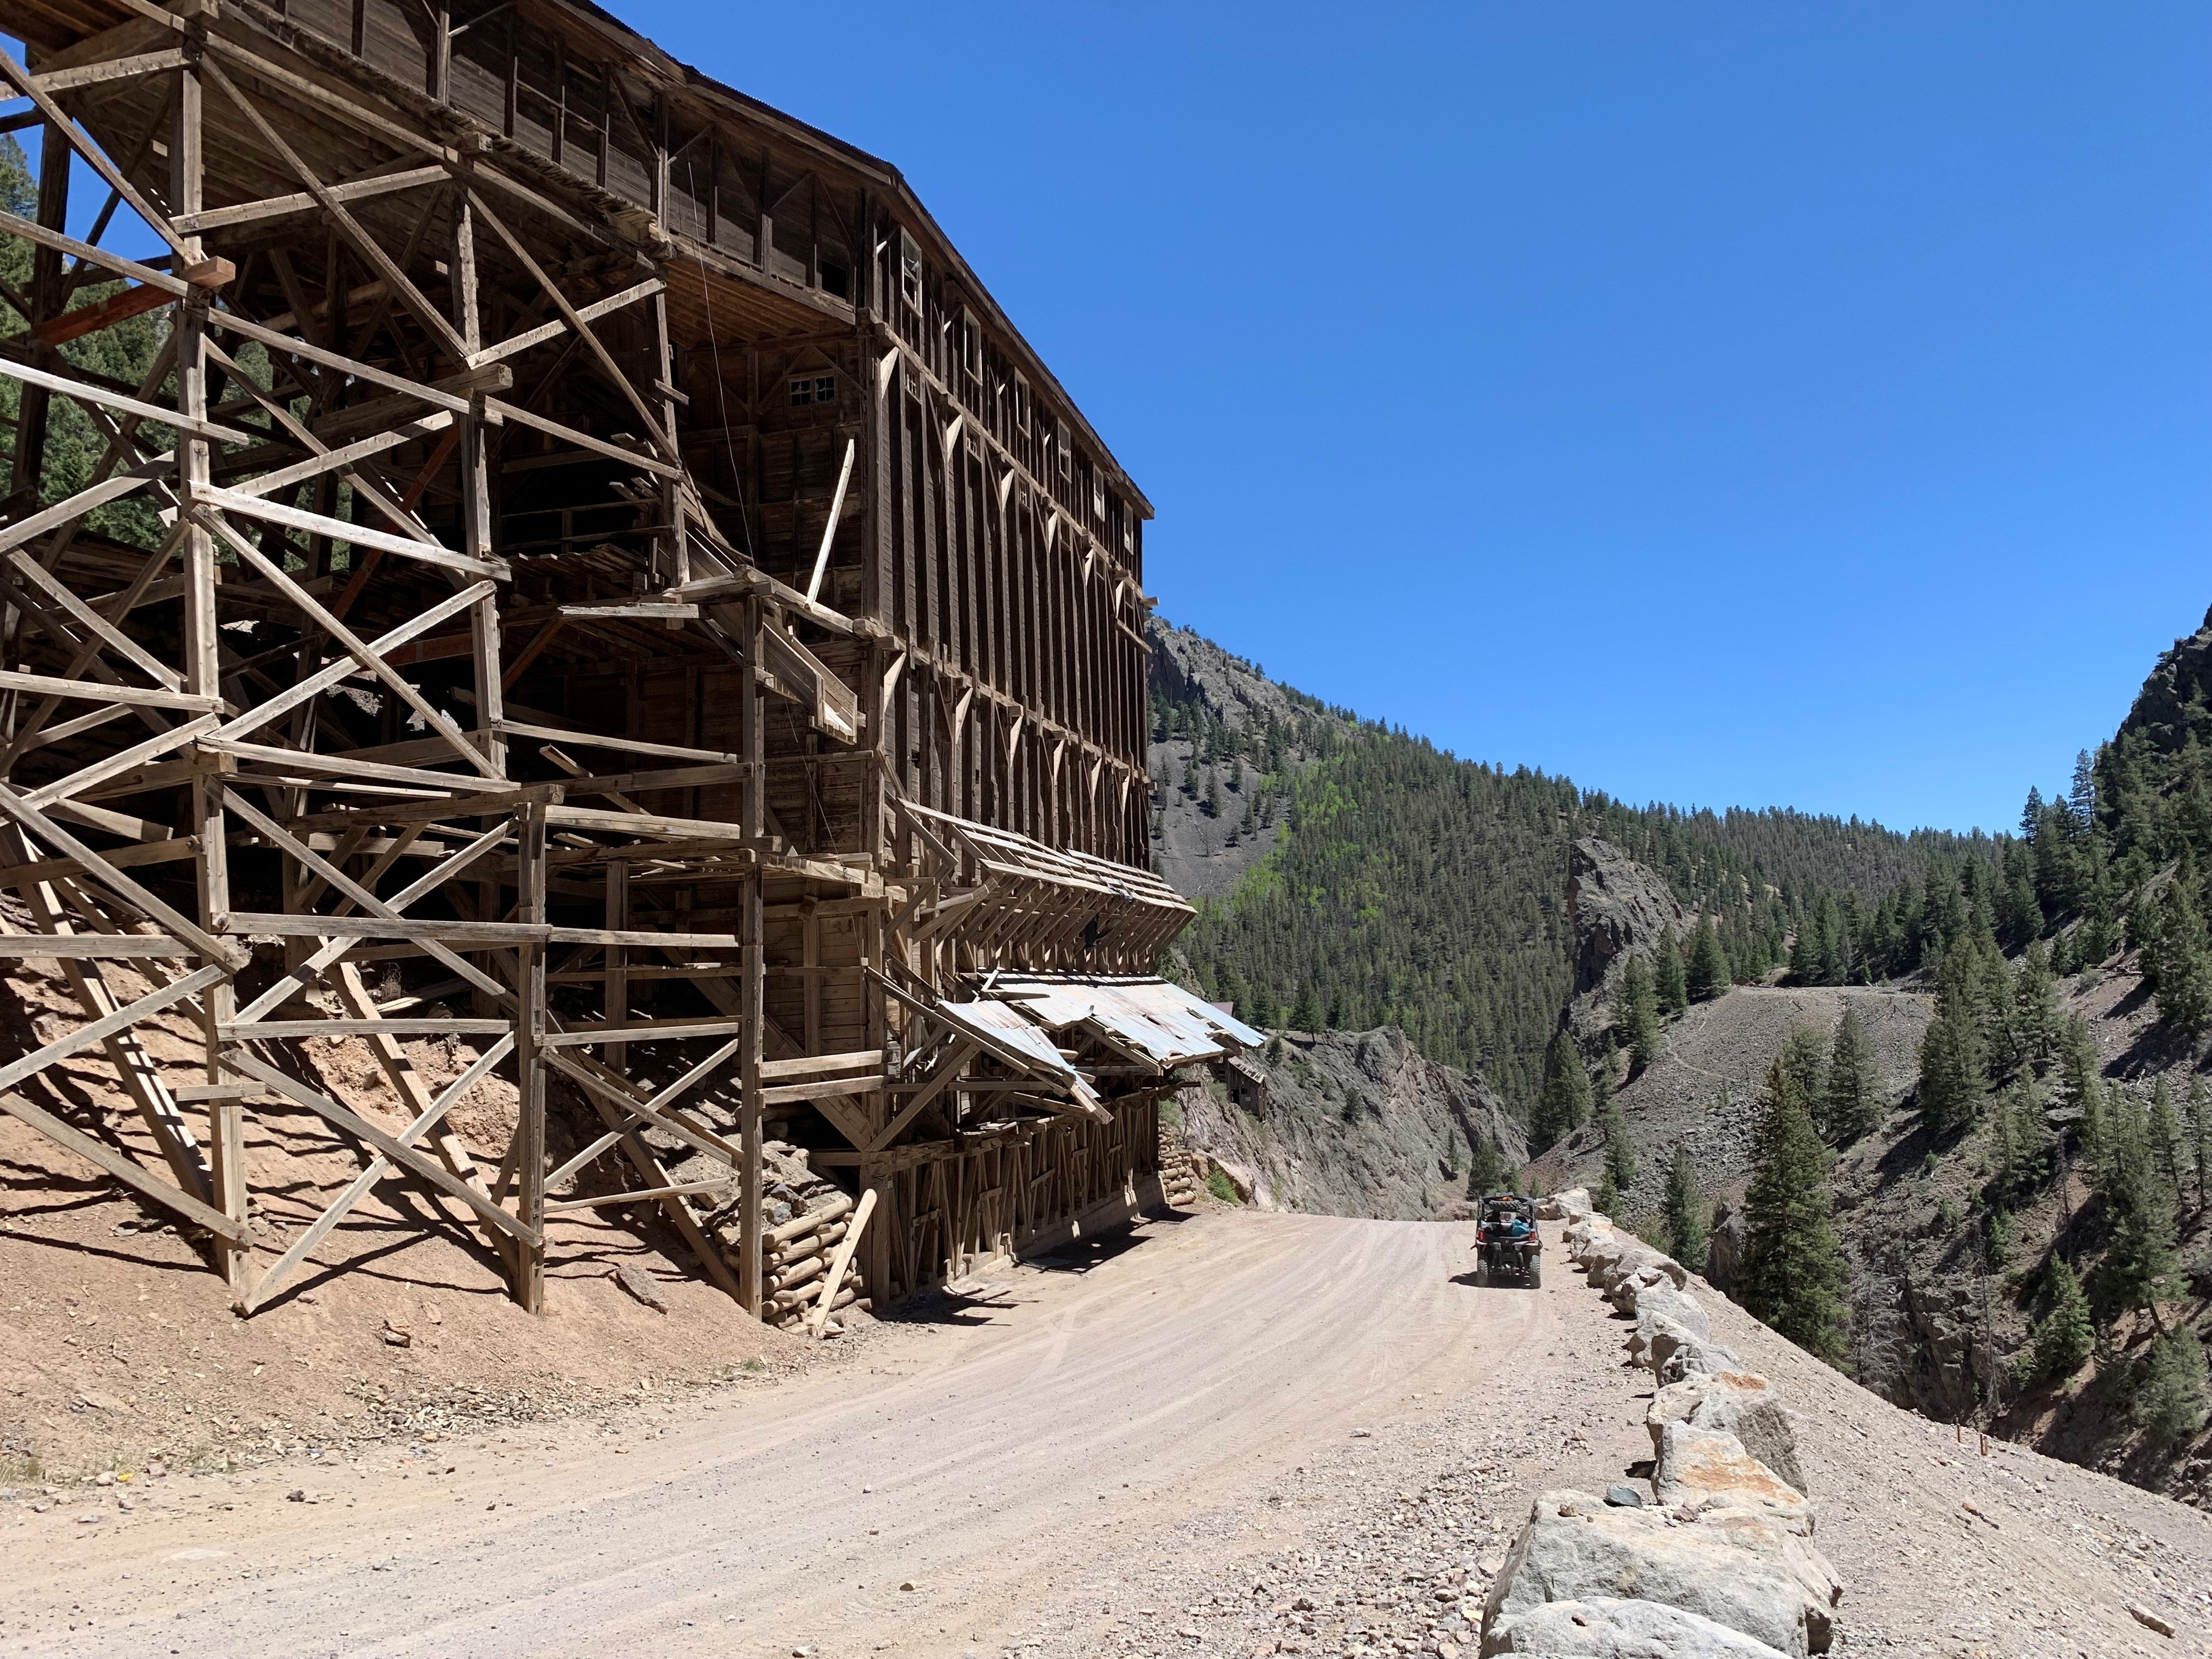
On our drive back home to SE Texas after picking up our Ollie, we stayed at the COE Maumelle Park (Highly recommend). After unhooking the trailer, we made a short drive of about 10 min. to the TR Pugh Memorial Park located within Little Rock. I thought I would share the photos as it was a wonderful place to see and highly recommend you visit if you find yourself in the Little Rock Area.
- 13 replies
-
- 12
-

-

-
SeaDawg, Your approach is another great solution to the noisy seat opportunity. I used the 3/4" felt tape on mine but it might have been a little easier for me to use the 1" as there was ample surface area to attach it to and it is only a couple of bucks more. The 75' of tape was plenty and I now have a lot left over for replacement at a later date, if needed.
-
We elected not to utilize the screws provide to secure the panels down as we wanted to ensure easy access for any maintenance needed. Therefore, we noticed the rubbing between the panel and the body of the trailer made a little noise. An easy fix was to apply this felt tape to the body of the trailer where the panel makes contact. I must say it worked great and still allows you to screw the panels down if you desire. For ~$15 we would highly recommend if you find yourself wanting make the seats a little quieter. I will try to go out and get some pictures this weekend to share on this post. Another positive is you can remove at anytime without much effort, if so desired. JVCC FELT-06 Polyester Felt Tape, 1mm Thick, 75' Length x 3/4" Width, Black https://www.amazon.com/gp/product/B000QDRRNE/ref=ppx_yo_dt_b_asin_title_o09_s00?ie=UTF8&psc=1 Happy Traveling, Mark
-
Dexter Leaf Spring Axle Zerks - Elite I
QuestionMark replied to WNCpete's topic in Mechanical & Technical Tips
Skalywag, Many thanks for taking the time to go out and get some photos. This is just another example of why the Oliver community is one of the best. -
Dexter Leaf Spring Axle Zerks - Elite I
QuestionMark replied to WNCpete's topic in Mechanical & Technical Tips
I heard back from Jason today and he has escalated the case to Oliver QC/Engineering and Dexter for a resolution/recommendation. Hopefully, I hear back from them with a recommended fix and can move forward. He also indicated he had the same concern when they first started using the Dexter HD kit on the single axle trailers as Dexter approved but might have expected the OEM to have a bushing on the rear hanger. I will let you know what I hear back. -
Dexter Leaf Spring Axle Zerks - Elite I
QuestionMark replied to WNCpete's topic in Mechanical & Technical Tips
Skalywag, My trailer has the brass bushings installed in the spring eyes but nothing between the ears of the rear hanger. Sent my pictures to Jason for comment but, he did not respond with a statement that the installation missed installing the sleeve/bushing. It would be great if you could provide a photo as I can use it to have a more detailed dialogue with Jason. Here is a youtube video of what my concerns are without having the bushing on the rear hanger. https://www.youtube.com/watch?v=4Y8vyIrodEw&feature=emb_logo I am new to trailer suspensions so I can't really say it is absolutely installed incorrectly. It might just be the new way of doing things to save dollars or that dexter has not seen a large number of failures to warrant a more consistent approach. I only discovered the issue when tracking down an excessive amount of squeak in the suspension and went to grease it. Upon seeing the grease just come out of the bolt, I realized something might be incorrect and started asking questions. Here is a photo I found on etrailer of a rear hanger for a single axle trailer that shows a bushing that would be a great improvement to the open bolt install I have. Thanks for taking your time to help a fellow Oliver owner out!
-
Dexter Leaf Spring Axle Zerks - Elite I
QuestionMark replied to WNCpete's topic in Mechanical & Technical Tips
Skalywag, Do you happened to have a photo of your initial setup and post install? Looks like you tried to upload a photo but it is not coming through. If I am understanding correctly, your upper bolt (goes through the hanger) came with a sleeve (bushing) from the factory, correct? -
I purchased these from Amazon about 6 months ago and would highly recommend. They fit perfectly on my 2018 F150 FX4. Set of 24 Eisen 14x1.5mm One-Piece Lug Nut