Tony and Rhonda
-
Posts
77 -
Joined
-
Last visited
Tony and Rhonda's Achievements
")


-
@ScubaRx Great idea! I hadn't thought of a trophy shop. I'm anxious to see the results. Do you have or need the original artwork? If so, I think @topgun2 has it or I can send it to you if needed. Thanks, Tony
-
@topgun2 Yes, you sent me the files. I just can't find anyone to make one plaque at a reasonable price. Hopefully one of the other plaque-less owners has found someone. Tony
-
Reviving an old thread. Has anyone found a vendor of metal business cards that can produce the hull number plaques? I'm looking for a business card plaque as close to original as I can find. After several inquires, I've found one Etsy vendor who can make a not very close to original looking plaque. Has anyone had more success? Thanks, Tony
-
Probably depends on the weight of the new shade and amount of contact area but do you think rubber cement would work? Easy to apply, easy to remove and inexpensive.
-
Hopefully I'm posting in the appropriate thread and it has not already been posted here. Just saw this on Bloomberg via MSN: https://www.msn.com/en-us/money/companies/ford-recalls-4-4-million-vehicles-on-trailer-controller-flaw/ar-AA1X88AR?ocid=hpmsn&cvid=69a1a8ea953d4482be96a7f27cdc157f&ei=145 Bloomberg (subscription required): https://www.bloomberg.com/news/articles/2026-02-26/ford-recalls-4-4-million-pickups-suvs-on-lighting-system-flaw
-
- 2
-

-

-
Moving Stabilizer Jack Switches
Tony and Rhonda replied to Tony and Rhonda's topic in Ollie Modifications
We've installed a LevelMate Pro and it seems to work well. I ran into an issue when zeroing it out. Front to back wasn't a problem but our Ollie has a slight crown right to left. I tried to split the difference when calibrating the LevelMate Pro. @Ronbrink's post above about leveling his Norcold has me rethinking this. We had issues with a non-working furnace in another RV when the rig wasn't level. Don't want this to happen with the Ollie. We also have the 3-way Norcold. As @Ronbrink mentions, the top of the frig door should work for front to back. What about right to left? Are the internal shelves 'level' or do they slope in or out? Is there another place that would be better to use for level? Thanks, Tony -
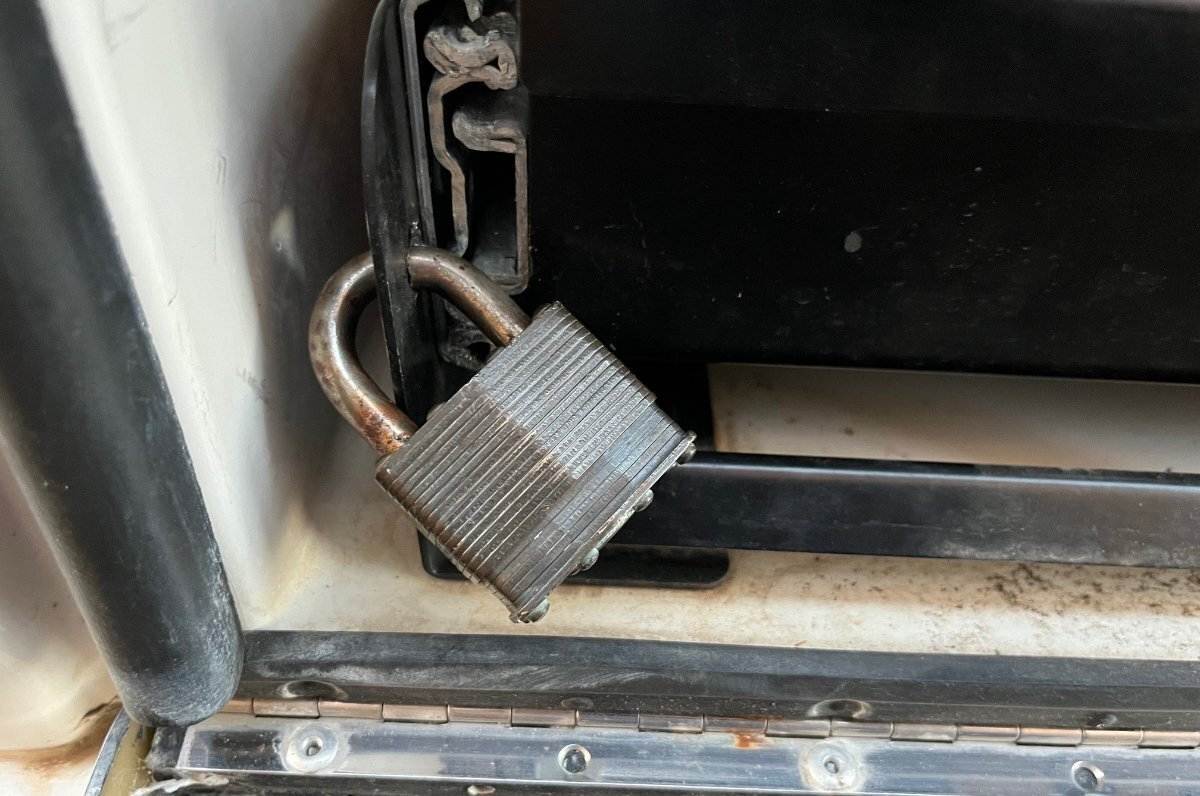
Doesn't @jd1923's post from Oct. 2024 solve two possible problems: preventing (or slowing down) theft and locking the tray in position?

-
Browsers may or may natively not open a text file. Sorry, it looks like I left out the step where you download the file to your device then change the suffix from .txt to .htm. When re-labeled as an .htm file, it will open in your browser. I'll add the .htm version as an attachment to the post. John E Davies -HOW TO threads and Tech articles LINKS.htm This should open directly in a browser. If it doesn't, please let me know. Tony
-
John Davies has a wealth of modification knowledge in his list. I can download the list but can't open it due to using an older version of MS Word (2010). As I think I posted in another thread, I found all the links went to the same article. I also found it difficult to find what I was looking for since each subject is only shown in the URL. So, I downloaded the page and modified the links so the subjects are easier for me to read and opened to the correct thread. I've attached my edited version of John's list as a text file. If anyone wants to use it, just change the file suffix to .htm and it should work just like a web page. John E Davies -HOW TO threads and Tech articles LINKS - Copy.txt And I thank John for all the help he's posted! Tony
-
Disabling the speaker on an Apple Air Tag
Tony and Rhonda replied to Patriot's topic in General Discussion
We use Tile Pro trackers (by Life360). Works with Android and iOS. Don't know if they are as feature rich as AirTags (don't have an iPhone) but they have several models with different features. https://www.amazon.com/Tile-Life360-Pro-Bluetooth-Compatible/dp/B0D637HWC5/ref=sr_1_19?crid=2XJAY04P3UCDH&dib=eyJ2IjoiMSJ9.bO9LSRG-Q2eHGVfY3qcVHIf7ZNIXZ0jEakdV-K7k_LsylnUuOmqcGy1y1rYMhs1V3ByTDGfVetzFThllP0vFn9iWM7HTzU4hz2ioekXd_UnjhNATNzHYQ46Y4UjAwPyAUbcFXq7FqepiYY9ZLAxqHqMm2ZKB_vP-lR5USAiQVijIddJulZNzaBQD76w6inYTfd4IfG-jbosNxodqQaPOUZoa2ehnzJbLDOfEBFpUPoU.fYN5jHbnmqMjz2TA9I1VgJJJJNhHkT9dpjResmsEYIM&dib_tag=se&keywords=tile%2Bfor%2Bandroid&qid=1765854073&sprefix=tile%2Bfor%2Bandroid%2Caps%2C127&sr=8-19&th=1 -
Changing tires in the wild - lessons learned
Tony and Rhonda replied to John and Jodi's topic in General Discussion
@Jamie Peghiny I've been following this thread and I just read you added your Ollie's year and hull number to your signature and wonder it you have a typo? Your sig. shows and 2012 LE2 hull #802. We're a 2017 LE2 with hull #251. Something doesn't add up. Lots of knowledge here so I only bring this up so you get accurate help. Tony -
Moving Stabilizer Jack Switches
Tony and Rhonda replied to Tony and Rhonda's topic in Ollie Modifications
I got the idea of moving the switches while watching @shhQuiet's videos. It does seem there are positives and negatives of the two (or three) locations. I have lots of chores I need to do on the camper so I can put this on the back burner and think about it some more. Thanks everyone for your imput, Tony -
I've tried searching the forum but haven't had any luck finding what I'm after so.... My 2017 hull has the stabilizer jack rocker switches located at the front of the trailer. This is not so convenient since I can't see the jacks during operation. I've noticed the newer trailers have the switches behind the basement door so the are jacks visible. Has anyone moved their switches? This seems like a fairly straight forward mod but I've been surprised before. Thoughts, comments? Thanks, Tony
-
Andersen WD Hitch Friction Cone Noise
Tony and Rhonda replied to Tony and Rhonda's topic in Towing an Oliver
Our upgrade was supposed to be delivered today but it's now shown as delivery on Monday. Even though we're about 20 miles from UPS WorldPort, UPS decided to route our shipment through New Jersey and Pennsylvania (so far). Tony -
Just an FYI for anyone still with the old style Andersen WHD ball mounts with the exposed friction cone. I can't find the post (circa 2022?) that started me down this road (about horrible noise from a wet Andersen ball cone) but we encountered this after a night of rain during our last trip. It was still making noise after a week of dry weather. I did find a Service Bulletin from 2018. I called Andersen and was told I could replace the friction cone under warranty or I could upgrade to the newer style ball housing and triangle plate (whale tail). The price has increased but is still pretty reasonable compared to full price replacement purchasing the parts. The upgrade now costs $150 and includes the 2" Ball, Ball Housing, Triangle Plate, Friction Cone, Snap Ring, Pin and Clip. The 2 5/16" ball may be available also. Tony