
Leaderboard



Popular Content
Showing content with the highest reputation on 10/17/2017 in Posts
-
Here is a video to help show you how to winterize your Oliver Travel Trailer. Note there are two valve configurations depending on the year model that can be seen at the 27 sec and 35 sec time frames in the video. Hope this helps!2 points
-
Solution awesomeness!!! Ryan is an expert with this product and is a pro at remotely helping with very detailed step by step instructions. So anyone looking for help along these lines...... First try disconnecting and reconnecting the phone cord in the IPN Pro Remote. If this does not solve the problem....... Then - go to you 2512 Blue Sky control under your seat storage. Remove front panel. Disconnect and reconnect the Positive Battery Output Wire (Red wire and one closest to empty screw). *This was my magic point.* Solar panel charge lights came back on and number indicators available on IPN Pro Remote. Hope this helps someone in the future. Thanks for everybodys' input!!! Happy girl, Carole1 point
-
We used to winterize 40+ units, at a campground we used hang around, every fall. We blew out every one with air(we also did the supply hoses just to be sure) and then added antifreeze. It is a process that, so far, has never failed us. Air alone can leave just a enough moisture to gather, freeze, and maybe split a line. We watched the Oliver video, and then pulled out the owner's manual. There seems to be differences between the two. Also we found multiple errors in the manual. If you have never winterized your Oliver before I would suggest, before gathering everything, you do a dry run. Just so you know where the right valves are, and switches(we tag them while we were there). An example is, in multiple places, it is stated that you need a 1 1/8" socket--- what I really need is a 1 1/16" socket to pull the anode. Switches and layout have been updated, but evidently the manual they gave me had not been. I had been led to believe that during sales talks and brochures that you drop a hose into a bottle of antifreeze, turn on the pump, and voila - unit was done. Evidently not so, now you need a hand pump to do a couple of places and no one around here carries them. We have started a checklist, a step by step guide if you will, for my particular unit. Two side notes: we always turn all valves back to standard operating positions when winterization is complete. So that it is ready to go at a moment's notice. The other is, we opened the compartment toward the back from the pump compartment. We found the heater hose had some strange kinked bends in it. We did straightened them out. We probably will shorten the hose a little and support it better. The idea is it will allow easier airflow to the passenger compartment, and after all, that is where I live.1 point
-
Good video but I have some comments. Draining the standard water heater: relieve the pressure at the valve, then close it again. This traps air so the water does not gush out all over your legs when you remove the anode. Then step away and open the valve for a full drain. Using a flush wand, flush the sediment from the heater, (then blow out any residual water if you have compressed air), then reinstall the anode (or a new one). Close the pressure valve. Partial winterization: the vulnerable parts of any RV plumbing system are the ones that penetrate or are very close to the outside of the hull. Instead of pumping (undrinkable) antifreeze into all the service ports, use compressed air and a blowout fitting to blow the water out. Include the outside shower in this process. This way you can keep the fresh tank full and the system functional, but have little or no water in the outside lines. This is only good for mild winter temperatures when the cabin is kept heated. Make sure that you regulate the pressure to no more than 60 psi, and if your fitting has a restrictor in it, drill it out to allow more air flow. The restrictor is there to hopefully prevent damage when a lunatic hooks up unregulated 140 psi shop air to the fitting! Fresh, gray and black tanks: these should be emptied before a full winterization. A tank can withstand a little layer of frozen water at the bottom, but a full tank can freeze solid and rupture. The black tank should be kept wet enough to prevent the crud at the bottom from hardening. The other tanks do not need to have water in them. **** IMPORTANT NOTE ****** Unless your trailer has the latest fresh water pickup tube modification, the fresh tank cannot be emptied without tilting the tongue WAY up high. When level, there are 12 gallons that are trapped and unusable due to the location of the factory pickup opening. That opening feeds both the pump and the drain pipe. Tilting will get most of that extra water out. If you have the new pickup tube that comes in from the top, you can run the fresh water pump to scavenge any remaining water. Composting toilet: service the pee tank by emptying and cleaning it, do not add vinegar until warm weather returns. Blow out or flush with AF the unused water supply line that is dead ended at the valve behind the toilet. This line can be disconnected and capped under the vanity to eliminate this messy requirement. Liquids in the lockers, fridge, cabinets and drawers: remove everything that can freeze, including cleaning sprays and canned goods. Don’t forget the drinking water hoses, and water filter and regulator, if you have these! Some people don’t bother to use antifreeze in the plumbing but instead just blow all the water out. Air cannot freeze and any small amount of residual moisture will probably not hurt anything. Maybe. There are no guarantees with this method. Regardless, the sink and floor traps need to have AF poured down them. Make sure you blow air through ALL the lines, by cycling all service valves. If a section of line is left with water in it, that part might freeze. Blowing out the system will dump more water into the gray tank, so leave draining that tank until the last step... You can use a bucket to catch all the water coming out of the faucets, so that it doesn't go into your gray tank. In the video AF is sprayed directly on the ground..... really?!! Use a bucket so you don’t track it everywhere, especially into the cabin. It is non toxic but very messy! Hose off any spilled stuff. Buying antifreeze: any hardware store has this for less than 3 bucks per gallon, don't pay inflated prices, especially for the stupid Camco 30611 "concentrated" package - two bottles of concentrate, just add water to make 2 gallons, $20! I also have a bridge for sale. Antifreeze 101: AF WILL crystalize at about +12 F but it will not solidify and expand until about -50 F. So don't be alarmed if very cold AF appears slushy. That is normal. Unless it has been diluted with residual fresh water that did not get flushed out, which is bad. More volume of AF is better when winterizing. An extra gallon will give better protection. https://www.jamestowndistributors.com/userportal/document.do?docId=1144 I keep Mouse in an insulated but unheated garage. I plan to use compressed air for a partial winterization, but keep the fresh tank and inner plumbing serviced and ready for use in the event of a winter emergency. Deviating from Oliver’s instructions may result in plumbing damage due to freezing which will not be covered under warranty! There are some other steps needed for putting your Ollie to bed for the winter, but that should not be part of this thread. John Davies Spokane WA1 point
-
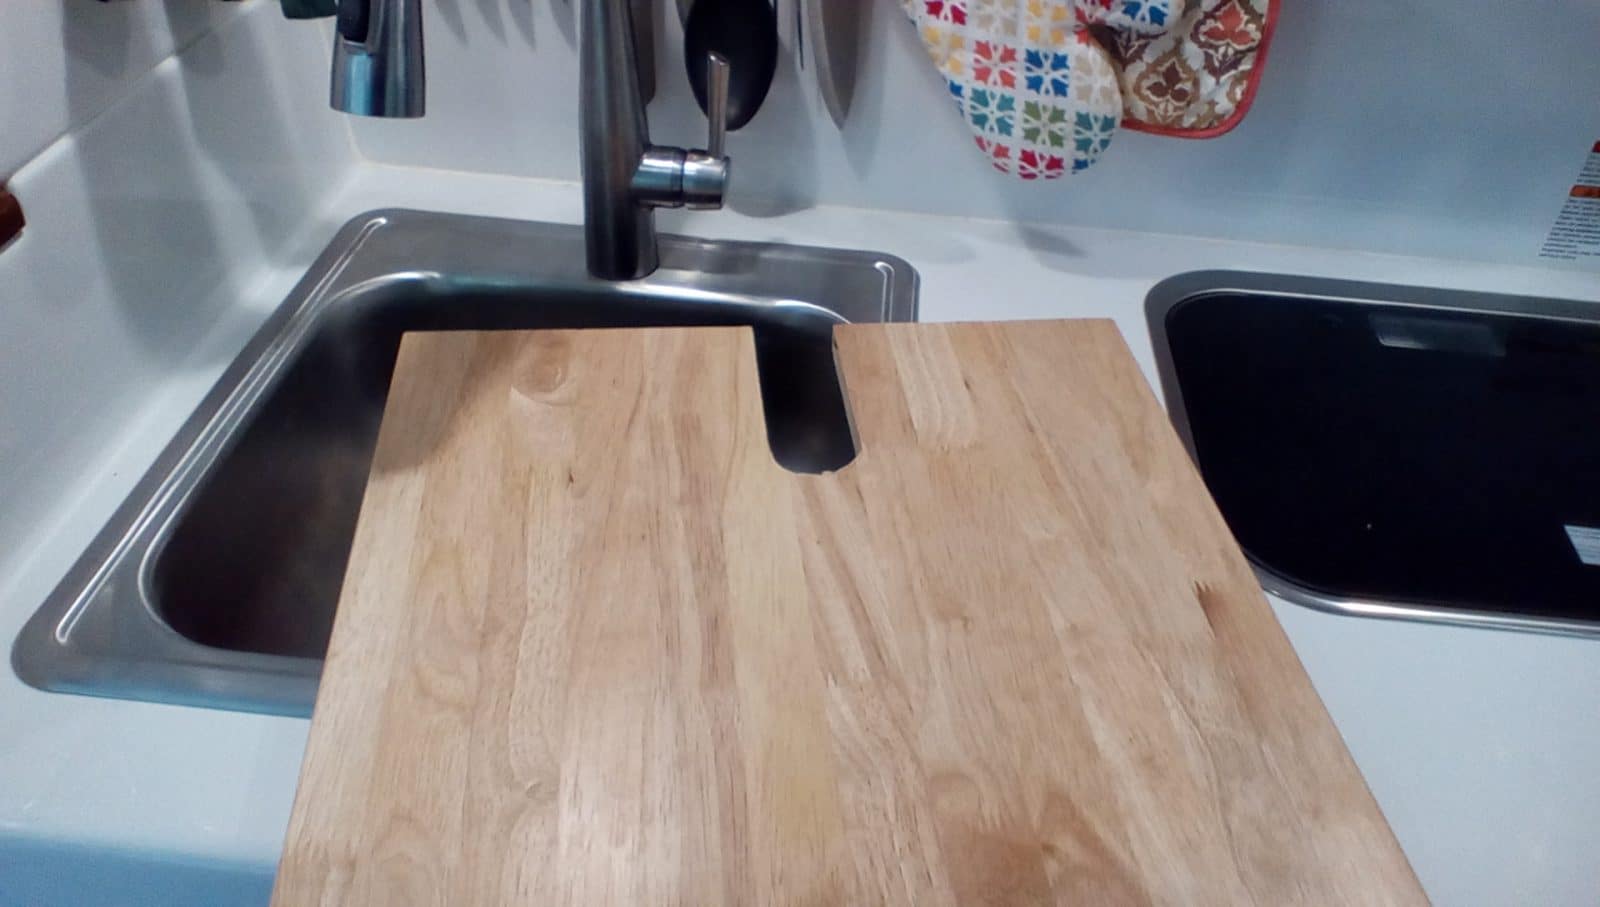
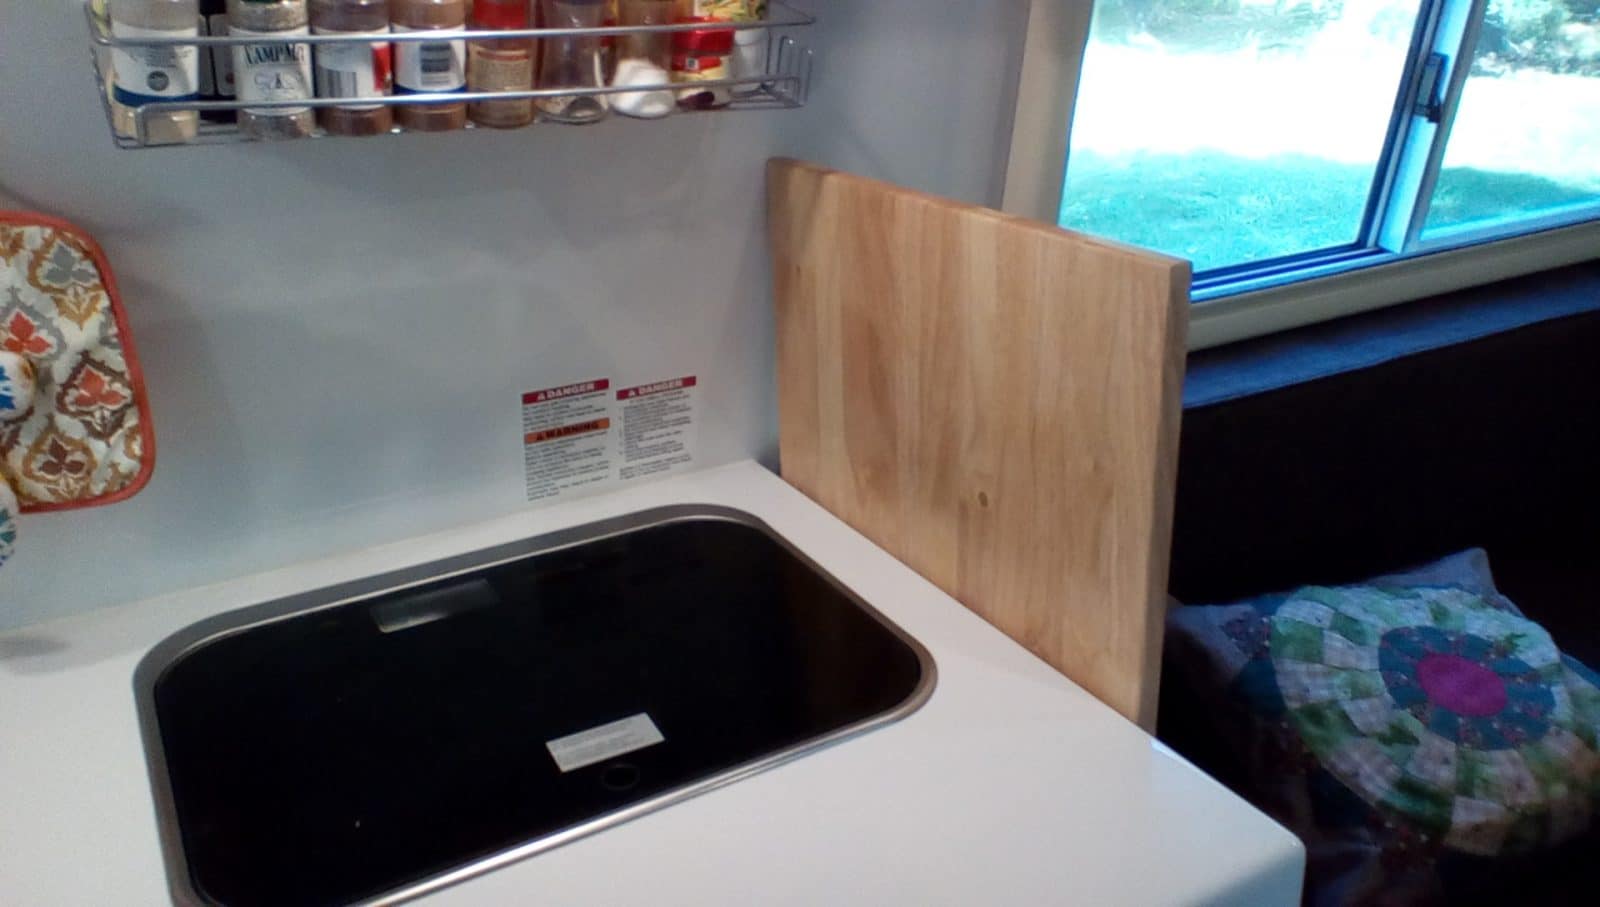
We went to a big box lumber place (Lowe's maybe?) And bought this piece. It is designed to fit on the top of a rolling Husky tool box. It slides over the sink easily. We left ours snug where it goes over the faucet, this keeps it from "drifting" while we travel. It stayed snug when a drawer didn't. We trimmed the length a little, used a hole saw in the drill, and made two cuts. Simple, works well, adds usable counter space, and hides dirty dishes.
 1 point
 -
I believe it was a 1 1/2". I used a small square against the outside wall up against the faucet. I then measured to the refrigerator wall, both to the square and to the faucet. I remember I measured three times and cut once. I got lucky. If I was to do again I might make a cardboard template?1 point


-
Recent Achievements
-


















