C&MCurrie
-
Posts
64 -
Joined
-
Last visited
-
Days Won
1
C&MCurrie's Achievements
")


-
Will Prowse (a lithium battery guru) has a YouTube video on just this subject. He basically says no, in most cases not needed.
-
We will be there and would love to join you all. It will be our first time at Quartzsite and are really looking forward to the experience. We are debating whether we should bring our e-bikes. Any advice?
-
Does Alcan have the info to manufacture springs for the smaller Elite I ?
-

Anyone replace Norcold fridge with Isotherm?
C&MCurrie replied to Kathy Tewart's topic in General Discussion
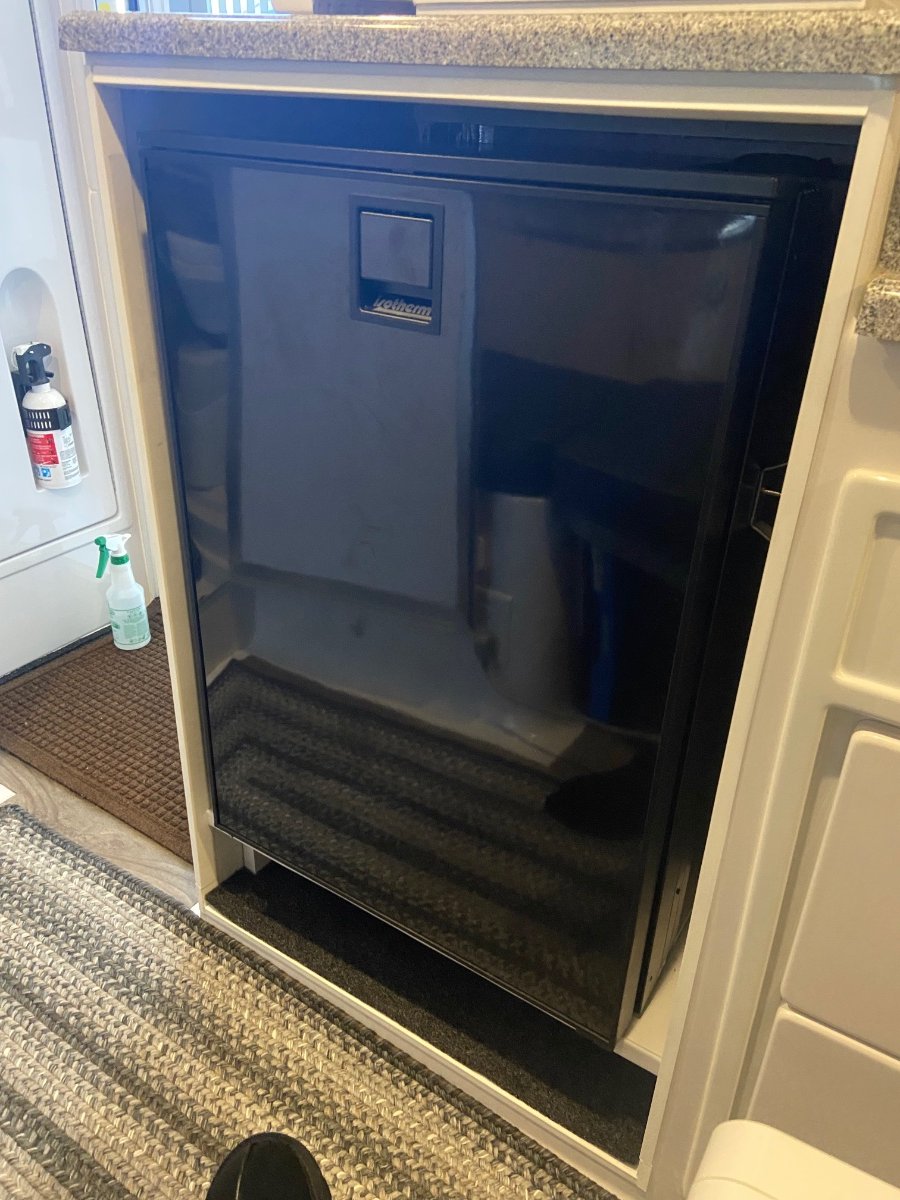
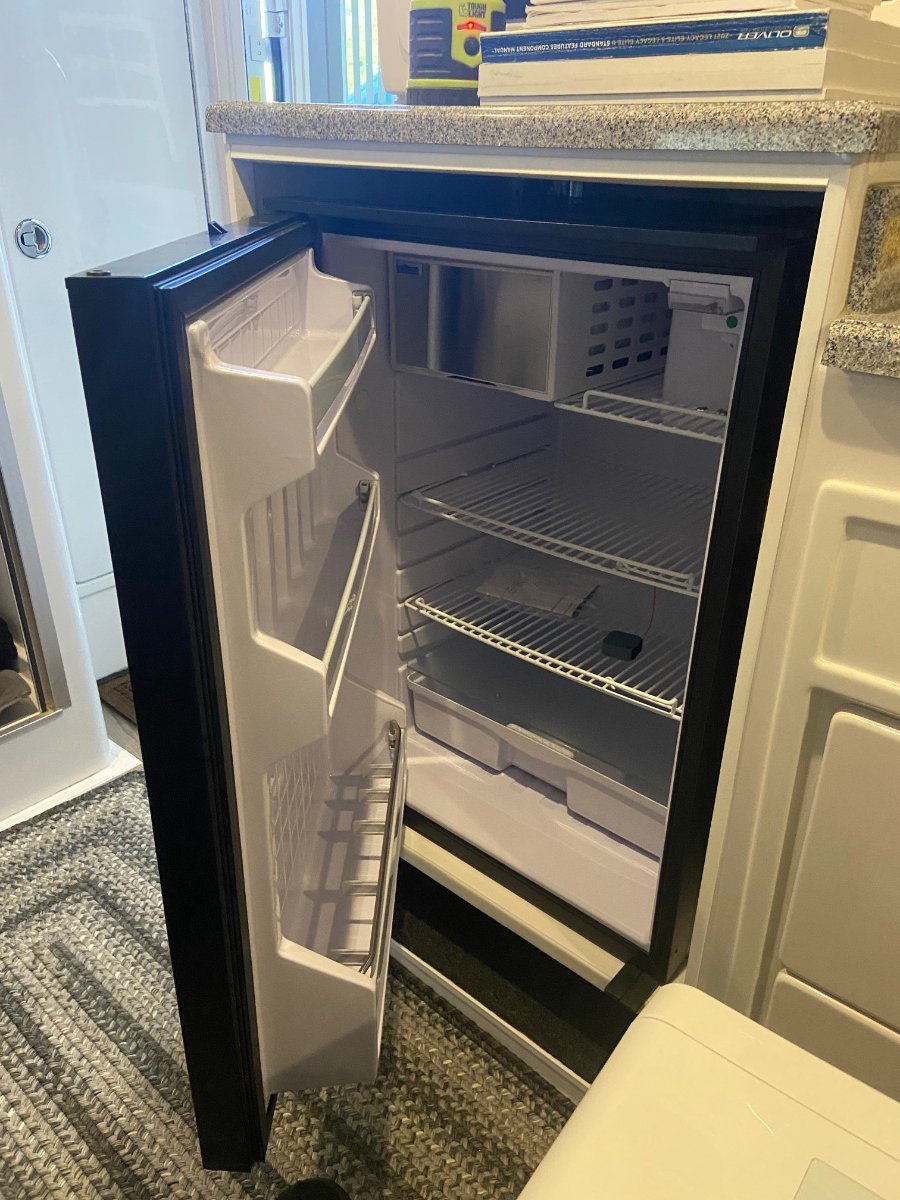
I replaced my Norcold with the Isotherm. Was a little involved, especially removing the Norcold from my Elite I. If sometime you happen to be in the NW Florida area, you’re welcome to have the Norcold I removed. -
We live and camp quite a bit in Florida and the Norcold had issues with getting to and maintaining temperature during the summer. I tried adding several fans to mitigate the problem and that helped somewhat. The Isotherm has no problem getting to and maintaining temps. Recovery is fast and getting away from the open flame is a bonus as well. During removal of Norcold, I noticed slight scorching on the rear wall of cabinet where the boiler assembly was.
-
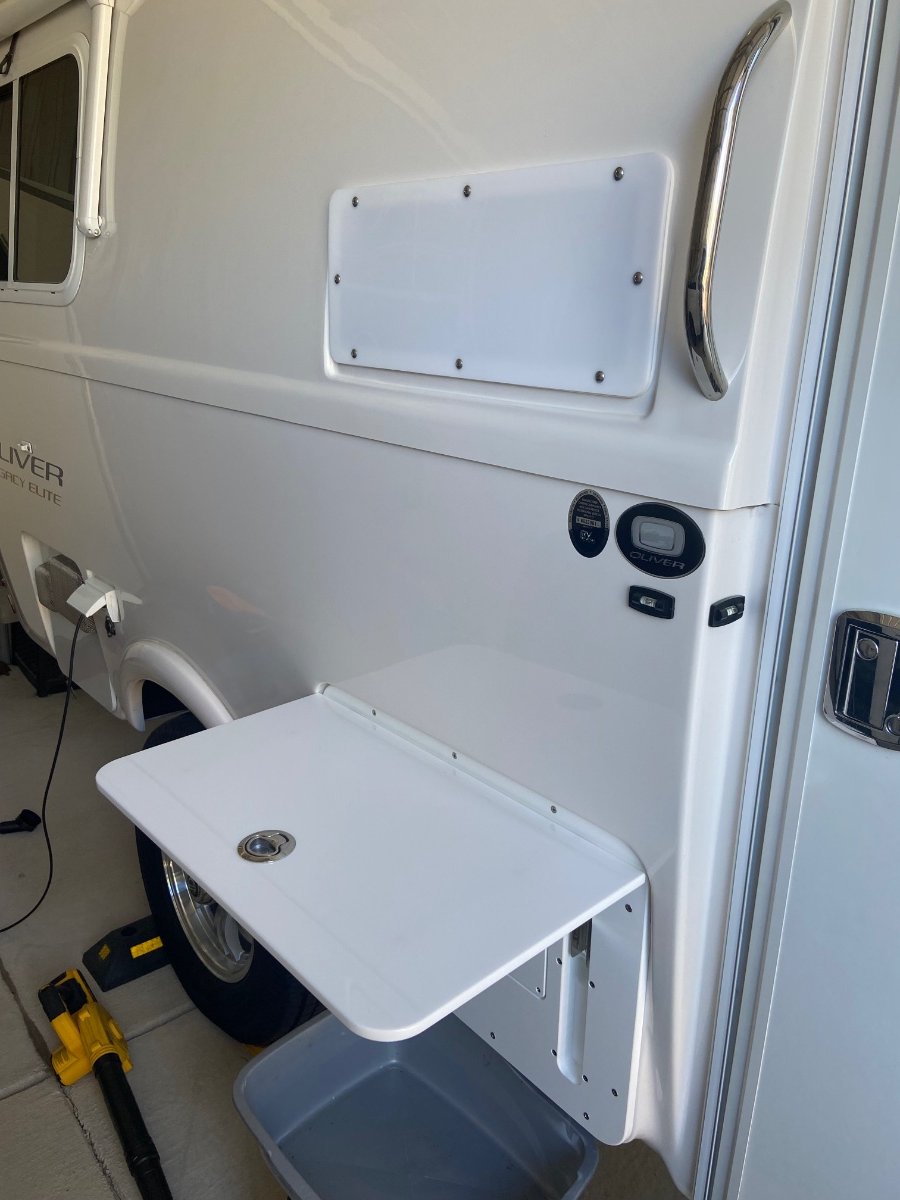
Thanks! I used white 1/4” thick plexiglass from Amazon and the table was ordered directly from Oliver. The rear wall of refrigerator cabinet, from bottom to top vent, was covered with 1” insulating foam board purchased at HomeDepot.
-
I have recently completed the conversion with the Isotherm that Oliver uses. Not too bad, hardest part was disassembling Norcold 4.1 and then reassembling it after removal from my smaller Oliver Elite. Had to remove refrigerator door and cooling unit in order to fit through the Oliver door. The Isotherm Cruise 130 fits through narrow passageway after removing its door. BTW, The Norcold works fine after reassembly and currently trying to sell.

-
12v only vs 12/120 compressor fridge
C&MCurrie replied to C&MCurrie's topic in Mechanical & Technical Tips
I have no experience with the Vitrifrigo brand but, yes, a bigger freezer was a requirement as well as physical dimensions that will allow us to get it into the camper without major hassle. It appears to be a well made unit and is priced a little lower than it’s competitors. -
12v only vs 12/120 compressor fridge
C&MCurrie replied to C&MCurrie's topic in Mechanical & Technical Tips
Thanks everyone, I really do appreciate your advice and decided on the 2 way. I love this forum! -
12v only vs 12/120 compressor fridge
C&MCurrie replied to C&MCurrie's topic in Mechanical & Technical Tips
I’m looking at the Vitrifrigo C115i. I agree with you that the 110 steps down to 12v anyway and that the 12v only model would be fine. Just was wondering if there would be a scenario where having the two way 110/12 would be beneficial. I’ll probably just go with the 2 way since both units cost the same anyway. Probably overthinking it, but thought I’d get some input from more knowledgeable folks. -
In the near future I am going to swap out the Norcold 3 way fridge with a compressor fridge. The model I’m looking at comes in both 12/120 and 12v only configurations. Any reason to choose one over the other? Seems like the 12v only model would be a logical choice since the converter would supply the 12v when on shore power.
-
We’ll be there too, site 98. The long range weather forecast looks good, hope it holds up. Gonna be fun!
-
Good to know I’m not the only one. I do think moving the temperature probe helped with the cycling. Yesterday I installed a relay which shuts off the interior fan when compressor shuts off. So far in testing, it doesn’t cycle nearly as much. I’m also hoping this will address the humidity issue we have at night. The consensus on the Houghton unit regarding humidity is that the interior fan never shuts off, thus reintroducing humidity back into the cabin. Can’t wait for next trip to try it out.
-
For those who have installed a Houghton ac, do you feel the temperature setting is accurate? I set mine at 72 degrees and compared the interior temp against the readings of 2 Sensorpush devices and find that they both read approximately 76 degrees after the ac shuts off. FWIW, I have the 9500 Houghton and relocated the temp sensor so that it extends into the interior of cabin.
-
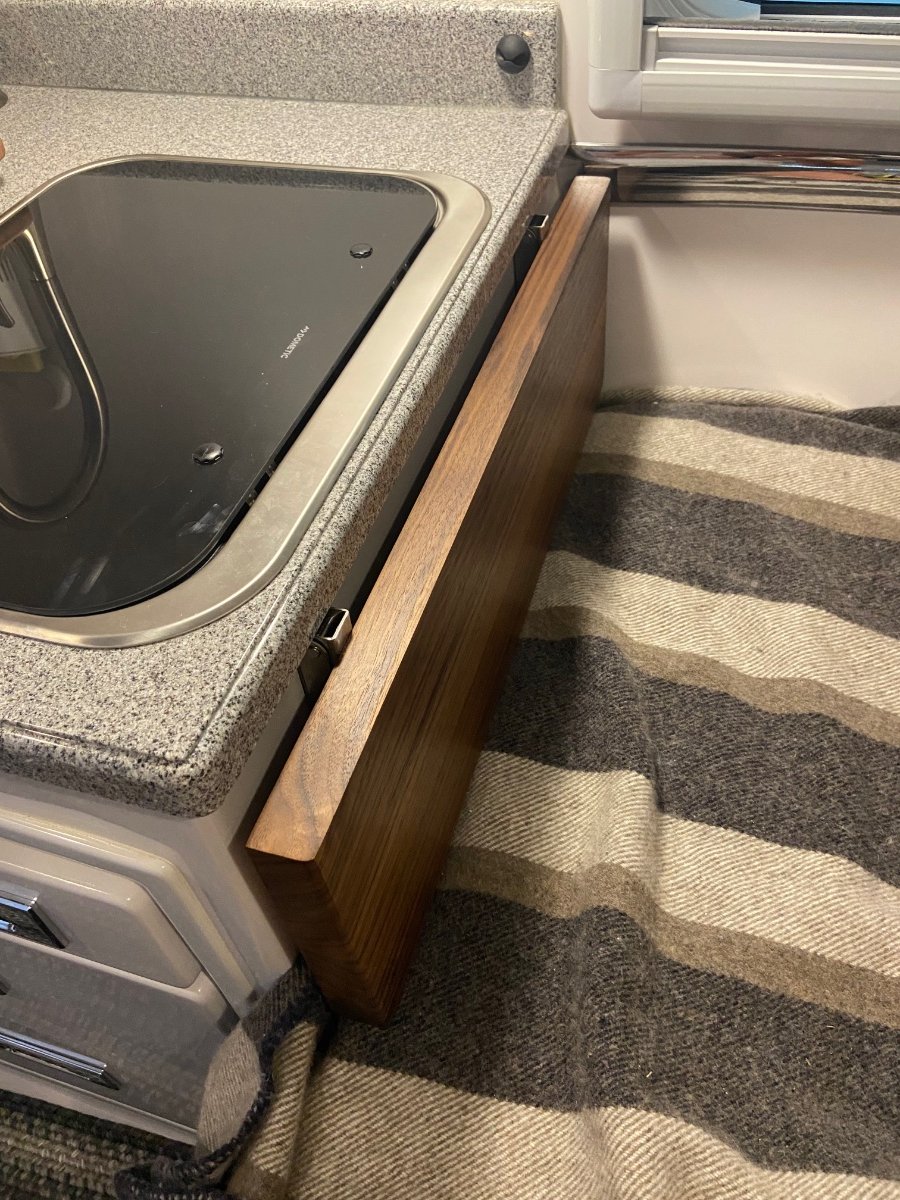
Loved this mod so much, I implemented it myself on my smaller Elite I . I was going to cut the wood, but decided to reach out Foy and have him make a beautiful walnut version of what I was envisioning. Of course, he did an outstanding job, couldn’t be more pleased with his craftsmanship. With my KTT mattress I could only go with 8” of width but it still makes a world of difference.
- 47 replies
-
- 3
-

-
- counter
- counter extension
- (and 2 more)