-
Posts
1,667 -
Joined
-
Last visited
-
Days Won
68
Posts posted by MAX Burner
-
-
7 hours ago, ScubaRx said:
You have gauges on your propane tanks????
Yes. They came with the braided LPG lines.
-
10 hours ago, Bill and Nancy said:
It comes with little aluminum spacers to raise it up but they didn’t work very well.
I decided not to use the spacers and opted for the "halo rings". Only issue there is that it's a bit of a challenge fitting them back into the tank tray - tight, but hey, it still seems to hold 'em in there nicely. Good comment about the sensors. Probably a good idea to pull them off when filling tanks - I can see how they could get smashed easily on uneven terrain.
-
 1
1
-
-
@Ollie-Haus Chris, you and Stacy hang in there, brother! Our thoughts and prayers are with y'all and your family....
-
 1
1
-
 2
2
-
-
OK, it's dark out, freezing rain, wind is howling like a banshee - you're tucked-in all cozy in your Ollie and the furnace quits. You don't have the heart to sent your wife out again to check the LPG tank gauges - so you go out and brave the elements to see what's going on inside the dog house.
As those that have one know, you can color that ship, "sailed" by getting a tank monitoring system.
Here's how we handled this MOPEKA modification earlier today:
1. Unpacked the Amazon box, downloaded the app and synchronized the two sensors to the remote using the app. 5 minute drill - easy peasy.
1. Halo Rings, Sensors and Remote.pdf
2. Remove tanks, cleaned bottom of tanks. Prepped sonar sensor with dielectric and placed in center of bottom of tanks with attached magnets. Placed halo rings on tanks.
3. Clean bottom of tank, place sensor and halo.pdf
3. Replace tanks, test again...
6. Replace Tanks, Test each again.pdf
4. Fixed VELCRO to back of remote and install inside OTT
One and done - so far, so good. We'll report back after a trip or two...
Cheers!
-
 3
3
-
 3
3
-
-
-
2 hours ago, topgun2 said:
You might want to re-think this in that the grease caps used by Dexter are not made of the heaviest material and are not the easiest to put back on the hub.
These things are not expensive nor are they complicated. Where I've had to replace mine over the years I've gone to ones like THESE because they are made from heavier gauge material and given the "flat" top they can be installed much more easily compared to the "rounded top" variety.
Bill
Good call, Topgun - just ordered a 4-pack from Amazon for $12! Thanks, amigo!
-
12 hours ago, LindaShields said:
Thanks for your help. We will get started soon to prep for the little trip.
If you haven't already done so, consider putting an IR temp gauge on your list of Ollie items to bring along - so you can check tire and drum temps along the way.... just say'n. A TPMS is another consideration, unless you've already got one.
-
 2
2
-
-
On 4/7/2023 at 7:24 AM, topgun2 said:
Interesting to note the difference in the condition between the two hubs - one is fairly rusted while the other is not. I'd be sure to check both the brake pads and operation of those brakes - especially on the rear. Also interesting is the difference in the two grease caps on the hubs. By the look of the front cap it would appear that it is highly likely that the rear cap was lost while the front cap was installed in a reasonably brutal fashion. I'd replace that front cap soon.
Nice job in getting that neglected running gear cleaned up - thanks for taking care of it.
Bill
I recently contacted the PO about the axles. After getting to the "full disclosure" part of the discussion, I learned from him that the front axle was replaced in 2021 due to either not greasing the bearings properly or whatever. He spun a bearing race destroying the axle and had to replace it. I wasn't happy to discover this after buying it - but at least I know the "rest of the story." Ugh.....
At least the brake linings were equally worn between front and rear hubs.
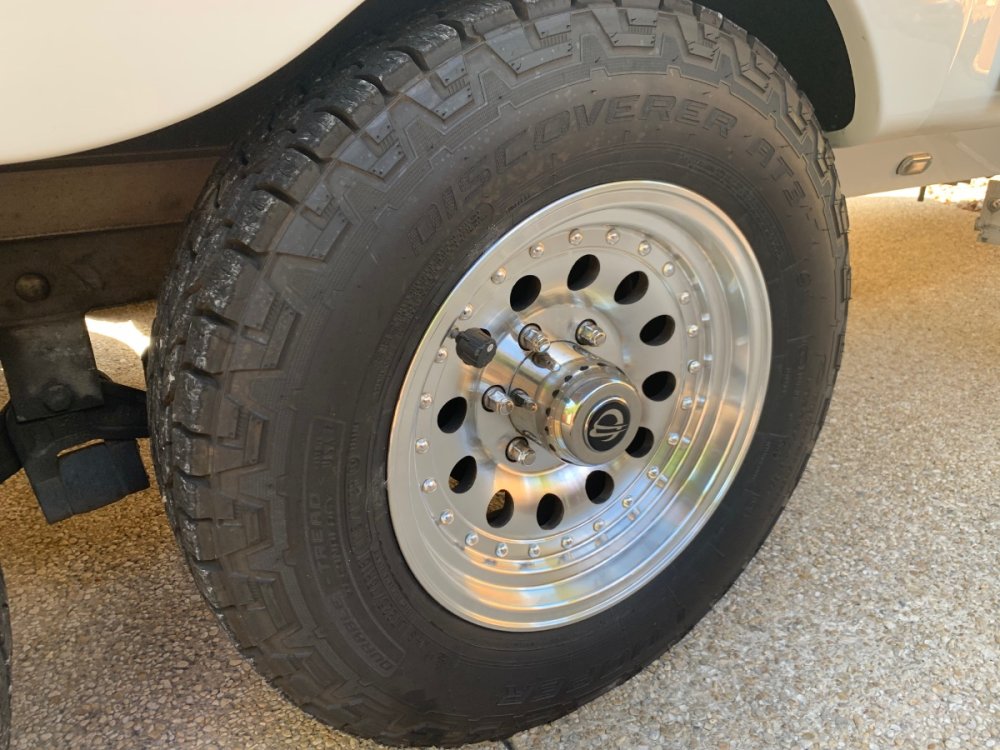
Planning to contact Dexter to order new (correct) grease caps for the front and rear hubs, BTW...
-
6 hours ago, Geronimo John said:
I was under the impression that they were no longer available for our OEM OTT rims. ??????
AH! I did not know that....
-
1 hour ago, Geronimo John said:
I assume you are all talking about the Cooper AT3 tires as Mike stated. Correct?
Correct - Cooper Discover AT3's... Ran Michelin Defenders on both my AS and TV back in the day - I'm thinking they're still a good choice for an Oliver.... IMHO
-
4 minutes ago, topgun2 said:
I believe that is why we got the BF Goodrich.
Good thing they didn't try saving build costs by installing GY Marathon (China Bombs!).... HA!
FYI: We're running Coopers - first time for us... So far, so good.
-
 1
1
-
-
On 4/1/2023 at 10:00 AM, Apreski said:
The purpose of this posting, is to apologize in advance for the heavy load I will no doubt become to the Oliver family.
@Apreski: Greetings, Steve and, welcome aboard! OBTW: "You ain't heavy, you're my brother"!
As long-time L/Cruiser owners and car campers, backcountry skiers, and almost as "long in the tooth" as y'all, we feel your pain in making this transition. But.... that said, I'll make a prediction: You will not find yourself in the fetal position on Night-1; or at least not in the Cruiser! Just say'n...
Keep us posted on the "hatching operations" later this month, brother.
Safe travels!
-
 1
1
-
-
On 4/7/2023 at 9:40 AM, Wandering Sagebrush said:
currently Airstream owners (2012 Flying Cloud 25 FB), but have been wanting an Oliver since we learned of them via Air Forums. One of the things we need to figure out is living in a smaller trailer with to large German Wirehair Pointers.
Welcome to the Oliver forums, brother...
FYI: We made the AS/Ollie transition last month ('85 Sovereign 25-foot/modified vintage rig) and we couldn't be happier (on many levels)! We travel with a 55-lb Siberian, Magnus. He was spoiled since 8 weeks old with the roomy AS layout, but is totally adapted to the Ollie's tight configuration. Obviously don't know what's going through is little "Husky brain", but I hope its something like, "hey, I'm with my pack - I don't care how much room I have, we're camping!" HA! 😎
-
 2
2
-
-
We've recently fallen into the "New-To-US" Ollie category also! Just know that you'll find answers to 95+% of your questions on this forum. Everyone is very helpful, knowledgable, and Ollie-experienced! Hope to meet you in person down the road... Safe travels and:
...a "hearty" Welcome Aboard to y'all!
-
On 3/26/2023 at 5:16 PM, Brian and Brandelyne said:
SO, I went and got two 1/2" nuts and matching washers to secure the regulator assembly to the rod by itself.
It's nice having the gas regulator "fixed" in position on the threaded rod with the nuts/washers when you're filling/changing-out tanks instead of flopping around!
-
 1
1
-
-
On 3/27/2023 at 7:31 AM, Brian and Brandelyne said:
the wall display is NOT needed but I wanted it there so my wife can easily check the tank levels and relieve her anxiety on those cold nights that we have enough propane to get through.
"Happy Wife - Happy Life!" We did the same thing - use both the wall monitor and app! 😎
-
 1
1
-
-
13 hours ago, CRM said:
I use labels similar to these. Have boxes of them left over from back when I was working in communications cabling.
Just bought some. I'll slowly knock out labeling the cables/harness system as I go through the systems. This could become mind-numbing....🤪
-
 1
1
-
-
OK, so here's a good one...
One of the discrepancies I noted on a "walk-around light check" during a recent weekend trip was an INOP license plate light. I checked the DC power at the pigtail connection behind the spare tire cover with the trusty multi-meter - good battery voltage. No biggie, right? Called up Ryder at Oliver parts department and he shot me a new light assembly (just south of 20 bucks, FYI) which arrived in about 3 days time. Did not bother testing the light - connections appeared totally correct.
After removing the wire loom from the 2-wire harness, I noticed "white to white" and "black to red":
R&R'd the assembly, connected power and energized the circuit. Nothing, nada, zero light. Hmmmmmph? Double checked all my splices with the MM, all good - but still no light. HMMMPH, again.
So, using the plug-in type splice connectors, I reversed the wires from the assembly to the pigtail to: "white to red" and "black to white"... The light fired right up.
I can only guess that either from the factory, or at some point in time, a previous owner miss-wired the assembly. I connected the original light reversing the polarity and found it was good to go all along! So, Hull #226 has been running around for quite some time without an operational license plate light.
A major "AssUme" error on my part thinking the wiring was correct because it "looked" correct. Could have saved $20 if I just tested the light before talking to Ryder. I got a spare light now. Lesson Learned.
-
 2
2
-
 4
4
-
 1
1
-
-
These are AIR RIFLES!
They allow for viable and effective single-shot training and practicing of sight alignment, sight picture, trigger control, and steady breathing. 100% legit sport.
-
 6
6
-
-
3 hours ago, HDRider said:
My wife loves the beach, and I love my wife, so Florida is on the horizon.
Awesome plan, @HDRider! Happy wife - happy life, right?
We cruised from our casa in NM to Key West several years ago with our rig - May timeframe. Enjoyed the beaches along the panhandle from P-cola to Apalachicola. KW was incredible.
Welcome aboard and enjoy your trip in your new Oliver!
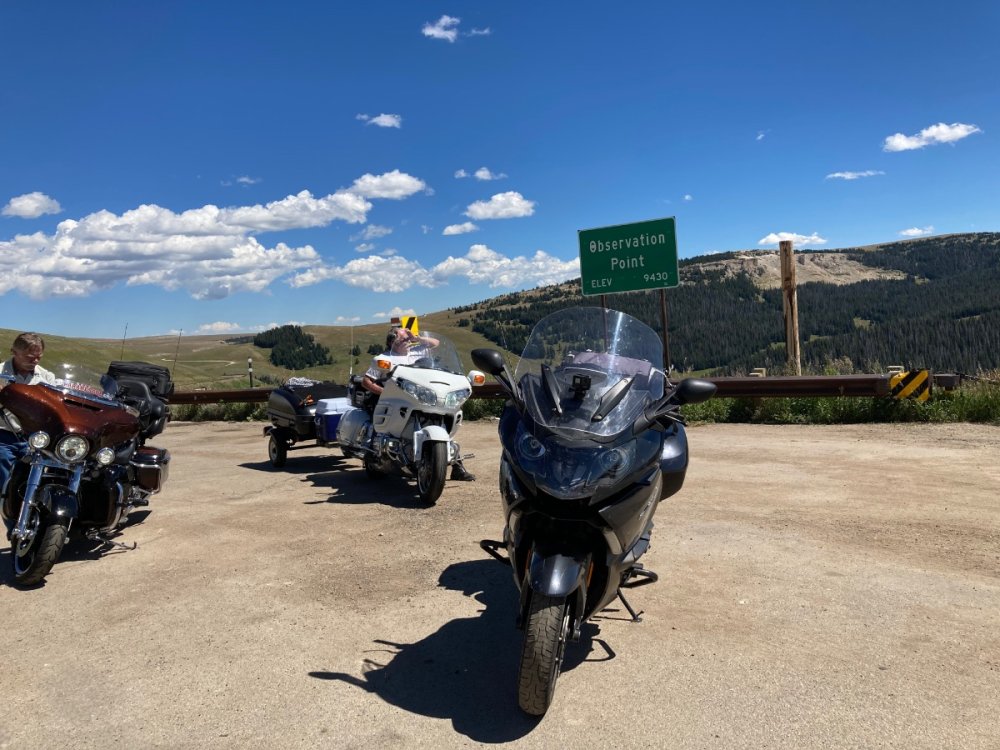
(PS, I'm thinking there's quite a few of us out there in Ollie world that also ride bikes... just say'n. Maybe a topic for the forum?)
-
 1
1
-
 3
3
-
-
5 minutes ago, mossemi said:
“keep the greasy side down”
@mossemi: "...and the shiny side UP!" HA!
-
 2
2
-
-
17 minutes ago, topgun2 said:
"tires are cheap insurance"
Hey, @topgun2: "...so is a good helmet!"

-
 5
5
-
-
Hey, John: "You could put yer eye out with one of those!" (remember that movie?). HA! But seriously, those look like a couple nice quiet pea-shooters. Real tack-drivers, I'll bet!
-
 3
3
-
-
Cool video!👍
-
 1
1
-


LPG Accessories Compatible with OTT Quick Disconnect Gas Port...?
in General Discussion
Posted
(Apologies in advance if this has been addressed before... can't seem to find a post that covers it).
It's apparent that LPG accessories (fire pits, grills, etc.) with dedicated gas regulators are not compatible with the OTT Quick Disconnect gas port (if so equipped). My understanding is that the first regulator at the tanks drops the working pressure too low for the second regulator at the accessory to operate correctly.
Question: What sort of modification/fix/work-around is needed so our LPG accy's are compatible with the gas port(s)?
At this point, we're using the dog house access port to connect the grill gas line to one of the LPG tanks - would prefer to use the forward or aft QD.