Solar Basics for Oliver Trailers
Solar power fits Oliver trailers well. It charges batteries with sun energy. This keeps you off-grid. No need for hookups.

Do You Need Solar Panels?
Think about your camping style. Solar panels charge batteries. Your Oliver has a great built-in charger. Plug in at sites with power? Skip solar. Go boondocking? Add solar now.
- Off-grid often: Solar is key.
- Always at hookups: No solar needed.
How Solar Works
Sun hits panels on the roof. Panels turn light into power. Wires send it inside. A controller manages the flow. It stores energy in batteries for later use.
Simple steps:
- Panels catch sun.
- Controller regulates charge.
- Batteries hold power.
No need to know every detail. Just enjoy the benefits.
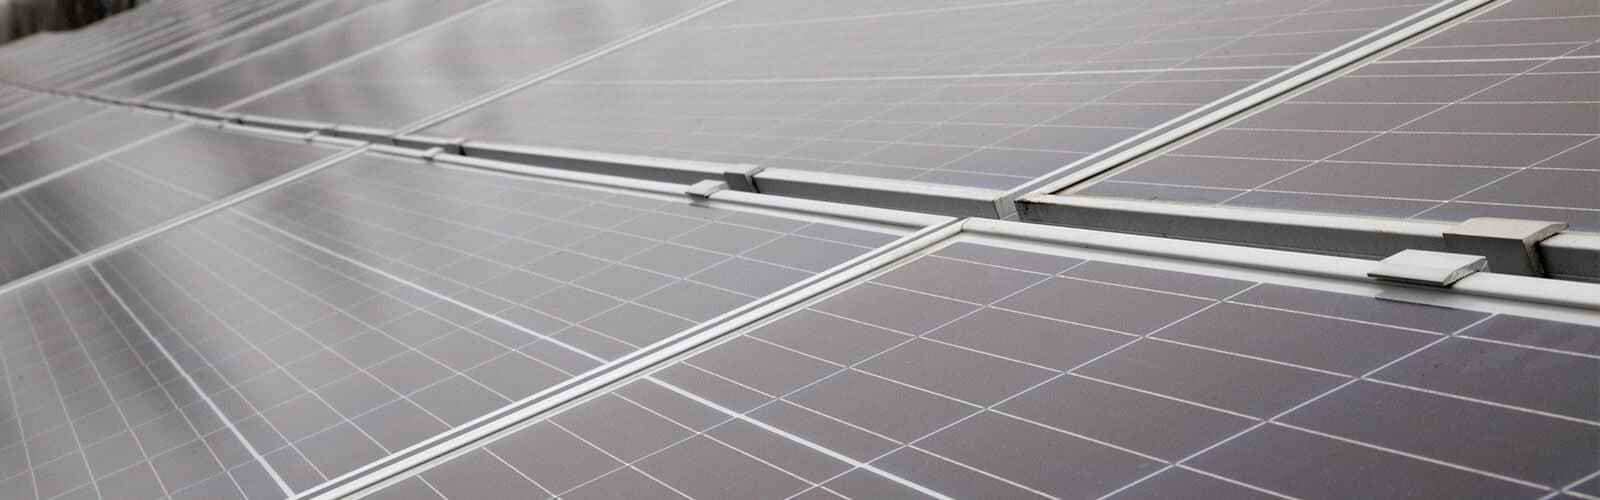
Oliver’s Solar Setup
Pick the solar option when building your Oliver. It comes with top gear. Two 320-watt panels on the roof. They link to a combiner box. Thick wires run to a smart controller.
Key parts:
- Blue Sky MPPT Charge Controller
- Remote meter for monitoring
- Temp sensor for safe charging
- 30-amp breaker for safety
All set for easy sun power.
Choose the Right Batteries
Batteries store your free sun energy. More batteries mean more power. Oliver’s big compartment fits up to four 6-volt batteries. They slide out on a tray. Each pair weighs up to 275 pounds.
What Are Amp-Hours?
Amp-hours measure battery size. It shows how much power it holds. Multiply amps by hours to get it. Bigger amp-hours last longer.
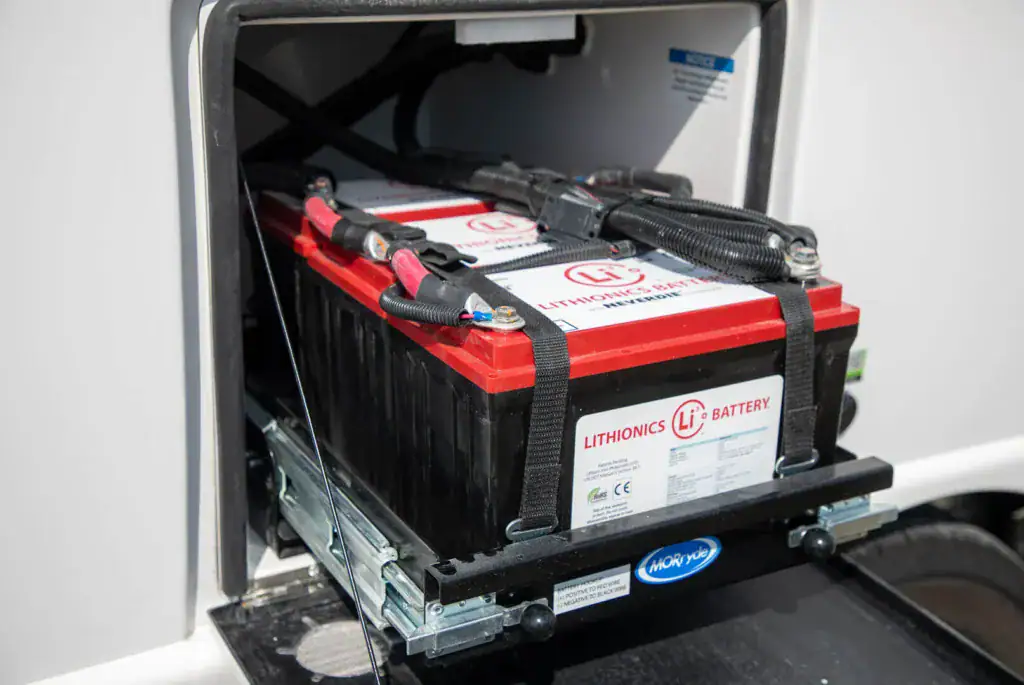
AGM vs. Wet Cell Batteries for Your RV Solar Setup
Why Two 6-Volt Batteries Beat One 12-Volt
Two 6-volt batteries give more power and last longer than one 12-volt. They store more amp-hours for your solar system.
AGM Batteries: Low Maintenance, High Cost
AGM batteries cost more but need no upkeep. No water checks or venting. They handle shocks better. Perfect for easy RV camping.
- Pros: Maintenance-free, durable, no venting.
- Cons: Higher price.
Wet Cell Batteries: Affordable but High Maintenance
Wet cells are cheaper but need regular care. Check water levels and charge state. Neglect can ruin them fast.
- Pros: Lower cost.
- Cons: Needs water, venting, and monitoring.
Why I Chose AGM
I picked AGM for zero hassle. No checking water or specific gravity. Pure laziness, but worth it. AGMs last longer if you skip wet cell upkeep.
Battery Capacity Comparison
- Four Trojan 6V T-105 Wet Cells: 450 amp-hours.
- Four Trojan 6V AGM Batteries: 400 amp-hours.
Only use 50% of capacity to protect batteries. That’s 225 amp-hours for wet cells, 200 for AGMs.
Wrap-Up
AGMs save time and last longer. Wet cells save money but need work. For solar setups, spend once on AGMs to avoid replacing neglected wet cells. Choose what fits your RV lifestyle.
And so until next time (when we’ll look at how to set up your system using the Blue Sky IPN PRO Remote Meter), may your road go ever on…
Steve and Tali
Dogs: Reacher, Maggie, Lucy, and our Beloved Storm (waiting at the Rainbow Bridge)