Leaderboard




Popular Content
Showing content with the highest reputation on 06/07/2026 in Posts
-
I'd bet that you are no longer in the Leadville area - but - there is a coffee shop directly across the street from City Hall that has very good pastries and coffee. Plus, they have free WiFi. Bill2 points
-
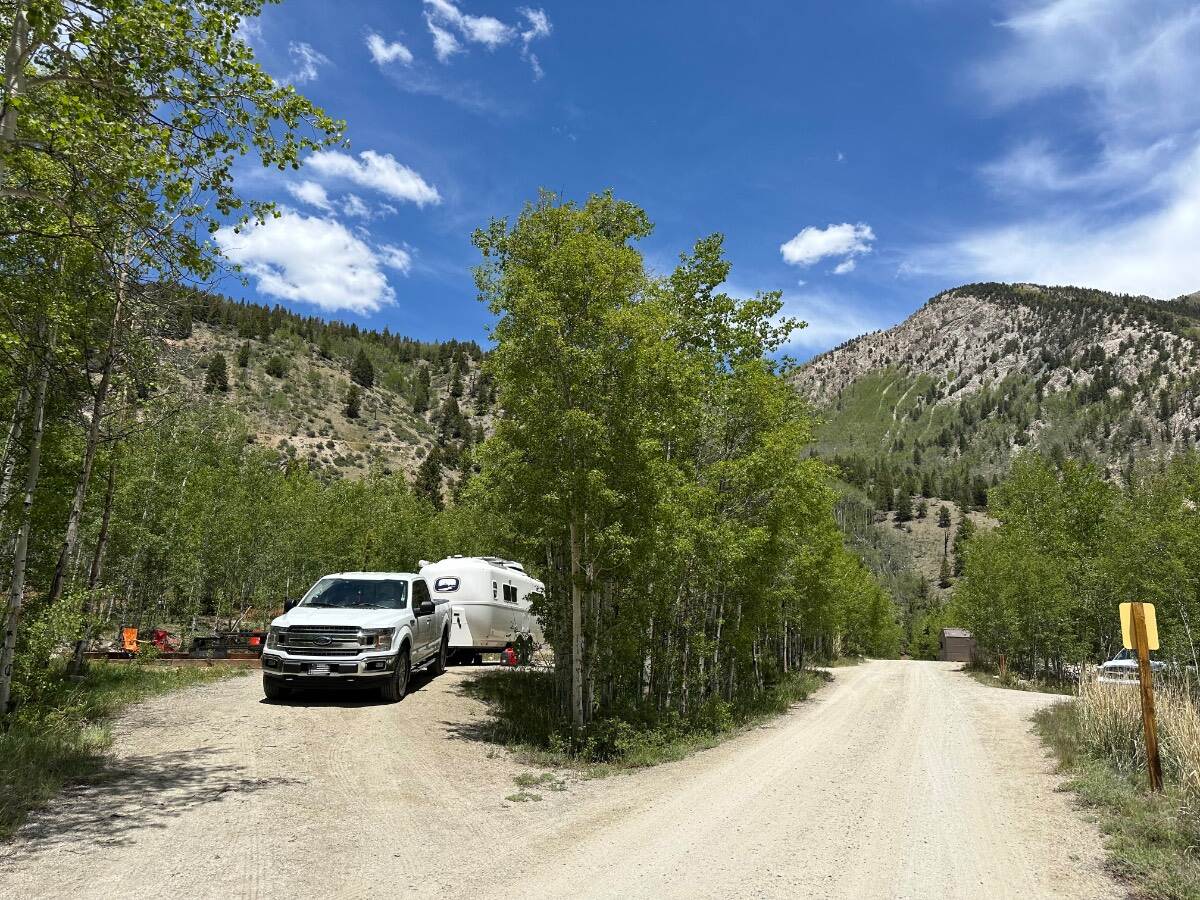
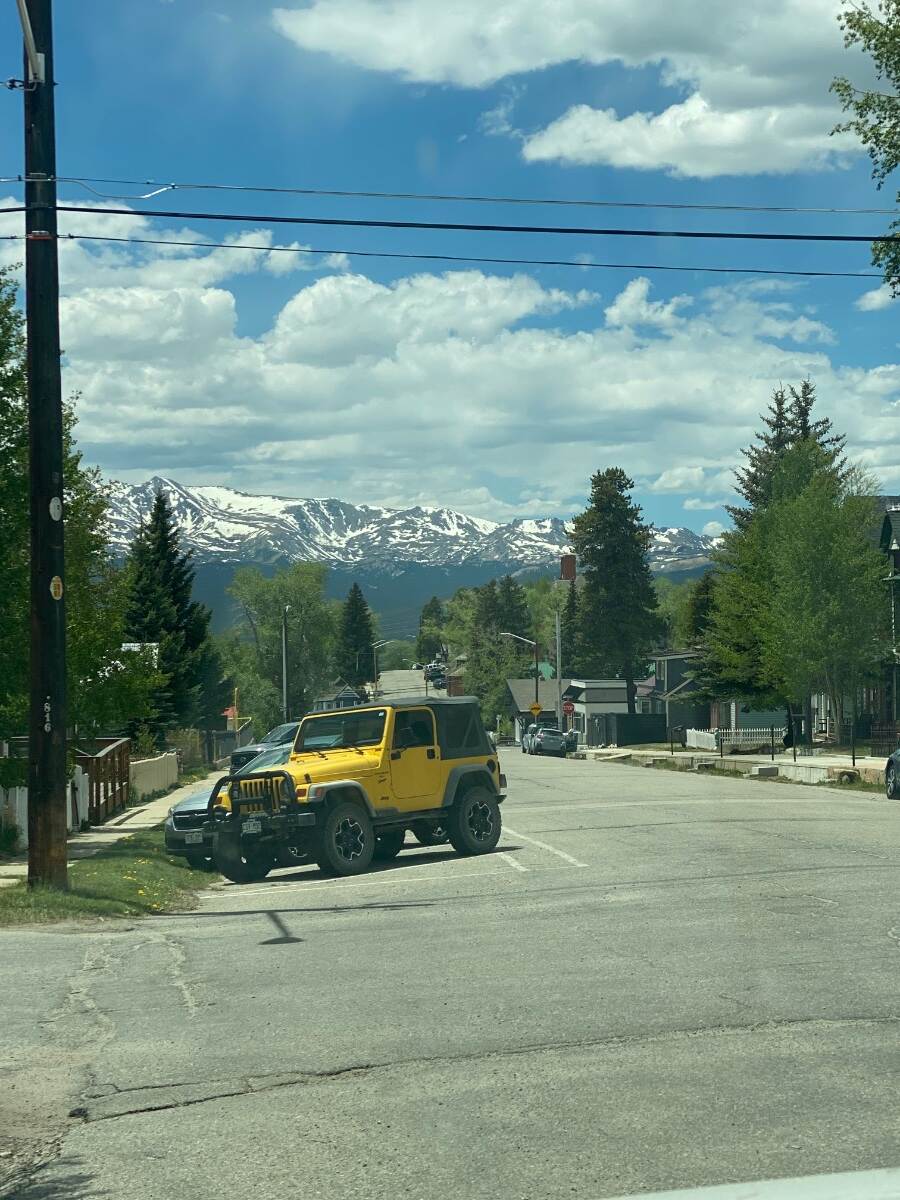
Cottonwood Lake USFS campground on Cottonwood Pass, near Buena Vista, Co 3.5 miles of miserable washboard dirt road , nice campground, no water available as the well has been broken over 5 years with no plan to repair 🤔 campground is all FCFS and fills up Friday mornings too much dust with folks driving 25 mph in a 5 mph campground One pic in Leadville, Co
 2 points
 -
Hey if Lance's idea works and OTT has such parts at a reasonable price, then cool! In my experience, after entering six (6) service tickets, I strike out every time! I stopped even thinking to ask and channel my efforts into DIY! 😎 This is not a difficult project to custom build yourself! I removed the original microwave for an oven, so check my mod thread below to see what you'd be getting into (when you see my first picture, I added the 2x4s to provide a base for the oven). I see 3 steps in creating a custom cabinet: 1) Remove microwave, fill screws holes on face, file smooth the rough cut opening 2) Clean and line the internal cavity with poly sheeting 3) Ordering and installing new cabinet doors The microwave bezel comes out with 4 corner screws. Our microwave (not that OTT installed yours the same way) had a bracket above it that was screwed in from the upper cabinet. Empty the cabinet and the mat liner and you may see 2-3 screw heads. I lined ours with fire resistant insulation for an oven. You could line yours with any thin PVC sheeting or the like, cut the five sheets to size and glue in place. If you want to get fancy, you could add a molding to hide the cut edges. Also, use Marine-Tex to fill the screw holes in the face. That's step #2 above, now for the finale. Measure the opening for cabinet doors. You must order cabinets somewhat larger than the opening. Go to Depot/Lowes or a cabinet shop to select your cabinets of choice. Get your wife involved in this step of course. Your options are endless! Also think about the hinges. I'm not a woodworker or cabinet guy, but purchase hidden hinges that mount to the interior walls vs. anything that would screw into the face. Then you want a good latching device for both cabinet doors so they stay shut while towing. Staff at the cabinet shop could advise on proper hardware. Can't wait to see your mod post, if you go this direction, take the plunge! It's a good project that you can personalize and when finished have pride in your work every time you use it or look at it! 😎1 point
-
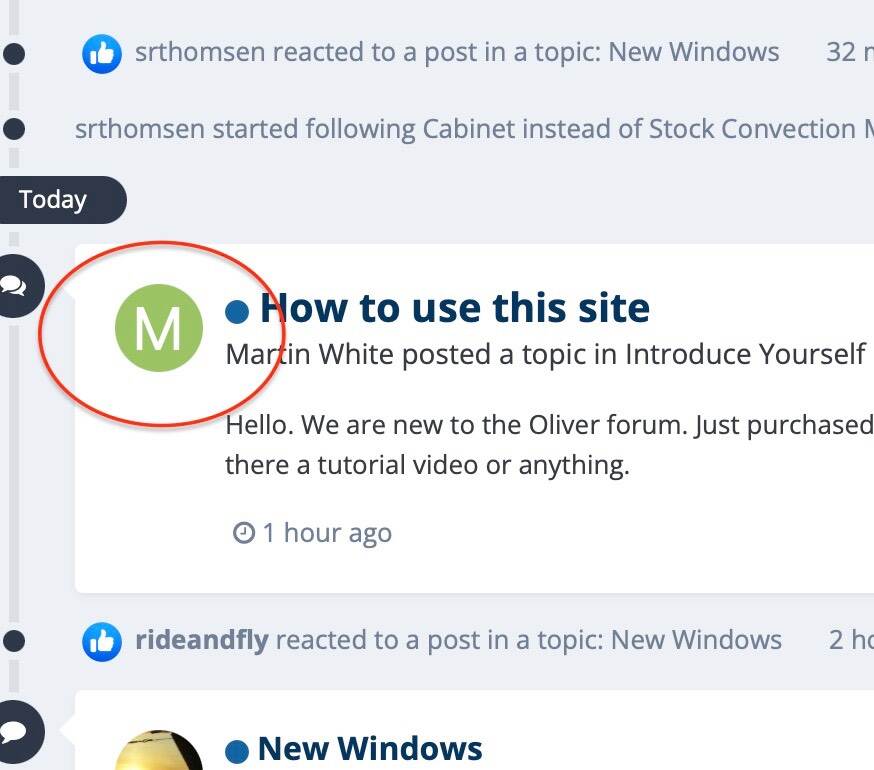
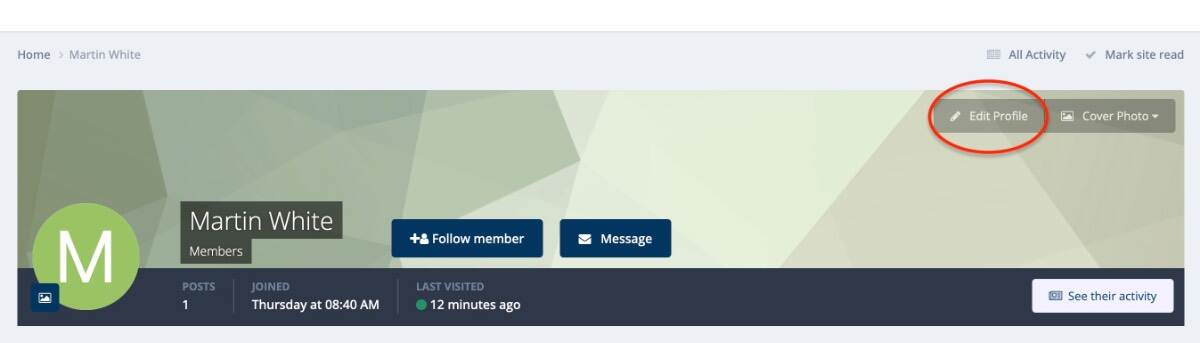
Welcome to the forum! Mossey First picture Right click your 'M' and it will open your profile page. Second picture Click on the Red circled area marked 'Edit Profile'
1 point
-
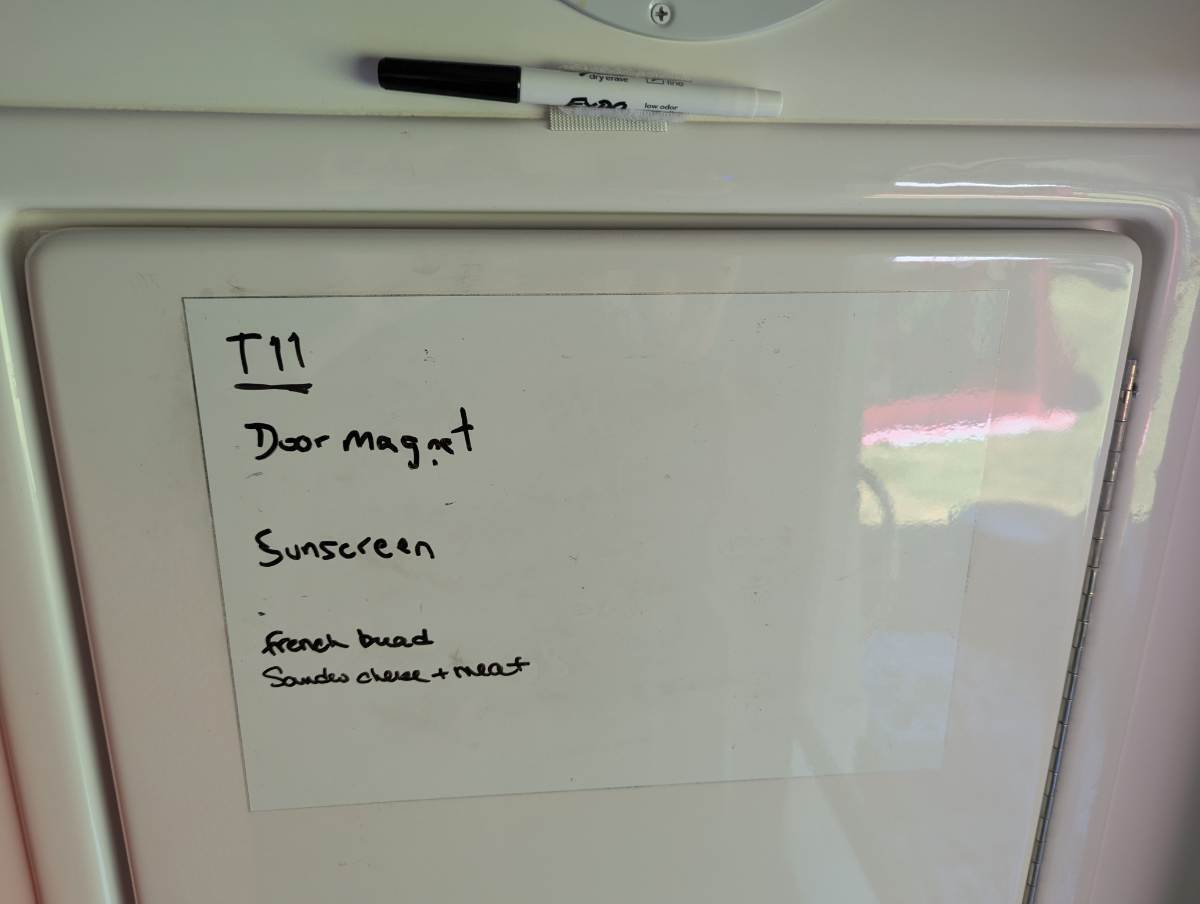
This simple mod makes our camping life easier to organize. It's just a piece of removable whiteboard decal on the closet door for shopping and to-do lists. We also put our campground address and site number there in case we have to call 911. The final touch was a whiteboard marker Velcroed above it. Amazon: https://a.co/d/08ma1cjD
1 point
-
Be careful! Pretty soon you two just might run out of things to talk about!😇1 point
-
Awesome, now 37 pages in a dead heat with “Where’s Ollie!” 🤣1 point
-
Wow, all day long and no replies here on our 36-page Alcan thread! 🤣 Robert, you have a newer hull, so I assume you have D52 axles. Those with D35 axles should upgrade at the same time (my build thread below). You want to install everything NEW; D52 axles, Alcan 5-pack leaf springs, a new EZ Flex kit and new shocks. I had installed new shocks the year before, so after they tested good, I reinstalled them. I wish somebody would come up with a HD replacement shock (I've looked)! The Bulldog shocks are likely better than the OEM Monroe 555001 shocks, but they are both light duty shocks designed for 1750 LB springs. I wonder if the Oliver would tow any different without these shocks, given the HD Alcan springs. I'd like new HD shocks with similar min/max length specs but heavier, larger diameter shaft, piston and casing. Do differently? I would purchase the full Dexter EZ-Flex kit with HD shackles and wet bolts. I purchased the wet bolts from Alcan and new EZ-Flex center links only. I do love Alcan Springs, but their shackles and wet bolts are not splined so do slip, so not as good as the Dexter wet-bolts that come with the EZ Flex kit. Another route would be to look at a MORryde substitute for the entire EZ Flex kit. That's all I see, more info here =>1 point
-
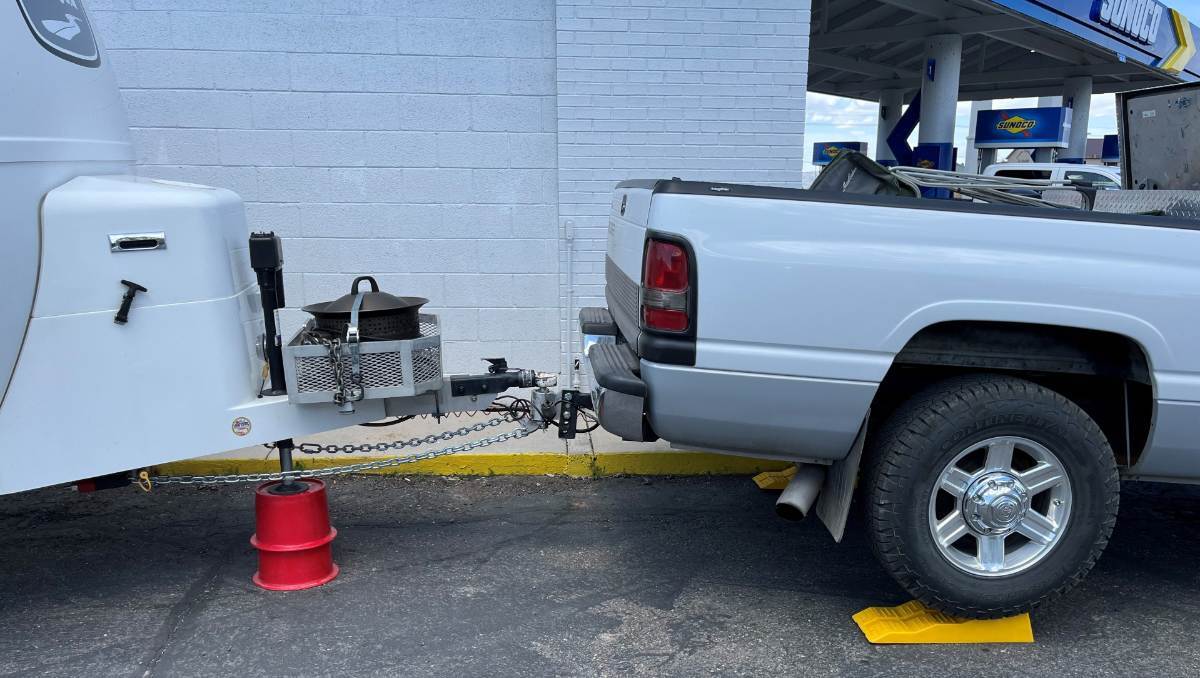
We don’t setup a waste line at campsites. We're never in one place for more than 5 nights and I don't deal with those fancy waste ladders which I associate with Class A RVers, who stay long with full hookups! 🤣 Instead we dump on arrival (often coming from boondocking) and on departure. When dumping, you must have the Oliver up in the front AND on the curbside. I use the LevelMate at the dump station to bring the front up a good +2" over level. Some may not know, the gray tank is on the curbside, with its outlet drain facing the streetside. If your Oliver is any lower on the curbside, your gray tank can be quite full after you thought you dumped tanks! I use an 8" Anderson block to lift the curbside jack so that it is at least +1" above level. Tanks are then fully emptied. This picture was taken at a dump station in Cedar City UT. I had to back in, so there was no other approach. You can see all what I had to do to lift the front! What's not pictured is the curbside jack is also lifted. Isn't RV life wonderful?! 😎
1 point
-
That creek that is basically on your right as you take the drive up to Saint Elmo is full of hungry trout. Bill1 point
-
A good place to camp the night before you appointment is James M. Robb State Park in Fruita. It’s only about 10 miles from ALCAN making it easy to get to a 7:30 appointment. It’s also just a couple of miles from the entrance to the Colorado Monument, a must see and a great way to spend the day there.1 point
-
Just a nudge in case other Oliver owners are hesitating on the desirability of upgrading from the twin 3500# Dexter axle / springs issue which has been bringing Oliver owners such joy of late. I have been considering this upgrade since the forum started following the Dexter leaf spring issue. Less than a week ago I was talking this over with my wife Chris on the way into Walrup Lake, a beautiful, remote Forest Service Campground in the WA Cascades. The beginning of a three week vacation found us 36 miles and a couple days of wonderful day hiking into our first destination on this trip when I noticed the rear streetside spring had disassembled itself and had assumed another, non-optimal position. I should have listened to myself earlier. A long day, a $1770 tow and a shortened vacation later I have ordered a set of heavier Alcan springs with hopes to quickly replace the broken spring and also plan on changing out to heavier 5200# axels later this coming March in Grand Junction, CO, home of Alcan Spring. We have around 40K miles on our Oliver and have been generally pleased with the rig. The Dexter axles / springs are another story. Hot bearings led us to change out the cheap Dexter bearings for Timkens at around 5K and now a broken spring has left me less than impressed with the Dexter product and perhaps the thinking that led Oliver into using then on an otherwise top notch trailer.1 point
-
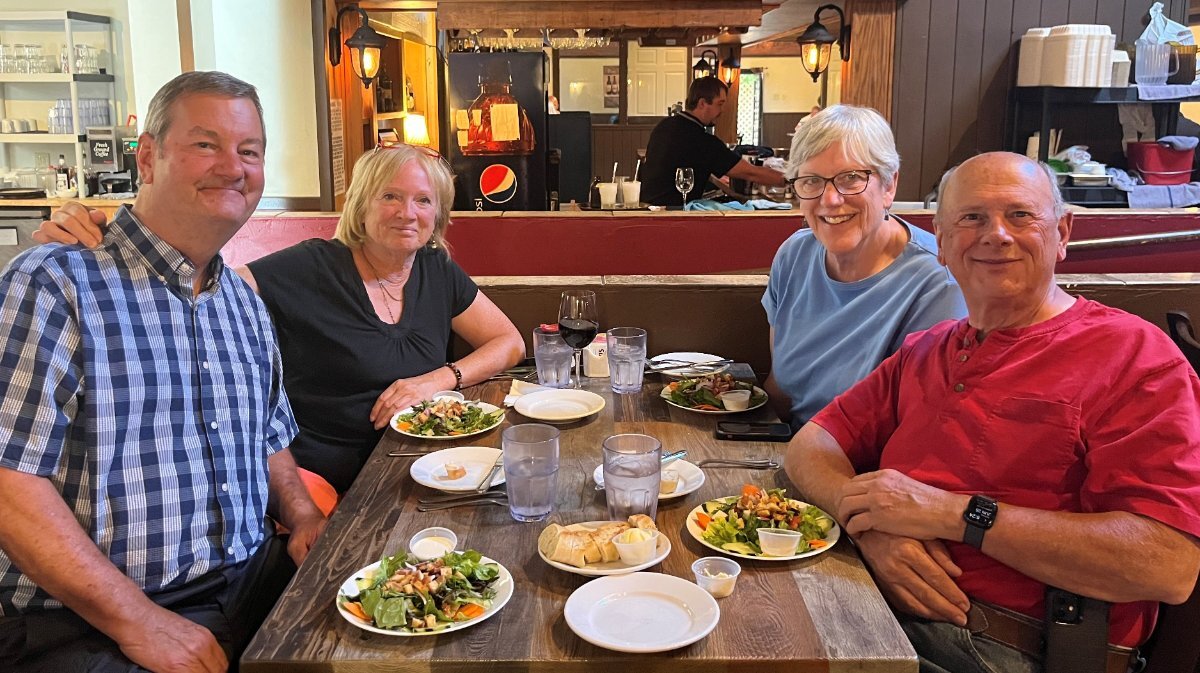
Met up with Ken and Mary Kay in Montrose and we had a great time together! They had dinner ready for our for first night at Riverbend RV Park, considering our long day. Our second night we went to dinner at Ted Nelson’s Steakhouse! A couple days later we had another evening together at our next campsite, Basecamp550 between Ridgway and Ouray. We headed home slowly, other good camps along the way. They stayed another few days at Riverbend until their scheduled Alcan Service appointment.
1 point



-
Recent Achievements
-