-
Posts
1,615 -
Joined
-
Last visited
-
Days Won
39
Posts posted by mossemi
-
-
Thank you for the additional details. The more details you share, the more impressive your modification becomes!
Mossey
-
 1
1
-
-
Wow! That’s a very nice installation and your antenna mount is exceptional. I do love your creativity. Does the PEPWAVE antenna require a ground plane or is it built in? Thanks for posting your successful modification.
Mossey
-
 2
2
-
-
7 hours ago, John E Davies said:
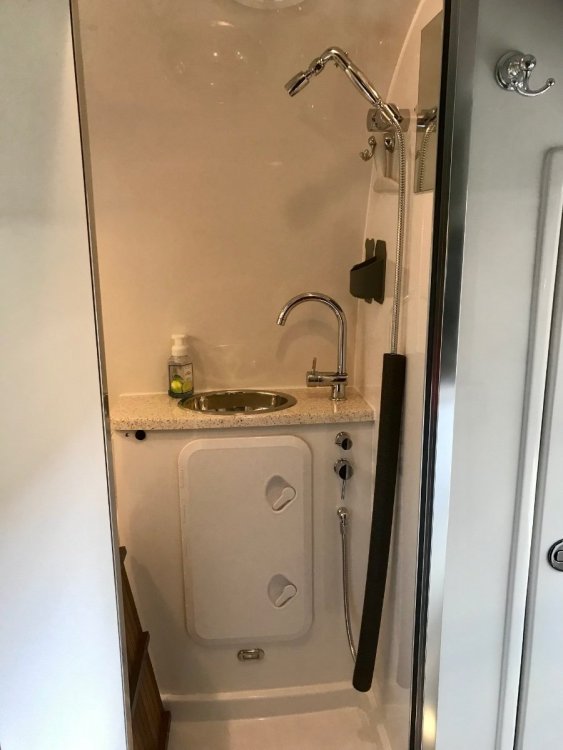
After 18 months, how does the gelcoat look where the shower hose chafes? Do you think that a couple of small retainer clips would prevent that? Or else a quick detach coupling so you can store it away when not needed?
I only have a few months and about 1500 miles with a hanging shower head, so for me it’s just an excuse to use another noodle.
Mossey
-
 2
2
-
 2
2
-
 1
1
-
-
4 hours ago, Jps190 said:
Thanks for the info guys. I measured the towel rack that is currently in the cutout and the outside dimensions are 19x13. Did y'all have to enlarge that hole to install the hatch. I assume everyone has used that 12x24 in hatch that was posted in another thread.
John
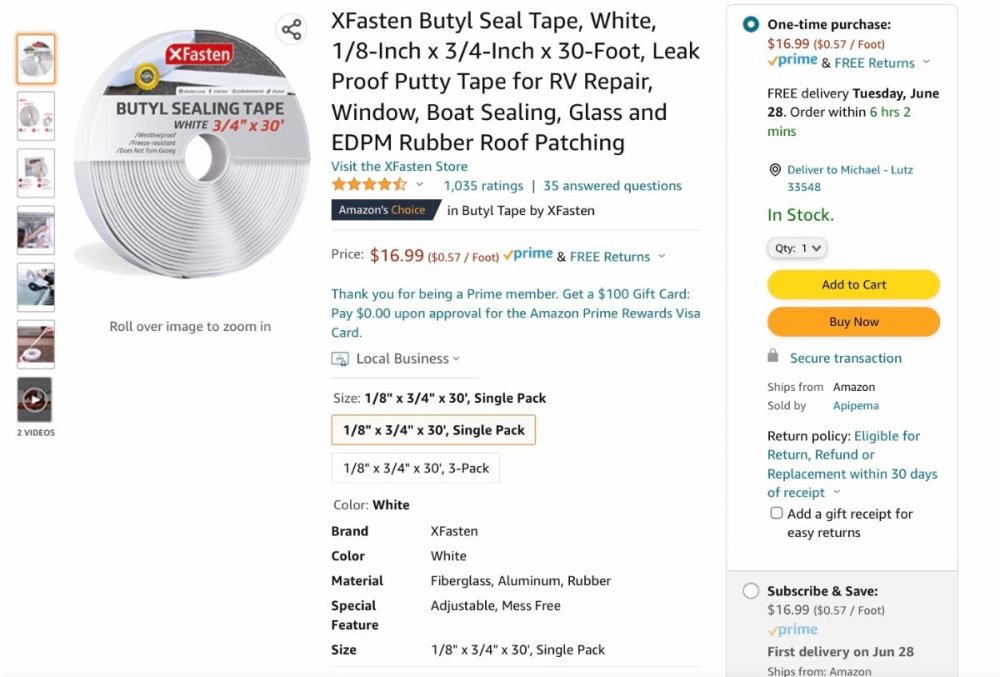
My Seaflo hatch was listed as 12x24". My existing hole was wide enough but not tall enough. So I enlarged the hole with a multi tool. I also used nuts and bolts to attach it. The curve of the vanity face required careful tightening of the hatch. I constantly checked the latch’s operation as I tightened the hardware. The sides will have a little more gap than the top and bottom and that’s why I used the butyl tape, which has a little more body than silicone caulk.
Mossey
-
 1
1
-
 4
4
-
-
7 hours ago, Jps190 said:
These will be the first big holes I have put in the fiberglass. What is the preferred method for doing this. I was going to use a hole saw on my drill.
I covered the area to be drilled with blue masking tape. Then I did my layout on the masking tape and then used a hole saw and drilled in reverse. Worked pretty good with new drill bits.
Mossey
-
 4
4
-
-
6 hours ago, Jps190 said:
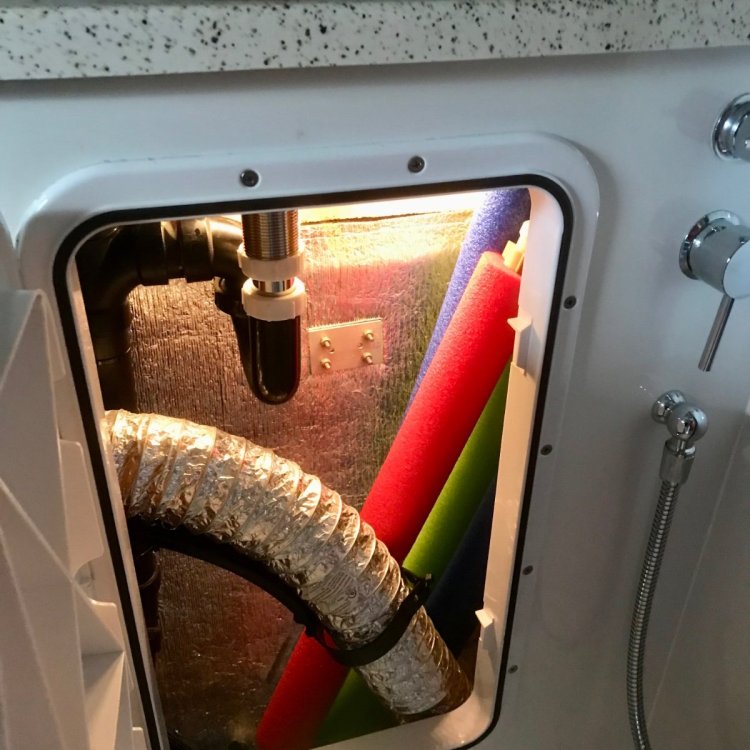
So I just got the separate shower valves and a new shower head to do this mod. Can someone tell me what I am going to find when I take the towel rack/cubby out of the vanity. I am assuming just 2 pex lines (hot and cold) with a valve going to a 1/2 inch NPT with supply lines to the faucet as pictured above. I am planning on adding a T to those vales and hopefully that will be it. These will be the first big holes I have put in the fiberglass. What is the preferred method for doing this. I was going to use a hole saw on my drill. Any other techniques or gotchas to be aware of.
This photo shows the stock LE2 bath plumbing that matches my 2017. The red and blue PEX lines exiting the right side of the photo go to the faucet/shower fixture. The blue PEX exiting the left side is the toilet supply as the text in the photo SNY SD UP posted indicates.
Mossey

-
 2
2
-
-
1 hour ago, John E Davies said:
How do the Toiletries items look after a few years?I know they are removable/ washable. Do they start to look scruffy in any way? Hard water or soap scum spots, discoloring, fraying around the edges where stuff rubs against them?
Tooletries
I think I have 5 white ones and 4 grey ones and 2 black hooks. The white show a little dirt but it usually washes off. No dirt on the gray or black ones. No tears, fraying or hard water, soap scum spots or discoloring.
Ask your wife if she has any silicone hot pads or maybe a dish drying mat. If so, she’ll vouch for how tough they are. If she doesn’t have any silicone kitchen products, maybe you can kick the tires with silicone hot pad at the nearest kitchen gadget store. They are very robust.
Mossey
-
 4
4
-
-
1 hour ago, John E Davies said:
Most importantly will one stay in place with a heavy bottle or two while towing, or will a big pothole result in a mess on the floor?
FrankC, the above link will also take you to the post Connor77 referred you to by NCeagle.
Mossey-
 3
3
-
-
-
Would you provide the towing and cargo capacity of your Ram 1500 for guidance purposes?
Mossey
-
 2
2
-
-
-
1 minute ago, SeaDawg said:
Just a thought
And a pretty good one too.
Mossey
-
 1
1
-
-
Do you have a fuse? If your in Florida, stop by. If not, I can send you one.
Mossey
-
 3
3
-
-
The fuse is the fat part of the wiring in or near the fan assembly. The fan is also the best place for voltage, just check on both side of the fuse. The MaxxAir fan runs on the same circuit. Is it working? The thermal fuse looks like this. And if I remember correctly, it is enclosed in shrink wrap.
Mossey
-
 4
4
-
-
15 minutes ago, Ray Kimsey said:
On the voyager we don't really see cars behind us unless they are pulled up behind at a stoplight or something like that.
I think you need to adjust your camera. I use mine extensively for lane change planning and execution in either direction.
Mossey
-
 1
1
-
 2
2
-
-
Some more of that Yankee Ingenuity. You da man!
Mossey
-
 1
1
-
-
Thanks John! I am beginning to understand the way Oliver is handling the DC side of the Xantrex. And I might be able to help someone else.
Mossey
-
7 hours ago, Bill Reed said:
This turned out to be the problem. I had a blown 40 amp fuse, and I replaced it with a circuit breaker that I ordered from Amazon. Fixed the problem and everything is working fine now. Kudos to Mike at the Oliver service department for correctly diagnosing this problem and suggesting I replace the fuse.
Thank you for closing the loop on your issue. That information will help someone in the future!
Mossey
-
 4
4
-
-
2 hours ago, Jps190 said:
Hey Mike,
That 4/0 cable on my 2021 goes direct to the negative battery terminal. (at least it used to before I rearranged all the wiring 😁)
John
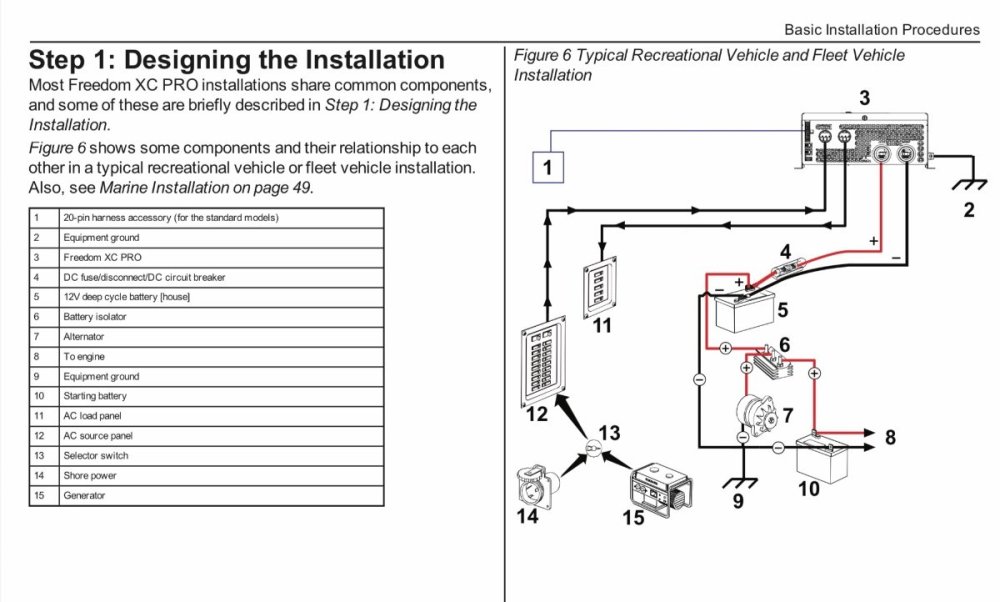
Hey John how’s it going? Have y’all been camping since the rally or are you hiding in the air conditioning like I am? I’ll jump back in and ask for more information. I still haven’t heard back from Katjo concerning my 4/0 cable lug question, so I’ll ask you if you are saying that you originally had a 4/0 cable connected to the frame ground stud and running straight to the battery negative? If so, that may be a wiring change to accommodate the Xantrex Freedom XC Pro series of charger/inverters. I know you have done extensive work to your solar setup and although I haven’t seen the work you have completed, your comment leads me to believe that you have installed a battery shunt. Maybe I should approach this from a different direction and ask if you have a Xantrex Freedom XC Pro and if so, what is the difference between your original installation and the drawing below?
Mossey
-
 2
2
-
-
9 minutes ago, Steph and Dud B said:
Our 2022 with the MaxxAir bathroom vent pops open on the highway. An empty plastic water bottle through the handle "fixed" it for now... 🙄
I guess that is called "Yankee Ingenuity" in Connecticut.😄
Mossey
-
 3
3
-
 2
2
-
-
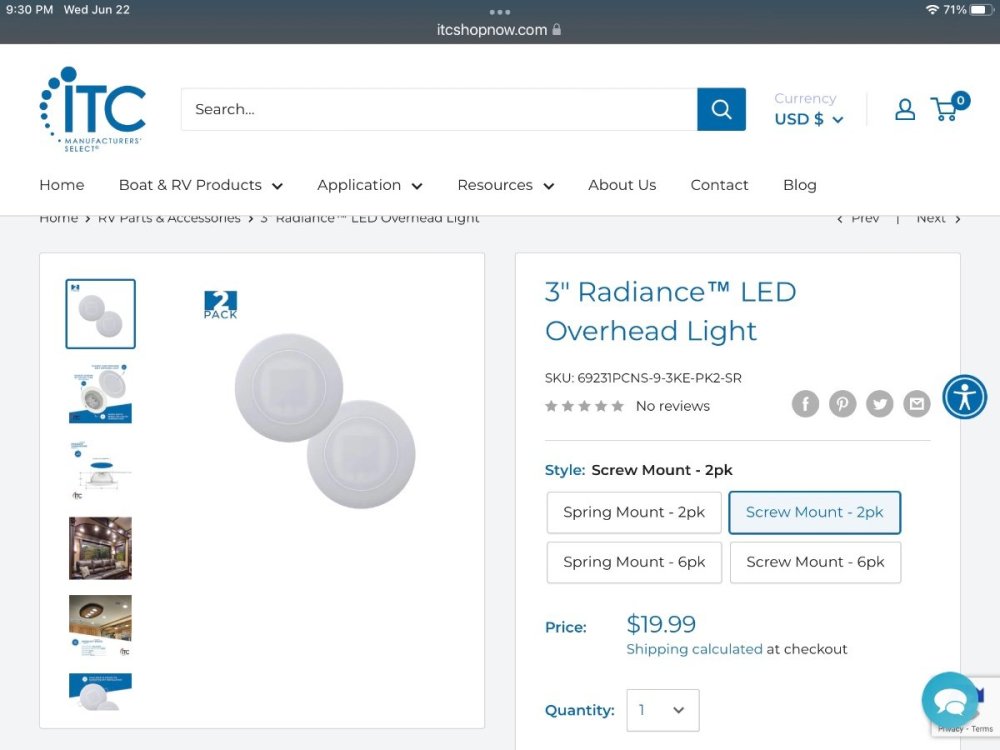
These lights should be very close to a direct replacement but would require cutting the old wires and splicing these in. There are two version's, screw mount and spring mount. If you have the correct size hole, the spring mounted lights are very easy to install, but my lights are screw mounted. I am not sure if ITC is the brand of interior lights Oliver is using or not, but my porch lights were/are ITC brand.
Mossey
-
 1
1
-
 1
1
-
-
On 6/22/2022 at 5:57 PM, Steve and Deb said:
Don’t do it!! 😂
Signed, your friendly end-of -an-era LC200 owner. 😜
I hear you loud and clear!
Mossey
-
 3
3
-
-
5 hours ago, dewdev said:
What Toyota SUV are you referring to that you pull "the dog house" with?
We have a Land Cruiser. I am presently trying to talk myself out of the new Tundra. The cargo capacity numbers are a little hard to come by, mostly because I am really interested in the hybrid. As they become more common, there will be more information available. All the dealers want to talk about is how expensive they are going to be. So we are biding our time or I should say that I am, she doesn’t really care.
-
 2
2
-
 1
1
-
-
I very rarely, if ever offer anyone advice about spending their money, but I will offer myself as an example. I bought my used Toyota SUV in 2016, knowing that I was going to buy an Oliver LEII, which I did in 2018. The reason for choosing a Toyota was based upon past experience and I like dependable products and it has a towing capacity of 8100 lbs and a cargo capacity of 1295 lbs. That’s not a lot of capacity in the grand scheme of travel trailer towing, but we make it work. What I didn’t know was that I would need a weight distribution hitch. But my Toyota owners manual states that it is required if it used to tow any trailer weighing more that 5000 lbs. I trust Toyota’s engineering, so a WDH is part of my towing equipment. I compare the Andersen WDH to shoes. I love wearing flip flops, but when I’m cutting the grass, I’ve got my boots on. So if my tow vehicle requires a WDH, it’s incumbent upon me to learn how to use it. So please do not let anyone scare you away from using the Andersen WDH if your tow vehicle requires it. And please verify the towing, cargo and tongue weight capacities of any vehicle you are thinking about purchasing. Do not trust someone else’s assurances that a given vehicle will be just fine towing a travel trailer. The capacity information is posted on each vehicle, usually on the drivers door jamb.
Happy hunting,
Mossey
-
 10
10
-





What is estimated price Oliver would charge for adding Solar Power to a 2019 Elite II
in General Discussion
Posted
I will add that my 100w Renogy suitcase with charge controller and an extra 20’ 10A cable weighs in at 31 pounds.
Mossey