
RnA
-
Posts
80 -
Joined
-
Last visited
-
Days Won
4
Everything posted by RnA
-
JD, I am not committed to getting the RockStar over another brand. The "heat shield" on the RockStar got my attention and sent me down the path of looking at alternatives for a side discharge on the exhaust. I love everything about the truck except that darn exhaust pipe. I value your input on the design flaws you saw in the RockStar and what swayed you to purchase the Rock Tamers. With the distance the Ollie sits behind the exhaust discharge I doubt there is a problem with damaging the trailer but figured best to throw it out to the forum to see if anyone has noticed any ill effects of the exhaust impinging on the trailer. Thanks, Randy
-
About the only thing I have not liked about my 2500HD Duramax is the BIG exhaust pipe sticking out the back. I think the Ford PowerStroke side exhaust is much better looking. I want to add a full width rock guard across the back of the truck. When looking at the available rock guards I came across the RockStar. The RockStar guards have a metal heat shield for the GM Duramax exhaust. Credit: https://www.agricover.com/rockstar/#gallery I did't like the idea of a "bandaid" solution so looked around for an exhaust that would exit to the side of the truck. The BanksPower Monster Exhaust fit the bill. Banks as well as some of the "reviews" on the Banks site claim the heat from the Duramax regen cycle can discolor or even melt the fiberglass on some trailers. Has anyone had problems with this or has anyone taken temperature measurements on the trailer during a regen cycle? https://www.bankspower.com/i-2653-48947-monster-exhaust-system-4-inch-single-exit-chrome-tip-with-coolcuff-2017-19-chevy-6-6l-l5p-from-banks-power.html#!submodel%3D6.6L%20DIESEL%7C%7Cmodel%3DSIERRA%202500%20HD%7C%7Cmake%3DGMC%7C%7Cyear%3D2018 I have not had any problems yet. I intend to install the Banks Exhaust before my next trip but I'm open to other ideas for exhaust pipes. Thanks, - Randy
-
Thanks Townesw. Great info sheet from a great tool manufacturer. Per their sheet you should store the tool at “the lowest setting”. I don’t know if any go as low as zero. I store mine at the lowest setting on the wrench of 20lb-ft. - Randy
-
Spike, You probably already know this but I won't ASSUME you do. Tighten the lug nuts by going back and forth from one side of the wheel to the other (tightening the next lug across the axle). Do not tighten in circular order around the wheel. - Randy
-
Spike, No success with the pdf right now. Here's what Jason Posted a couple of years ago. Same as what is on the pdf. """""""""""""""""""""""""""""""""""""""""""""""""""""""""""""""""""""""""""""""""""""""" March 10, 2017 at 12:34 pm #46879 JEssaryKeymaster@essary17 TORQUE SPECS WHEEL LUG NUTS STAGE 1: 90 LBS STAGE 2: 110 LBS STAGE 3: 120 LBS BULLDOG COUPLER: 80 LBS AXLE/U-BOLTS: 70 LBS SHACKLE BOLTS: 40 LBS ---------------- Jason Essary Service Manager Oliver Travel Trailer Sales, Inc. 866-205-2621 """"""""""""""""""""""""""""""""""""""""""""""""" For lug nuts, go around each with torque wrench set to stage 1, then do all nuts to stage 2 and finally do all nuts to stage 3. For periodic checks I just use stage 3. The reason to tighten incrementally is to not warp the wheel. - Randy
-
1. I use a 1/2" drive with 6" extension. The extension lets you get the wrench out past the sidewall of the tire. A shorter extension may work but I'd have to check. You want at least 150 lb-ft limit. If you got the socket / lug nut wrench that came with my Ollie, you can use the appropriate sized socket in the kit with the 6 inch extension. There are 3 basic types: 1.) Manual with a dial (least accurate and least precise). Accuracy is important to ensure you are getting the right load on a given lug. Precision is important to ensure the loads are consistent from lug to lug. 2.) Pur mechanical. On these you set the target torque value (make sure you are reading the scale for lb-ft!) As you tighten the bolt you will feel a very distinct "click" when the torque value is reached. 3.) Mechanical electrical have digital readouts. I have type 2 and it works fine. Get a good case to put it in. It is important to protect it from being damaged or knock out of calibration. 2. See attached PDF. Oliver publishes these values. They may be different for different configurations. The site may have some other values. 3. After a wheel change I torque at 20/ 50 and 100 miles. Yes I do stop, get out with my torque wrench and check the lug nuts. I also check when I start out on a trip and usually before I leave the campground for the next site. I don't check every stop however try to do a walk around the trailer and truck at every stop which includes a good look at the lug nuts to see if any are backing off. I have discovered loose lug nuts on my truck by looking. 4. See PDF. I'm sure there are more though. I check the spare tire nut occasionally and the wing nut hold down the propane tanks. I probably should check the jack bolts once or twice a year. 5. Don't use lubricants on the lugs. If you ever have to use liquid wrench or such to get a rusty lug nut off, the lug nut must be thoroughly cleaned of lubricant. If lubricant is on the lug when the torque is set you will over-torque the lug. The torque values are based on the amount of friction between the threads of the nut and the lug. If lubricant is added the friction becomes significantly reduced to reach the torque value. The bolt "yields" or stretches and becomes much weaker. If you over torque a lug, it should be replaced. Not that expensive considering the amount of damage a failure can cause. Hope that helps, - Randy Olliver-LE2-Torque-Specs.pdf
-
Vector, If you can get to the trailer before they work on it you may want to check the torque on the other side. Not definitive that left and right would have been the same or that the wheels were not subject to lateral loads that could have altered the loading on the lugs. It could prove useful though. I would start around 70 lb-ft and try each lug to see if you get movement. Then just add 10 lb-ft each cycle until max. - Randy
-
When lug nuts are torqued the aluminum creeps under compression of the lug nut. This lowers the torque on the lug nut. Thus the requirement to re-torque a couple of times after an aluminum wheel is reinstalled. I have had multiple instances of both under and over torque on the lug nuts of my cars and trucks. The most recent being last summer when I had my Tundra checked and serviced at the Toyota dealer before heading to TN for my Ollie. About 100 miles into the trip the front end started shimmying real bad. About 1/2 of the lug nuts were loose. Some were not even on finger tight. Now I check the torque whenever I get a vehicle out of the shop. On the trailer coming out of the shop at Oliver I would hope that it wouldn’t be required. However you still need to check and reset torque periodically. - Randy
-
One of the big tell-tales will be the wear pattern folks are experiencing after running a significant number miles with a certain psi and trailer weight. Too high pressure and the middle of the tread will show more wear. Too low pressure and the outsides of the tread will wear faster. Anyone out there have some info to share? - Randy
-
I have tried to replace the eyebrow and main boards independently before. In three different cases it did not work. My understanding from reading on one of the parts suppliers sites is that the boards must be replaced in a matched set. The reason for this is the firmware within the boards must be compatible for them to communicate properly. If the firmware is different all sorts of weird things can happen both in the indicator lights and function of the refrigerator. Glad to see it's fixed. Are you still having issues with the water heater? - Randy
-
Regarding your comment on chocks... “There are those that have and those that will”. Ways to keep from being one of those is. 1.) The CHOCKS sign is good. 2.) I flew for years using checklist. There is a good reason too; regardless of how many times you've done something, one day you’ll likely forget a critcal step. 3.) Take your time and pause between steps and think about what you are about to do. The times I’ve run in to trouble I was rushing. Usually due to setting up or hooking up in nasty weather. When the trailer is sloped downhill from the TV, keep the safety cables and emergency brake cable attached as you are raising the tongue off the ball. Once you know the chocks are holding you can remove the cables. Just remember to remove the cables before you move the TV. Suggest you do it as soon as you know the trailer is stable and before you leave the area of the tongue. - Randy
-
I’ve been very happy with the Xantrex LinkPro in past RVs. I’ve purchased another one to put in my E2 this winter. https://www.hodgesmarine.com/Xantrex-Linkpro-Battery-Monitor-p/xan84-2031-00.htm I agree with geO that Oliver should offer a battery monitor as an option. It takes the guess work out of knowing your battery state. For camping off the grid it is my first upgrade. — Randy
-

Are 12V batteries hooked up in series or parallel?
RnA replied to Bobfirst's topic in General Discussion
A 6 volt battery has 3 cells in series @ ~2 volts. A 12 volt battery has 6 cells in series. Same as hooking 2 6 volt batteries in series. The voltage adds as cells are added in series. The amp-hour capacity stays the same. Two 6 volt 100 amp-hour batteries in series will be 12 volts 100 amp-hours. Two 6 volt 100 amp- hour batteries in parallel will be 6 volts 200 amp-hours. I say ~ 2 volts per cell because at full charge and rested a 6 volt battery is really closer to 6.3 volts and a 12 volt battery is closer to 12.6 volts or ~ 2.1 volt per cell. A good resource is Harold Barre’s book <u>Managing 12 Volts - How to Upgrade, Operate and Troubleshoot 12 Volt Electrical Systems.</u> -Randy
-
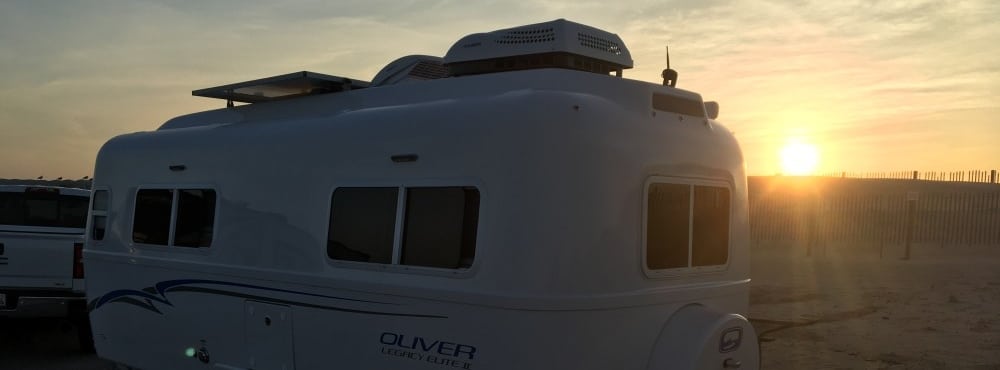
Happy Thanksgiving All. [attachment file=RV at Beach.jpg]
-
Thinking out of the box a bit... If you can be without your car for a few days you may consider having it shipped to Nashville. You could fly to Nashville, pick up the car there and drive to Oliver. Leave a couple of days for orientation and fixing anything on the trailer that needs it. That should allow 5 days to return home. You would have to consider logistics of where you can ship your car from and to, getting to departure airport, then getting from Nashville A/P to pickup car. I’ve done it before to and from Hawaii and it was pretty painless. Just takes some planning on the timing for everything. Good luck. - Randy
-
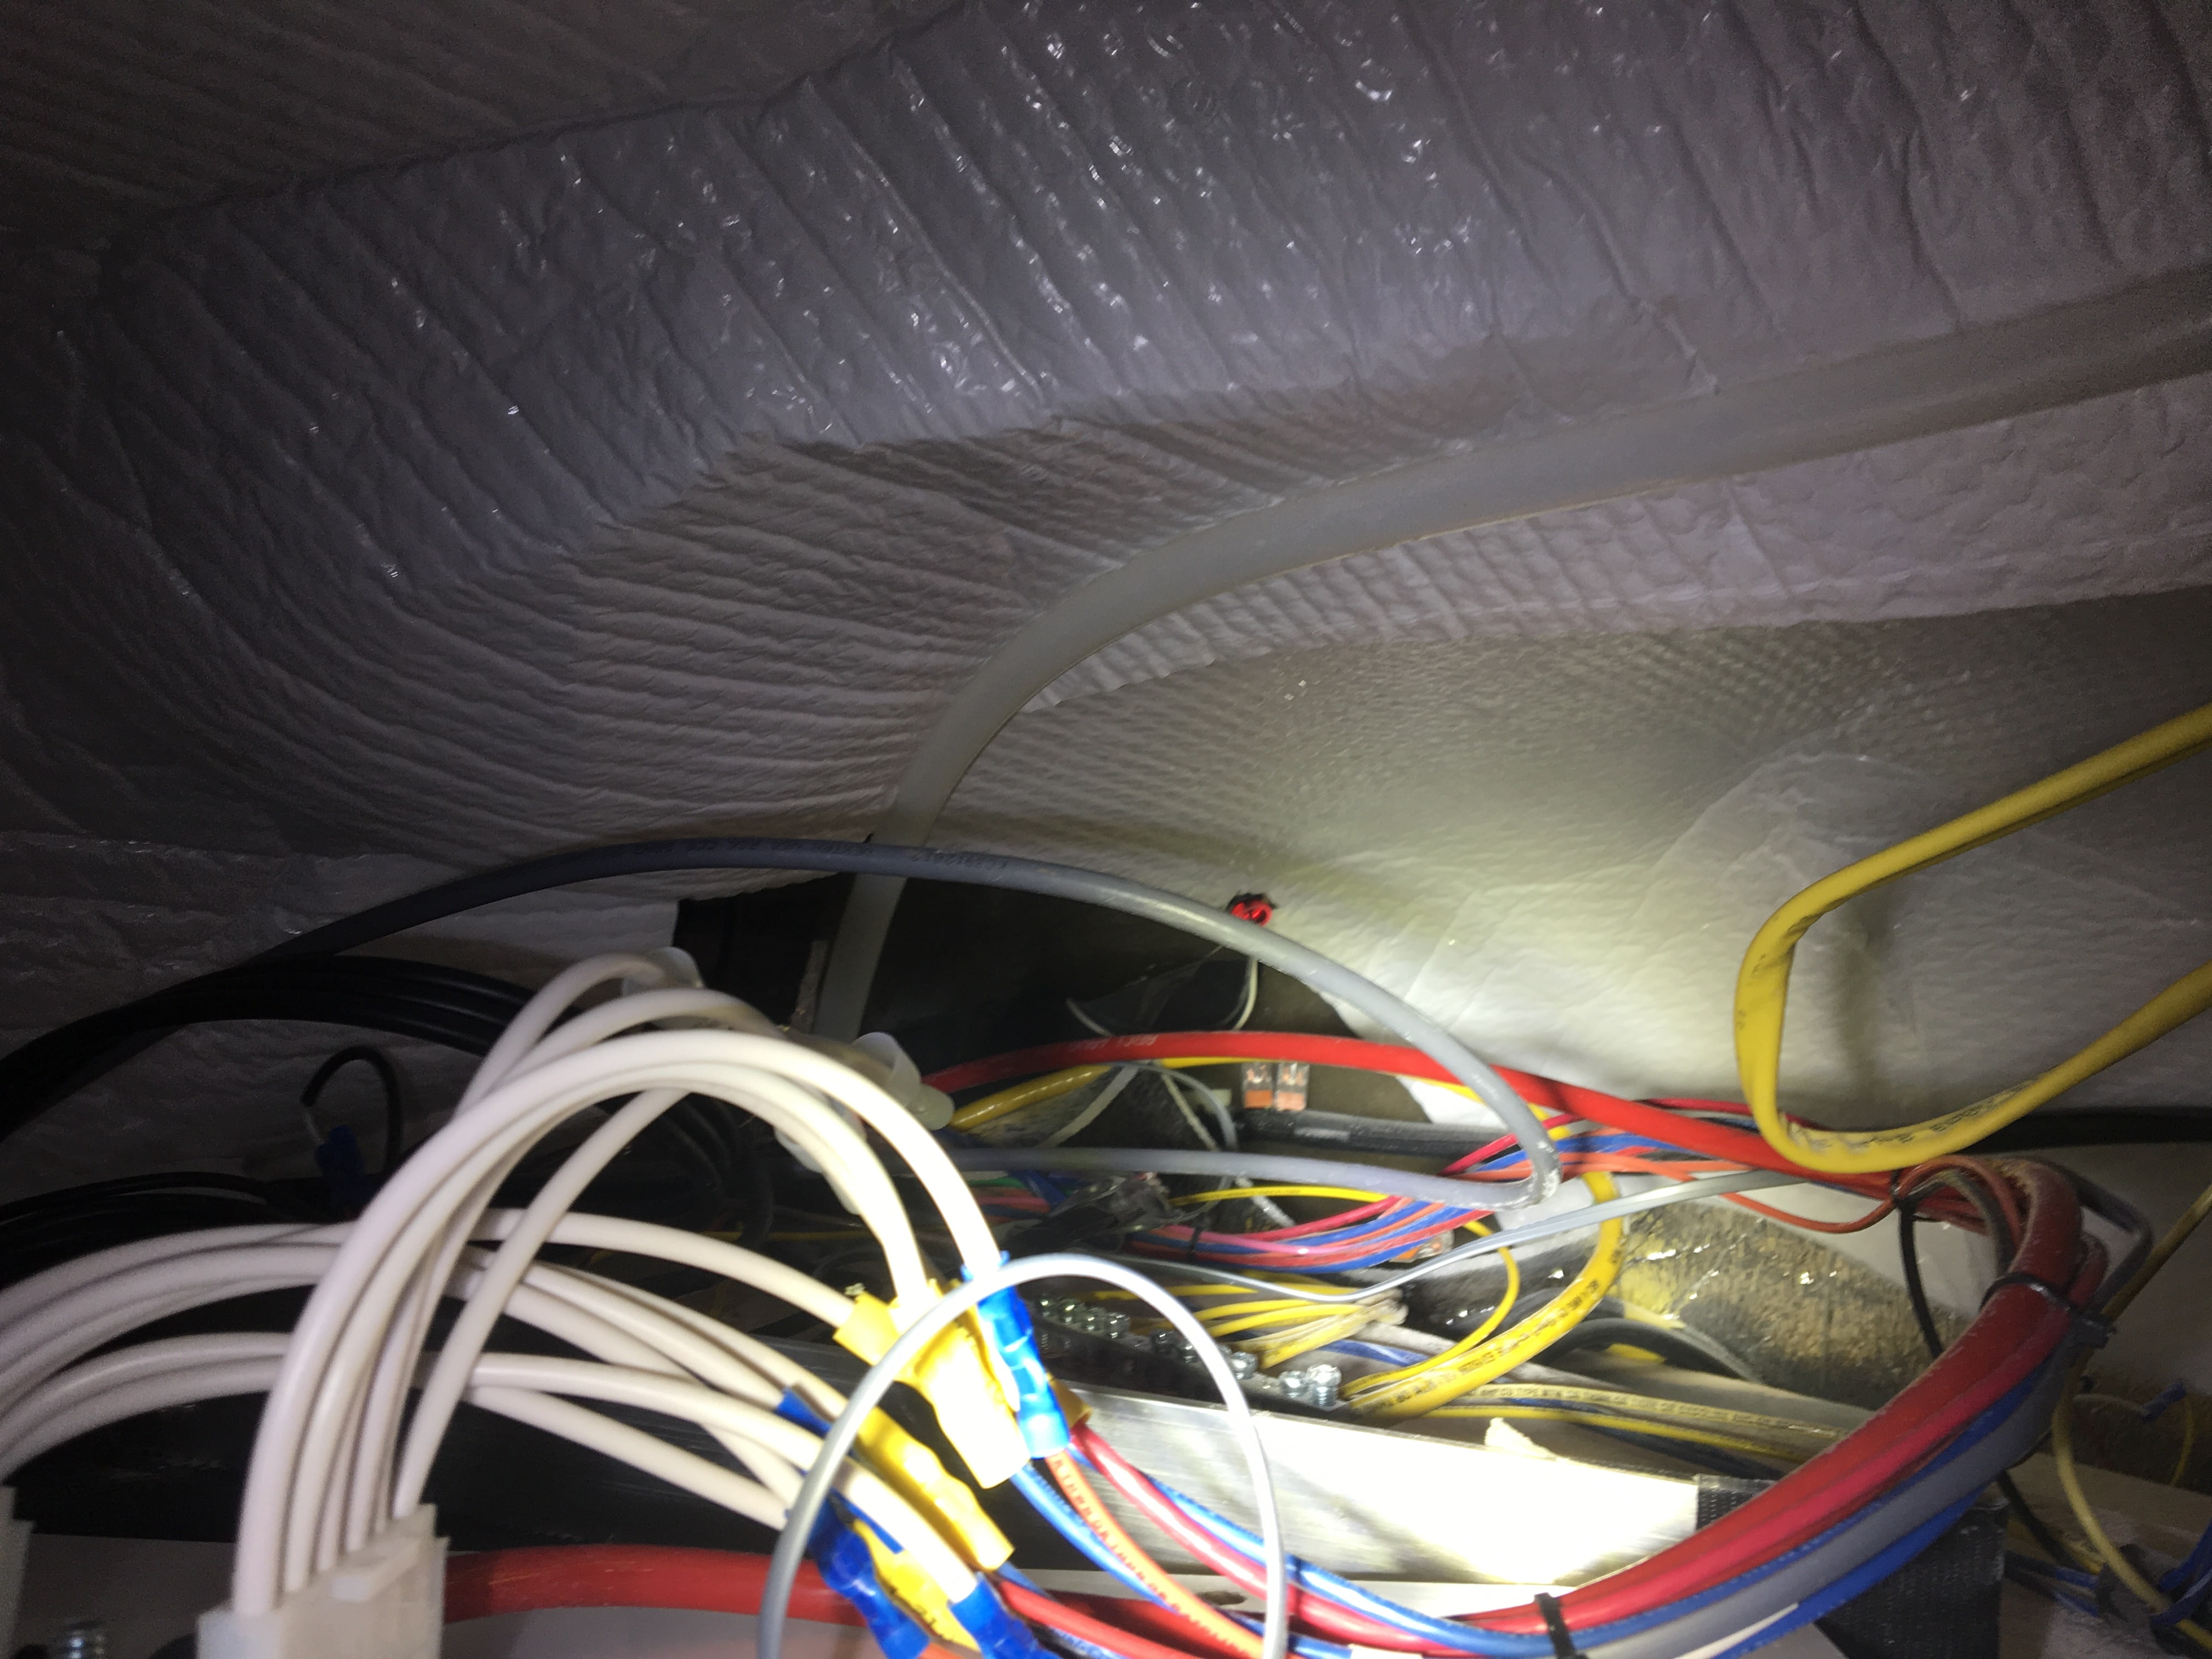
Like I said “Overall I have been very happy with the wiring diagrams.” With my last TT, I called the manufacturer and tried to get schematics. I was told they were not available. I was pleasantly surprised to see the Ollie schematics. Having the wire color and gage called out on the drawings helps quite a bit. Folks should just be aware that there are some discrepencies. For A/V wiring I spent some time poking around. Opening the drivers side panel in the attic is a good place to start. I’ve also been looking at splitting the interior light circuits up so they are fed through more than the one fuse in the attic fuse panel.
-
There is not a comprehensive system wide schematic. There are individual schematics of systems such as trailer harness, 110vac, monitors, solar etc. I have found two fuses missing from the schematics. 1.) The 250amp ANL fuse That protects power from the batteries to the inverter (under aft seat of side dinette). 2.) an in-line fuse between the solar panels and the Zamp controller (located in access port behind the controller). Also be aware that some of the wire colors can be misleading at first. I have found them to be correct except they are inside the black plastic looming. What you may see coming out of the looming are the pigtails from a device that may be a different color and not depicted in the schematics. This is the case for the LP detector and some of the inline fuses. Overall I have been very happy with the wiring diagrams. They have been helpful, just be aware there are a few discepencies. - Randy
-
I had an top of the line ARE cap on my Tundra for 11-1/2 years. Leaked around the tilt out windows from the begining. I pointed out to the dealer where the window glass was not curved properly to seat againt the gasket and form a seal. His response was that it was the glass manufactures fault not an ARE issue and he wouldn’t deal with them! I wrote and called ARE multiple times. I never got a resolution from them. I told them it was not for me to deal with the glass manufacturer, I bought the cap from ARE and they were responsible for fixing it. Crickets. Within a year the seals between the tilt out window and side glass fell out. The tilt out mechanism on one window had to be repaired , then the latch mechanism on the back access window broke. If ARE would have worked with me on the leaks I could have dealt with the other issues. They didn’t so I am going with Lear. A couple of other things: When I requested the Lear quote from 3 dealers via their website; one dealer responded within a couple of hours, one took two weeks and one never responded. The dealer that responded quickly had a much better price than the other dealer. I was suprised at the variation in price. Second, I am very leary when a dealer says they dropped a manufactures line. My experience is that it could just as well be that the manufacture dropped the dealer. The dealer no longer can carry the manufactures line so now they are a competitor and they start bad mouthing them. Just something to consider. You definitely want to have a removable front glass or no glass with cab to cap seal so you can clean the windows. I don’t have my Lear yet so time will tell on that. I do know I will not buy ARE again. -Randy
-
Those look nice.
-
Does anyone have the 2500 with “Wheel arch modings”? <p style="text-align: center;">[attachment file=311C3BF3-55BB-4607-BF63-6A3081AB7051.jpeg] </p> [attachment file=7A45D242-ABF2-49B6-9795-94AD1D8EACF3.jpeg] [attachment file=788AED05-A780-4D34-9826-1CE7732D6747.jpeg] If so what mud flaps did you use? Thanks, Randy
-
My 2500 has a 2-1/2” receiver. If you did not go with the Anderson hitch you will need a 2-1/2” stinger or a 2” stinger and the 2” adapter (should have come with the truck). I have and use the Anderson because previous TV was 1/2 ton Tundra. I also have one of these for other trailers www.etrailer.com/Ball-Mounts/Curt/C45900.html I have not towed the OE2 with this yet. If you went with the Anderson you just need to bring the 2” adapter for the stinger to receiver. I would also get a receiver lock for the receiver to stinger. If the attach points for the safety cables are the same as mine You may also need two clevis www.tractorsupply.com/tsc/product/countyline-3-4-in-x-3-in-farm-clevis?cm_vc=-10005 to hook your safety cables to the hitch (I think mine are 5/8” not 3/4” as in the link, 3/4” won’t fit through the holes on the receiver. You may also need a link to adapt the safety brake to the receiver. I can take some pictures this weekend of what I’m using if you need them. - Randy
-
Fridge fan access for replacement?
RnA replied to John E Davies's topic in Mechanical & Technical Tips
[attachment file=DometicRefrigeratorServiceManual.pdf] Try this for the manual. If this doesn’t work try the link: http://www.nancyemmert.com/region6/Resources/NewDometicRefrigeratorManual.pdf -
Fridge fan access for replacement?
RnA replied to John E Davies's topic in Mechanical & Technical Tips
John, Check pg 22 of the attached service manual. See if you have the red & black wires to the fan. I think the top loop of those wires is for a switch. The fan switch was installed on some Olivers in 2017 (next to the main switch panel by front door) not sure about other years. The switch is not in my 2018 though. I can’t get to my trailer right now to take a look for the wires. I don’t remember seeing the vent cover cutoff switch so it may be a bit different wire routing. All the power to the refrigerator should come in from the bottom vent area so you should be able to find the wires that go to the fan from there. - Randy -
Thanks John. I appreciate you pointing out the inverter grounding issue to everyone as well as the issue with the wire run to the ground buss. I'm looking at my options for changes I will be making to the grounding approach and will post them when I complete them. - Randy
-
"It may be OK, but you should add 1/4 stainless flat washers on either side of the eyelet. Or better yet, consider having a correctly sized one crimped on the end of the cable." Having a great big hole hugely reduces the area for current to flow, not good when you are expecting it to carry a very high amp overload in an emergency…. a 1/4 stud needs a 1/4 eye. In addition, the connection is much more likely to get loose from vibration since there is so much room for the terminal eye to shift sideways. Unfortunately the tech who installed your cable did not understand this." You're better off putting a lug with the correct size hole on there. READ THIS From Xantrex before adding washers to the terminal. OK if it's between the nut and the lug but not between the lug and the terminal. "Q: Should I put a washer between the cable terminal and inverter, or battery connector? TECH DOCTOR: NEVER put a washer between the conductor and the connector! All the ground wires in our cars/trucks have those star washers to make a ‘better electrical connection.’ However, that is acceptable in this circumstance for penetration of paint and due to the low current needs of a 14 gauge wire. On the other hand, when you’re putting 4/0 welding cable on a 3000W inverter, and you put a steel (high resistance) washer between the copper, tin, or brass cable ends and connectors (lower resistance), you create an electrical bottleneck that will get extremely hot. I’ve seen tons of inverters in repair with melted insulators around the DC connectors which is a sure sign that the flat washer, or lock washer, was placed between the connector and the cable. The lock washer, or star washers, are intended to be in direct contact with the bolt-head or nut to reduce the chance of loosening." http://www.xantrex.com/documents/Tech-Doctor/Universal/Tech4-Universal.pdf - Randy