mountainoliver
-
Posts
457 -
Joined
-
Last visited
-
Days Won
19
8 Followers





mountainoliver's Achievements






-
Trailer Separation from Tow Vehicle
mountainoliver replied to John Dorrer's topic in General Discussion
Okay, thanks. I still can’t imagine the Bulldog popping off of a correctly sized ball. Mine is sort of close fitting. I’d still check the diameter accurately just in case and at least settle that question. Anyway I hope you can figure out what actually happened. -
Trailer Separation from Tow Vehicle
mountainoliver replied to John Dorrer's topic in General Discussion
John, if the hitch was closed and locked closed…..maybe a dumb question but are you sure that your hitch ball is in fact 2 inches and not 1 7/8? Accurately measure with calipers. -
That’s great news! I hope your issues are resolved soon!
-
Thank you Galway Girl for input from your actual experience! Very helpful!
-
I’m sorry that this is happening and during a weekend to boot. Open a service ticket and see if you can send that video. In any event you’ll have to find an authorized Truma service facility to replace your unit. Maybe get the unit replaced now and take a chance on getting reimbursed after the repair?
-
Looks like the burner has fallen apart. I thought that was an ongoing recall for this unfortunately all to common issue. I believe Truma says in this case not to use the water heater. Hopefully someone who has a Truma and has gone through the recall process can help.
-
I had Suncoast Designers rebuild three of my windows several years ago and they did a good job. They remove the entire window, completely disassembled it, disassembled the individual sections, fixed the seal, and reassembled everything and put the whole assembly back in the trailer. They rebuilt both the fixed and the movable sections in order to provide a complete lifetime warranty. Complete disassembly of the frame requires the astragal to be removed by drilling out the pop rivets and replaced with gaskets and pop rivets again. If only the moving panel needs to be fixed, that is easily removed by removing the plastic/rubber track material first then the window just lifts out. After they removed, rebuilt and replaced the windows I had to reseal the frame to trailer myself. Not inexpensive but at the time I had mine done they had a lifetime warranty. If you can rebuild them soon, before any etching takes place between the panels, they can reuse the original glass. They have a fairly large parking lot and nearly every spot has electricity and water so that you can stay in your camper. Also, there used to be a guy at Quartzsite during the big tent rv show that would rebuild windows but you had to remove your own windows and deliver them to him. I have never met him but I know of a couple of Oliver owners who have had windows fixed by him.
-
Entry steps steel rod, broken weld
mountainoliver replied to Olive2Roam's topic in Mechanical & Technical Tips
Yeah, why didn’t I think of that?🤣 -
Entry steps steel rod, broken weld
mountainoliver replied to Olive2Roam's topic in Mechanical & Technical Tips
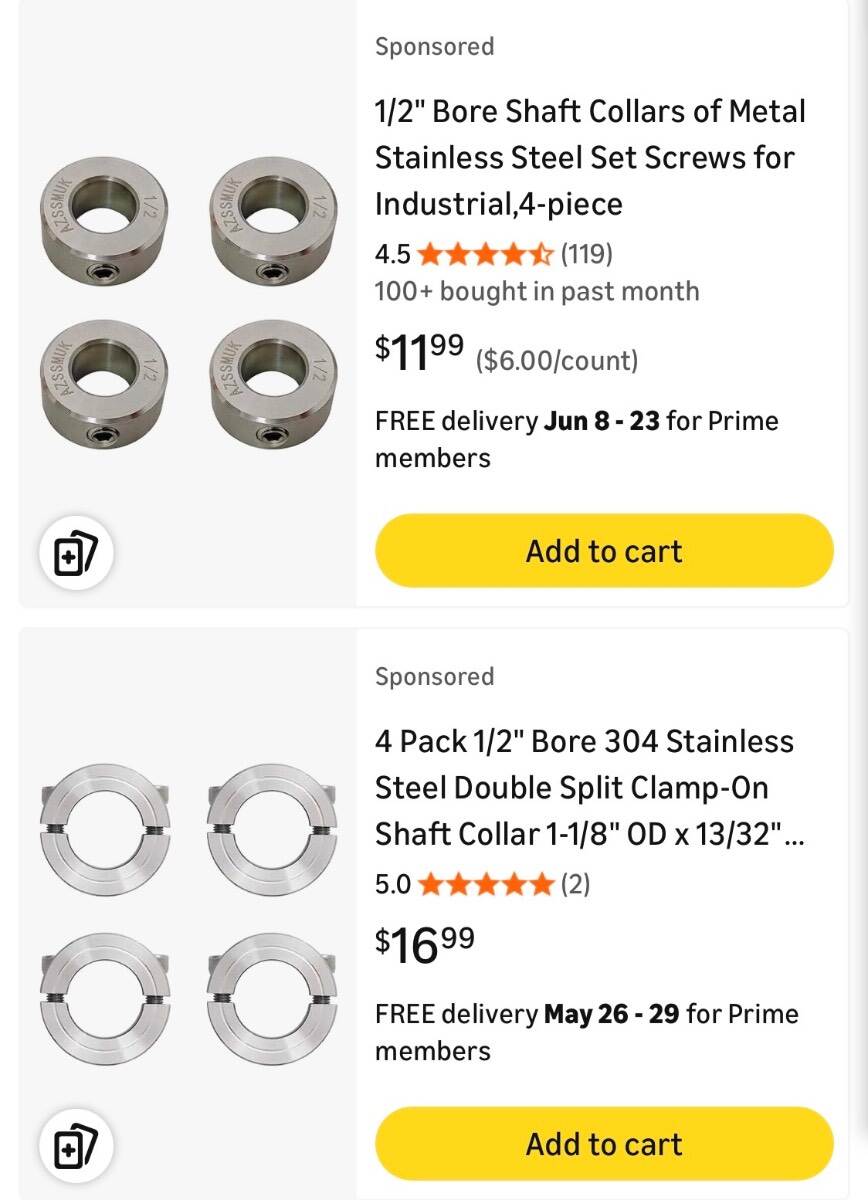
Order a 1/2 shaft collar from Amazon. Try to find a collar that is split and clamps on or one that uses a set screw for attachment. Buy one that is stainless steel. The collar should be clamped on the rod end that had the washer, the other end will still use the washer and cotter pin. These stainless collars are only a few dollars each and will make a good solid end.
-
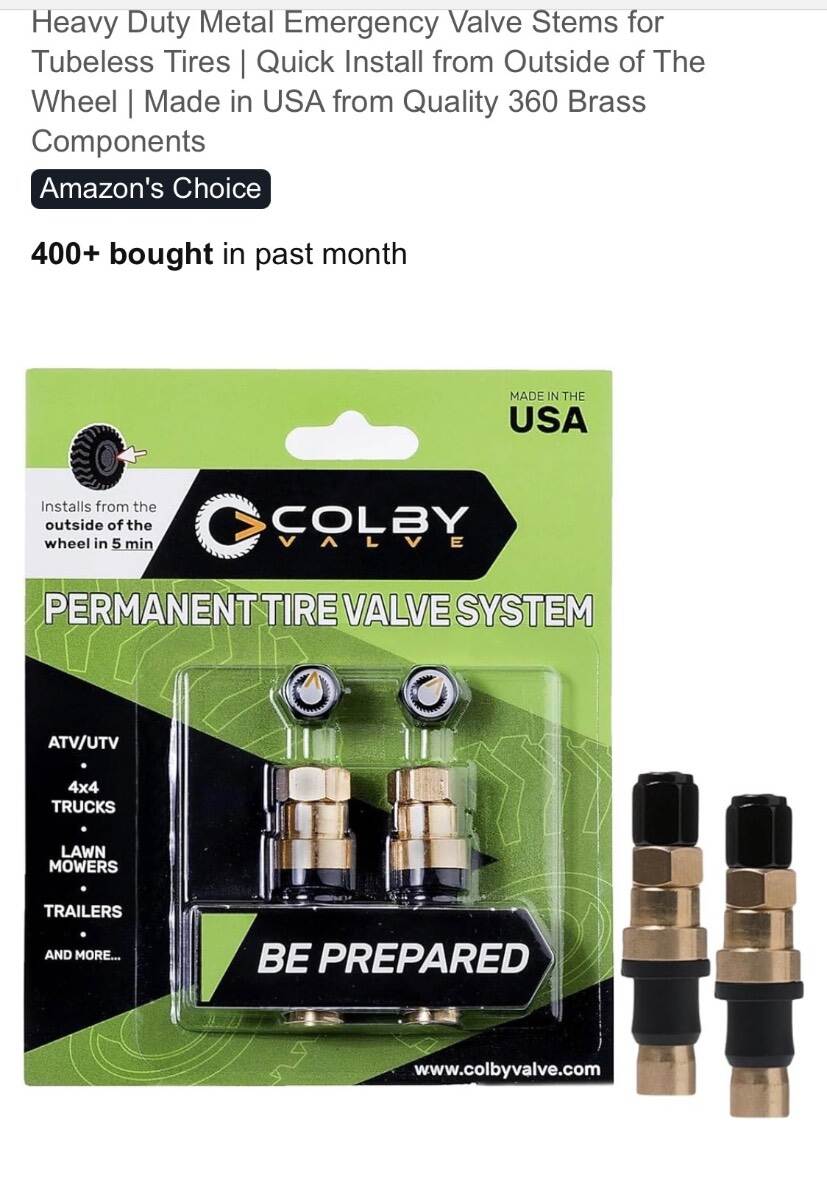
If you have a tire pressure monitor added to the stems excessive flexing caused by the weight of the sensors will fatigue the rubber portion. Plus today’s rubber products sometimes seem to weather rot more quickly. I was lucky in that I never had a stem failure in the seven years before I replaced my tires and changed the stems to nickel plated brass stems. In any event, it would be a good idea to carry emergency replacement stems. I carry these that can be replaced from the outside. Even the metal ones can be hit by a rock or other road trash and be broken. Thankfully I’ve never needed to use them!
-
Alcan Springs Quote for Jan-2026
mountainoliver replied to Wayfinder's topic in Mechanical & Technical Tips
I agree! For example, as we continued our trip after installation, I needed to make a slight level adjustment at a campsite, so lifted one side of the trailer using the onboard rear jack. With just very little lift the tires were off the ground. The shackle bolts were so tight that the whole suspension was extremely stiff. I may be wrong and the expert may disagree but I think the shackle bolts should just be snugged up to prevent excessive play. The nylock nuts will prevent any loosening of the shackle bolts. The U bolts, however should be torqued to specifications. You may have to replace the shackle side plates if the bolts are a sloppy fit. You definitely don’t want the bolts to rotate on their own. Anyway, just my opinion. -
Alcan Springs Quote for Jan-2026
mountainoliver replied to Wayfinder's topic in Mechanical & Technical Tips
I thought about that as well but non of my bolts had the flats lined up exactly. I don’t think that when the cross holes are drilled they are in any particular position. I don’t remember who but someone on the forums had a supplier of rings with a 12 point pattern on the inside diameter that looked similar to a boxed end wrench. These rings would be placed over a bolt and welded all around. This would hold the bolt securely in place. -
Alcan Springs Quote for Jan-2026
mountainoliver replied to Wayfinder's topic in Mechanical & Technical Tips
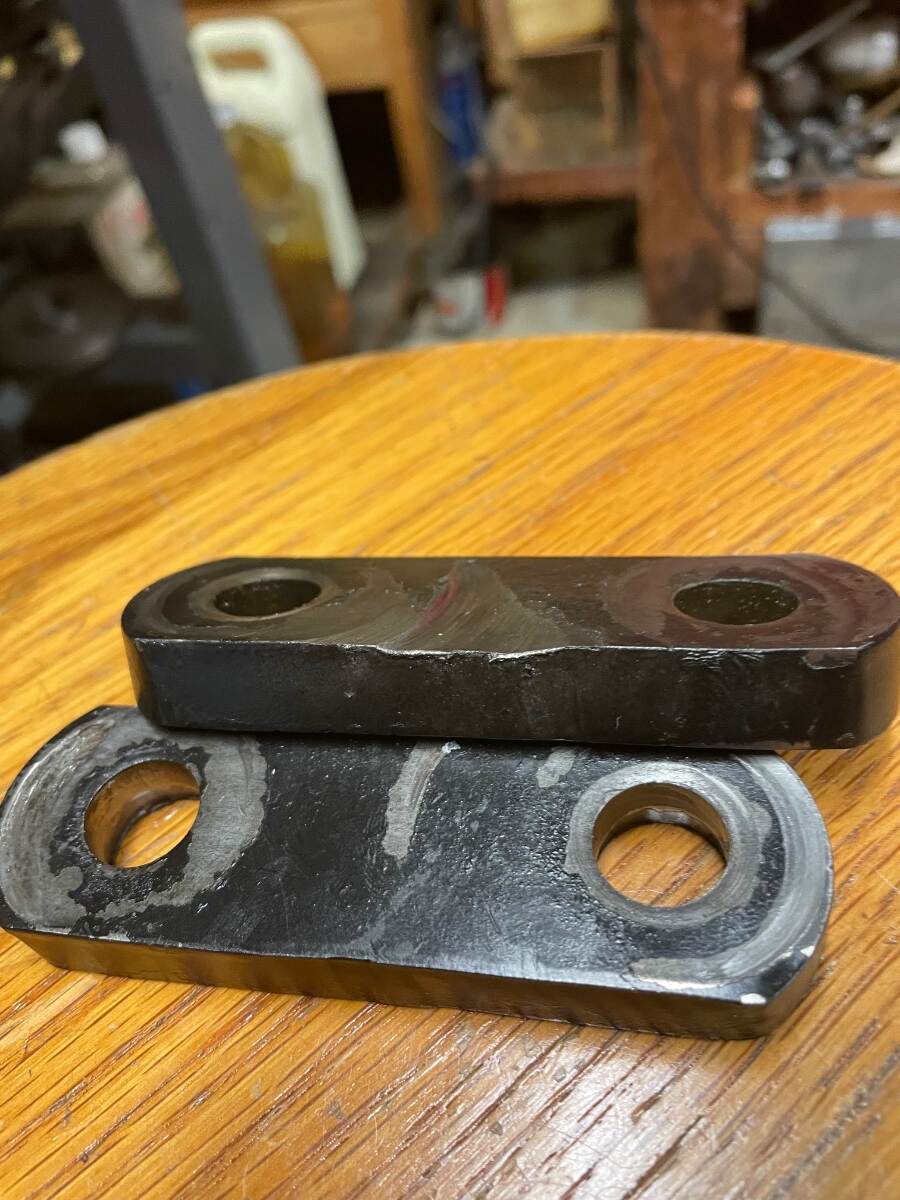
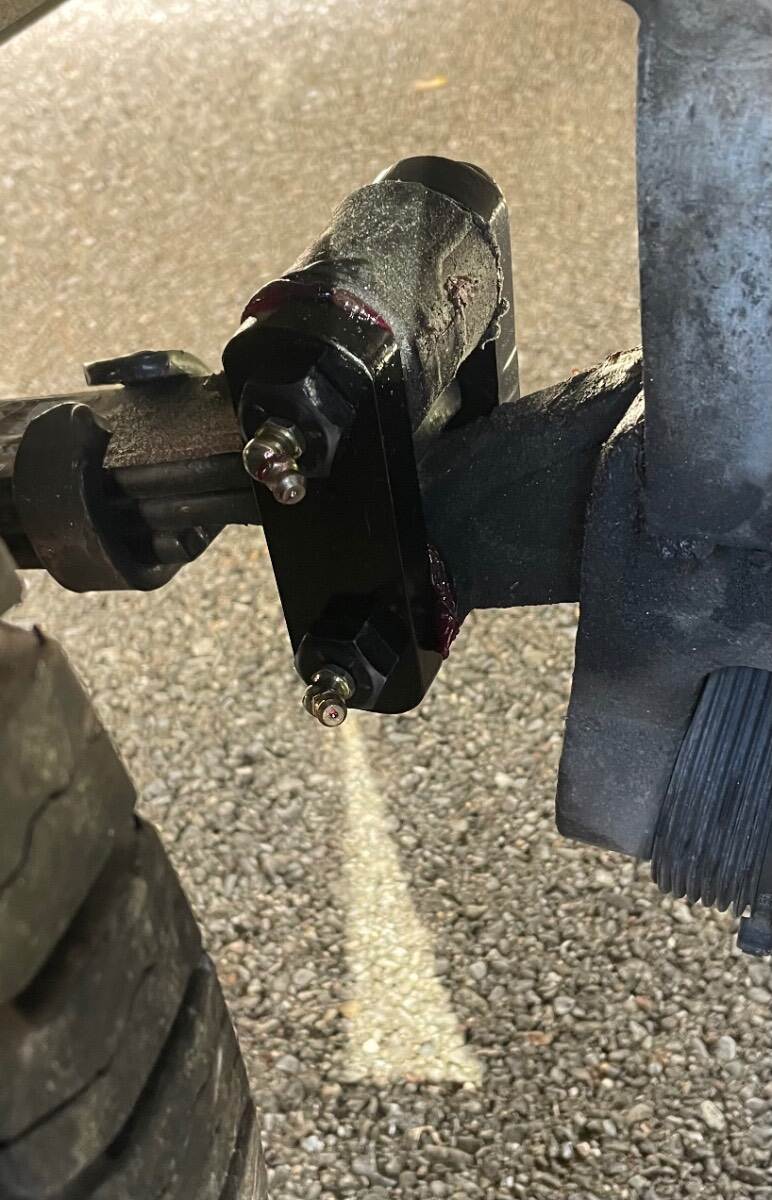
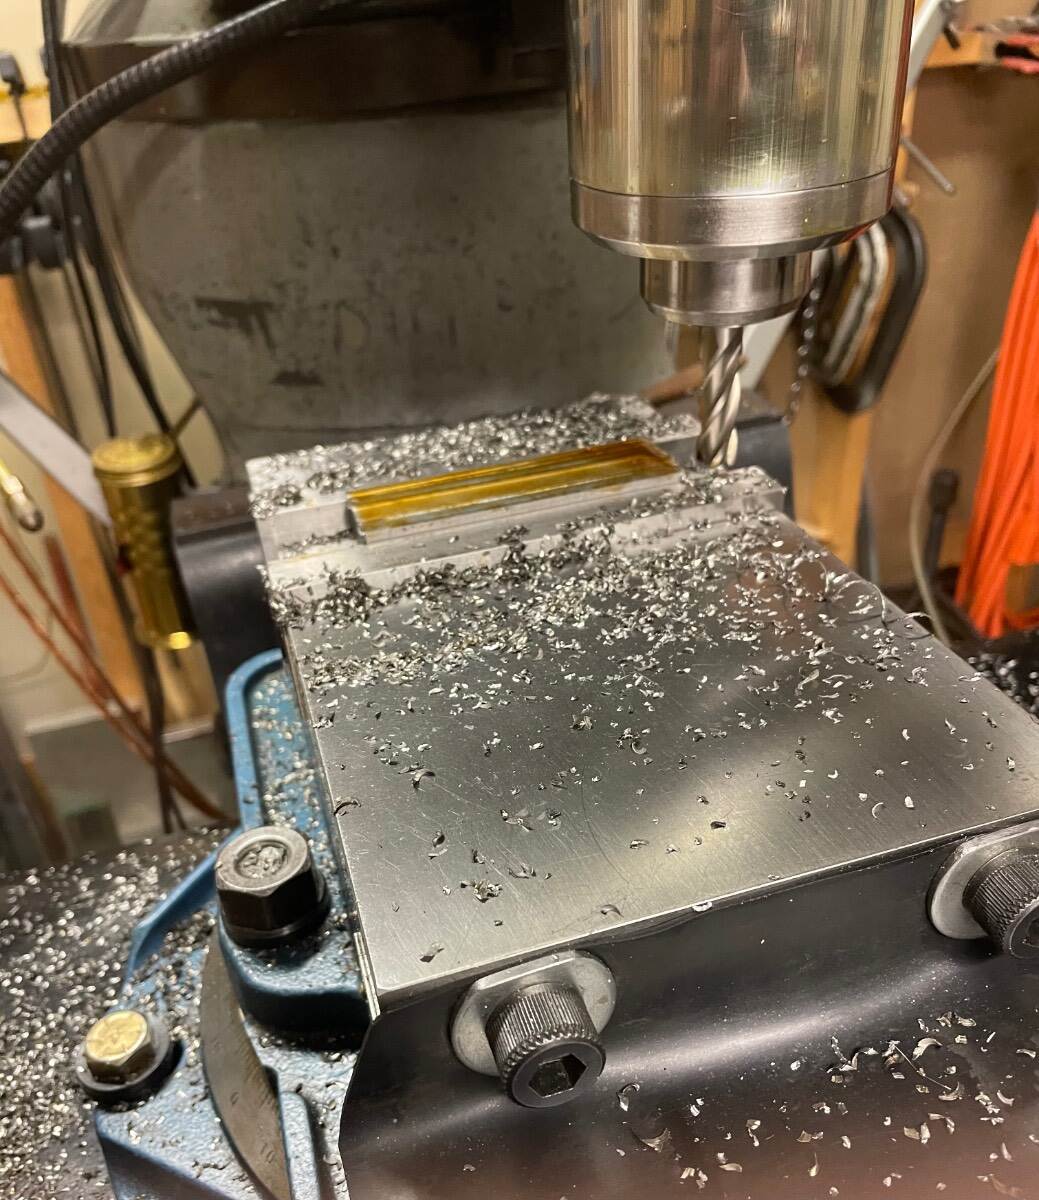
Yes, I had one shackle that had both bolts rotating freely. I only have a few thousand miles on the new spring set but the holes were still wallowed out some. The original plates have punched holes so they are naturally just sloppy clearance holes perfect for bolts or rivets but not so good if a press fit or close accurate fit is required. The original grease fittings were straight so I couldn’t tell that they were rotating until I replaced all of the fittings with 45 deg fittings. One of the side plates was very worn so I made a new one with close fitting 9/16 holes which allowed for a fairly hard press fit for the straight knurled bolts. The 60 ft/lb torque suggested by Alcan in my opinion is way too high being that the bolts are not shoulder bolts. I basically just snugged them up at 30 ft/lb and will probably leave them there. I too had the shoulder bolt vs straight bolt conversation with the Alcan folks while I was in Grand Junction. Contrary to what some folks have been told……I was told to make sure to hold the bolt head stationary with a backup wrench while tightening the shackle nuts and not to allow the bolts to rotate. Anyway? Whatever…. The first photo is of the original worn side plates. The second is of the finished parts installed and the last photo is of me making 1/2 inch thick plates out of 5/8 thick stock. At some point I will probably make all new plates maybe with recessed bronze thrust washers. 🤔
-
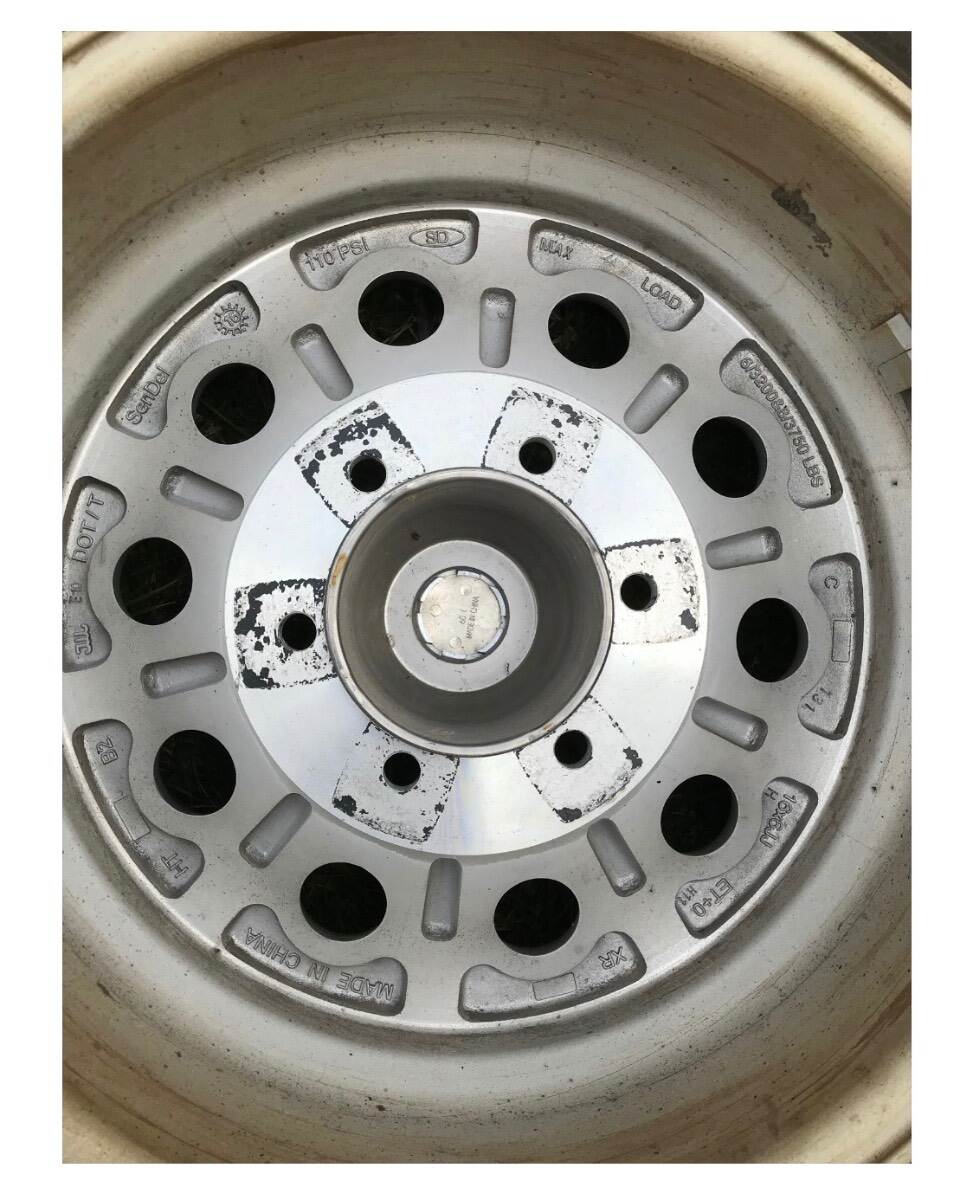
Here’s a photo of the inside of my original 2017 (hull 208) wheels. You can zoom in and see all of the specifications including the 110 psi pressure rating and load rating for the wheel! I took the picture when the trailer was new and filed it for future reference.
-
Progressive Industries EMS Display says OFF
mountainoliver replied to Tony and Rhonda's topic in Mechanical & Technical Tips
I misspoke about the switch. It is mostly recessed, very little actually protrudes above the faceplate. It can be bumped off, just not as easily.