Steve Morris
-
Posts
793 -
Joined
-
Last visited
-
Days Won
17
Everything posted by Steve Morris
-
Anyone else have this happen? Several times over the past few weeks I’ve heard the water heater fire up while turned off at the Truma control panel. It seems random, sometimes days between (unless we’re not there to hear it) and once several minutes apart. I haven’t pulled the panel off yet, but I’m wondering if the cable might be loose at one end or the other. Anyone else?
-
Registration will not allow for our reserved arrival date of Tuesday April 29th.
-
Three 20 pounders here. Two mounted, and one for the fire pit. Versatile, easy to maneuver (I’m 5’7” and apparently shrinking), and easy to refill or swap positions. Allows the fire pit to be anywhere, including toting to friends’s sites.
-

Steve and Deb Try to Stay Warm - January 15 - February ?
Steve Morris replied to Steve Morris's topic in General Discussion
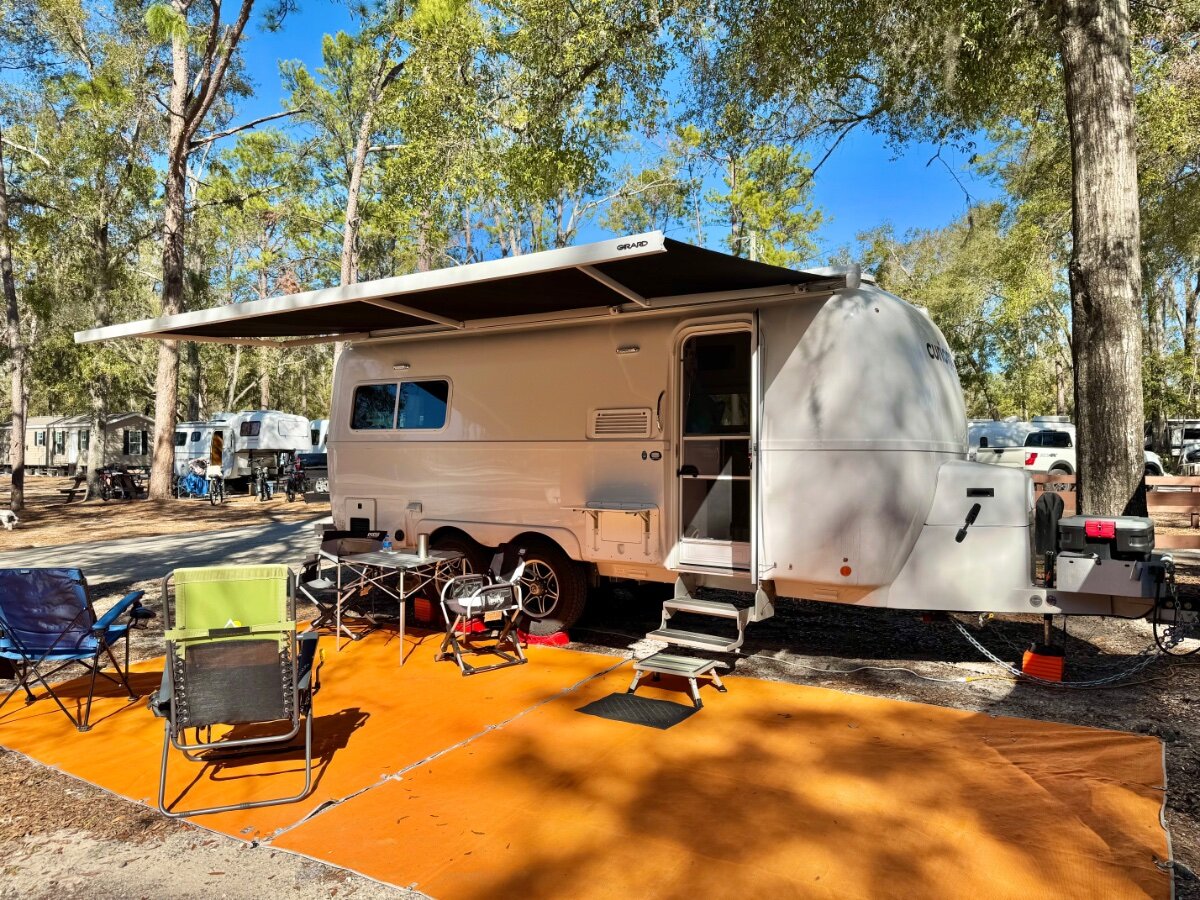
Yep! Yesterday was the fist day it never got below freezing, so that’s an improvement. 60 sitting outside eating breakfast today, high in the mid-sixties. Perfect! -
Steve and Deb Try to Stay Warm - January 15 - February ?
Steve Morris replied to Steve Morris's topic in General Discussion
Gulf Islands National Seashore, Fort Pickens south of Pensacola, Florida, 6:30 PM Central. Awesome!! @olivertraveltrailers @curiositysoftware #olivertraveltrailers #curiositytheoliver Curiosity graphics used with the kind permission of the nice folks at Curiosity Software Ireland
-
Steve and Deb Try to Stay Warm - January 15 - February ?
Steve Morris replied to Steve Morris's topic in General Discussion
We saw dozens of snowmen all around. Local weather station has a very detailed life size manatee snowman! -
Steve and Deb Try to Stay Warm - January 15 - February ?
Steve Morris replied to Steve Morris's topic in General Discussion
Yesterday we went to the white sand beach at Deaton Bridge in Blackwater River State Park in Florida. The river is crystal clear, but is tinted dark by the tannin from the trees, with a white sand bottom. There is an outfitter upstream, and I’m told it is packed on summer weekends. But on this beautiful winter day with snow still on the ground, we had it all to ourselves. weird, some are uploading upside down. I’ll try later after we move to the gulf islands.
-
Steve and Deb Try to Stay Warm - January 15 - February ?
Steve Morris replied to Steve Morris's topic in General Discussion
sorry, almost no service here, and photos have been failing to load on the forum. Let’s see if this works. Santa Rosa County Veterans Memorial, in Milton, Florida. There are memorials to every war and conflict. A moving and powerful reminder. It’s an unexpected find in a small town
-
Steve and Deb Try to Stay Warm - January 15 - February ?
Steve Morris replied to Steve Morris's topic in General Discussion
https://www.facebook.com/share/p/1BPARPYFTV/?mibextid=wwXIfr https://m.facebook.com/story.php?story_fbid=pfbid0rDbdidNtoDWST9eodG5SYYHchyxcAPL1ePC8us8iQ7SVnPefMQ8fUBZQ3bCyjcihl&id=100064448631768&mibextid=wwXIfr -
Steve and Deb Try to Stay Warm - January 15 - February ?
Steve Morris replied to Steve Morris's topic in General Discussion
He’s got more hair than I do! -
Steve and Deb Try to Stay Warm - January 15 - February ?
Steve Morris replied to Steve Morris's topic in General Discussion
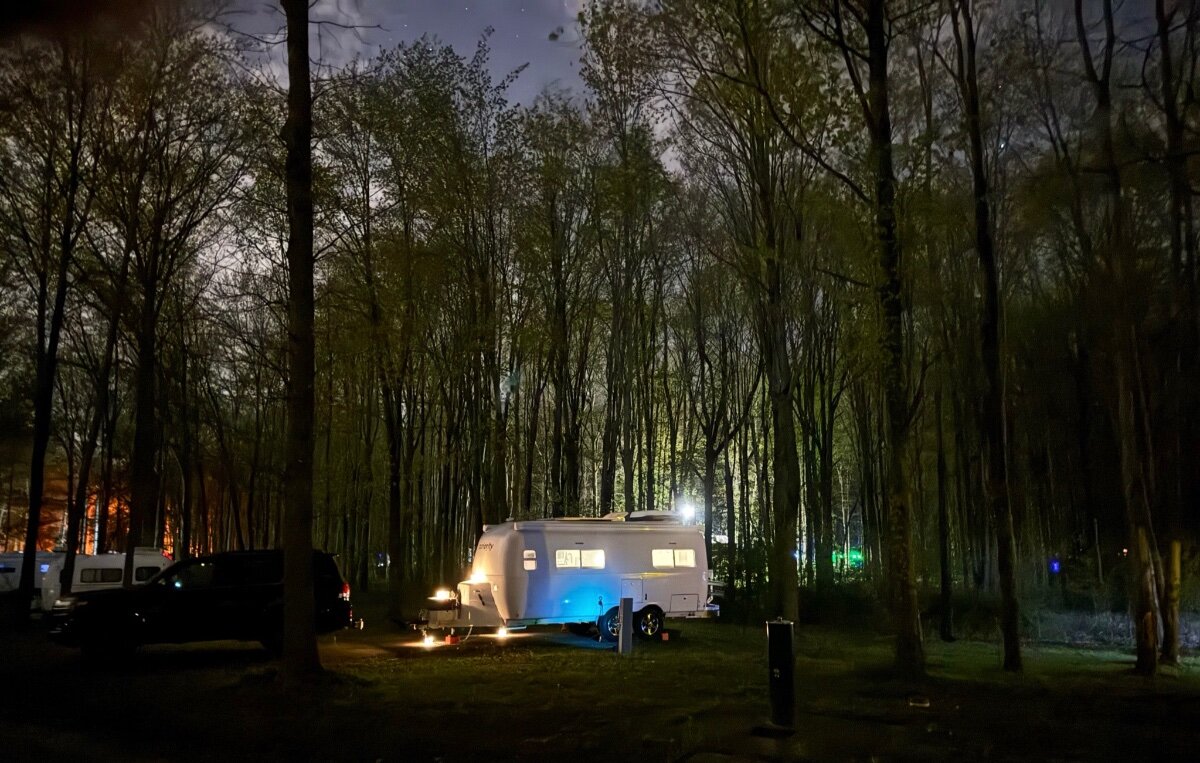
Gotta go with the circumstances!
-
Steve and Deb Try to Stay Warm - January 15 - February ?
Steve Morris replied to Steve Morris's topic in General Discussion
Overnight low was 15*, with a high today of 38* and sunny. No problems at all! The Mopeka app shows me using about 1% per hour of propane from one of the bottles. 👍
-
Steve and Deb Try to Stay Warm - January 15 - February ?
Steve Morris replied to Steve Morris's topic in General Discussion
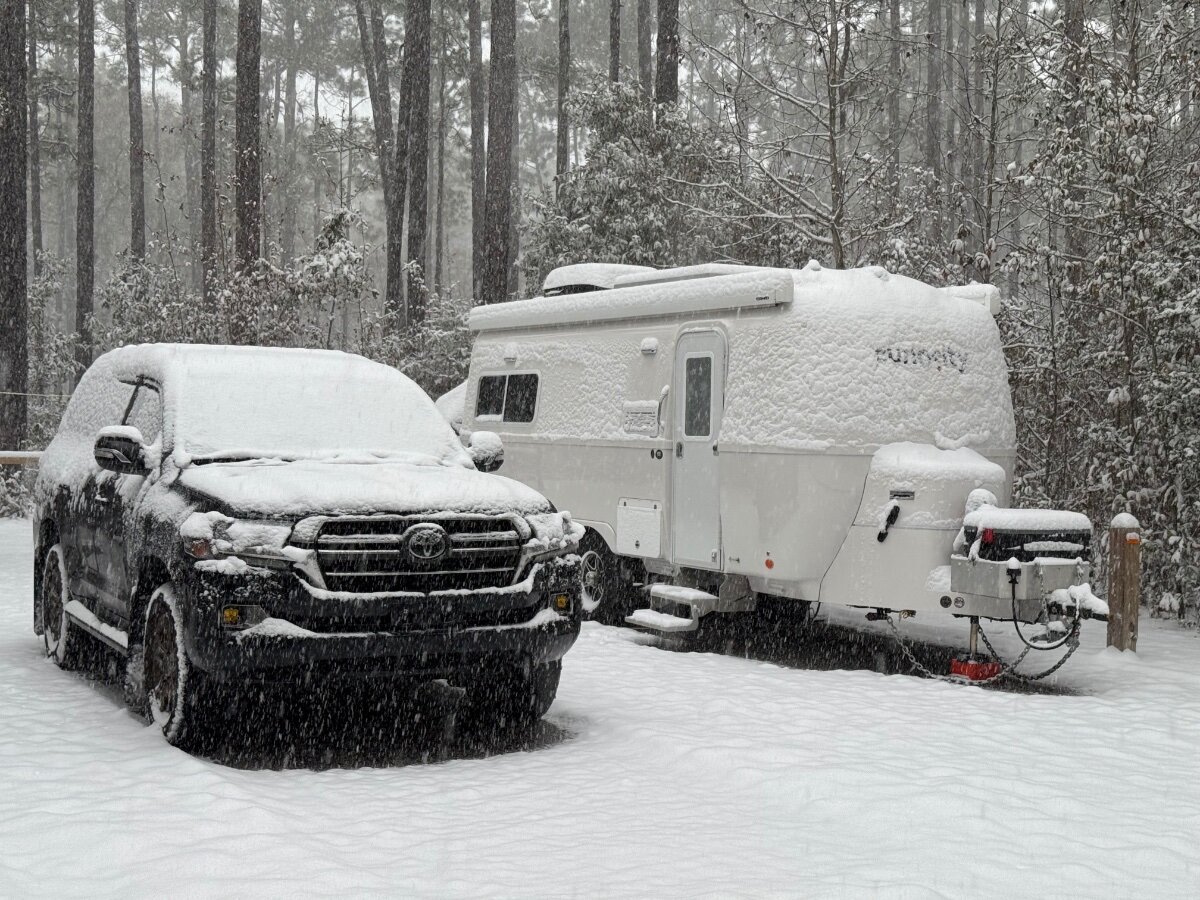
Doing what it takes to stay warm. 😁
-
Steve and Deb Try to Stay Warm - January 15 - February ?
Steve Morris replied to Steve Morris's topic in General Discussion
Yea, so much for staying warm in Florida. 3.25 inches of snow already on the ground here at Blackwater River State Park NE of Pensacola, with another 3-4” in the next 24 hours. Over night low is forecasted to be 16*F…
-
More important than number of nights is $/night. I’m finally under $1000! 🤪
-
I don’t have any high amperage devices, let alone on an extension cord. The biggest load is an 1100W ceramic heater plugged directly into the GFCI outlet under the dinette. The extension cords connected to the outside receptacle are 25’ long and 12AWG outdoor rated. The only load on that outlet is a 2.8A AC max draw fridge/freezer in the truck. I’m good. This was a rarity. I’ve only had to plug the fridge into the trailer one other time in two years, and it was fine in the rain.
-
Currently at Spirit of the Suwannee Music Park near Live Oak, Florida, for a fiberglass camper rally with 236 trailers. Tomorrow we head to Blackwater River State Park north of Pensacola for six nights, Fort Pickens on the Gulf for another six. After that we head to north central Florida to Salt Springs National Recreation Area in Ocala National Forest for almost two weeks. A short cruise out of Jacksonville to the Bahamas, and the north to Savannah, maybe Charleston, and then home. We should be back in northern Ohio by March 1st.
-
Last night was our 100th night in our 2023 Oliver Legacy Elite II “Curiosity”! While not a big deal for a lot of campers, it is a milestone for us. Thank you Oliver Travel Trailers for building us a wonderful home away from home!
- 42 replies
-
- 16
-

-

-
Problem solved! The exterior receptacle is not a GFCI out, but is downstream from the one under the dinette. Unplugging the refrigerator extension cord solved the problem. We’ve had worse rain than this before, but usually plug it into the power pedestal. This campground doesn’t have a 15A outlet in the box. I use two 25’ extension cords, and the juncture was underneath the trailer. But with the rain, it was half buried in wet sand. I took it apart, and cleaned and dried it, but apparently not enough, as it tripped the GFCI outlet immediately when I plugged it back in. So for now, I’m using one Bluetti to power the fry while the other is charging inside the trailer. I’ll swap as needed until I get things dried out. Thank you for all of the help and advice!
-
We’re at the Florida egg rally, on a full hookup site since Wednesday. Just came in this evening and the GFCI outlet under the dinette had tripped, and won’t reset. We had a small ceramic heater running on that outlet. Now, all downstream AC outlets are dead. These are on circuit breaker #3, which had not tripped. I opened and closed breaker #3 just to be sure. Breaker #4 is the separate microwave outlet, and it works fine. Only the wall outlets downstream from theGFCI outlet stopped working. The Progressive Industries display is showing 120V and no errors. So the fault seems to be the GFCI outlet. Do these go bad? The ones in our house that we bought 34 years ago still function. In the morning, I’m going to unhook from the campground power pedestal and try resetting the GFCI outlet on inverted AC power. It did start raining a few hours ago, but if that was the cause, it would affect all AC power, not just circuit #3. Thoughts?
-
At Spirit of the Suwannee Music Park near Live Oak Florida for the 9th Eggs ‘n S’mores Fiberglass Rally. Then bouncing northern Florida until late February and a short cruise out of Jacksonville. It’s a lot nicer than the snow at home in northern Ohio!
-
Upgraded Shower and Bathroom Access Hatch
Steve Morris replied to NCeagle's topic in Ollie Modifications
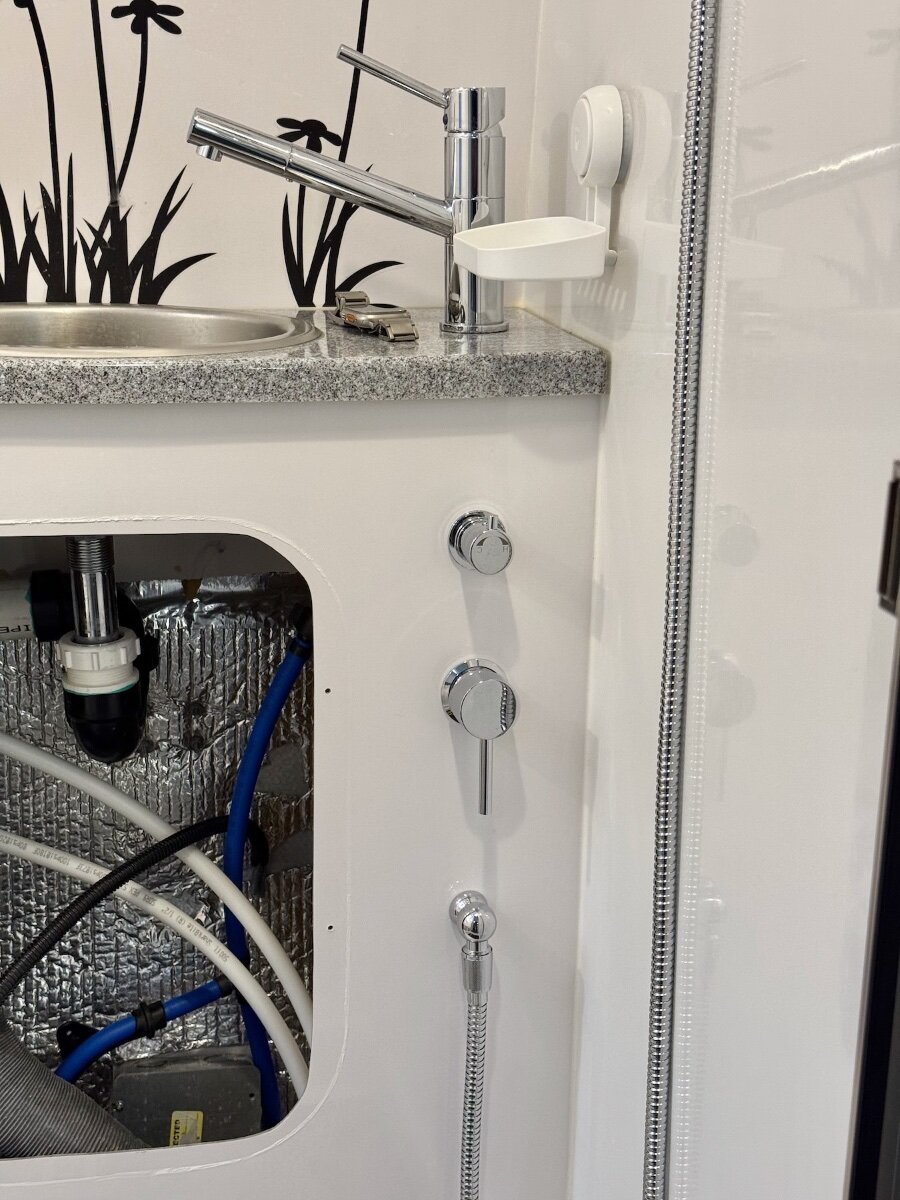
As John noted, the check valve was apparently stuck. All good now. The hot and cold are still reversed, because I was wandering around talking all day instead of opening under the sink. It's supposed to rain much of Saturday, so maybe I'll do it then. There are 236 fiberglass trailers here at the rally, including many familiar Oliver faces. -
Upgraded Shower and Bathroom Access Hatch
Steve Morris replied to NCeagle's topic in Ollie Modifications
A follow-up now that we’re in Florida at the 9th Annual Eggs ‘n S’mores rally, and can actually test the modification. 1) Someone appears to have connected the hot and cold feed lines on the bathroom backwards… Back in November I’d already had the water heater drained and bypassed, so I had only tested for leaks and function. Guess I should have checked to see if it worked as designed!! 🤪 I’ll swap the feed lines tomorrow. B) Something I didn’t anticipate, and need to look at @mossemi’s drawings again. Everything works fine other than the above notable exception while feeding from the fresh water tank. But when feeding the system via the city water inlet, it is somehow filling the fresh water tank and eventually overflowing. I’m guessing Mike had a one-way valve in the recirculating line that I missed. More to follow!
-
Steve and Deb Try to Stay Warm - January 15 - February ?
Steve Morris replied to Steve Morris's topic in General Discussion
We have some friends nearby that we camp with a couple of times a year. They have a YouTube channel of Ohio's parks, and always end the video with "Keep it between the mustard and the mayo!" Being dense, he had to explain to me that it was between the yellow centerline (mustard) and the white edge line (mayo). -
Steve and Deb Try to Stay Warm - January 15 - February ?
Steve Morris replied to Steve Morris's topic in General Discussion
Yep, we got a few more inches, but a week for it to be plowed away. It won't be above freezing before we leave next Monday morning, so no melting other than from salt.