Steve Morris
-
Posts
807 -
Joined
-
Last visited
-
Days Won
17
Everything posted by Steve Morris
-

Steve and Deb Try to Stay Warm - January 15 - February ?
Steve Morris replied to Steve Morris's topic in General Discussion
Overnight low was 15*, with a high today of 38* and sunny. No problems at all! The Mopeka app shows me using about 1% per hour of propane from one of the bottles. 👍
-
Steve and Deb Try to Stay Warm - January 15 - February ?
Steve Morris replied to Steve Morris's topic in General Discussion
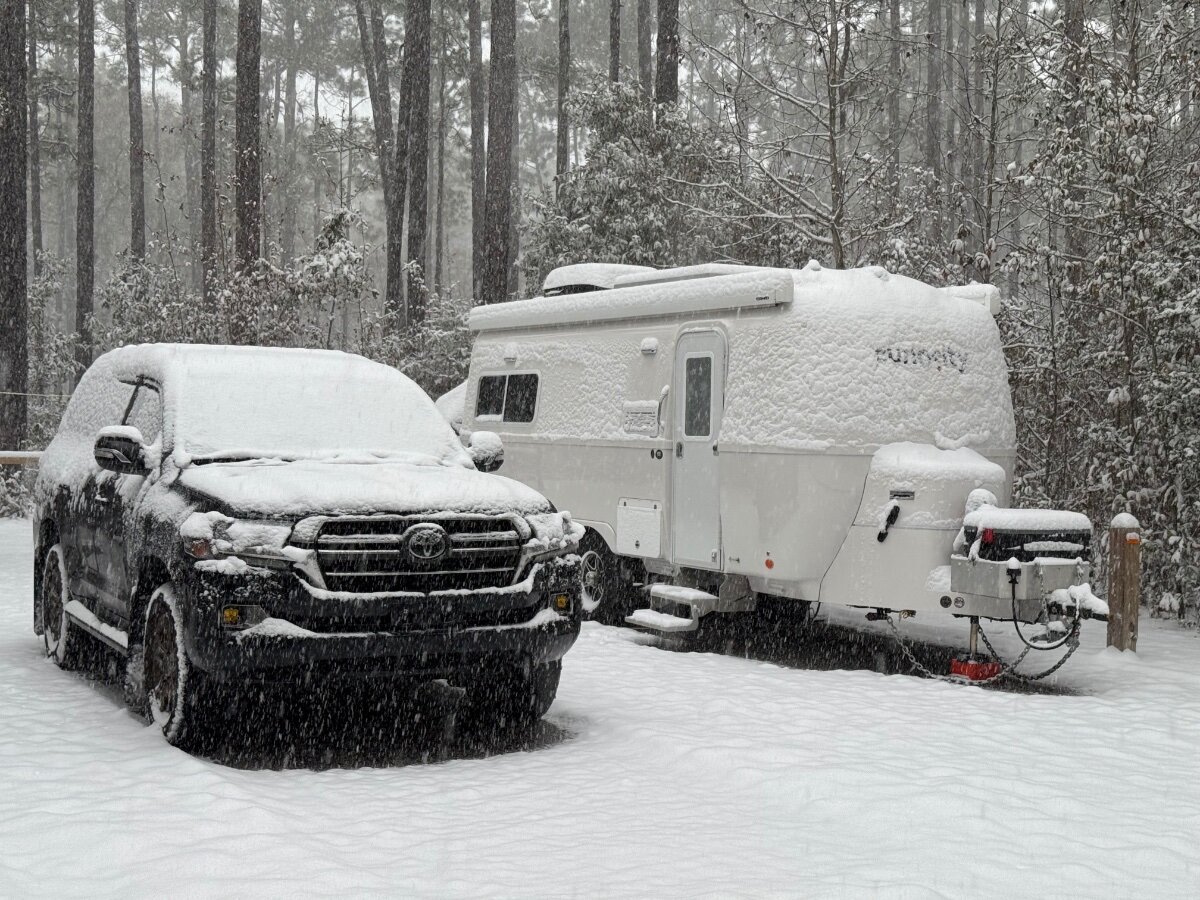
Doing what it takes to stay warm. 😁
-
Steve and Deb Try to Stay Warm - January 15 - February ?
Steve Morris replied to Steve Morris's topic in General Discussion
Yea, so much for staying warm in Florida. 3.25 inches of snow already on the ground here at Blackwater River State Park NE of Pensacola, with another 3-4” in the next 24 hours. Over night low is forecasted to be 16*F…
-
More important than number of nights is $/night. I’m finally under $1000! 🤪
-
I don’t have any high amperage devices, let alone on an extension cord. The biggest load is an 1100W ceramic heater plugged directly into the GFCI outlet under the dinette. The extension cords connected to the outside receptacle are 25’ long and 12AWG outdoor rated. The only load on that outlet is a 2.8A AC max draw fridge/freezer in the truck. I’m good. This was a rarity. I’ve only had to plug the fridge into the trailer one other time in two years, and it was fine in the rain.
-
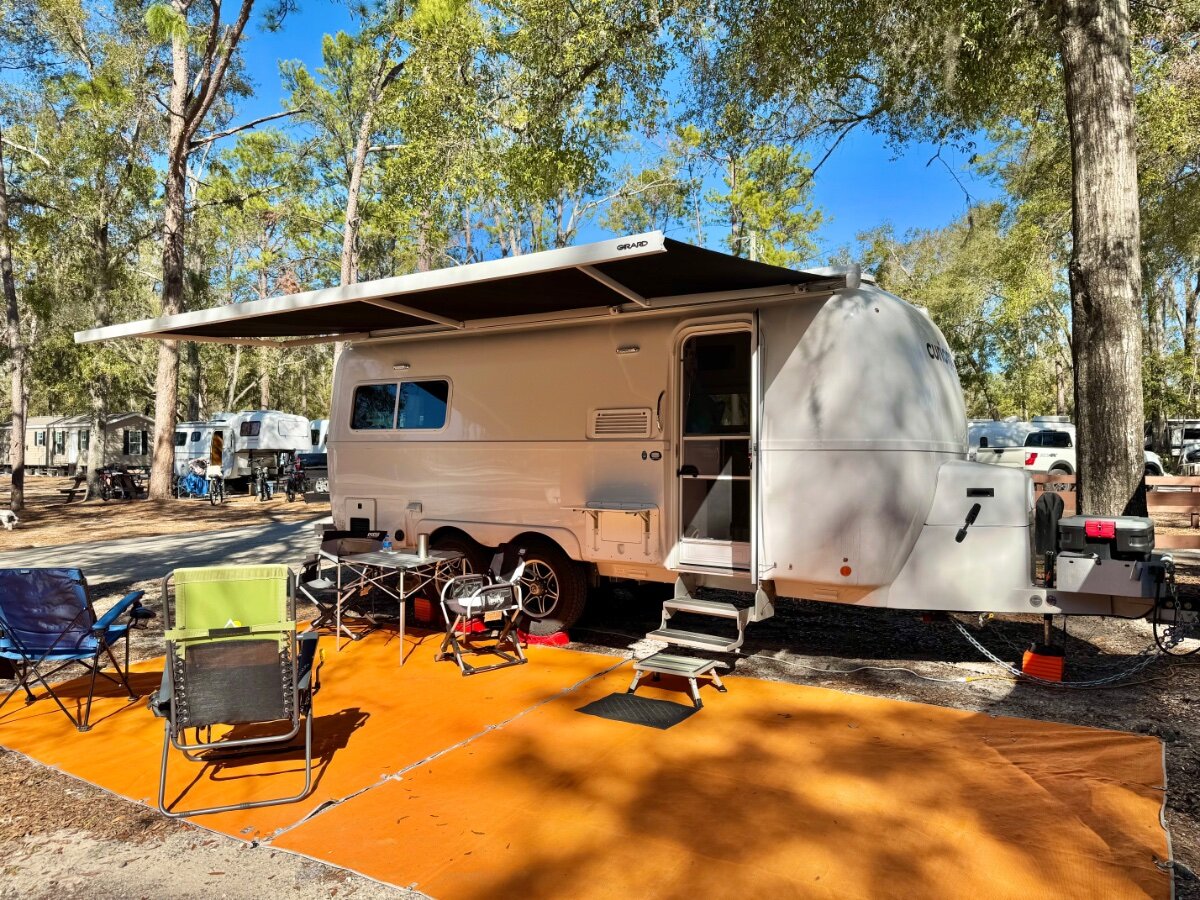
Currently at Spirit of the Suwannee Music Park near Live Oak, Florida, for a fiberglass camper rally with 236 trailers. Tomorrow we head to Blackwater River State Park north of Pensacola for six nights, Fort Pickens on the Gulf for another six. After that we head to north central Florida to Salt Springs National Recreation Area in Ocala National Forest for almost two weeks. A short cruise out of Jacksonville to the Bahamas, and the north to Savannah, maybe Charleston, and then home. We should be back in northern Ohio by March 1st.
-
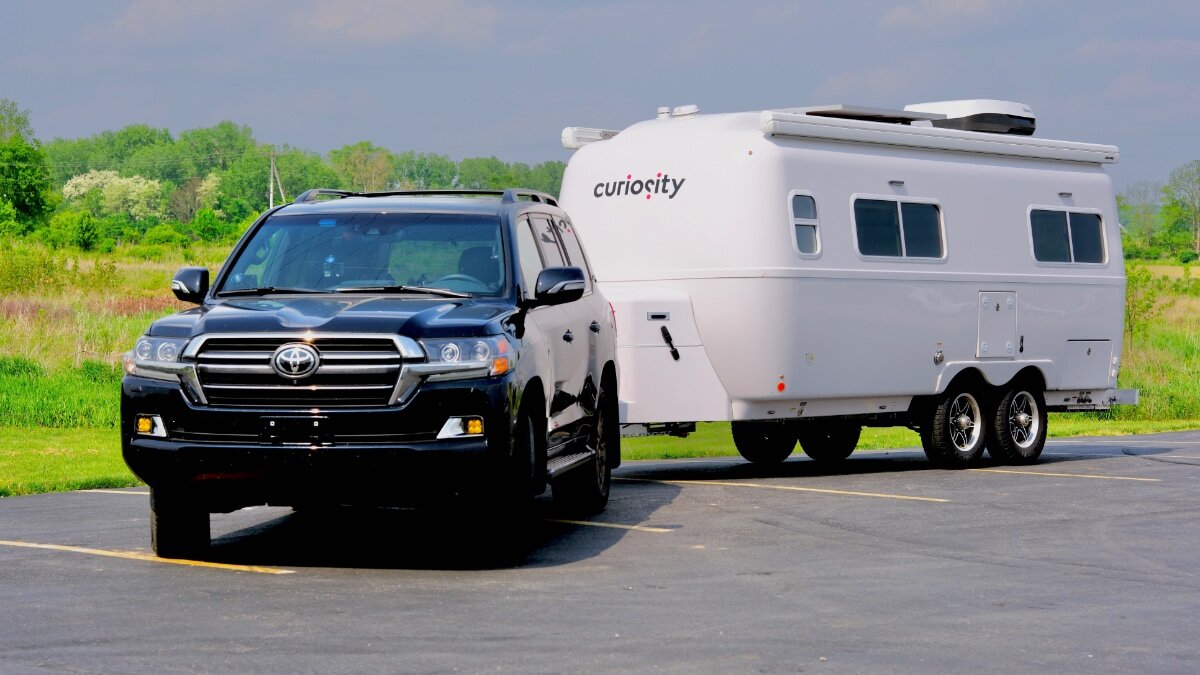
Last night was our 100th night in our 2023 Oliver Legacy Elite II “Curiosity”! While not a big deal for a lot of campers, it is a milestone for us. Thank you Oliver Travel Trailers for building us a wonderful home away from home!
- 42 replies
-
- 16
-

-

-
Problem solved! The exterior receptacle is not a GFCI out, but is downstream from the one under the dinette. Unplugging the refrigerator extension cord solved the problem. We’ve had worse rain than this before, but usually plug it into the power pedestal. This campground doesn’t have a 15A outlet in the box. I use two 25’ extension cords, and the juncture was underneath the trailer. But with the rain, it was half buried in wet sand. I took it apart, and cleaned and dried it, but apparently not enough, as it tripped the GFCI outlet immediately when I plugged it back in. So for now, I’m using one Bluetti to power the fry while the other is charging inside the trailer. I’ll swap as needed until I get things dried out. Thank you for all of the help and advice!
-
We’re at the Florida egg rally, on a full hookup site since Wednesday. Just came in this evening and the GFCI outlet under the dinette had tripped, and won’t reset. We had a small ceramic heater running on that outlet. Now, all downstream AC outlets are dead. These are on circuit breaker #3, which had not tripped. I opened and closed breaker #3 just to be sure. Breaker #4 is the separate microwave outlet, and it works fine. Only the wall outlets downstream from theGFCI outlet stopped working. The Progressive Industries display is showing 120V and no errors. So the fault seems to be the GFCI outlet. Do these go bad? The ones in our house that we bought 34 years ago still function. In the morning, I’m going to unhook from the campground power pedestal and try resetting the GFCI outlet on inverted AC power. It did start raining a few hours ago, but if that was the cause, it would affect all AC power, not just circuit #3. Thoughts?
-
At Spirit of the Suwannee Music Park near Live Oak Florida for the 9th Eggs ‘n S’mores Fiberglass Rally. Then bouncing northern Florida until late February and a short cruise out of Jacksonville. It’s a lot nicer than the snow at home in northern Ohio!
-
Upgraded Shower and Bathroom Access Hatch
Steve Morris replied to NCeagle's topic in Ollie Modifications
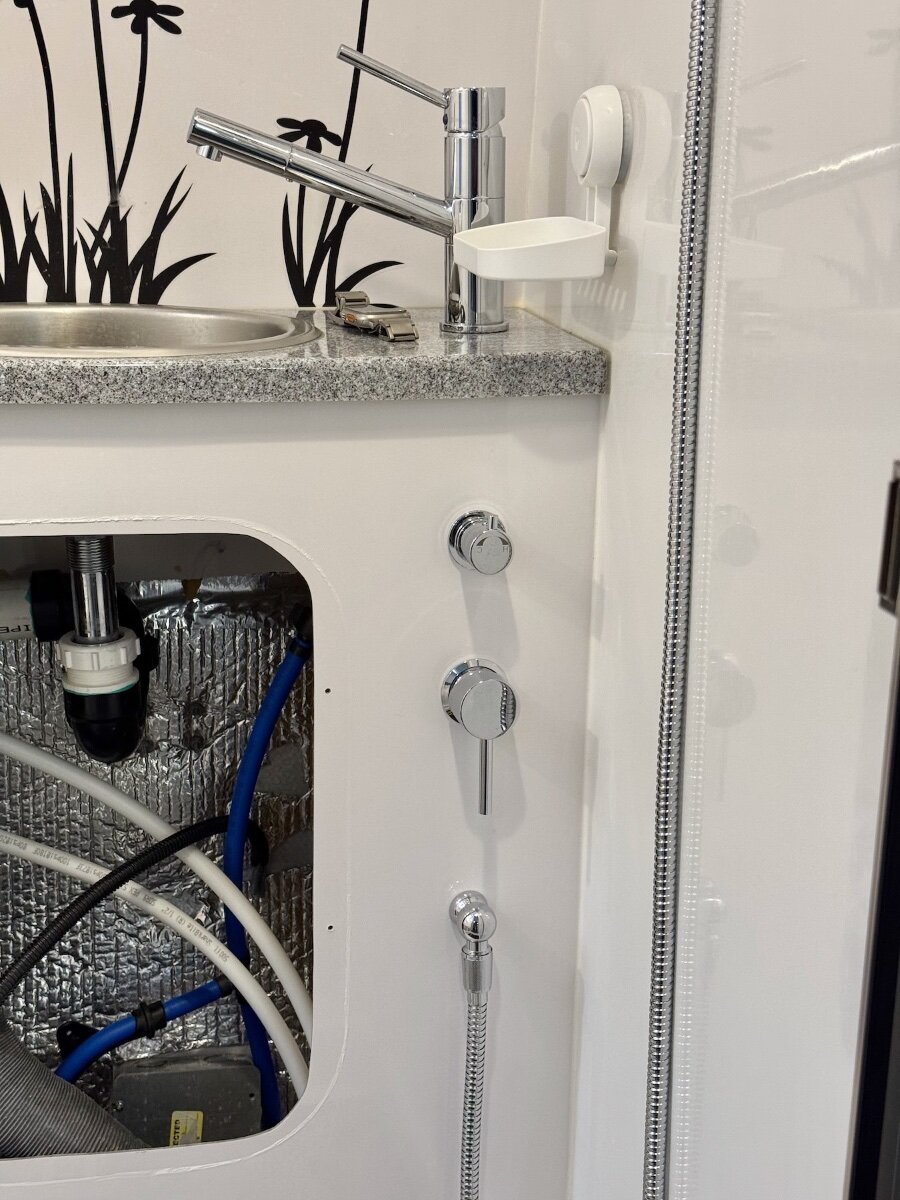
As John noted, the check valve was apparently stuck. All good now. The hot and cold are still reversed, because I was wandering around talking all day instead of opening under the sink. It's supposed to rain much of Saturday, so maybe I'll do it then. There are 236 fiberglass trailers here at the rally, including many familiar Oliver faces. -
Upgraded Shower and Bathroom Access Hatch
Steve Morris replied to NCeagle's topic in Ollie Modifications
A follow-up now that we’re in Florida at the 9th Annual Eggs ‘n S’mores rally, and can actually test the modification. 1) Someone appears to have connected the hot and cold feed lines on the bathroom backwards… Back in November I’d already had the water heater drained and bypassed, so I had only tested for leaks and function. Guess I should have checked to see if it worked as designed!! 🤪 I’ll swap the feed lines tomorrow. B) Something I didn’t anticipate, and need to look at @mossemi’s drawings again. Everything works fine other than the above notable exception while feeding from the fresh water tank. But when feeding the system via the city water inlet, it is somehow filling the fresh water tank and eventually overflowing. I’m guessing Mike had a one-way valve in the recirculating line that I missed. More to follow!
-
Steve and Deb Try to Stay Warm - January 15 - February ?
Steve Morris replied to Steve Morris's topic in General Discussion
We have some friends nearby that we camp with a couple of times a year. They have a YouTube channel of Ohio's parks, and always end the video with "Keep it between the mustard and the mayo!" Being dense, he had to explain to me that it was between the yellow centerline (mustard) and the white edge line (mayo). -
Steve and Deb Try to Stay Warm - January 15 - February ?
Steve Morris replied to Steve Morris's topic in General Discussion
Yep, we got a few more inches, but a week for it to be plowed away. It won't be above freezing before we leave next Monday morning, so no melting other than from salt. -
What’s your favorite flashlight EDC (Everyday Carry)
Steve Morris replied to Patriot's topic in General Discussion
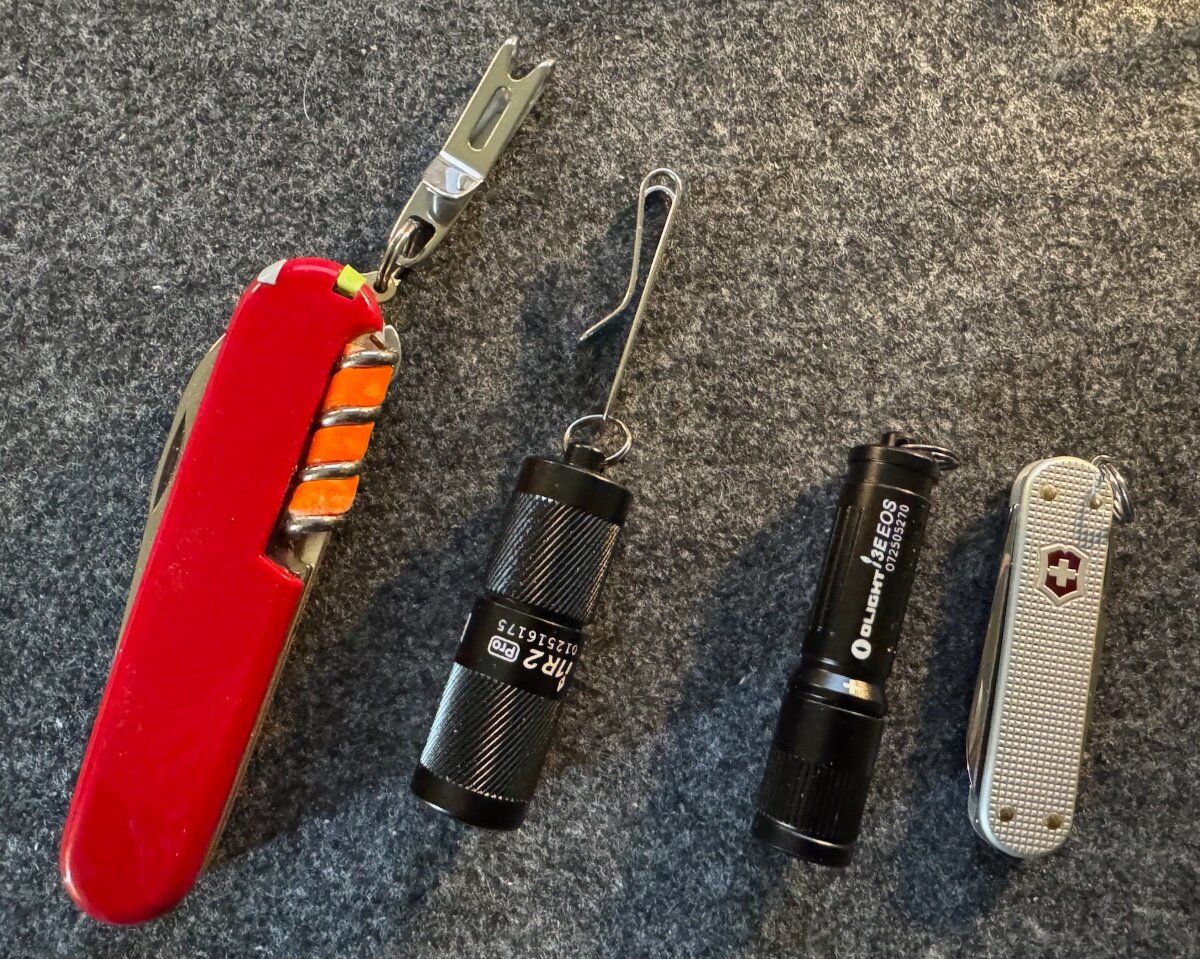
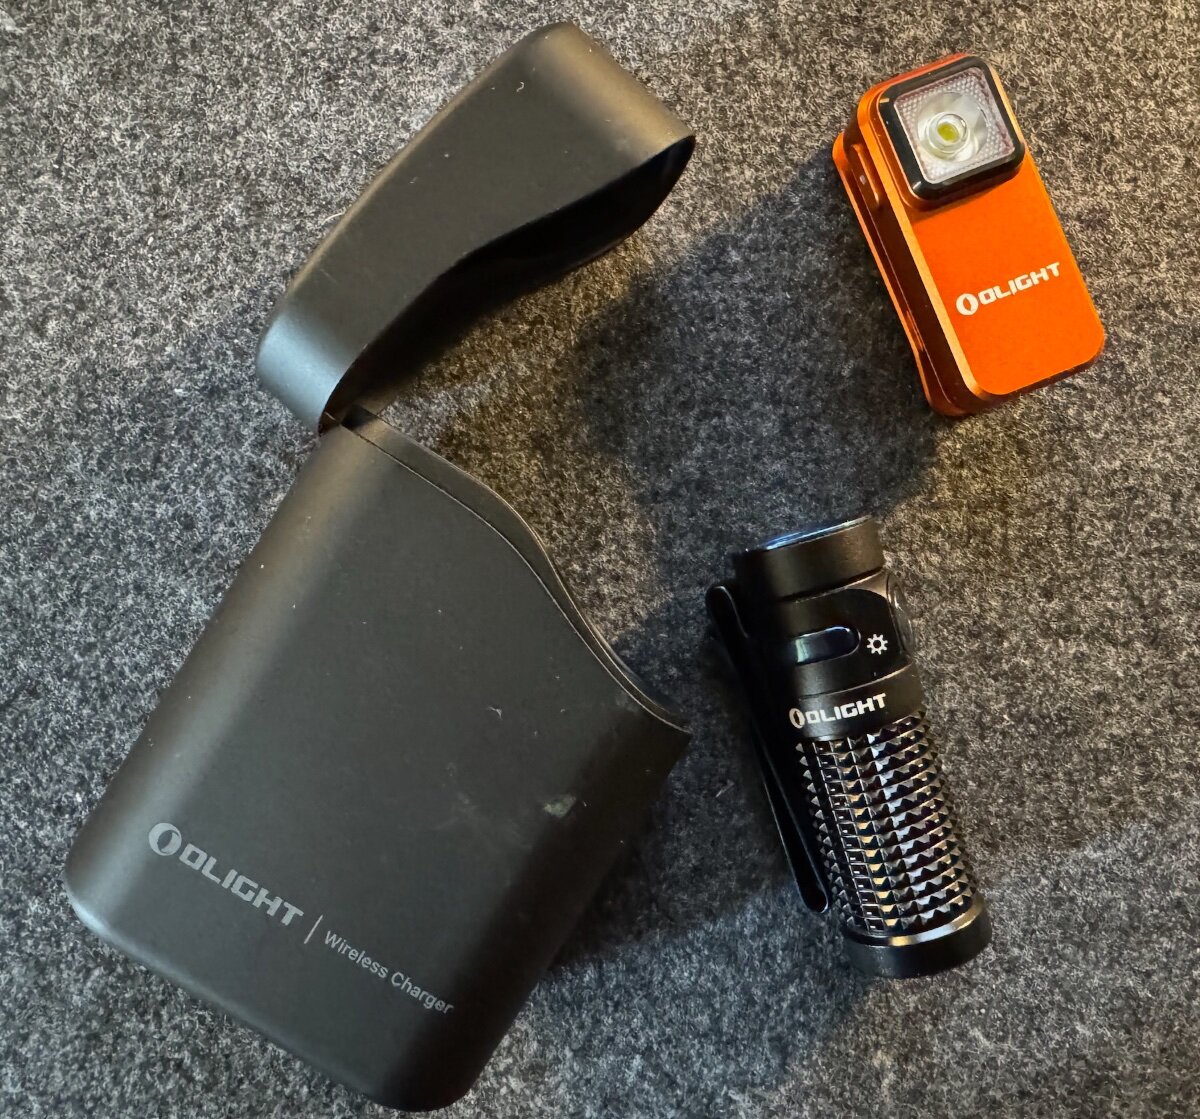
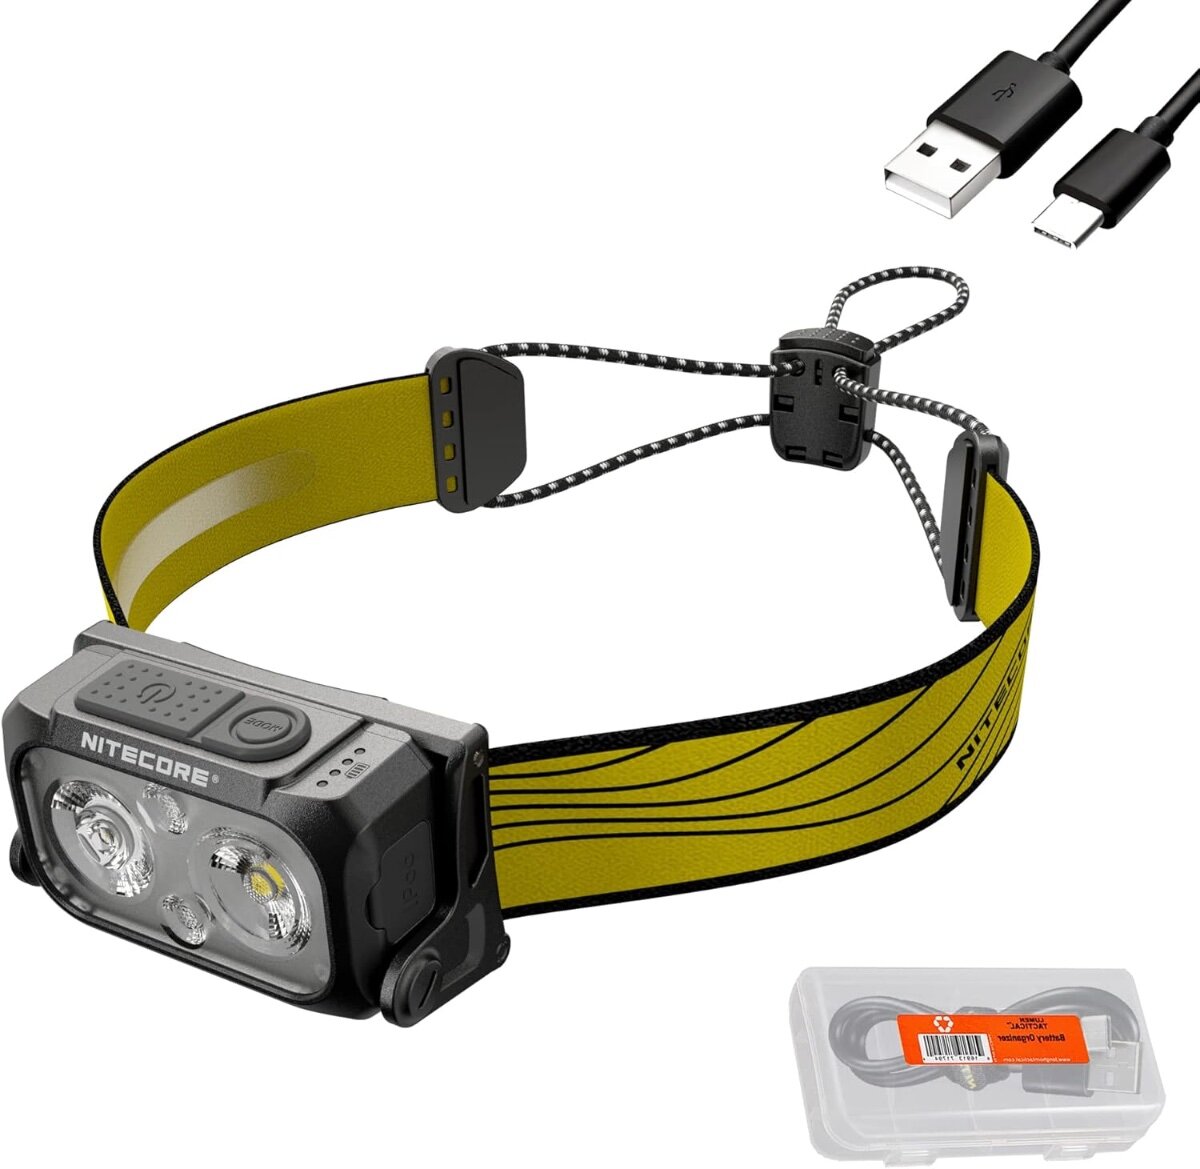
All that, and I realized that I didn't answer the question... Just like a knife or a camera, the best one is the one you have with you. So while my 40 year old Surefire is still my favorite flashlight, it is too bulky to have at all times. I don't carry a leatherman and a flashlight in belt pouches any more. So small, reasonably bright, and reliable are best for me. While I prefer a rechargeable flashlight, having a tiny AAA light and a spare battery in pocket covers most emergencies. I'm not sure when I last charged my pocket rechargeable. [putting it on the charger now!] The Olight i1R2 Pro and Victorinox Compact on the left hang loose in my pocket. This light is rechargeable and has 5 or 180 lumens as well as red. The Olight i3E EOS and Victorinox Classic Elox are kept in a small pocket pouch with spare battery, bandages, emergency pills, etc. This is a dead simple on/off 90 lumen AAA light with a usable spread. Below are the Olight Baton 4 Premium Edition, with rechargeable battery and stored in a recharging holder. It puts out 1300, 600, 300, 60, 12, and 0.5 lumens. One of these is in the armrest of the Land Cruiser, and another in the Oliver's nightstand. Also below is a tiny Olight Oclip rechargeable that puts out 300, 180,100, 10, and 1.5 lumens, as well as red. Deb has an Olight Seeker 2 Pro, which puts out an obnoxious amount of light at 3400 lumens, and has the best spread without any hotspot I've ever seen on a flashlight. She likes to sit around a fire while all the guys are showing how bright their flashlight is, and then casually turn hers on to Turbo mode, and completely obliterate them. She's mean like that. 😉 The current Olight Seeker 4 Pro is even brighter at 4600 lumens! Around camp I use a NiteCore NU25 rechargeable headlamp for hands free use. It is lightweight and has both a flood and spot reflector which can be combined for even more light. There's also a red light. Spotlight is 200 or 60 lumens, Floodlight is 200, 60, or 6 lumens, and combined is 400, 200, or 60 lumens. All of the rechargeable lights, as well as everything else rechargeable on our persons or in the truck or trailer are USB-C
-
What’s your favorite flashlight EDC (Everyday Carry)
Steve Morris replied to Patriot's topic in General Discussion
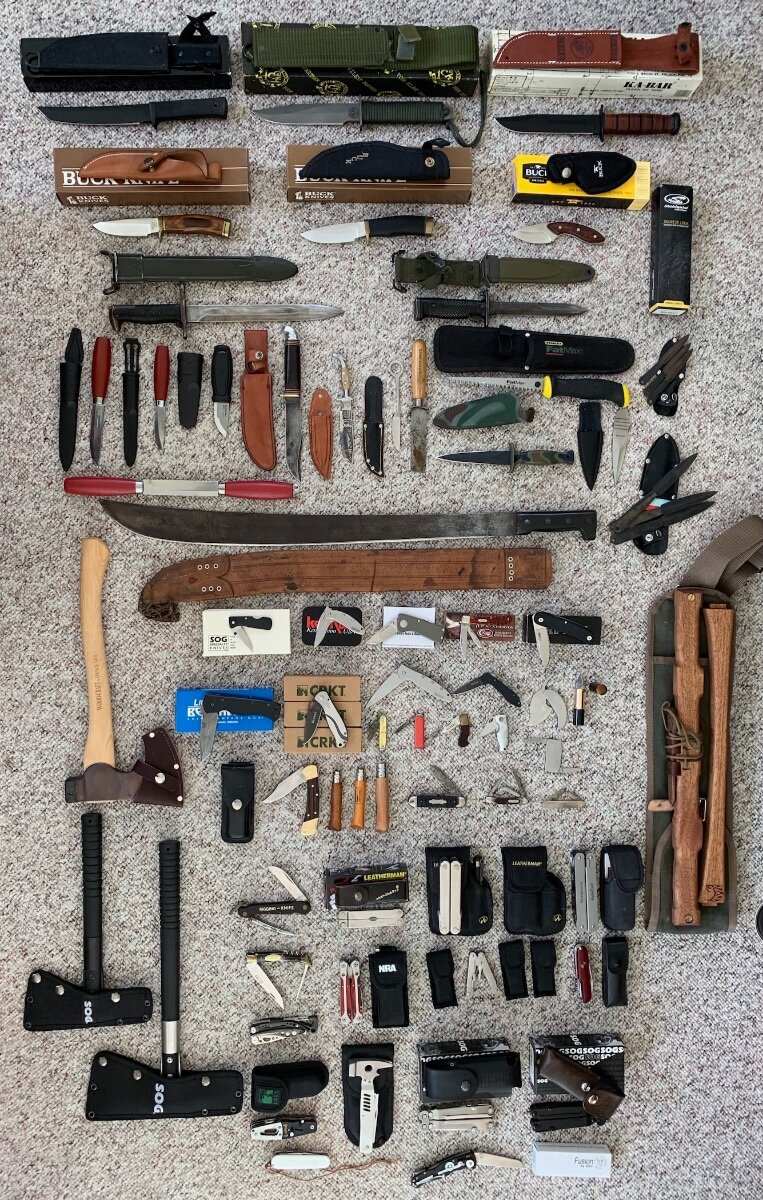
Did someone say knives? There may or may not be a couple dozen more since that photo, depending on if Deb is reading this thread or not. 😉 My favorite is the Benchmade Model 970; their licensed version of Ernest Emerson's CQC-7 from the early '90s. I was trying to get in one Emerson's "Buy a hand made CQC-6 for you, and one for a deployed serviceman", but he was years out, so offloaded some manufacturing to Benchmade. Benchmade late made their own CQC-7, but not near the same quality. These days, my carry knives are Opinel folders (simple, sharp, reliable, and cheap) and/or a Victorinox Swiss Army knife, with Leatherman in the truck, trailer, and around the house. That's the name of my Dropbox folder!🤣 There a fewer flashlights than knives, but not by much of a margin. Like @Steph and Dud B, I still have my old 5-cell Maglite and a Surefire 6D Classic, both with incandescent bulbs. But several years ago, I converted both to LED using Malkoff Devices conversion kits. My only other Surefire is a G2X shown below. Most of my flashlights are Olight, Fenix, NiteCore, and Streamlight, but there are a few no-name Amazon models scattered around in cars, the trailer, or home. Deb says that I am a serial hobbyist, but I disagree. I can do all concurrently! 🤣
-
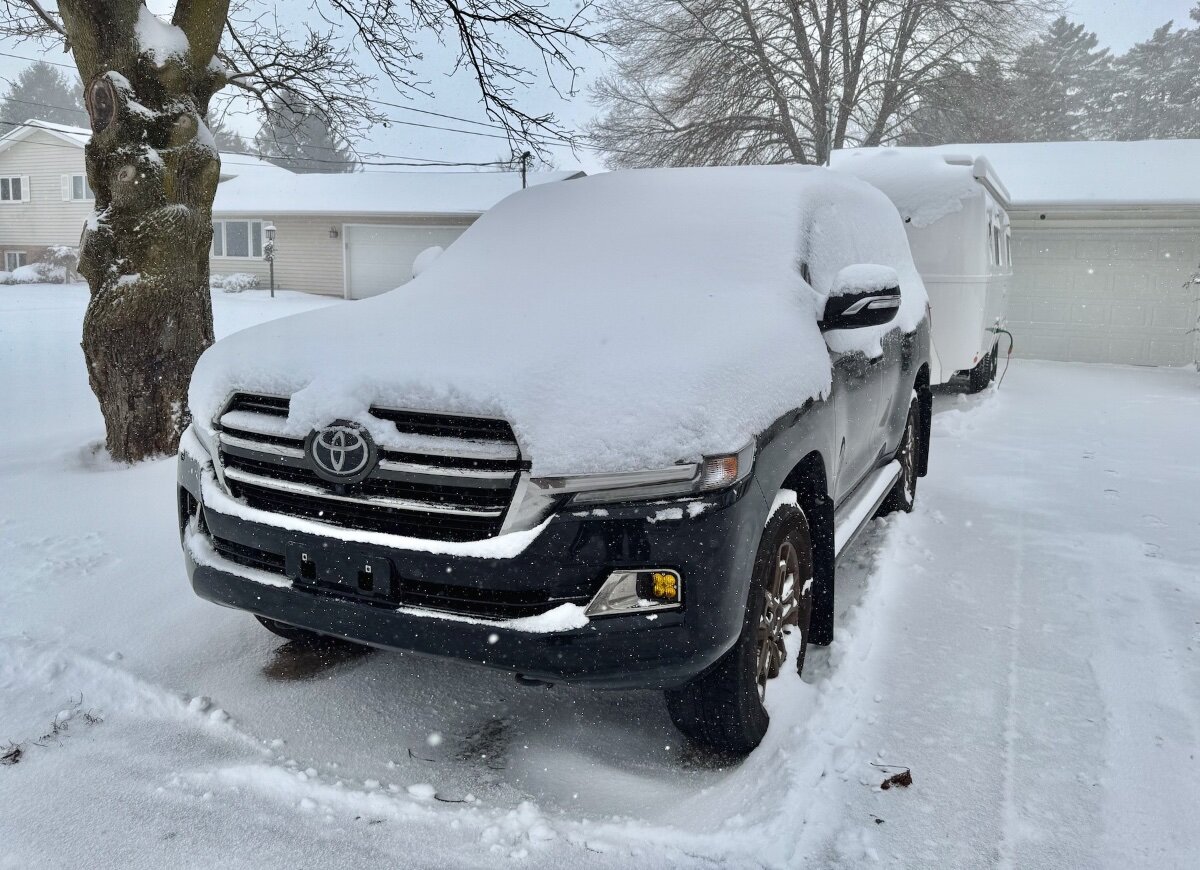
Steve and Deb Try to Stay Warm - January 15 - February ?
Steve Morris replied to Steve Morris's topic in General Discussion
10 days to go. 4-6" of new snowovernight in the driveway, and 8" near the house and on the sidewalk. This is our first real accumulation of the year here in northern Ohio (only 0-1" prior.) The bad news is that it will not get above freezing before we leave next Monday, so I won't be able to de-winterize and fill the fresh tank before leaving. And we'll also probably be at a motel the two nights coming down instead of at Cracker Barrel. I'm sure glad we got a full hook up at the Eggs 'N S'mores Rally this year, so I can flush the lines and fill the tanks when we arrive at the rally! I'm going to have to find a truck wash to get the salt off of everything before getting to the rally.
-
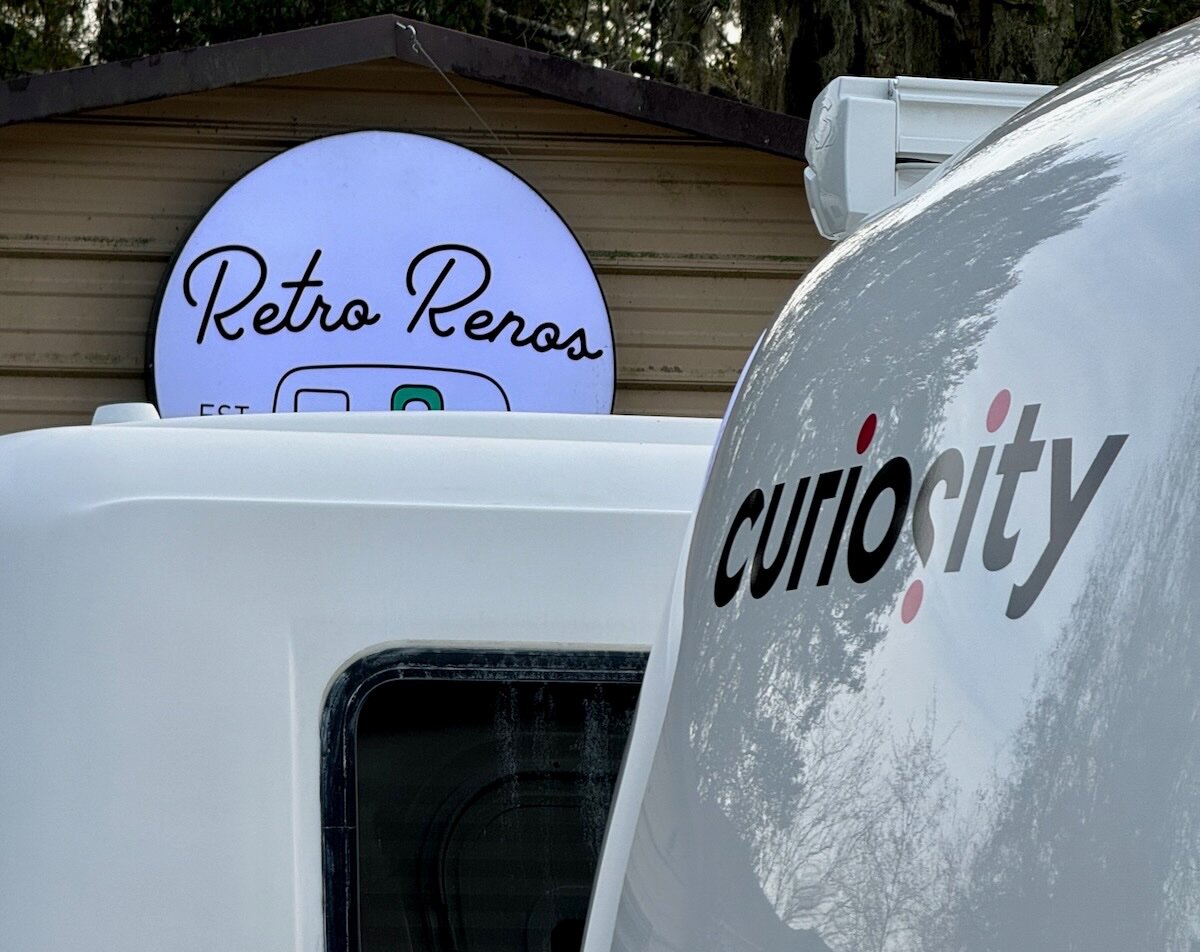
Steve and Deb Try to Stay Warm - January 15 - February ?
Steve Morris replied to Steve Morris's topic in General Discussion
We are cruising out of Jacksonville. This past January, we made arrangements with Retro Reno there in Jacksonville to work with CGI as a spot to do our ceramic coating and they'd told us to stop in if we passed that way again. So we contacted them late this summer to see if we could rent a spot. Since we were last there, they've become Escape and Casita dealers, and built a new shop, so I was concerned that they might not have room. Daniel called me, looked at their schedule, and said they would have room for us. He also offered to have us camp there the night before departure, and he will drive us to and from the ship port to avoid parking at the dock. All at a price I was comfortable with, and only a bit more than the RV/oversized spots at the port. I was dreading leaving the trailer at the port with the e-bikes on the back and valuables inside! So this was a huge relief for us.
-
Alternative Front Storage Basket
Steve Morris replied to William James's topic in Ollie Modifications
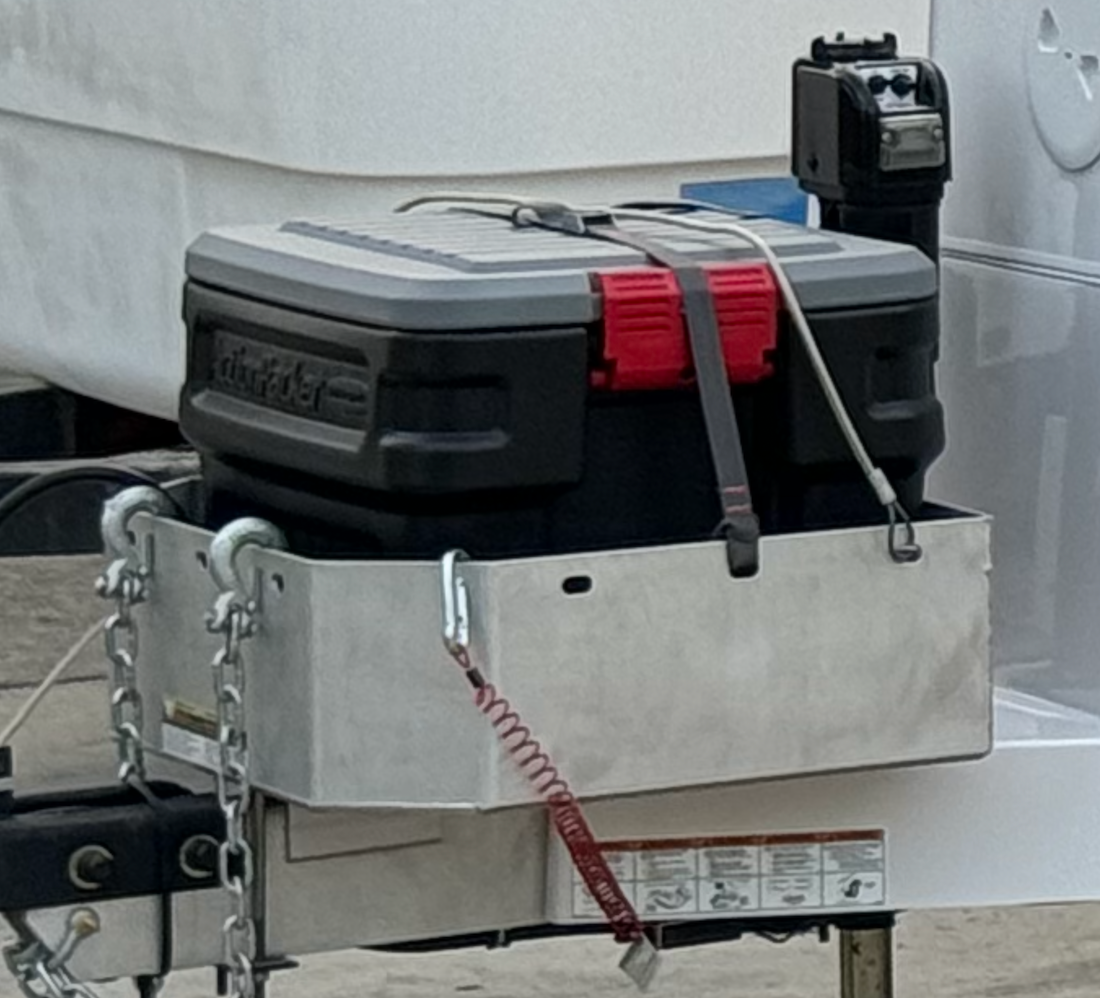
We have the Oliver front storage basket, and use a Rubbermaid Action Packer 24. There is extra space around this, as it doesn't completely fill the basket. We'll sometimes stuff wet tarps of carpets in there rather than inside the trailer or SUV. RollerCam, the best in the business, and made for continued use in the sun. They started out in the rafting industry, and expanded into other fields. https://www.rollercam.com We use one across the ActionPacker, and if leaving the trailer unattended for short times, we also use a bicycle cable lock.
-
Deb and I are trying wintering in Florida this year for a few weeks. We couldn't get into state or federal parks in the southern half, due to all the snowbirds who've planned further ahead than us. If you're near where we're staying, drop us a message and maybe we can meet up! Eggs 'N S'mores Rally at Spirit of the Suwannee Music Park near Live Oak January 15-20 Blackwater River State Park January 20-26 Fort Pickens January 26-31 A couple of nights at Best Western in Tallahassee to stretch out January 31-February 2 Salt Springs Recreation Area February 2-12 Retro Reno in Jacksonville February 12-13 A four night Carnival Bahamas Cruise for a change of pace February 13-17 After that, we'll wander north, with possible stops in Savannah GA and/or Columbia SC, depending on the weather.
-
For anyone planning to recover their dinette cushions, and never has guests sleeping on that bed, I suggest making the seatback wedge shaped. One of my only complaints about the Oliver is how my bad back hurts after sitting at the dinette for too long. After only a couple outings, I added a length of pool noodle split in half lengthwise behind the bottom of the backrest. This 1-1/2" ish tilt made all the difference! Whenever we need to get the cushions covered, we will have the padding and covering made wedge shaped to match this angle.
-
Update: It is t Crystal’s after all. Very similar! Big mudflaps and street side awning, and what looks like the same truck and capper. But not theirs.
-
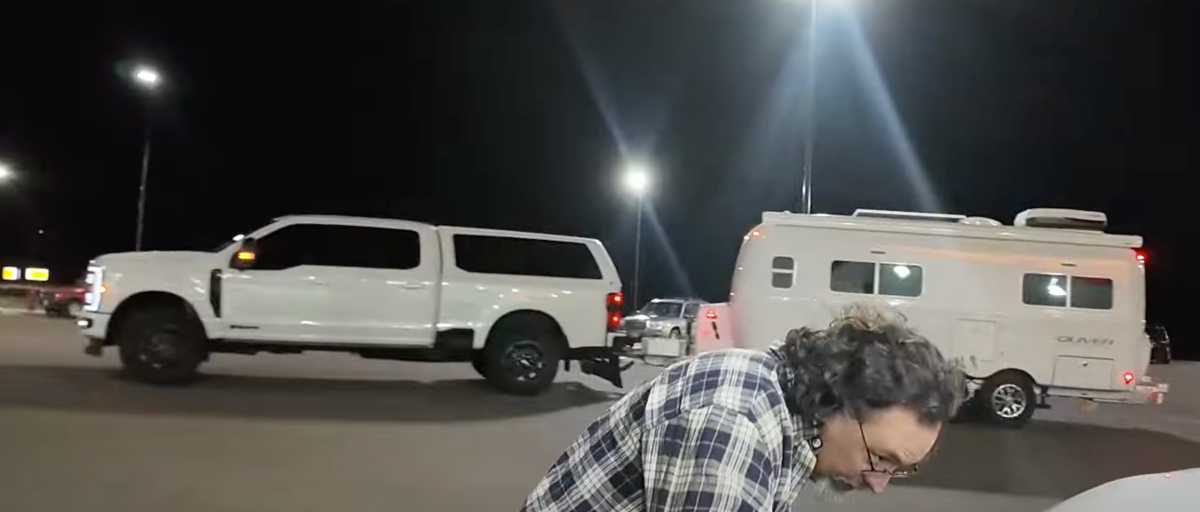
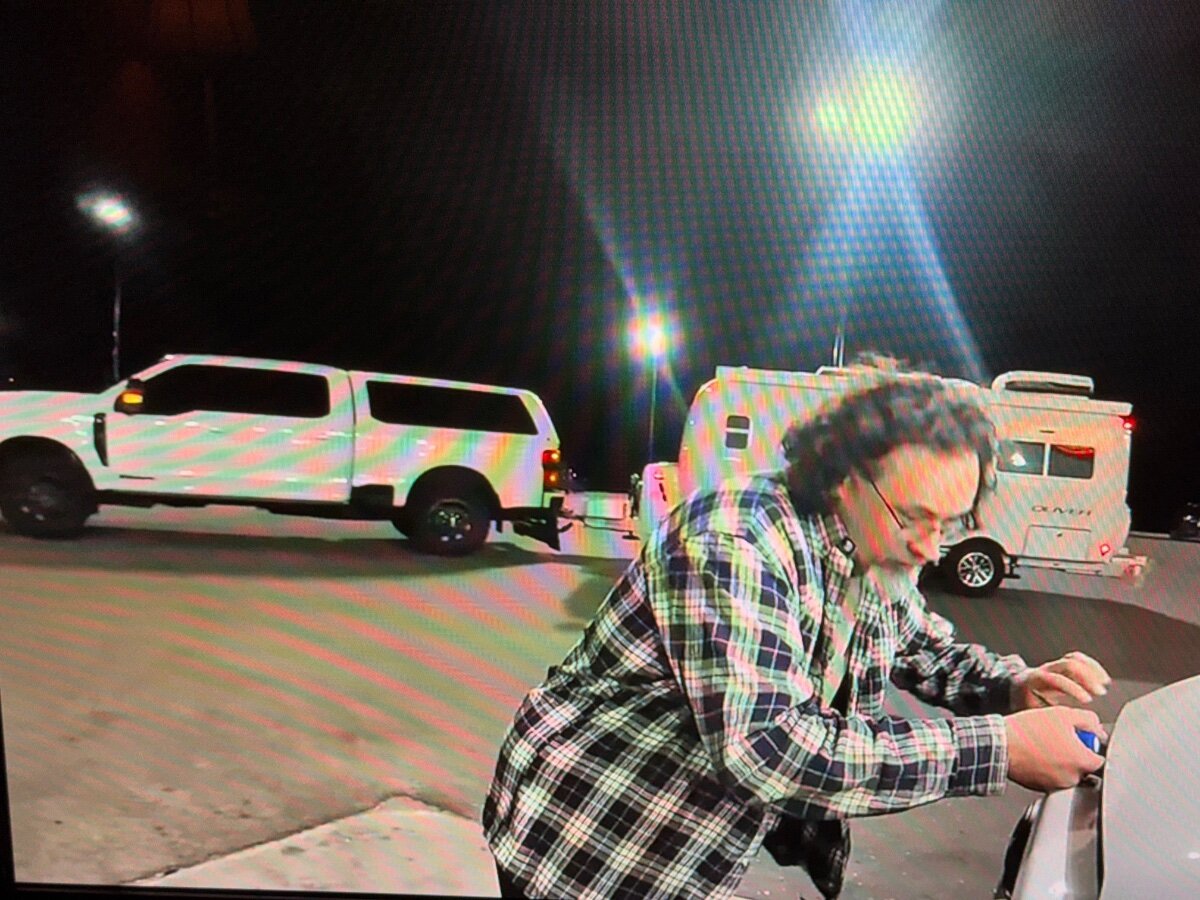
Found the owner; It is hull 1380, @Crystal Mills who saw the post on the Facebook group. It was right at 14 minutes into this video: https://www.youtube.com/watch?v=Detnj71NfD4&t=840s
-
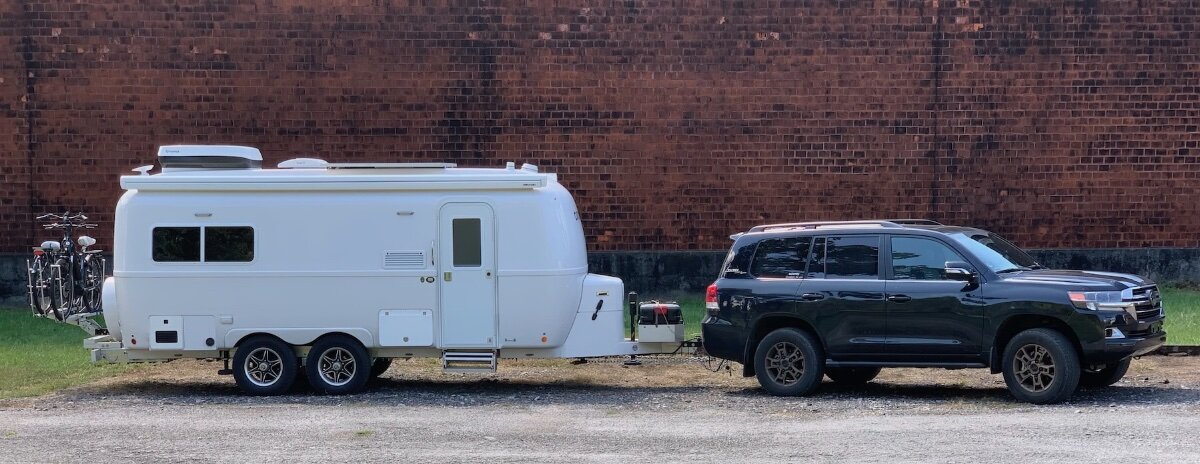
That was our first thought, until I realized it just had an empty front basket, instead of the Sea Biscuit box on XPLOR. Taking a photo on the TV leaves a lot other be desired as far as quality goes. Here's a better one from my computer.
-
Who’s this in the background of a YouTube video we watch? It was somewhere between Tioga Pass and Las Vegas. I don’t know the timing of the video, but I’d guess late summer or early fall.