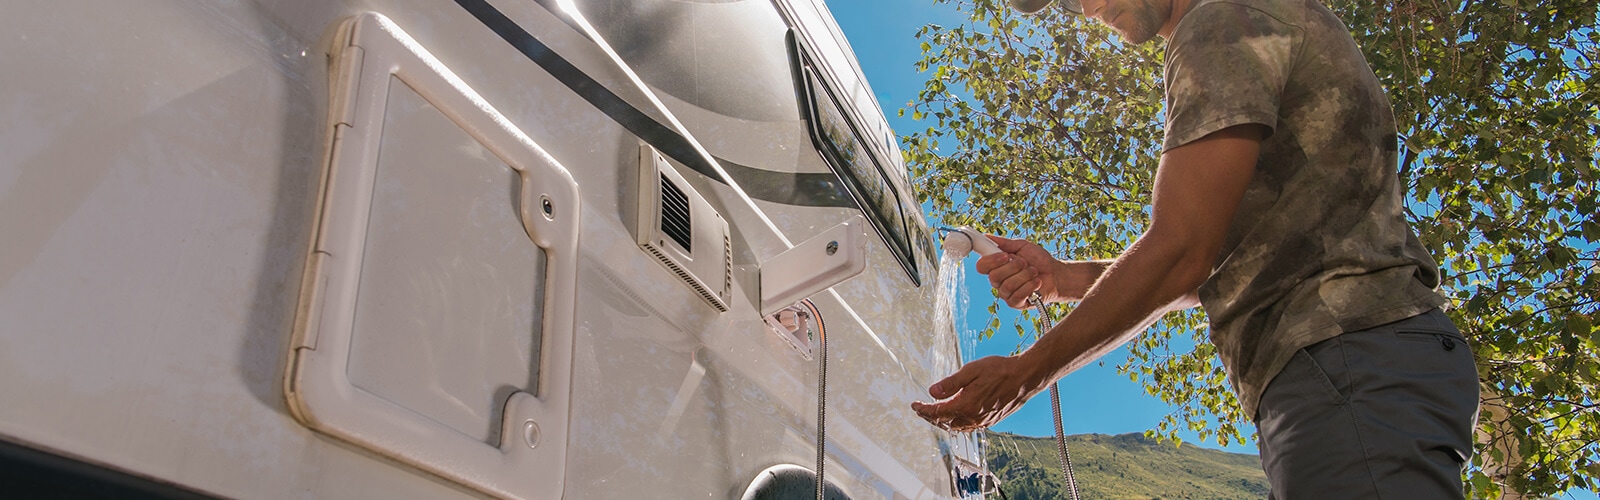
Low water pressure can be a frustrating problem when you’re traveling in your RV. It can make these tasks challenging, whether you’re trying to take a shower, wash dishes, or flush the toilet. However, with a few simple tips and tricks, you can improve to enjoy a more comfortable camping experience
Here are some troubleshooting steps you can take to identify and fix the problem.
Check For Leaks
That’s absolutely correct! Checking for leaks is an important step in troubleshooting low pressure. Even a small leak can cause a significant drop pressure. Inspecting all the hoses, fittings, and connections for signs of leakage is crucial. If you discover a leak, it’s essential to turn off the water source and address the issue promptly. Repair or replace the damaged part or seek professional help if needed. Fixing any leaks will help restore proper water pressure.
Use A Water Pressure Regulator
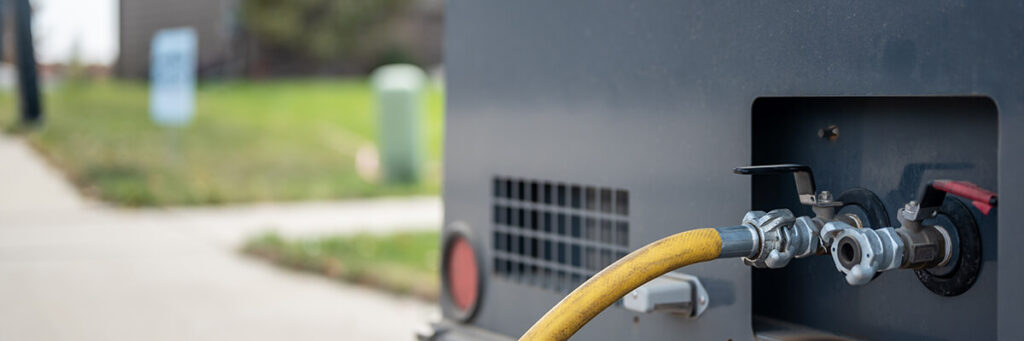
A water pressure regulator is an excellent precaution when your camper is connected to a city water supply. City water can vary, and if it exceeds the recommended levels, it can cause damage to your plumbing and fixtures. Using a regulator, you can control and reduce the incoming pressure to a safe and consistent level. This helps protect your water system. Water pressure regulators are usually available at hardware stores, supply stores, or online retailers.
Investing in a Water Pump is a Smart Choice
When camping in regions with restricted water supplies, you must consider purchasing a water pump for your camper. Investing in a reliable water pump can significantly enhance your water pressure, resulting in more convenient showering and dishwashing experiences. Fortunately, these helpful devices are cost-effective and readily available at various RV Supply shops and local retailers.
Optimize Fixture Usage for Better Performance
To ensure optimal pressure, avoid overwhelming your system with multiple fixtures running simultaneously is essential. For instance, if you attempt to simultaneously use both the shower and the kitchen sink, you will likely experience low water pressure due to the increased travel distance through multiple fixtures. To avoid this, it is advisable to limit yourself to using one fixture at a time whenever possible.
Another effective strategy is to consider the duration of your showers. If you typically indulge in long showers, you may need to adjust your habit while RVing. Extended showers can exacerbate issues, making it difficult to thoroughly rinse off soap from your body. By taking shorter showers, not only will you conserve water, but you will also minimize the risk of encountering problems.
In summary, by being mindful of your fixture usage and adopting shorter showers, you can optimize your water pressure while RVing, promoting a more enjoyable and efficient experience.
Regularly Clean Your Water Filter
Keeping your water filter clean is crucial. A dirty water filter can lead to issues. To determine the appropriate cleaning frequency for your RV’s water filter, refer to the owner’s manual provided by the manufacturer.
The first step is to check your water filter. A clogged filter significantly restricts water flow, resulting in diminished pressure. Cleaning the water filter is a simple process. Start by removing the filter and rinsing it thoroughly with a garden hose. In cases where the filter is filthy, consider soaking it in a bucket of soapy water for several hours before rinsing it off. Once the filter is clean, reattach it and turn on the water supply to assess whether the pressure has improved.
Maintaining a clean water filter in your RV can prevent low water pressure and allow you to enjoy a consistently efficient water system during your travels.
Verify and Inspect the Water Heater Bypass Valve
Ensuring the water heater bypass valve is positioned correctly enhances pressure. This valve lets water bypass the water heater, boosting water pressure. To locate and adjust the bypass valve accurately, consult your owner’s manual for detailed instructions.
The bypass valve is critical in regulating water flow through the heater. If it is improperly set, it can restrict water flow. You can optimize by adjusting the valve either clockwise or counterclockwise.
Additionally, bleeding air from the water lines can help improve pressure. Start by opening the faucets and allowing water to run for a few minutes. This process enables trapped air to escape from the lines, preventing it from affecting water pressure.
Ensuring your water heater bypass valve is correctly positioned and bleeding air from the water lines can maximize your overall water system performance.
Winterize: Essential Steps to Protect Your Vehicle
If your RV is going to be sitting for a while, it’s important to winterize it. Start by simply turning off the water supply and open up all the faucets. This will allow any remaining water to drain out of the lines. Once the water has drained out, add some RV antifreeze to the lines. This will help prevent the water from freezing and causing damage. Finally, close all the faucets and turn off the power. This will help conserve energy and prevent any unnecessary damage.
Optimize for winter with proper winterization techniques to prevent issues such as low water pressure. Start by turning off the water supply and opening all faucets to ensure thorough drainage. Introduce RV antifreeze into the lines to safeguard against freezing and subsequent damages. Conserve energy and avert unnecessary damages by closing all the faucets and powering off your RV.
- Step 1: Turn off the water supply and open all faucets in your RV to allow for drainage.
- Step 2: Add RV antifreeze to the lines to prevent freezing and potential damage.
- Step 3: Close all faucets and power off to conserve energy and prevent unnecessary damage.
- Step 4: Winterize to prevent low water pressure and other issues during its period of inactivity.
Seek Expert Assistance
When faced with low water pressure issues, seeking professional assistance is highly recommended for effective troubleshooting. Rely on the expertise of RV dealers and service centers who possess the knowledge and tools to accurately diagnose and resolve the problem. Their insights and guidance will likely surpass the online resources and manuals available. Entrusting the task to professionals ensures a comprehensive solution and optimal use of appropriate equipment. For intricate issues, seeking professional help is the most prudent choice.
Conclusion
Consider the following steps for troubleshooting.
- Start by inspecting and cleaning the water filter. If it appears dirty, utilize a garden hose to remove any debris.
- Verify the position of the water heater bypass valve, ensuring it is correctly set.
- Attempt to eliminate air from the lines by opening the faucets and allowing water to flow for a few minutes.
- Lastly, if you plan to be inactive for an extended period, winterize it by shutting off the water supply and introducing RV antifreeze into the lines.
These measures will aid in resolving low water pressure issues effectively.
If you are still encountering difficulties, seeking professional assistance is highly recommended. Professionals can provide extensive guidance and advice beyond what is typically available online or in manuals.