Photography Tips for Mobile Phone
Imagine this: the light perfectly shines onto the rolling hills defined with woodland vegetation spread across the landscape. As the clouds build to a fluffy white peak in the sky, they nestle your bright-sided new Oliver Travel Trailer. With the availability of mobile phones with high-quality cameras, taking great photos of things you love is possible. Here are a few tips and tricks to help you get better travel pictures. With a camera accessible at your fingertips and able to be carried with you at all times, there is not a part of your travels you will forget if you can capture it with a picture.
Framing
Framing a photo is one of the first things to look at when taking a picture. Framing comes from what the camera will capture when the film is exposed. Modern cameras and phone cameras do not rely on film. In fact, there are many helpful tools that can make framing easier. Most modern cameras on a smartphone will display a 3×3 grid. This is an essential tool for framing a photo well.
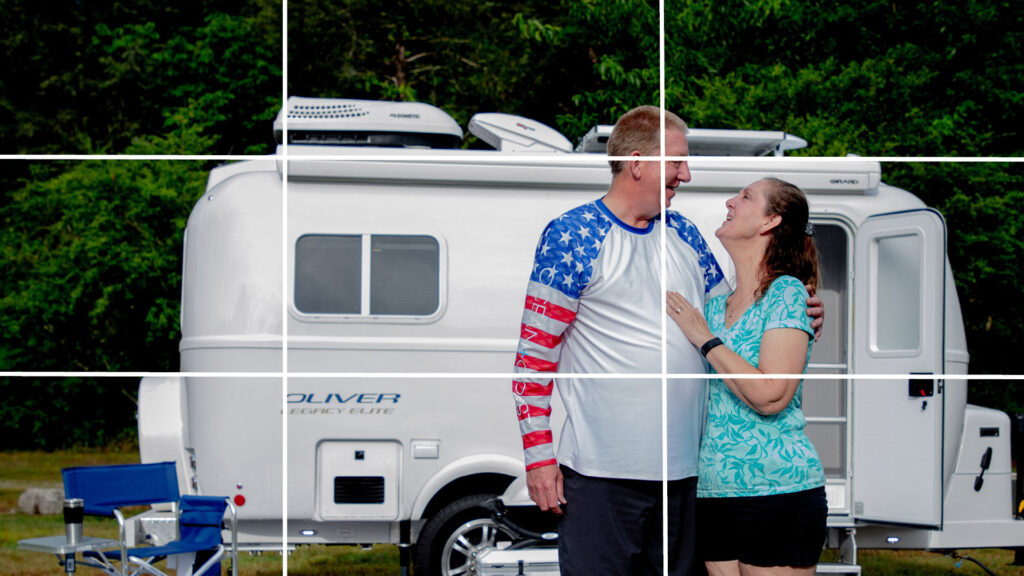
The most common display will be a 3×3 grid. To use this tool appropriately, place your subject at the intersection points of the horizontal and vertical lines. The human eye is naturally directed to that point in a photo.
Lighting
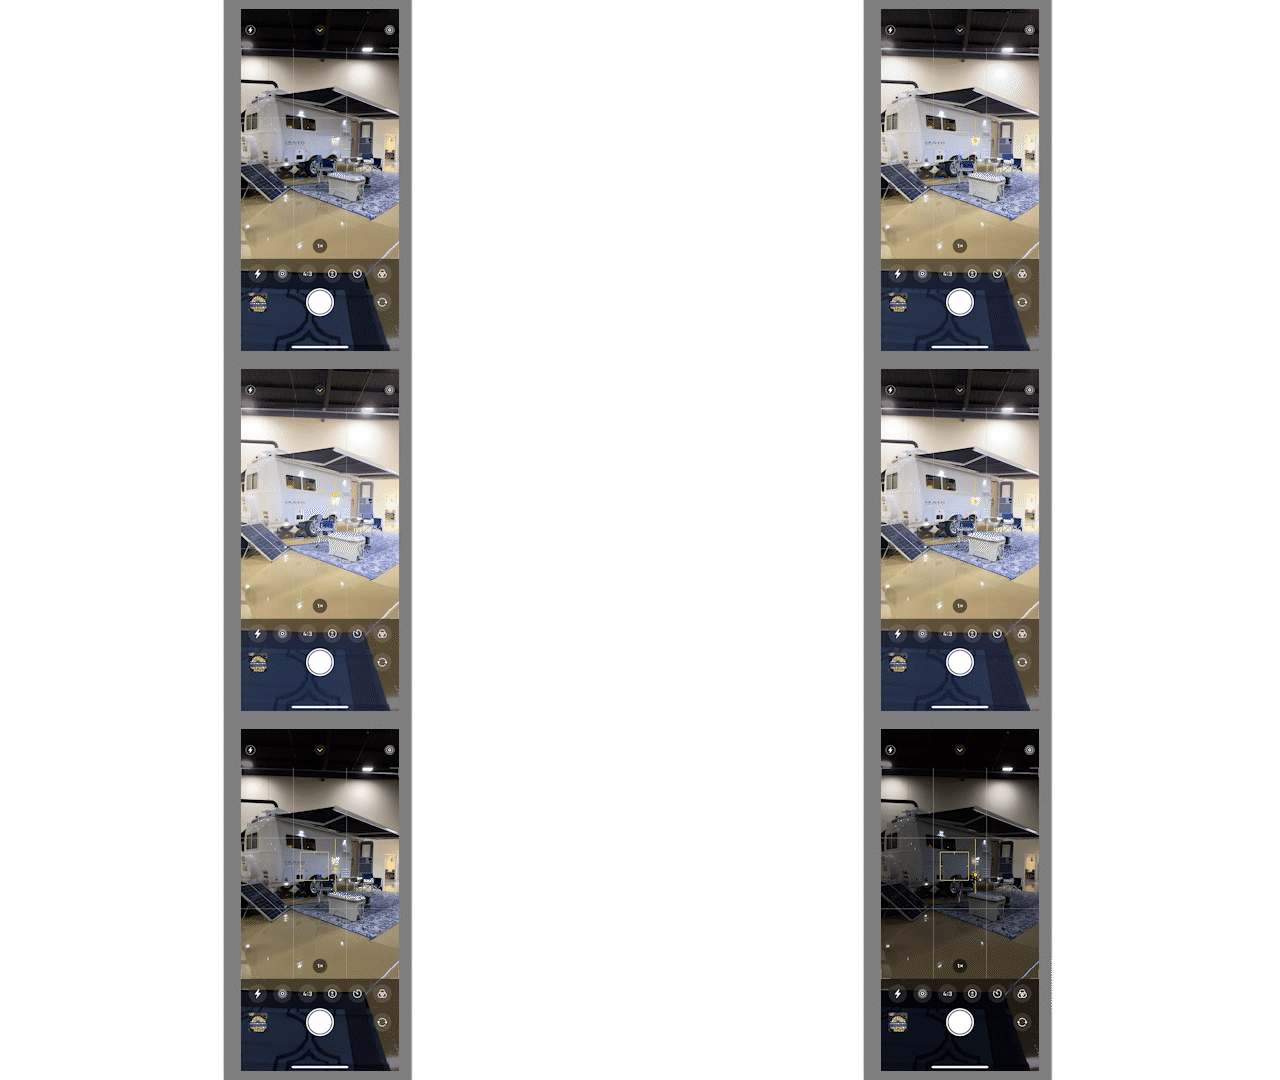
One of the most essential elements of a great photo is light. After almost a year of photographing for Oliver Travel Trailer, I have learned that there is a thin line between too much and insufficient light in some circumstances. Ollie’s ultra-bright white gel coat can be frustrating in some lighting situations. Too much light will overexpose your photo, leaving you with a bright egg in the picture. The trailer can look dull and grey if there is not enough light. A solution to this problem is to reduce the amount of light. Place the sun behind an object (ex., a tree, the trailer, cloud cover, etc.) By dampening the sun’s brightness, it can reduce the reflection from the trailer.
You can take the photo with the sun behind you to increase the light. This will reduce shadows and allow available light to fall onto the trailer, making it look brighter. In your phone camera, you can also correct some of these issues. Usually, taking a photo will automatically adjust to the available light you are in. But you can control the camera. After framing up your shot, if you touch the screen, it will focus the camera, and a trick many do not know is that by swiping up or down next to the focus icon, you will be able to control the level of exposure in the photo.
Zoom with Your Feet
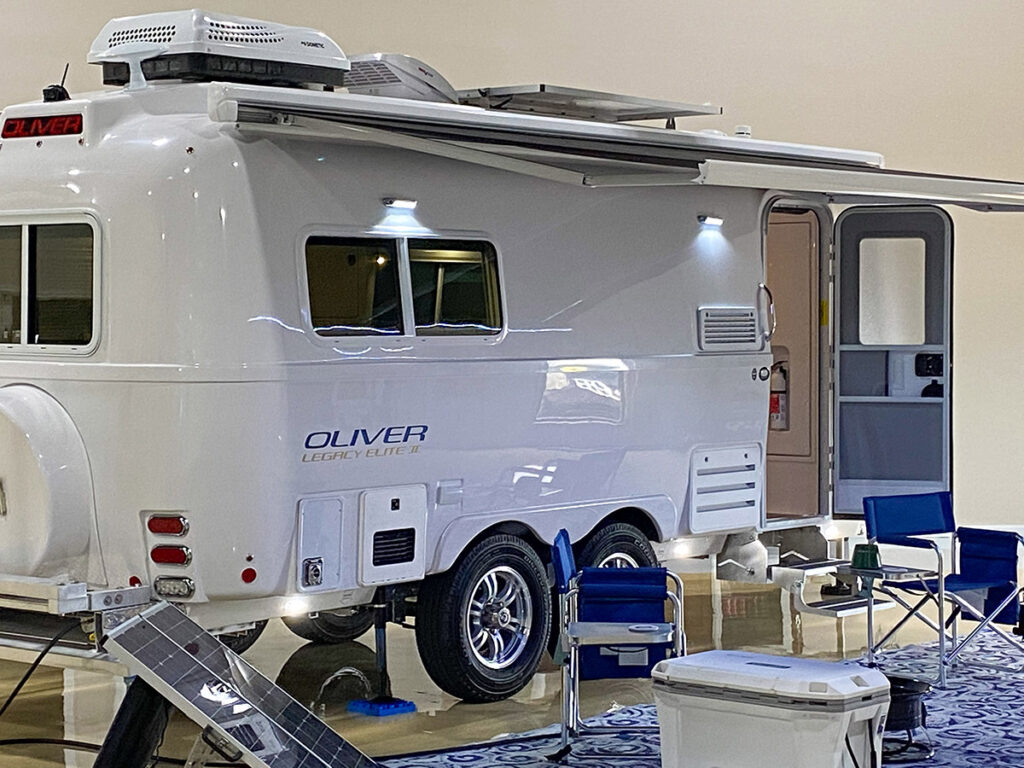
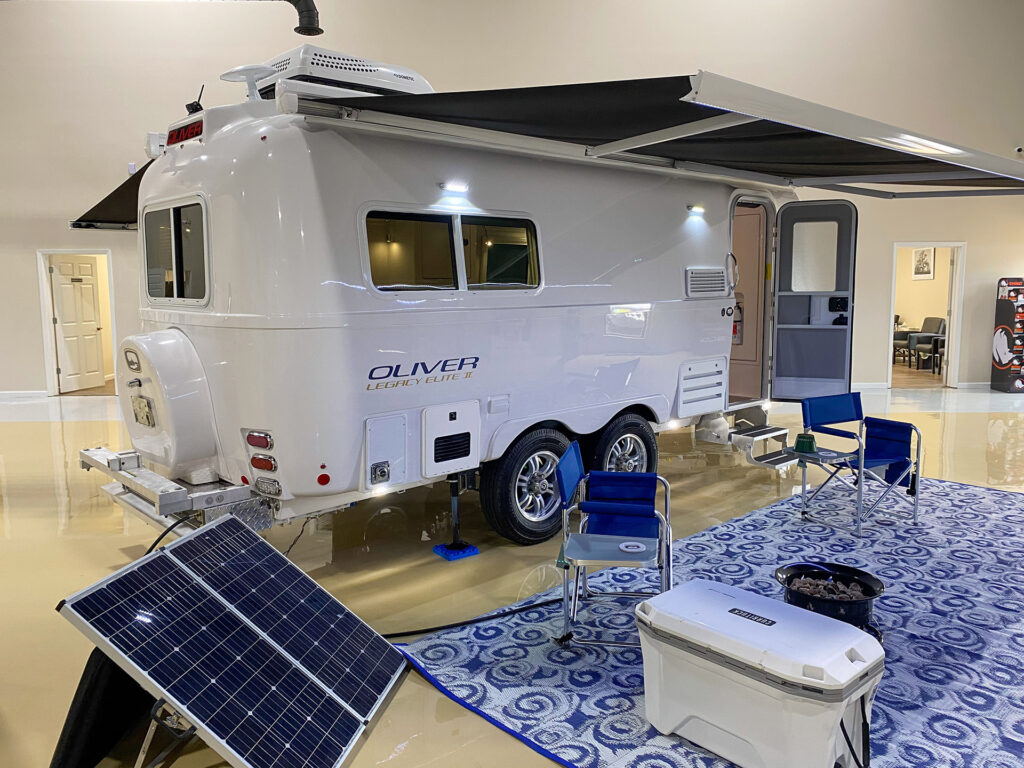
Some photos are best to zoom in or close the distance to your subject. One of the downfalls of a modern smartphone is that the zoom feature is different from authentic. Zooming: Zooming in on your mobile phone camera will enlarge and crop the available pixels. This will create distortion, and you will lose photo quality. My best advice is to zoom in with your feet. The closer you get to the subject, the better the quality of your images will be. Be cautious with this tip; pay attention to your surroundings.
Your Own Style
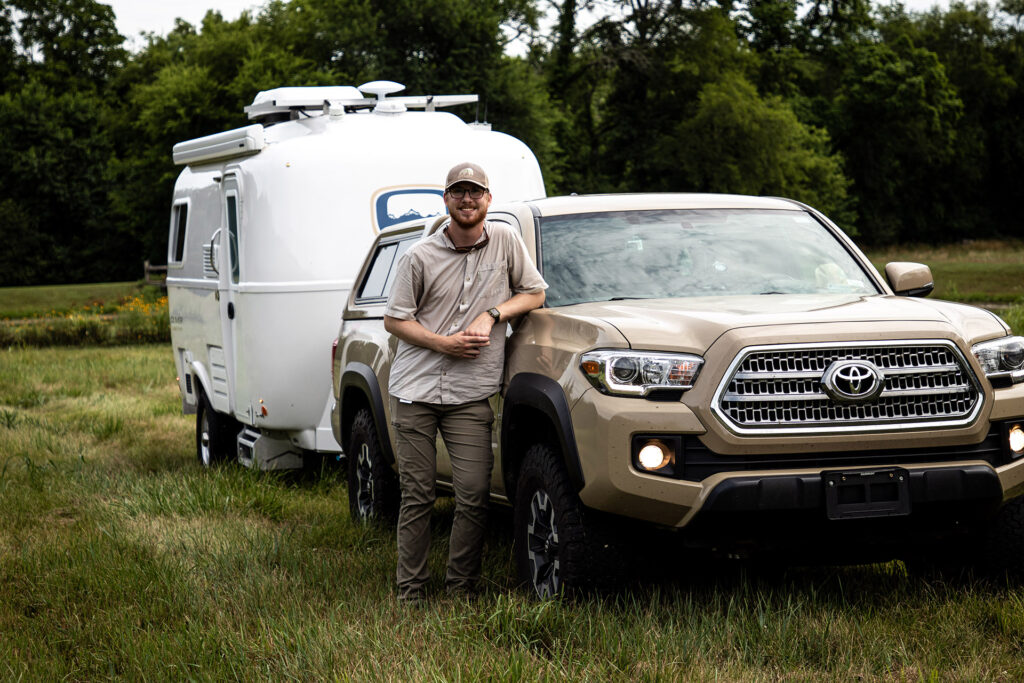
No one can be you, have your own style, or appreciate the beauty you imagine. So, embrace your style, travels, and what inspires you. You do not have to copy others’ work or creations to take pictures well. Finding inspiration to start a creative process can be important, but feeling like you must produce the same images can be overwhelming. Take the time to be yourself and live in the moments you are in.
Here are just a few quick tips to pack with you on your next adventure. If you are like me, capturing where your travels take you and sharing them for others to see can be a highlight of the trip. Taking a few extra seconds to look, frame, and adjust a photo before taking it can make all the difference, so be patient and soak in the beautiful vistas in front of you.


