All Activity
- Past hour
-

3500 pound versus 5200 pound axles on a LE2
MobileJoy replied to John and Debbie's topic in General Discussion
Regarding price.... We just had 5200 lbs Nev-R-Lube axles and 5-leaf springs installed by ALCAN. Total price was $3,928.28, and that included $141.99 in convenience fee for using a credit card (3.75%). They only accept the equivalent of wire transfers to avoid the convenience fee. They do not accept checks (I didn't ask about cash). Regarding the functionality... Larger brakes did not cause me to reduce the brake controller gain on my OEM controller (2020 F250). I had to increase it initially, but as the brakes adjusted I decreased it back to roughly where it was initially (+5). Braking is MUCH better. The first two tows were 50 miles each, and ALCAN re-torqued the U-bolts each time. Both times the TV had come down, but nothing else was disturbed. We then towed about 237 miles and then 170 miles, and the TV has not come down again. I usually use the stabilizer jacks to take out less than 2" of height on the low side for leveling. When I first tried to take out 1.75", the wheels lifted off the ground. I had to use the Andersen leveling wedges, and found that anything more than 1/2" would cause the wheels to lift off the ground. As we relocated, this improved somewhat, and Tanner said it would improve more as the springs break in. I expect it will be even better riding when I get new shocks. Two of them were blown, and one of these was broken as well. ALCAN fixed it up the best they could, and we ordered Monroe shocks to replace all four. I would have ordered the Bulldog shocks, but the stories on availability had me concerned in the timeframe in which I needed them. They will be installed this coming Monday. -

Accurately measure propane level for under $10
jd1923 replied to Snackchaser's topic in Mechanical & Technical Tips
I also had issues with a first batch of Mopeka sensors, however upon complaint the company sent me a new set that has worked well over our last 60 days of travel. A physical/visual pressure gauge means opening the doghouse to check. A weight scale means opening the doghouse, removing the LP tank hold-done bracket (ours is padlocked) and then having the strength to lift the tank to measure, make LB to % full calculation, and finally remount tank and doghouse! I do like the scale approach better than the visual gauge (also often not accurate), but... How often do you want to do this? When camping, every day we leave the trailer and every night before bed (also when in storage) we check all of our readings by Bluetooth apps. We check the Epoch batteries and all Victron devices to see that batteries are good SOC and amp usage is as expected. Then I check the Ruuvi app for temperatures of 6 sensors (fridge, freezer, truck fridge, basement, cabin, etc.) and we read the Mopeka app for % fill data on both tanks. Want to make sure there is no LP leak (though I would smell it) and I've found when a tank reads 10% or low teens, it's time to switch tanks and then I know we have one to refill. And my favorite device and app is the LevelMate PRO. I would never want to back into a campsite w/o this great tool and app again! With Chris' help, positioning the Andersen Levelers, we get level without me even getting out of the driver's seat! These are getting more expensive, but if I had to open the doghouse I just wouldn't bother, then we'd wake up one cold night, furnace cold, to realize one tank has emptied, time to switch (manually) to the other tank. Love app view of important trailer data! https://www.amazon.com/Mopeka-Pro-Check-Bundle-Wireless/dp/B0BX1CQ6JQ/ - Today
-
Hey John, So I can use the supplied 50ft cable and the supplied power adapter connected to my A/C with my inverter and all will work well? I suppose I can also connect to my 1000wh Anker Solix solar generator/battery as well... it also supplies A/C with its internal inverter. I can at least get up and running and figure all the power options at a later date. John
-

Accurately measure propane level for under $10
routlaw replied to Snackchaser's topic in Mechanical & Technical Tips
FWIW, Costco sells 20 lb tanks with a built in gauge. I have only one but it seems to work well enough. Like most things they have had a price increase recently but locally they are running around $42. -
I visited DISHYtech youtube and see it's an SL product :) $40 So, it looks like I should run 1 powered cable out to the mini (using the 50ft provided cable) and one (not provided) from the mini back into the trailer.
-

Accurately measure propane level for under $10
John Dorrer replied to Snackchaser's topic in Mechanical & Technical Tips
Great idea. Do you have a link to the luggage scale? -
Geoff, I appreciate all the time you ( and all ) have taken to help me with my decision. I'll read the rest of your posts today and tomorrow I'll be at the Bozeman BestBuy spending my money :) I think the way for me is the mini. We're not power users...just like to watch a few movies now and then. Most of our use comes through our Verizon data plans, usually at 2 or 3 bars, sometimes 1 :( I'm sure SL will outperform if not too many obstacles. I am interested in using the full length of cord to reach open areas and boost the signal if too far away. Are those Mini Mesh Node Routers generic or specific to the SL? And since much time is spent boondocking we want to use DC when we can. Thanks, John
-
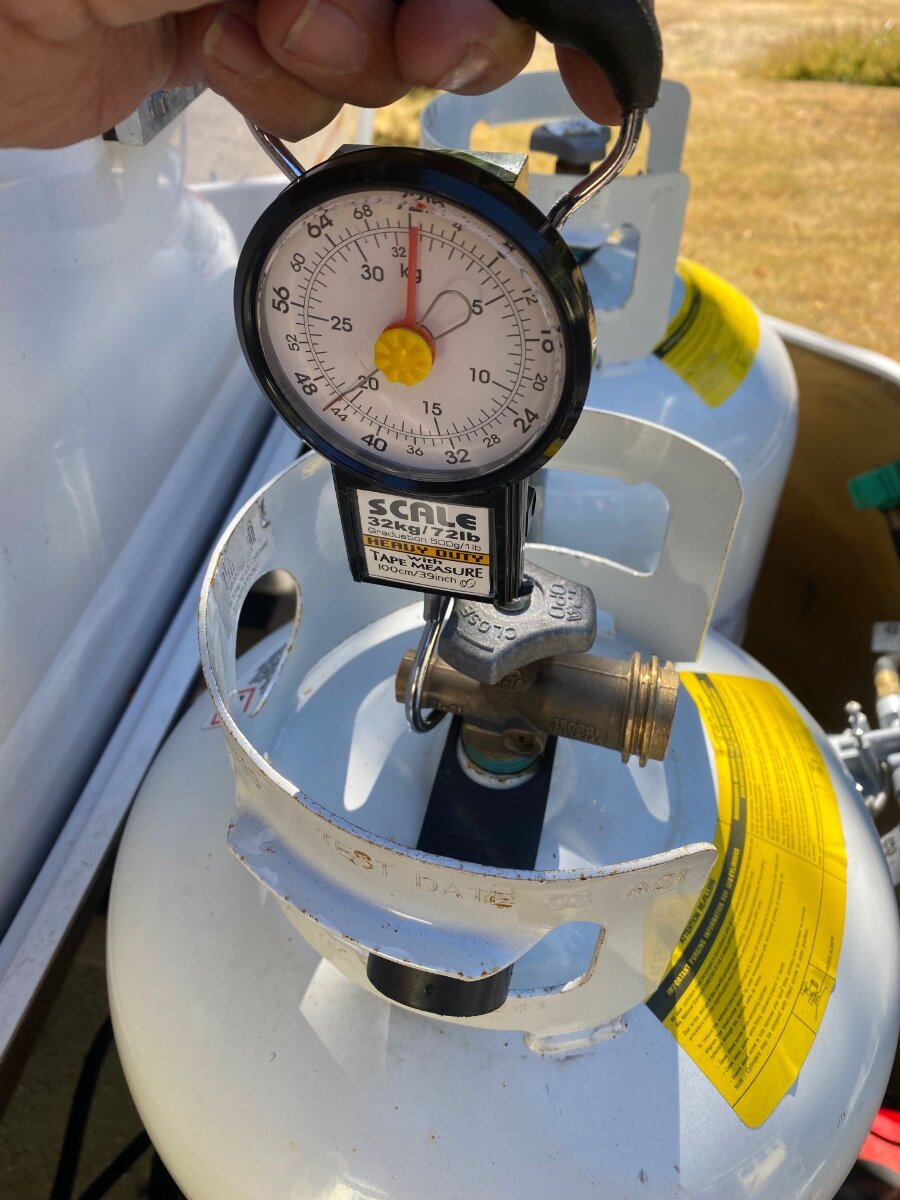
 Although there are several ways to check propane tank levels, I’ve found the easiest way for me is a luggage scale. They have large hooks that balance nicely when hooked on to the fill valve, and they remember the weight so you don’t have to contort yourself to see the scale. Mine has an analog dial with a memory needle, and thankfully no batteries. I’d recommend these over ones with batteries that always seem to be dead when you need them. Flame King sells a more expensive scale made for this purpose. It conveniently reads in percentage, but it’s battery operated too. A 30 pound tank weighs around 55 lbs when full, and about 25 lbs when empty. A 20 pound tank is around 37 lbs full and 17 lbs. empty. I’ve labeled my tanks with their weights and I can determine exactly how many pounds are left with the scale. The tanks can be weighed in place with the spin-off clamp loosened, and it helps to put a stick or bar through the scale handle to lift with both hands. I know some people swear by the Mopeka ultrasonic level detectors, and I heard the newer ones work pretty good. But I’m still not over the problems and uncertainty of my old ones, so I’ll stick with my trusty scale for now. Cheers! Geoff
-
Thanks, John!
-
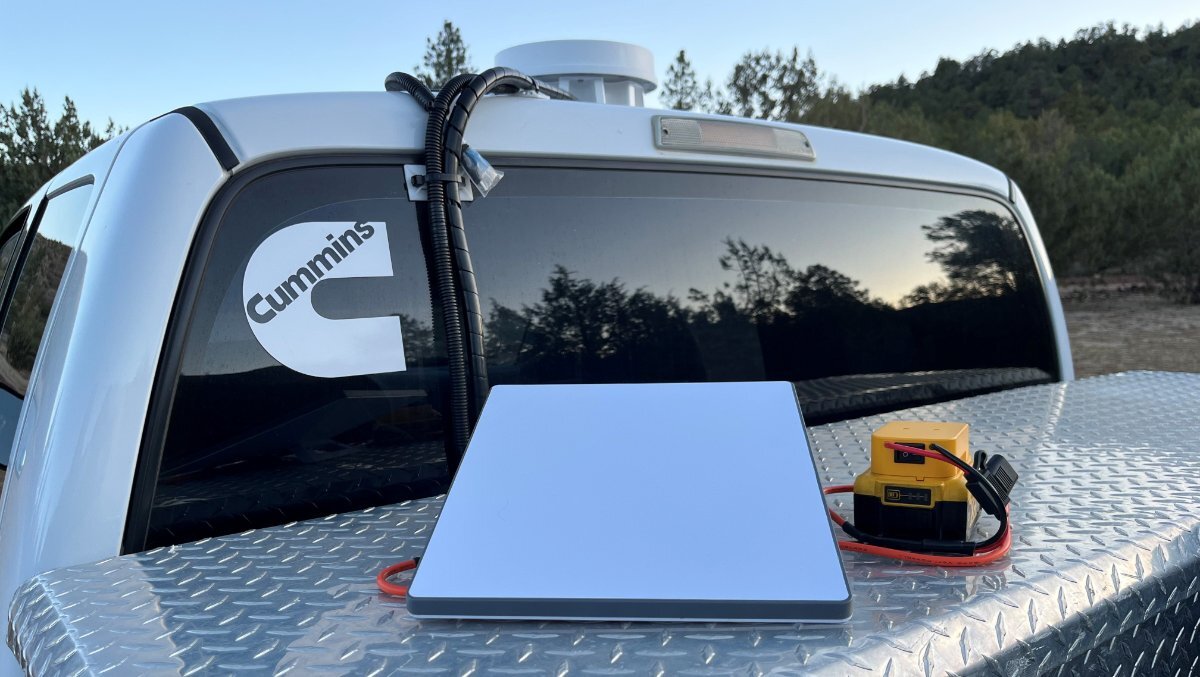
@johnwen if you go with the Mini, I strongly suggest forget about all the wiring schemes and just get a battery for it! You can use the power adapter included 50 ft cord, 30V output plugged into a your 110V outlet with your inverter running. You can do what Geoff did adding a DC converter to up 12V to 24-30V so you can run the longer cable. OR you can just wiring it to any DC battery from 12V to 30V. For us it made perfect sense to go with the DeWalt batteries we already have several Dewalt power tools and batteries we bring with us. They run at 20V which is a good voltage for the Mini. It seems that we get close to 1 hour of runtime for each Ah of battery. I purchased two 10Ah batteries and each runs the mini for 8+ hours. Connect one in the morning. Swap the other before dinner and its will run way past when we fall asleep. We move the Mini anywhere required without untangling and tripping over wiring. I mounted a Dewalt battery charger in the Oliver Attic! This part will connect to any battery terminal: https://www.amazon.com/CERRXIAN-DC5521-Power-Pigtails-Cable/dp/B0F8Q4V9FC/ This part works for DeWalt and there are so many other battery choices: https://www.amazon.com/Adapter-Battery-Converter-Terminals-Robotics/dp/B0CDGR4Y8K/?th=1 BTW, Starlink is offering factory refurbished Minis for $299 now. Sure wish they offered this earlier this year when we made our purchase at 10% off $499.
-
Hey John, Chat GPT is often wrong because it relies on opinions like mine🫢 My opinion is that Gen-3 has slightly better reception because of the larger surface area and its motor driven alignment. However, I don't think it is a significant difference, certainly not enough to offset the benefits of the Mini. When there are too many obstructions, neither one is going to work well. But I agree that the Gen-3 is faster, I think probably because of a better Wifi signal, hence I recommend using the Mini Mesh Node Router with the Mini Dishy. See my post: "The new Starlink Mini router, for what ails you." We used to turn-off the power hungry Gen-3 at night to save our battery, the Mini stays on 24/7, a big benefit. Also, the dishy spends most of its time on a mast, and the heavier Gen-3 on the same mast used to rock the trailer in breeze. The mini is small and light as a feather in comparison. See my post "Tacky Starlink mast." BTW, I see folks buying padded cases and protectors for the Mini, but they're pretty rugged and mine just lives in the hidden drawer below the pantry when traveling. It's more challenging to route the Gen-3 cable into the trailer, I've posted some designs on this too, see: "Great news! Starlink Gen-3 is here and it has Rj45 connectors." Other folks have posted ways to power it from DC, but I've never looked into that. The Mini is easy to power, and there are portable power supplies available that can be taken on hiking trips. I make a 3d printed version with built in battery charger, hit me up if interested. I also have a post on powering the Mini from 12 volts with a 12-48 volt Victron converter, this was for one of the early Mini's and before any commercial solutions were available. See my post: "Starlink Mini installation, cracking the 12 volt barrier... or not." That post also includes a clean method to get the power cord into the trailer. I still use that power supply today, but there are cheaper power supplies now available. Albeit, not as good or energy efficient😆 Hope that helps with your decision process! Cheers, Geoff
-
Well it seems there is no difference (according to ChatGPT) between the 2 concerning obstacle tolerance. The Gen3 is more powerful and faster but the mini's small size is so attractive, and now that it appears they both negotiate obstacles equally I reckon to be back in the mini market :) I don't think I really need the speed difference between the 2. This back and forth frenzy is fast coming to a conclusion...yay!
-
Geoff, Did you see any/much difference in satellite acquisition with regards to obstacles between the Gen3 and the mini? That's my main concern. And where/how did you install the Starlink Gen 3 Step Up Converter? Is there any conversion loss with the converter like there is with my inverter? Thanks so much for your help :) John
-
Weigh Safe 180 Aluminum hitch with 3” shank, 10” drop
John Dorrer replied to Patriot's topic in Towing an Oliver
Great idea. I had one with our off road trailer. I need to check and see if there is room with our mud flap installed on the hitch ball attachment. -
Owners manual says it has low, med, hi, and auto.
-

Weigh Safe 180 Aluminum hitch with 3” shank, 10” drop
Patriot replied to Patriot's topic in Towing an Oliver
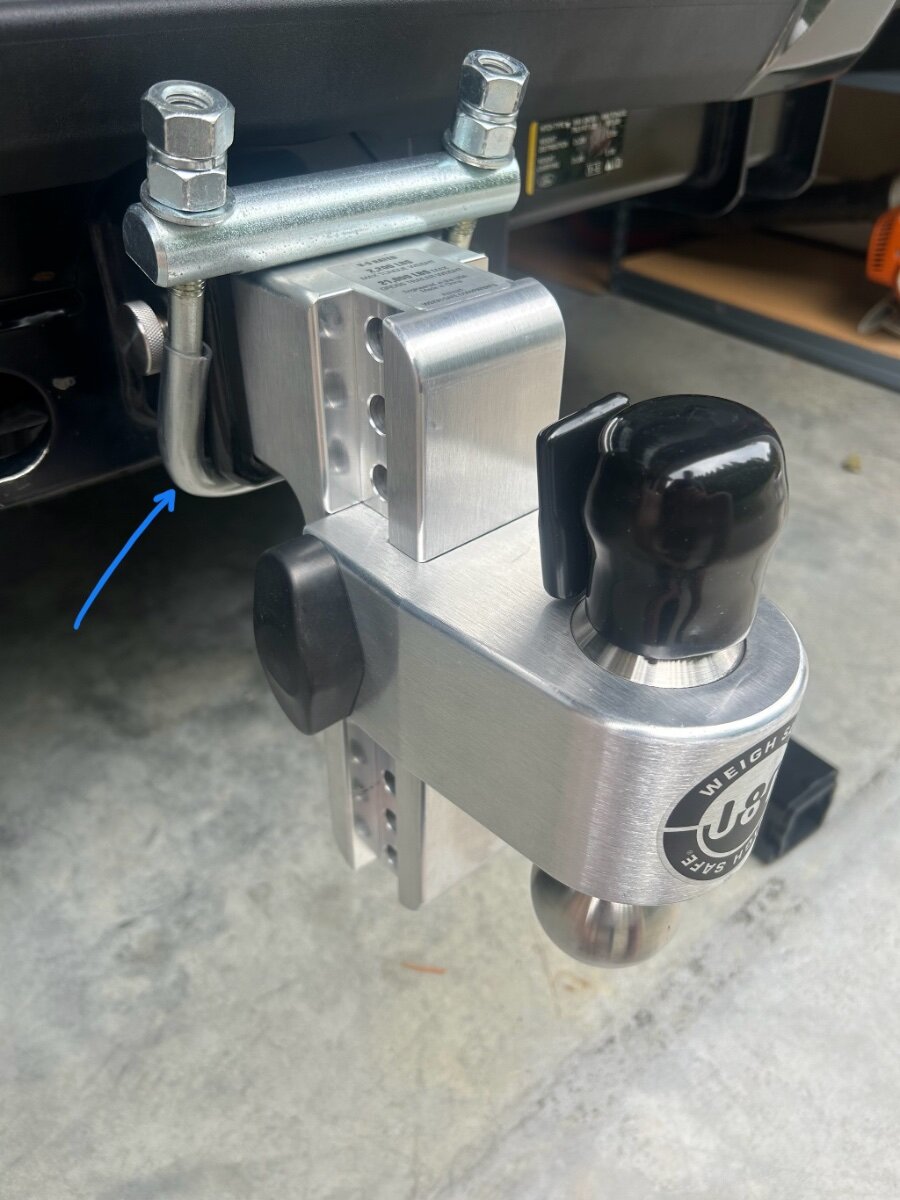
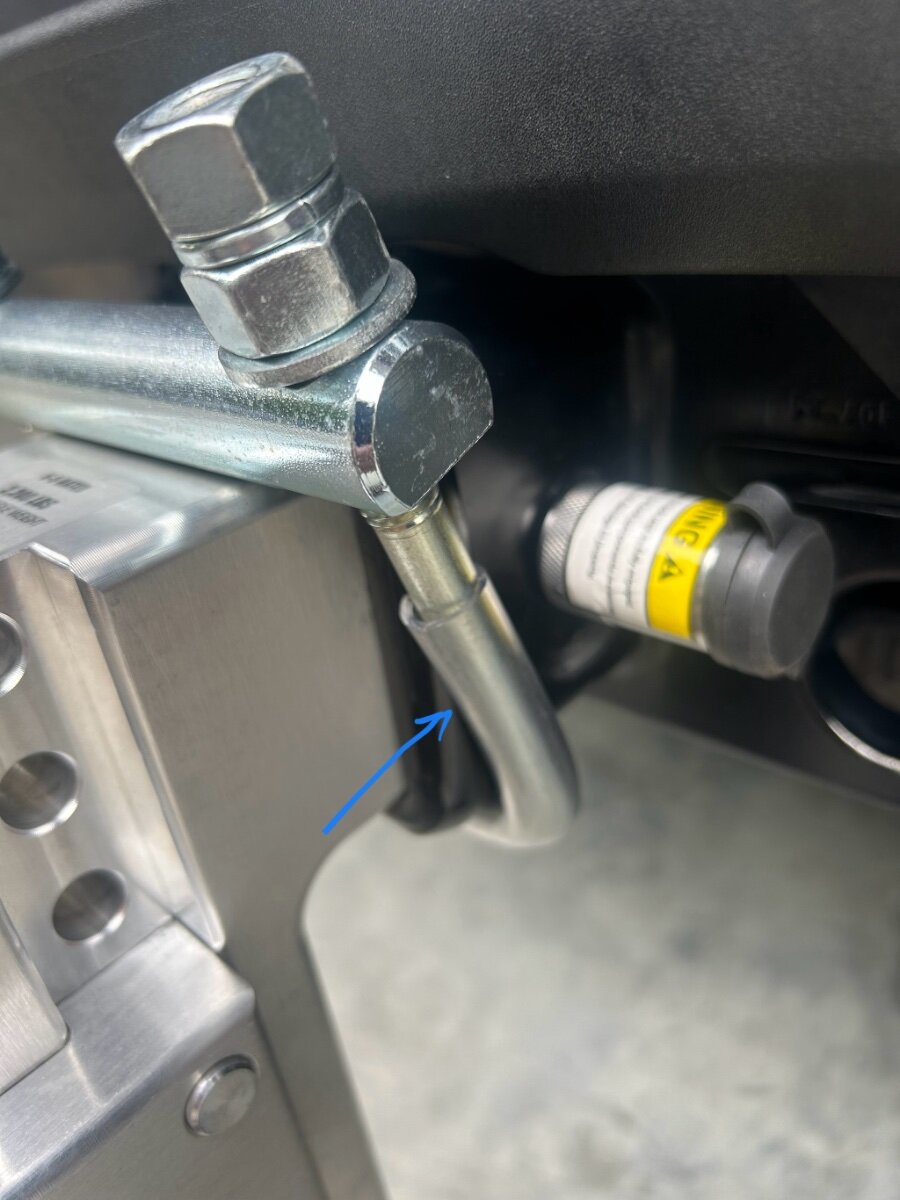
Field use follow up. After towing our OLE2 I can report that the hitch 3” hitch clamp worked exactly as designed. The 3” shank while inserted into the 3” receiver is completely silent while under way. Win! It’s recommended to periodically check the clamp fasteners which I did. They stayed tight the entire trip. I opted to add a short piece of plastic tubing to insulate the bottom of the clamp from metal on metal chaffing the bottom of my receiver. (Pic) It took a little while to get this tubing to cooperate while sliding it on to the clamp. I warmed the tubing up in hot water which made it a little easier. I am satisfied with the outcome.
-

3500 pound versus 5200 pound axles on a LE2
John and Debbie replied to John and Debbie's topic in General Discussion
Ours does have D52 so we have the 5200 pound axles on our 2022 hull #1290 -
Thanks, Geoff I'm now refocusing on the Gen3 because of obstacle interference, it's going to come down to "Does the larger unit actually receive any better with partial tree obstruction?" Wish us luck :)
-
I see the Starlink Gen 3 Step Up Converter on line and it seems a pretty easy install!
-
Installing Pioneer Inverter AC
jd1923 replied to Treasure Coast Vault's topic in Ollie Modifications
I read a review today, after reading several I forgot where. The reviewer stated one con was that the internal fan speed was constant, not variable speed. This comment upset me if true. I woulda thunk variable speed compressor and external fan should have a variable speed interior fan, allowing the interior fan to match the cooling needs as the inverter compressor does. This may be why it is not as quiet as could be and he denoted it as an area of improvement. Anybody here know more? -
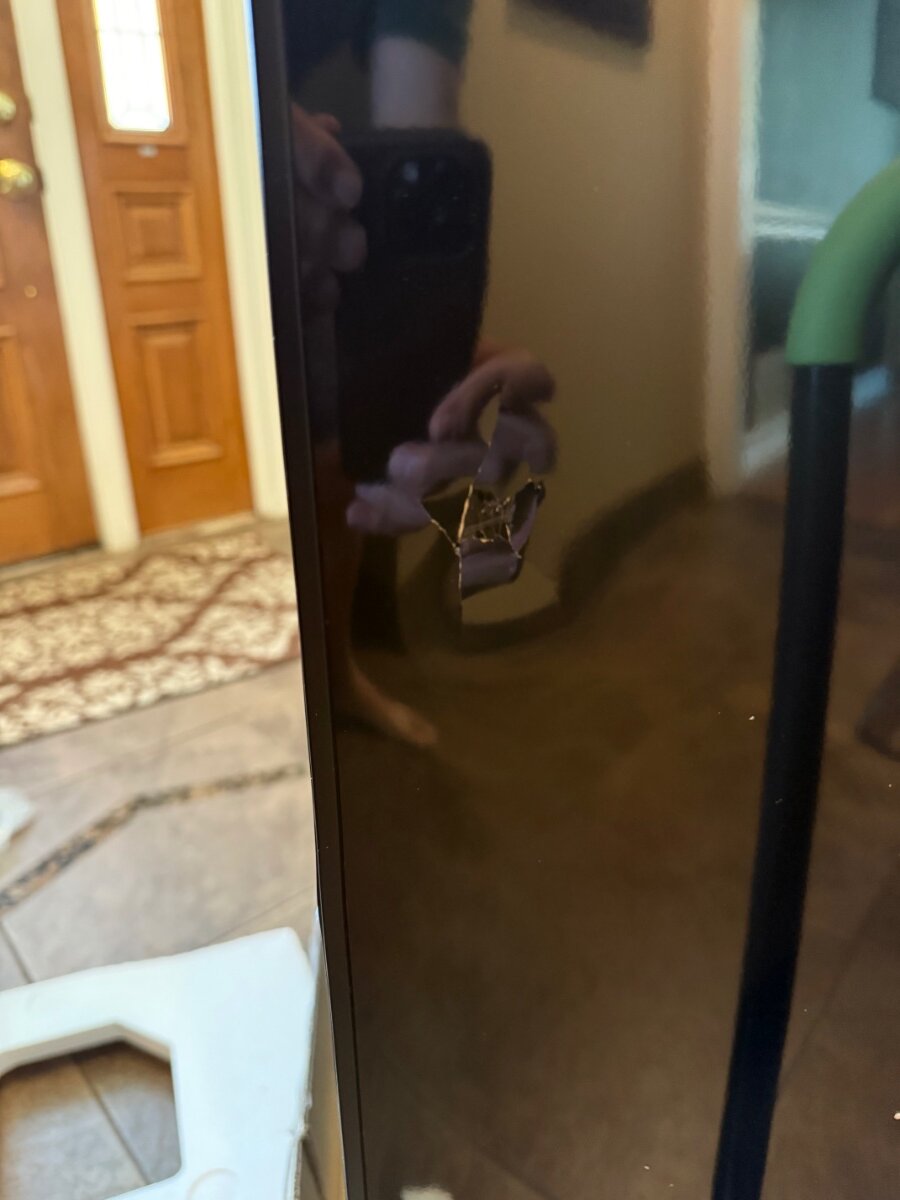
Not going to be one of those people who never closes out the thread… My adult supervision found out that the Dometic was not going to be available any time soon. (She really wants a working fridge.) She also had concerns about a situation where I was going to be in proximity to Hull 1364 wielding a jigsaw or an oscillating tool. (And I don’t even have an oscillating tool, so now I’ve lost my (current) excuse to get one.) So - after all my pledging to never own another Isotherm, I am now the proud owner of a new isotherm with a damaged in shipping door. At least they are going to replace that. Hopefully the information in this thread will be helpful to others. Watch for a new thread asking the smarter than me people on this forum questions about how to make my new Isotherm (which because of supply chain issues is 12v only) operate on shore power. 🙂
-
Cut the cord! 🤣 (I also purchased the Mini Router per @Snackchaser post proving its use, but have not had the time to pull it out of its packaging.)
-
Hi John, We cut the cable years ago, and I’ve used the larger units, Gen-1 and Gen-3 for the Oliver. Now I use the Mini exclusively with no complaints and we still keep the Gen-3 active at home for security devices and guests while we're away. The Mini, with it’s built in Routrer, looses speed the farther away it is. This is due to the WiFi signal dropping off. So if you go with the Mini Dishy, then I recommend getting a Mini Mesh Node Router for $40 because there are times when you will need to move it farther away to find clear sky. See my post: The new Starlink Mini Router, for what ails you. Starlink Beam Switching keeps improving and there are increasing numbers satellites so reception keeps improving and the Mini seems to work as well as the Gen-3 in that regard. My Mini isn’t quite as fast as the Gen-3, but it’s still blistering fast, and way faster than most cable connections. There are a number of options to run the Mini from the trailers 12 volt system. You just can’t use the included 50’ cable because of voltage drop without boosting the voltage. You can do that with a voltage converter to increase voltage, or one of the available power supplies, or use a shorter cable. Hope that answers your questions! Cheers! Geoff
-

Battery and Solar Disconnect Install Questions
Galway Girl replied to Tony and Rhonda's topic in Ollie Modifications
Our installed wires from solar were 6awg zip line. The original terminals were 6awg so I left them in place. -

Battery and Solar Disconnect Install Questions
Tony and Rhonda replied to Tony and Rhonda's topic in Ollie Modifications
This was/is @dewdev's idea. I haven't pulled much wire but there seems to be plenty and this location may actually be a shorter distance to the panels. After watching the EXPLORIST Life switch installation video recommended by @rich.dev I wanted the dual circuit switch but I did not want the big breaker box as installed on EXPLORIST Life. Your m6010 switch uses the same size hole as my m6006 so I may change it in the future. @Galway Girl What gauge is your solar wire? Mine is 6awg and as far as I can see, they are separate wires, not the dual bonded wire in your photo. After looking at the crimps on the (undersized?) Zamp ring terminals, I don't want to reuse them. Perhaps the installers ran out of some supplies and made it work with what they had? @dewdev stated his solar wire is 8awg. Is that what most have?


.thumb.jpg.e34bf01ef7f7d5e99ad31856d45afbeb.jpg)