Leaderboard


Popular Content
Showing content with the highest reputation on 10/28/2018 in all areas
-
When I visited the Andersen factory in Idaho Falls this summer the Sales Manager told me that, indeed, on the "new" model the triangle (whale tail) could be moved by hand when there wasn't any weight on it. This was not the case with the old model. Being able to do this allows you to realign the whale tail with the tow vehicle without releasing one (or both) of the chains when it is difficult to get the tow vehicle and trailer aligned as they were before you separated them. Like Maverick, my "new" design hasn't made any noise in over 10,000 miles of towing. I'm not sure if my "water diverter" had any effect on this, but, it makes me feel as if I'm doing something to keep moisture and dirt from getting between the housing and the sleeve (see picture below). I simply cut this to fit out of an old lawn mower inner tube that I got free from a local tire shop. Bill [attachment file=P1020095.JPG] I cut the inner tube with a diameter of 6 1/2 inches and then cut a 1 inch diameter hole in the center. The center hole has to be stretched over the ball in order to get it on.
 2 points
 -
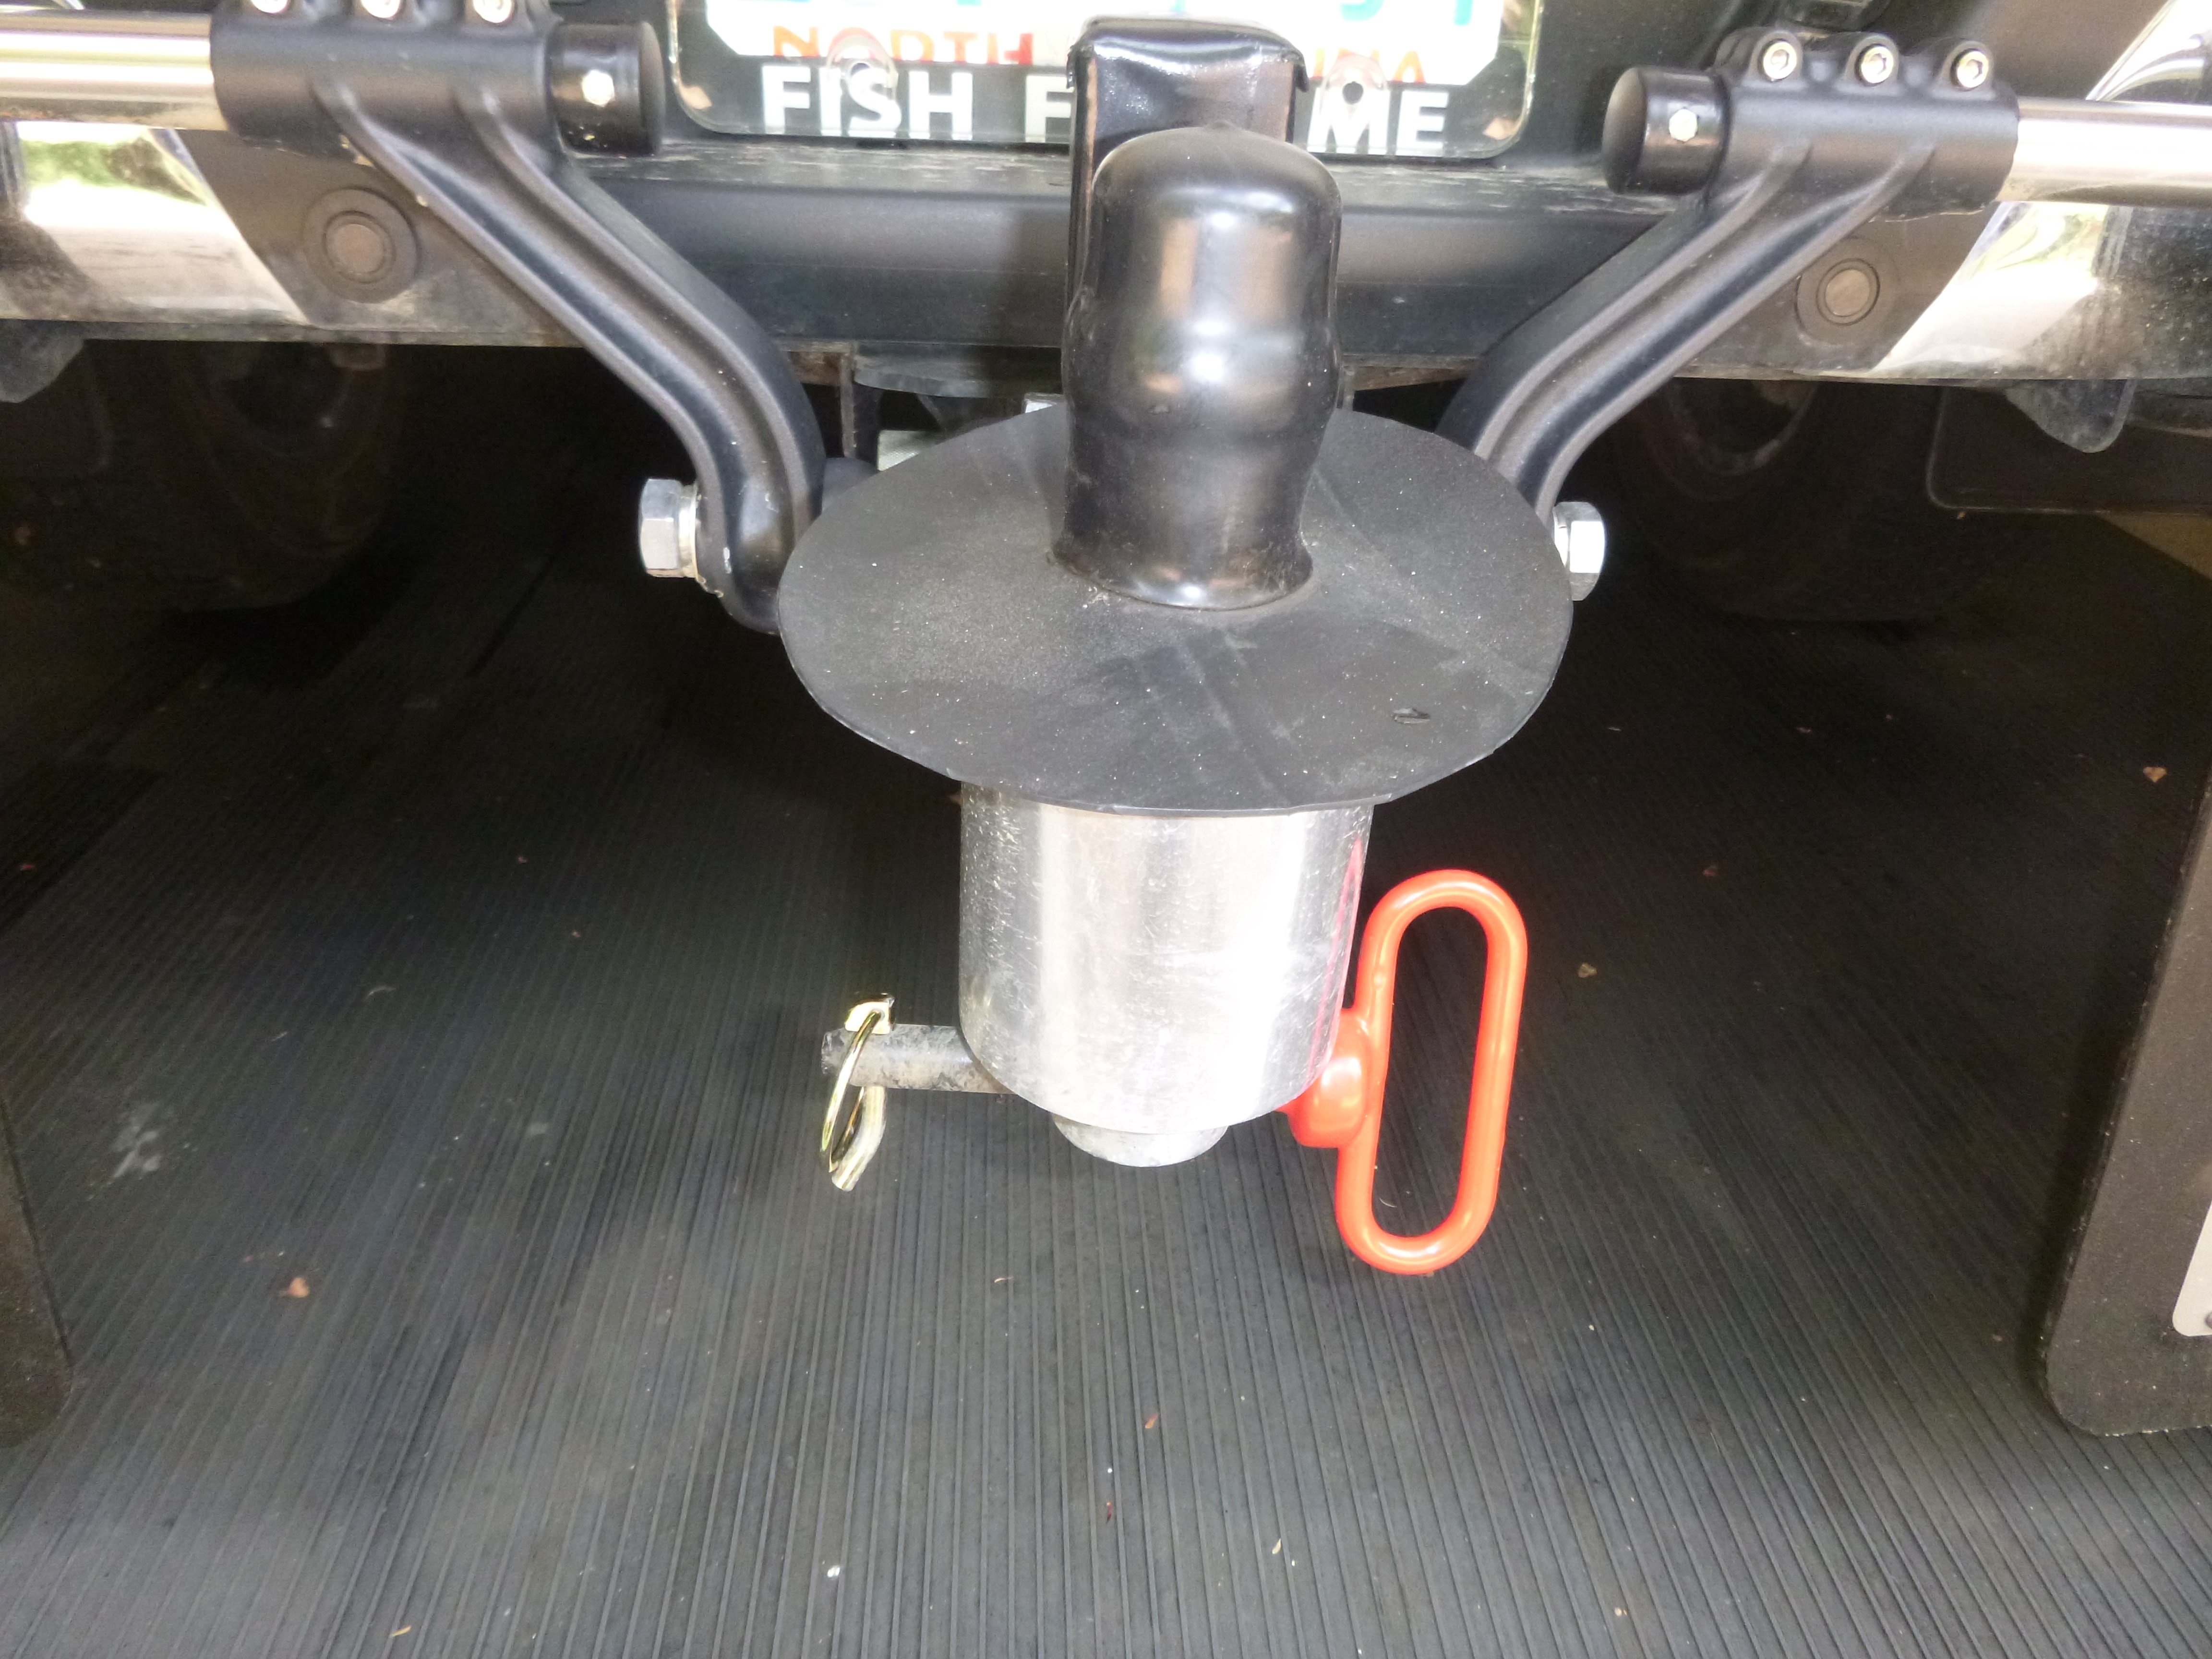
OOPS! Sorry about that "handle" - I thought of that as I was typing the reply but just figured they were still included at delivery. I'll get you a picture tomorrow but you can use anything that fits nicely into the 5/8 inch hole at the bottom of the hitch ball. Yes, it is easier to do that than it is to remove the whale tail from the chains. Bill edit : decided to go ahead and get that pic right away just so I would not forget to do it tomorrow. Note that the handle is approximately 21 inchs long as pictured.
1 point
-
Bobfirst - Basically you have got it. However, when we talked above of being able to move the whale tail, that is only possible when the Oliver is NOT attached to the tow vehicle. If you jack up the Ollie to induce slack in the chains but still have the Oliver connected at the ball of the hitch, there is upward pressure on the ball and, therefore, on the part of the ball to which the whale tail is connected. In this situation it is more than likely that you will not be able to move the whale tail due to that upward pressure. Likewise, when the Ollie is connected to the tow vehicle in a "normal" position then there is downward pressure on the ball and/or the chains are too tight to move the whale tail. Therefore, the only time that the whale tail can be moved is when the Ollie is not connected or there is no pressure on the ball. Having said all this, your second sentence confuses me a bit. I trust that you remove the Andersen whale tail prior to detaching your Oliver from the tow vehicle's hitch ball. The only time that one really needs to move the whale tail is when you can't re-hitch in the same (or nearly the same) alignment of the tow vehicle and Oliver as it was when you un-hitched the two. Usually these situations are caused by someone being parked such that a fairly severe angle is needed in order to get backed up to your Ollie. With the old Andersen it was very difficult to move that ball/whale tail (note that the whale tail was sometimes used by taking it off the chains or detaching the chains from the Oliver in order to get some leverage to help with moving the ball into the best position). With the new Andersen sometimes the ball can be moved with just the hitch pin. If that doesn't work then one can use the handle of the socket that Oliver gave you that was to be used for tightening your lug nuts on the Ollie. If that doesn't work then you will need to resort to the old fashion method of detaching the chain that is too tight (and thus preventing you from being able to attach the whale tail), attach the whale tail with that slack chain attached, drive so that the slack chain tightens and then re-attach the missing chain. With this method all you have done is use the weight of the camper to pull the hitch ball assembly back into a "neutral" position. Hope all this does not confuse you further! Bill1 point
-
John, I did not miss the "failure" points in your how to posts. The shear pin effect you are advocating for in the design may or may not be a positive aspect of the install. I gave it considerable thought, and decided it was not something I wanted to include. I believe the rigid bar and rubber mat present additional protection to the fiberglass underbelly aft of the wheels, rather than present a risk to the cross brace it is mounted on. Rather than go into the why's , lets just agree to disagree. I appreciate your concern. Thank you again for the work you put in on the posts - it saved me some time . Interesting, the rubber flaps appear to be the same - I Amazoned mine, just chose whatever was a close dimension. RB1 point

-
Recent Achievements
-
")


")


")

