
jd1923
-
Posts
1,112 -
Joined
-
Last visited
-
Days Won
33
Posts posted by jd1923
-
-
My wife says ours has a faint smell, same smell when we bought it from past owners after considerable cleaning. They had a runner and floor mats which I had cleaned and then decided not to use again. I believe the flooring might has a slight smell. Don't smell it when camping but will so after it's been closed up for a while. We are going to do a serious floor cleaning after I get done with upgrades this summer. Maybe a past owner had a litter box under the dinette or that's where the dog slept. We want to really clean the floor but not sure what to use. Wonder if anybody has replaced their flooring in an Oliver?
-
9 minutes ago, GlacierGirl said:
It came with the 340 watt rooftop solar panels.
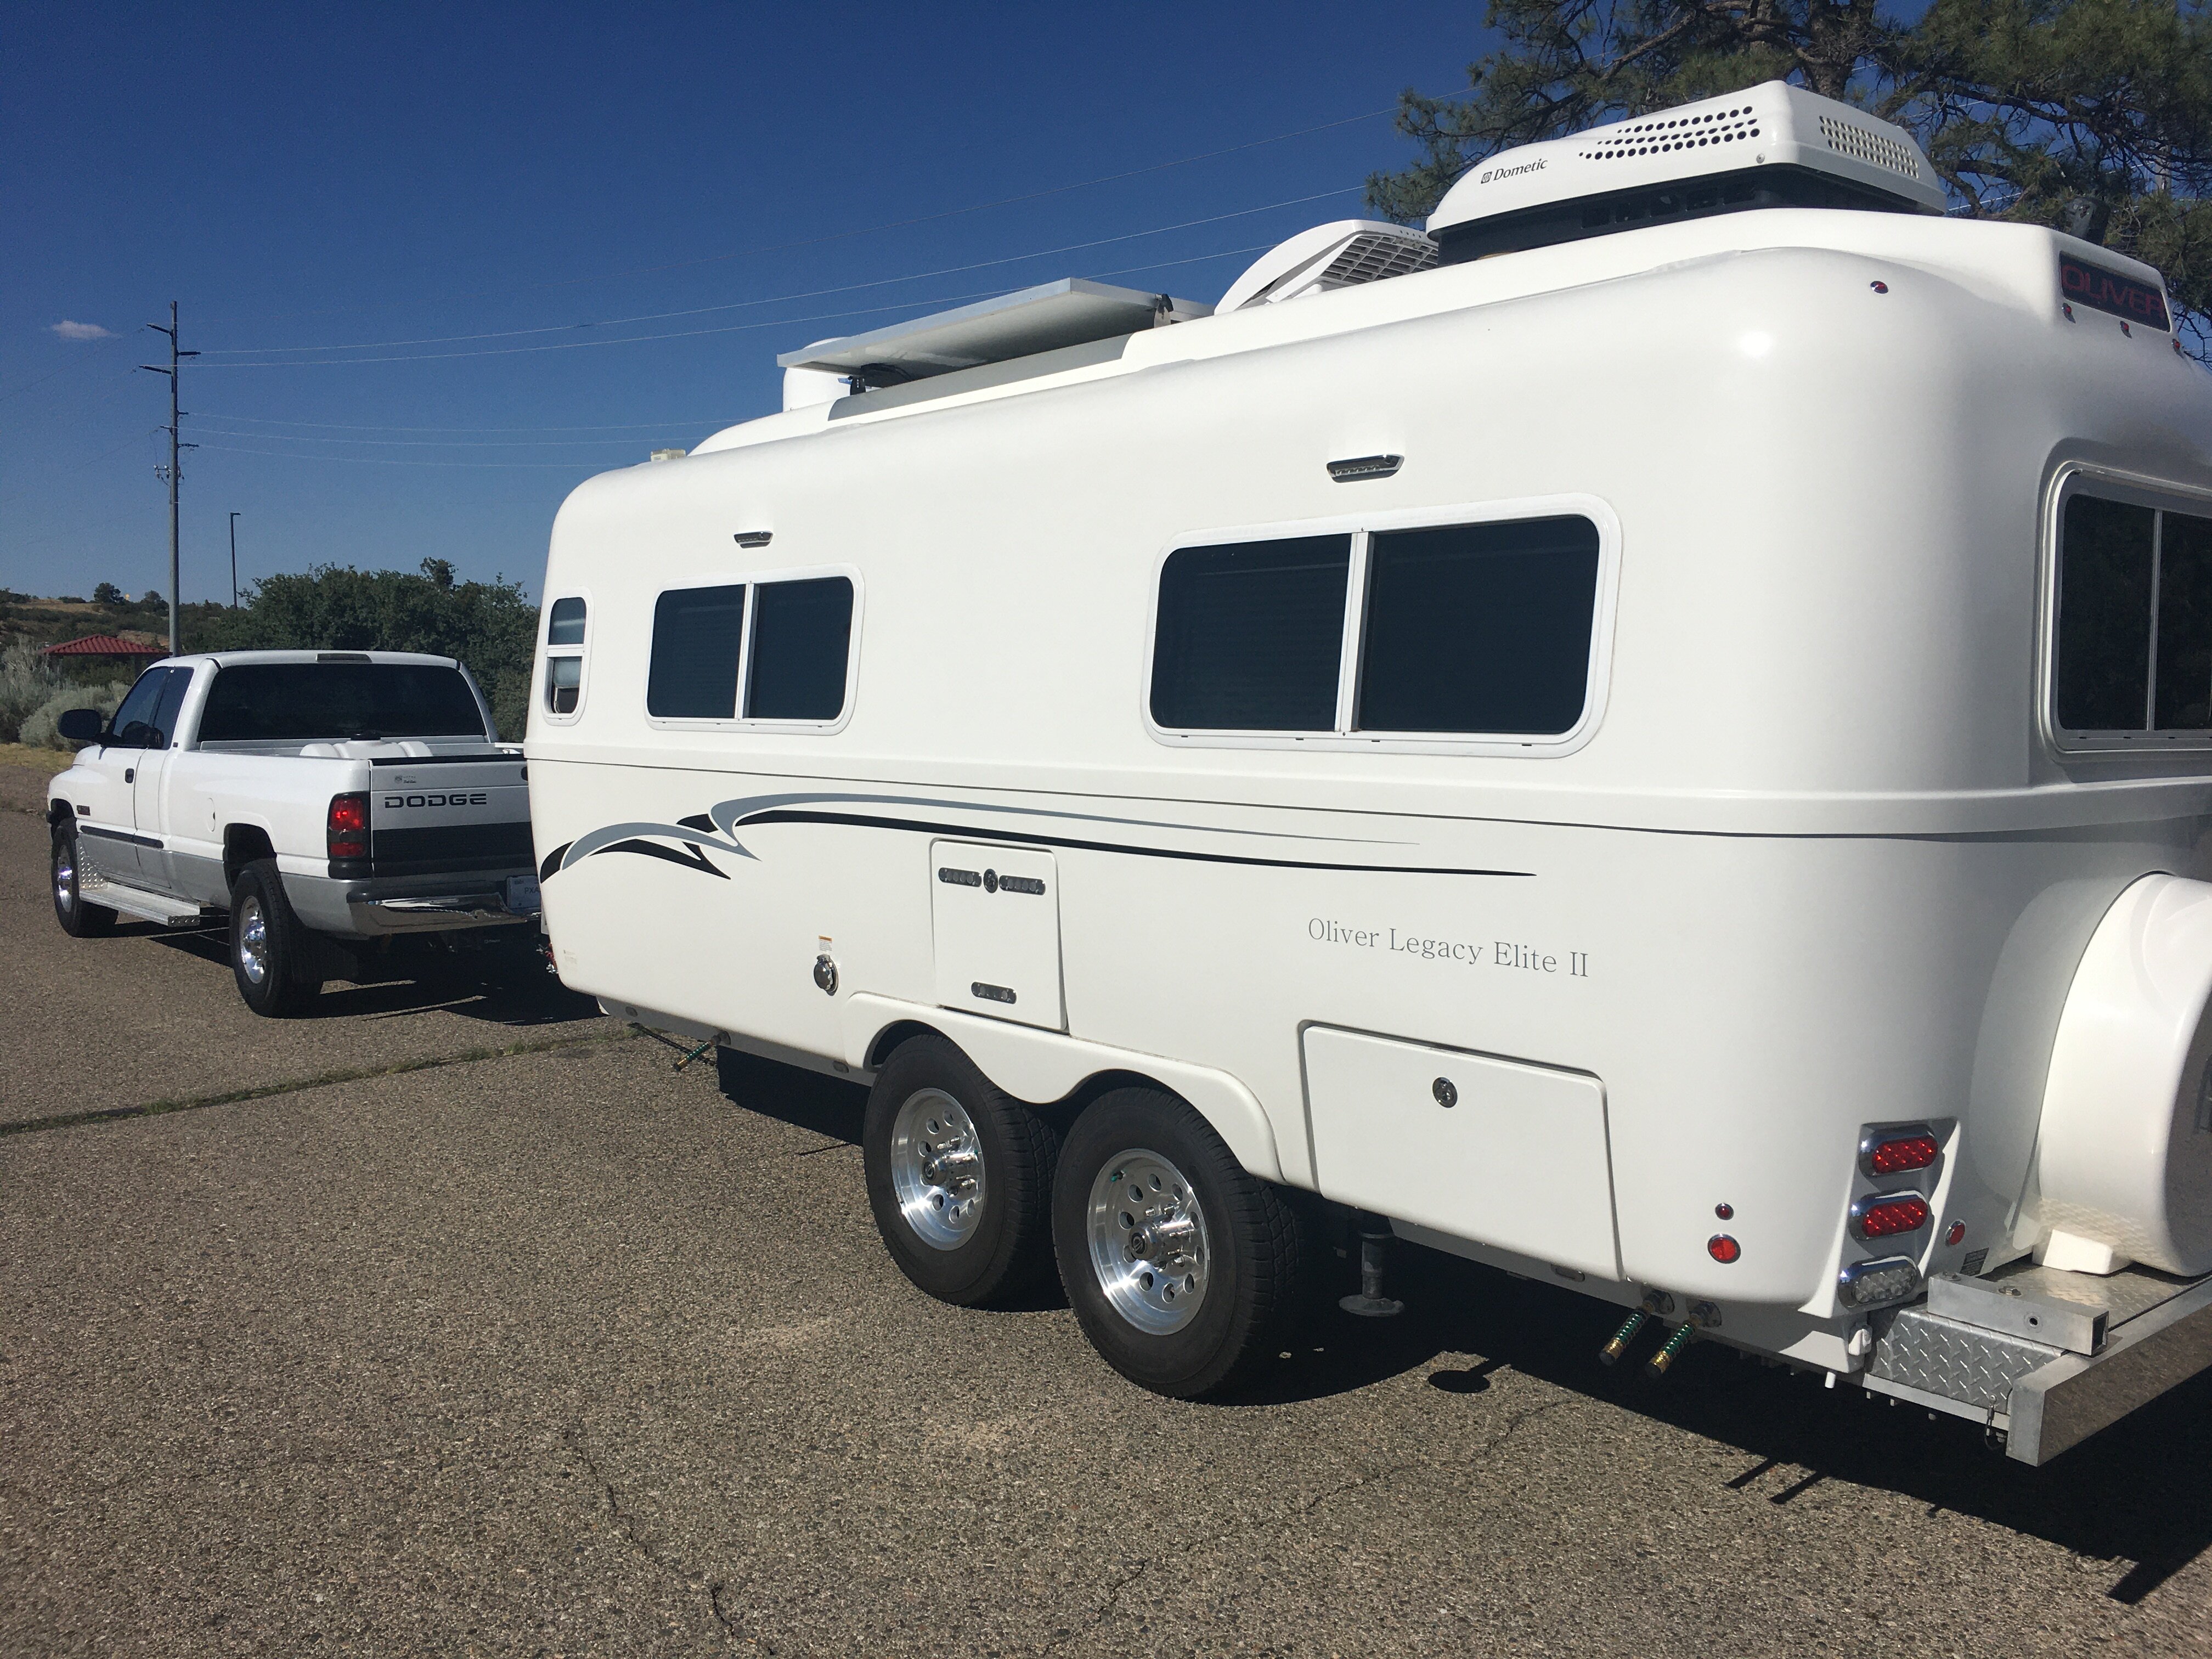
This is really all you need to know. Are you thinking of upgrading them or adding to the solar system? The DC system in the Oliver is 12V.
Watts = Volts x Amps so 340W = 12V x 28.3A so you likely have a 30A solar charger or close to it. The Blue Sky system in our older hull includes a 25A charger.
-
 2
2
-
-
On 6/25/2024 at 8:03 AM, mountainoliver said:
The Zantrex inverter will run 1,800 watt loads continuously...
During my test, our Penguin II was pulling just over 1800W after it got warmed up. Battery voltage was very close to 12V and I believe it momentarily hit under 12V which created an error code on the Xantrex. (Our unit only has the remote power switch, not the remote panel, so I could only read data from the SmartShunt).

-
1
-
-
12 minutes ago, Mike and Carol said:
Same here. This will probably be the last summer for our old Dometic noise maker.
This would be going from one Dometic to another! I need to do better, and if wiring a relay or something is required, then fine.
Here is an interesting spec of the Dometic FreshJet 3, "4 dB less noise than select rooftop air conditioners." Also, why did Dometic retire the FreshJet 2200? It didn't sell? And "4 dB less" than the Dometic Penguin II is still very noisy.
-
3 hours ago, JDB_Traveler said:
Can you more clearly explain the two way and three way switch comment? What do you mean by this being another indicator of cause?
The two-way switches are where you have one switch one light. Three-way switches allow turning the light ON/OFF from two different switch locations, like from the main light panel you pictured and a secondary light panel (like one over the curbside bed or under the pantry).
3 hours ago, JDB_Traveler said:I have been seeking help from Oliver with little to no success. I have requested help in understanding the wiring layout
Asking re the wiring layout is hypothetical. If you are not able to test circuits for voltage and ground connections for continuity, nothing that can be worked over the phone. An electrician has been suggested or even a local mobile mechanic that is good with auto electrical 12VDC can help.
-
1
-
-
There is a simple one wire fix to your lighting issue!
-
Something else just dawned on me…
The three lights out, are likely the same three you do not have switches on the remote panel, right of the kitchen. These are two-way switches and the others are all 3-way. This is another indicator of cause.
-
58 minutes ago, JDB_Traveler said:
Attached is a picture of my master lights switch panel and the three switches without power align with the lights I don't currently have.
So your Porch, Outside Courtesy and Closet (the ones without a lighted LED) do not work, and all the others do? Your first post listed more lights out.
Those 3 have proximity to the doorway area. They must share a power source or ground separate from the others. Our older hull has no LEDs so in a way you have built-in test lights.
I'm not a service ticket guy, but I would in your case. Send OTT this picture and explain exactly which lights do not work. Anybody who wires these for OTT should determine cause in a minute. Its likely not at the panel but at the 12V feed or a specific ground.
-
1
-
-
32 minutes ago, rich.dev said:
How is the reception inside your trailer with the router inside the TV?
Edit: Bummer, just realized the TV install will not work, we have Blink cameras on the Oliver that we want to be able to monitor when away from it!
Reception is great because these 7-way antennas have 4 cellular antennas for receiving signal, one GPS antenna and 2 Wi-Fi antennas to send signal to your devices. The Oliver being mostly fiberglass construction allows radio waves to pass through (will NOT work with a metal-clad Air Stream where they would install a wired access point internal to the TT regardless of antenna location).
@rideadeuce Mike is having an issue with coverage in the TV. He has a 5-way Cradlepoint antenna mounted on the rear of the Oliver. Your idea of mounting to the front awning bracket should be the best mounting location on the Oliver, except for taking a lot of headwinds, so mount it securely.
Keep in mind the Wi-Fi signal originates in the router, but is broadcasted via the antenna, so mounted inside a closet or wherever does not matter except for it needing some, not a lot, of ventilation. Also, I mounted my router with 3M VHB 4950 tape. The only drilled hole you need in the installation is through the roof for the cables.
The Icotek entry solution you were looking at could be installed by drilling two holes with a hole saw vs. cutting a rectangular opening. You only need the double grommet version with four 5mm holes in each and one plug. The cut-out size on this item is 43 × 24 mm. I'd bet 2x a 7/8" hole saw would be perfect! VHB the housing onto the roof and caulk the perimeter. 90 Degree Cable Entry Frame - 2 Socket - 73mm x 53mm – MobileMustHave.com
Your last edit sentence finally gave me a reason for mounting the router in the Oliver! Thank you for that. There is one downside though, depending on where you travel. Out here we camp in many canyons without cell service. So, you would not be able to connect the Blink cameras anyway. When this occurs, we run the TV out of the canyon on a day trip and connect, use our laptops, etc.
The Pepwave router also has the WAN input to add Starlink or like service. If you were to go this route, you would nearly always be connected. Mike also did a nice Starlink antenna install up front and he ran the cable all the way back on the roof. You could do the same front install and run that cable down the same entry point.
If this upgrade may be in your future, buy this Icotek instead and drill 3 holes. Use a grommet plug until you need the 3rd opening: 90 Degree Cable Entry Frame - 3 Socket - 100mm x 53mm – MobileMustHave.com
-
1
-
-
@rich.dev, I was thinking again about running the 12VDC to the closet and knew there was a good example of this. Also, running DC lines from there, you could add a dedicated fuse for the router in the DC fuse panel and eliminate the inline fuse in the wiring.
Note the description and pictures on page one, where Art @MAX Burner fishes two large 4AWG cables from the dinette to the bathroom vanity:
-
 1
1
-
-
3 hours ago, topgun2 said:
Thanks - except for that "old dog" part.😁
Somehow Bill, I knew the reply you would write, and I had a dream about some sad dog GIF!
-
40 minutes ago, Steve Morris said:
My plans is/was to use this bulkhead fitting through the roof as a cable guide and into a utility box on the roof...
Personally, I believe the utility box install is extreme overkill. We are NOT installing a 5KW inverter with 1800W solar system in a Class-A, not by any means! Are you needing a 1 1/2" conduit for another half-dozen future rooftop additions, NOT! Please think about the simple realities.
I installed solar on a previously owned RV, by merely drilling two (2) 1/4" holes through the roof, for the two (+/-) 10 AWG solar panel feeds. No box, no Icotech entry solutions, just two simple 1/4" holes and a drip of Dicor on each, still working today, with no leaks. Or you can mount a big-@ss box. You can imagine what my choice would be! 🤣
It's up to you, do you want to mount a 6x10" box and blow two tubes of Dicor all over the roof of your beautiful Oliver? BTW, a rectangular junction box does not fit nicely on the curved roof of the Oliver!
Most professional installers are young and inexperienced and it's up to you to make the best decisions for your assets. When the guy doesn't agree with you, just hire a new guy.
Sorry @Wildbrew although your install is yes BEAUTIFUL, a work of art, and you should truly be proud of your exceptional work, it's simply overkill! Could be done with no platform and no large rooftop box. (Still love your work yet hoping to advise many others that less is more).
We are to each our own, yet simple is often better. Think hard about your decision. I did my truck mount install in two days, not a single drill hole into our Oliver, just sayin'!
I was working my job last week, teaching my online PMP class when Sparklight went down, resulting in no household Internet. While my students were waiting for just a minute or so, I connected to our truck-based Pepwave cellular router Wi-Fi, with T-Mobile 5G cellular service only missing a heartbeat or two. They had no idea I was gone for a minute. My truck-based Internet service is my also my business back-up internet service, without an installation hole in the Oliver! 😂
-
1
-
-
2 hours ago, Against The Wind said:
...It’s my understanding that Oliver sells mattresses from the factory that fit the twin setup in the Elite 2. Are these mattresses comfortable?
No, not at all, would be my answer! After buying our Oliver used, with OEM "upgraded mattresses" after discarding these from our Oliver, we kept one in our lower level, for our son's overnight friends and the other went on Craigslist FREE STUFF. It sat on our curb for nearly a month prior to the city pickup and dozens of contenders thought, sorry no-thank-you!
We bought these, the 10" model and just this summer, I will soon cut the 16" radius for the lower outer corner by hand (post coming soon): Dreamfoam Essential - RV (rvmattress.com) Most owners acive here hav worked a creative, less expensive option here, including carving a simple Costco foam mattress for even less $$$!
-
Yeah, while prior to an inverter upgrade, we should ALL work an A/C upgrade first! Why in the world do RV manufacturers buy anything from Dometic? I will NOT ever, even for a $10 part! Replace the whole unit first and save the $10. Dometic is like government, less is more! 🤣
-
1
-
-
“Golly Shazam” you can, yes you can teach an old dog new tricks! At least some of us ol’ dogs that must be self-taught, and that’s you and me for sure.
Happy for you cousin! You gracefully watered-n-nurtured that old set of original batteries for 8 years. My guess is with your conservative touch, you got these for a lifetime. God Bless and Godspeed my friend. 😂
-
1
-
-
12 minutes ago, Steve Morris said:
Oh, that one. I was looking at the rectangular version. I saw that one before, but was concerned that the seven stiff antenna cables couldn’t make that radius. I’ll wait until you try. 😉
I had that question and Tech Support at MobileMustHave replied that Parsec suggests no smaller than a 2" turn radius on their antenna cables. I had to push that number a little tighter on my install since the cable had to come down between the cab and bed and turn 90. The Icotech @rich.dev suggested will just make that 2" radius but installing it on an Oliver is not simple.
Think HARD about which cable management device you select. Many are overkill and require a large opening. Models suggested here require square or rectangular openings. It's a whole lot easier, 2 minutes with a hole saw, than drilling four corners of a rectangle and using a jigsaw through two hulls. I had to go with the flat square model in my application, but cutting this square hole with the backseat of the TV removed is more straightforward. And nobody will ever see the couple of scratches made in cutting this, unlike the roof of your Oliver.
-
2
-
-
52 minutes ago, rich.dev said:
The Pepwave Mobility 42G comes with 6' wires, I was thinking of mounting the router inside the front cubby just behind the main switch panel. But I also like your idea of drilling straight down into the closet, jut not sure where I can hookup to 12V DC in the closet.
Going through the closet you have more room for router and antenna cables. I would plan from the closet side where you want the antenna cables to enter and drill an 1/8" hole up through the roof for positioning, then drill down for the proper size hole.
For wiring, I would run a pair (+/-) of automotive grade (stranded) 12 or 14 AWG from the 12V fuse panel, follow the drain plumbing all the way to the bathroom vanity. From there you can see how the plumbing vent goes through the closet and up to the roof. I just drilled from closet to vanity to add a 3" vent. Check my picture and you can see the gap to run these wires along the 2" black vent pipe.
You could install the router just above the closet door, tie the antenna cables to the ceiling of the closet (see the taped mounts I used in my install thread, no drilling required) and you can use the closet day after day and never see the installation without sticking your head in the closet. It also would not take any otherwise usable space (like in the kitchen cabinet).

-
1
-
-
24 minutes ago, rich.dev said:
LOL yes I saw your post, will be a much easier install but we are going full time end of October that's why I want it in the trailer.
Full time might even be more a reason to have it in the tow vehicle, unless you plan to trade the TV in often (but who would with your TV). You are always near your TV and not always near your TT.
-
@rich.dev so where will you install the router? (kitchen cabinet?) Unless you can disconnect the awning wires, it may be difficult to drill that opening wider. Those 7 antenna wires are close to an inch diameter. You want the router the right distance from the antenna. The cables on my Parsec were 7 FT long and you don't have room to coil them up anywhere.
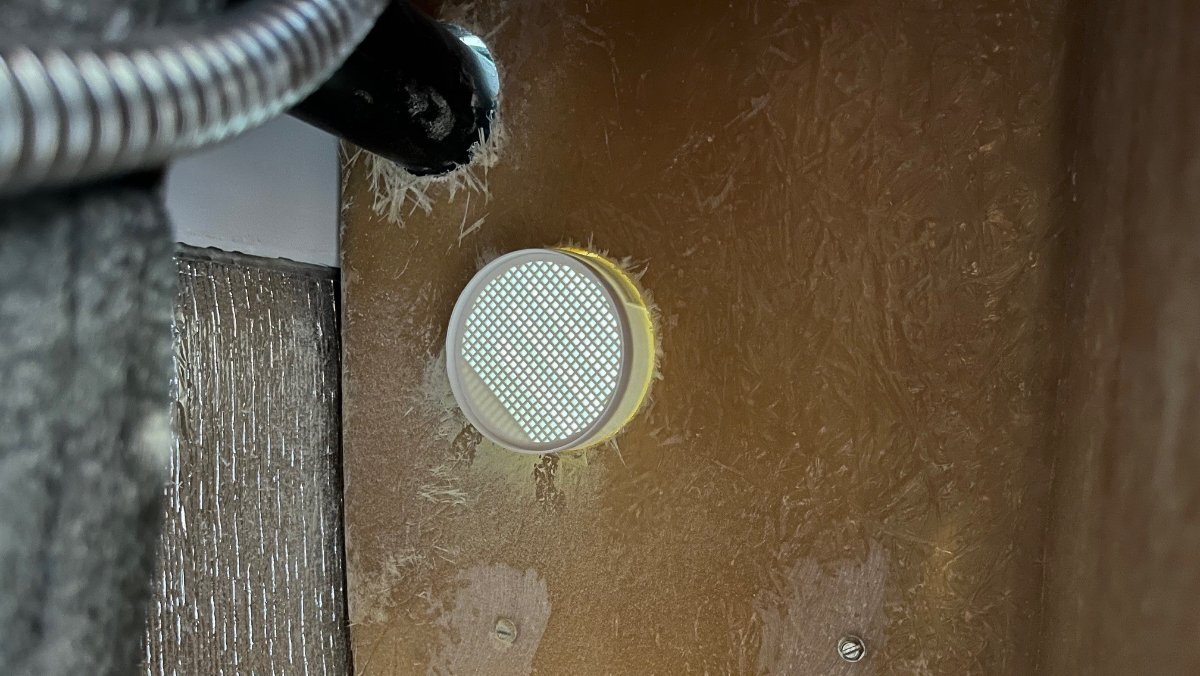
If I was mounting to the front awning, I would drill straight down into the closet, and yes use an Icotech cable system. There is room for extra antenna length along the ceiling and walls. Then you would need 12VDC and add a closet vent too.
Still think my idea was better. Great reception while driving or streaming back to the television (in fact over 100 FT around the campsite or at home). And when we travel during the day, we have our Internet with us, not back at the campsite.
-
And yes, our hull has check valves and restrictors on the Fresh Tank and City Water lines (see pic).
You may not need the following detail for a summer plumbing project, but when I am winterizing, I run air into all four (4) water inlets. First air into the City Water to drain both sinks, the toilet and outdoor shower. Then the Fresh Tank inlet for a few seconds. Then I connect to the rear port, after turning water valves to boondocking position and run air in for a few seconds. Lastly the toilet rinse inlet. Except for the first step that drains all the internal plumbing via the City Water connection, the other 3 just take a few seconds of air to clear those short inlet lines.
You can bypass the HWH for a plumbing repair, but when winterizing, I bypass it to clear the hot water plumbing with the air and at the same time I pull the anode plug to drain the 6-gal HWH tank as well.
-
1
-
2
-
-
1 hour ago, rich.dev said:
Thanks John, so no issues blowing air through the hose inlets with check valves?
The check valves do not allow reverse flow out the hose which would lose pressure in the plumbing. So you would be blowing air in the allowed direction, into the hose inlets. I do it all the time since we travel on and off all winter and when home on the mountain it often gets in the low 20s overnight. It’s part of my winter return trip process to blow the plumbing dry while we’re still in the driveway!
-
2
-
-
1 hour ago, rich.dev said:
You sure it's the night stand top that's held down with valcro and not the top in front of the pantry? We also have a 2023 and the nightstand top is not removable with a cubby like pre 2023 models. Ok, I see your hull # is 1030 so maybe you lucked out before they changed it to a non removable nightstand top.
We have 3 removeable, all Velcro attached tops; the nightstand top, below the pantry and the counter above the fridge/below the microwave.
-
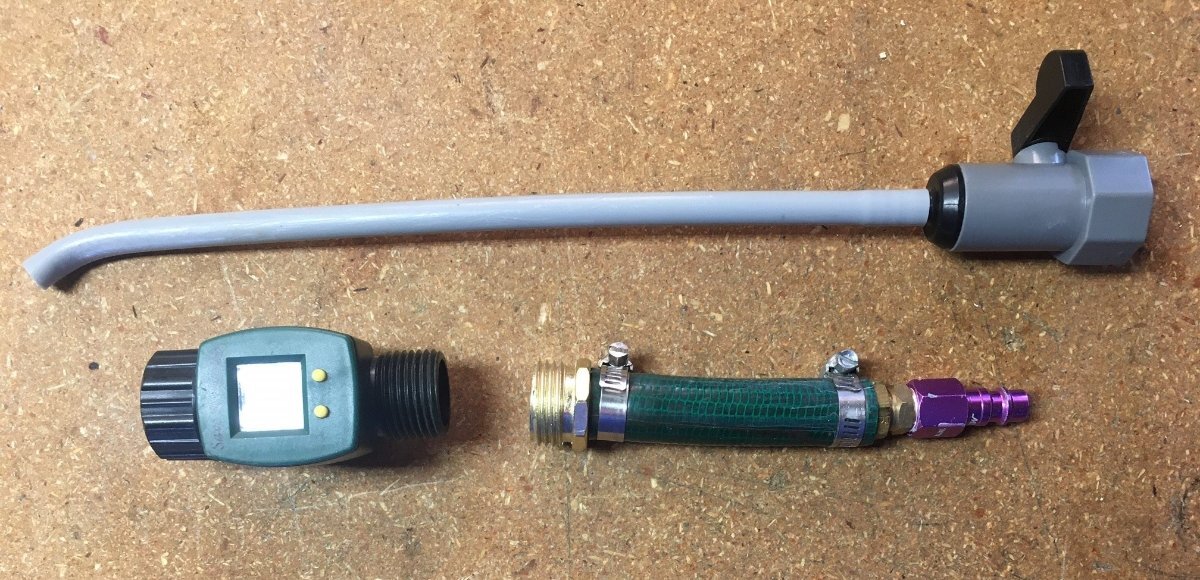
@rich.dev No low points here and don't forget hot & cold plumbing to the outdoor shower. The only way to drain all lines is to blow air through the hose inlets. Set your compressor down to about 40 PSI and make yourself this kind of tool (bottom-right in picture). I use it for winterizing too instead of the pink stuff.
-
 1
1
-
-
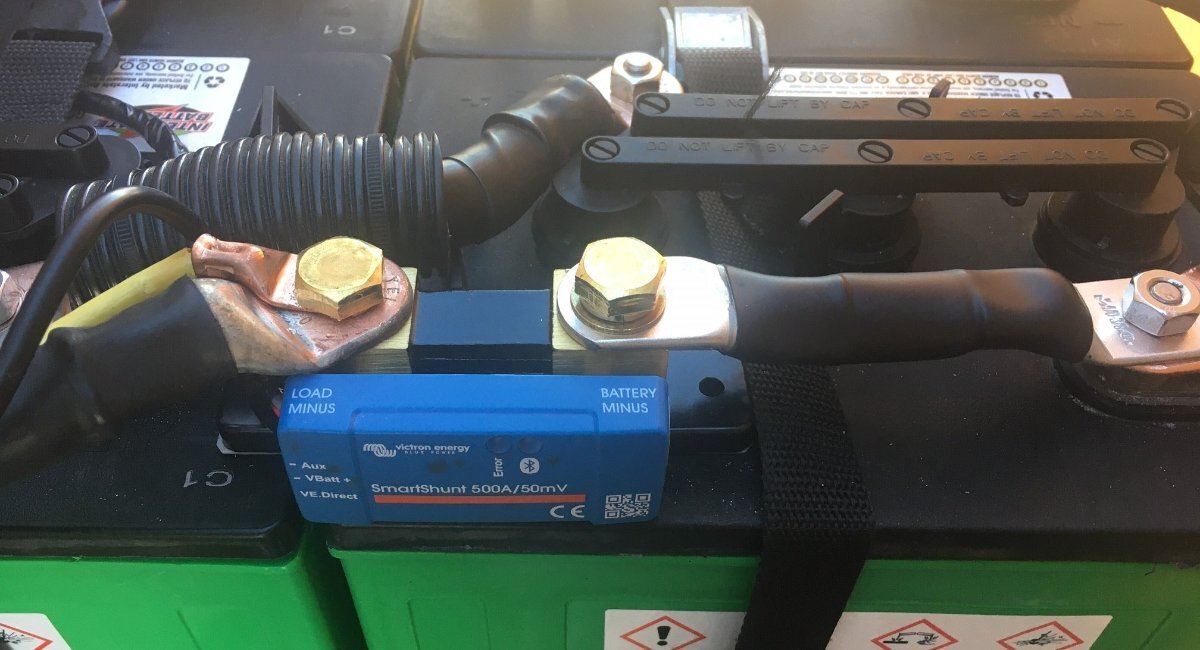
My Victron SmartShunt install is simply sitting at the negative battery terminal. Nothing gets -12V ground unless it goes through the shunt.


Please help me with 2021 rooftop solar specifications
in Mechanical & Technical Tips
Posted
Yes Barb, in fact many vendors title their products "Solar Charge Controllers."
With the added two Renogy 100W suitcases you will have total 540W. The 30A charger-controller is for the 340W roof-mounted solar and I believe the Zamp port requires an external controller that you have in one of your 100W suitcases.
I haven't done the suitcase thing, but there are many here with vast experience to answer your questions. Also search the forum for keywords, 'Zamp' or 'Renogy' or 'suitcase' and you should find a lot of good info.