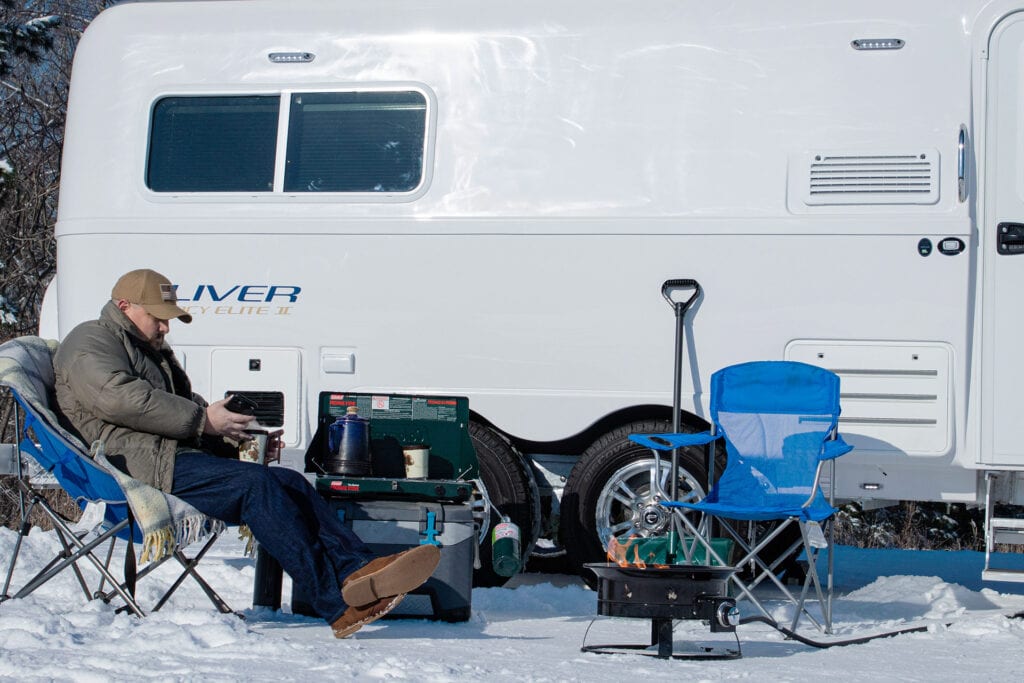
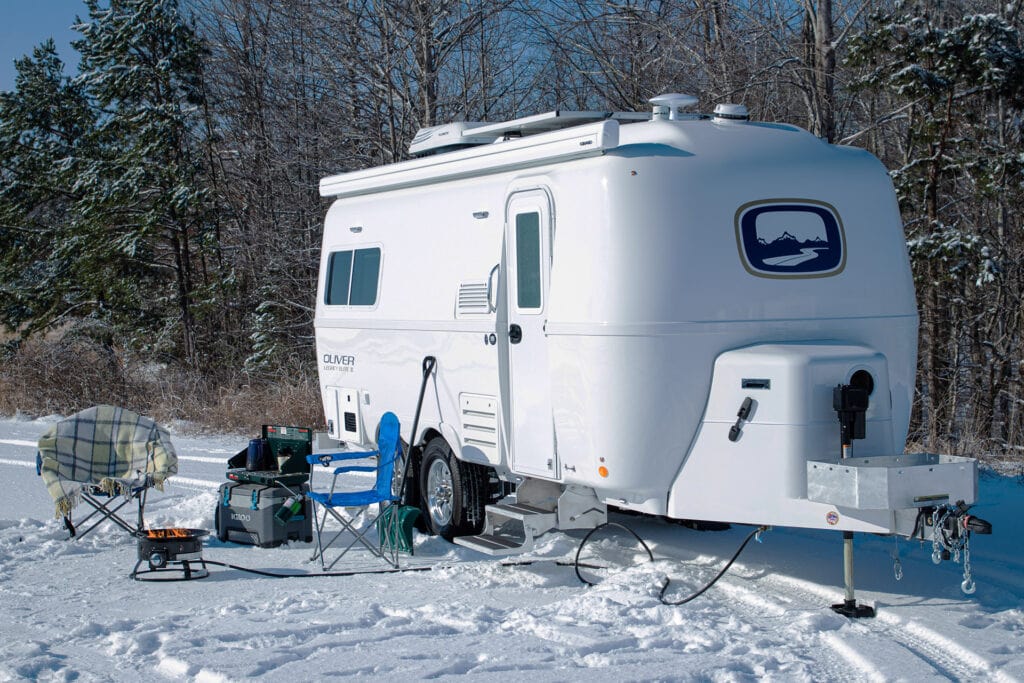
Winterizing your travel trailer is extremely important.
It ensures that your trailer can withstand harsh conditions without damage, but it also gives you peace of mind knowing your trailer will be ready to hit the road during the summer months. Plus, if you don’t get your trailer ready for winter properly, you run the risk of extensive damage that can cost an arm and a leg to fix.
You should follow a few steps closely if you want to make sure your travel trailer is in the best shape possible for the winter months, so we’ve compiled this list of everything you need to know.
1. Check the Tires
Checking your trailer’s tires is the first thing you should do to get it ready for winter. Make sure that the tire tread still looks good and that the tires have plenty of air. If your tires are in poor condition, it’s important to replace them before you hit the road during the summer months. You should also check the wheel bearings and brakes to ensure they’re in good working order.
2. Prepare the Interior
Once you’ve inspected the tires and brakes, it’s time to turn your attention to your trailer’s interior. Start by deep cleaning everything and removing any debris or dirt. If you’re storing your trailer for the winter, removing any food items or other perishable items is also a good idea. Additionally, you may want to consider installing a dehumidifier to keep the air inside your trailer from becoming too dry.
3. Inspect the Exterior
You’ll want to inspect the outside of your trailer before you put it away for the winter. Make sure to check the roof, windows, and doors for any signs of damage, then if you notice any cracks or holes, seal them up. Winter brings a lot of rain and snow in many places, and the last thing you want is to deal with water damage when you’re ready to head out on your first camping trip of the season. It’s also important to inspect your windows and doors to make sure that they are properly sealed. If they’re not, take care of it as soon as possible.

4. Insulate Your Trailer
If you want to keep your trailer warm during the cold months, you’ll want to insulate it. While this isn’t completely necessary, some people choose to do it, especially if they use their trailer during the winter. Insulation will help keep your trailer’s interior warm and cozy during the winter and can be especially beneficial if you plan to do any winter camping.
5. Add a Heater
Adding a heater to your travel trailer is another great way to keep it cozy during winter. There are a variety of different types of heaters available, so make sure to do your research and choose the one that’s best for your trailer. If you’re looking to have one installed, the professionals at Oliver Travel Trailers can help. If your trailer already has a heater, that’s great! Just make sure you’re familiar with how it works and how to maintain it.
6. Protect the Batteries
The batteries are what essentially keep your trailer running, so it’s important to protect them when it’s cold outside. Make sure to keep the batteries charged and stored in a dry place to prevent them from freezing. You should also check the battery terminals and clean them if necessary. Battery issues can be a major inconvenience when you’re trying to go camping and they can be expensive to replace, so it’s very important to take good care of them.
7. Keep an Eye on the Weather
Finally, it’s important to keep an eye on the weather before you hit the road. Make sure to check the forecast for any dangerous weather conditions and plan your route accordingly if you plan on doing any winter camping. You’ll also want to bring extra supplies on your adventure just in case you come across any inclement weather or issues along the way. As long as your trailer is prepped for cold weather, you should be good to go.
8. Winterize the Trailer

Here’s a step-by-step guide on how to winterize your trailer:
- Prepare Your Camping Trailer: Before winterizing your trailer, make sure you have a few supplies handy – such as antifreeze, rags, and a funnel. This will help make the process easier. Additionally, make sure your trailer is properly supported and level before you begin.
- Drain the Freshwater System: To begin, you will need to drain the freshwater system. Start by turning off the water pump and all of the faucets. Then, open the hot and cold valves on the water heater, and allow the water to drain out. You may need to use a wrench to loosen the valves. Once the water has drained out, close the valves and turn the pump back on.
- Add Antifreeze: Now it’s time to add antifreeze to the trailer’s freshwater system. Start by locating the city water connection and opening the valve. Then, use a funnel to slowly add antifreeze to the city water connection. Keep adding antifreeze until you see it coming out of all of the faucets. Once you’ve done this, close the city water connection and move on to the next step.
- Flush the Toilets: To flush the toilets, pour a gallon of antifreeze into the bowl then wait a few minutes and flush the toilet. The antifreeze should fill the entire bowl and then start draining out. Continue flushing the toilet until the drain is clear and the antifreeze has drained out.
- Drain the Gray and Black Water Systems: Locate the drain valves for both tanks and open them. Then, use a hose to connect the drain valve to a bucket or the ground. Allow the tanks to drain completely, then close the valves and disconnect the hose.
By taking the time to get your travel trailer ready for winter, you can ensure that it’s in the best condition possible for the cold months ahead. Taking the necessary precautions can also help to ensure that you and your family have a safe and enjoyable camping experience, even if you’re going during the off-season.
If you are looking for a winter travel trailer or camper for sale, or need more tips on how to best prepare for winter, reach out to Oliver Travel Trailers. We are more than happy to help you with any type of camping assistance you may need, whether it’s purchasing a trailer or winterizing your current one.

