All Activity
- Today
-

Adding a Matching Rear Porch Light and some Front Lighting
jd1923 replied to jd1923's topic in Ollie Modifications
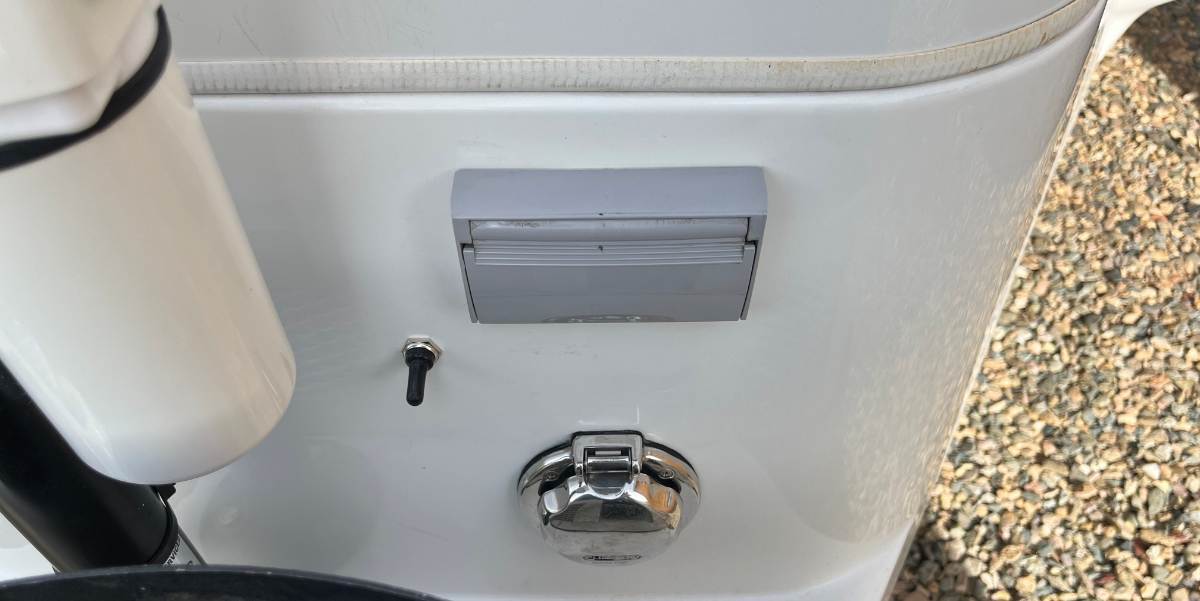
That's an excellent idea with the switch and 12V right there! You could remove the bubble level (for those of us who use LevelMate) and mount a post light top center. -

Adding a Matching Rear Porch Light and some Front Lighting
Steph and Dud B replied to jd1923's topic in Ollie Modifications
I've considered adding a forward facing light to the front jack housing using the existing light switch. -
Boy, i have repeatedly taken and not taken a small step ladder along. There are an awful lot of things that are unreachable without it including my truck oil dipstick. So far, i have never used it on the short trips we take and i kind of feel like a worry dork taking it. Maybe with your encouragement i will take it with greater confidence. Sorry to be off topic of the main thread.
-

Portable solar panel with legacy elite 2 platinum package
FloraFauna replied to Brian H.'s topic in General Discussion
I have the zamp portable suitcase panel that I believe adds another 240 watts (this particular size is no longer available) Its awful heavy and the cable is just too short to be able to move it optimally with the sun on the streetside of the trailer. Several calls to zamp technical support did not result in being able to purchase a longer and heavier cable. When its only in the sun for a few hours the gain is not that great - we are typically in partial shaded sites. There is also the worry that someone will walk off with the panel while i am not at camp. Pulling it up and placing it back multiple times is a hassle. Finally even though we are at nonelectric sites most of the time, we typically dont need the portable unit. For all of these reasons, i find myself taking it along less and less. There are a few situations where i will be happy to have it but those situations are far and few. -
Adding a Matching Rear Porch Light and some Front Lighting
jd1923 replied to jd1923's topic in Ollie Modifications
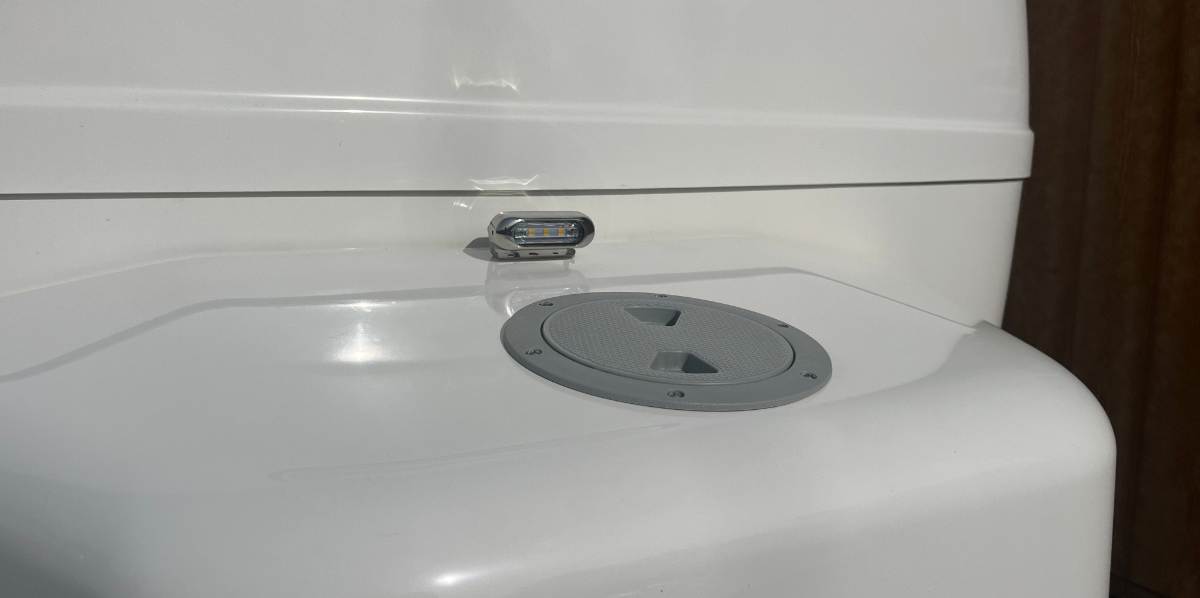
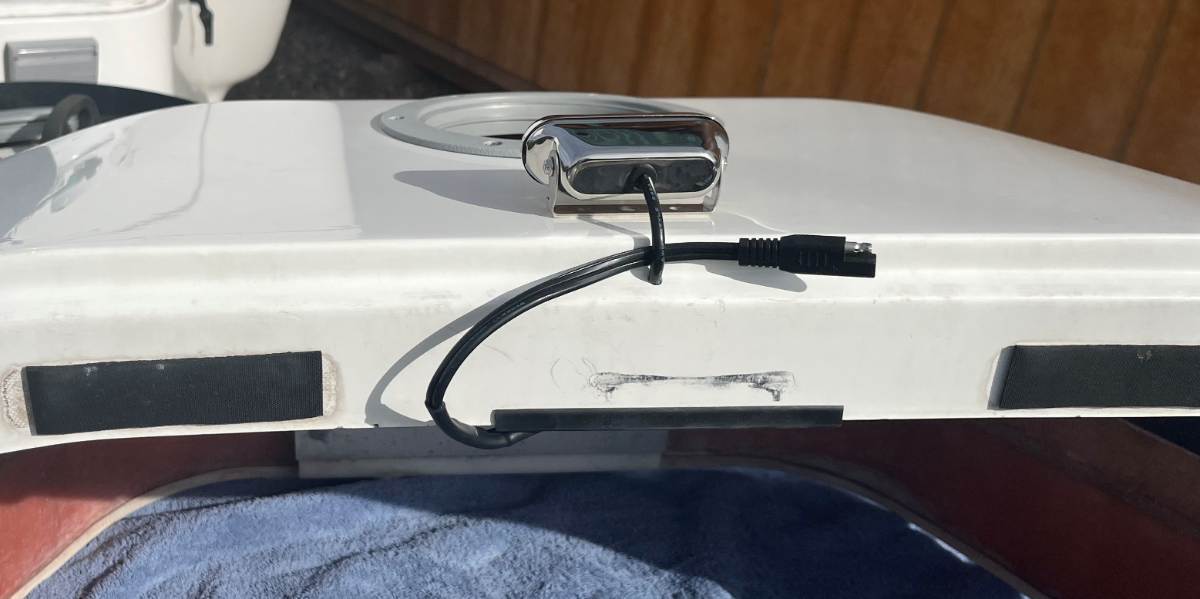
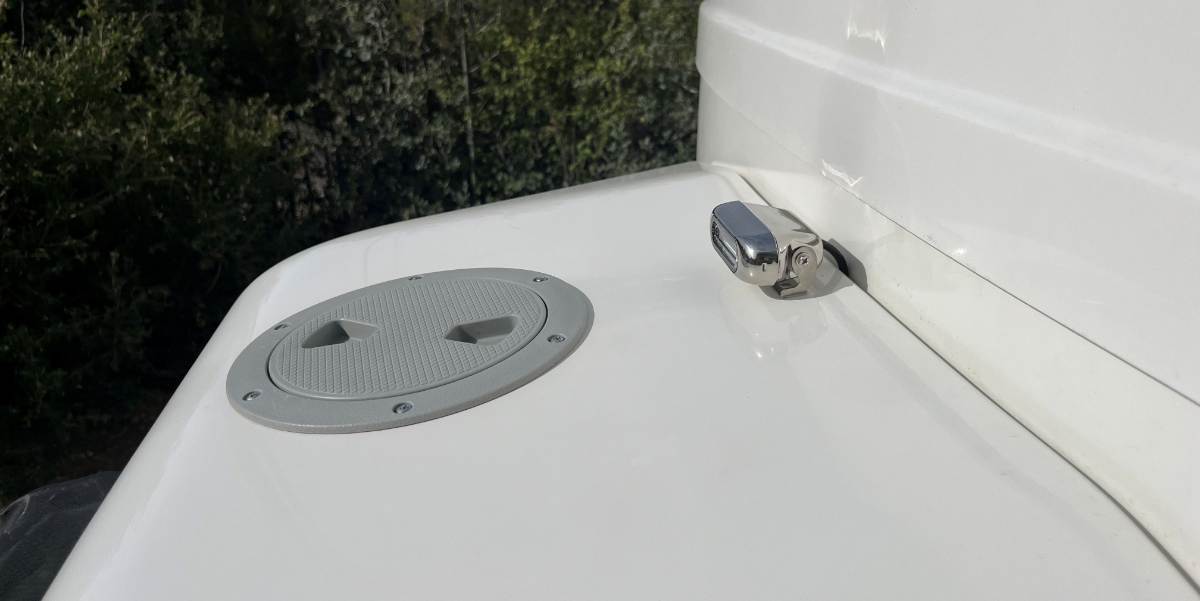
Finished my install on a front light, but won't be able to see how effective it is until it gets dark tonight (more pics after). My hope is that when the TV is attached, I can unhitch when getting to a campground after dark and see what's stored in the truck bed. I got this Docking Light on the same order as the Porch Lights. https://itcshopnow.com/products/exterior-led-flood-boat-docking-light I used 3M 4950 VHB tape to mount it the the top of the doghouse. There is of course a wire harness, so I drilled into the doghouse but not on top, just behind it where there is room and it's out of sight. I used a 13/64" drill bit which is a hair over the diameter of the wire loom. The picture shows the SAE disconnect wrapped up, only so it could be seen in the photo. Got to have a disconnect to fill the LP tanks. I tapped into the power for the emergency brake which is unfused 12VDC (the brake switch still has a direct connection). Added an inline 2A fuse and a switch in front of the doghouse. Added wire loom and tied up everything. Chose this location for an easy reach from either side, somewhere out of the way, and with a straight line for drilling the hole. The light draws 0.3A and provides 290 LM at 5000 K. Can't wait to see it at night! 😎
- Yesterday
-
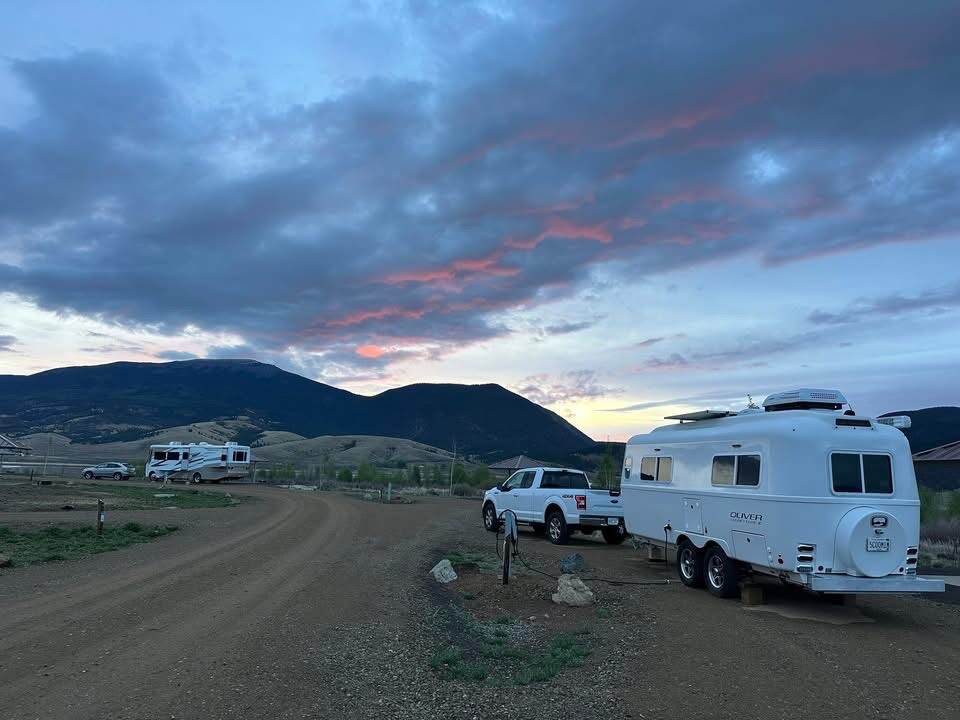
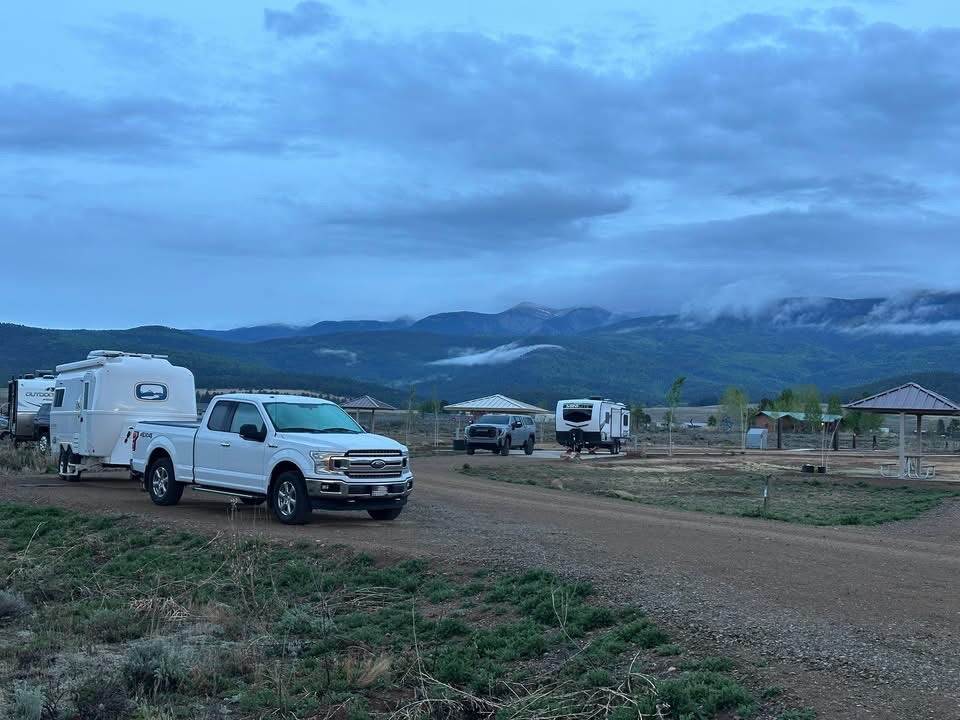
Eagle Nest State Park , New Mexico park has been remodeled and is very nice, sites are electric only water fill available, no dump station cloudy and rainy and cold weather has us a little wet super nice Vietnam War Memorial Park nearby Remembering all of the men that served and the young men that never came home 🙏
-

Portable solar panel with legacy elite 2 platinum package
DanielBoondock replied to Brian H.'s topic in General Discussion
… another idea, hard mount regular panels to the bed rails on the trick if you’re configured like that, and have that charge an Ecoflow. So top off the Ecoflow pro and use that to top off the house. That’s exactly what I do boondocking using the 220 kWh traction battery, minus the solar -
Portable solar panel with legacy elite 2 platinum package
DanielBoondock replied to Brian H.'s topic in General Discussion
Don’t need it myself since I drive electric, but if I wasn’t I still I doubt I’d do it. A lot of bother, have to be around so sticky fingers doesn’t walk off with it, and as @jd1923 sez it’s just more stuff, and big clumsy stuff too. Getting this rig pared down to the essentials has been a major project. I’d do this instead Try to optimize the roof solar charging opportunities if possible Possibly upgrade the house batteries (you have a recent vintage but don’t know what you’ve got on board) Most likely would be to instead get a backup source, it’s awfully handy to just charge off the truck one way or another Ecoflow Delta Pro has a TT-30 plug so you can top off the house batteries directly Or just get one of the 120V regular versions and find some creative uses of it My 2c … Sells how, do they have a web store? Not coming up with anything … -

Adding a Matching Rear Porch Light and some Front Lighting
topgun2 replied to jd1923's topic in Ollie Modifications
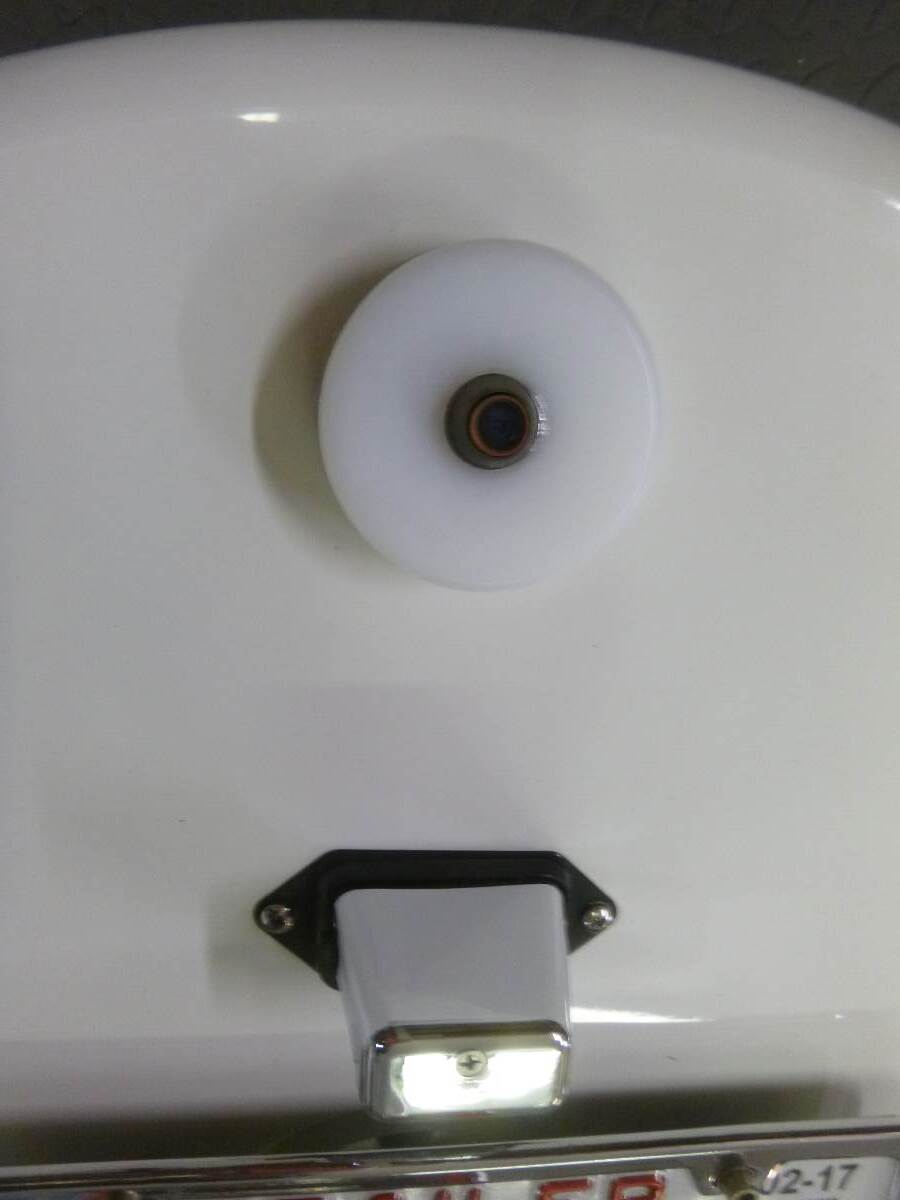
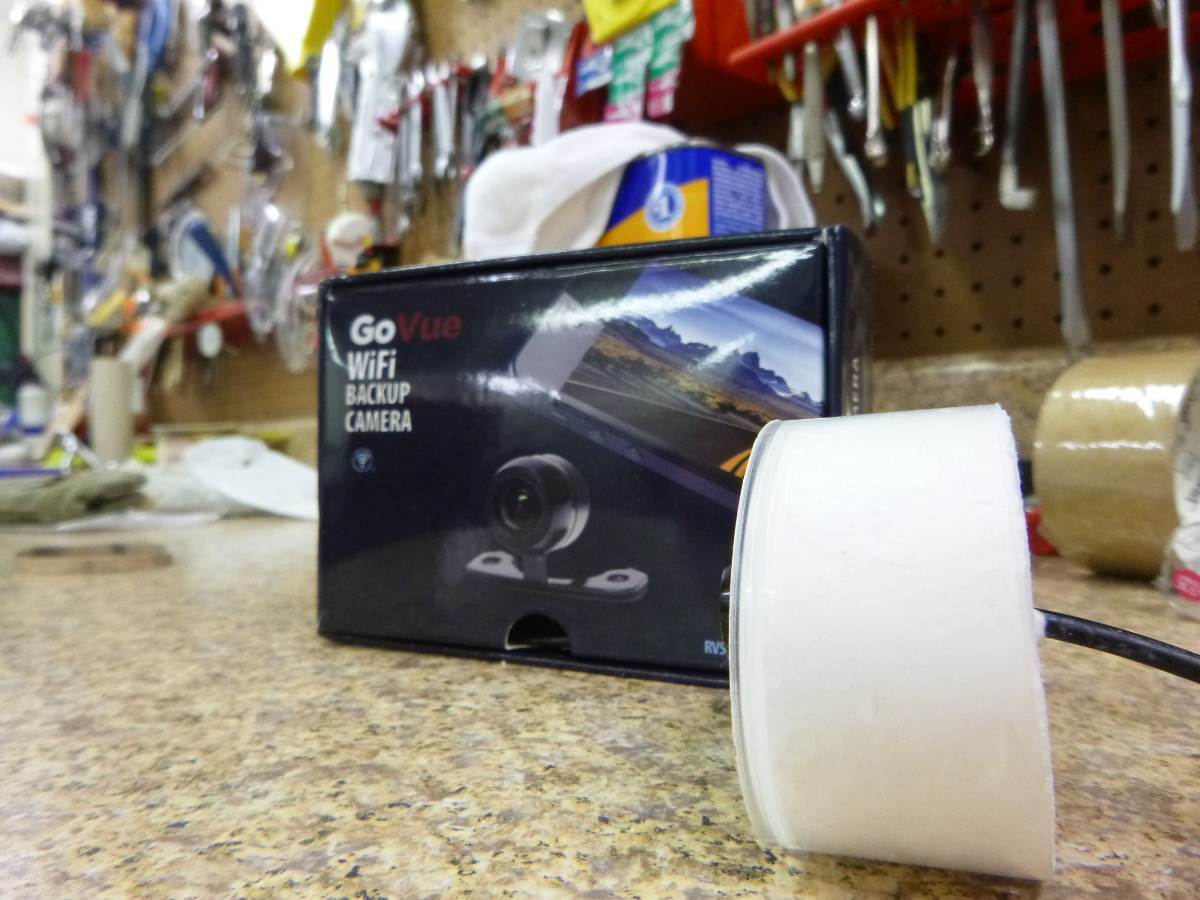
When Twist was in production I asked that the trailer be wired for a rear camera but I would supply and install my own camera. I decided that I would mount it in the spare tire cover. For security purposes this is a good place. However, for traveling down the road - not so much. The spray from wet roads makes this camera location virtually useless and even when its not raining it is difficult to use the camera in order to see beyond the vehicle that is directly behind me. Therefore, for driving, I now have another camera mounted in the usual high position (up near the marker lights) but still retain the lower camera too. If you decide to do as I did and mount a camera in the spare tire cover - PM me. The spare tire cover is NOT "in line" with the body nor the rear bumper. Because of this I needed to put a spacer in so as to compensate for the different angles. Bill
-
Maxxfan Dome installation (previously orientation)
topgun2 replied to Townesw's topic in Ollie Modifications
Bill - Wonderful job - both on the install and the writeup! Almost makes me wish that my original fan would give up the ghost. 😉 Bill -
Maxxfan Dome installation (previously orientation)
jd1923 replied to Townesw's topic in Ollie Modifications
It actually looks very good in your pictures, so must look perfect from the ground. Job well done and an excellent detailed write-up! 😎 Too bad OTT doesn't make a small flat area for the bathroom fan in their fiberglass molds (inner and outer hulls). It would make for a better fit and make this job easier on all of us! -

Maxxfan Dome installation (previously orientation)
Townesw replied to Townesw's topic in Ollie Modifications
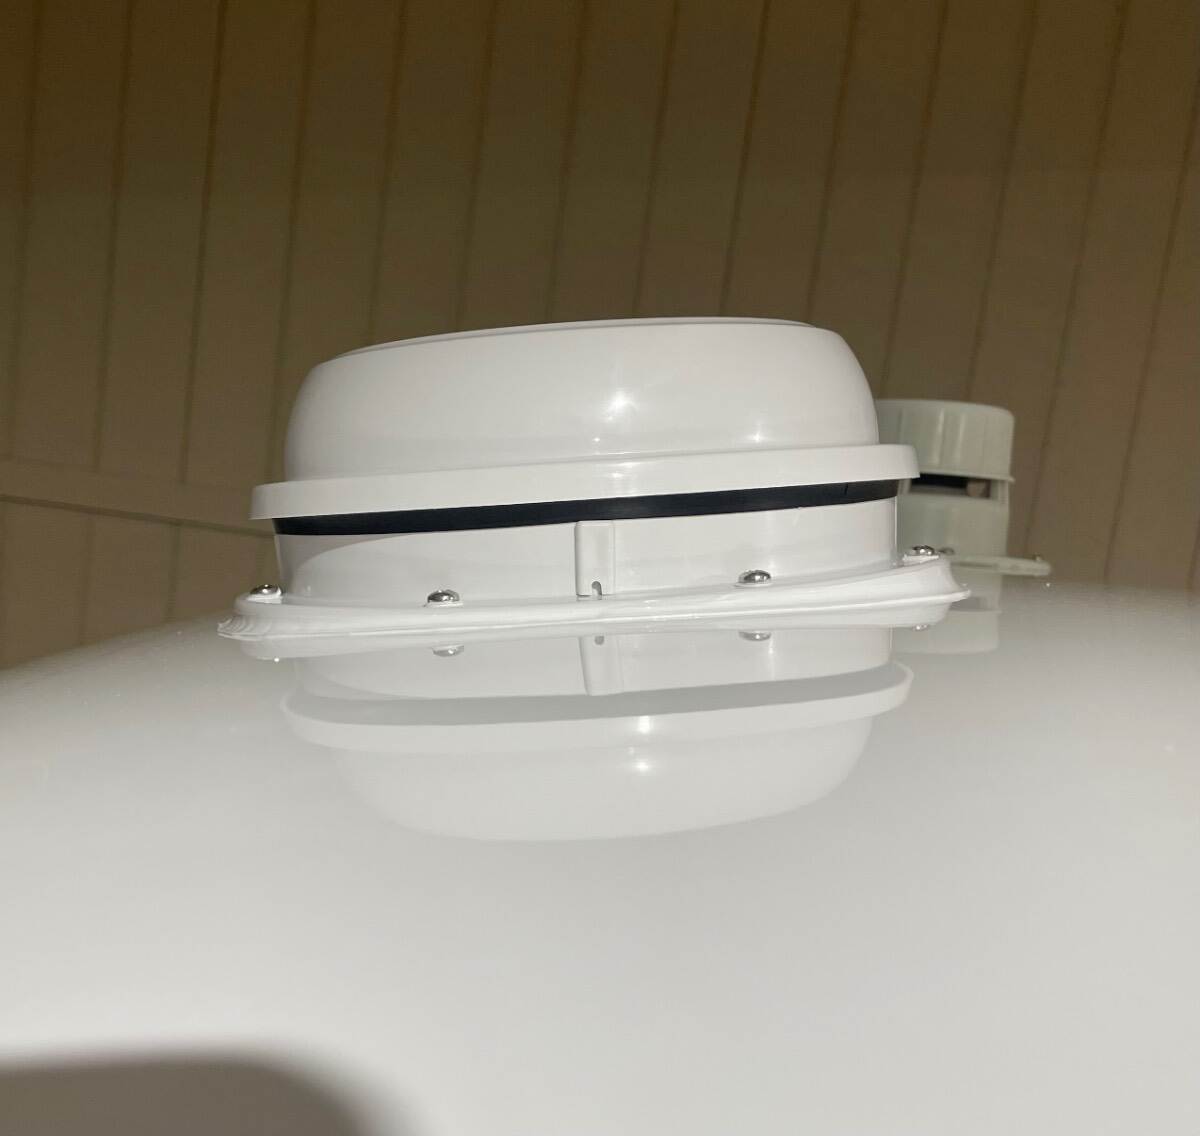
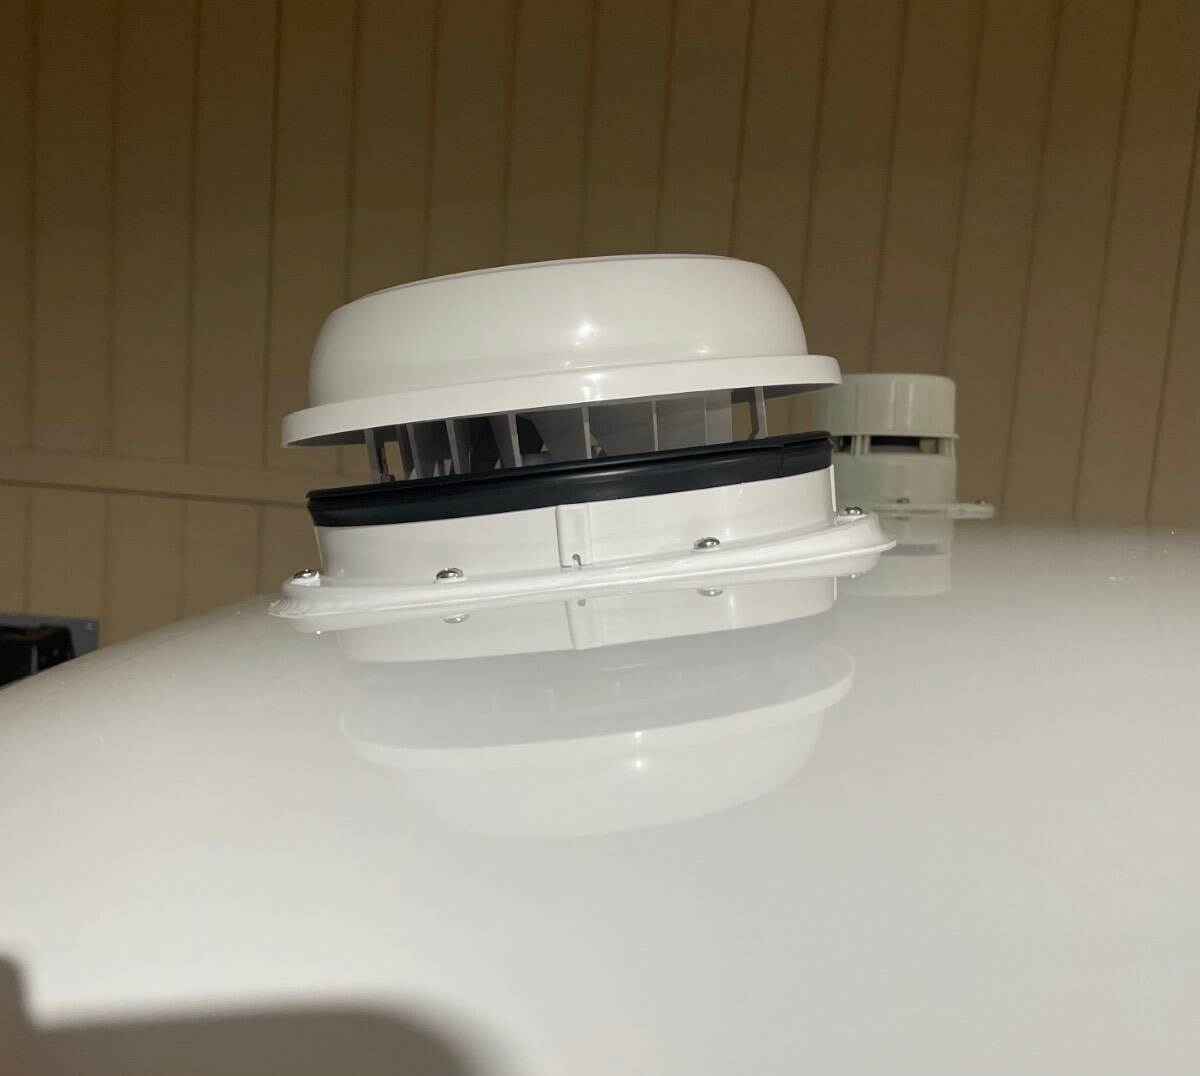
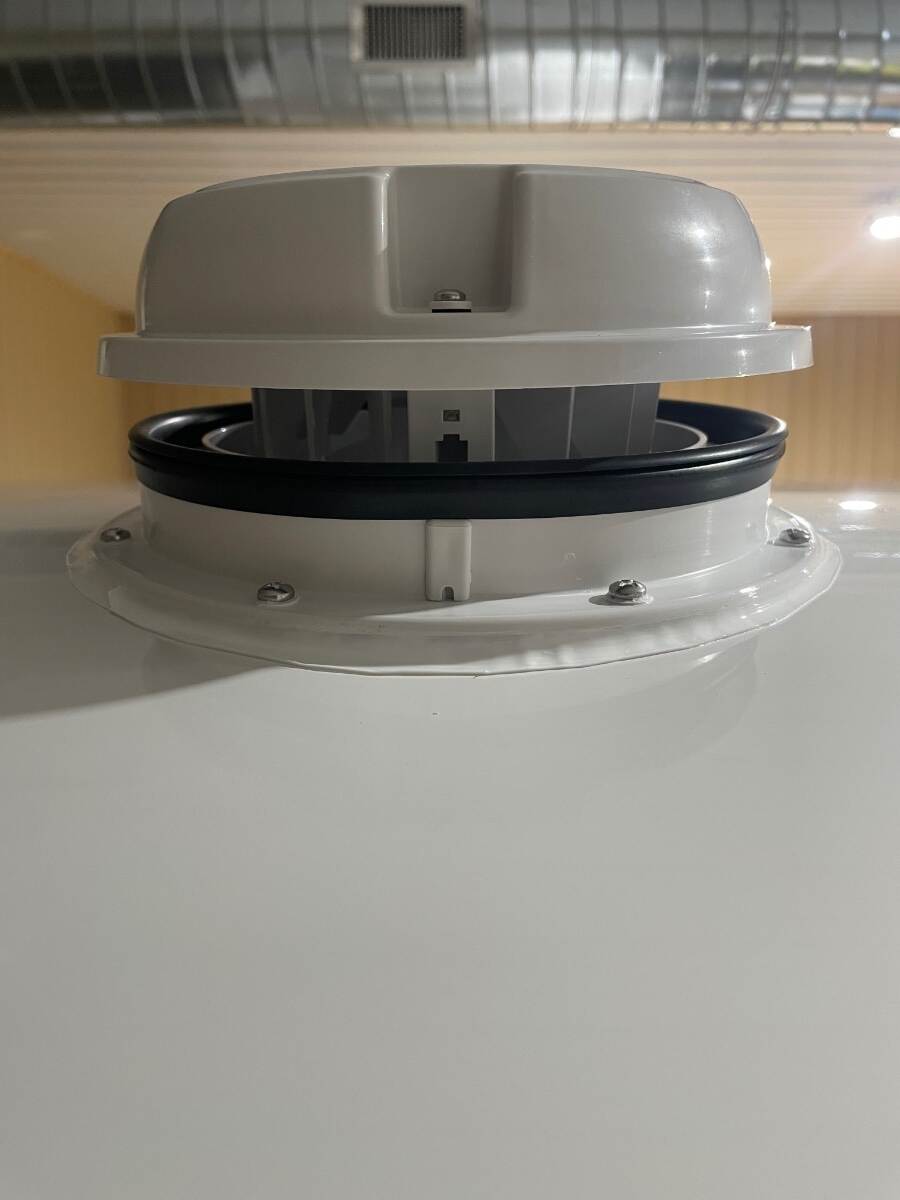
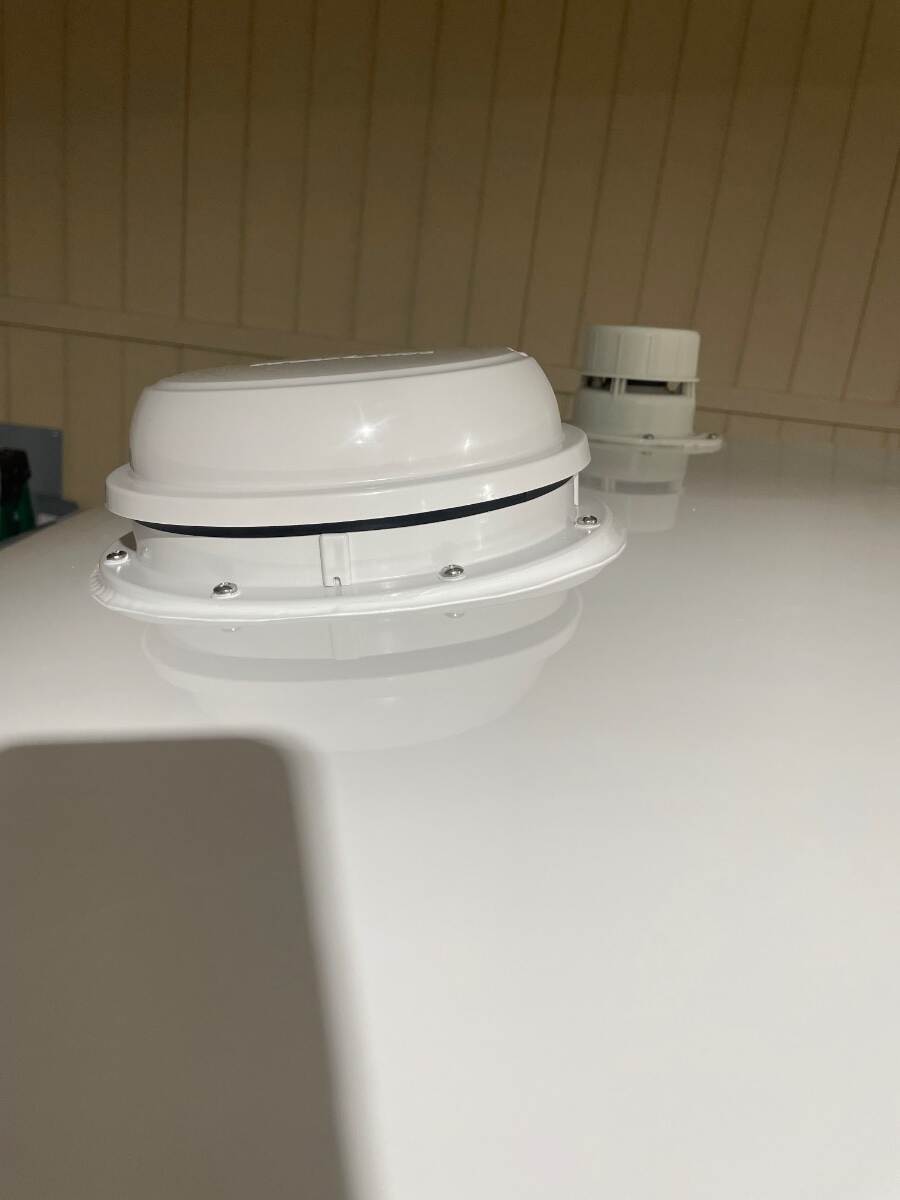
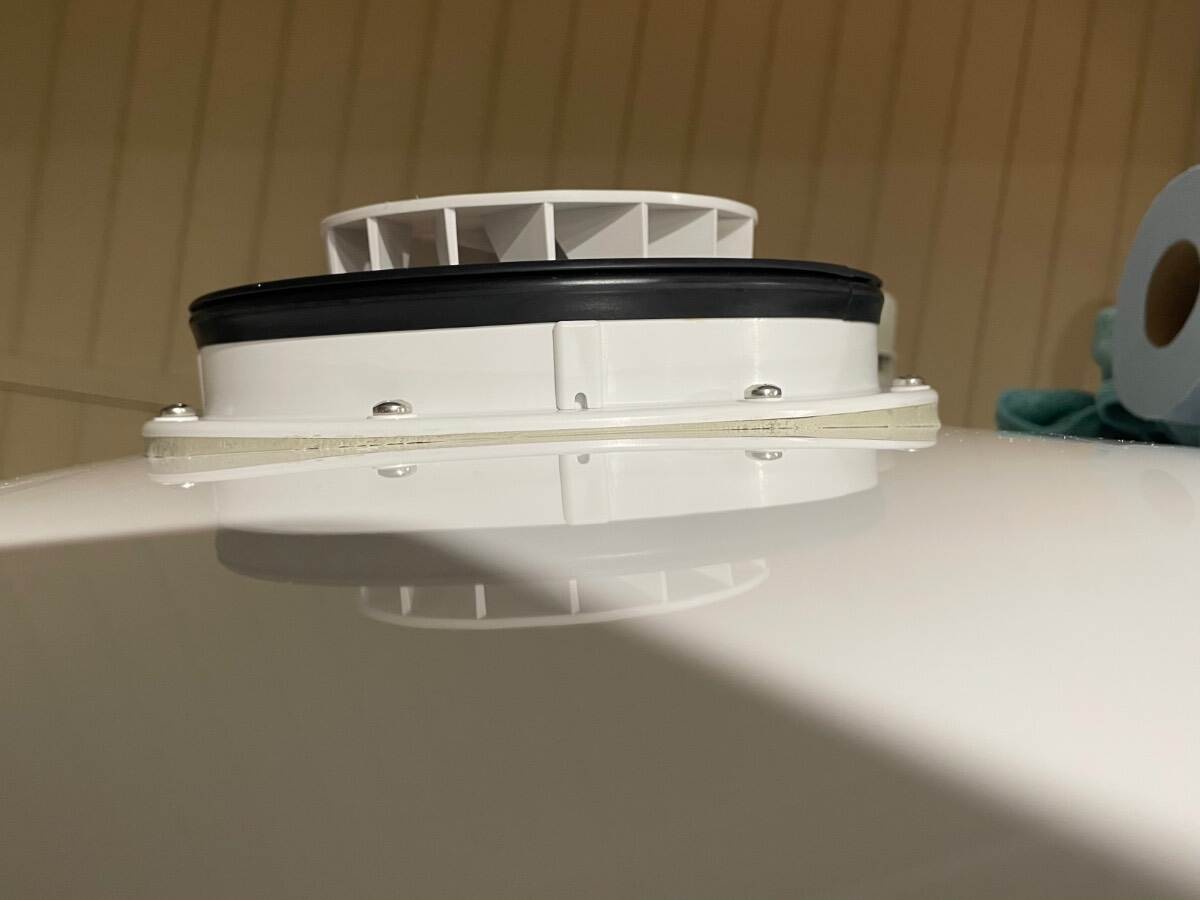
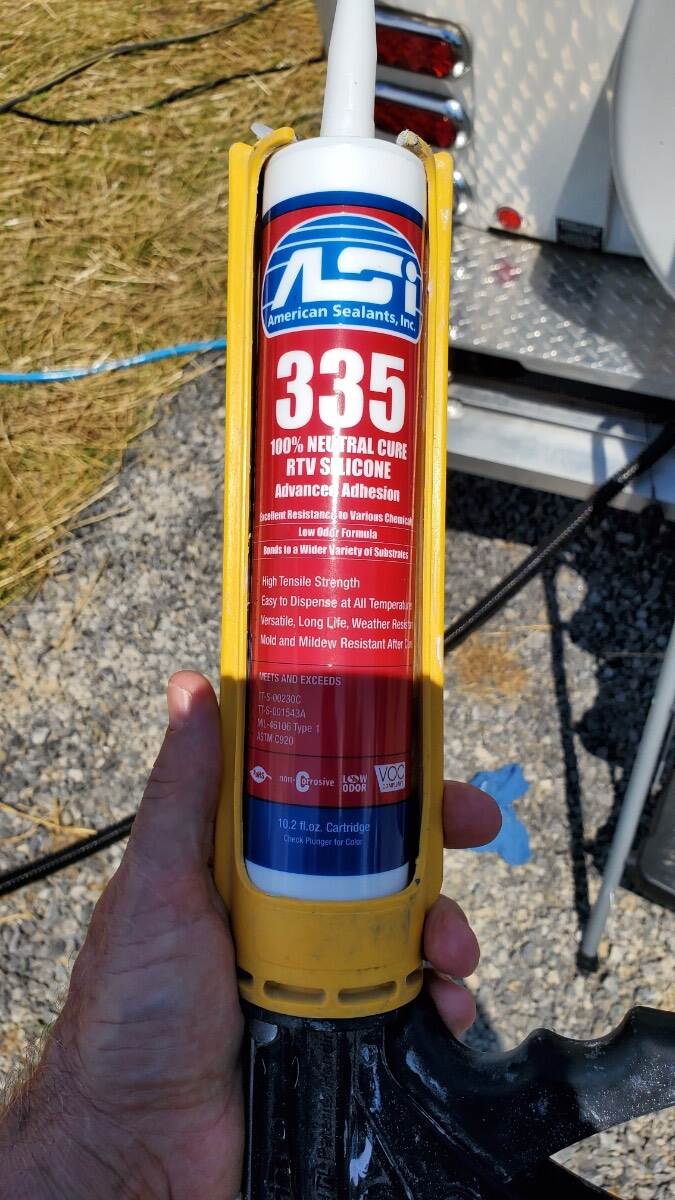
With the inside work complete I went back to the roof area, trimmed the oozed butyl, wiped with isopropyl alcohol again, and taped the area to be caulked off leaving about a quarter inch gap from the edge of the flange in the front and rear and about an 1/8 inch gap on the sides where the caulk would be the shortest. I applied the caulk 3 times, wiping it off the first two times, reapplying the tape and recaulking each time because I didn’t like the way it looked. I finally left it alone because I decided that if I kept messing with it I would keep screwing it up and I was starting to get hungry and it was close to supper time. This picture shows the fan after the oozed butyl was trimmed back. It shows the built-up butyl in front of and behind the fan to keep the flange straight. This next picture is after the ASI 335 was applied. Notice that the black seal is straight, not bowed down at the front and rear due to having the flange pulled down to touch the roof. The black seal must remain straight so that the cover will seal properly when closed. I applied the ASI 335 to the screws but didn’t like the way they looked so I wiped it off. I had applied ASI 335 to the screw holes and the screws were twisted in through between 1 and 3 layers of butyl so I figured they were sealed well enough. The caulk job wasn’t perfect but it looks good from the ground. The ripples are from my hand shaking after going through the process 2 times before finally accepting that it wasn’t going to be perfect. I actually like the stepped edge of the caulk versus a feathered edge because I think the feathered edge of caulk doesn’t hold up well after repeated washing, drying, and waxing. We’ve pulled the trailer through wind and rain for 1350 miles and it has remained closed and hasn’t leaked. It is much quieter than the original Ventline fan. ASI 0240 https://meridianadhesives.com/products/asi-0240/ ASI 335 https://meridianadhesives.com/products/?product_search=335 It looks like ASI has two versions of the 335. The stuff I used looked like this Good luck on your installation. Bill
-
Adding a Matching Rear Porch Light and some Front Lighting
jd1923 replied to jd1923's topic in Ollie Modifications
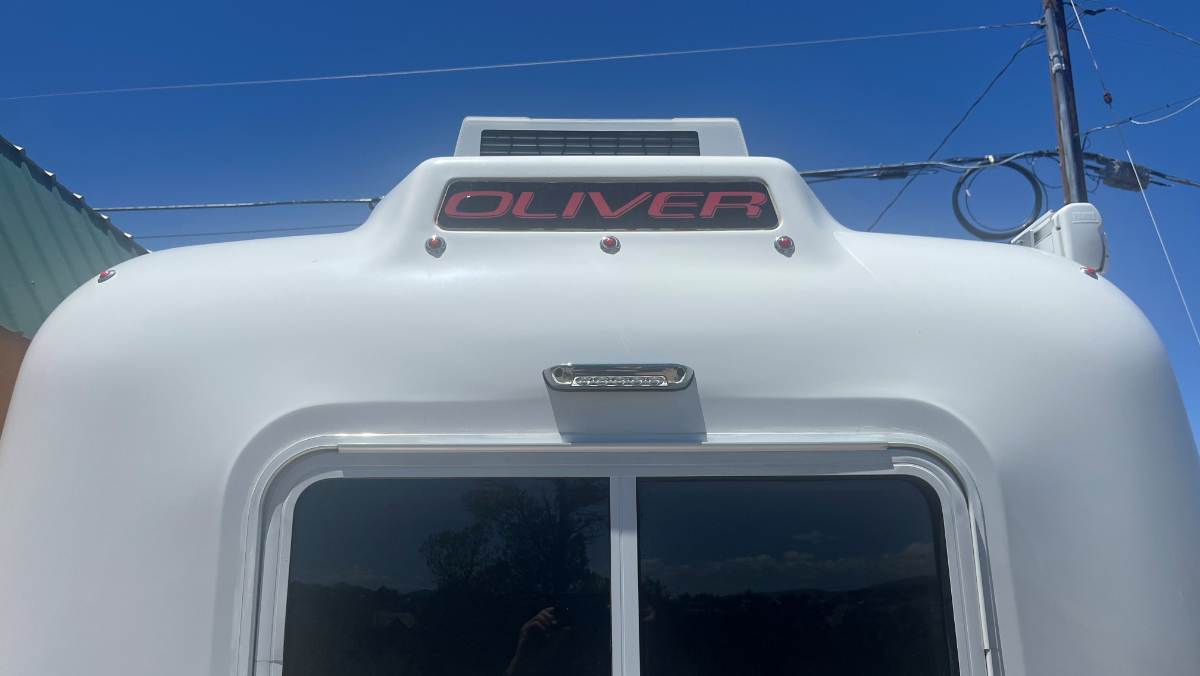
I realized I did not take a picture of the installed Rear Porch Light in the daylight so I did that today. I kept the black rubber seal that OTT was removing since they were causing streaks with age. The rubber looks to be good quality, not like the rubber surround on the Furrion 30A receptacles that really streaked badly. If it streaks later I'll simply remove it then, but at this time I didn't want to mess with sealant. If I do add a rear camera, it would be for security purposes while camping vs. having eyes when backing up. I would not mount it rooftop where OTT did, but surface mount something below the OLIVER taillight and above the new Rear Porch Light. We usually have the TV down and the rear window shade closed, so it's not easy to look to the rear. Either way, it will be nice to have light back there when needed. Got my front light done today. Pictures coming soon! 😎
-
Portable solar panel with legacy elite 2 platinum package
Steph and Dud B replied to Brian H.'s topic in General Discussion
We have only the stock panels (360W on our model year) and lithium batteries. We spend 3 weeks at a time at beach campsites with full sun and have no shortage of power. I suppose if we had portable panels we could run the A/C more, but probably not worth it in our use case. -
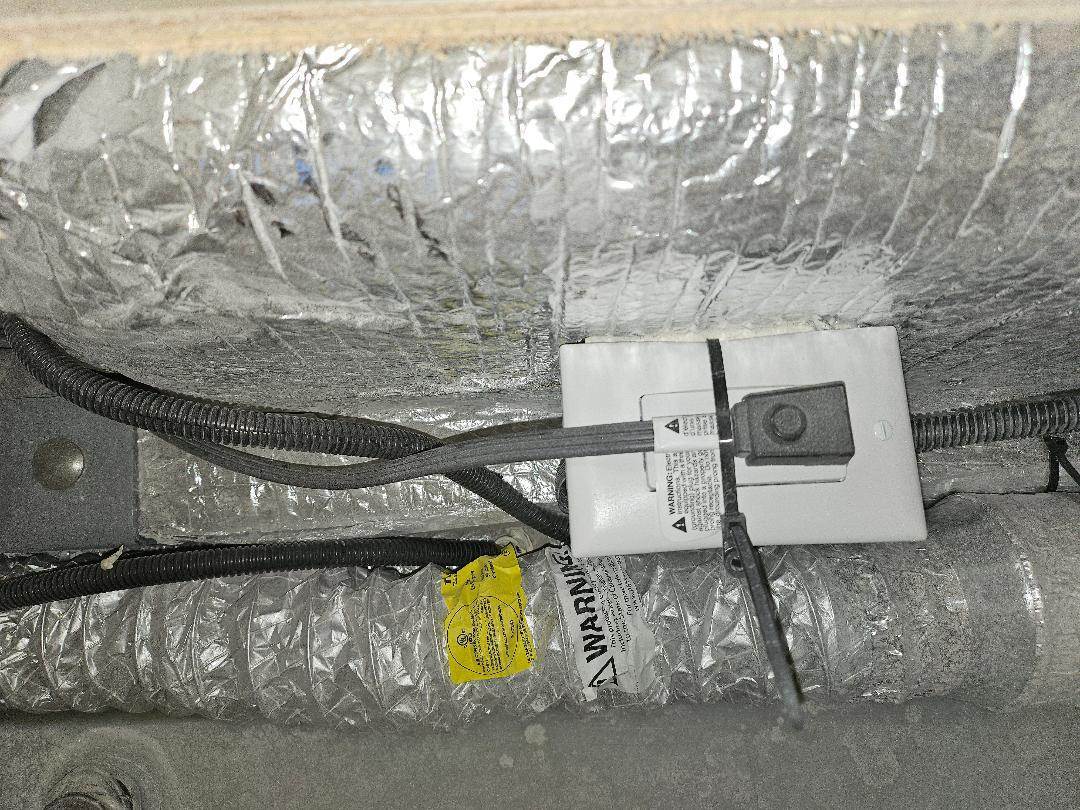
Plug under drawers under sink; what is it for?
Steph and Dud B replied to Gliddenwoods's topic in Mechanical & Technical Tips
Yep, that's for an AC powered fridge. -
I like what you did Bill, with the rubber and polypropylene spacers. For sure it's filing the angled slot that truly helps the friction and noise in the up down movement. You got yours smooth and straight! Noticing in your pics the step material is coming up in the corners which will soon break off with use. I did a similar job but also sanded down and ceramic coated the aluminum steps and added new 3M Safety Walk 4" Resistant Tape. Our steps still look very good almost 2 years later! 😎
- 1 reply
-
- 1
-

-
Portable solar panel with legacy elite 2 platinum package
jd1923 replied to Brian H.'s topic in General Discussion
Welcome Brian, looking forward to hearing more re your project(s)! Is it worth it? An extra 100W is a drop in the bucket, although aimed at the sun it is more efficient compared to each 100W on the roof. We added a Victron MPPT 30A SC and the 30-LB Renogy 400W suitcase. I've found almost 2 years later that we rarely use it and should have saved the upgrade $$$. Wish somebody told me this 2 years ago! We move around a bit. I now believe extra solar is for those who want to boondock in one place for a week or longer. And you have to chase the sun all day in moving panels. There is an Oliver owner who sells a machine that rotates the panel, but it's another thing to carry and it only holds one panel. The only guys I see running much solar are the ones that live in their campers, staying the 14-day limit on BLM lands. Since we move around a bit, sometimes just one overnight, most often we stay 3 nights and then "on the road again." In this use case the DC-2-DC charger is a much greater value. We can charge 200 Ah while towing a half day drive. 😎 Our 400W suitcase will not add 200Ah babysitting them all day on the sunniest of days! Here are my two related upgrade links: -

Portable solar panel with legacy elite 2 platinum package
Tom and Doreen replied to Brian H.'s topic in General Discussion
We have the "portable" solar panel that Oliver sells, which is essentially the same one that's on the roof but includes a controller. We found it too bulky and heavy to bring along camping so we use it during the winter to maintain the batteries when the camper is covered and not being used. It's good to have a light weight panel to supplement the roof-top panels when camping in shaded areas. -
Plug under drawers under sink; what is it for?
Steve Morris replied to Gliddenwoods's topic in Mechanical & Technical Tips
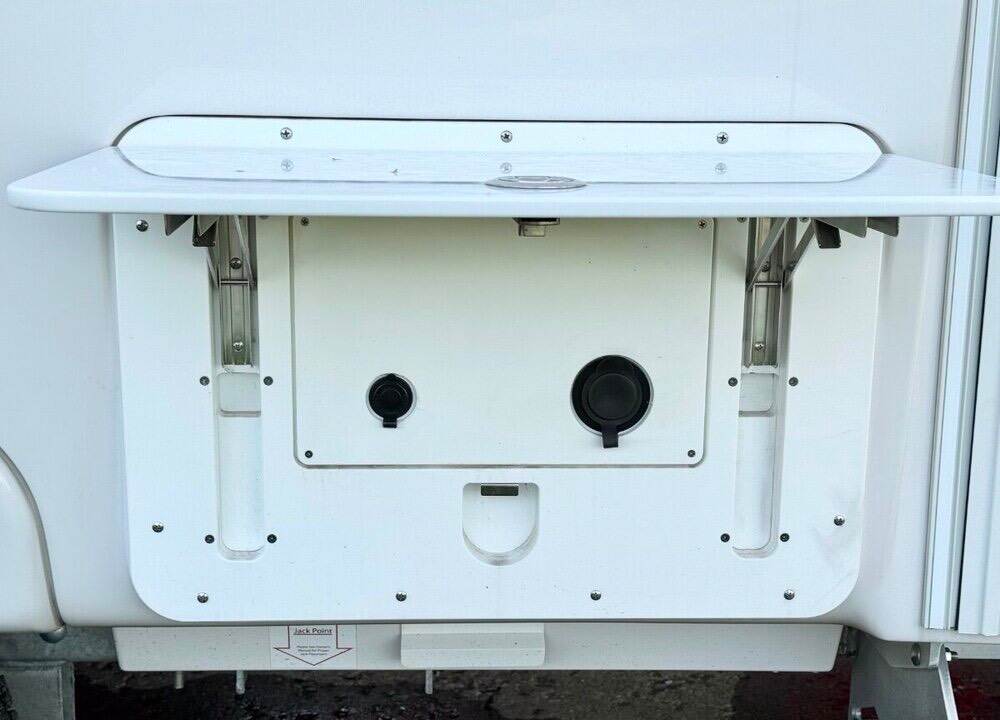
My 2023 has the same outlet, and I think Tom is correct in that it is for AC power to the fridge. I used that outlet with a 12 ga extension cord to supply power to my exterior AC outlet under the folding table. I tapped into the fridge's 12V DC power for the cigarette outlet.
-
Interesting, but not interested. Oliver is simple, well designed for the space available. It is not full of gadgetry. KISS (Keep It Simple Stupid). I think I'm showing my age. SkyDream is just the opposite. The only thing they have in Common is they are made out of Fiberglass. Probably half the places I camp the deck would useless due to thing being in the way. Also in the Pacific North West (PNW) I would worry about leaks. Although when I saw the newest walk through video on the new LEII, I had reservations over the awning with the solar panels on top. It is great having that much extra charging power. I don't think the longevity of these flexible panels would come near the useful life span of the solid mounted roof top panels. Replacing the awning I'm sure would be very expensive. I have trouble getting the regular awning clean and dry in the PNW due to the 7-8 months of rain. When I do have the opportunity to roll out awning and clean and let it dry completely the Oliver and Awning ends up blocking the whole driveway. So it has to be a planned project. I do pack a small Stihl blower and a ladder so I try to blow off the pine needle/leaves/twigs off of the top before finally rolling it up for travel.
-

Portable solar panel with legacy elite 2 platinum package
Brian H. replied to Brian H.'s topic in General Discussion
Great info! Thanks -

Portable solar panel with legacy elite 2 platinum package
Galway Girl replied to Brian H.'s topic in General Discussion
We use 200w Renogy panels when dry camping or boon docking for more than 3 days in one place. See our article. External Solar Kit Details - Hull 505 We've found that it's helpful when the trailer is shaded by tree's and we want to keep things topped off for longer stays. CS -
Morning, I know a lot (too much) has already been written on replacing the very very loud AC systems but I have just one simple(?) question. This relates to my very limited "extra" ceiling height room above my Oliver in my storage building. What are the two "best" low (no higher than existing Oliver installed) profile quiet AC to replace the current beast on my 2022 Oliver? Why? Thanks (FYI: From Wisconsin and we don't use AC here. However, just returned from the 100 degree SW and rethinking the topic.)
-
Plug under drawers under sink; what is it for?
Tom and Doreen replied to Gliddenwoods's topic in Mechanical & Technical Tips
I believe that it's used for a certain model of refrigerator that used 110VAC. My '23 model has one as well. Oliver wanted to have an AC option available if they decided to change refrigerator types / brands. The end of the cord in my trailer feeds up to the back of the refrigerator but it isn't connected to anything (since I have a 12V refrigerator). It's basically an extension cord. -
 Morning When repairing/upgrading drawer slide/latch and basement access cover system I noticed the plug in the attached photo. I know several of the informed minds on the Forum can/will be able to simply answer my question in seconds. What is this electrical line's function and why the use of a plug in the basement? Thanks.