Leaderboard


Popular Content
Showing content with the highest reputation on 12/02/2016 in all areas
-
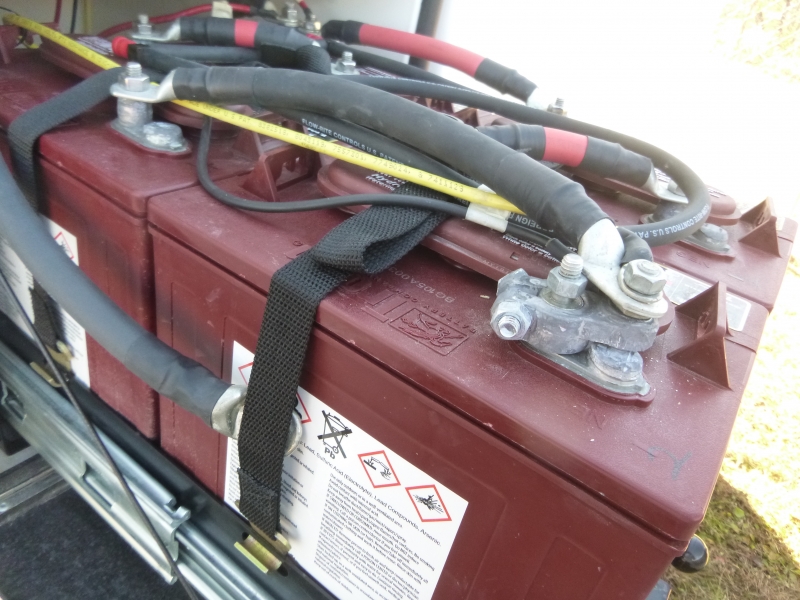
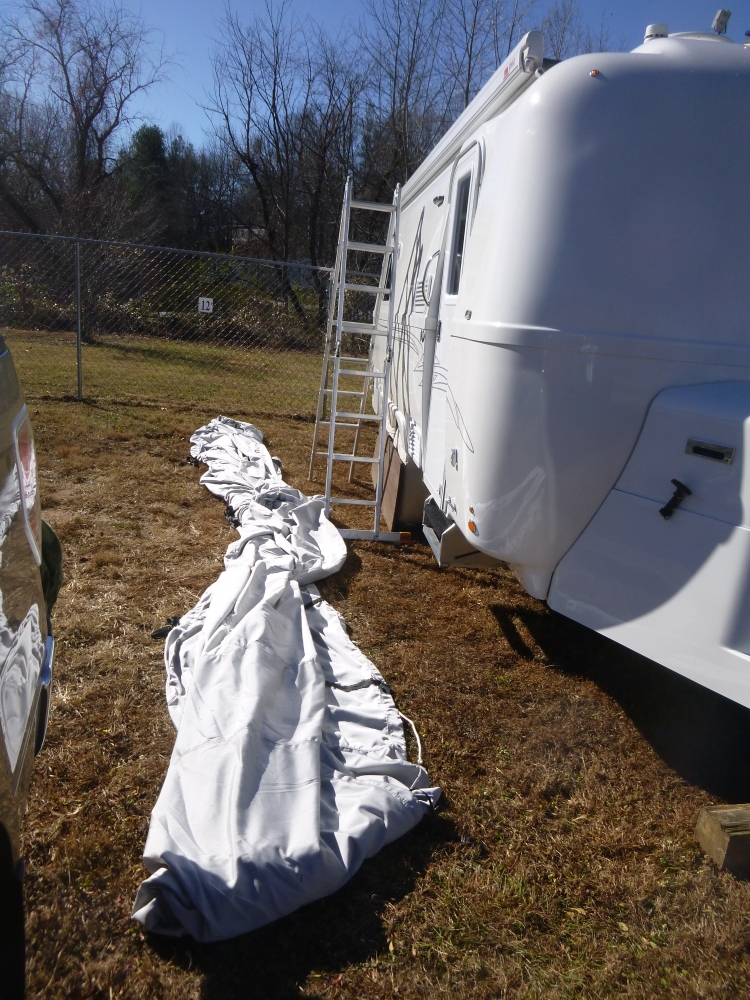
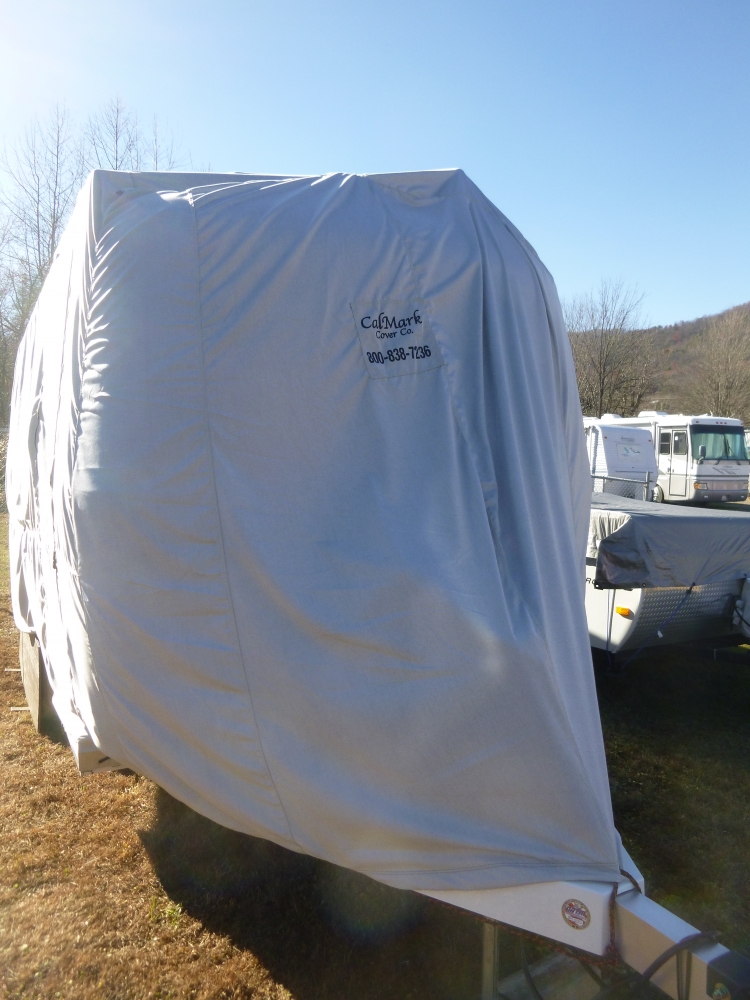
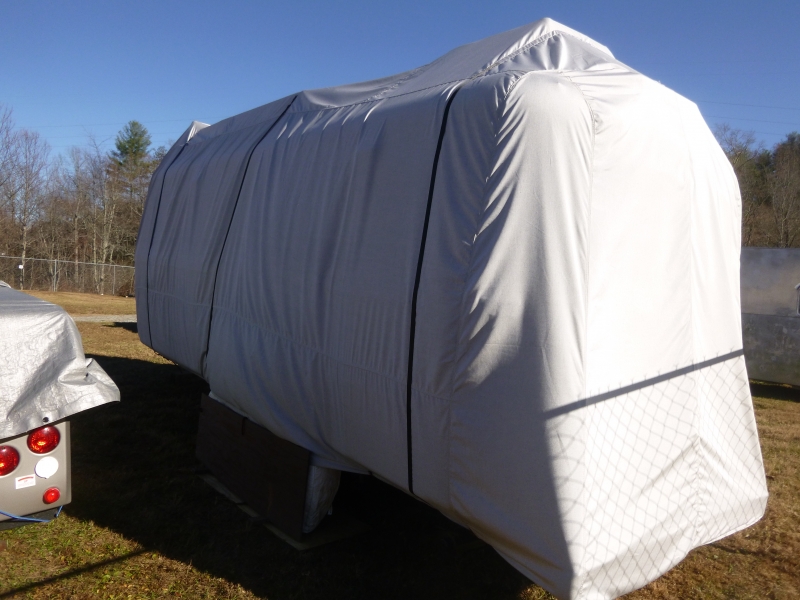
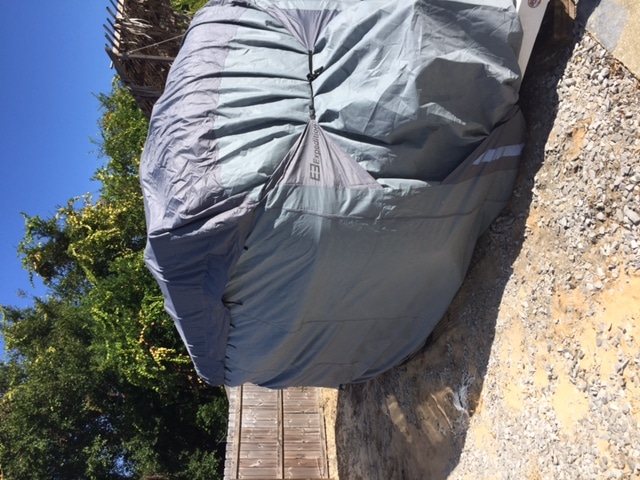
I received my CalMark cover four days ago. In addition to the cover they also sent several "patches" and a tube of E6000 glue. These patches are to be used to repair any areas that might get worn and/or to be placed in areas that might be subject to extra wear. With time growing short - it is the 2nd of December - and the forecast for a high temperature in the high 50's with abundant sun and little wind, I decided that today was the day to really put Twist to bed for a couple of months. Once I wiped down the entire camper to remove as much dirt as possible (automotive detailer is great for this) and to get the morning dew off, I wanted to fabricate a PVC sleeve to fit over the WiFi Ranger antenna. Since I could not take this antenna off or lower it or even remove the unit entirely, protecting it and protecting the cover was the only choice. I used a 2" piece of PVC with a cap on the end. In addition, prior to putting the sleeve in place, I covered the antenna stalk with a piece of pipe insulation which should help keep the sleeve from moving. In putting the sleeve over the antenna I cut a piece out of the sleeve at the bottom that measured approximately 1 1/4" wide and 1 3/4" long. This allowed the sleeve to fit down over the bracket that holds the antenna to the WiFi Ranger main unit without actually touching the roof. Given the downward pressure caused by the cover and the friction fit on the WiFi Ranger antenna bracket, I don't think that this will move at all under the cover. I then took two six foot pieces of 3/4" pipe insulation and placed them on the edges of the solar panels. Adding shorter sections (about a foot long or so) from the corners of the panels toward the middle of the camper, the cover should be protected from those solar panel edges - next year I plan to use "pool noodles" but I could not find any for sale when I stated looking for them in October. I placed 18" pieces of this same pipe insulation on the corners of the bumper - again to protect the cover from wear. Finally, since the solar panels will be covered, I turned off the main switch (the big red job under the streetside access panel and tripped the two circuit breakers located in the same area) and I disconnected the main negative battery cable. Since it rarely gets below 20 in this part of North Carolina (and even then it doesn't get there for long) and since I plan to either use the camper or charge the batteries no less than every other month, this should not cause undue harm to the four Trojan 105's. Taking the cover out of the box I found the front (a label with CalMark on it is the front) and laid it out next to Twist on the ground. Grabbing a hand full of the cover at about the middle of the camper, I climbed the eight foot ladder and lifted as much of the cover as possible onto the top of the camper. I then used a clamp to temporally hold it there while I did the same thing to both the front and back of the camper. As a part of the cover, CalMark sews on three straps that eventually go completely around the camper. However, these same straps can be used to help pull the cover material over the top. There is a seam roughly placed at the "edge" of each side, so, you can use that as a guide to see that you are relatively evenly spaced. Obviously, given the various things on the roof, the cover does not simply "flow" on and over, but, with the small exception of the cover sleeve that I made for the WiFi antenna and getting enough material up and over the air conditioner it was not terribly difficult getting the cover on and positioned properly. The final step is snugging up the straps mentioned earlier, pulling the rope that is sewn into the hem to tighten the cover around the bottom of the camper and then placing rope through the eyelets that are sewn into the hem further securing the bottom and making the cover relatively tight all around. Questions? Bill
 1 point
 -
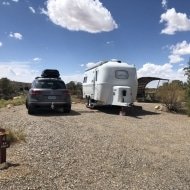
Wow, that last picture looks just like the site we had at Millford Lake at Junction City, KS. We attended a rally this past September, which was 70% Casida trailers with the rest being other fiberglass trailers. Had a good time, but would not trade my Oliver for any of the others we looked at. Stan1 point
-
Very nice camp grounds. Sounds like a good plan.1 point
-
During the past few years we enjoyed camping at ACE campgrounds, Dam West and Boulder facilities on Carlyle Lake IL. Will post next time we're camping in the area and hopefully meet y'all. :)1 point
-
I noticed in your picture that the solar panels appeared to be partially covered. I offer this information in case you were not aware of how your solar panels output electricity. You may well have known all this and taken it into consideration. Partial shading of even one cell on a 36-cell solar panel, will reduce its power output. Because all cells are connected in a series string, the weakest cell will bring the others down to its reduced power level. Therefore, whether 1/2 of one cell is shaded, or 1/2 a row of cells is shaded, the power decrease will be the same and proportional to the percentage of area shaded, in this case 50%. When a full cell is shaded, it can actually consume energy produced by the remainder of the cells, and trigger the solar panel to protect itself. The solar panel will route the power around that series string.1 point
-
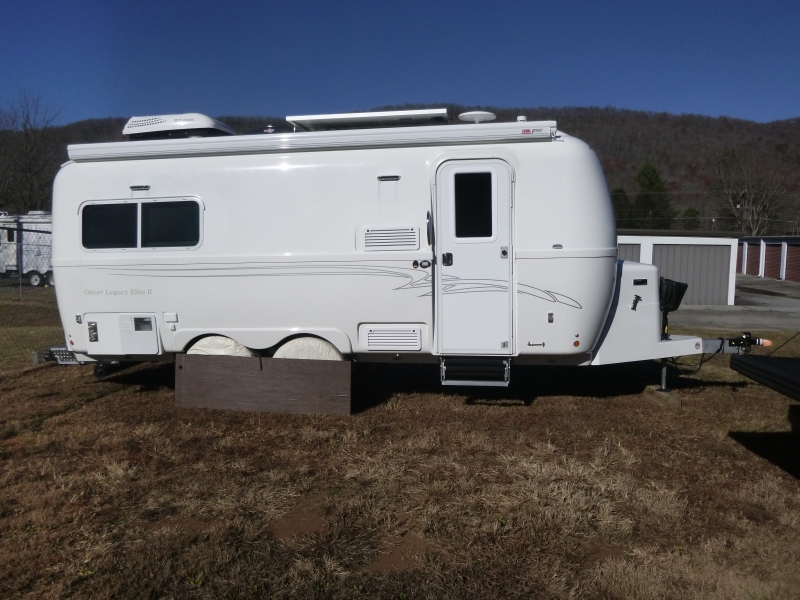
When I purchased our elite II in September, it came with an inexpensive Expedition RV cover, sized for 18-24' travel trailers. I've been wanting to get the trailer out of the Florida sun, and keep it from prying eyes and sticky fingers at the storage lot where it's kept, but did not want to cover the solar panels. I decided to cut a 3' x 3' hole in the top and give it a shot. Seems to be working OK so far.
1 point
-
I talked to Tommy Staggs at Oliver on Friday about winterization. I sent the following email to him after our conversation and asked him to respond. When I receive his response, I'll share the update. I'm pretty sure I'll add the step regarding the "cup/filter" for the water pump. Tommy, Thanks for taking the time to talk to me about winterization. I’ve prepared this short check-list. Let me know if I missed anything or got something wrong. Winterization: 9/14/2016 Conversation with Tommy Empty black and grey tanks Drain freshwater tank Remove anode from water heater to drain Release water pressure in water heater Bypass water heater (access from inside under bed—on bottom of water heater) Use air compressor set at 35 psi to blow air through fresh water fill, city water and the one in back of the trailer for at least 1 minute each. Do this with faucets open. Should expel all water Replace anode in water heater Reverse step to bypass water heater Pour small amount of RV antifreeze in kitchen/bathroom sinks and shower drain to protect the traps Pour a small amount of RV antifreeze in toilet to keep toilet thing lubricated. To use the trailer when ready in the spring, you don’t need to do anything because you don’t have antifreeze in anything other than the drains.1 point


-
Recent Achievements
-


")


