Leaderboard


Popular Content
Showing content with the highest reputation on 12/26/2018 in all areas
-
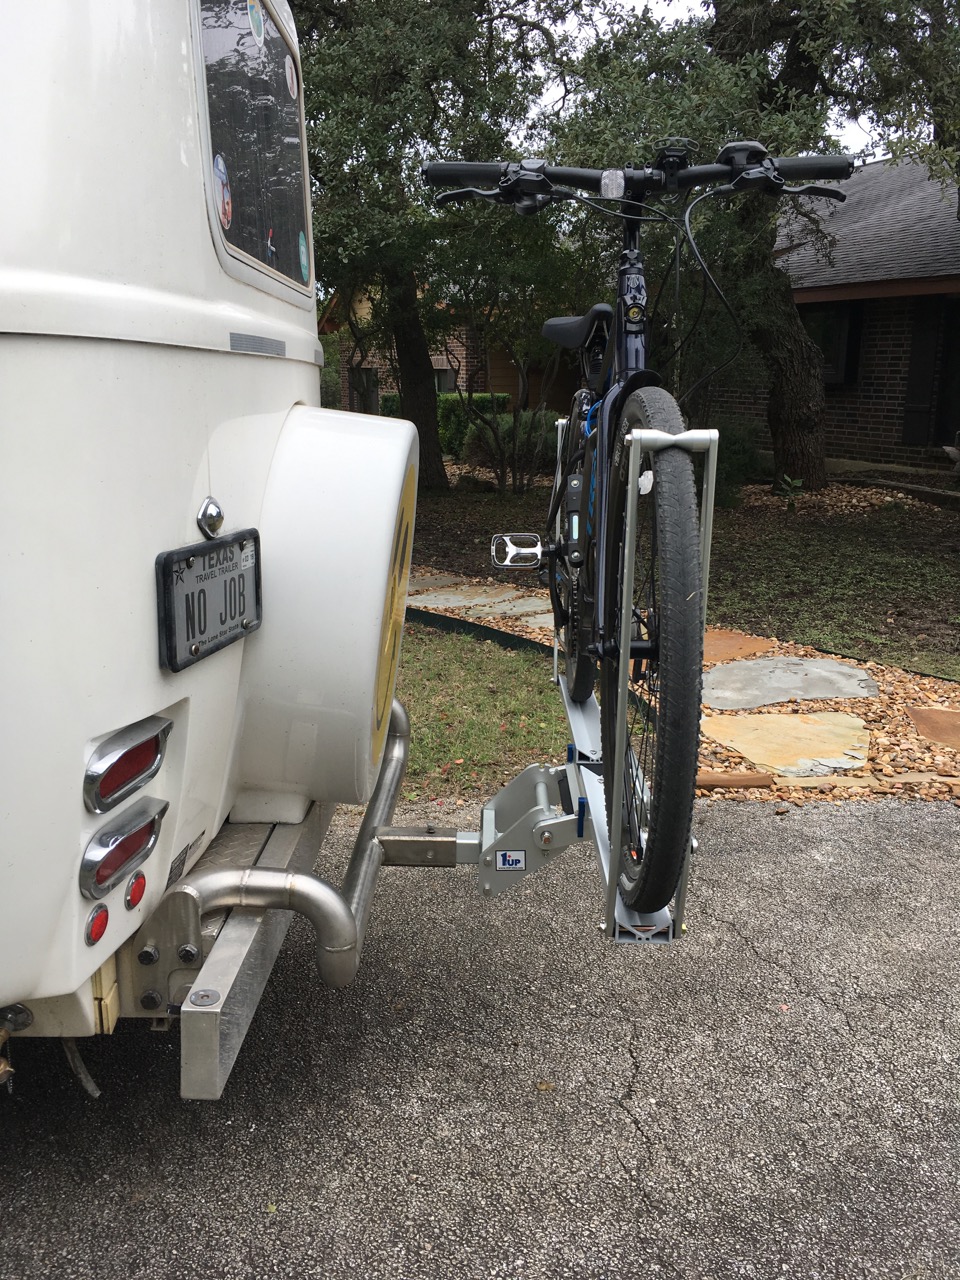
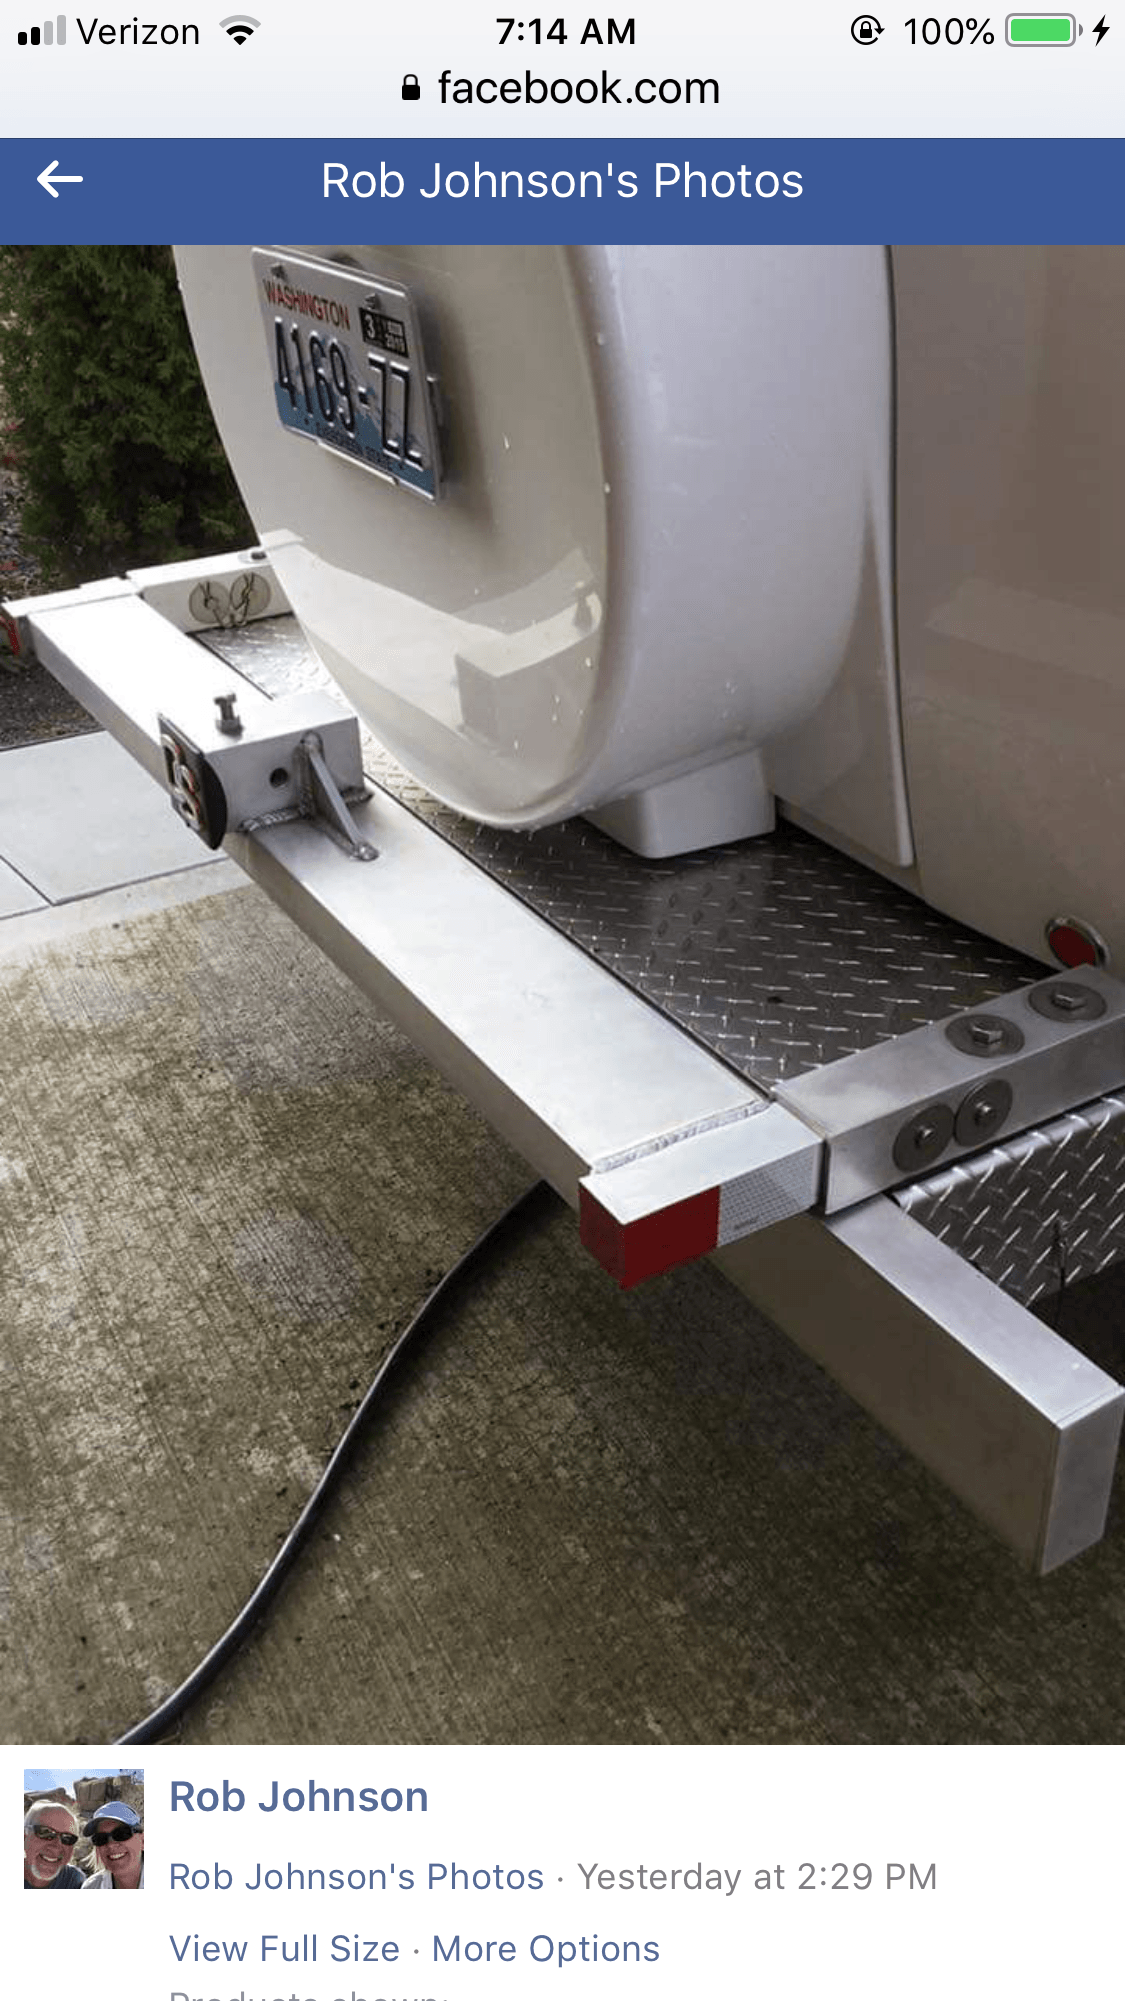
Hey John We were glad to see your post re building a bike rack. After a lot of thinking and looking, Kim and I have settled on having a bike rack built. We had originally thought that we would have Babcock Metals, LLC build a rack like Pete had made, but are moving towards a different style that apparently was first made by Oliver. After talking with Rob Babcock he also felt that the second design would be more fitting for an Oliver. We are in the process of getting measurements and design specs to Rob. For those of you that don't know, Babcock Metals, LLC built Pete's rack-Rob Babcock is based in Utah. He is very open to doing custom fabrications and does very good work. The measurement that you are looking for is one that we will need for our rack, and will secure in the next week or so. Once we have numbers we will post them. We have bought a Yakima Longhaul bicycle rack that uses a 2 inch. receiver hitch and can be used on both the RV and our truck. We plan on using the rack for carrying two gravel grinder bikes and a Serotta road bike. David Thompson
 2 points
 -
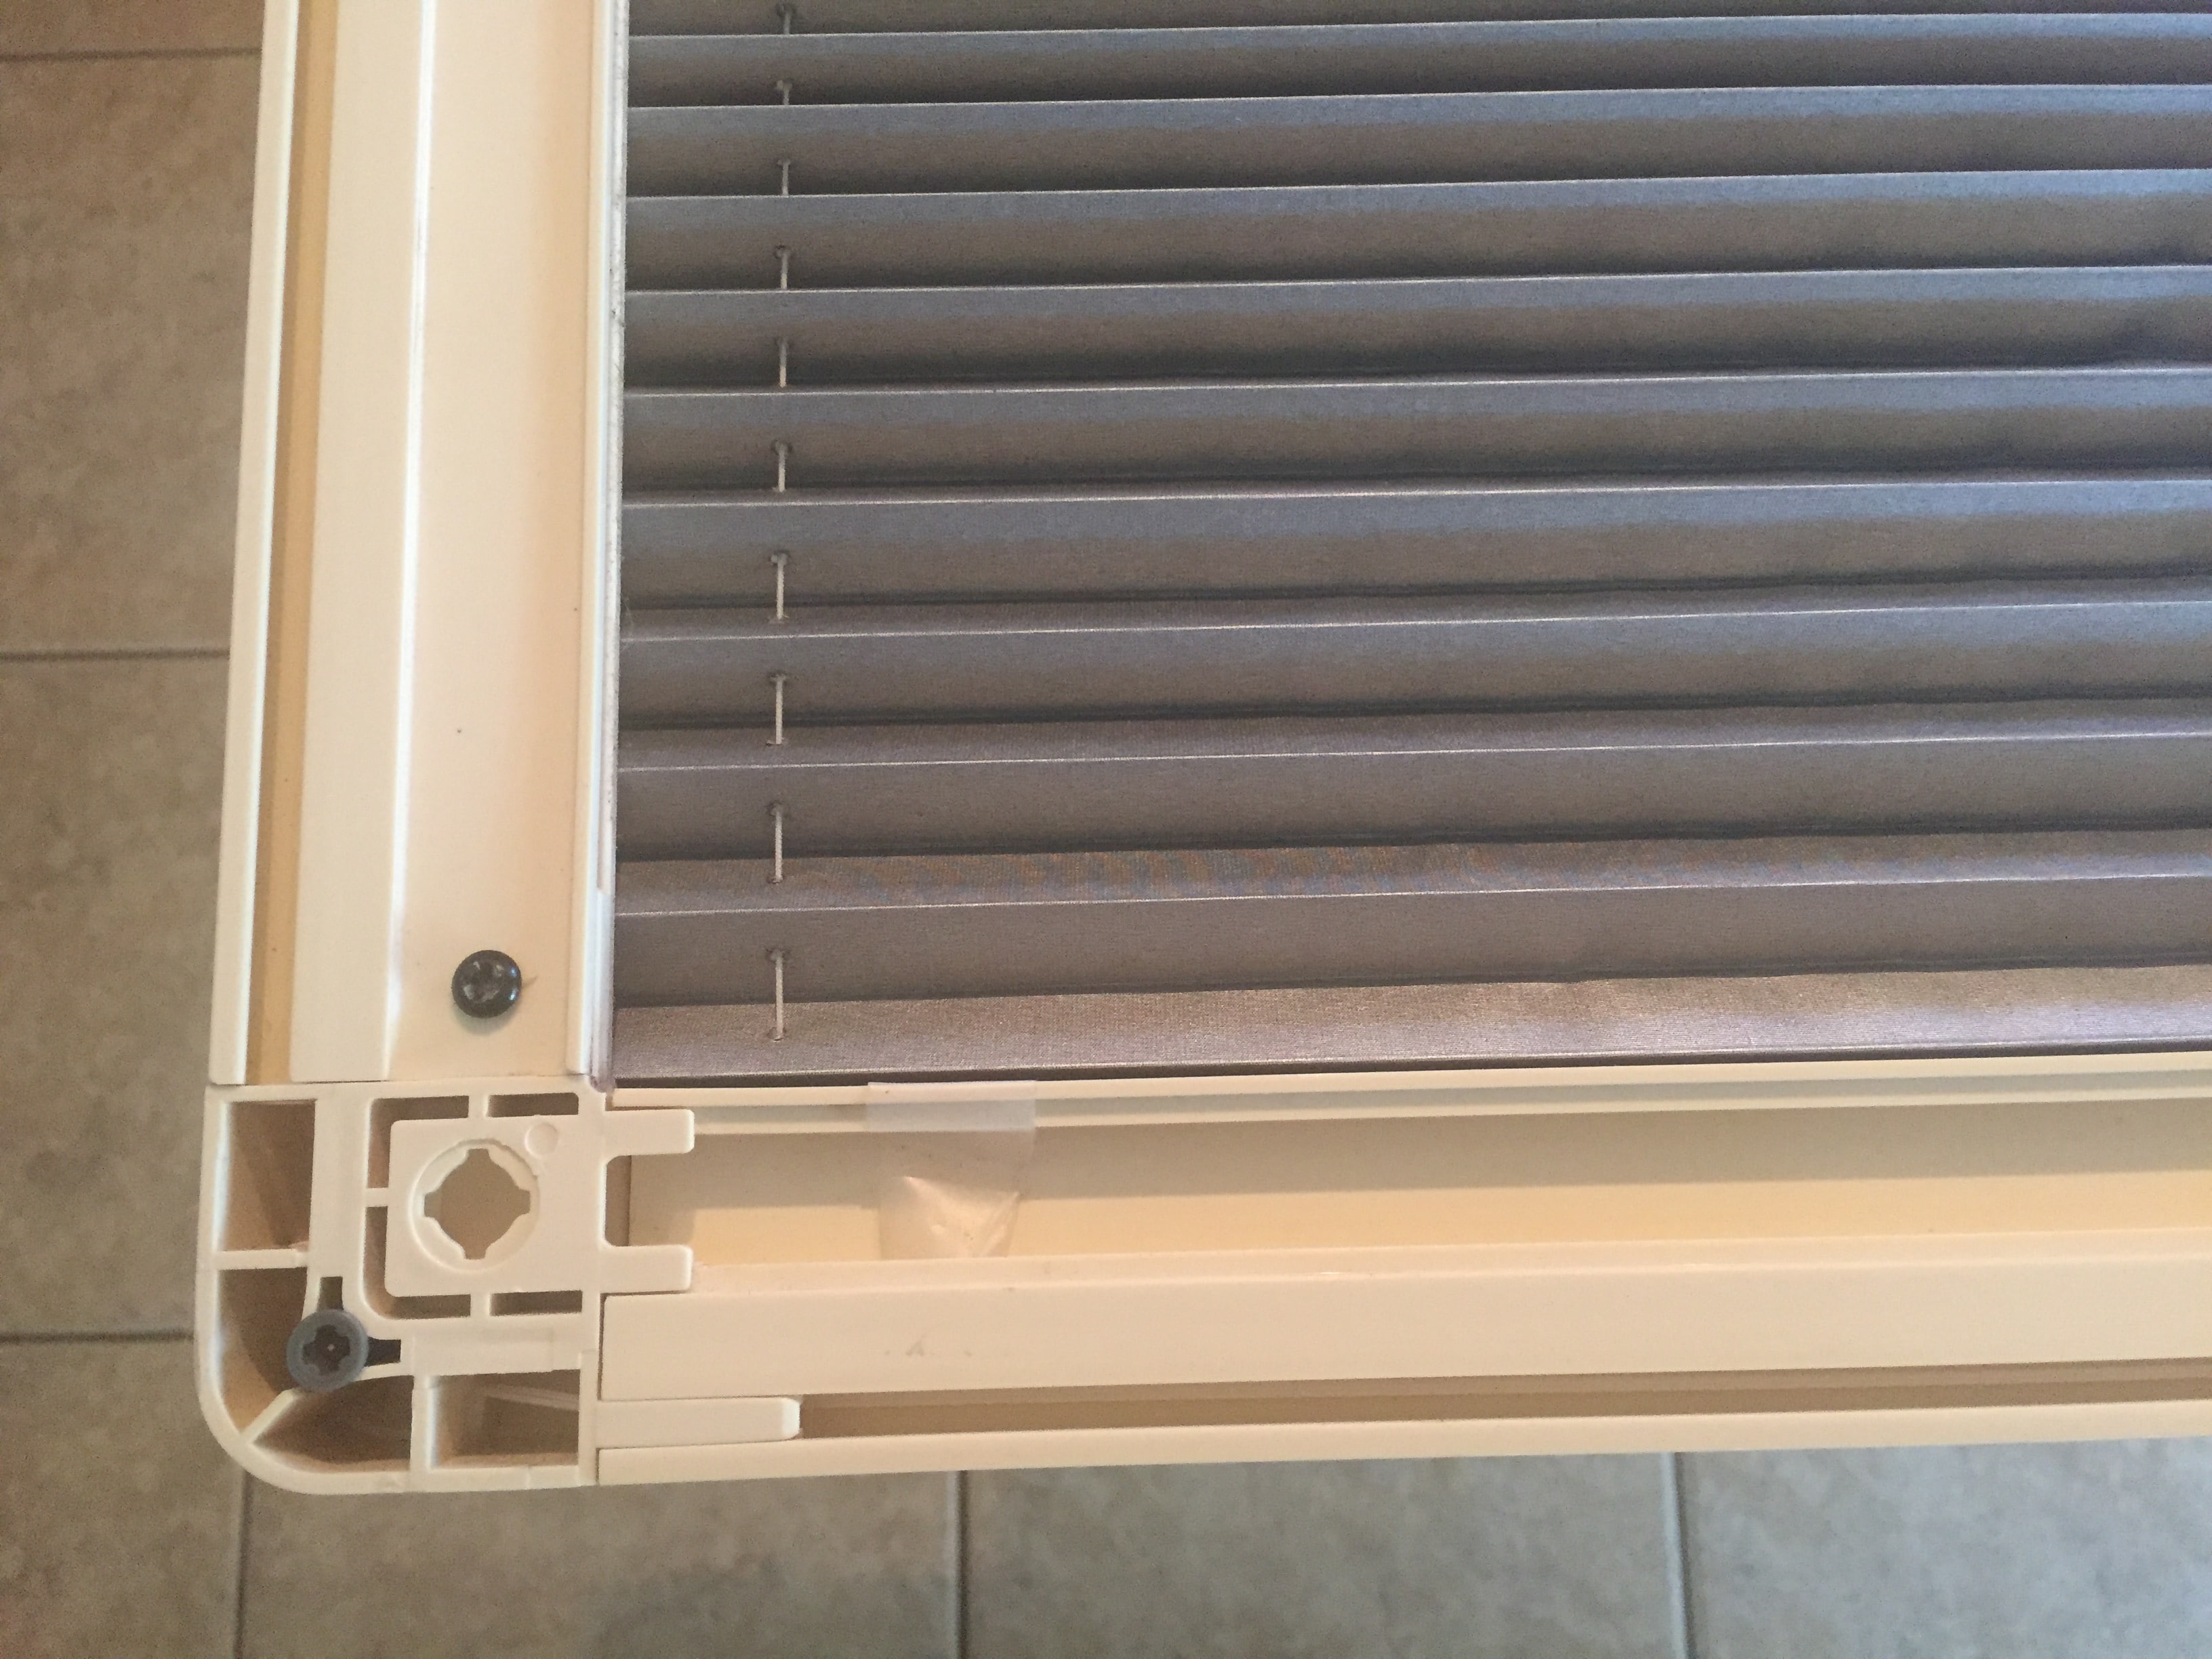
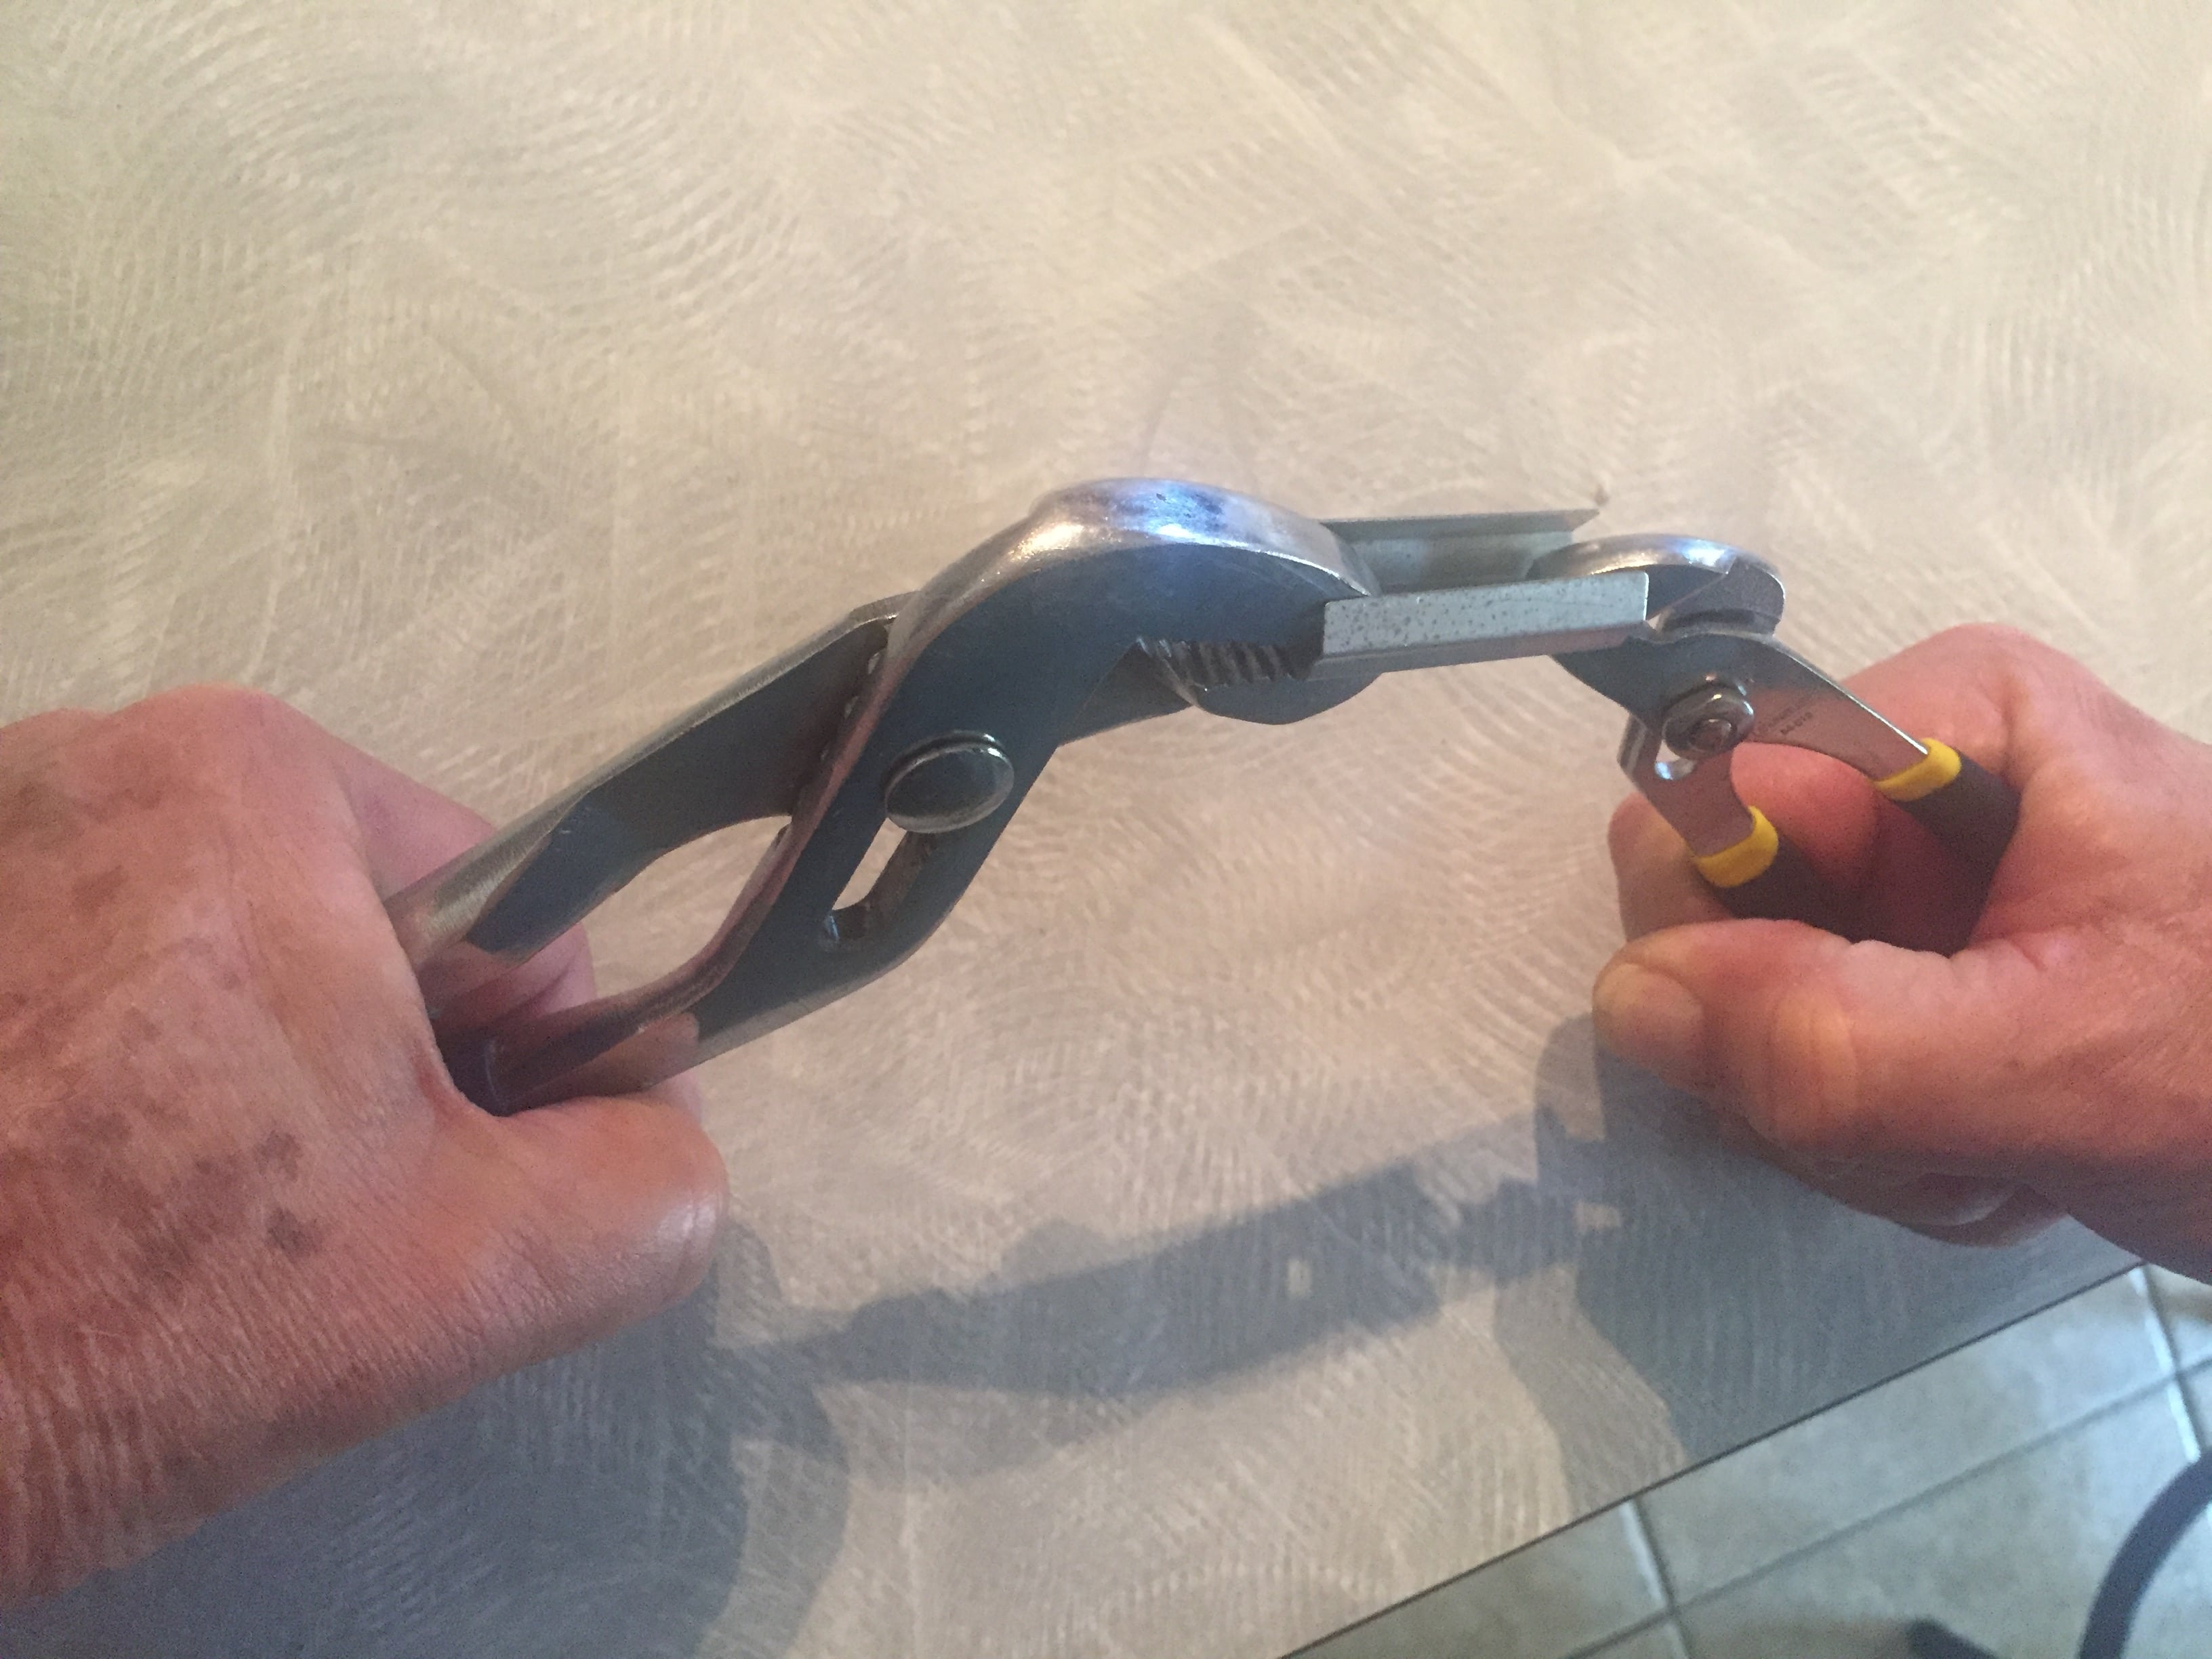
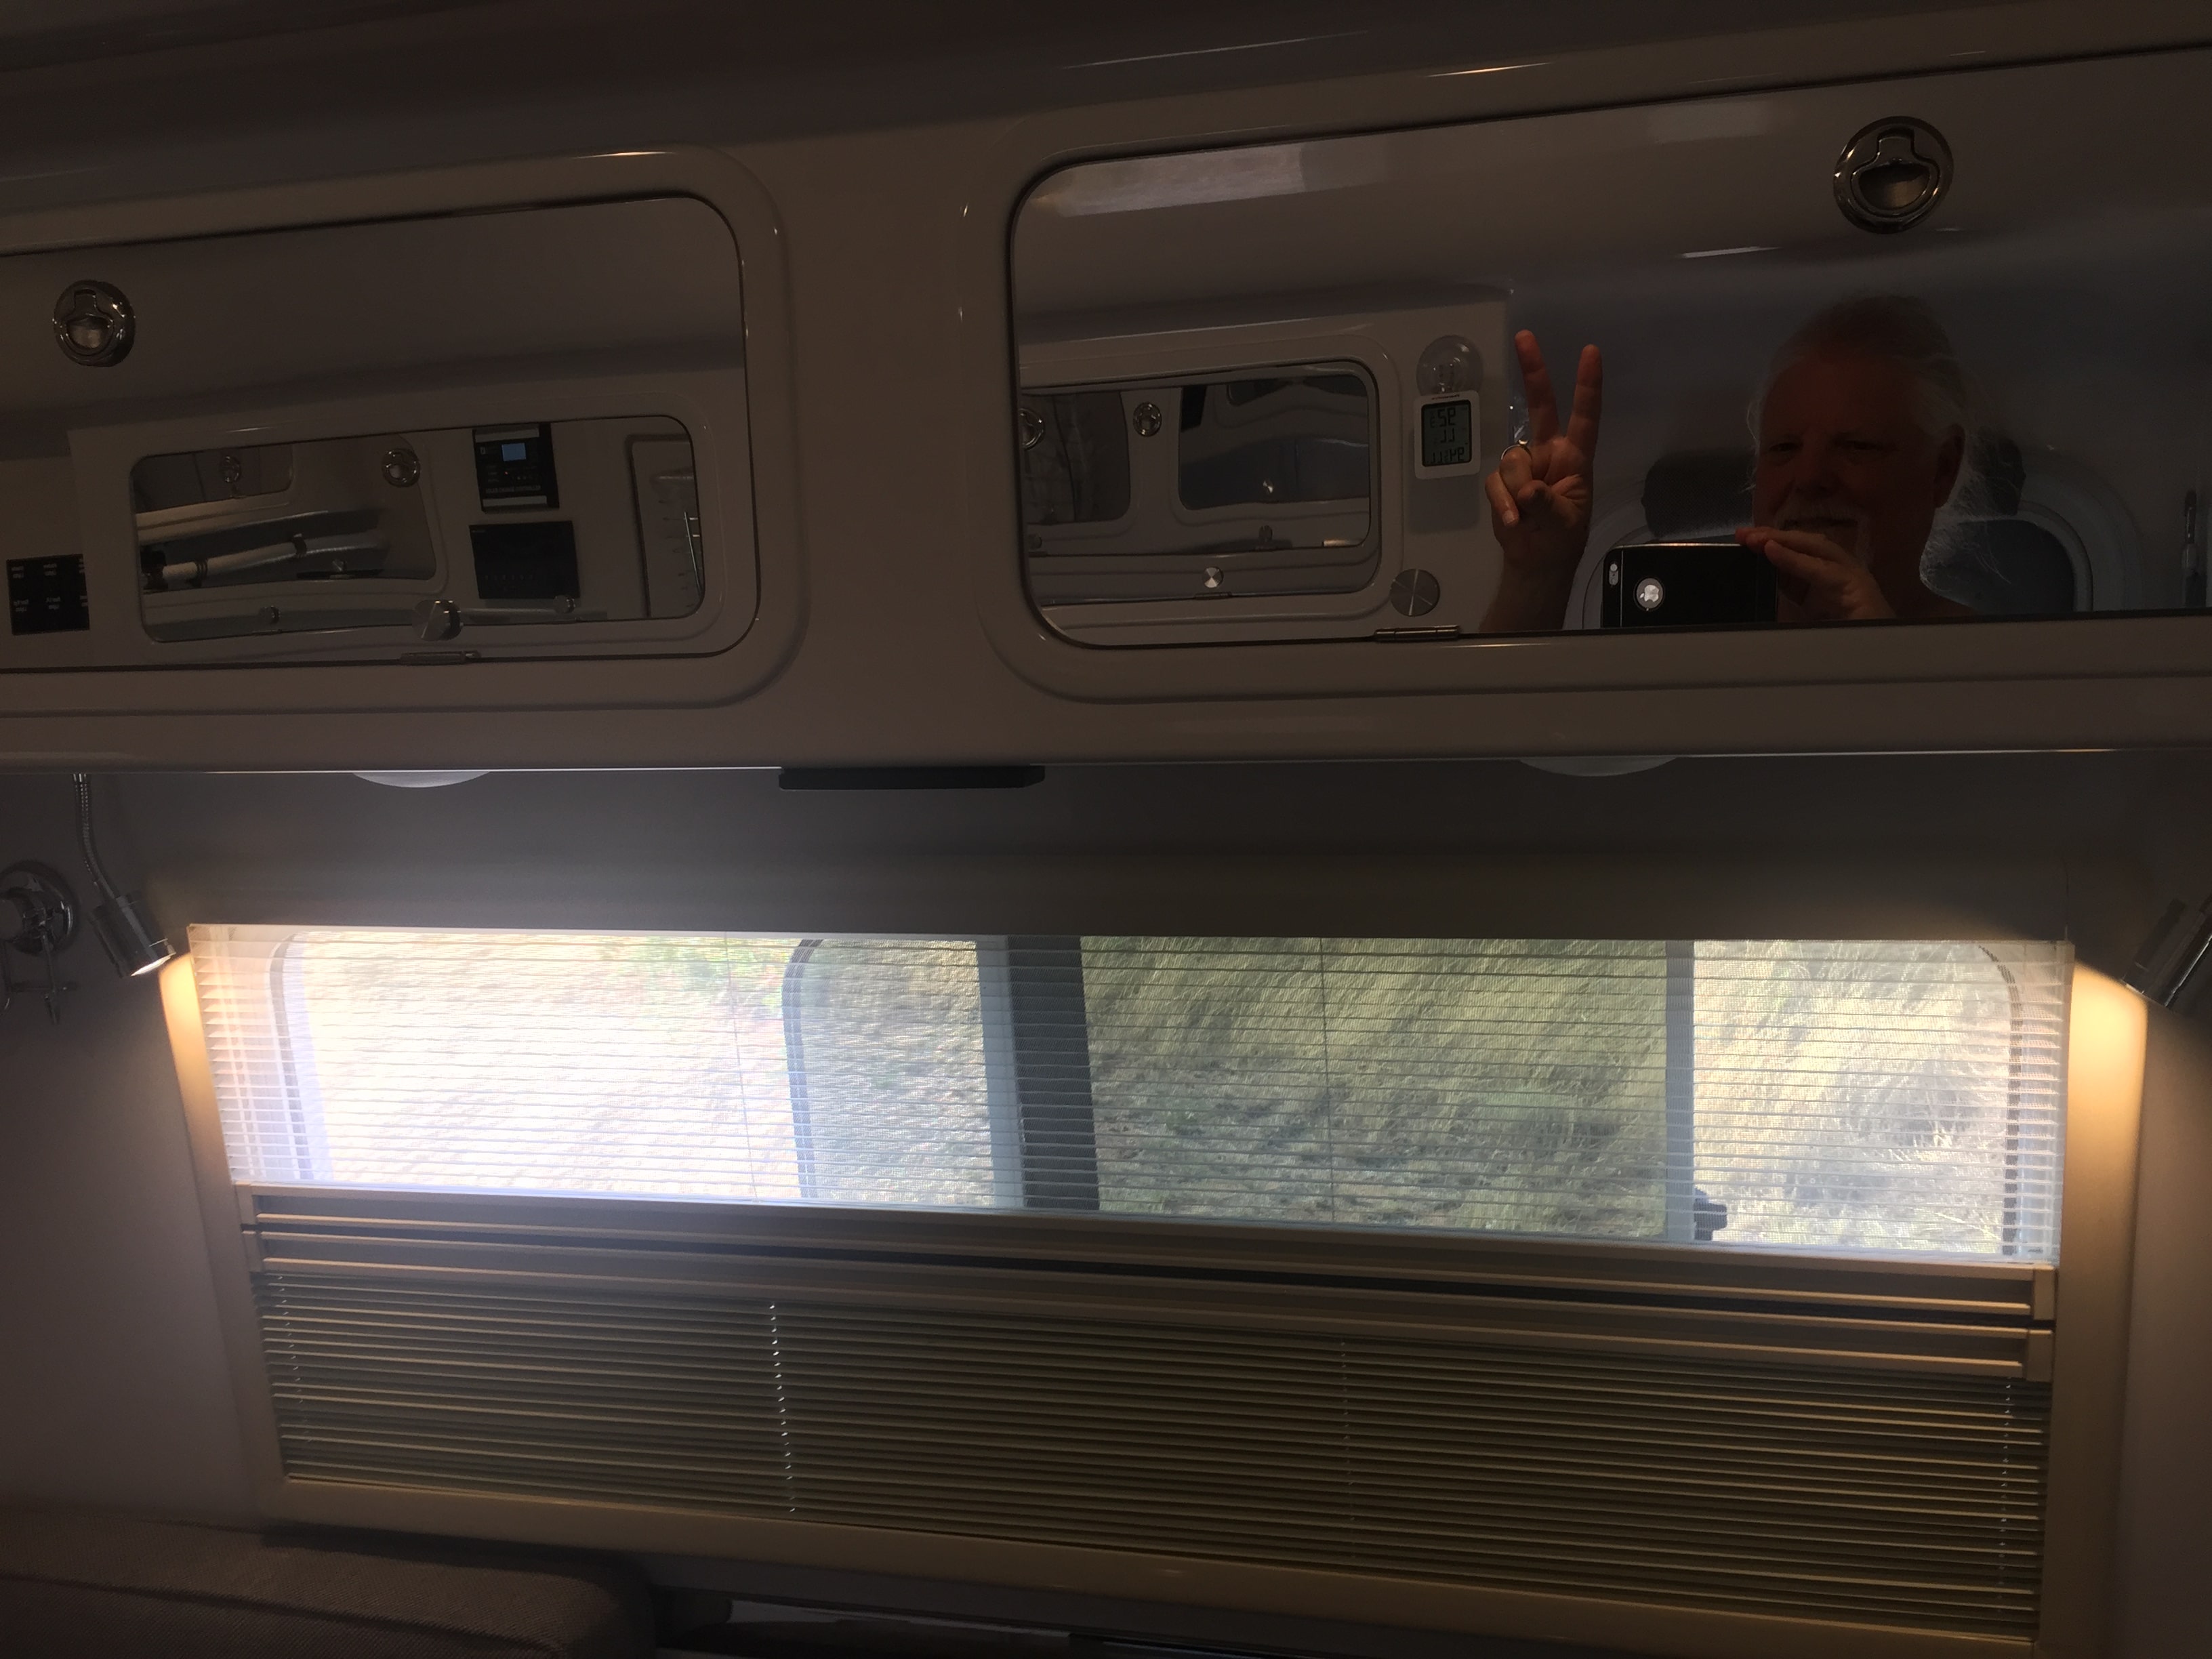
The issues: 1. We wanted to flip the shade frames to allow more privacy when needed. With the “night” shades on the bottom--instead of the top--one can raise them up so that one can still view the outside world without having to consider that someone outside, would get a nice view of one’s midsection as one walks about the cabin. 2. We wanted to increase the “grip” of the shades so that they would better stay in place. Sometimes our blinds would slide down after being pulled in place. Since we figured that the “night” blinds are heavier than the “day” blinds, we thought this extra grip was even more important if we were going to reverse them. 3. We wanted to better secure the shade frames to the interior wall. Our frames have frequently come loose from the clips that are meant to hold them in place, actually falling off a couple of times. We tackled the second issue first. Someone on this forum or one of the Oliver Facebook pages suggested retying the strings to the springs on the top and bottom of the frames to increase the tension. (If you pull the frames off of the clips holding them to the wall, you will see those springs and the strings.) This proved very frustrating. (I think you will agree if you attempt this task; you might also appreciate the nimbleness of the worker who accomplished the initial tie job.) I thought there must be another way to increase the tension. There seemed to be enough space on the corner of the frame to insert an object that would stretch the strings around the corner and thus increase the tension. I came up with placing those do-hickies that are used to secure screws in drywall on all four corners of the frame. This seemed to increase the tension just about the right amount. (One nice thing about those do-hickies is that they have little grooves into which the strings can sit.) Next, we tackled the third issue. After looking at the clips and how they fit into the groove in the frame, it seemed to me that spreading them out wider might make them hold better. So I unscrewed them from the wall and went at them with a couple of vise grips, pulling the sides of the clips out just a little bit. (The clips are surprisingly strong.) With a little effort, I was able to smack the frame back into place with the palm of my hand, upside down from the way they were originally placed at the Oliver factory. (One should be careful to make sure that the lips of the clips are centered in the groove before applying much pressure so as not to damage the plastic of the frames.) I hope the photos I upload here help portray the process. I have just completed this project on the window over the dinette. The frame is flipped, it seems more securely attached to the wall, and the “grip” of the “day” and “night” shades is stronger. I plan to do the other four frames soon. I apologize for my Cro-Magnon approach to the project. Unlike some folks on this forum, who are retired engineers, mechanics, and the like, I am a relatively unhandy retired academic and musician. But I thought that I would post this in case another Ollie owner wanted to tackle a similar project, perhaps having dealt with similar issues.
1 point
-
Merry Christmas. It's been a beautiful day in Florida.1 point
-
This is just a follow up to my original shady post. We were successful in flipping the blinds, strengthening the grip so they won't slip down so easily, and more firmly attaching them to the clips. (Please see above.) However, when widening the clips with vise grips, I cracked one of the brackets. I had, previous to tackling these tasks, sent an email to Auto-Motion, the manufacturers of the blinds. I received a phone call from one of their employees today, Vic. After I told him that I solved the problem with the blinds coming loose but had cracked one of the clips, he graciously told me that he would send a few more clips to me. He also said that I had rightly identified the problem: The clips were too narrow to firmly hold the shades. However, he gave me some information that might be helpful to other Oliver owners: He said that, if the screws holding the clips were driven in too tightly, the clips could narrow and not hold as snugly as needed. I'm not sure if this was an issue for our clips, but they WERE very firmly attached to the spacers with the screws. Anyway, I thought that I would pass this information along. I CAN say that widening them the way I did with the vise grips seemed to help: The shades seemed to need more force to pop them back into the grooves and, once in place, seemed to be more tightly affixed to the wall by the clips.1 point
-
Has anyone had trouble with your pleats not folding properly when opening the privacy section? While in storage, I've left them open hoping that the heat will help them "remember" what they're supposed to do. I'll find out tomorrow if it worked.1 point

-
Recent Achievements
-