Leaderboard


Popular Content
Showing content with the highest reputation on 03/08/2019 in Posts
-
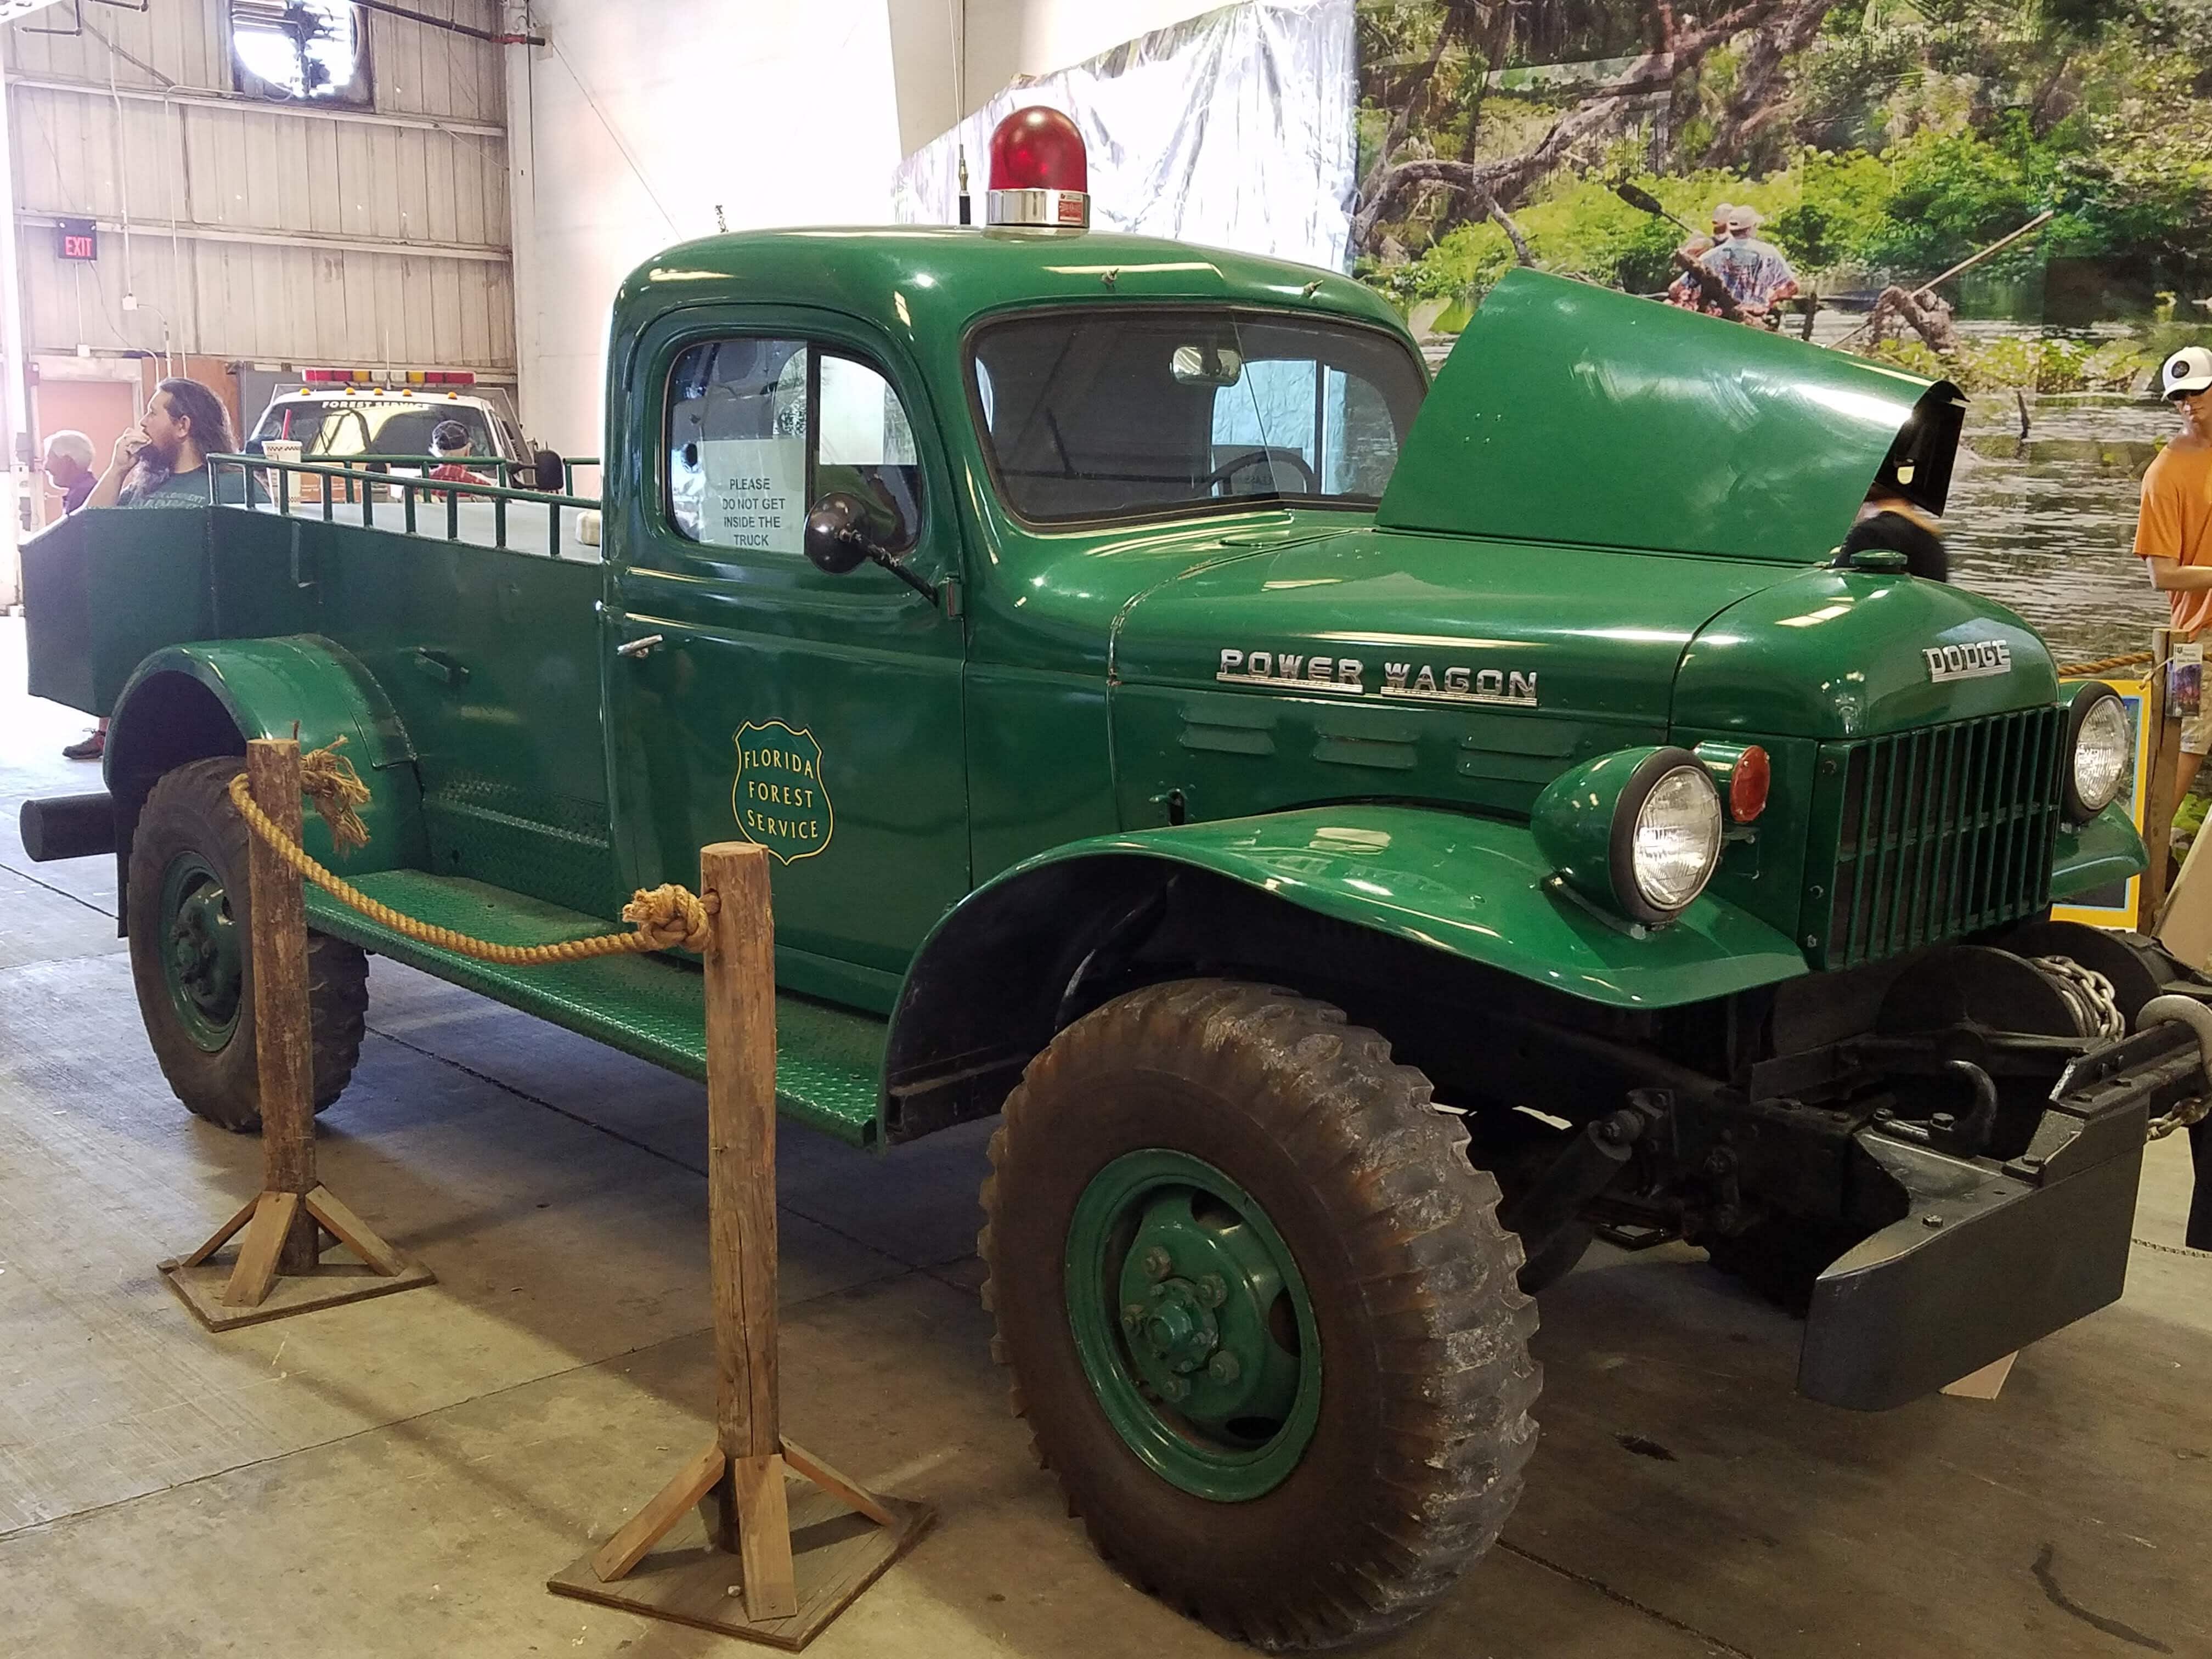
JD, Did you mention that Power Wagon again? I saw this one at the Florida State Fair recently and thought you would appreciate it.
 2 points
 -
Thought I would put this up here in case anyone else is having the same issue I had. Soon after leaving the factory, the plastic strip that lines the bottom edge of the tank cover started to come off. It was a very cheap piece of 'L' plastic kind of glued on here and there. Really, it was pretty ugly even when new. So I finally found this very nice 'U' channel on Amazon that fits perfectly. These trims come in a vast variety of sizes and colors. It appears to be a very high quality vinyl compound and has internal fins that grab the cover on both sides, so no gluing is involved. I just set it in the sun to warm up and gently tapped it on with a rubber mallet. Before doing this, I carefully scraped off all the old glue residue with MEK and a plastic razor blade, followed by a light scrub with a 3M WHITE scotch brite pad (love these for tough cleanup jobs on the trailer, no scratching) Then I filed all the edges to make sure there were no sharp edges or bumps in the fiberglass. Then a good wash. Here's the product: https://www.amazon.com/gp/product/B01F9FXQLU/ref=oh_aui_detailpage_o01_s00?ie=UTF8&psc=1 This looks so much better to me, and the fit is great, better than with the stock plastic trim. It's supposed to be marine grade, so hopefully it will last. My Elite took 5 feet to do. Those with the Elite 2 will need to measure, but the stuff is available in different lengths. It's all in the details! Dave
1 point
-
I recently have planned my trip from MA to TN to pick up my Ollie. I used Google maps to plot my course and was able to save all my stopping points. Here are the url's for our roadtrip. https://goo.gl/maps/LDh4B5Kwkbz https://goo.gl/maps/JF51kKZEzhn I initially put in my starting point and final destination and used the route on the map to zoom in and find places to stay based on the amount of travel time I was comfortable with per day. Maps does a great job of showing you what is around each place you plan to stop. It does not have a UI to specifically help with actually choosing where you would like to stay and which campgrounds to choose. However almost every place has reviews and you can do a lot of research within the Maps app. If you have Google Maps on your phone you can download the route and even set it to be available without internet access.1 point
-
Update - since we were one week beyond our one year warranty period Oliver was going to have to charge us for the replacement which I believe would have been the older version. I had also reached out to the customer service folks at the WiFi Ranger company and they were great - they agreed to provide the upgraded part under warranty and they held off on shipping until we returned home from our trip. Expecting delivery soon.1 point
-
I'll see if I can't get out there today and measure the width and depth for you, which is really all anyone would need. The width isn't so important, provided you have enough to bolt through without getting into the corner brackets. I think that the table comes with a template for drilling the holes - if not, you can use the table mount itself as a template. The depth also will have some variability since I'm sure not every bed overhang gets riveted in exactly the same spot. However, there's also come play in the end brackets since they can slide out if needed. It's only a question of everything looking flush. The base of the bed isn't 100% perpendicular anyway (very little on the tailer is), so you'll have a bit of a gap at the top. I honestly don't remember if I tried to account for that or not. The angle is slight and you'd have to crawl on the floor to see it, but there are definitely owners here (including me), who'd stress over that, lol. I know it looks kind of complicated, but really it's only four cuts on a miter saw and two holes.1 point
-
Thanks for the reply John!. I did order the utility tray but will not plan to really load it down (you never can really have too much storage :-) . I will probably just use it to carry my Honda 2000 Gen. Ironically the Turbo Diesel is supposed to have less towing capacity than the 3.6 Liter Gasser. https://www.roadandtrack.com/car-shows/los-angeles-auto-show/a25345880/jeep-gladiator-pickup-diesel-tow-rating/ The info about adjusting the Anderson hitch appreciated. This is all probably just academic rhetoric since I most likely would not be able to take possession of a New Gladiator before I head down to Oliver to get the new vessel. I will let you know how it goes. Dave1 point
-
I call those puddle lights, like the ones in some cars that illuminate the ground as you exit the door. They are exactly the same lights as those inside the cabin down low, and they are LED with two dinky wires coming out the back. If you have a dead one it most likely has failed internally and you just need to replace the assembly. OTH maybe a spliced connection has failed, you could remove the light and test the power wire with a voltmeter, and check the ground wire with an ohmmeter. Use a flat screwdriver to CAREFULLY pry the steel cover off the light, don’t damage the gelcoat. (Put some duct tape or a few layers of masking tape on the gelcoat if you want some protection.) Take out the two screws and the light and wires will slide out of the hole. Good luck.. John Davies Spokane WA1 point
-
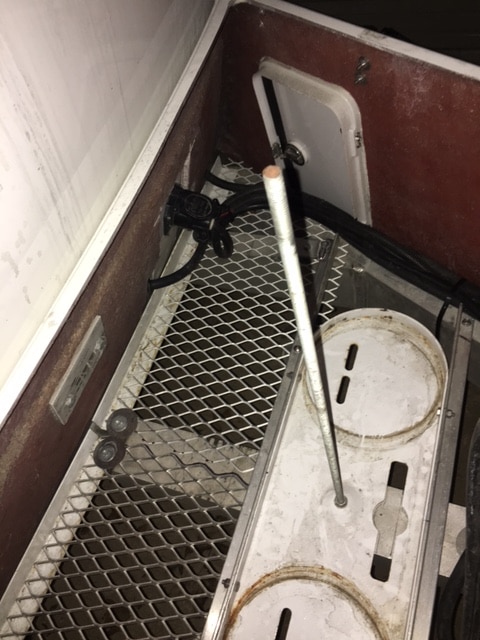
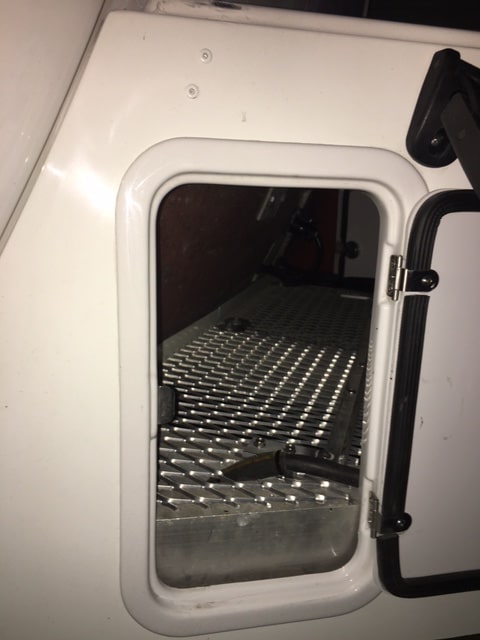
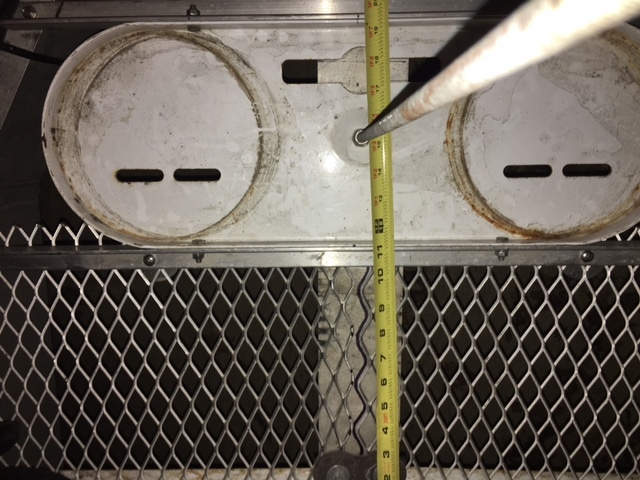
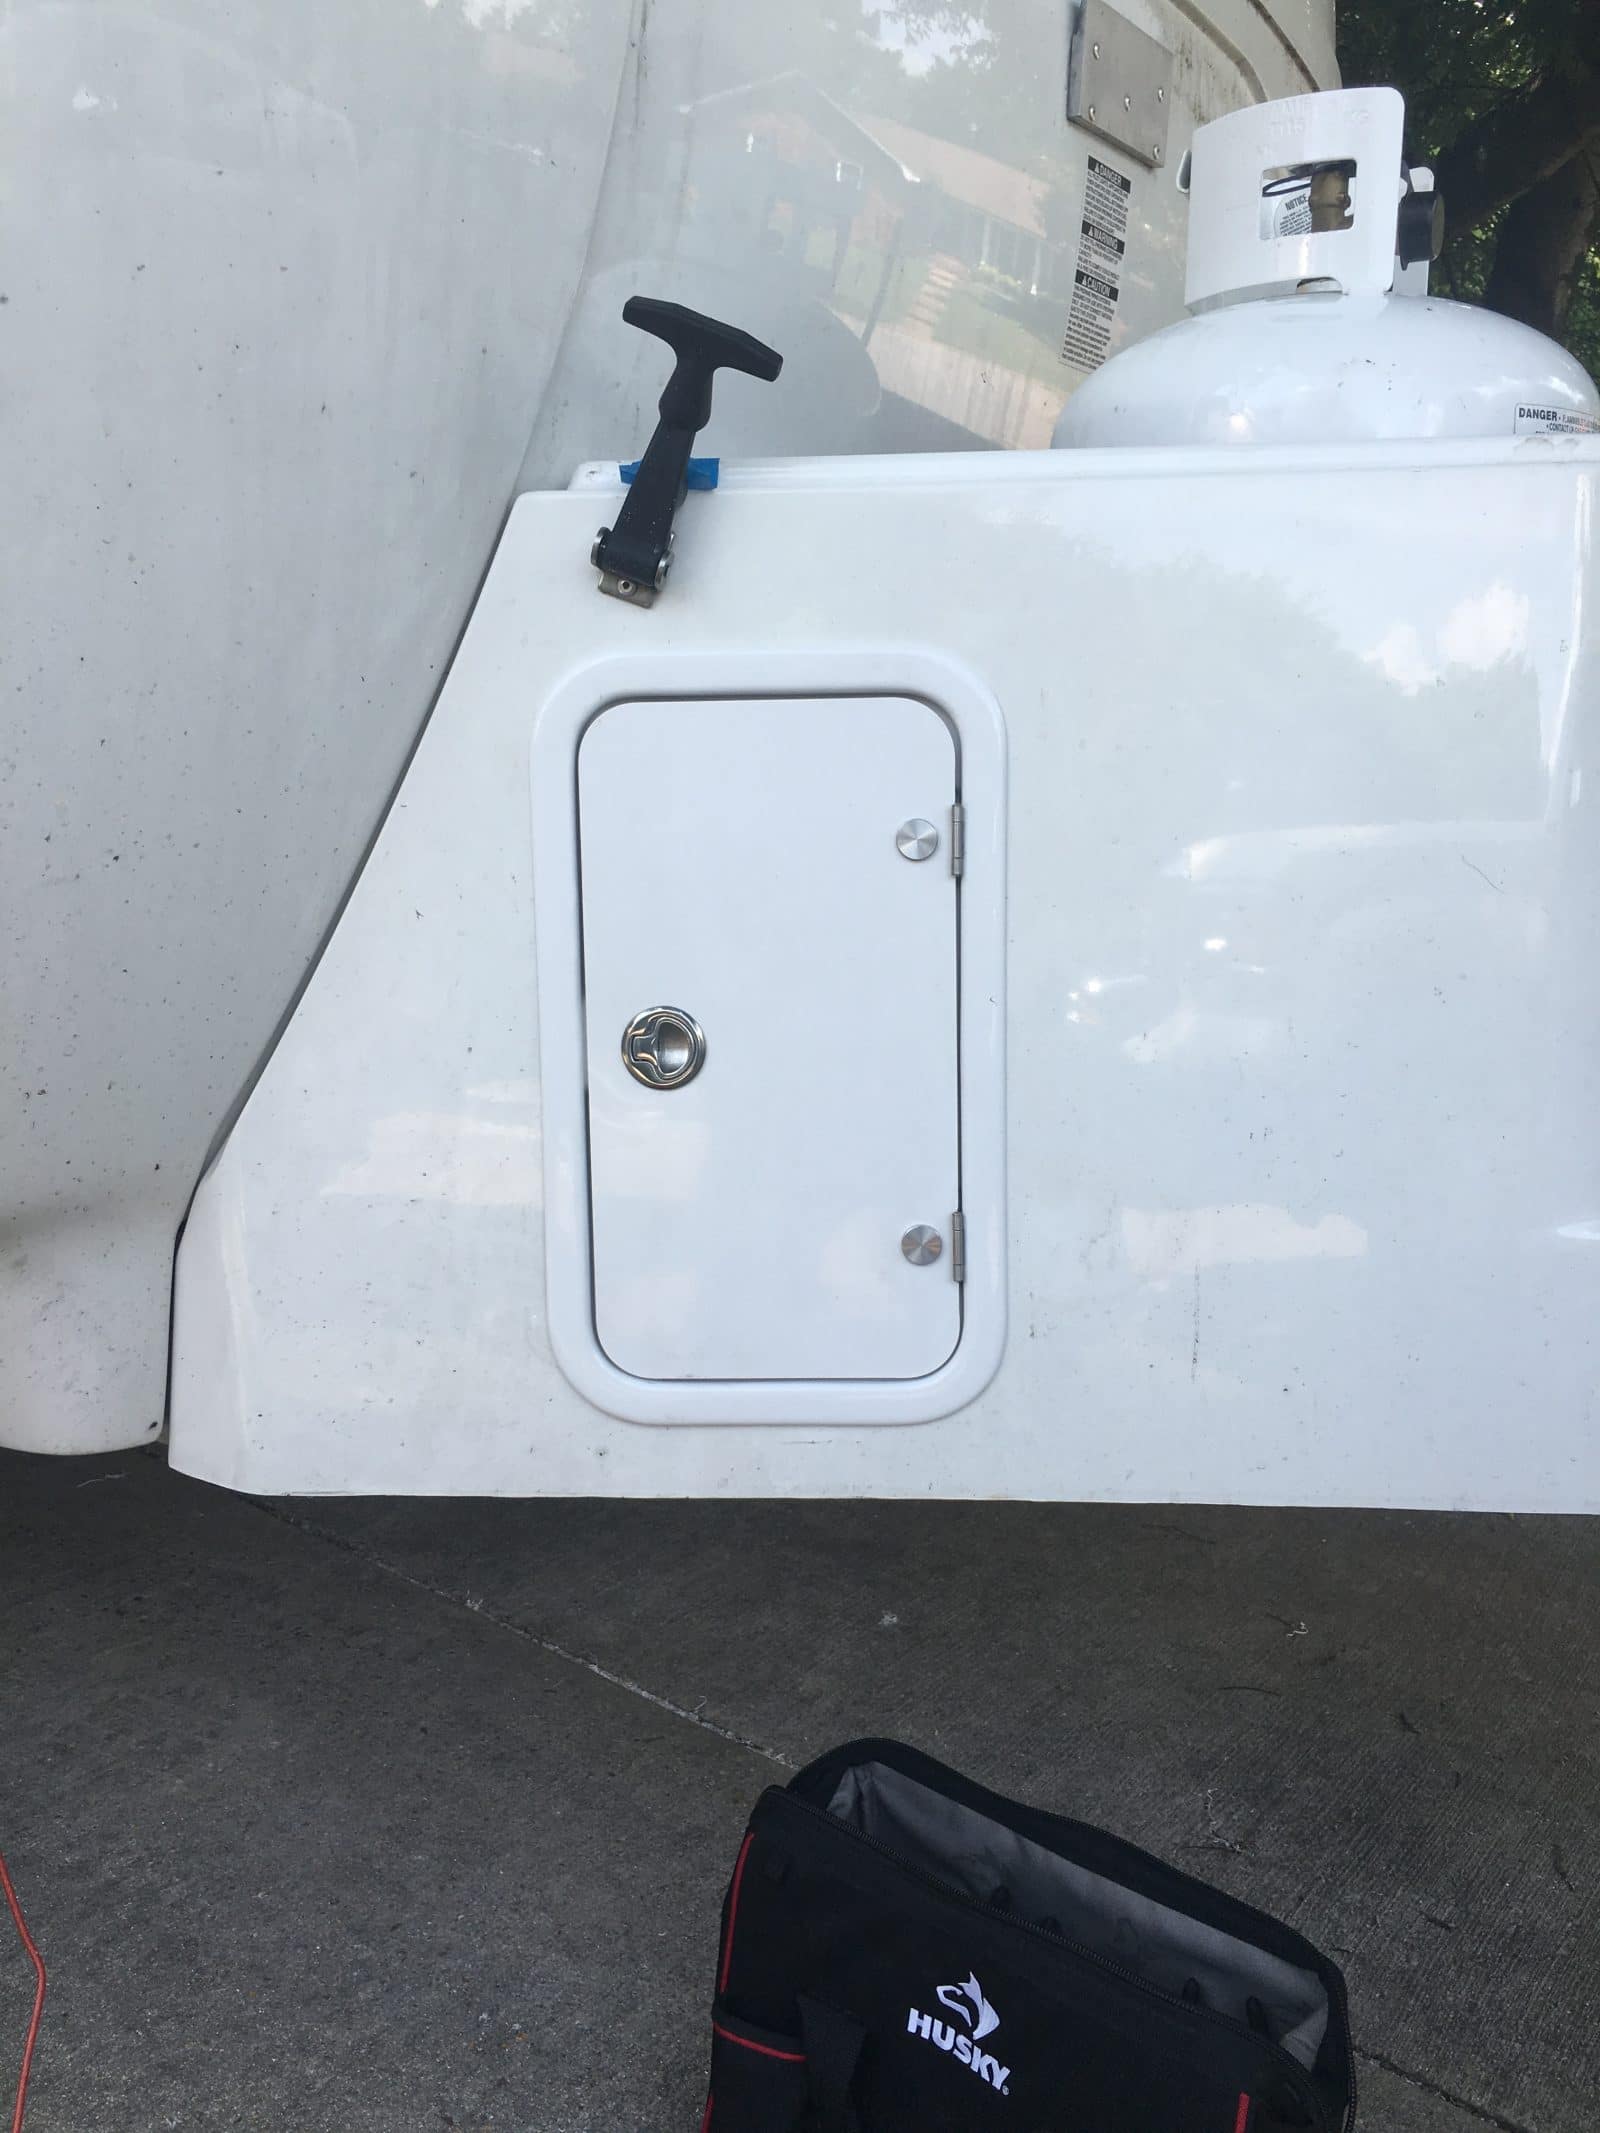
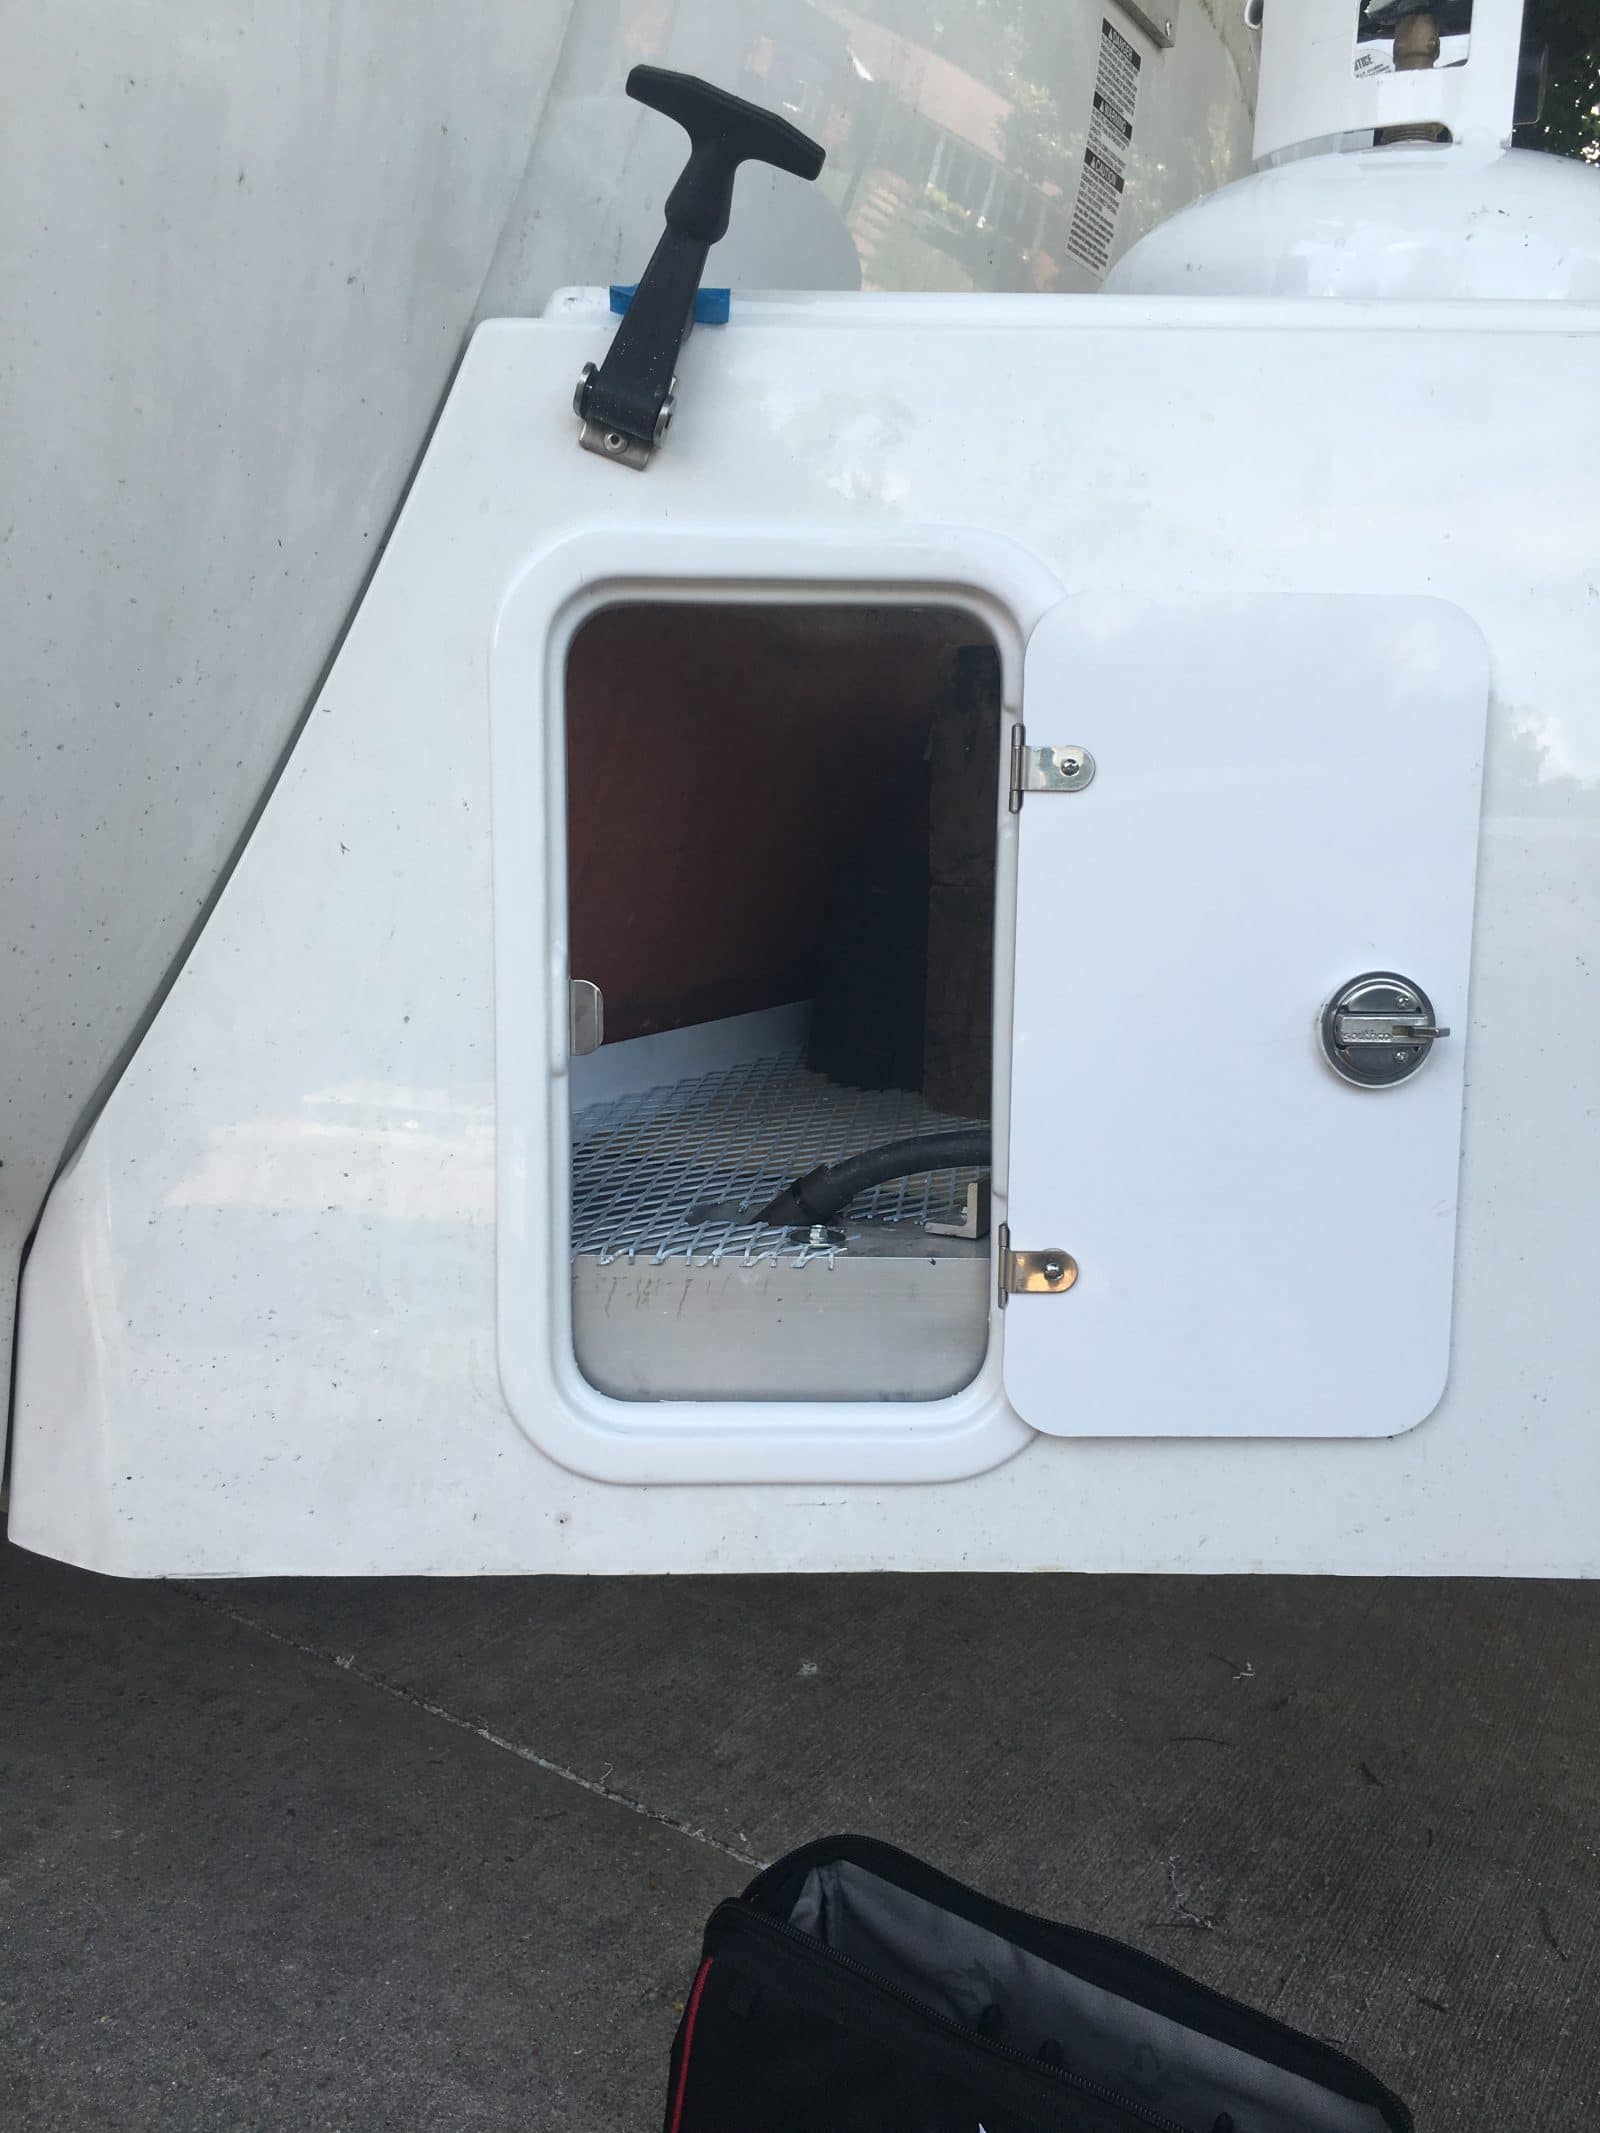
For those who have asked about the extra storage space that I created under the nose cone and behind the propane tanks. The first thing that I did was to remove the propane tanks and the tray that they sit in. I found that the rear screws into the frame that hold the tray down were both broken off from (I assume) the inertia and weight of the tanks leaning forward during braking. The tanks really could not go anywhere because they were obviously hitting the front of the cover, but they idea of them just rattling around in there was a little disconcerting. I re-drilled the holes and replaced the screws only to find them broken again after our next trip. You can see what I did to rectify that matter in the pictures. I’ve had no trouble with them since. I recommend that everyone check these screws to see if you’ve incurred the same problem. The mesh in the floor is aluminum and it is the second one that I've installed. The first was steel and, even though I painted it, it rusted - badly and it looked terrible. Don't waste your time with the steel. I included some measurements that will show how much room was gained. The outside doors are from Oliver and are the same doors as is on the cabinet in the bathroom. I will be happy to share how these were mounted for anyone that has that interest. I am currently in the process of putting lights in this area and one that will illuminate the foot of the front jack.
1 point


-
Recent Achievements
-


")


")


")


