Ronbrink
-
Posts
1,152 -
Joined
-
Last visited
-
Days Won
35
1 Follower

Recent Profile Visitors
2,844 profile views


Ronbrink's Achievements
")


-
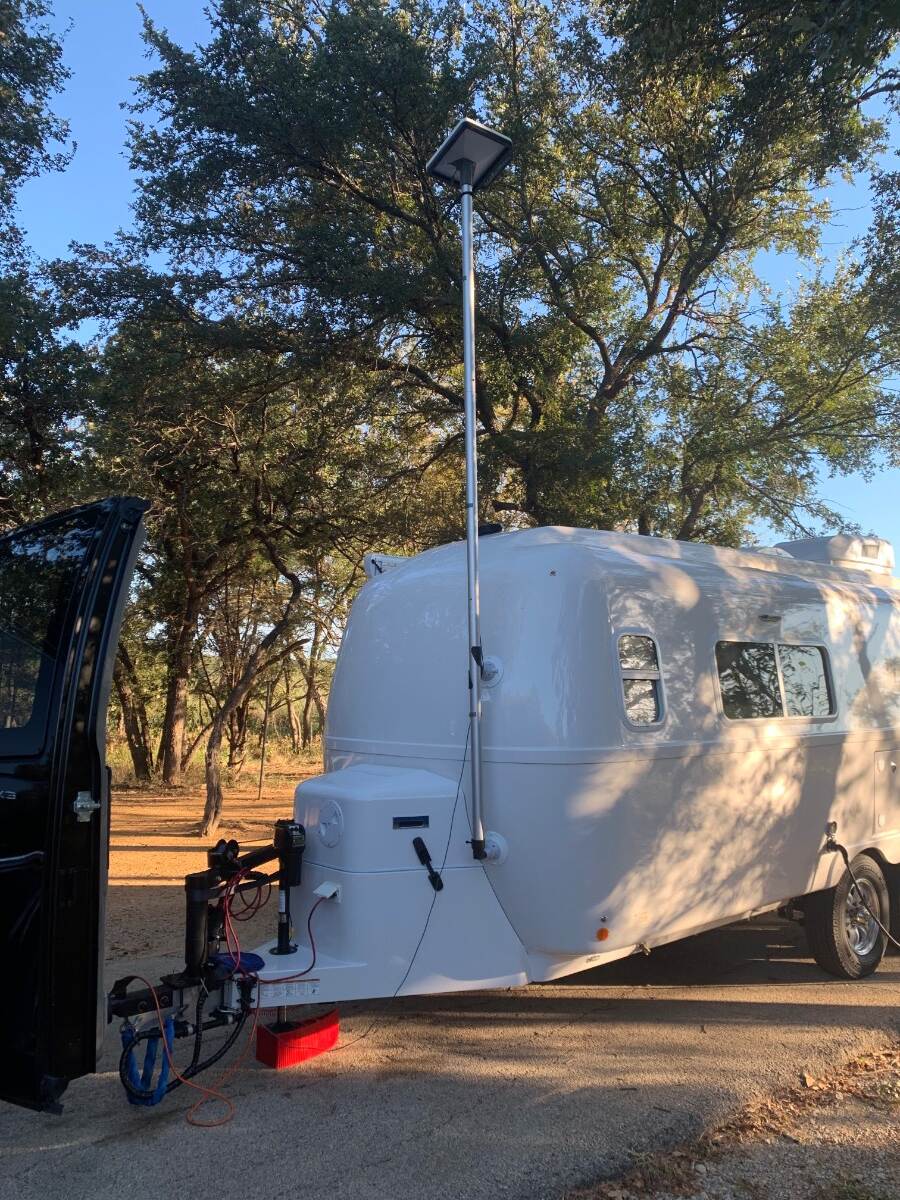
 On occasion when I have to locate the SLM away from the Oliver I simply place it on the TV, via the magnetic mount, and park as close as possible to the Oliver for clear skies. A 100Ah portable power station is used, rather than the TV’s battery, so the SLM is continuously operational. I get great reception inside the Oliver with this setup configuration; no cables, no power concerns, no reception issues, no worries! Generally however, I just use a dedicated sectional pole with suction cup mounts to strategically position the SLM anywhere around the trailer where the best exposure at a break in the tree canopy is found.
-
I did the same, works great for both trailer and TV tires!
-
I thought the same and even ordered the BT capable remote only to find out my model Xantrex would not support it and thus, an Amazon return.
-
I would phrase this D35 good, upgrade to heavier springs better; D52 better, Allan springs even better!
-
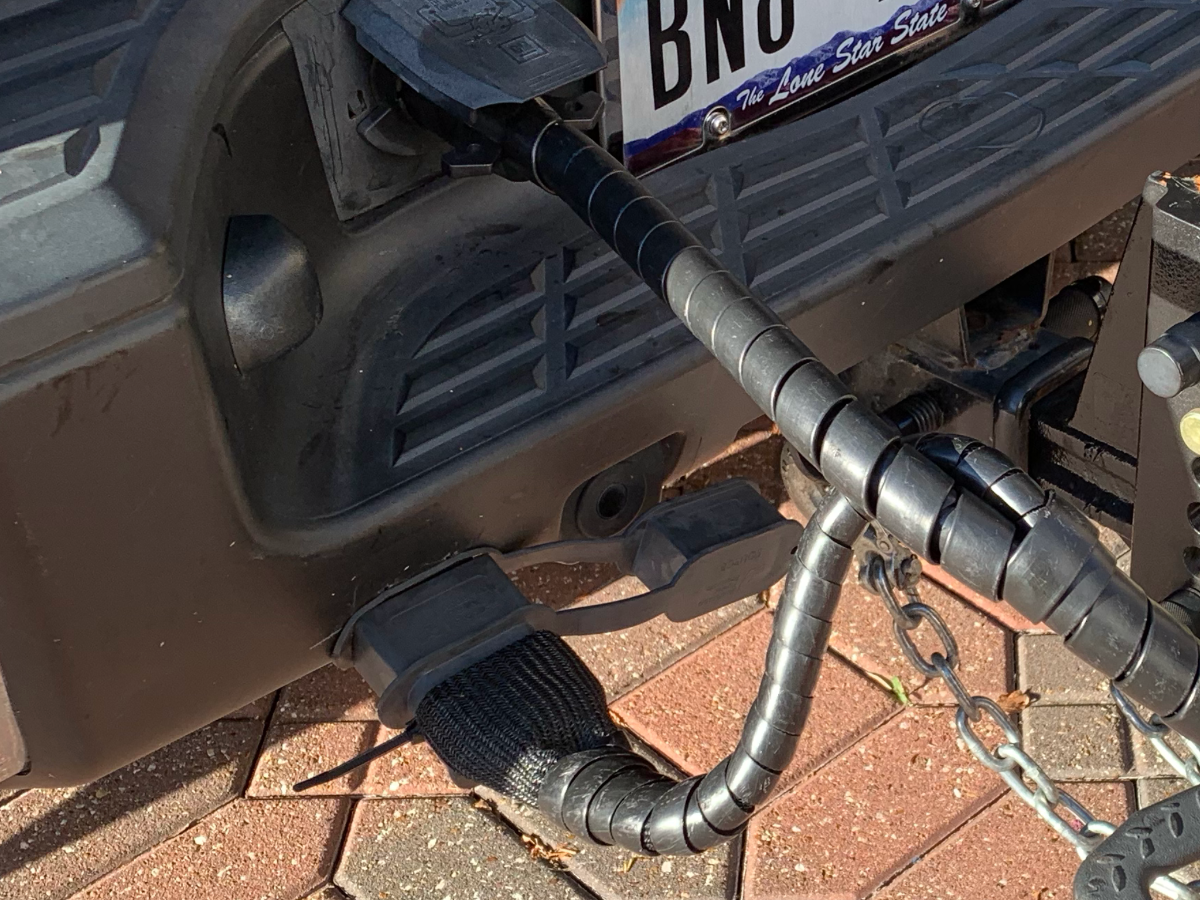
I use both types depending on the application. Here’s a pic of the DC-DC connection at the rear bumper illustrating the waterproof plug covers mated.
-
Yes, only requires a setting change via the Xantrex’s wall-mounted remote screen. Upgraded our 2020 OLEll with two LFPs, totaling 460 AH, and a dedicated transfer switch to enable running the a/c on battery.
-
I think closer to 6.0 is typical. The shop must think the bearings were subjected to excessive heat and thus, likely damaged as the brakes wore out prematurely.
-
New Hughes "Watchdog Power Center" coming soon.
Ronbrink replied to CRM's topic in General Discussion
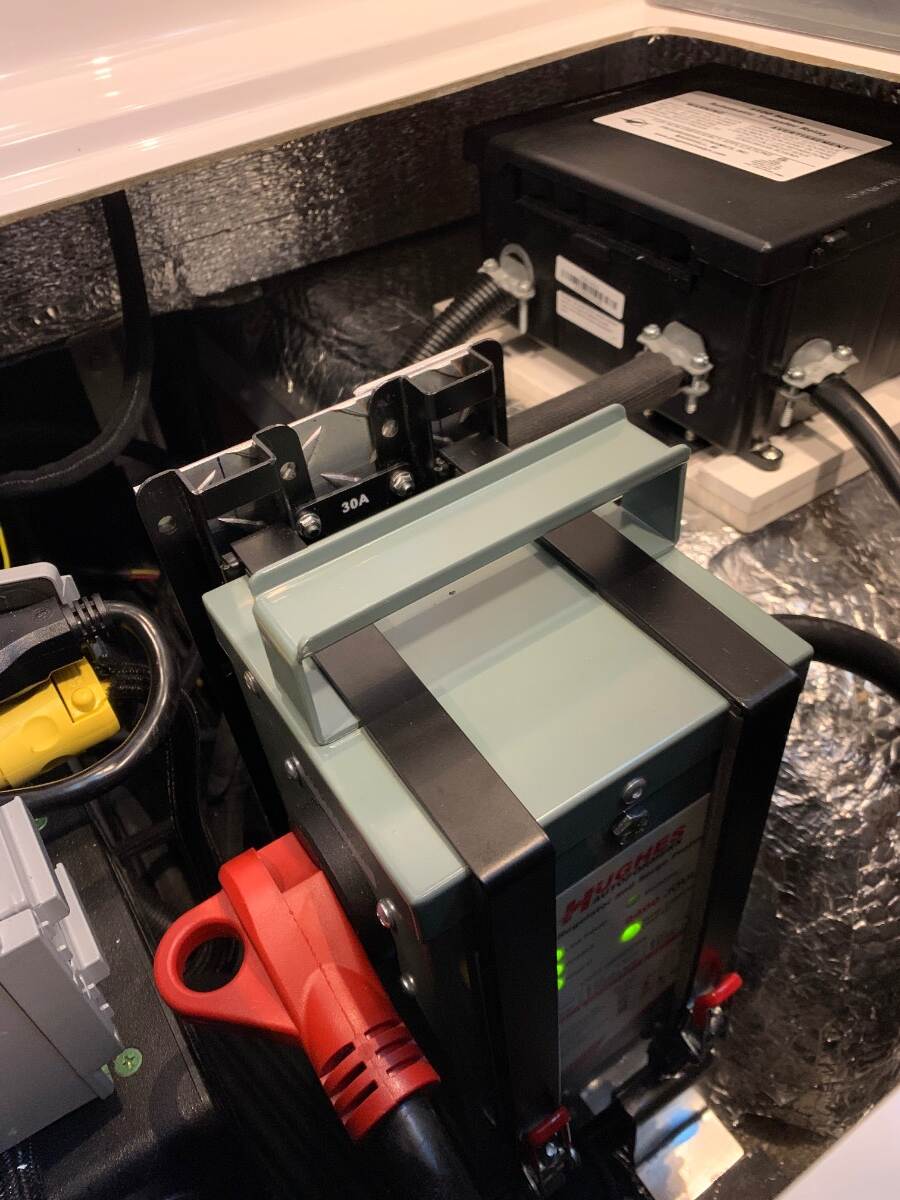
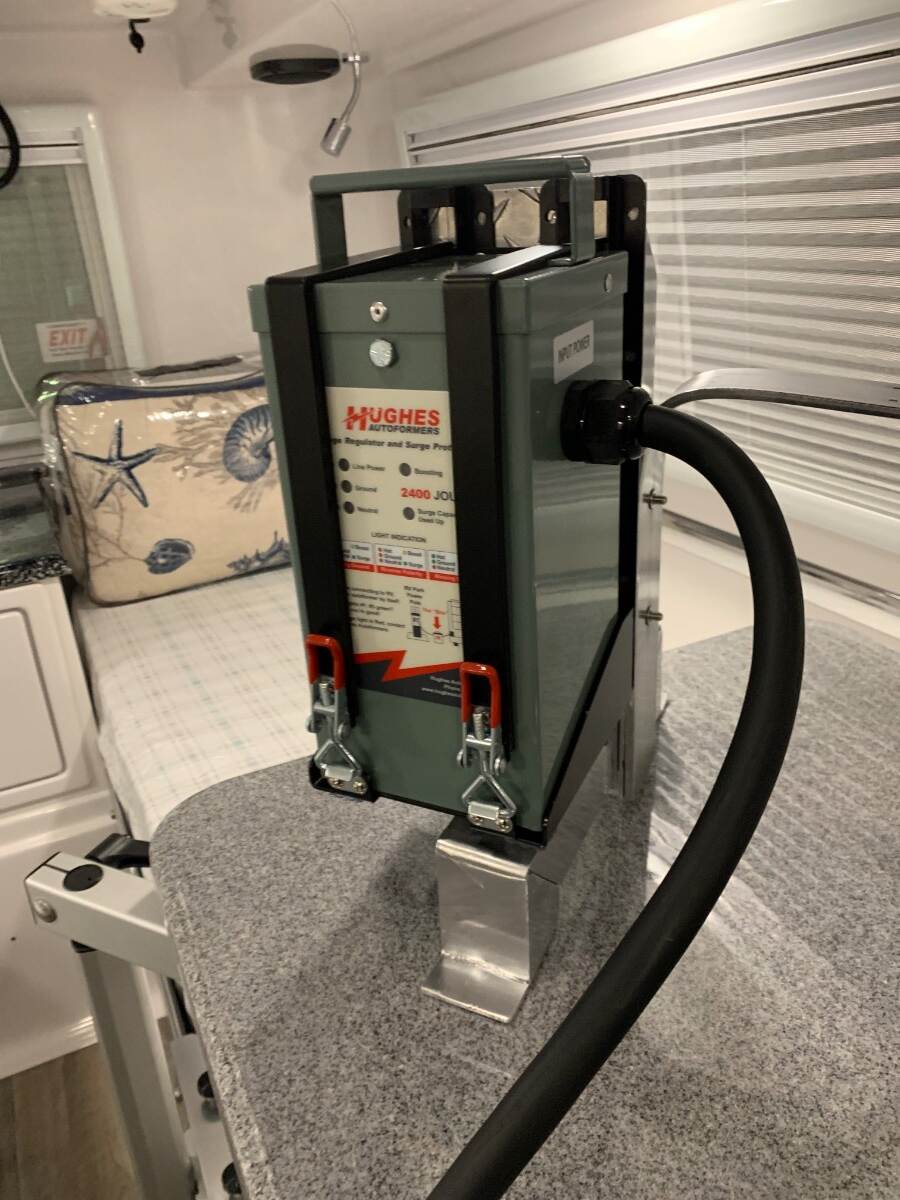
Unlike the former version, this newer version is “engineered to be completely weatherproof”, which was a concern in using the original Hughes Autoformers voltage booster outside at the power pedestal. To eliminate said concern, I choose to mount mine under the rearmost dinette seat for ease of continuous use and protection. With the larger footprint of the Watchdog Power Center, I doubt it could be mounted in similar fashion and thus, no plan to upgrade. Both 30A versions have replaceable surge modules, the former with 2400 joules and equivalent newer at 3000 joules of protection. I also use a 30A 12,000 joules circuit analyzer at the power pedestal. Here’s a couple of pics of my install:
-
Bathroom floor drain gray water valve problem
Ronbrink replied to Citrus breeze's topic in Mechanical & Technical Tips
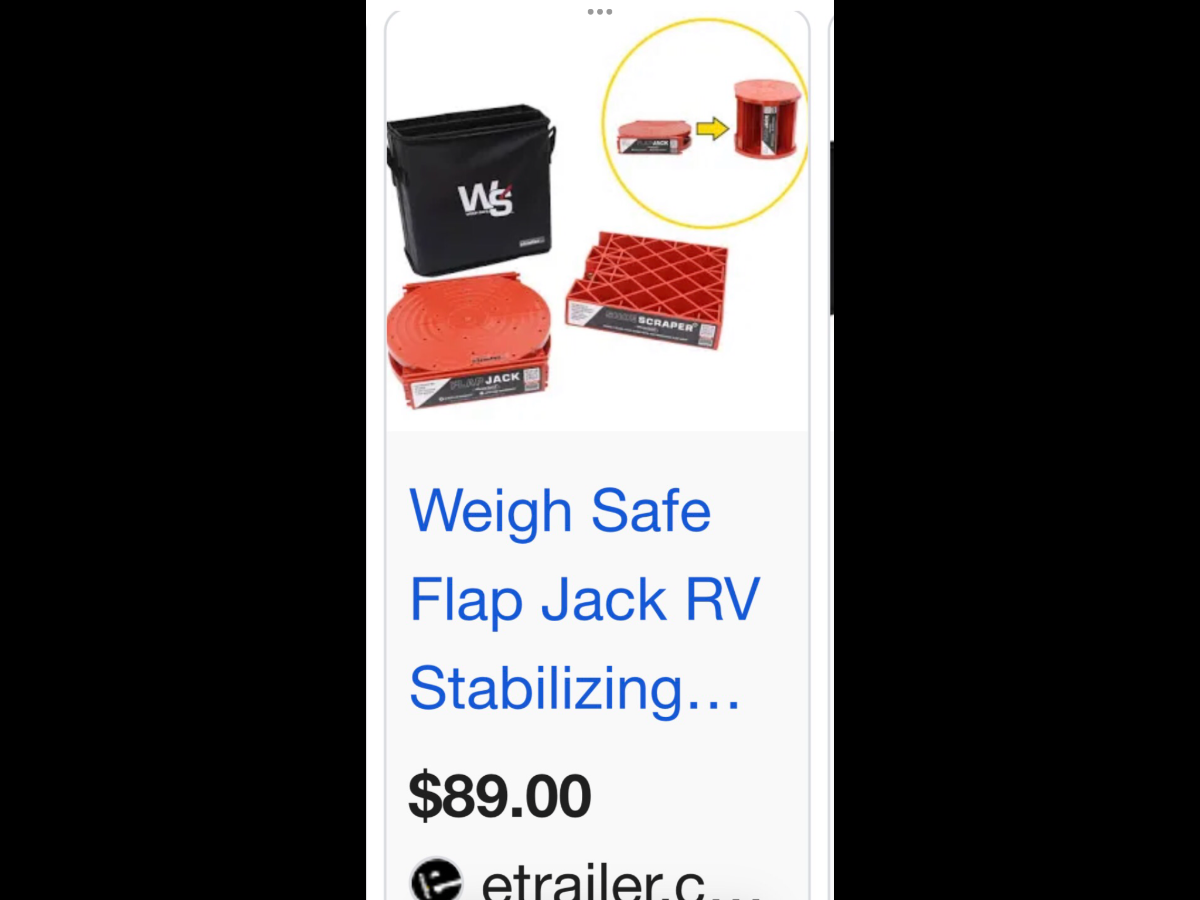
I too went with the Flap Jacks after five years using the taller Andersen Blocks at the rear stabilizers, primarily for the space and weight savings you mentioned. I bought two in individual carry bags rather than a single larger bag, easier to arrange and stow in the rear basement. The only thing I miss are the magnets on the Andersons for ease of positioning on the stabilizer feet. Even though both brands have the same 6,000 lb. weight capacity and equally sturdy, there is a distinct advantage with the Flap Jack design. To @Geronimo John’s point, both the top and bottom plates are solidly flat and thus, effective “slip planes”! -
I will preface the following by stating I have no real experience operating the Norcold in the conditions you question: It really depends on how extreme the cold is. In freezing temps the Norcold may lack efficiency or fail to operate. I would think running on gas would help provide some heat to the cooling unit, but may not be enough. Many do not like to operate the fridge on gas when underway. Hopefully someone will chime in with more definitive and pertinent information. Stay warm!
-
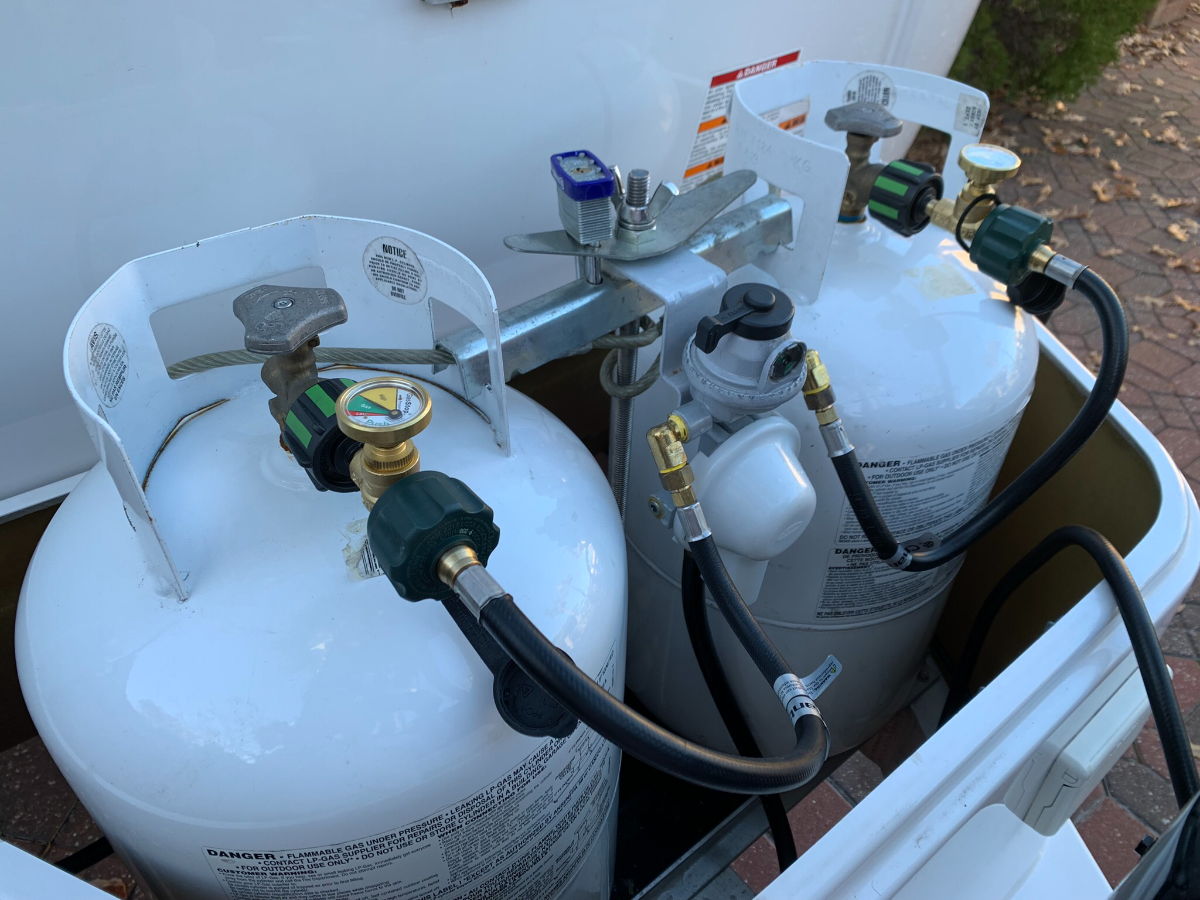
The key is to have enough slack in the hoses to enable lifting the regulator off the threaded stock when removing the propane tanks. This is my preferred setup, as the tank valves and changeover switch are all easily reachable via the housing screw port; and the regulator can be moved out of the way for more clearance when handling the tanks. Note the cable routed through the cross bar, around each tank handle the loop ends on the threaded stock seen behind the regulator, as well as the padlock for securement.
-
My Norcold is true to the trailer’s side-to-side level. I find the entry floor centered below the wet bath doorway the best location for a level reading. I should mention that when the top of the fridge door is perfectly level, the front of the Oliver is slightly raised, which is undetectable when moving around inside. Actually, this slight downward slope also facilitates condensate runoff from the Atmos 4.4 to the rear of the hull.
-
I often tell myself “life is too short to always stay confused”. Thanks for helping clean up one mess in my mind!
-
Like many I use an electronic device staged in the Oliver, which can be monitored from the driver’s seat whether searching for a desirable (somewhat level) spot when boondocking or parking at a designated site pad. Even with these devices, one must initially use a bubble level in the calibration process and routine checks for device accuracy. Once set, these devices are fairly reliable … until they’re not! The LevelMatePRO served us well for several years, but was not without issues; primarily battery life and connectivity regarding its sleep habits! I recently changed to the Beech Lane Wireless RV Leveling System in hope it will outperform the former. One thing that became very apparent in achieving my ‘optimum level’, was in respect to that of the Norcold 3-Way fridge. I found that having the Norcold absolutely level overrides that of the trailer proper. That said, I use the top of the fridge door as the benchmark when calibrating both past and current leveling devices. Keeping the Norcold ‘happy’ is paramount and a very close second to that of the wife! All of my past woes regarding the Norcold can be contributed to the aforementioned and easily mitigated with proper levelness. For convenience, I carry a folding level in a galley drawer. ‘Nuff said!
-
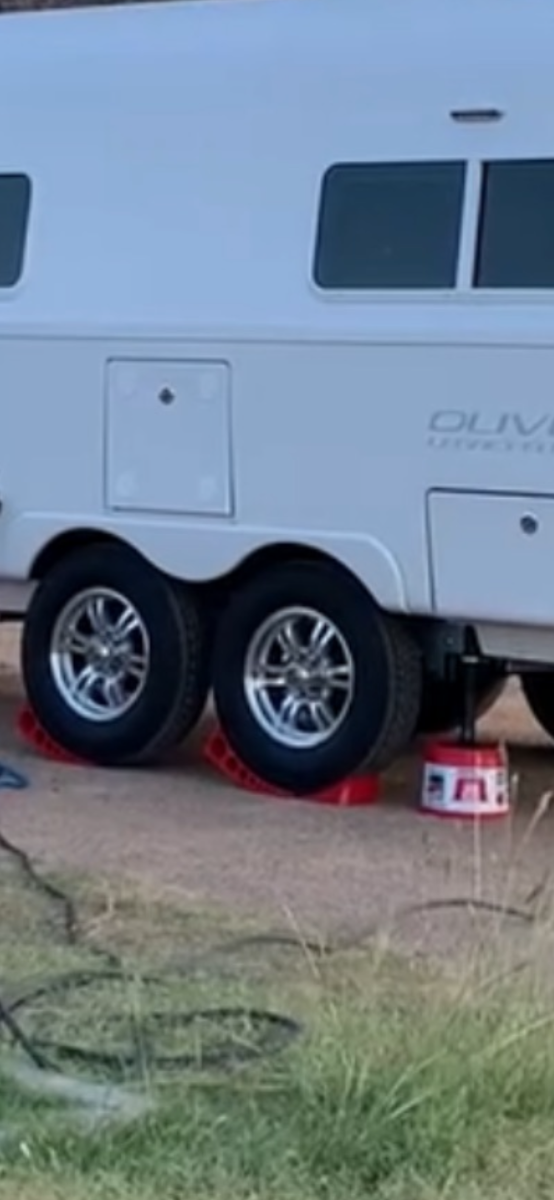
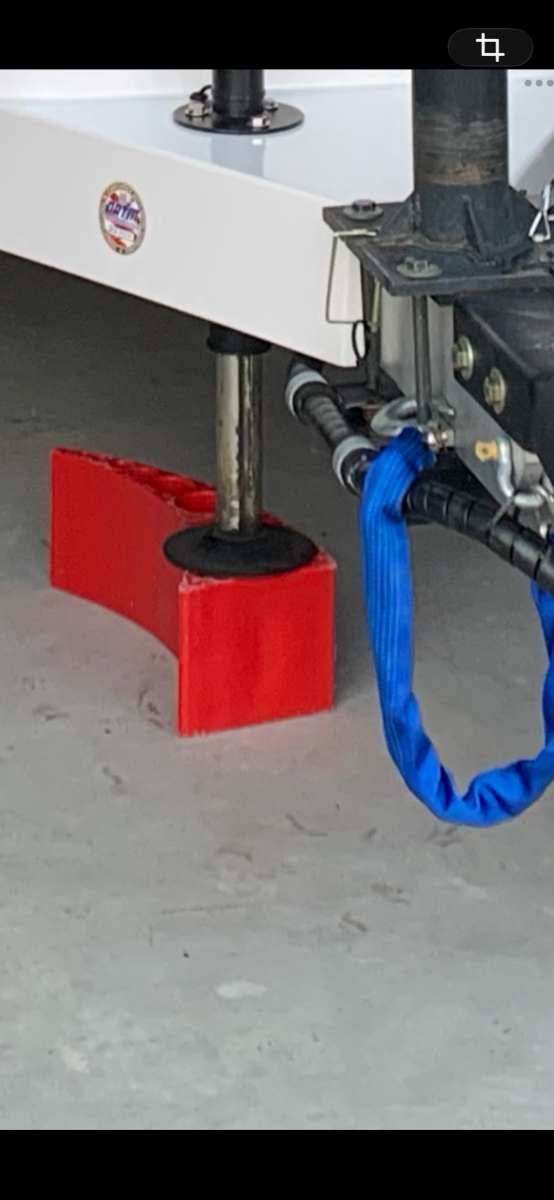
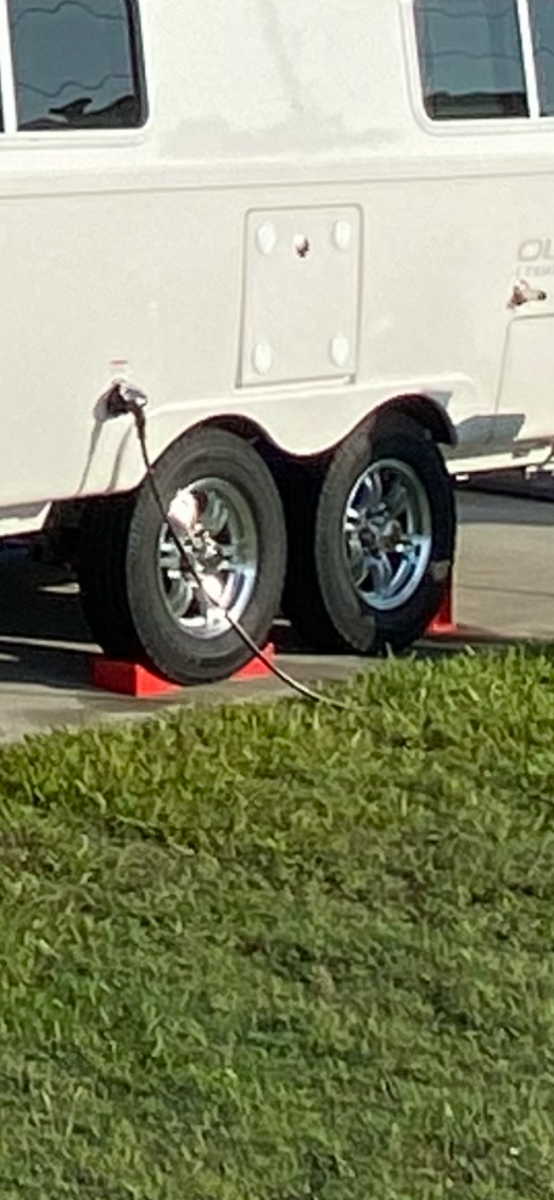
I use the standard Andersen levelers, as necessary, to raise one side or the other when backing up the last few inches. These standard levelers provide 1/2 to 4” of lift; whereas the Andersen Rapid Jack you mention provides for 7” lift, designed mostly for use with tandem axles to facilitate tire change. I primarily use the Rapid Jack laid on side for the 6” of base it provides under the front stabilizer jack. On rare occasion a site is level enough and thus, the standard levelers are not needed; in this situation the wedge chocks, generally paired with said levelers, are used to simply stabilize one tire (front and back) to keep the trailer from rolling when unhitched. As shown in the first pic, the round Andersen Jack Blocks used under each rear stabilizer jack. I have since changed those for Weigh Safe Flap Jack Blocks, which are much more compact when stowed.