
Ronbrink
-
Posts
1,201 -
Joined
-
Last visited
-
Days Won
38
Everything posted by Ronbrink
-

StarLink mini with StarLink router mini.
Ronbrink replied to 2008RN's topic in Mechanical & Technical Tips
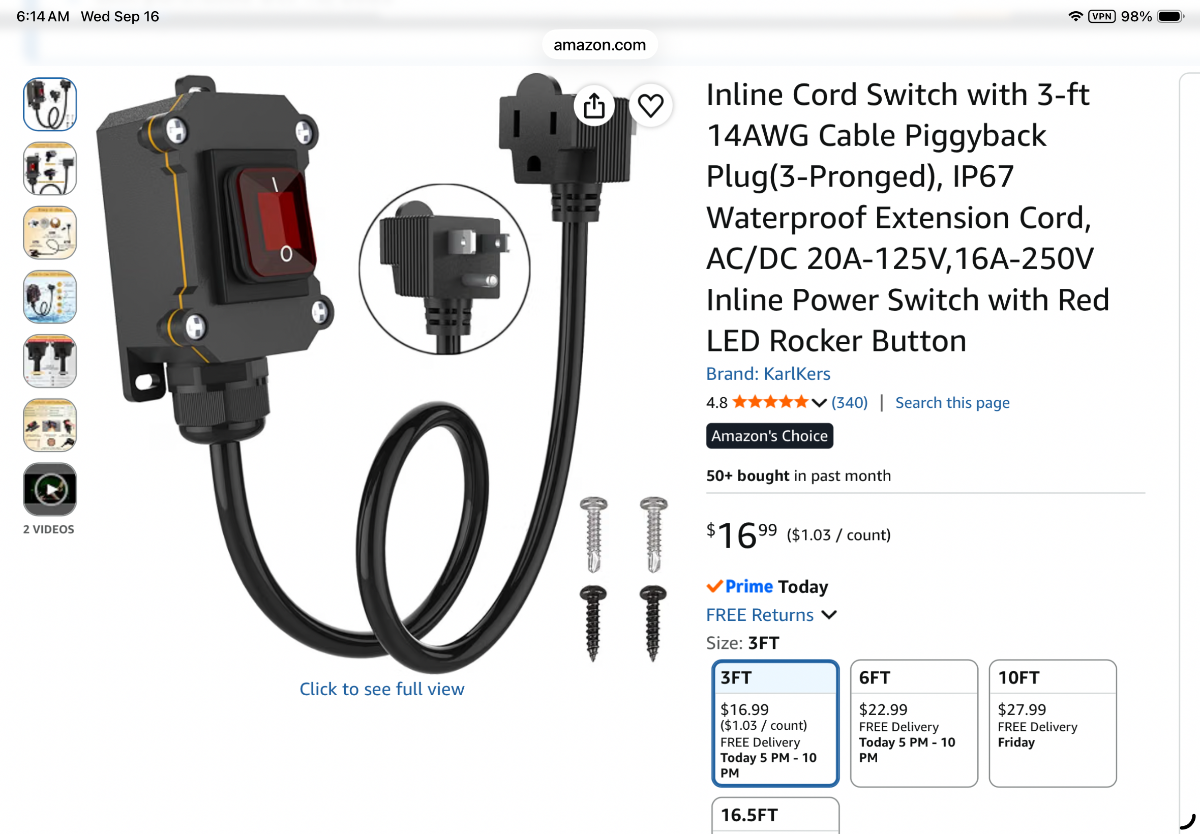
I bought this in order to use the outdoor plug. It not only allows clearance for the SL brick, but serves as a convenient power switch.
-
Pepwave Cellular Router and not the common install
Ronbrink replied to jd1923's topic in Ollie Modifications
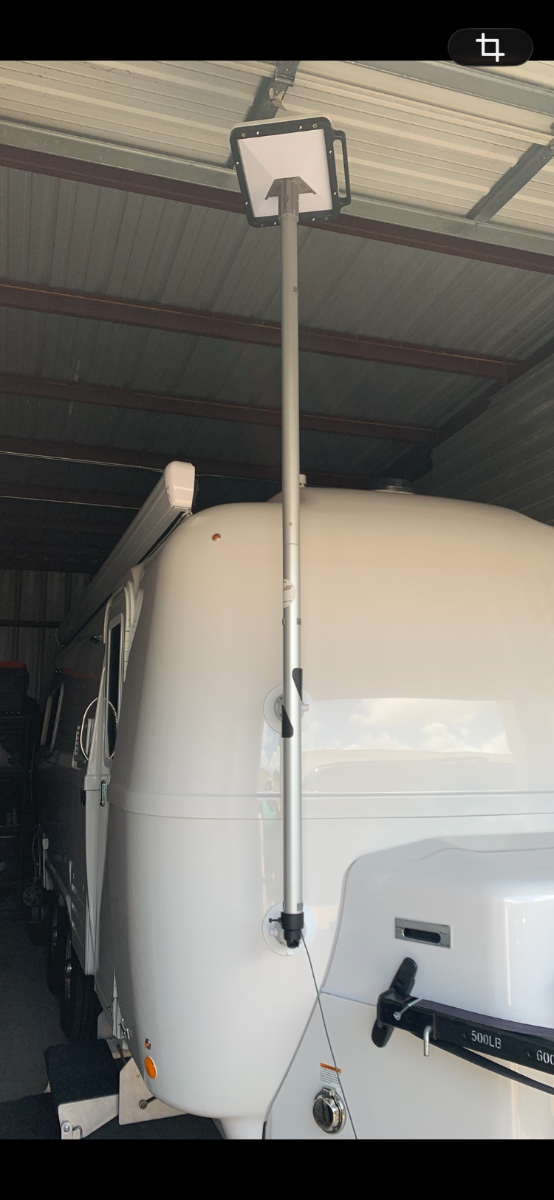
As @Steve Morris provided plus one extra 4’ pole section in my application. -
Pepwave Cellular Router and not the common install
Ronbrink replied to jd1923's topic in Ollie Modifications
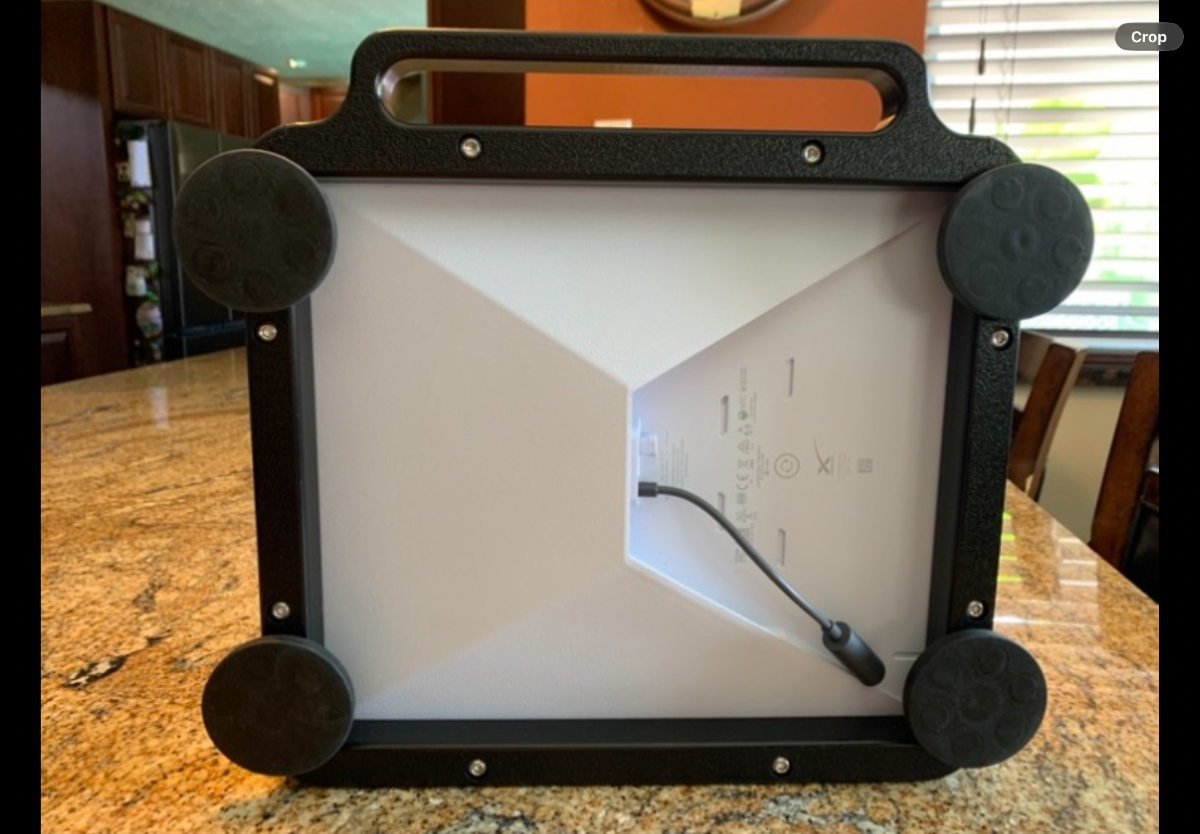
Take a look at Veritas Vans Starlink mounts, I have the magnetic mount version with bolt-on handle for the Mini and very pleased.
-
Fresh Water Tank Overflow Condition
Ronbrink replied to Wayfinder's topic in Mechanical & Technical Tips
Good question, never thought about it. Perhaps the screen serves to keep critters out. -
It's Time to Get Insurance!!! It's an exciting time!!!!
Ronbrink replied to FirstApex's topic in General Discussion
Take a look at Good Sam Insurance.Agency. -
DC-DC Charger Installation - Oliver LE2 and RAM 1500
Ronbrink replied to Grizz000's topic in Ollie Modifications
Exactly what I did, Mechman 320 Amp High Output alternator. -
DC-DC Charger Installation - Oliver LE2 and RAM 1500
Ronbrink replied to Grizz000's topic in Ollie Modifications
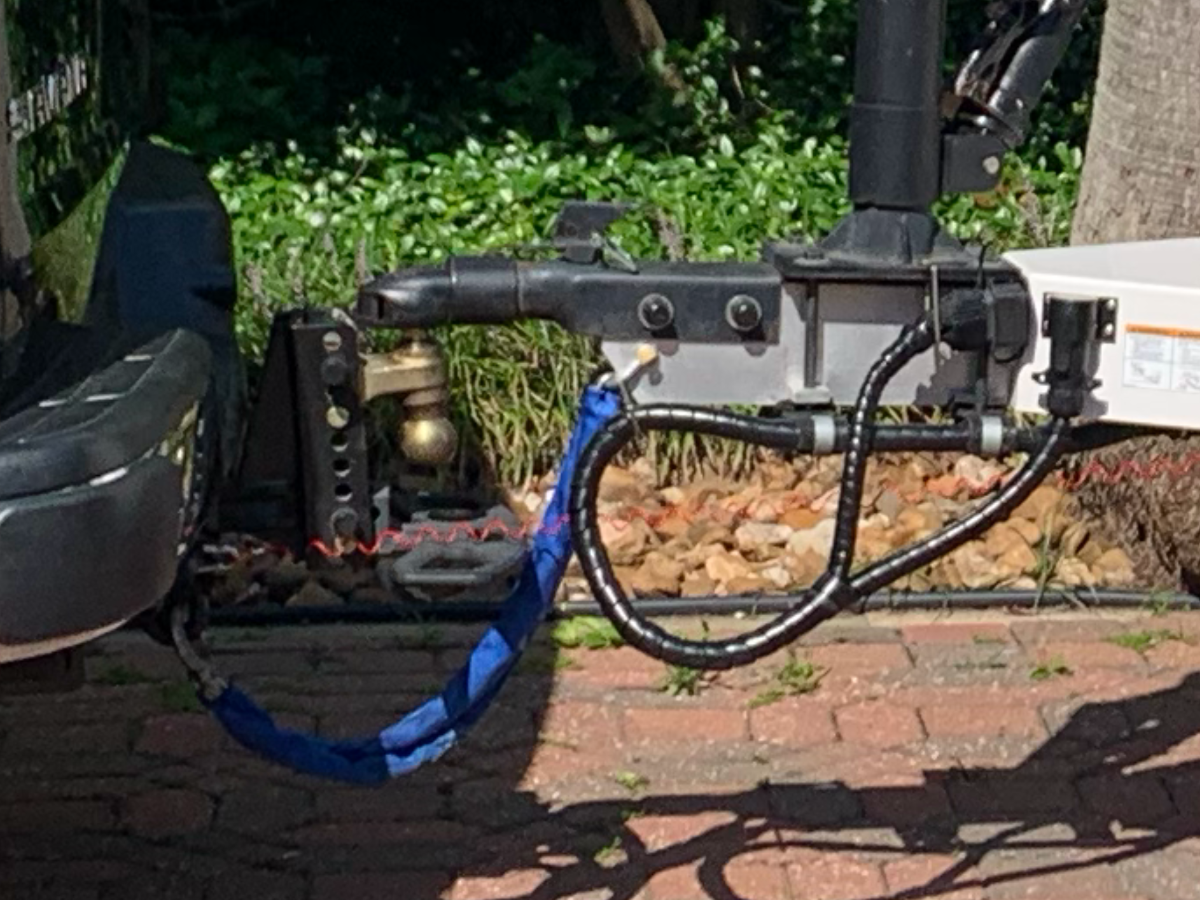
Thanks for sharing, vital information for owners considering such an install. Here’s a couple of pics on cable management:
-
Try calling Xantrec tech support rather than Oliver.
-
I like looking at mine!
-
Visual of how a A/C unit with an inverter compressor ramps up.
Ronbrink replied to CRM's topic in General Discussion
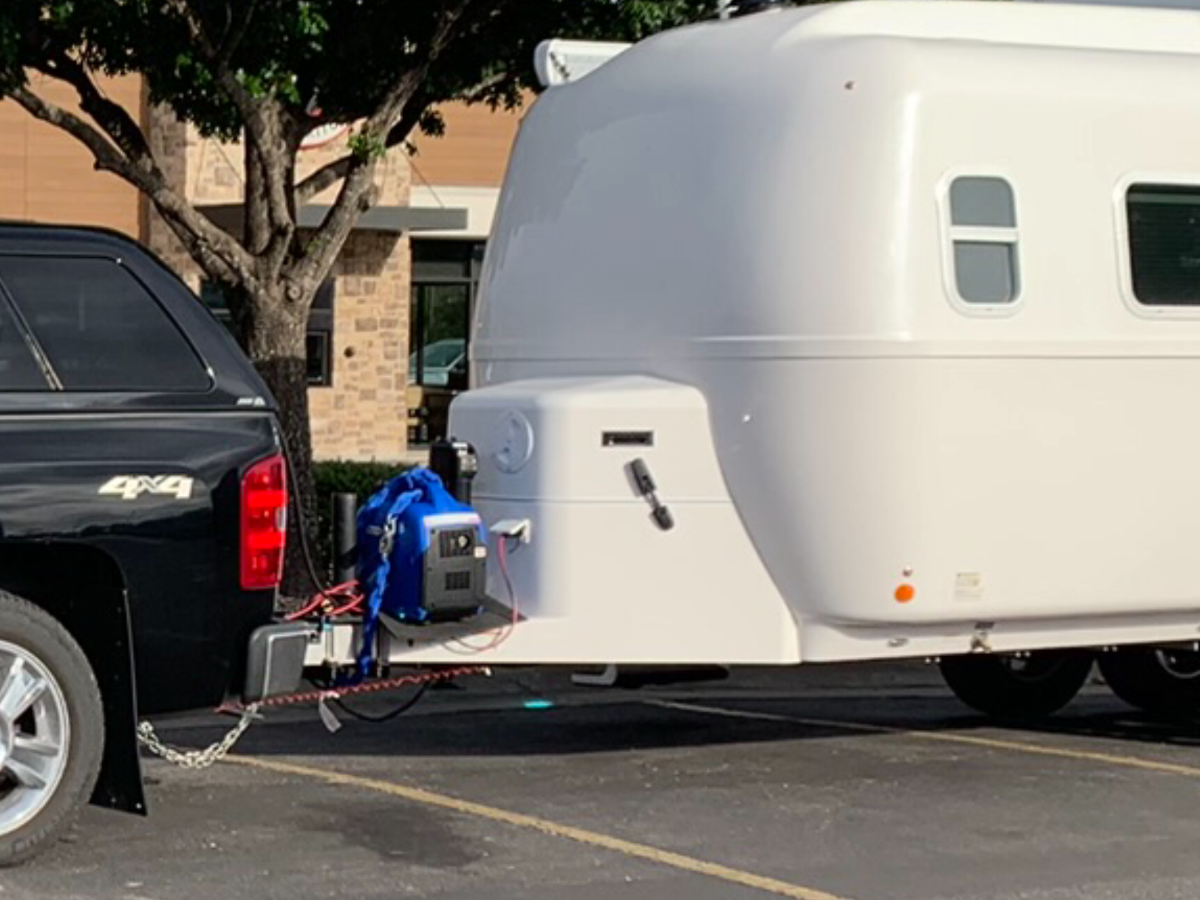
Thanks for posting! I routinely use a small dual-fuel generator on propane for a/c at roadside or parking lot overnight stays when traveling. I carry a dedicated 30# tank that will provide enough power for three nights of use. I have a larger dual-fuel for longer anticipated stays, such as hurricane evacuations on the Texas coast, which runs continuously on non-ethanol gas for the duration of stay. I can also run the a/c on inverter during rest stops and meals when traveling to a destination, utilizing 50% SOC for three hours of run time; the DC-DC charger will then recharge when back underway.
- 1 reply
-
- 1
-

-
We usually take a trip every couple of months, but since moving to another home and getting the former ready for market it’s been five months and counting! Bummed as well, but occasionally run the a/c on inverter to exercise the batteries and enjoy my morning coffee in the Oliver, stress management!
-
I operate mine on the temperature auto mode regardless of the source of power/fuel being used. It’s generally set at 85°/50% fan speed, but in extreme heat I will bump the fan speed up. The evaporator fin fan in the fridge is turned on to run continuously whenever the unit is in use. These external and internal fans will indeed improve the cooling efficiency and likely extend the life of the unit. However, when stationary it is imperative to have the 3-way perfectly level to ensure proper cooling.
-
Slide-out Pantry Shelf - No More Fighting the VELCRO!
Ronbrink replied to MAX Burner's topic in Ollie Modifications
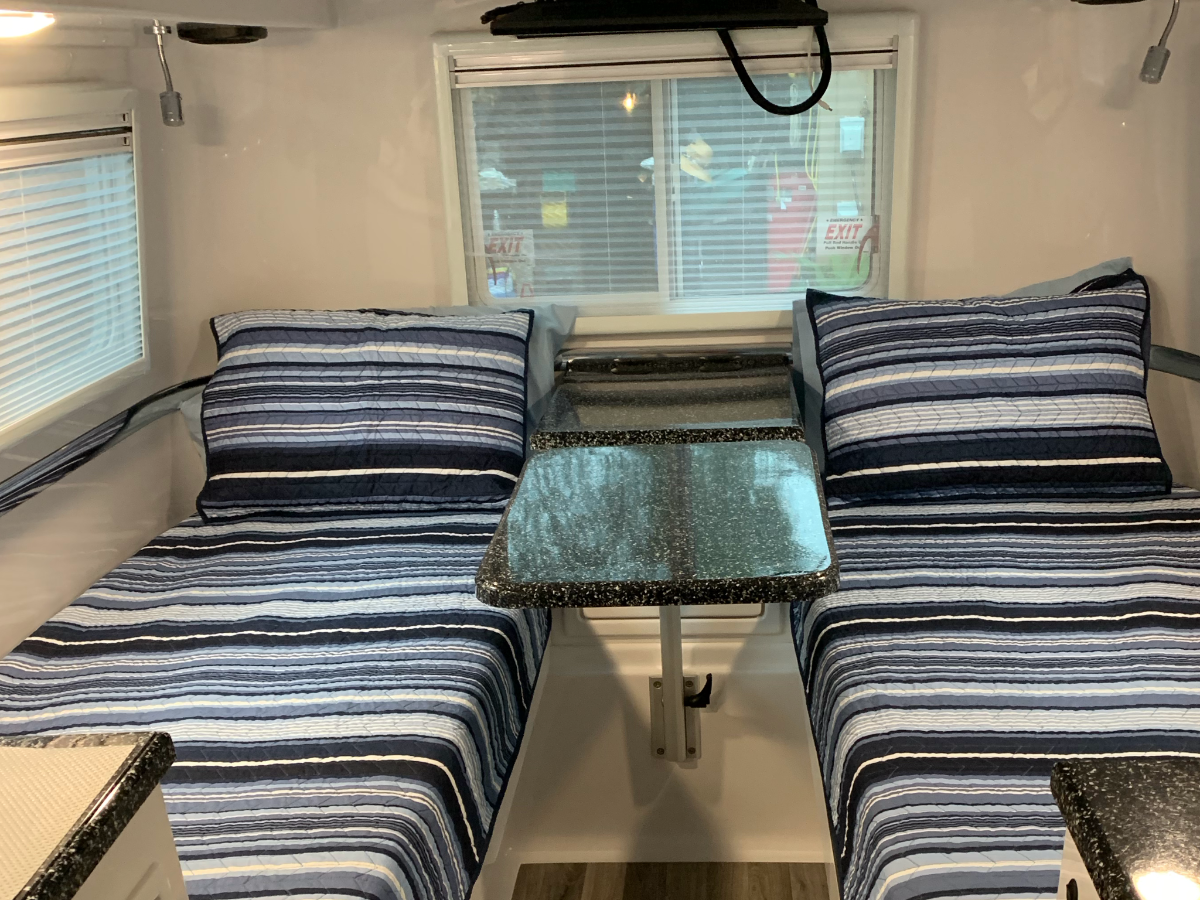
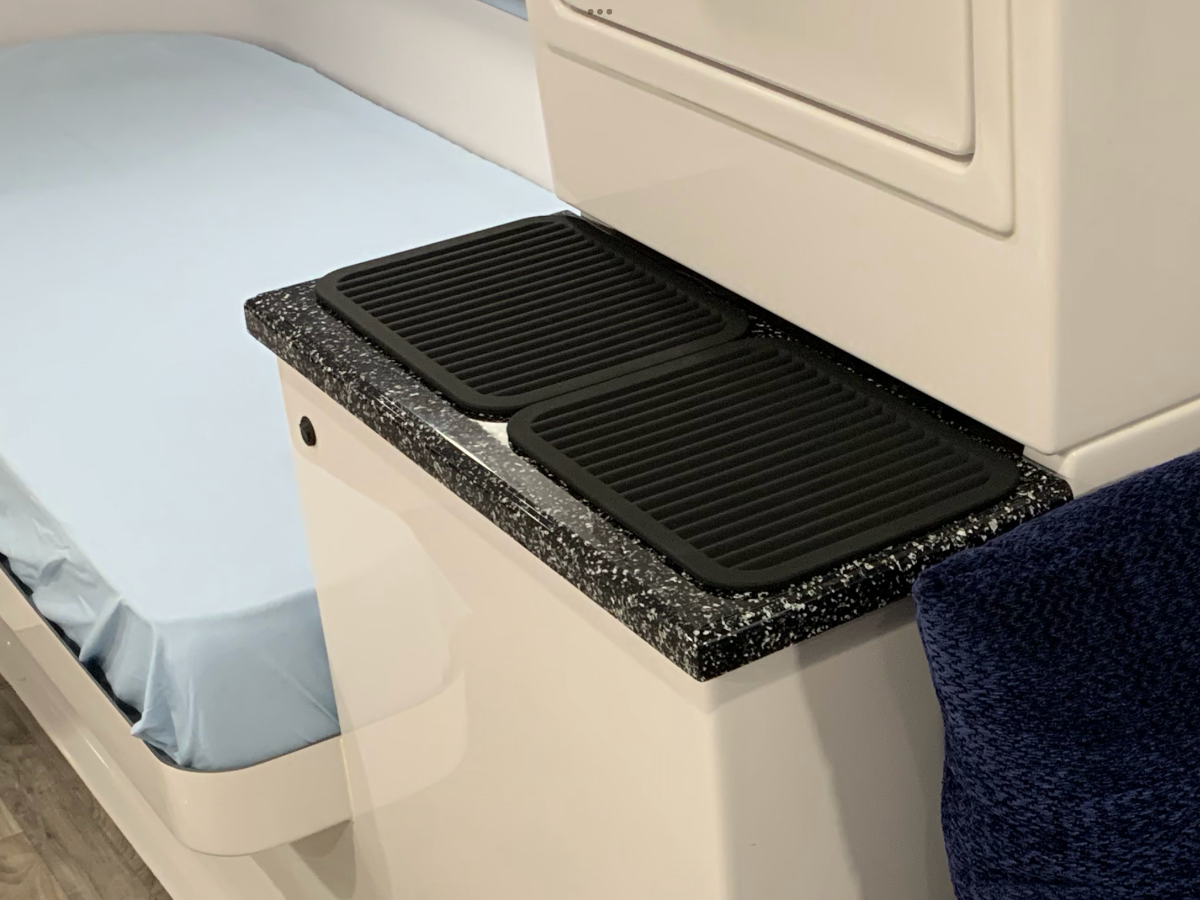
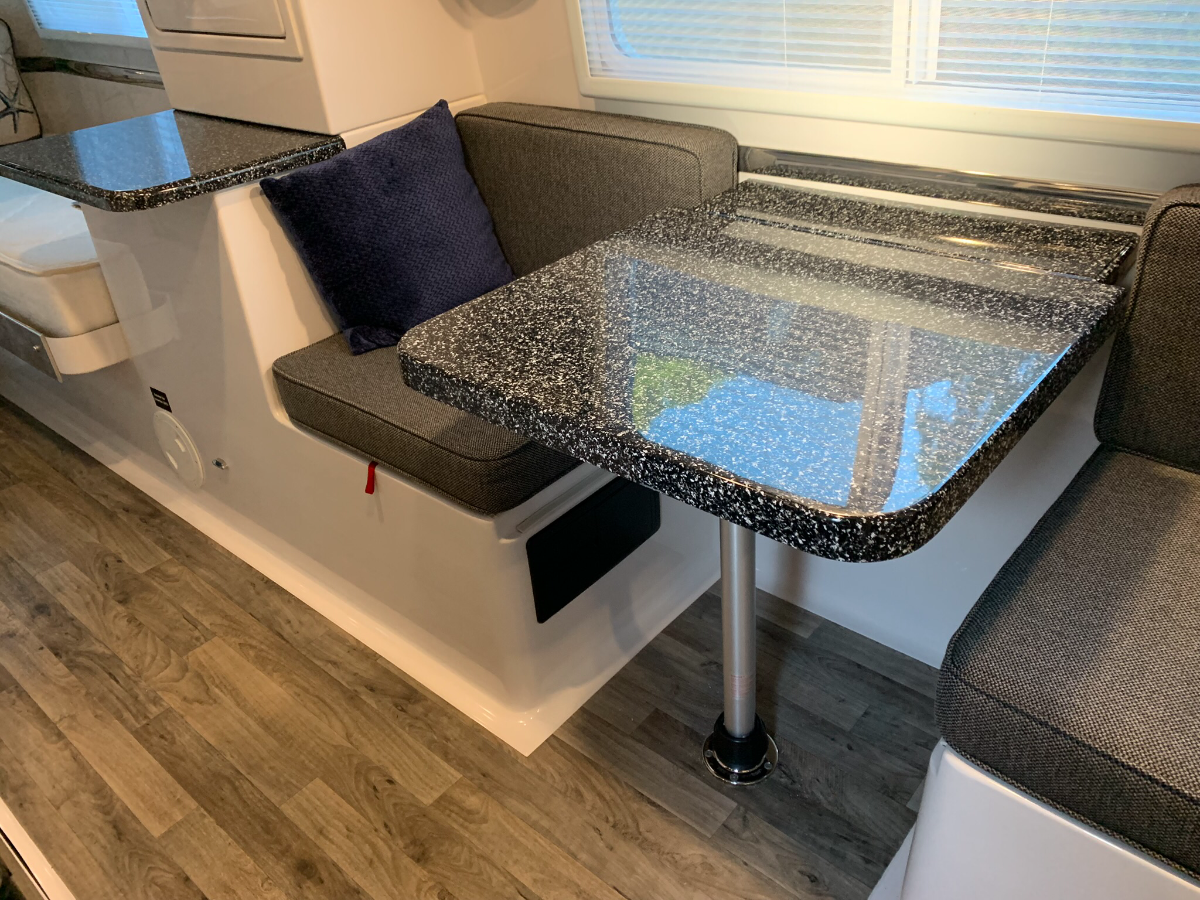
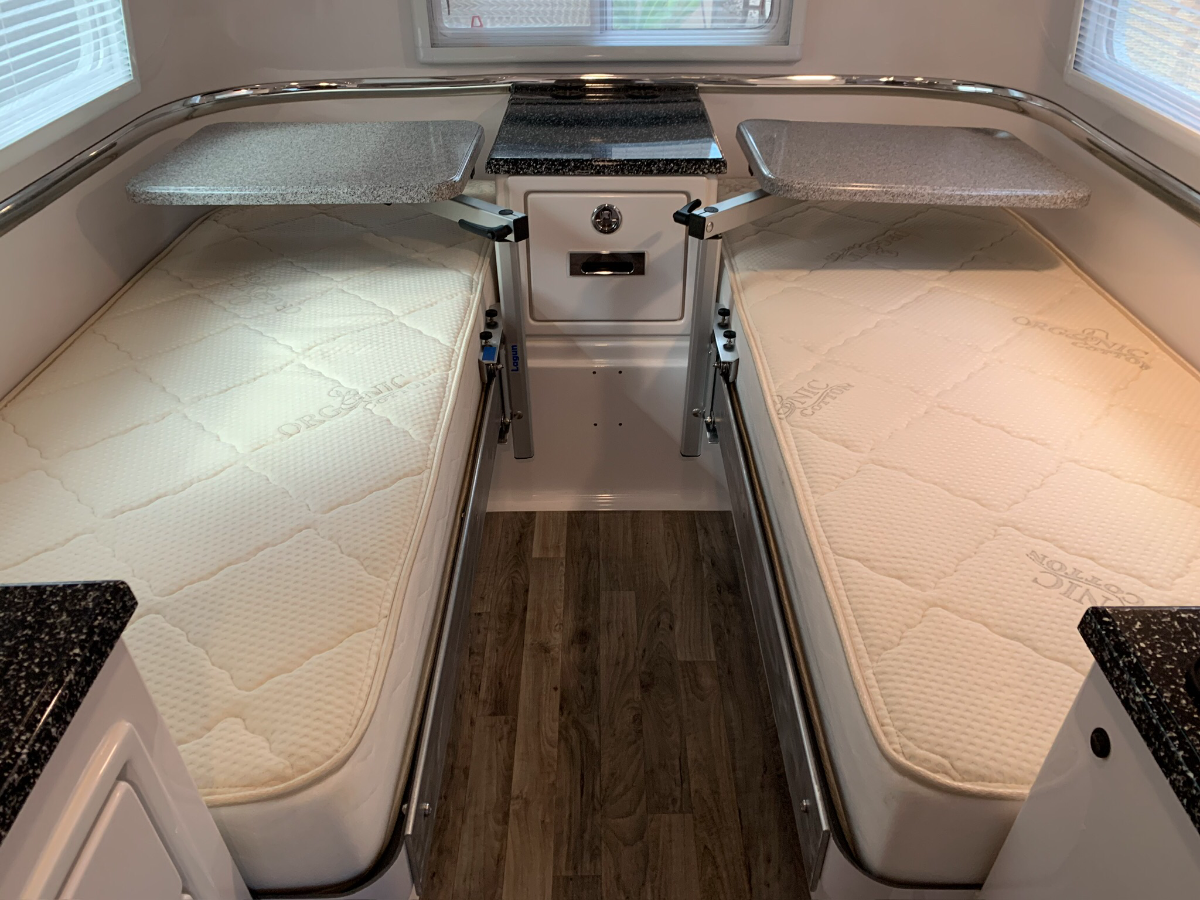
I originally ordered the ‘Black Samba’ fiber-granite for our 2020 OLEll and also opted for the Lagun table in matching color. The Lagun table was only offered with the twin bed floor plan and was factory-mounted on the front of the nightstand, which blocked the nightstand drawer when in place (see pic). I kept the Lagun table permanently mounted even though it hindered access to the nightstand drawer and overhead attic. After a few years I decided to reconfigure the Lagun mount and add a second bed table for independent use by each of us. However, upon contacting Oliver to purchase another ‘Black Samba’ Lagun tabletop I was told that color was discontinued. I ended up buying two in a contrasting gray color that closely matched the vinyl flooring, ‘Monte Blanc’ fiber-granite. After developing a sliding mount and installing the two new Lagun tables, I decided to make use of the original Lagun tabletop by replacing and extending the pantry countertop. The original pantry countertop was then used to extend the dinette table. I previously stated that heavy duty Velcro was used to secure the extended countertop, but 3M Dual Lock Reclosable Fastener was actually the product used, Velcro on steroids! Original pantry countertop used to extend the dinette table.
-
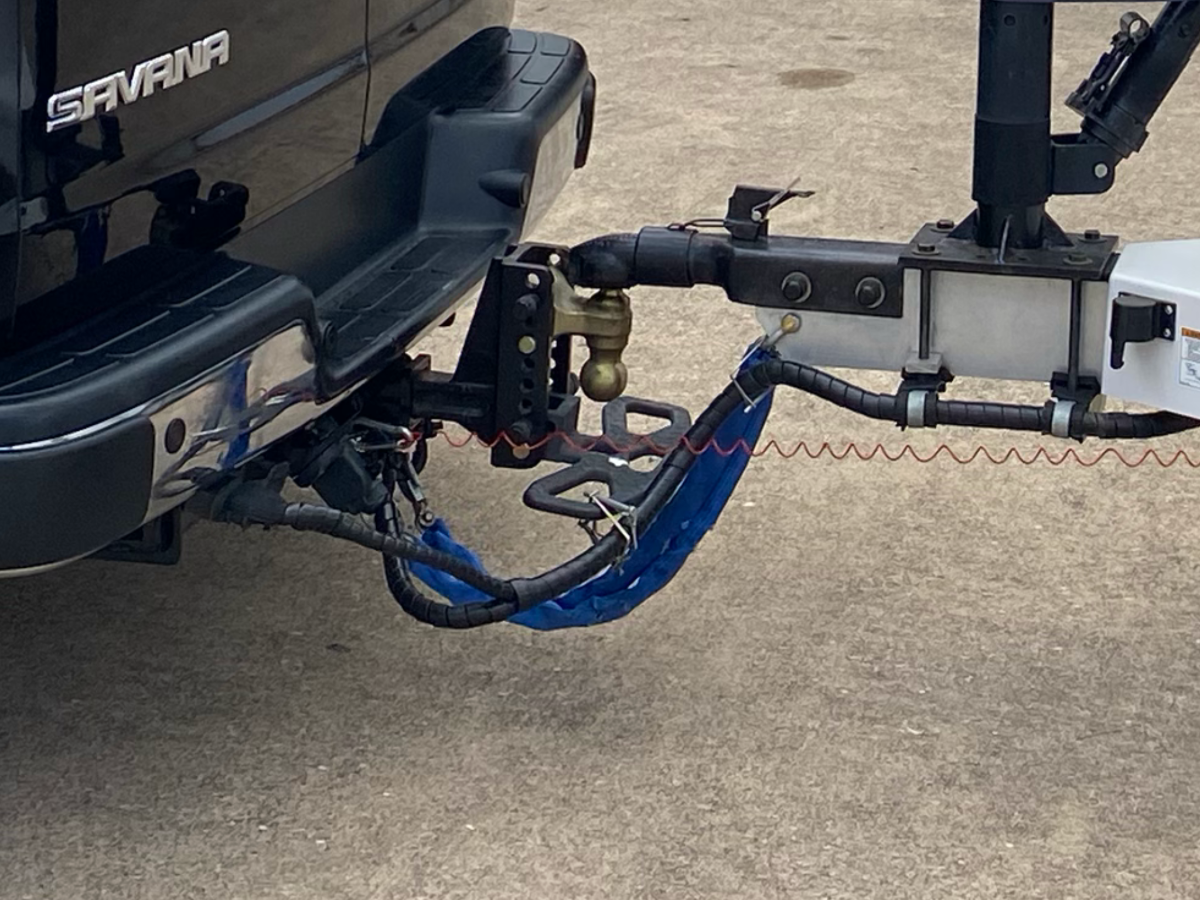
Did you keep the original 2” ball size or upgrade that, as well?
-
Slide-out Pantry Shelf - No More Fighting the VELCRO!
Ronbrink replied to MAX Burner's topic in Ollie Modifications
Same here! My pantry shelf mod involved extending it out to make it even with the adjacent twin bed with heavy duty Velcro for securement. The additional length provides more counter space/staging area. I also extended the dinette table an additional 7” for an equivalent bump out; making its utility for dining much better. I previously installed sliding Lagun tables for each of the twin beds and used the original Lagun tabletop for the pantry extension, likewise the original pantry shelf for the dinette table extension. We’ve been very pleased with these mods. Here’s a pic of the two Lagun tables, a much more challenging mod I must say! For those that have the Lagun option, you know the nightstand drawer is restricted when this table is in use. In my year model the nightstand tabletop can be lifted off, allowing access to the drawer content from atop; which was acceptable, since I preferred the leave the Lagun mounted for daily use and stowing it was a PITA. By design, I can now open the drawer even with both Laguns permanently mounted; and the wifey is now happy to have her own bed table, being I tended to ‘hog’ the original one for self use! There have been a few mods featured in this forum on relocating the Lagun mount to the side of the nightstand to enable front drawer access and my mod, as well.
-
Excellent point! As others and self, the best position with the three-way is having fans in the upper vent whereby the fans blow outward and thus, pull air upward and out.
-
Furrion Chill Cube – Product Review and Installation
Ronbrink replied to jd1923's topic in Ollie Modifications
I remember when we still had the DPll, cabin humidity reaching 80-90% some nights with the a/c running on low; contributed by the a/c, as well as our respiration. The dehumidifier we had at the time could not compensate for the excessive moisture. As you know the Atmos is much quieter and efficient in cooling, but it also handles excessive moisture much better with dedicated modes. And then with the Cielo Breez Max thermostat addition, humidity spikes are a thing of the past. -
Furrion Chill Cube – Product Review and Installation
Ronbrink replied to jd1923's topic in Ollie Modifications
It will be of interest to eventually learn how the Chill Cube handles cabin humidity in very hot climates with high RH. A cabin temp of 76° can be comfortable only if interior humidity is kept below 50%. Perhaps some other ‘Chill Cuber’ can share their experiences regarding this matter. @jd1923, your test results are very impressive! -
Touch Light Replacement
Ronbrink replied to Boilermaker Chemist's topic in Mechanical & Technical Tips
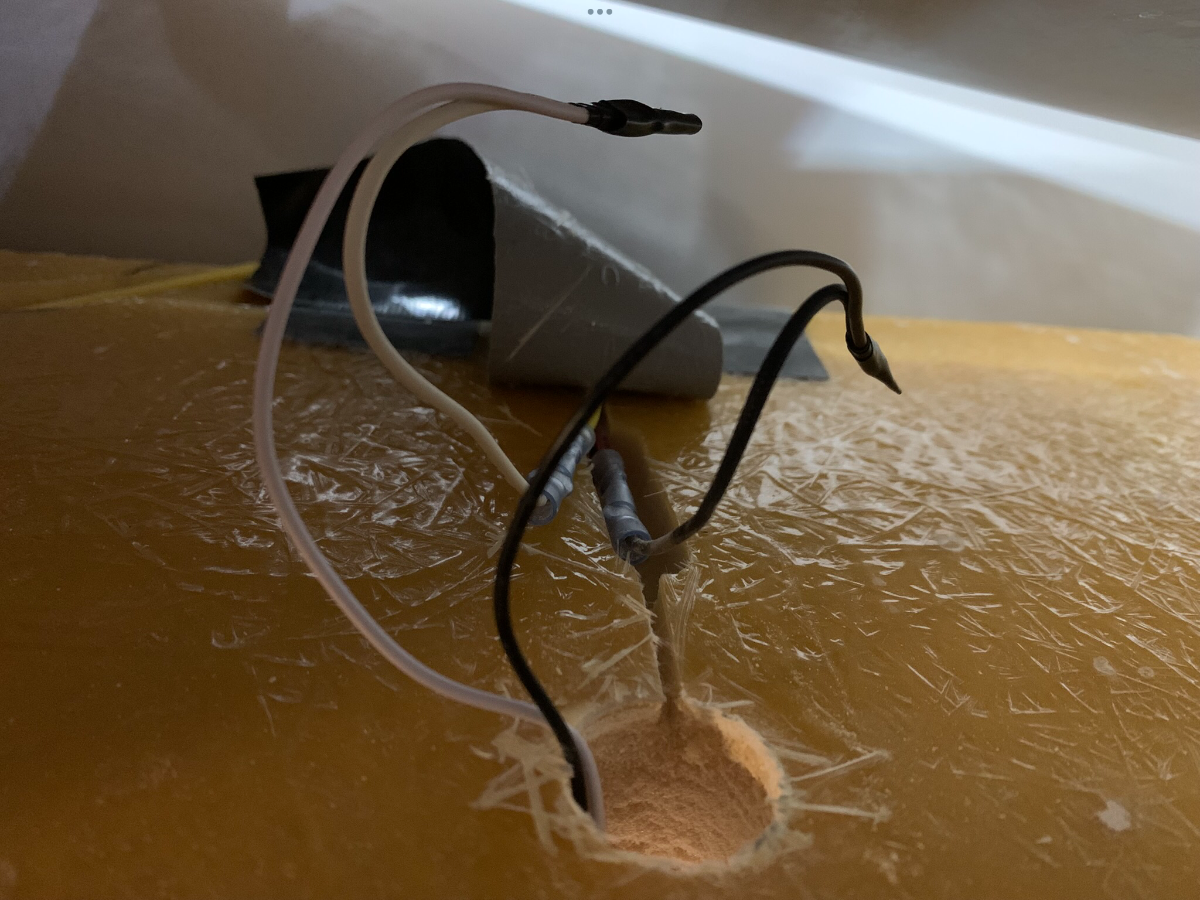
The Obeaming model I installed doesn’t have a physical button, but rather a center touch feature for on/off, as well as dimming and color selection. Wiring in my instance was simple; black to black, white to white. The wires were crimped and taped in my installation. I was pleased to find the overhead cabinets had routed channels to better conceal the wiring. Although the rivet holes matched these new lights, I choose to use screws rather than rivets; a piece of wood skewer was snapped off in each hole as filler for screw securement. I also decided to replace all of the former touch lights to forego any further issues. I’ve throughly enjoyed these lights for the past year and very pleased with the added ambiance of the blue color. They also operate as Tom @Tom and Doreen describes with “memory” when using the master power switch.
-
Cleaning the gap around the linoleum floor
Ronbrink replied to Ken Root's topic in Mechanical & Technical Tips
I don’t think of it as a ‘gap’, but rather just a recess where the vinyl flooring meets the curved fiberglass walls. Regardless, grit and grime collects along these edges and must be periodically cleaned! -
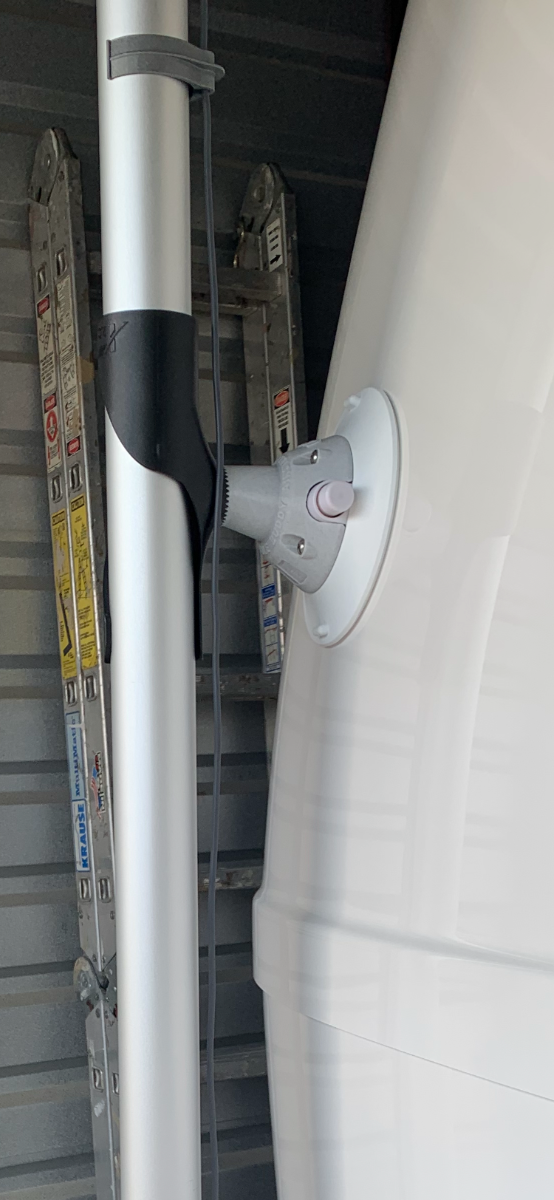
I have two sets of Flag Pole Buddy suction cup mounts; one with black cups for the flagpole, one with white cups for the SLM pole. Neither leave a lasting mark on the Oliver’s gelcoat once removed and surface wiped clean. Could be that they use synthetic rubber compounds specially formulated for a non-marring grip on RV fiberglass surfaces; unlike the typical natural rubber that does leave a mark (think black streak issues we all battle)! Been using 303 Aerospace Protectant for years on a skiff and many suggest this conditioner be applied to keep rubber cups soft and pliable for a better seal and UV protection.
-
Did this yesterday on a dual tank regulator used for a commercial grade griddle, which I modeled after the setup on the Oliver. I tapped several times gently with the handle of a crescent wrench in a few locations and viola, the fuel level indicator started working! It’s also important to open propane tank valves very slowly to keep from tripping the internal safety device that could shut off gas flow.
-
My take, this Casita measures 24’ 3” tongue to bumper, an Oliver 23’ 6”; starting prices $44,999 and $85,000, respectively! The Casita can sleep up to six and thus, better suited for families whereas the Oliver is more of a couples unit. Thanks for sharing!
-
I experienced the same issue with that swing arm circuit breaker you mentioned; loose of DC power for no apparent reason. Researched and learned the cheap breaker was notorious for tripping so replaced with a quality Blue Sea Systems circuit breaker, problem solved!
-
That’s our preference, as well. However, I choose to replace the four 6v Trojan T-105 225Ah batteries with LFPs three years ago for the specific purpose of being able to run the air conditioner off the house batteries. In doing so, lost half the weight and gained double the usable Ahs. When in transit to and from a destination and making stops along the way to rest, eat meals, shop, and do unplanned repairs and maintenance; I find comfort in a ‘cool retreat’ at these times. I can even pre-cool the Oliver prior to a planned stop, as deemed necessary. As @jd1923 emphasized, the DC-DC charger will quickly bring the house batteries to a respectable SOC upon arrival at a destination. This is how we roll and very pleased with the LFP upgrade.