

MAX Burner
-
Posts
1,681 -
Joined
-
Last visited
-
Days Won
68
Posts posted by MAX Burner
-
-
1 hour ago, Rivernerd said:
Have any more of you Elite II owners with Tundra tow vehicles had the dreaded "High Transmission Temp" warning appear on your truck?
We just towed our LEII in triple digit heat through northern NM and southern CO a couple weeks ago with no tranny issues, The Tundra performed well and we have no complaints.... All good.
-
 2
2
-
-
2 hours ago, Brian and Brandelyne said:
Max - which is yours? The Beemer, the HD or the GW? I am not riding anymore (for now) but I have over 250k miles between HD and BMW, a GW might be in my future but with all the insane drivers out there I am not sure I want to deal with them.
BL
Mine's the Bemmer... It's a K1600/GT. That's Ralph by his GW. Tom's got the HD. We've been riding Bemmers for decades. Also have a highly modified R90/6 back in the barn! This is pleasant riding here in the Rockies - drivers are aware and not crazy like elsewhere in the US, we've not had any issues. Just passed our projected halfway point today, DAY-6: 1,784 miles since departing home, FYI.
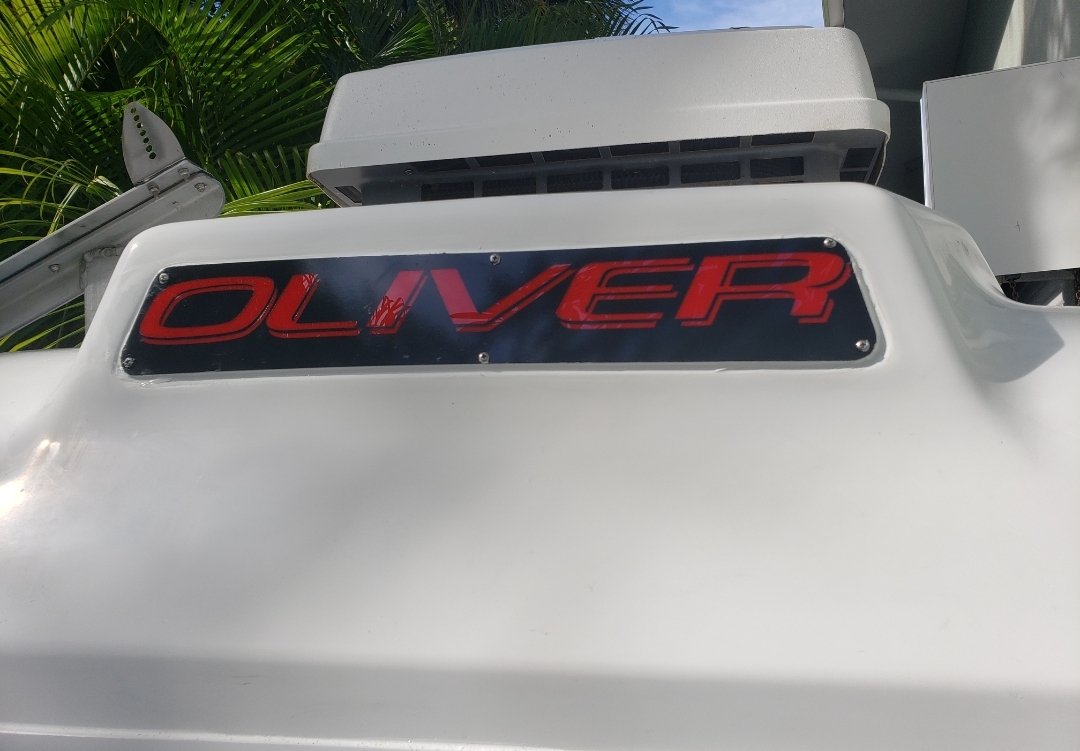
We'll be back here soon with the Ollie!
Cheers!
-
3
-
 1
1
-
-
We just checked out the Craters of the Moon campground while on our motorcycle tour today! WE WILL be coming back soon with the Casablanca! This is a wonderful area...

-
4
-
1
-
-
We're on DAY-3 of a 14-day MC tour up the spine of the Rockies to MT and today we saw our first OTT of the trip...
The Ollie in question was traveling north on CO 145 between Dolores and Rico at approximately 1345 today 10AUG. Tried to get a pic, but was a little busy at the time negotiating a few turns at a rather good clip...
Anyone know who this might be?
It's a small world so we won't be surprised if someone sees this post and shouts out, "It's us!" HA!
-
2
-
-
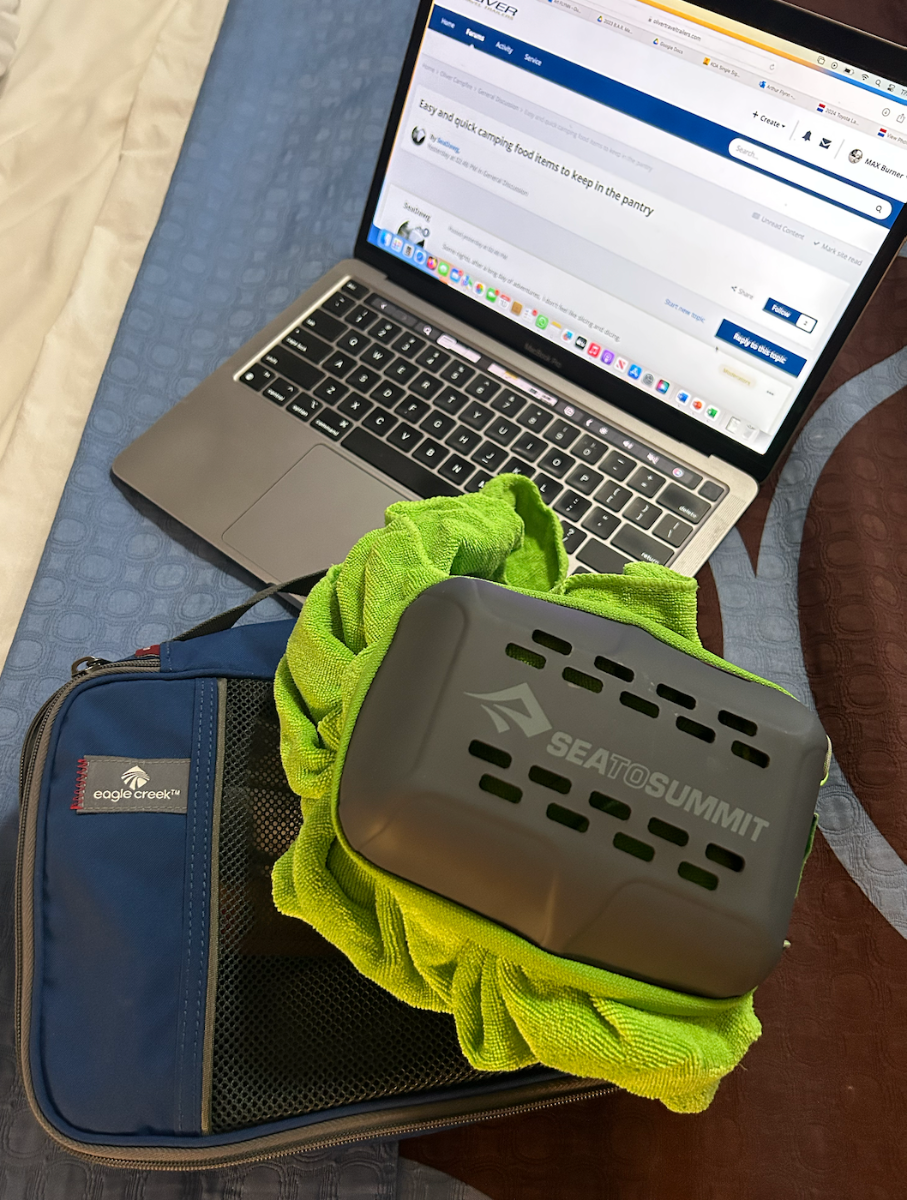
We use both - depends on what we're doing... We really like the Turkish towels for the OTT, wicked absorbent and dries quickly. But for motorcycle trips, our packing volume is WAY limited so we opt-in for microfiber, great absorbency and quick-dry factors, but the biggest plus is no volume penalty paid:
The "SEATOSUMMIT" towel is 28" x 42" - perfect for packing into the Eagle Creek Dopp kit...
By the way, we spotted our first OTT on this, DAY-3 of our MC tour up the spine of the Rockies! I'll post the particulars in the appropriate thread.
Greetings from Cortez, CO!
-
2
-
-
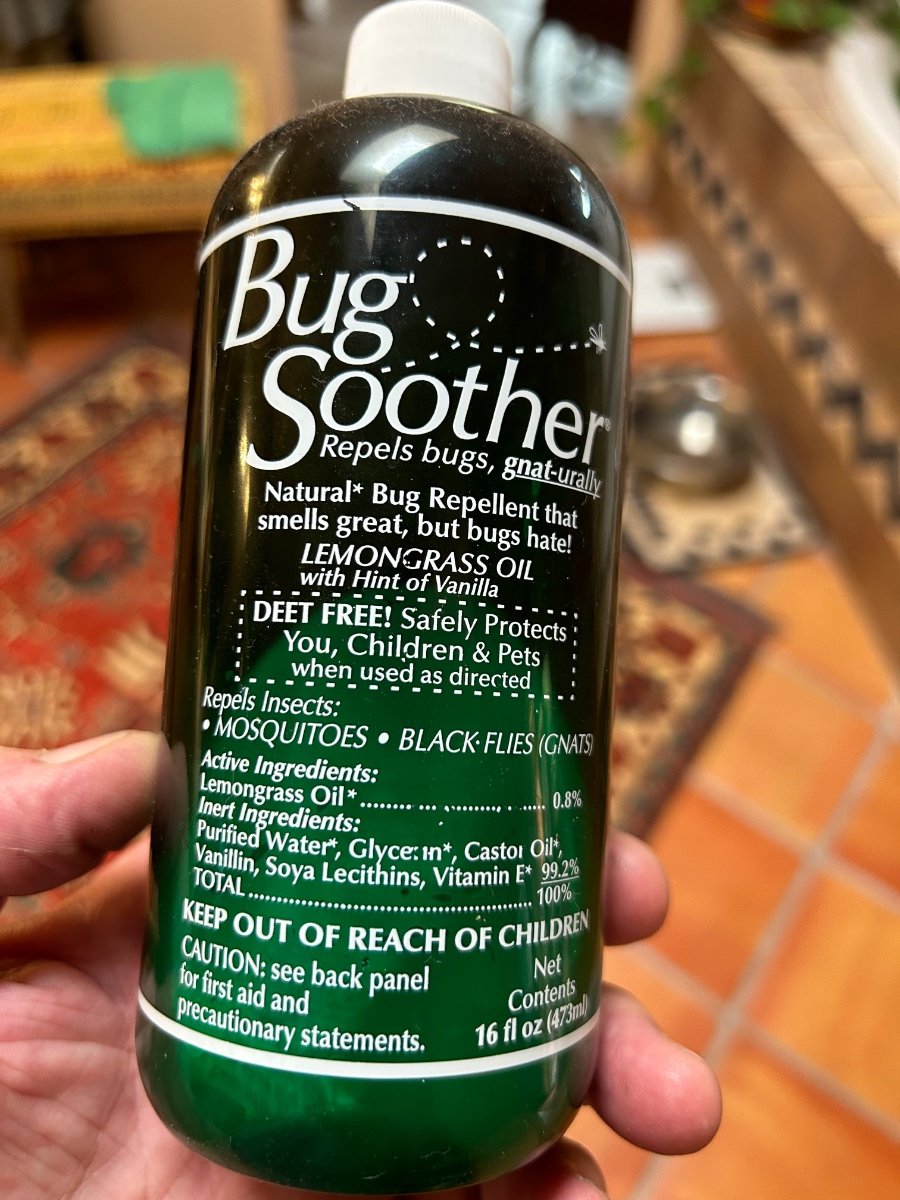
12 minutes ago, SeaDawg said:
A other annoying big welt from a bug bite today.
We've been bringing this stuff along ever since our trip from NM to Key West in 2018.
We were staying a few nights in Grassy Key and the flying/biting bugs were awful - they gravitate toward me more than D, so I was already enjoying a couple weeks-worth of lumps. HA! Bought a couple cheapo box fans from WalMart and set them up on our "patio" to sit in front of... A local couple came by and said they liked our fan arrangement but to get some "Bug Soother" - so we did. For us it works great and we've got at least a couple spray bottles living in the bathroom overhead storage. D buys it by the gallon from Amazon...
Haven't tried it in Alaska yet, seems like the go-to stuff up there is a high percentage DEET spray! Ugh...
-
 1
1
-
1
-
-
1 minute ago, mossemi said:
I think I would op for 2 smaller mats, especially if we had a Clam shelter.
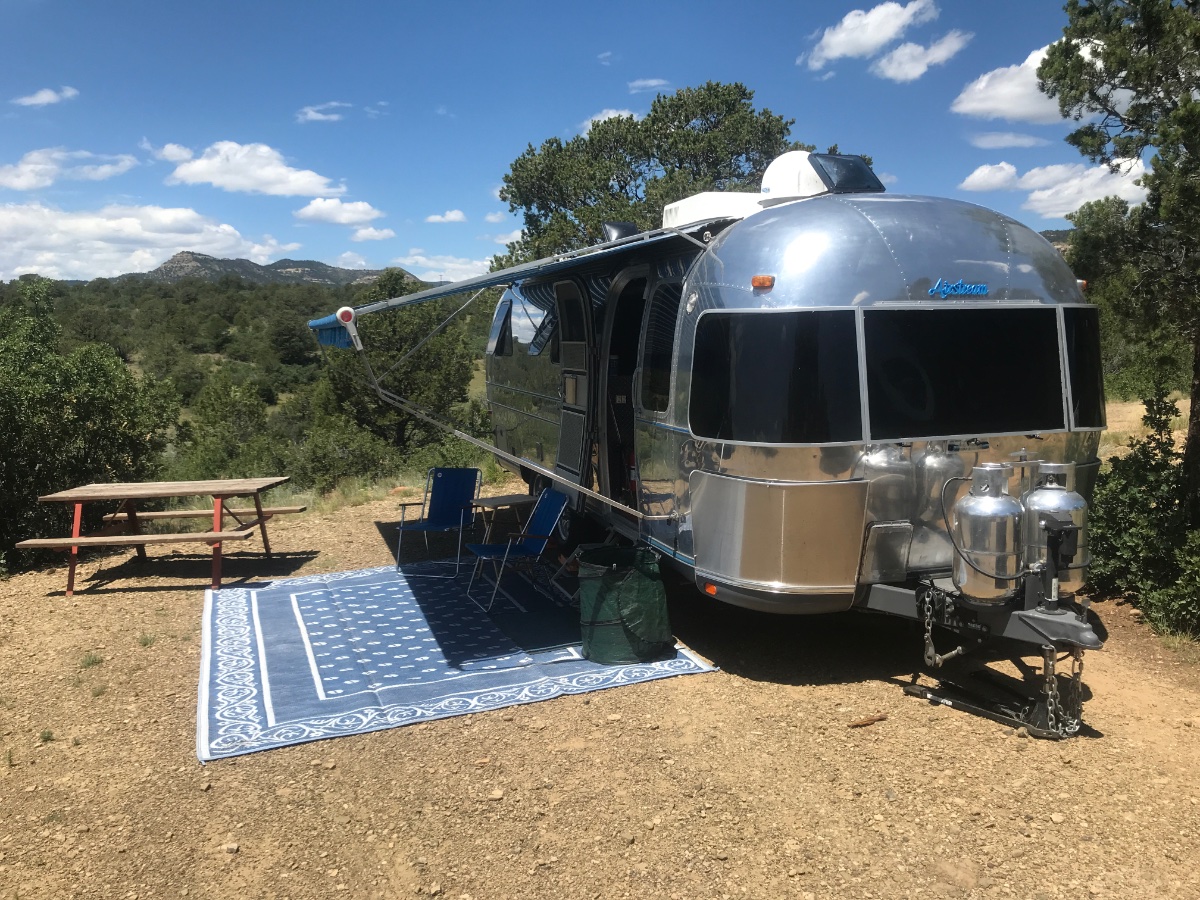
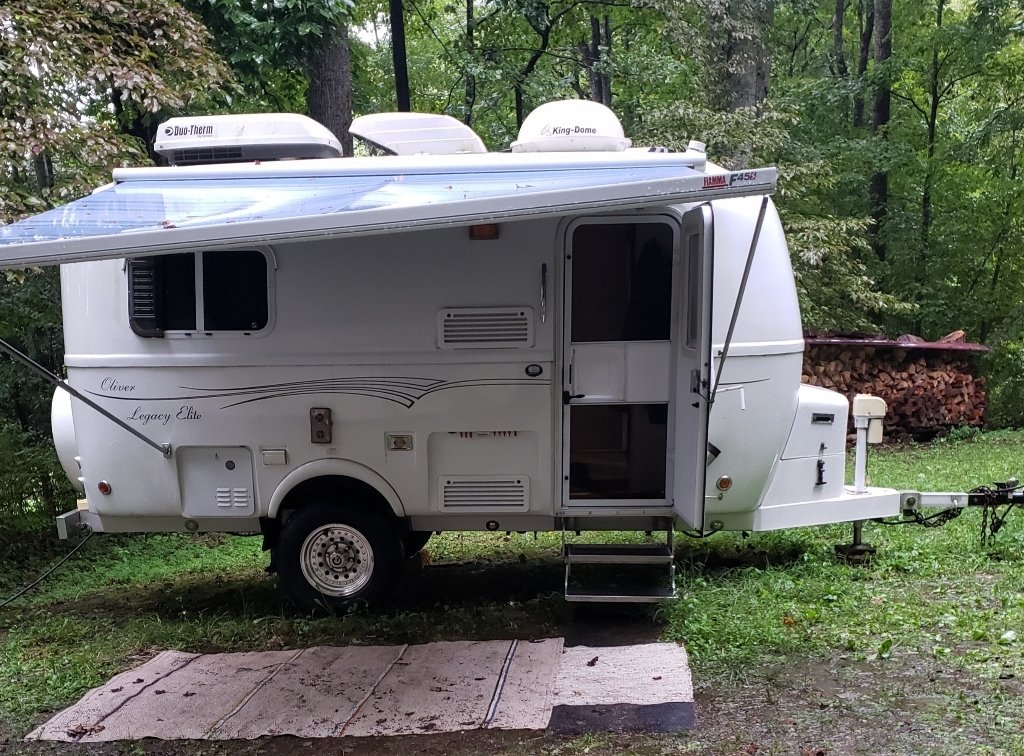
@mossemi: That's a great point - if we get a Clam in the future, we would definitely consider the option of 2 smaller mats; which would be a perfect configuration. Although we like the 8' x 20' and it fits into the rear garage hatch - it is not light weight by any stretch compared to the recycled bottle mats. We had it for the AS which was a longer rig, a smaller size CGEAR mat for the Casablanca would be even better, IMO. We'll probably live with this one until a Clam is obtained...
-
2
-
-
On 8/7/2023 at 2:48 AM, Gliddenwoods said:
Tighten new lug nuts to 90 lbs; correct?
We're using 95lb-ft torque setting on ours...FYI
-
1
-
-
3 minutes ago, topgun2 said:
The biggest benefit that I see with these mats is that they fold/roll up much smaller as compared to the recycled plastic bottle mats. However, from what I've seen, the CGEAR sand mats are also somewhat more expensive.
@topgun2: TRUE and TRUE! There's no way we could fit the recycled plastic bottle mat into the Ollie garage, ours would only roll-up into a giant burrito and would live in the shop and travel in the truck bed, its nice having the CGEAR residing in the OTT. Definitely more expensive, though - ours was north of $160. We've been using it since 2020 on several dozen trips - very little if any noticeable wear/tear... Tons of size options, too.
-
4
-
-
FYI: Over the year's, we've been getting our mats from the Quartzite RV show - they're the ones made overseas (China?) from recycled plastic bottles. They would last several years, but hard to keep clean and once they started fraying - boom!; our's would unravel fast. Fairly inexpensive and loads of colors and patterns.
D found the traditional CGEAR sand mats several years ago and they work great for us! Water drains through them quickly, debris - sand, dirt, etc., works its way through and not into the Ollie. The mat has lots of tie-downs and is a heavy duty product all around. She got us an 8' x 20' green/blue color combo with the storage bag made from the same material. The bagged mat fits into the "garage" hatch and lives full-time in the Casablanca. D and Magnus really love this one! "HWHL"!
-
3
-
-
12 hours ago, SeaDawg said:
With the hundreds of great showers it has provided, and years of service, I wouldn't even look for another brand.
Concur w/@SeaDawg: we've been using the Ecotemp at our dry cabin in CO near Mogote since 2008 - our's runs on a pack of D-cell batts, you definitely need to remove them as a part of your winterizing checklist. We built a vented plywood box and mounted it on the cabin for outside showers - 100's of showers, indeed! Good product for sure.
-
1
-
-
2 hours ago, ScubaRx said:
I'm all about overkill, but a combination of two surge protectors (Surge/Only Portable at the pedestal and a Surge/EMS inside of your RV) will not interfere with each other, and will basically double your Joules of surge and spike voltage protection. And the inexpensive (under $100) portable Surge/Only protector on the pedestal becomes the sacrificial element that can be destroyed by a really big lightning hit in the area, or stolen by a thief looking to liberate you from your more expensive Surge/EMS protector.
Totally concur, 100%. Maybe a bit off the topic of this thread, but...
We carry and use an inexpensive portable surge protector for all the same reasons @ScubaRx describes - plus connecting it first to the power pedestal will give you a reading of the nature of the power being provided at that point of usage. We recently had a reversed neutral readout - it stopped us from connecting the Ollie and we notified the RV park office attendant. Apparently, recent maintenance on the pedestal left this condition. It may not have caused damage by proceeding to connect, and the internal Surge/EMS would have likely saved the day - but why gamble on it?
-
2
-
-
We're used to rotating our spare into the running gear sneakers with our old "ASs", thinking that it would make the 5-tire set last up to 20% longer. Obviously, on replacement you're paying for a 5-tire set instead of only 4. Where we live in the Great Southwest, the heat still degrades the spare even though it's covered from harmful UV under the spare cover - so refreshing the spare at "new tire time" makes sense to us. Counting on having a 5+ year old dusty spare perform safely when we need it most might be sketchy, IMO. We have a fresh set Cooper Discoverer HT3's on our 16" wheels and will continue to rotate the 5th tire into the mix - a little bit of a PIMA, but worth the peace of mind. We're happy that Hull 226's spare cover fits over our size sneakers!
Not good to be chintzy with running gear...
Cheers!
-
1
-
-
-
2 hours ago, SeaDawg said:
Yes. We move the front at an angle.
Thanks. It's great that you can access inside - even if its just to hang out and have a cold one!
-
1
-
-
15 hours ago, SeaDawg said:
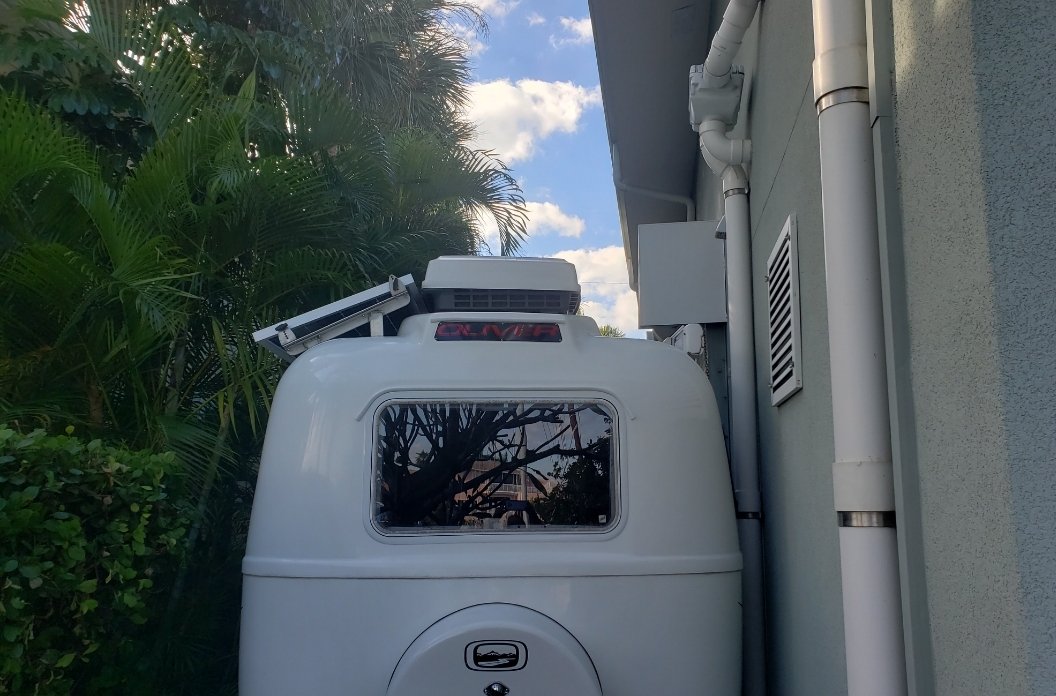
Almost 16 years, @Patriot. We brought it home, February, 2008.
I'll look for a few more. You can see my trailer in every update post we do.
These are from 2020, I think.
You can see the yellowed jack head. My bad. We should have covered it.
So, @SeaDawg - can y'all still shimmy into the main hatch when there's a need to play inside your Ollie when docked along side the house? Just curious...
-
10 hours ago, rideandfly said:
Mushroom style tire plugs
These work great! Used them on our dual-sport motorcycle when even a "pinch flat" could be repaired well enough to get back to civilization! Highly recommend having this small/tidy as part of a standard load-out kit for anyone traveling on inflatable running gear, IMO.
-
1
-
-
16 hours ago, ScubaRx said:
John Davies was not satisfied carrying a small tire as a spare and simply removed the tire cover and replaced the tire with a standard size leaving it uncovered.
I'm thinking that @John E Davies actually upgraded all of his tires to a larger/taller size and wanted the same size for his spare. The size of that tire couldn't fit inside the tire cover - so he wrapped up the tire cover and stored it in his shop, but I could be mistaken - I've slept since I read that thread. HA!
-
1
-
1
-
-
1 hour ago, Brian and Brandelyne said:
Lithionics batteries have ON/OFF switches so you can turn the battery itself OFF for storage. I think that is a nice feature and it's good when you want to do work around the battery.
Concur, 100%.
I'm thinking, as a "Battle Born Guy", that one would achieve the same effect by having a master battery cut-off switch inside the battery compartment, labeled accordingly, specifically for first responders in the case of a fire and the need for securing electrical power to the rig.
-
2
-
-
@mossemi: Yes, the orange and black release handle…
-
5 minutes ago, John E Davies said:
As a final note, with this knowledge you could wreak havoc on your neighbors if you were feeling mischievous!
HA! Good one! 🤣
-
1
-
-
11 hours ago, Boudicca908 said:
My friend taught me her brother's "fix" for re-installing screws into small holes in wood when they basically won't take a bite: put wooden toothpicks and wood glue into the hole, let them set, cut the exposed ends off flush, and then screw back together. So far, so good.
Very ironic/timely comment here.
A few months ago, we experienced the launching of our middle right galley drawer onto the deck after perhaps taking a few windy curves a bit too fast and having WAY too many cooking pots/pans inside of it. The forces ripped the locking mechanisms from their mounting positions underneath the drawer held there by two (IMO) very small wood screws.
The "toothpick temporary" fix was executed in situ while camping that afternoon. Until just yesterday, we removed all the drawers to inspect for potential water damage as suggested by another forum thread, only to find that the toothpick fix was not holding. So we removed the short factory-installed drawer screws and replaced them with 3/4" wood screws that reach into the drawer fronts.
It's suspected that the factory builds the drawers, installs the rail hardware before they attach the drawer fronts - makes sense to use shorter screws that don't penetrate the drawer box. But who knows? The longer attachment screws are just another effort to achieve a "peace of mind" knowing they'll last a bit longer. IMO, the longer screws with the Raingly Footman Loops/straps make the drawer system more bomb-proof when towing.
My $0.02.
-
3
-
-
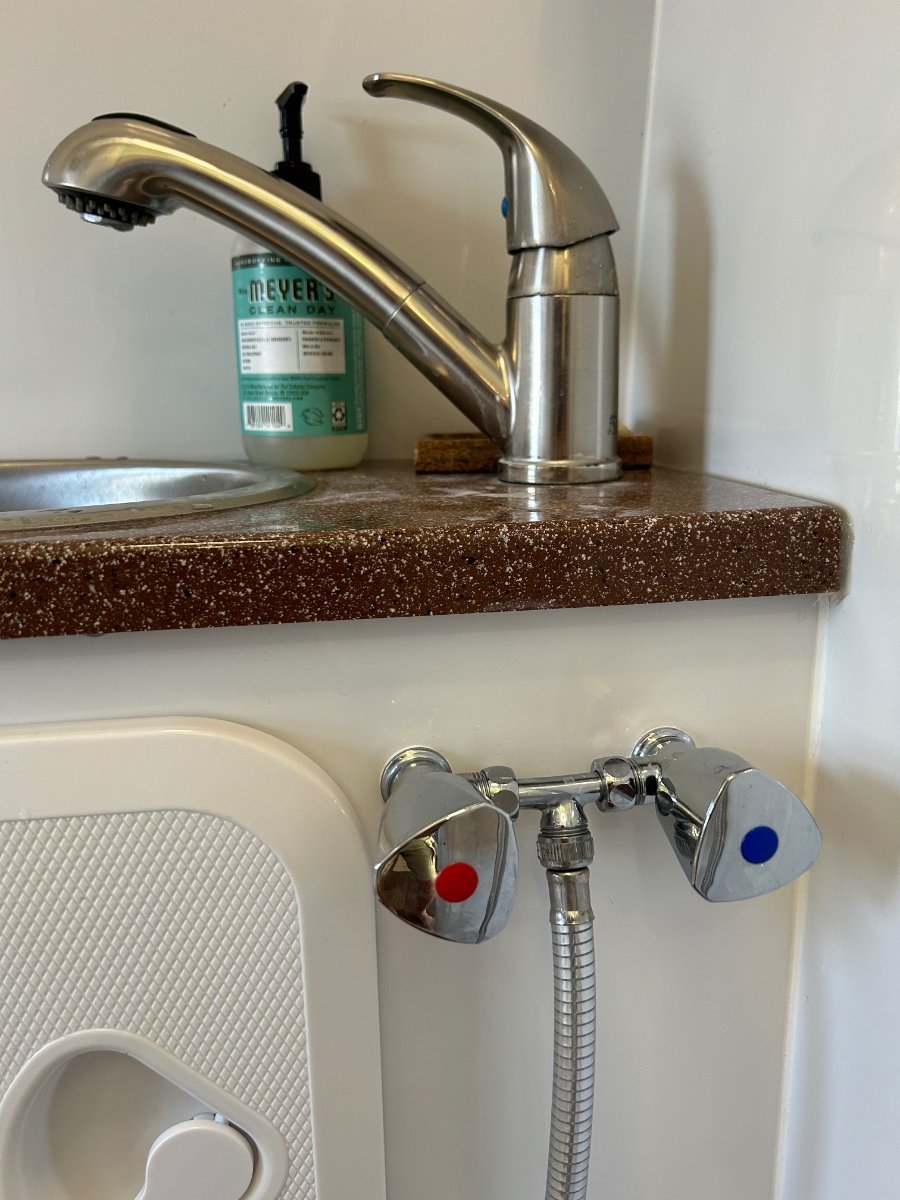
FYI: Our's came from Scandvik on Amazon:
-
1
-
-
@Steve Morris: Steve, nice looking set-up for the bikes, brother! Really like the license plate mount and the hard point tie-down through the spare tire cover... Great idea.
Our's is slightly different, but what we found very helpful during our road trip this week (in reducing the jostling), was adding 2 tie-down straps at both ends of the top tubes and the other ends (left and right) back down to the ends of the square tubing.
No issues... Rock-Solid!
-
3
-


Bathroom vent fan
in General Discussion
Posted
You'll like the LED feature, Mike - the MaxAir also has a locking tab on the handle to keep it from opening while under tow...FYI.