John E Davies
-
Posts
5,759 -
Joined
-
Last visited
-
Days Won
243
Everything posted by John E Davies
-
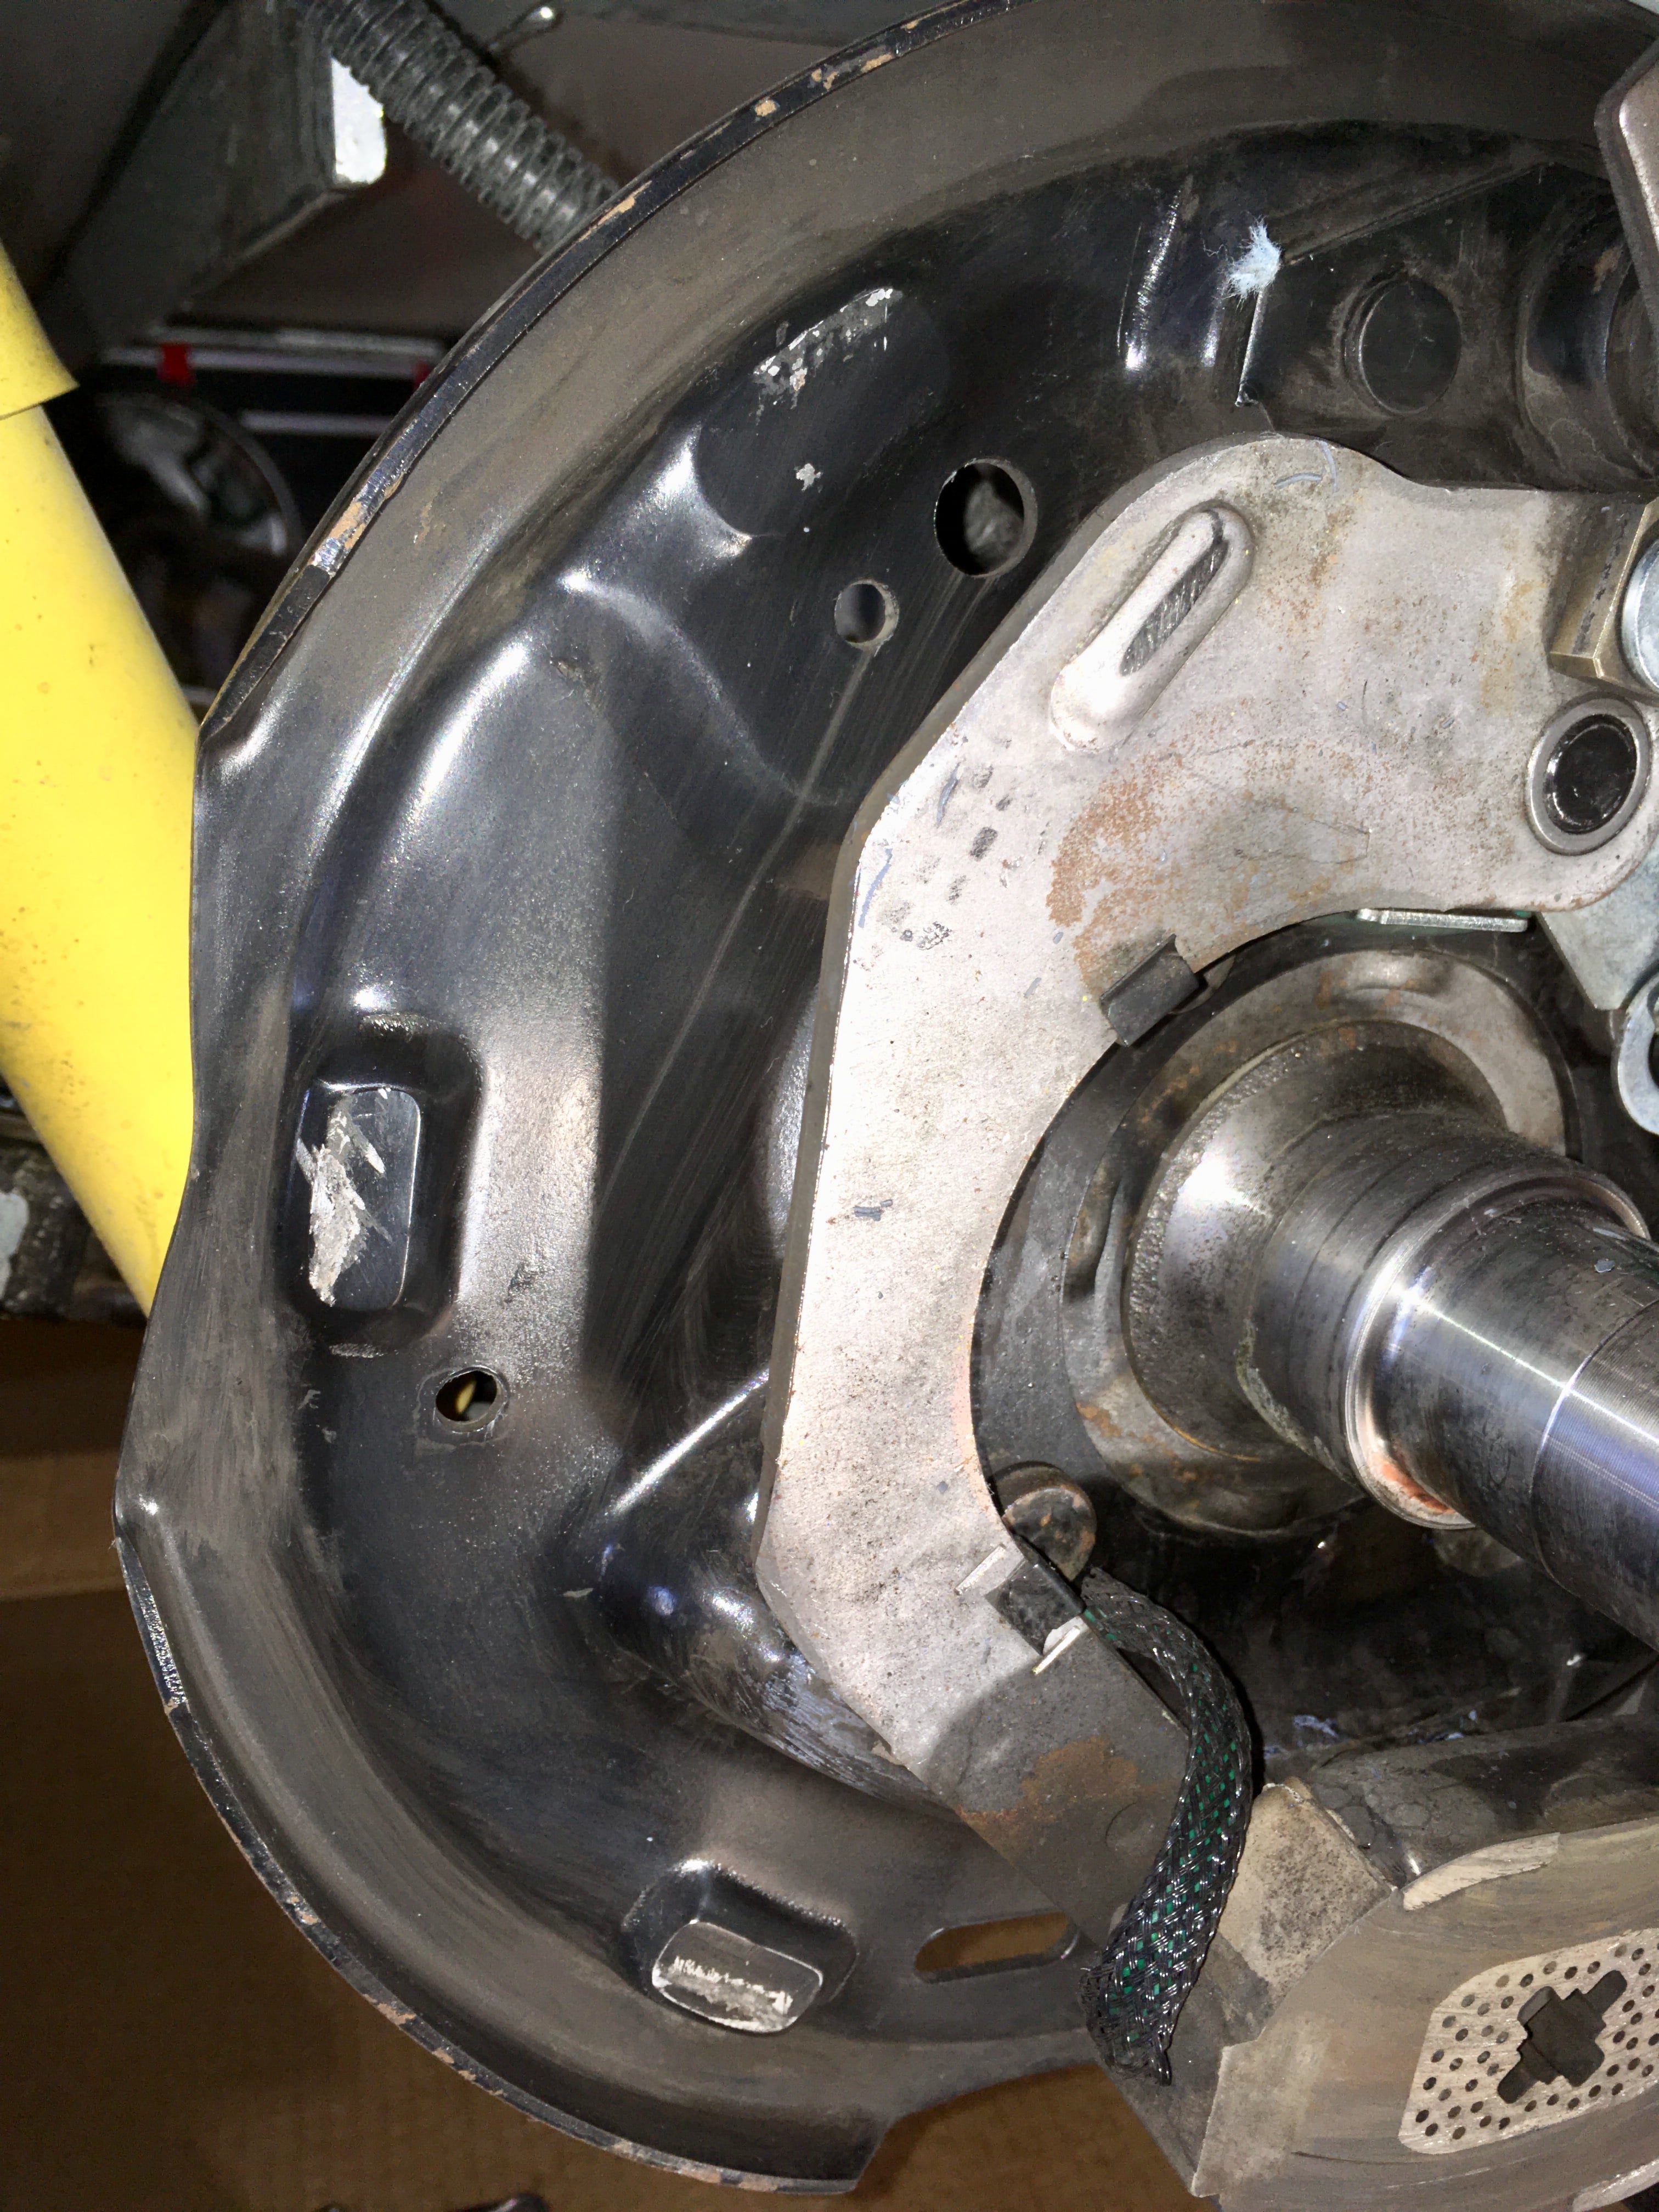
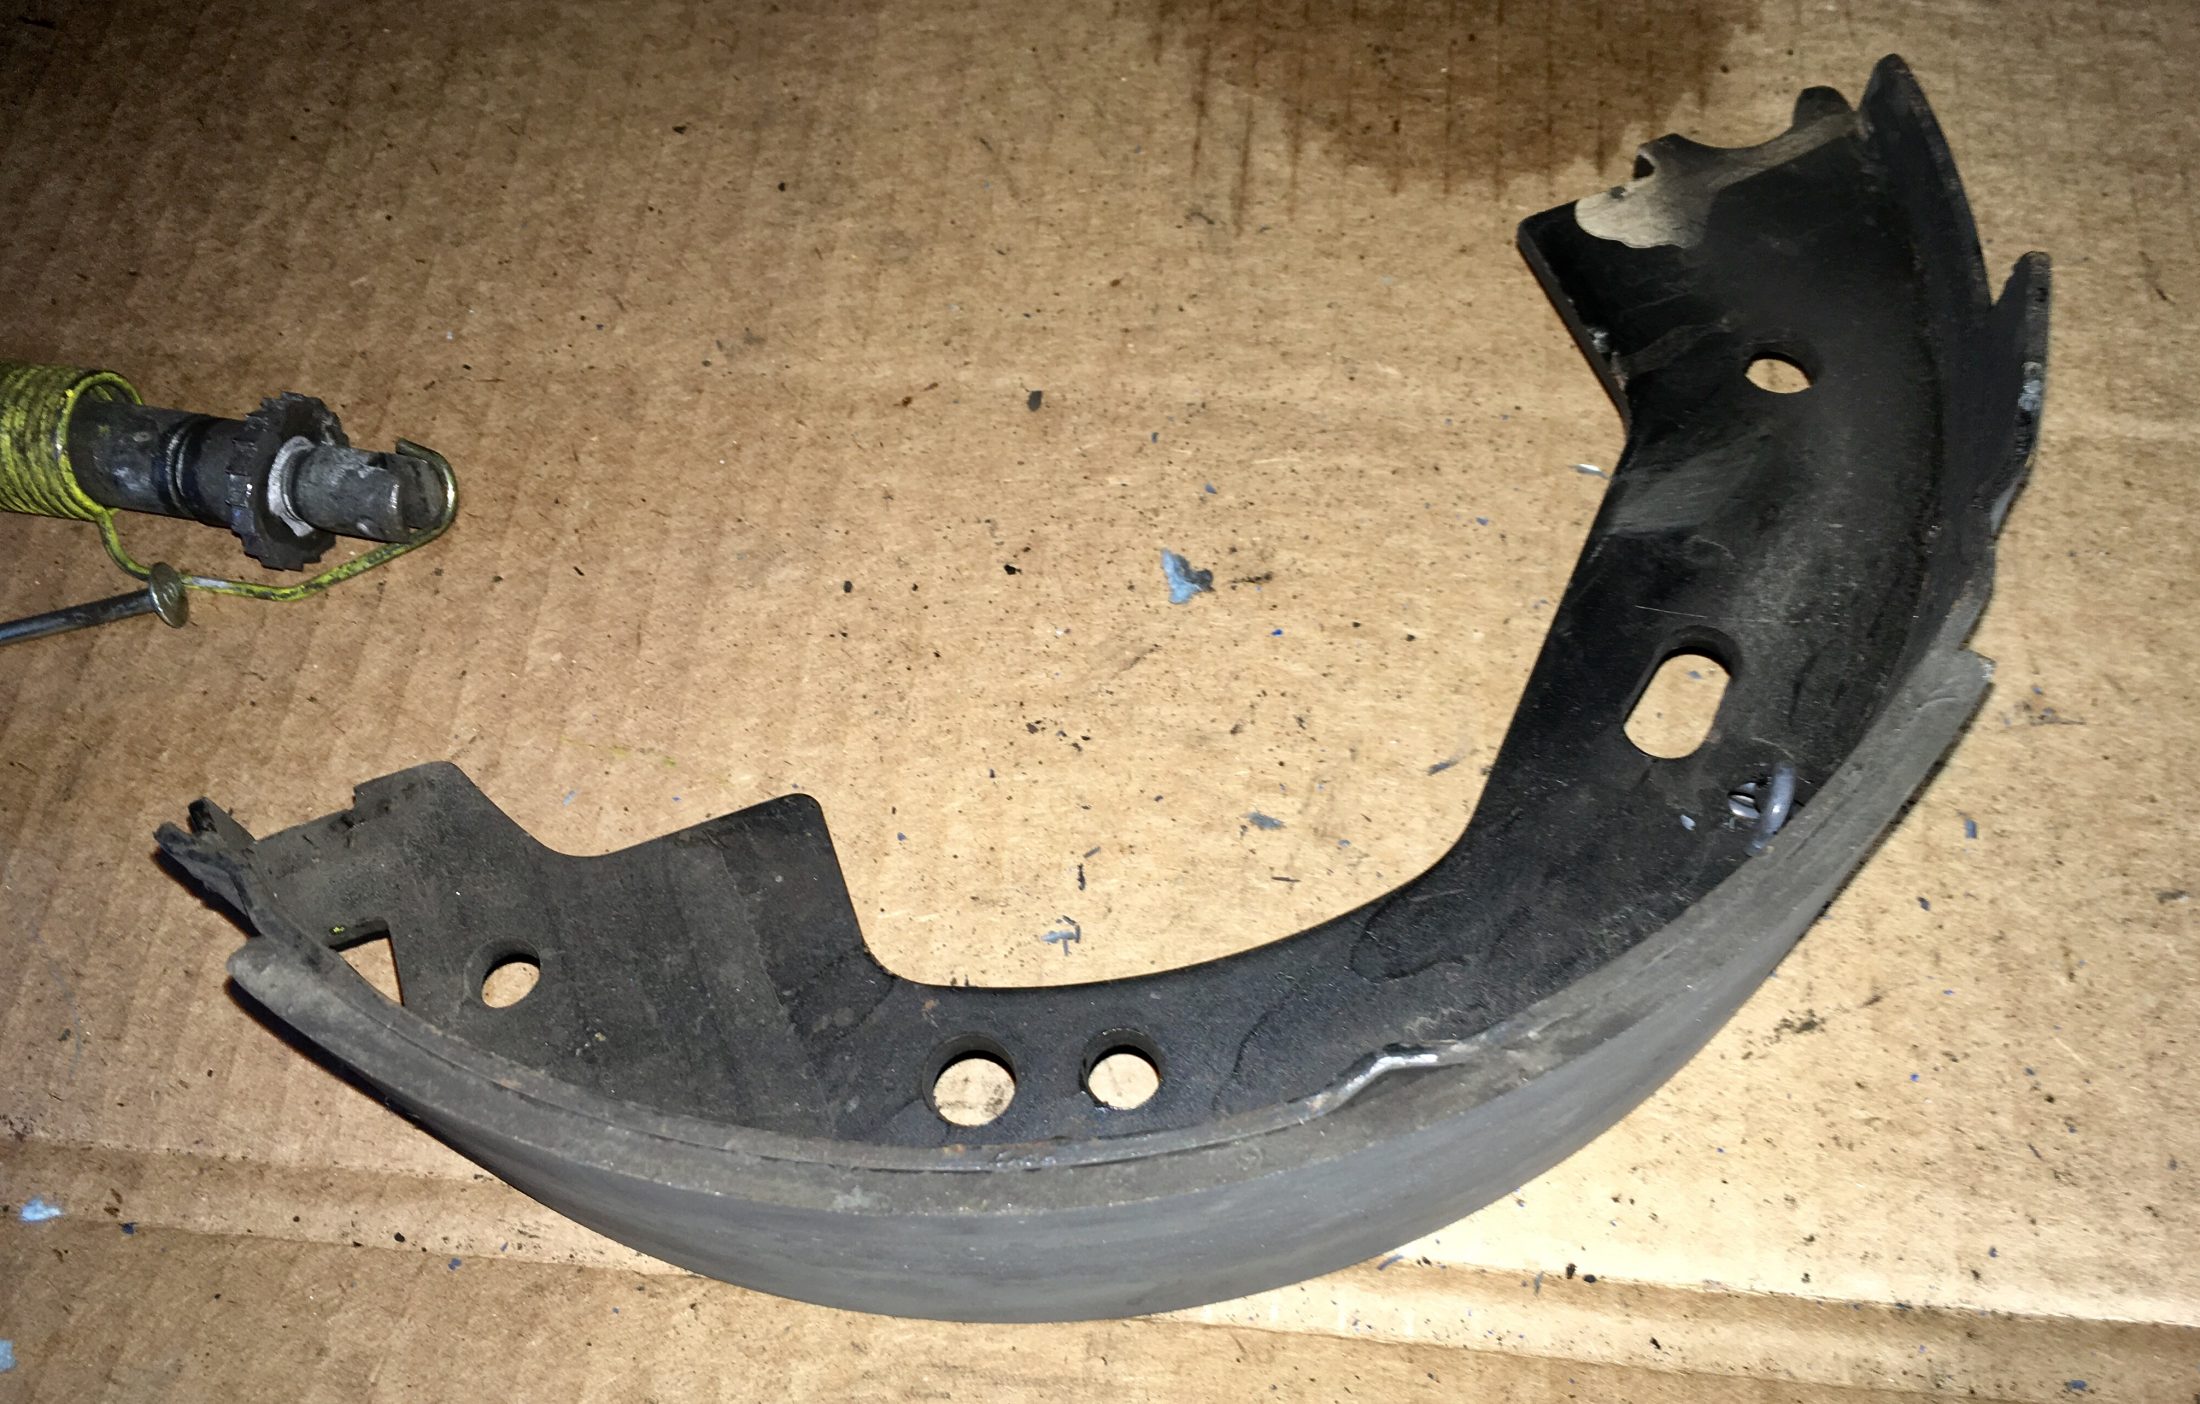
 I dug into my brakes today ... after cleaning they do not look bad at all after 6000 miles, and the high quality inner seals I installed at 4000 miles do not leak. But the left front brake which has been grabby, has a seriously binding primary (front) shoe, and its buddy on the other side of that axle also does, a little. Video showing how I found the problem, please view and comment.... I was going to find locally four manual adjuster screws and the proper springs, Dexter Part Number 300, but could not find a source that was open and also affordable. NAPA does carry them for $15 each. I ordered 4 for $32 shipped online. I will delete the self adjust cables and arms and use manual adjustments. I don’t mind tightening them every 1000 miles, it is veryquick and easy with the Oliver onboard jacks. https://www.crofttrailer.com/300-adjuster-and-spring-kit-for-dexter-and-hayes-electric-brakes/#page=page-1 You must change the adjuster and spring, the Nev-R-Adjust ratchet type screw will not work without its cable and actuator arm. Its spring does not ride inside the star, and the star teeth are the wrong shape. I will post a new thread later about swapping them out, assuming they fit. I think they will, from what I have read on other trailer forums. At least one other owner has done this. Here is the backing plate and rear of the problem shoe. They look normal. Note the Nev-R-Adjust screw and spring to the left.... Assuming lubing the backing plate and rotating parts will get these brakes working to a degree that I trust them, I will defer the disc brake installation until winter. If I can’t get them operating smoothly, I guess I will be starting that project in a week! I’ll follow up here with pics showing how to take the brakes apart without drawing blood or requiring special brake tools. Later. John Davies Spokane WA
-
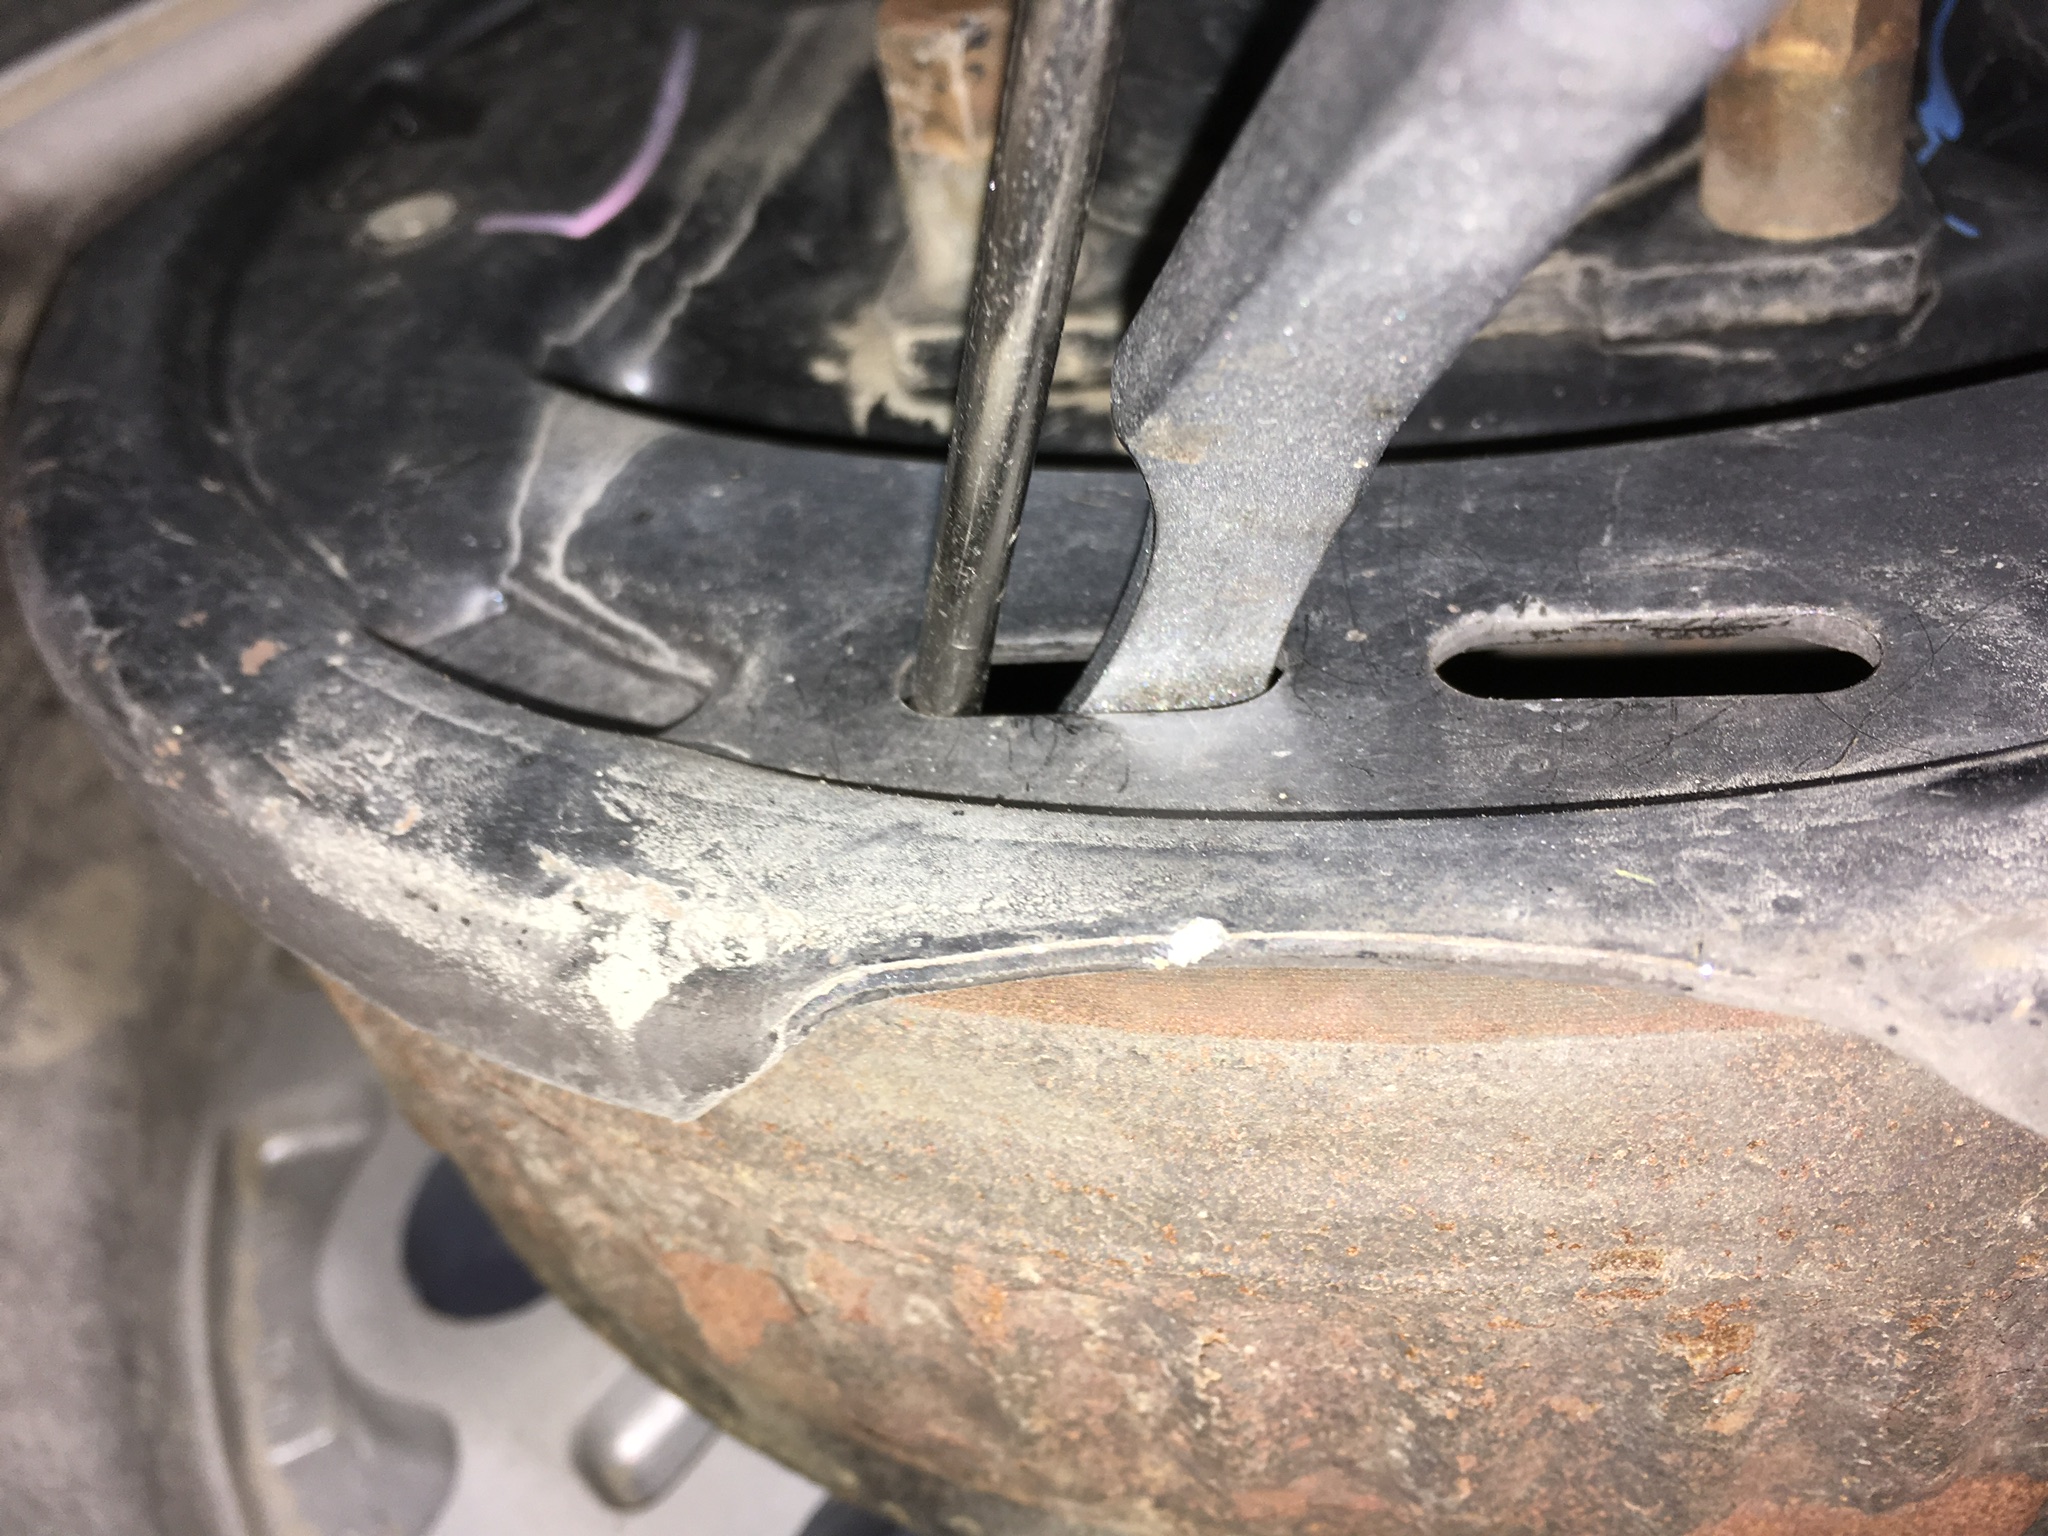
I raised all four wheels up and checked the star wheel adjustments by lifting the automatic arm with a thin screwdriver. Silly me, I assumed the brakes were set right because they are Nev-R-Adjust, right? Left front 23 clicks until brake bound up. LR 21 clicks RF 14 clicks RR 42 clicks (!) I backed them all off to 8. I have to admit that I was very startled that they were so loose, and that they were all so different. I had them apart about 1000 miles ago to correct leaky seals, and everything looked great otherwise, and the auto adjust stuff looked fine. Why they have not self adjusted, I cannot understand. Oh wait! “Never Adjust”, they are named correctly! I will keep an eye on them, the LF is still grabby and locks prematurely, so when I go into them I may just eliminate the cables. I will check to see if the brakes are postioned correctly on the axles (left and right). Disk brakes are in my future, when money allows. John Davies Spokane WA
-
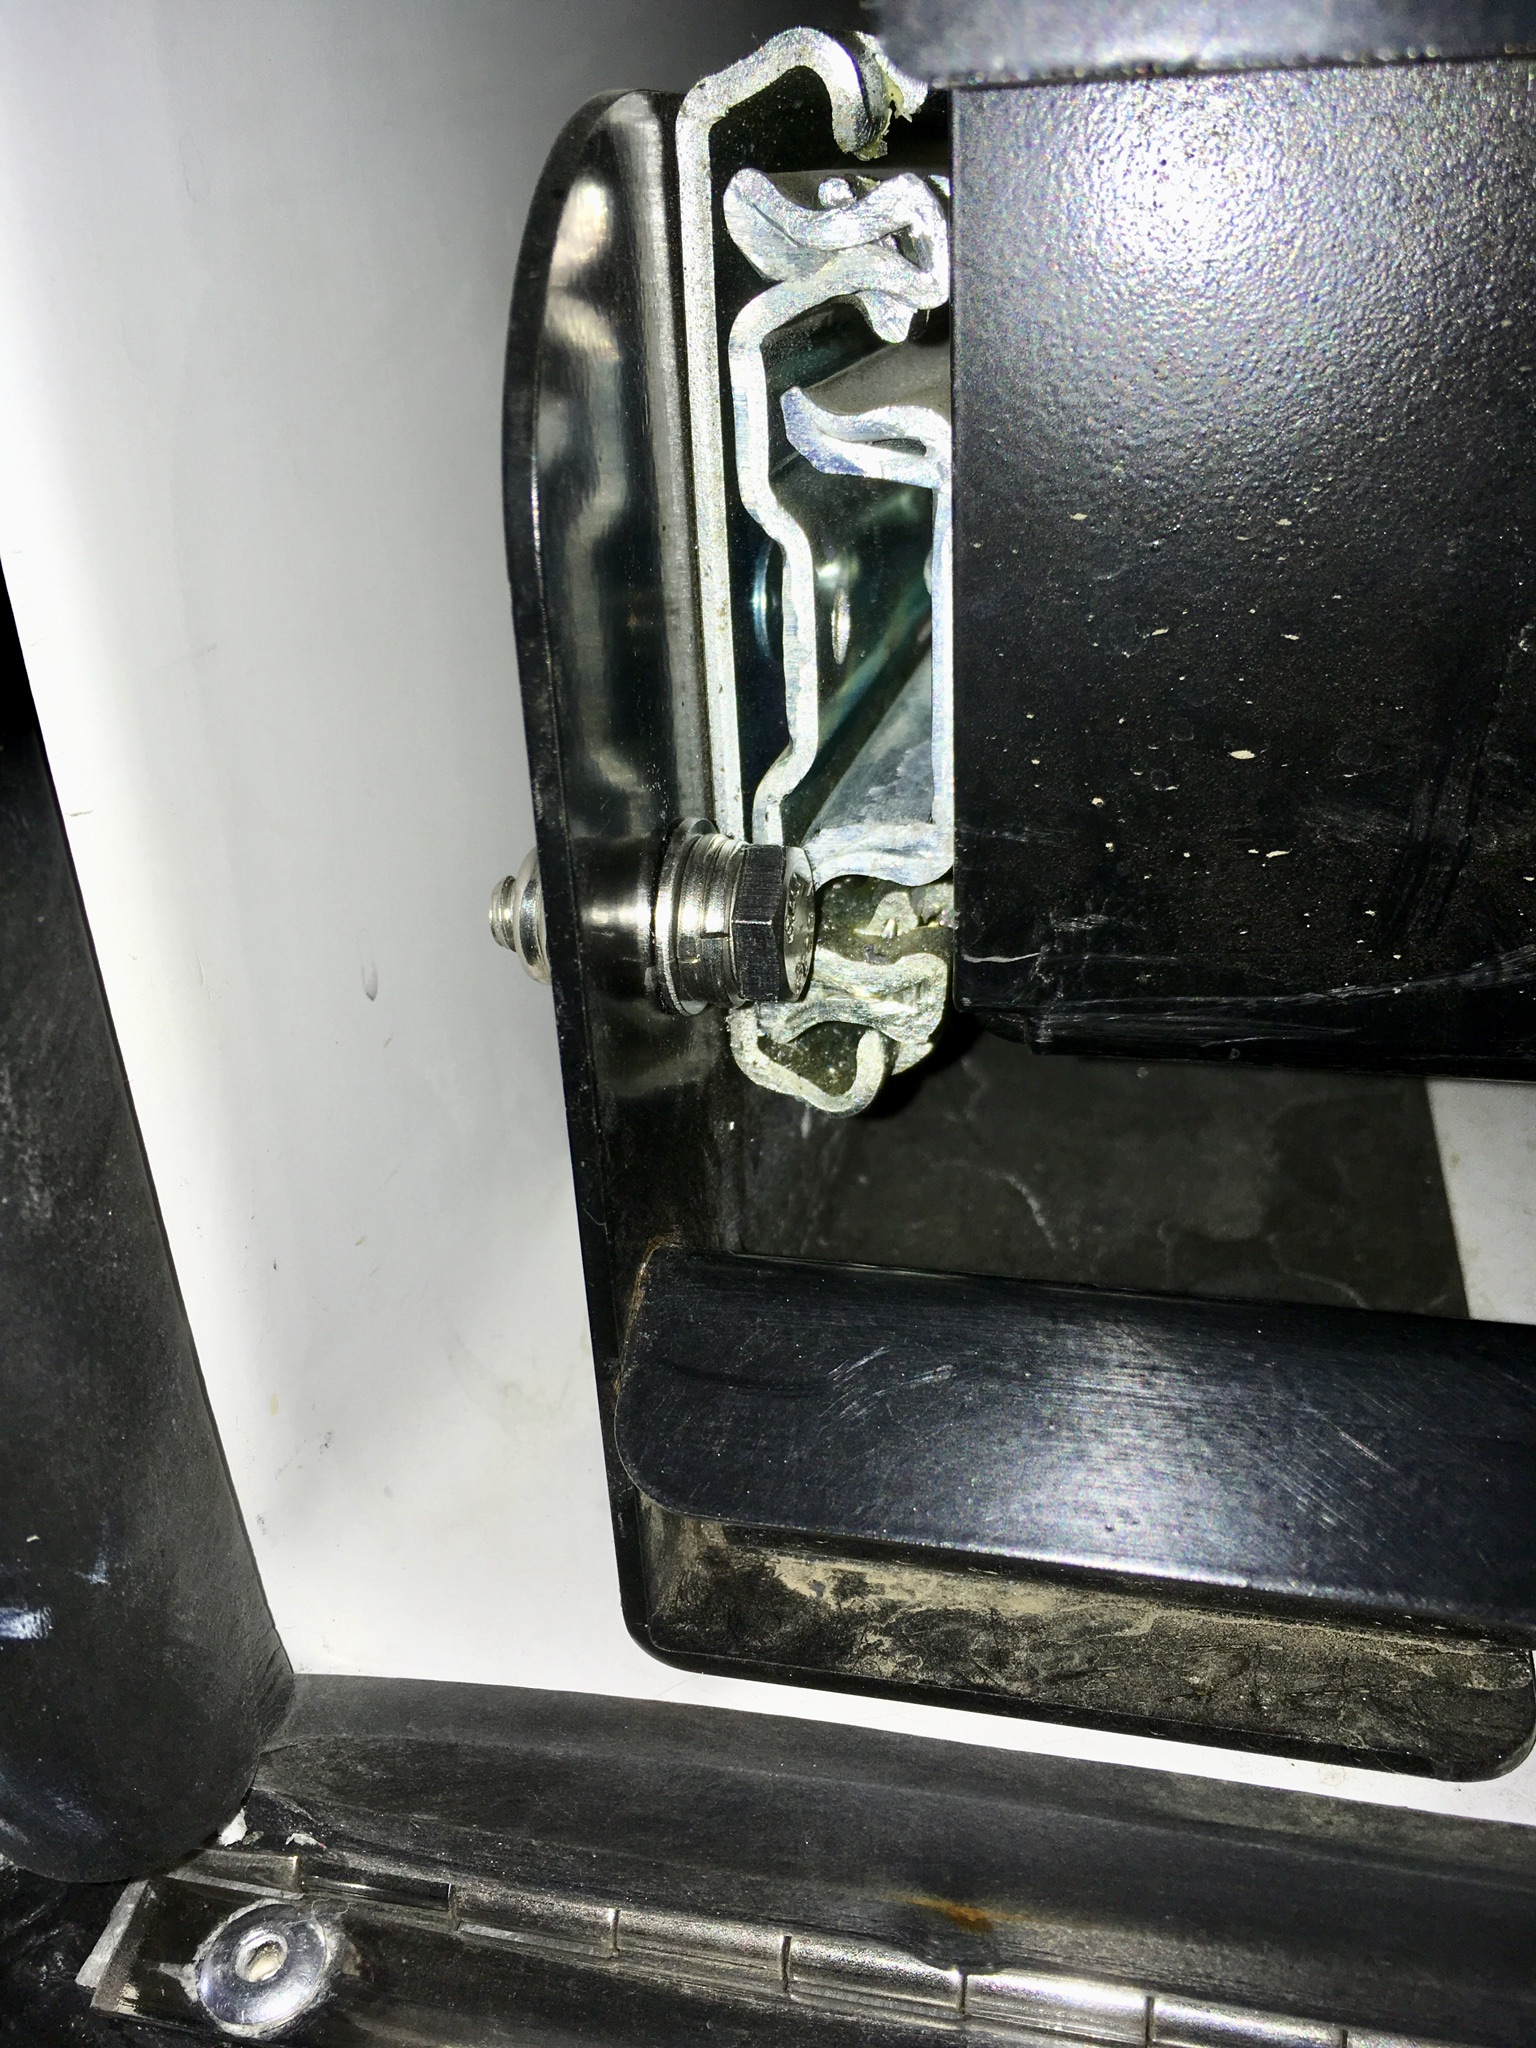
Thanks very much for bringing this issue to light.... I just secured my tray, but I only added a single 1/4 inch stainless bolt. I really don’t think you need to have two. I positioned the hole so the head and two stacked lock washers were hard up against the slide with it latched fully closed ... it is going nowhere until I let it. John Davies Spokane WA
-
This is a very good video showing how this unit is supposed to work. BTW, the shoes adjust while braking in a FORWARD direction, not in reverse like automotive drum brakes. https://www.youtube.com/watch?v=O2CHjTw9EA0 Dexter document, print and file if you don't already have this info: https://www.dexteraxle.com/docs/default-source/dexteraxle/product-documentation/installation-instructions/059-045-00c_s-amp-l_10x2-25_12x2_nra_man_electric.pdf?sfvrsn=12 My LF brake was grabbing badly, I thought I had fixed it (leaking seal) but now it has returned and I will have to go back into it. Has anyone had problems with the Nev-R-Adjust system over- or under-adjusting the shoes? I am tempted to just cut the stupid cables and go back to manually adjusting them, which is not difficult or very time consuming. At least then I will know then what the shoe clearance is and that should not change other than from wear. Comments? John Davies Spokane WA
-
<p style="text-align: left;">You need to qualify your question with the part of the country you would be visiting. For summer:</p> Eastern states ... much of the time (high humidity), Western states, higher elevations..... once in a Blue Moon. Western states, deserts ..... all the time. I carry a generator, just in case. I can’t sleep when the inside of the trailer is above 85 degrees. Does that help? John Davies Spokane WA
-
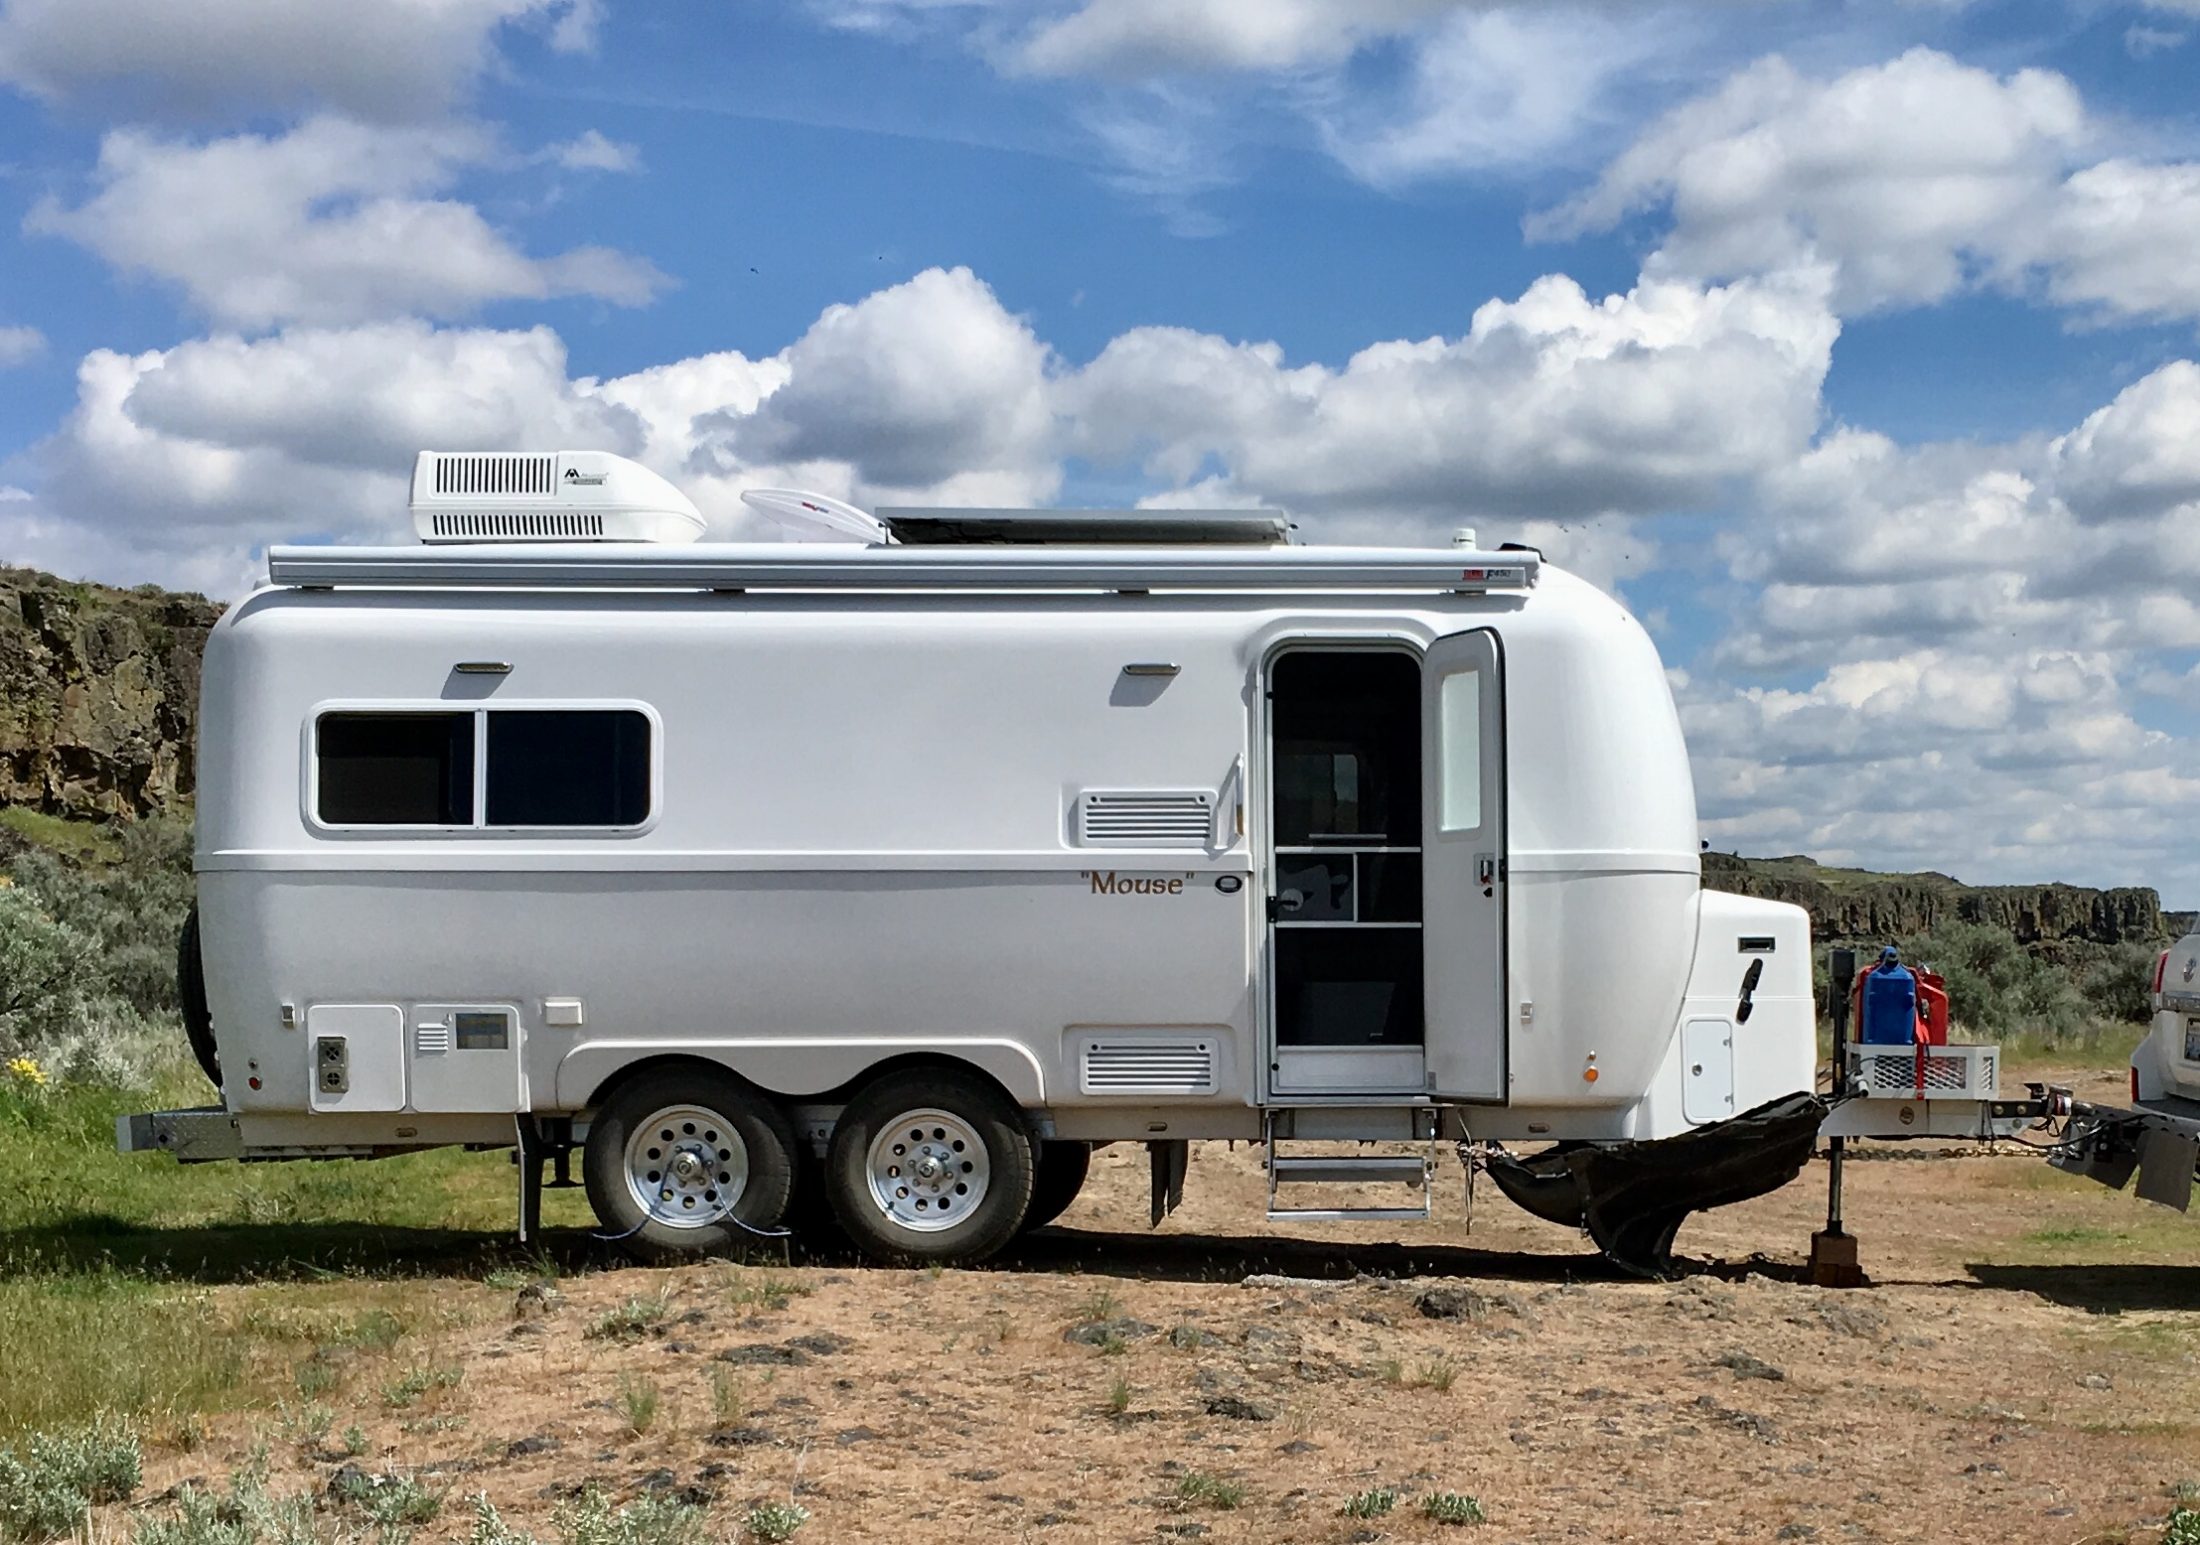
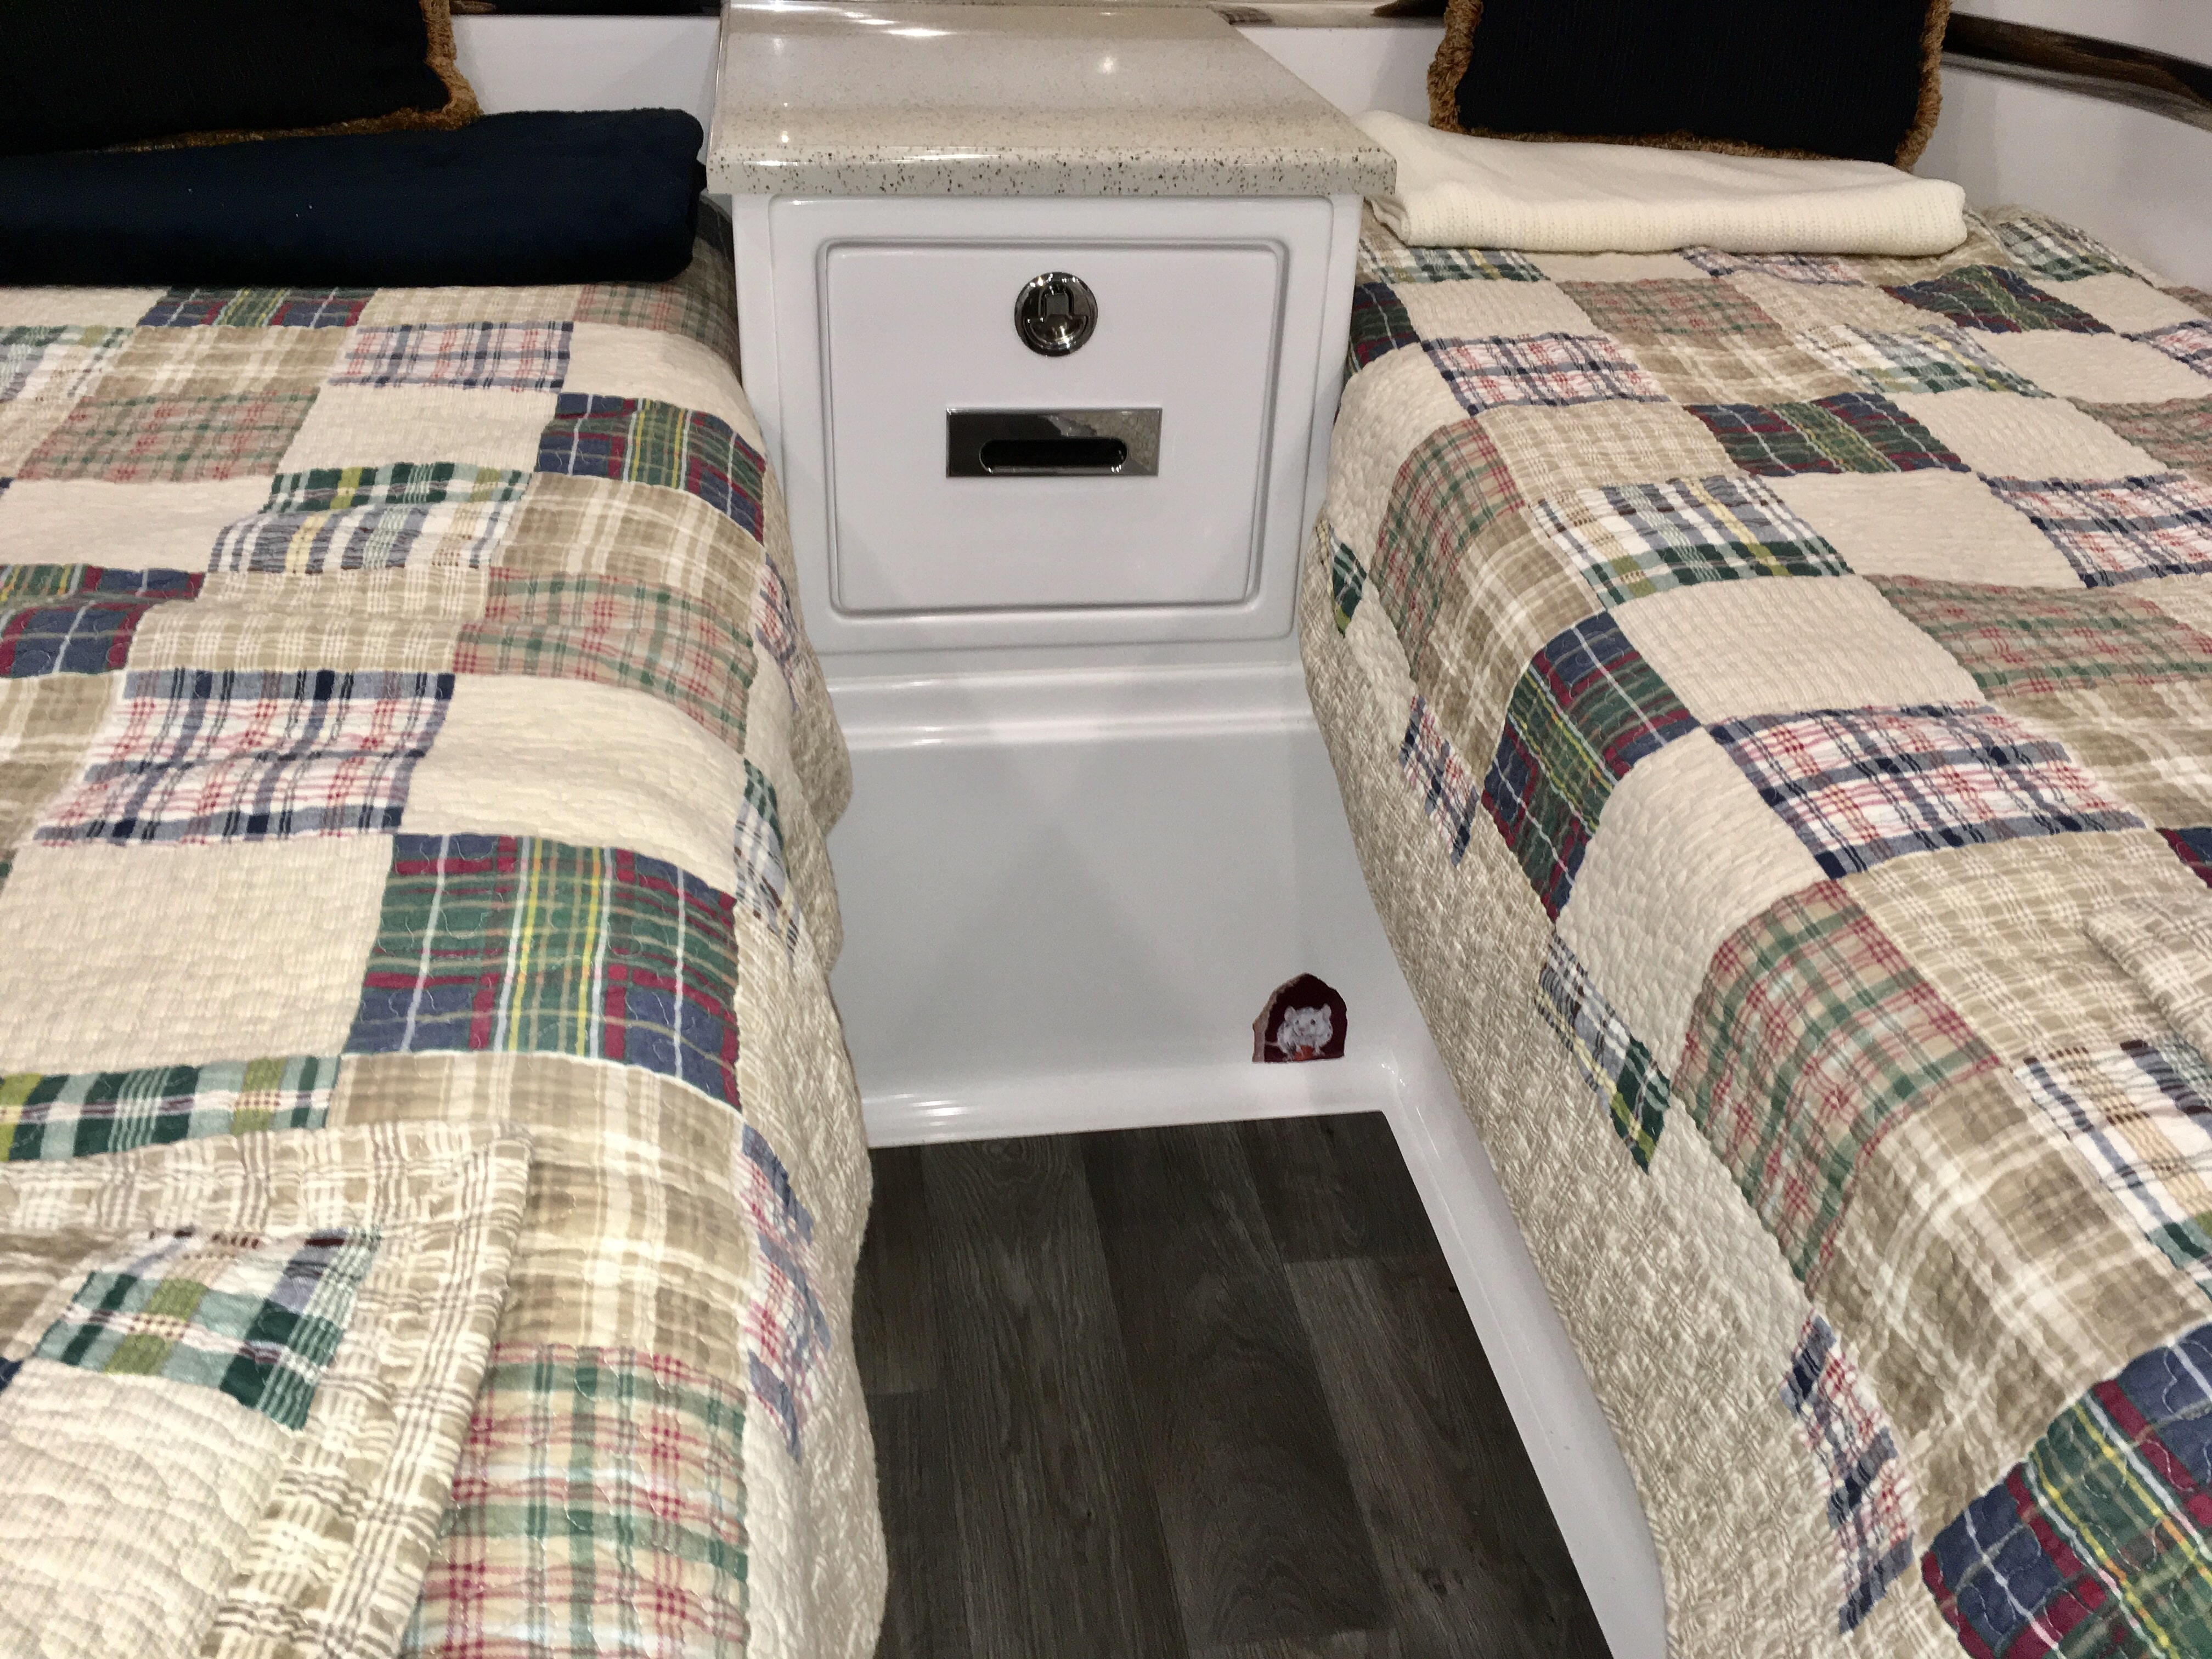
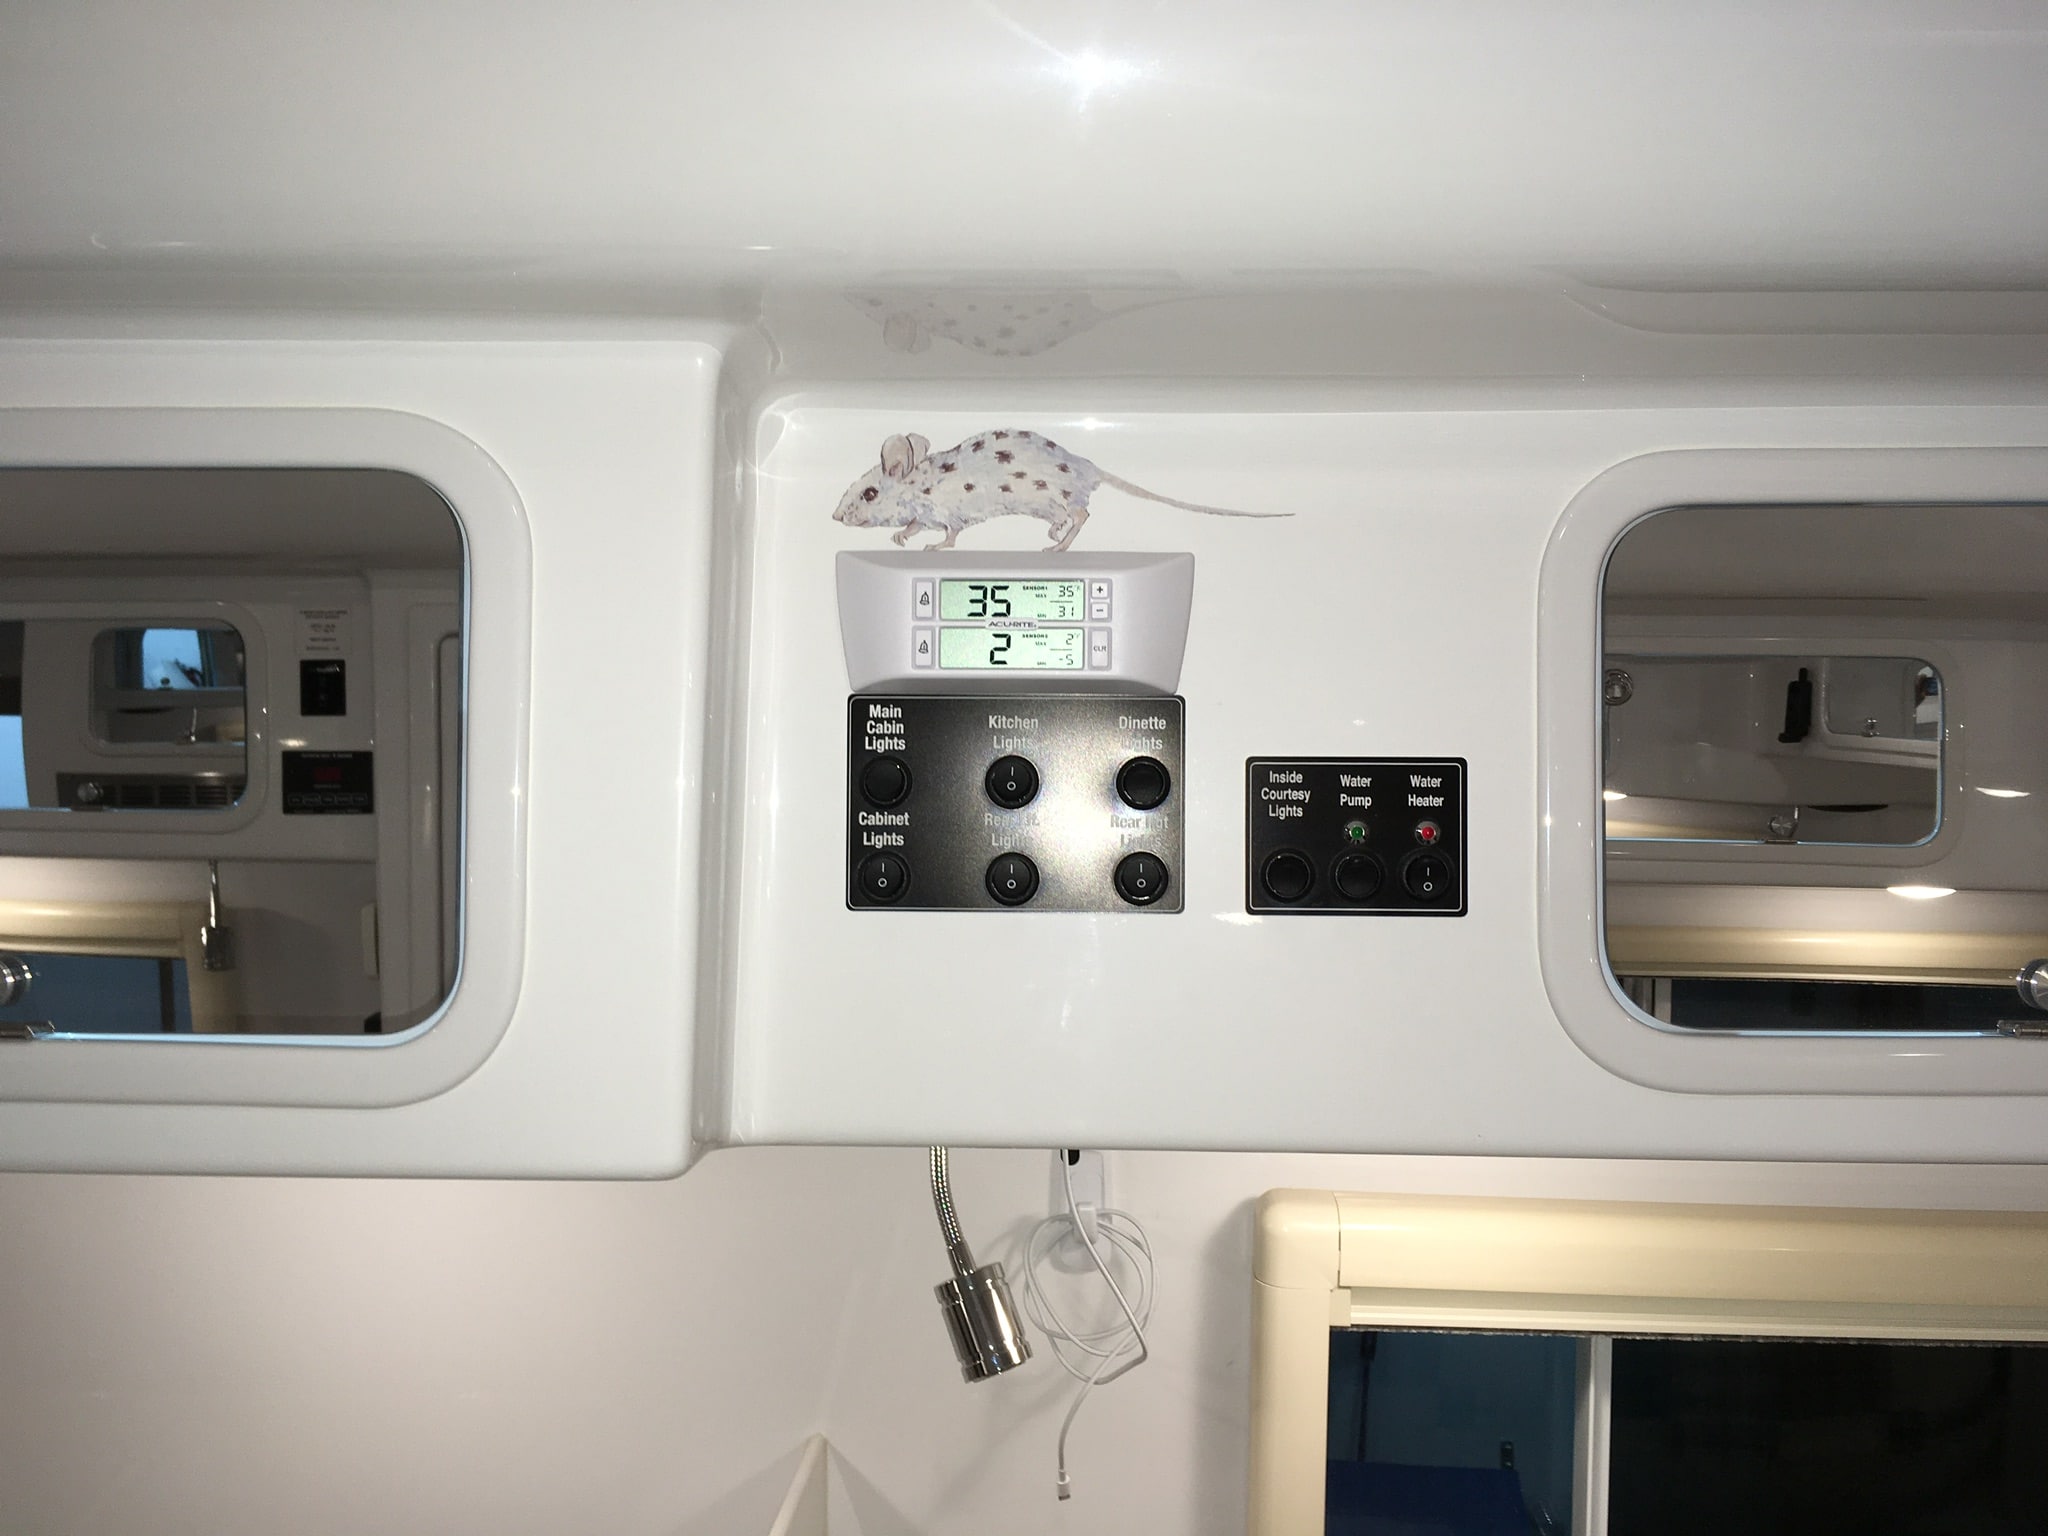
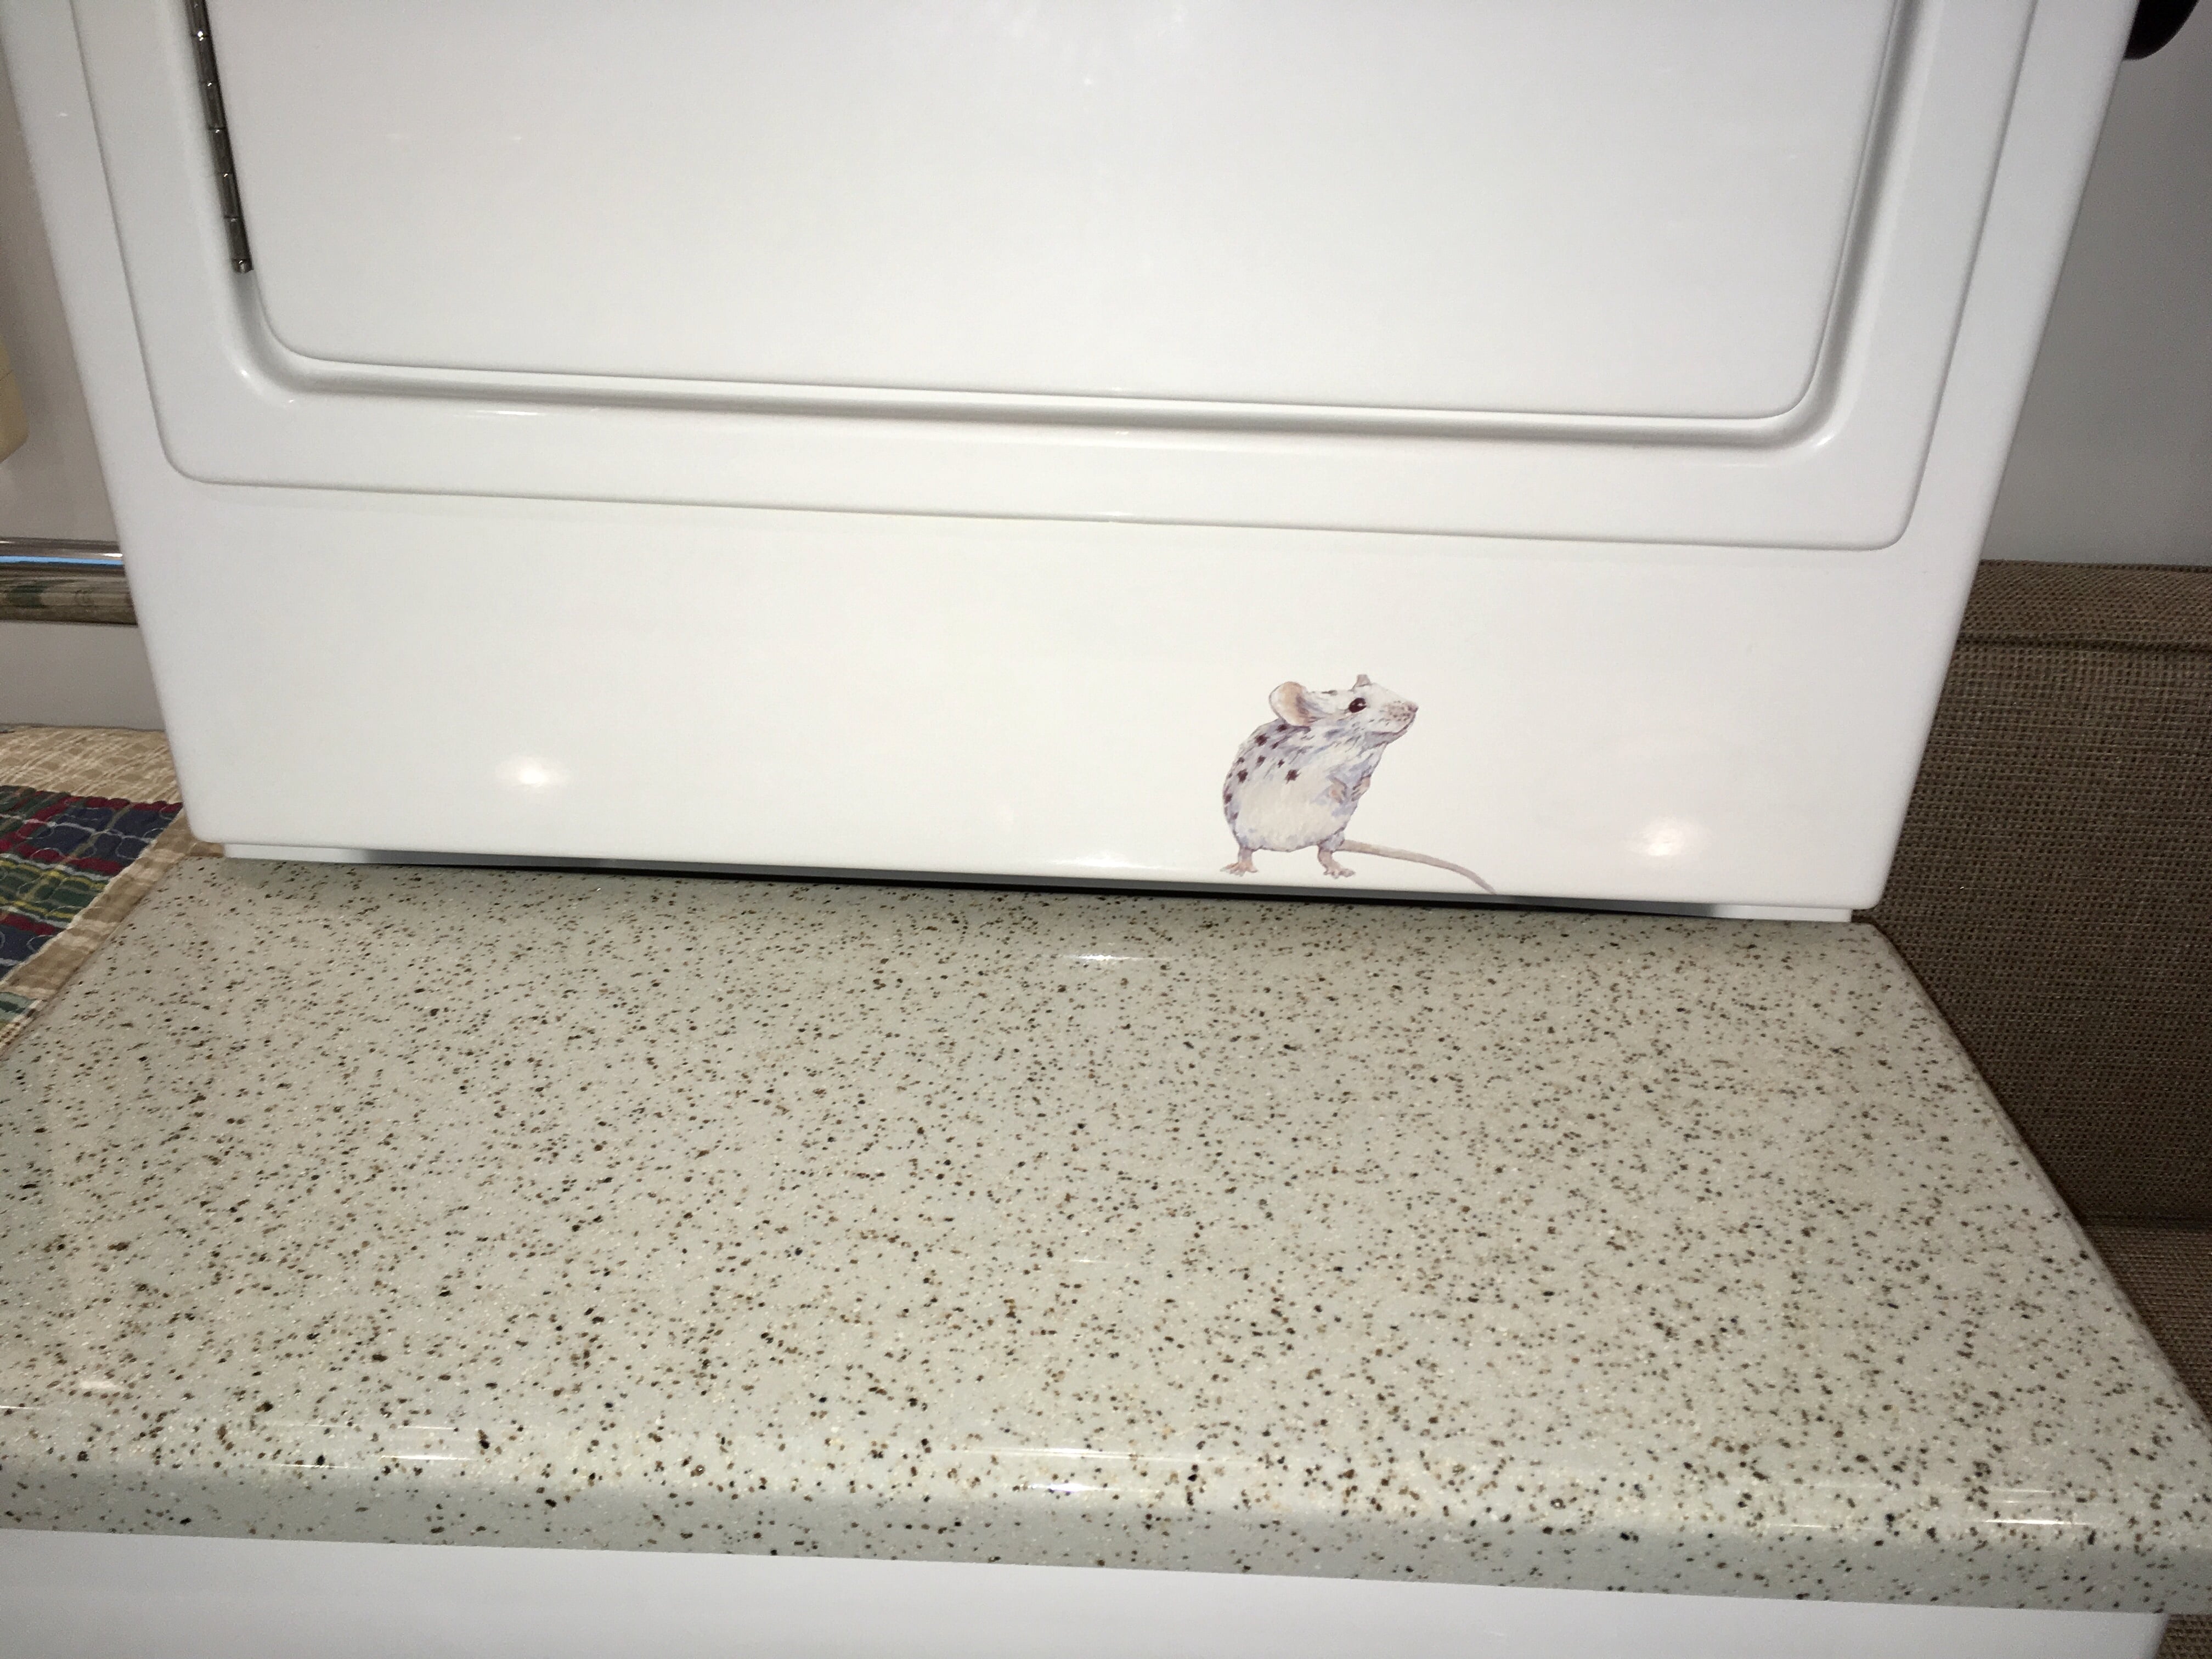
Welcome Adam, I enjoyed meeting you and Joanie and it was fun showing "Mouse" to an appreciative audience. I think you will find that this forum is an extended family, and when you buy your Ollie it will be a great place to start and maintain friendships. Natures Head toilet: the black water tank and associated dump valve, plumbing and vent system is kept. The composting toilet has a powered vent that tees into the existing 2" tank vent under the bathroom sink. The little 1 amp fan circulates fresh air through the toilet main compartment, then sends it out the roof. We have discussed converting the black tank to additional potable water, but I do not think anyone has done it yet. From what we talked about, you don't really need an extra 18 gallons, with its associated weight (150 pounds) located toward the front of the trailer. For a boondocker who normally would have to carry extra water in his truck, then yes, it could be a great mod., The factory will not do anything like this, they have to meet RV plumbing standards and those do not permit any connections between fresh and waste systems. Rock protection: Some regular towing flaps on your Mercedes, that could be removed with the hitch, plus urethane film on the front of the trailer would be plenty. I do think that trailer mud flaps should be a factory option and they will really help to protect the underside of the hull and the water fittings. Even if you do not intend to go off pavement, sometimes yo get stuck on a detour or on road construction and it is unavoidable. Sometimes you cannot creep along at 15 mph due to other traffic doing 35 or more..... I did more damage the first year going 20 miles down a freshly "chip sealed" highway, and also through several long construction zones in ID, where I found stones the size of my thumb lying on top of the rear bumper. They got there by ricocheting off the rear bumper and then off the rear lights. It really is best to deflect them down onto the road instead of up onto the trailer. Ask Oliver about factory mud flaps. The more people who ask, the more likely it is they will offer them as an option. John Davies Spokane WA
-
Wade. the Oliver is no OFFROAD trailer, but it can be terrific on maintained gravel and ranch roads. Any trailer will require some rock protection to prevent nasty damage to the finish, what equipment you decide on depends on the places you will go, and on your tolerance for rock dings and dents. Check out some posts by Overland or PM him, he has the most offroady unit so far, with a 360 degree coupler, HD swiveling tongue jack, extra solar panels, lithium batteries and a Raptor to pull it with. He can answer any questions about taking the Oliver as far as it can safely go. The smaller Elite I is way more capable in the rough but it sounds as if you want the extra room inside. I have equipped Mouse with rear mud flaps, under chassis skirts and a Stone Stomper in front, and this has almost eliminated damage from long periods of driving on unpaved roads. I still have issues with dust intrusion in a few places, and am thinking about a great solution for that. Welcome to the Forums., John Davies Spokane WA
-
That is old, what hull number? It’s probably a boat stern light, I poked around and found some possibilities. https://www.westmarine.com/buy/perko--vertical-mount-stern-light-stainless-steel-top--14568703 No way it is worth anything like $129, how about.... https://www.aliexpress.com/item/MARINE-BOAT-12V-10W-STERN-LIGHT-RECTANGULAR-STAINLESS-STEEL-SPASHPROOF-FLUSH-MOUNT/32414467244.html Google search shows some more: enter “marine stern light stainless” If I were you I would just upgrade all the lights to something more modern..... you can make aluminum plates to cover the holes and flush mount some new LED strip type lights, like on current production trailers. John Davies Spokane WA
-
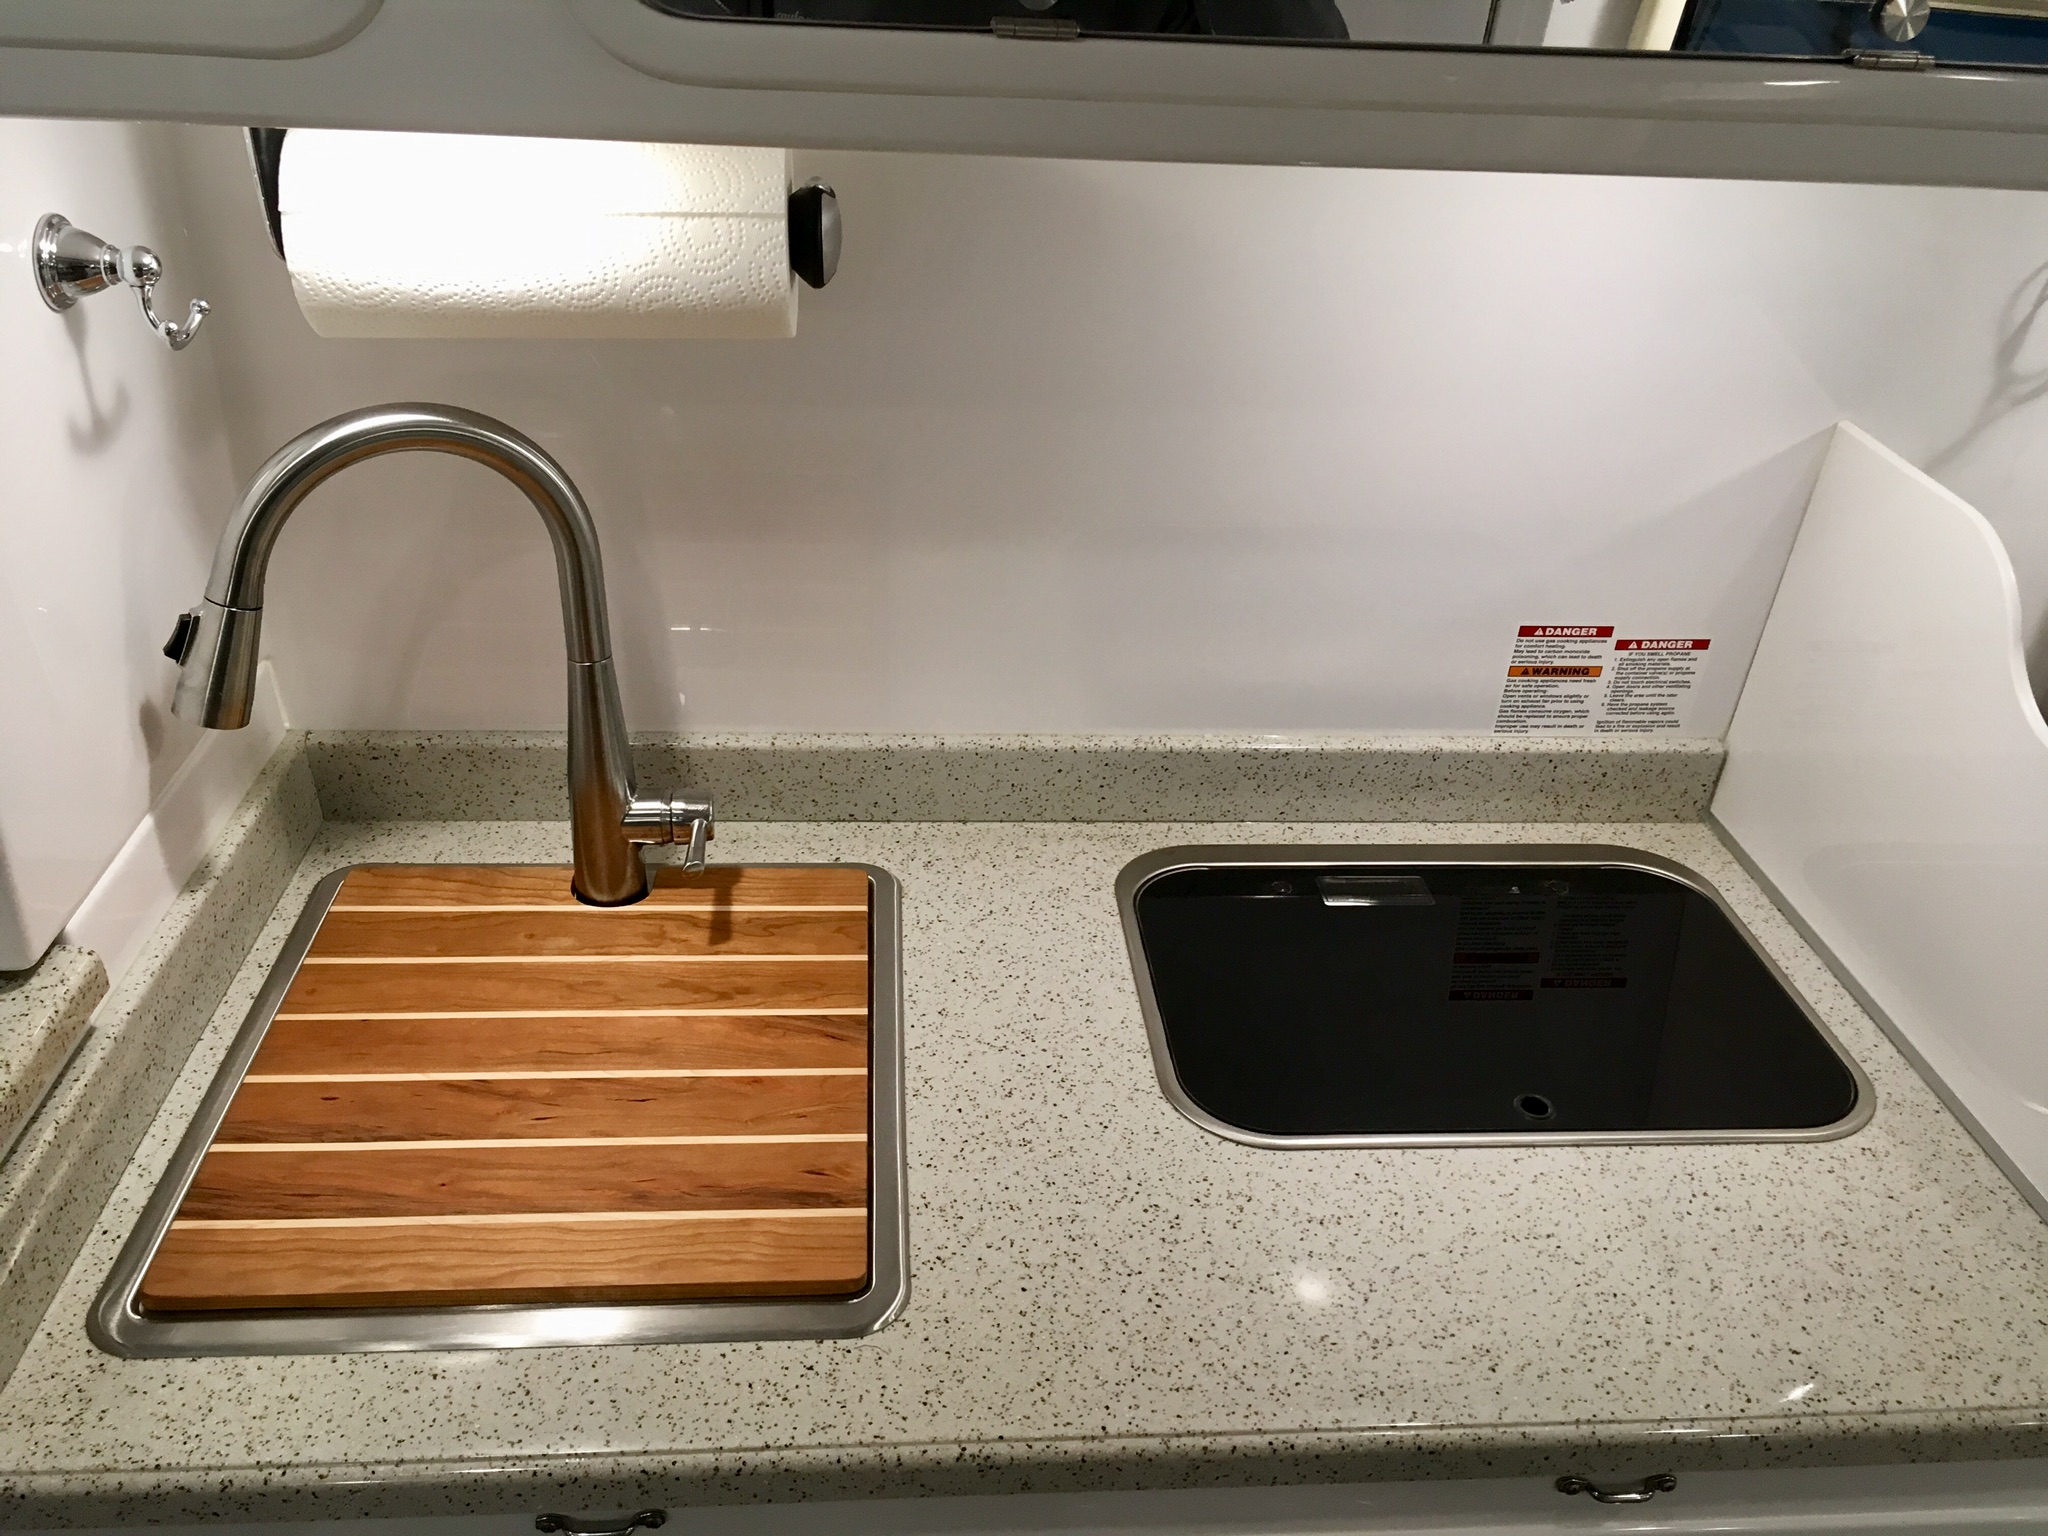
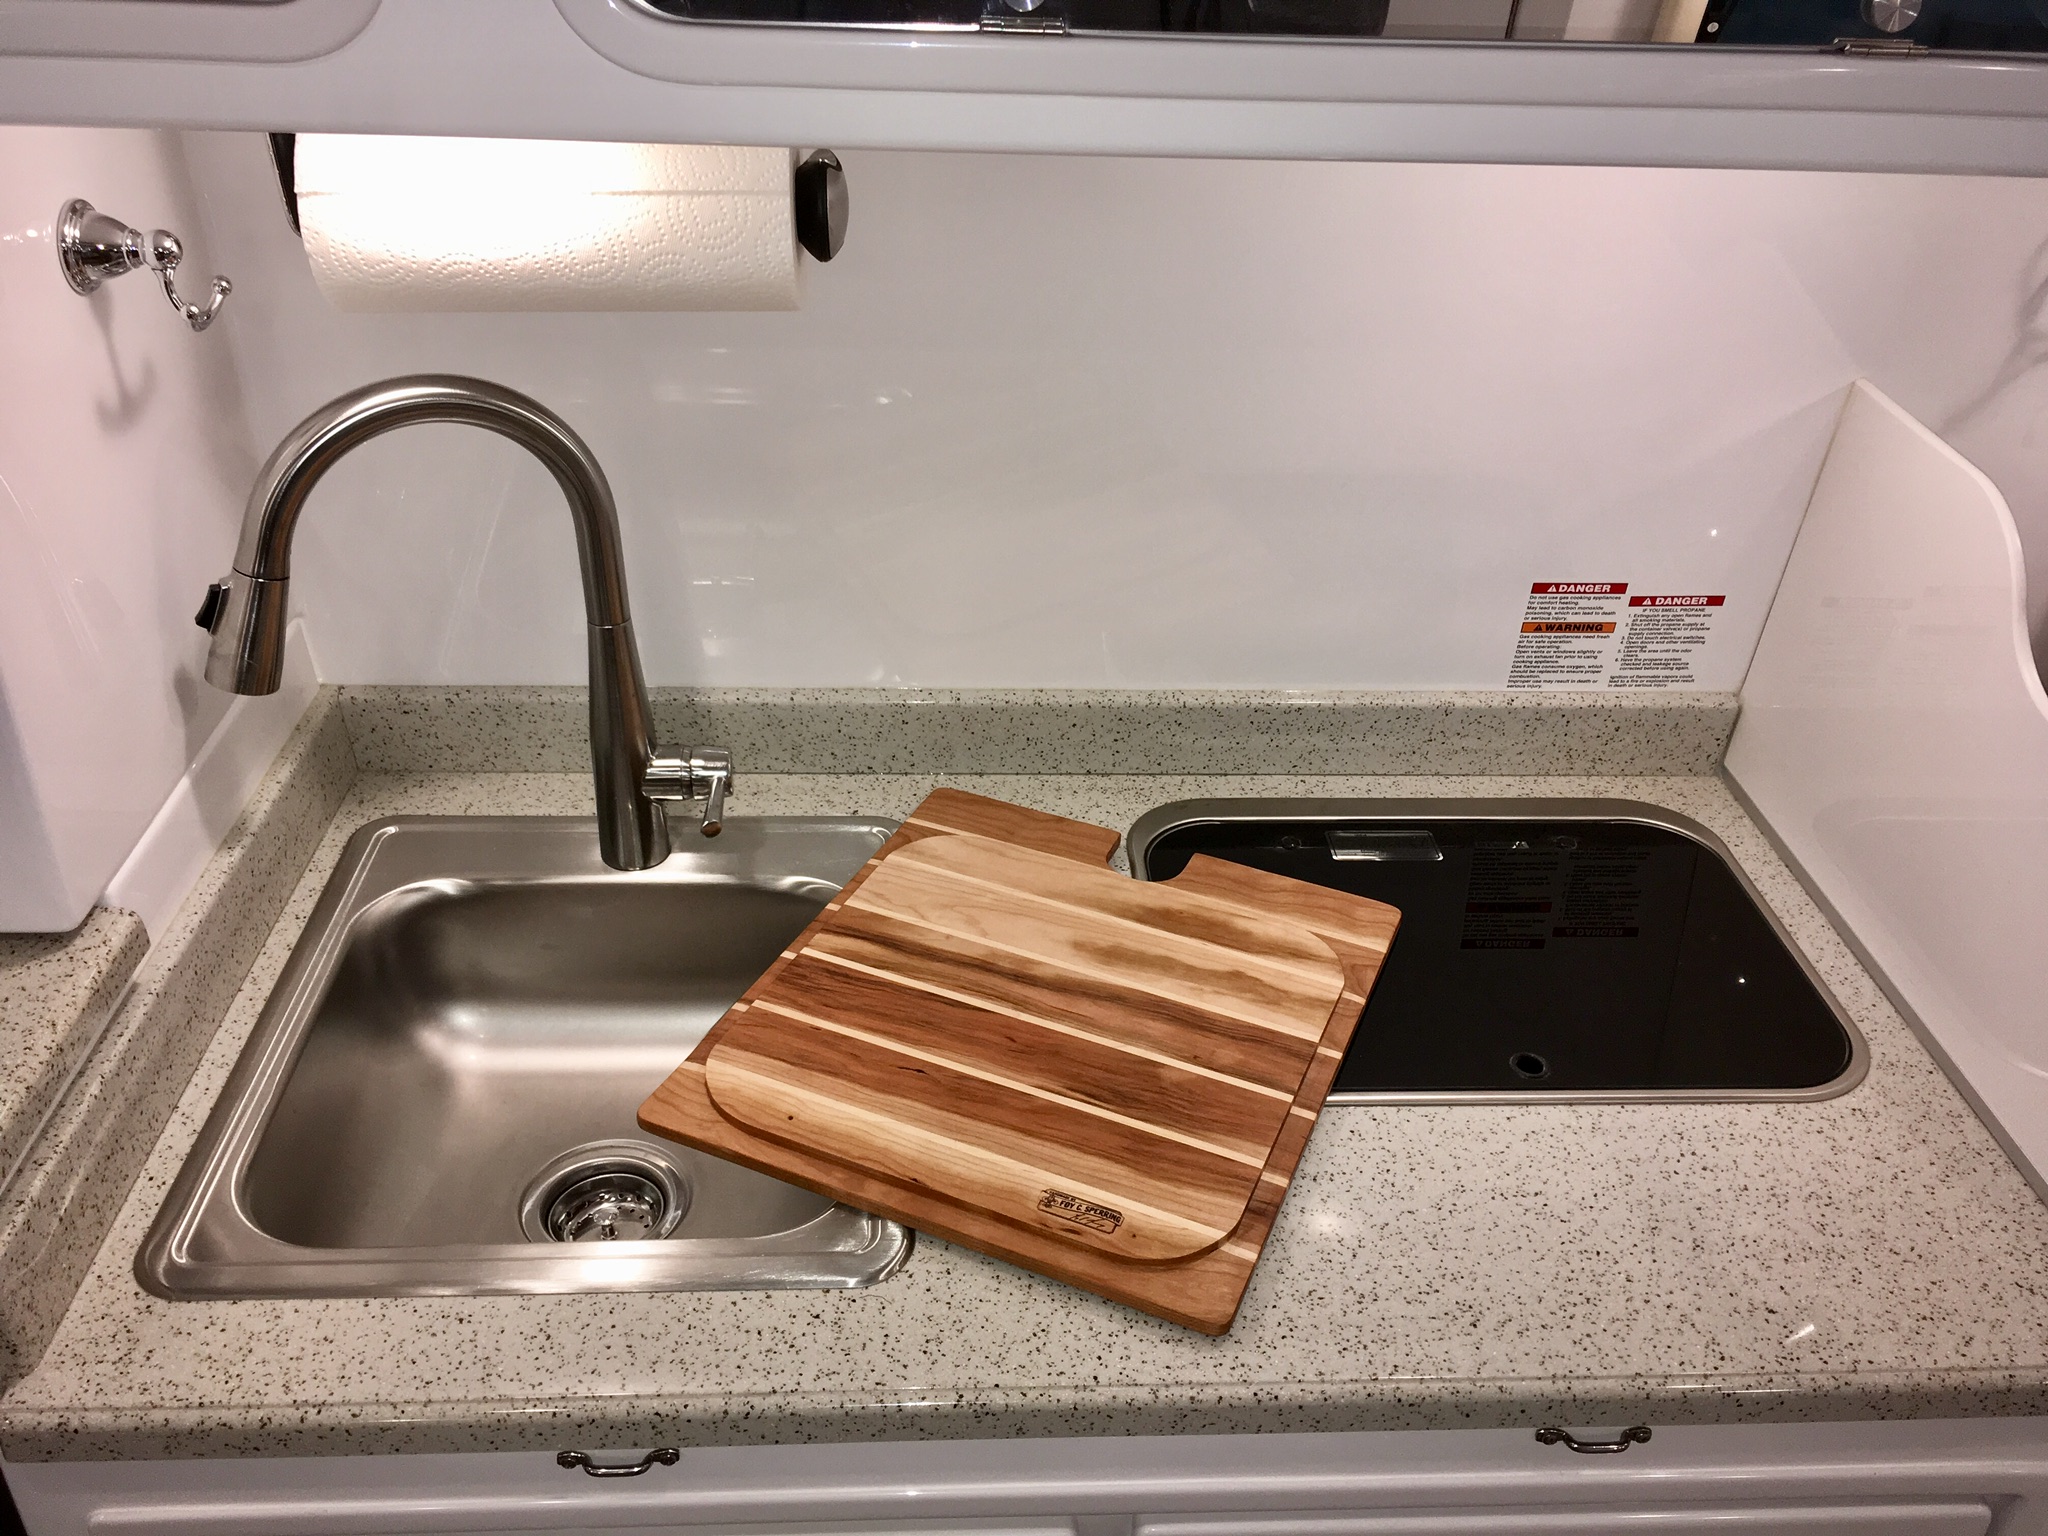
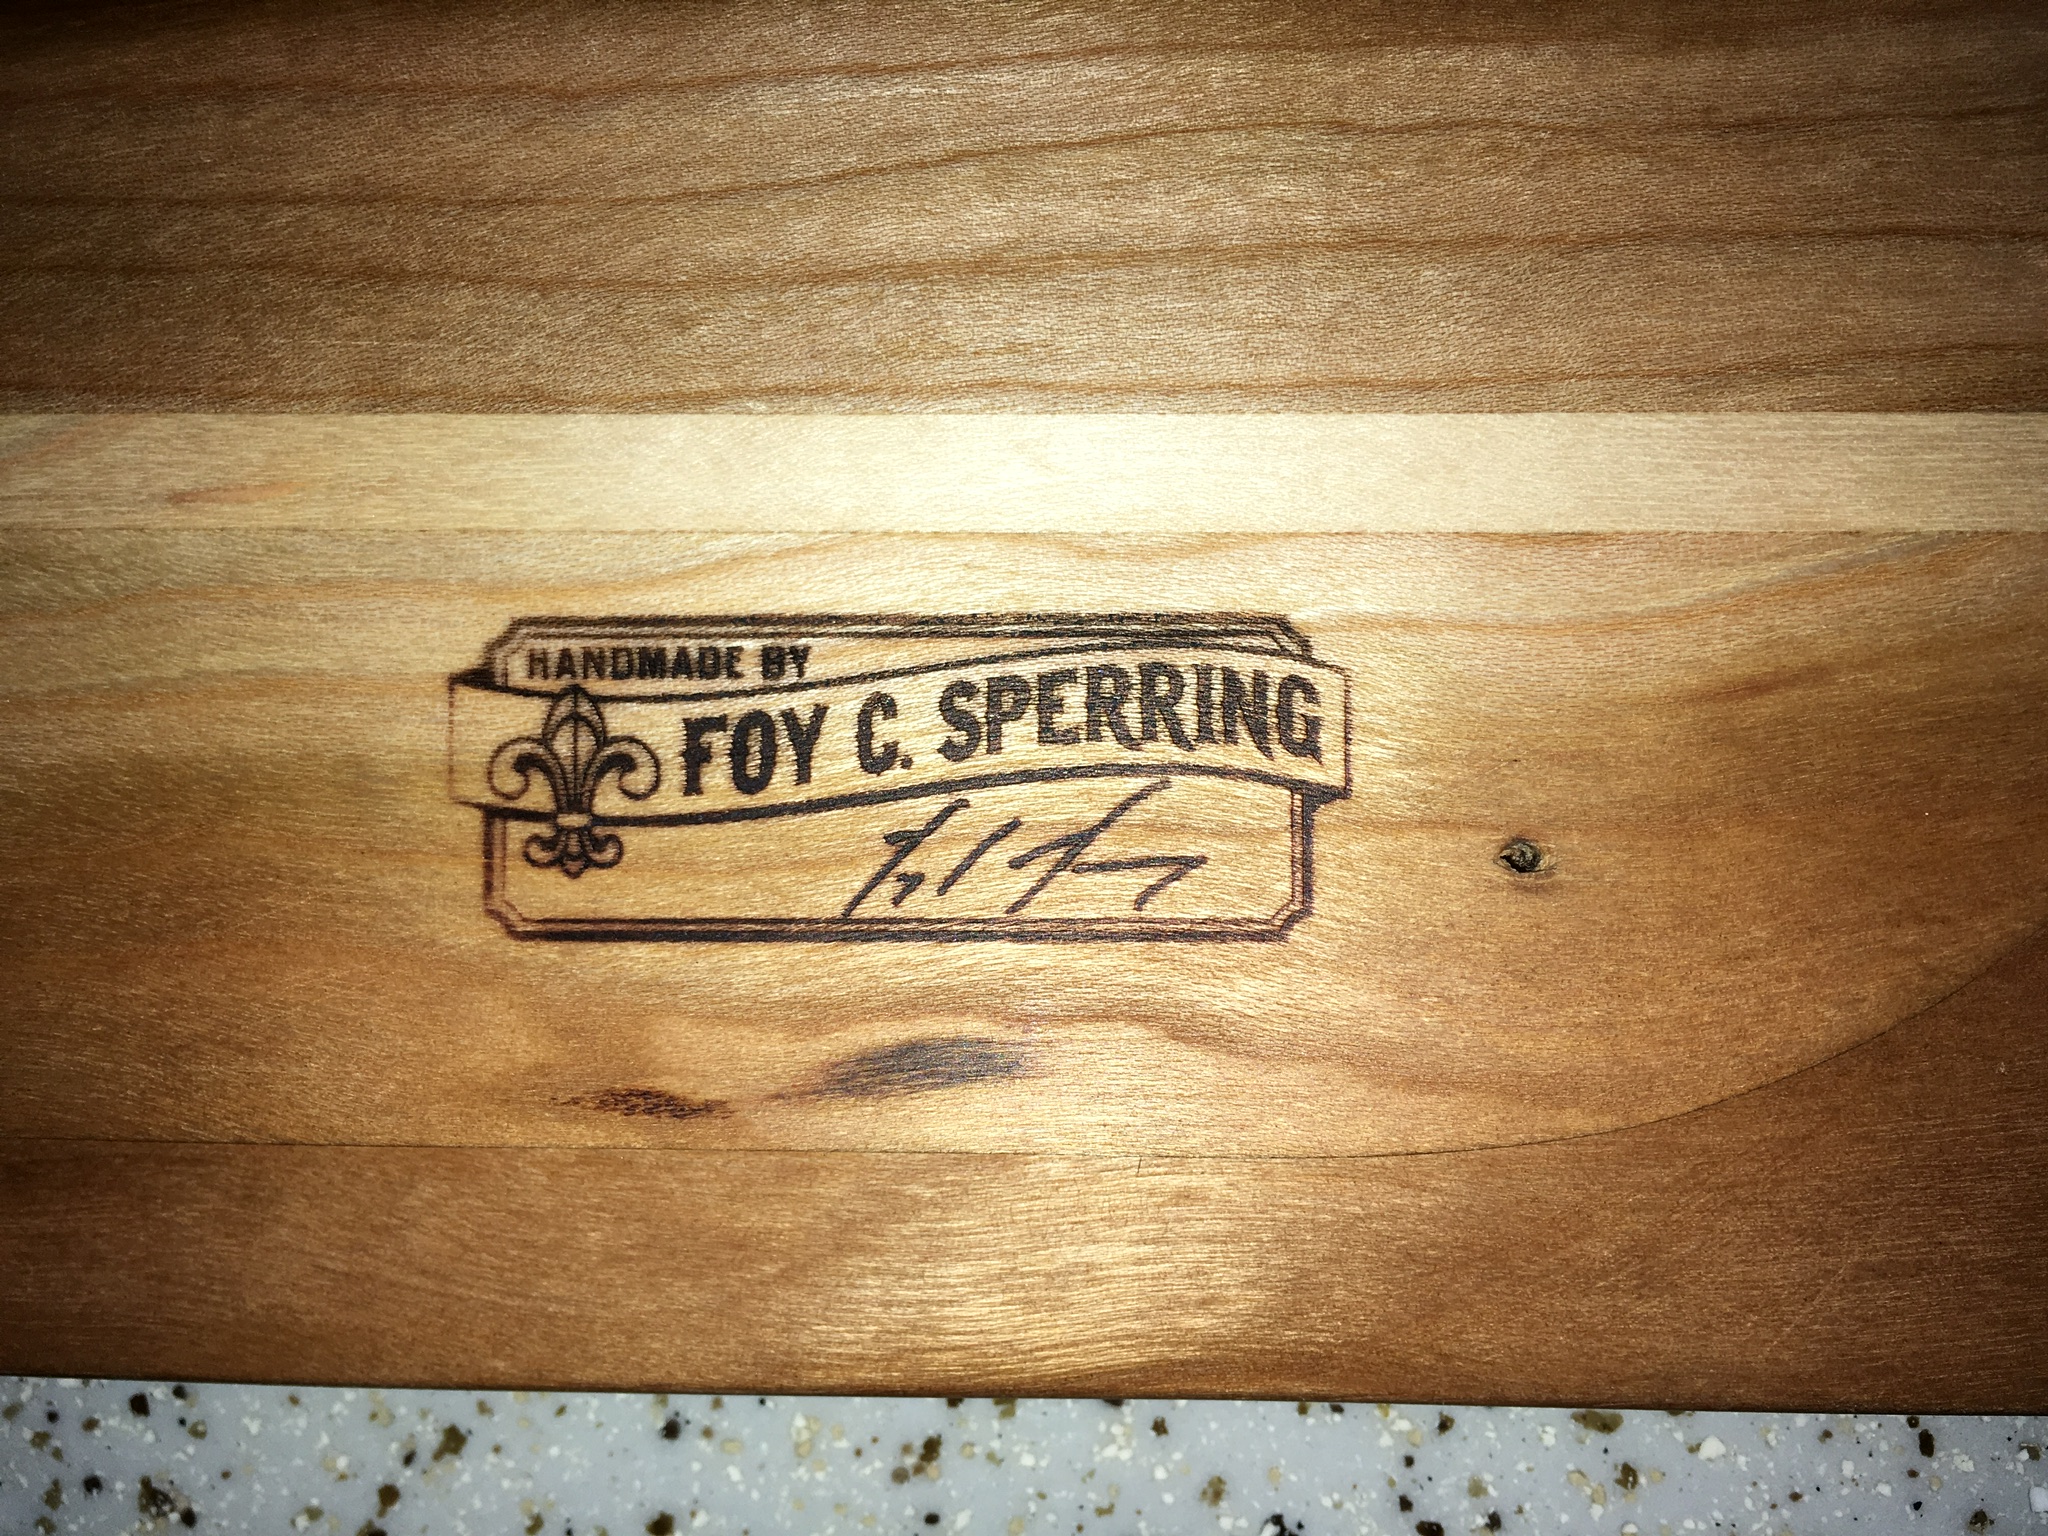
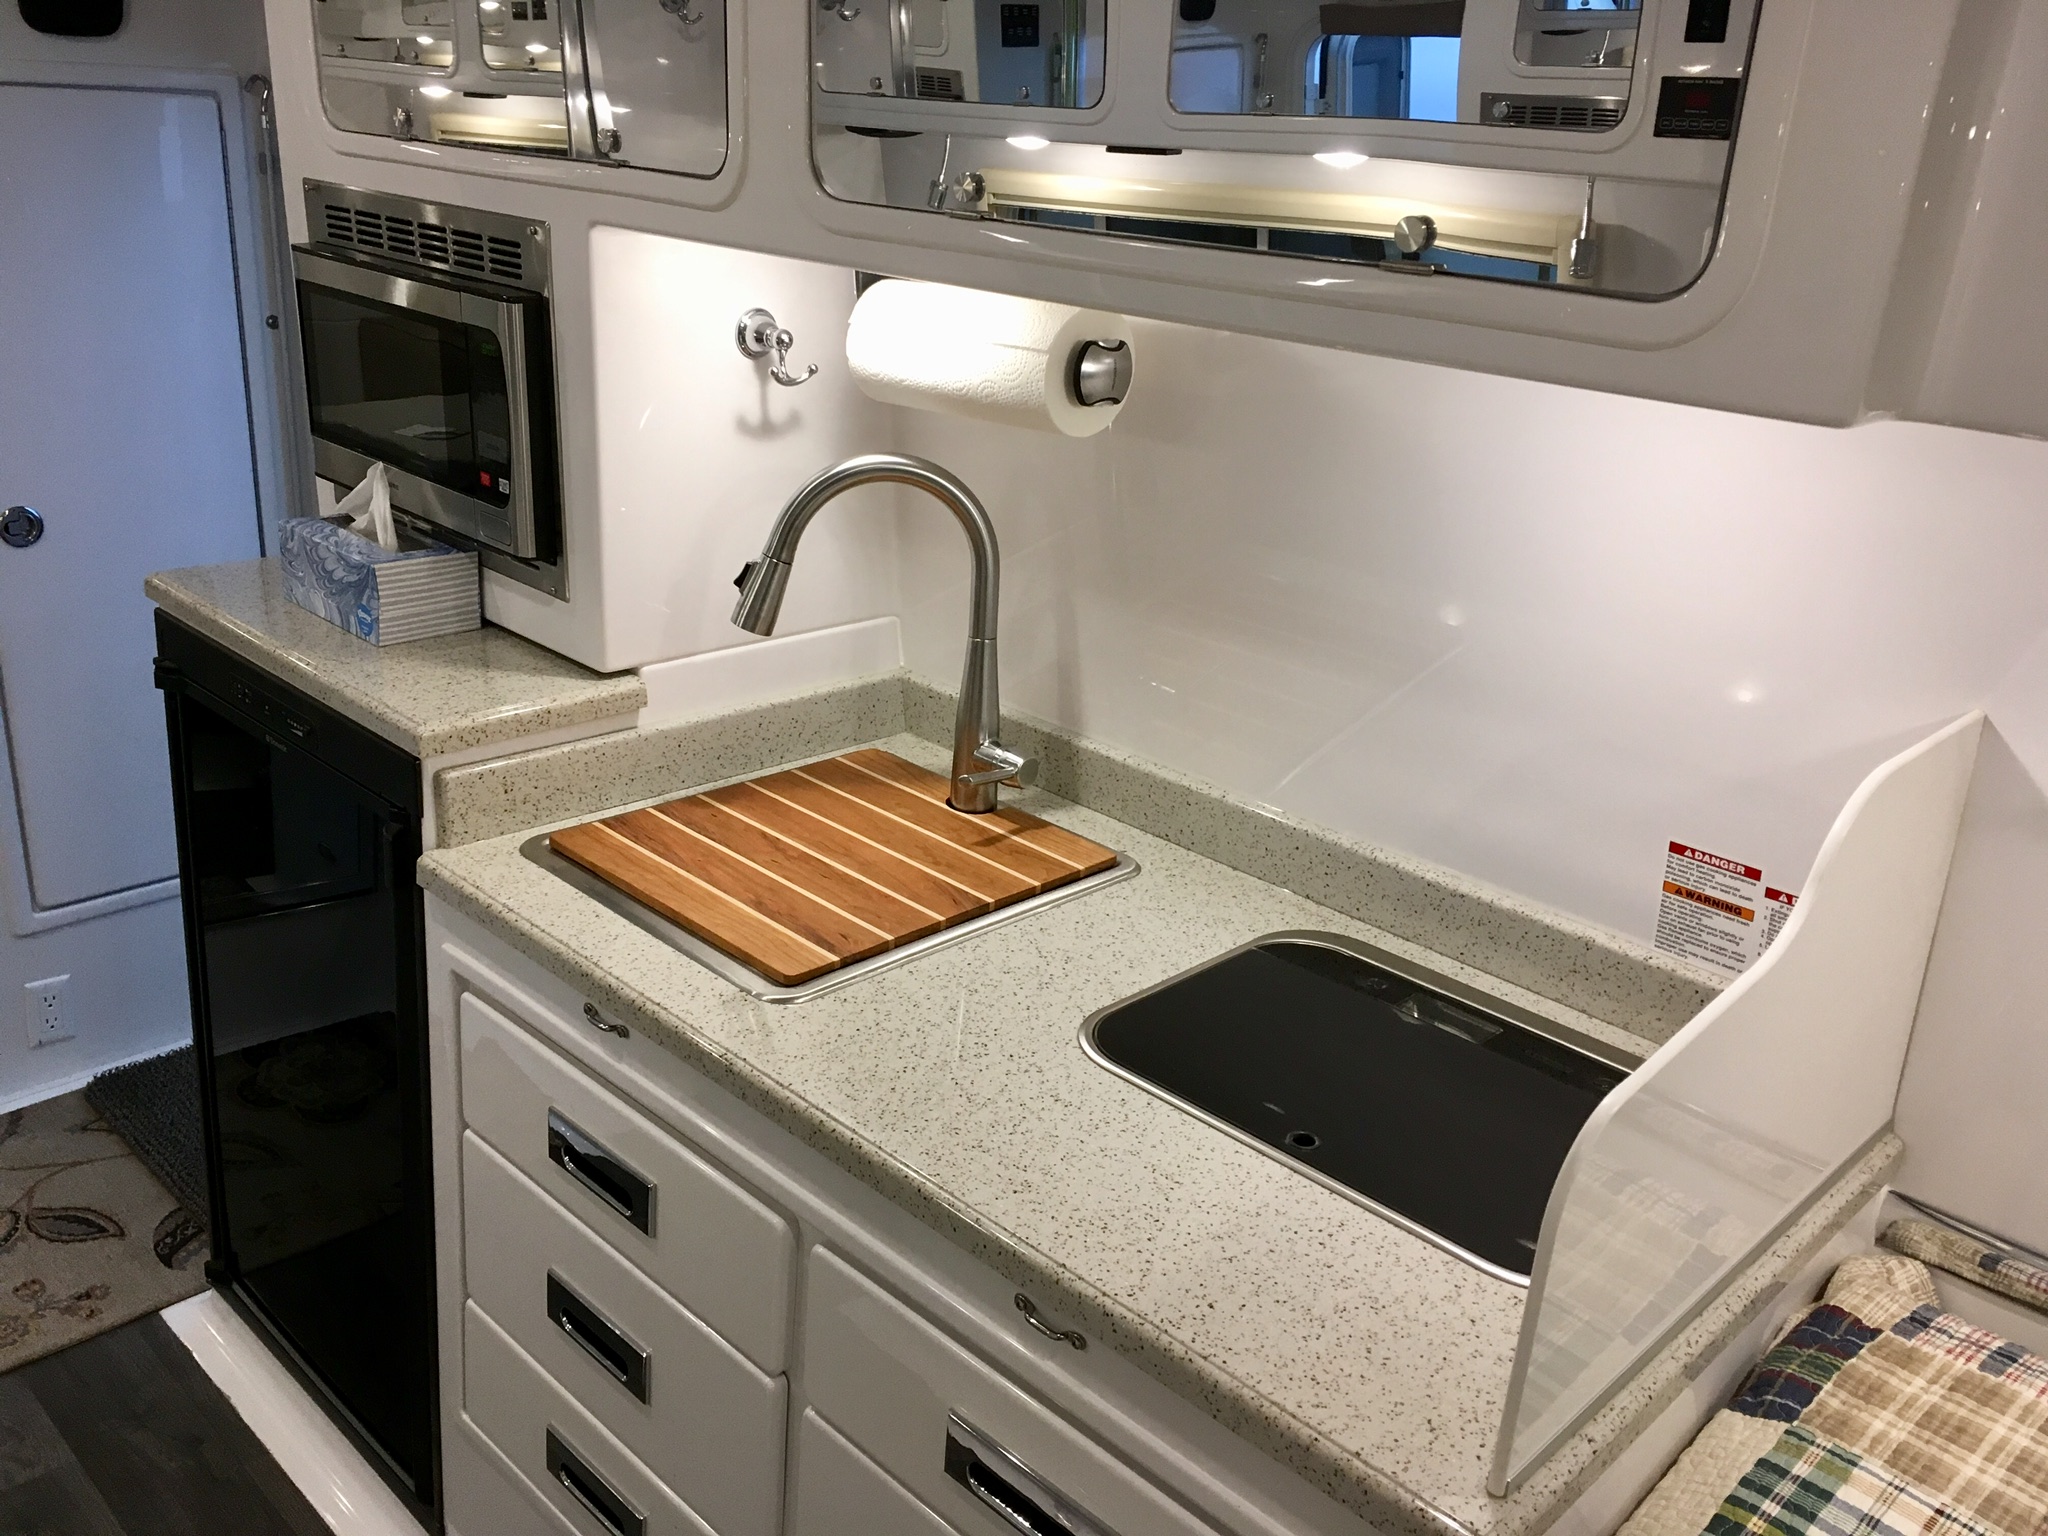
ORDERING IS CLOSED for Cutting Boards and Shower Mats
John E Davies replied to Foy_Mirna's topic in Ollie Modifications
Here is my new cutting board, it is lovely and it really brightens the interior. I got this in a very roundabout and unexpected way. DavidS won it at the Oliver Rally, and unfortunately for him it is square and intended for the later (large) sink. He arranged for another narrow one to be shipped from Foy, who told him to find another Oliver owner to give this one to. David reached out to me by PM and told me he wanted me to have it. I offered to pay for the shipping and he would not even let me do that. It is a beautiful accessory, and I am unexpectedly touched by both Foy and David’s actions. Thank you both, I will take care of this board and enjoy its beauty for many years. This Forum really is becoming a large extended family. I enjoy participating, sharing and learning here. Thanks again. John Davies Spokane WA
-
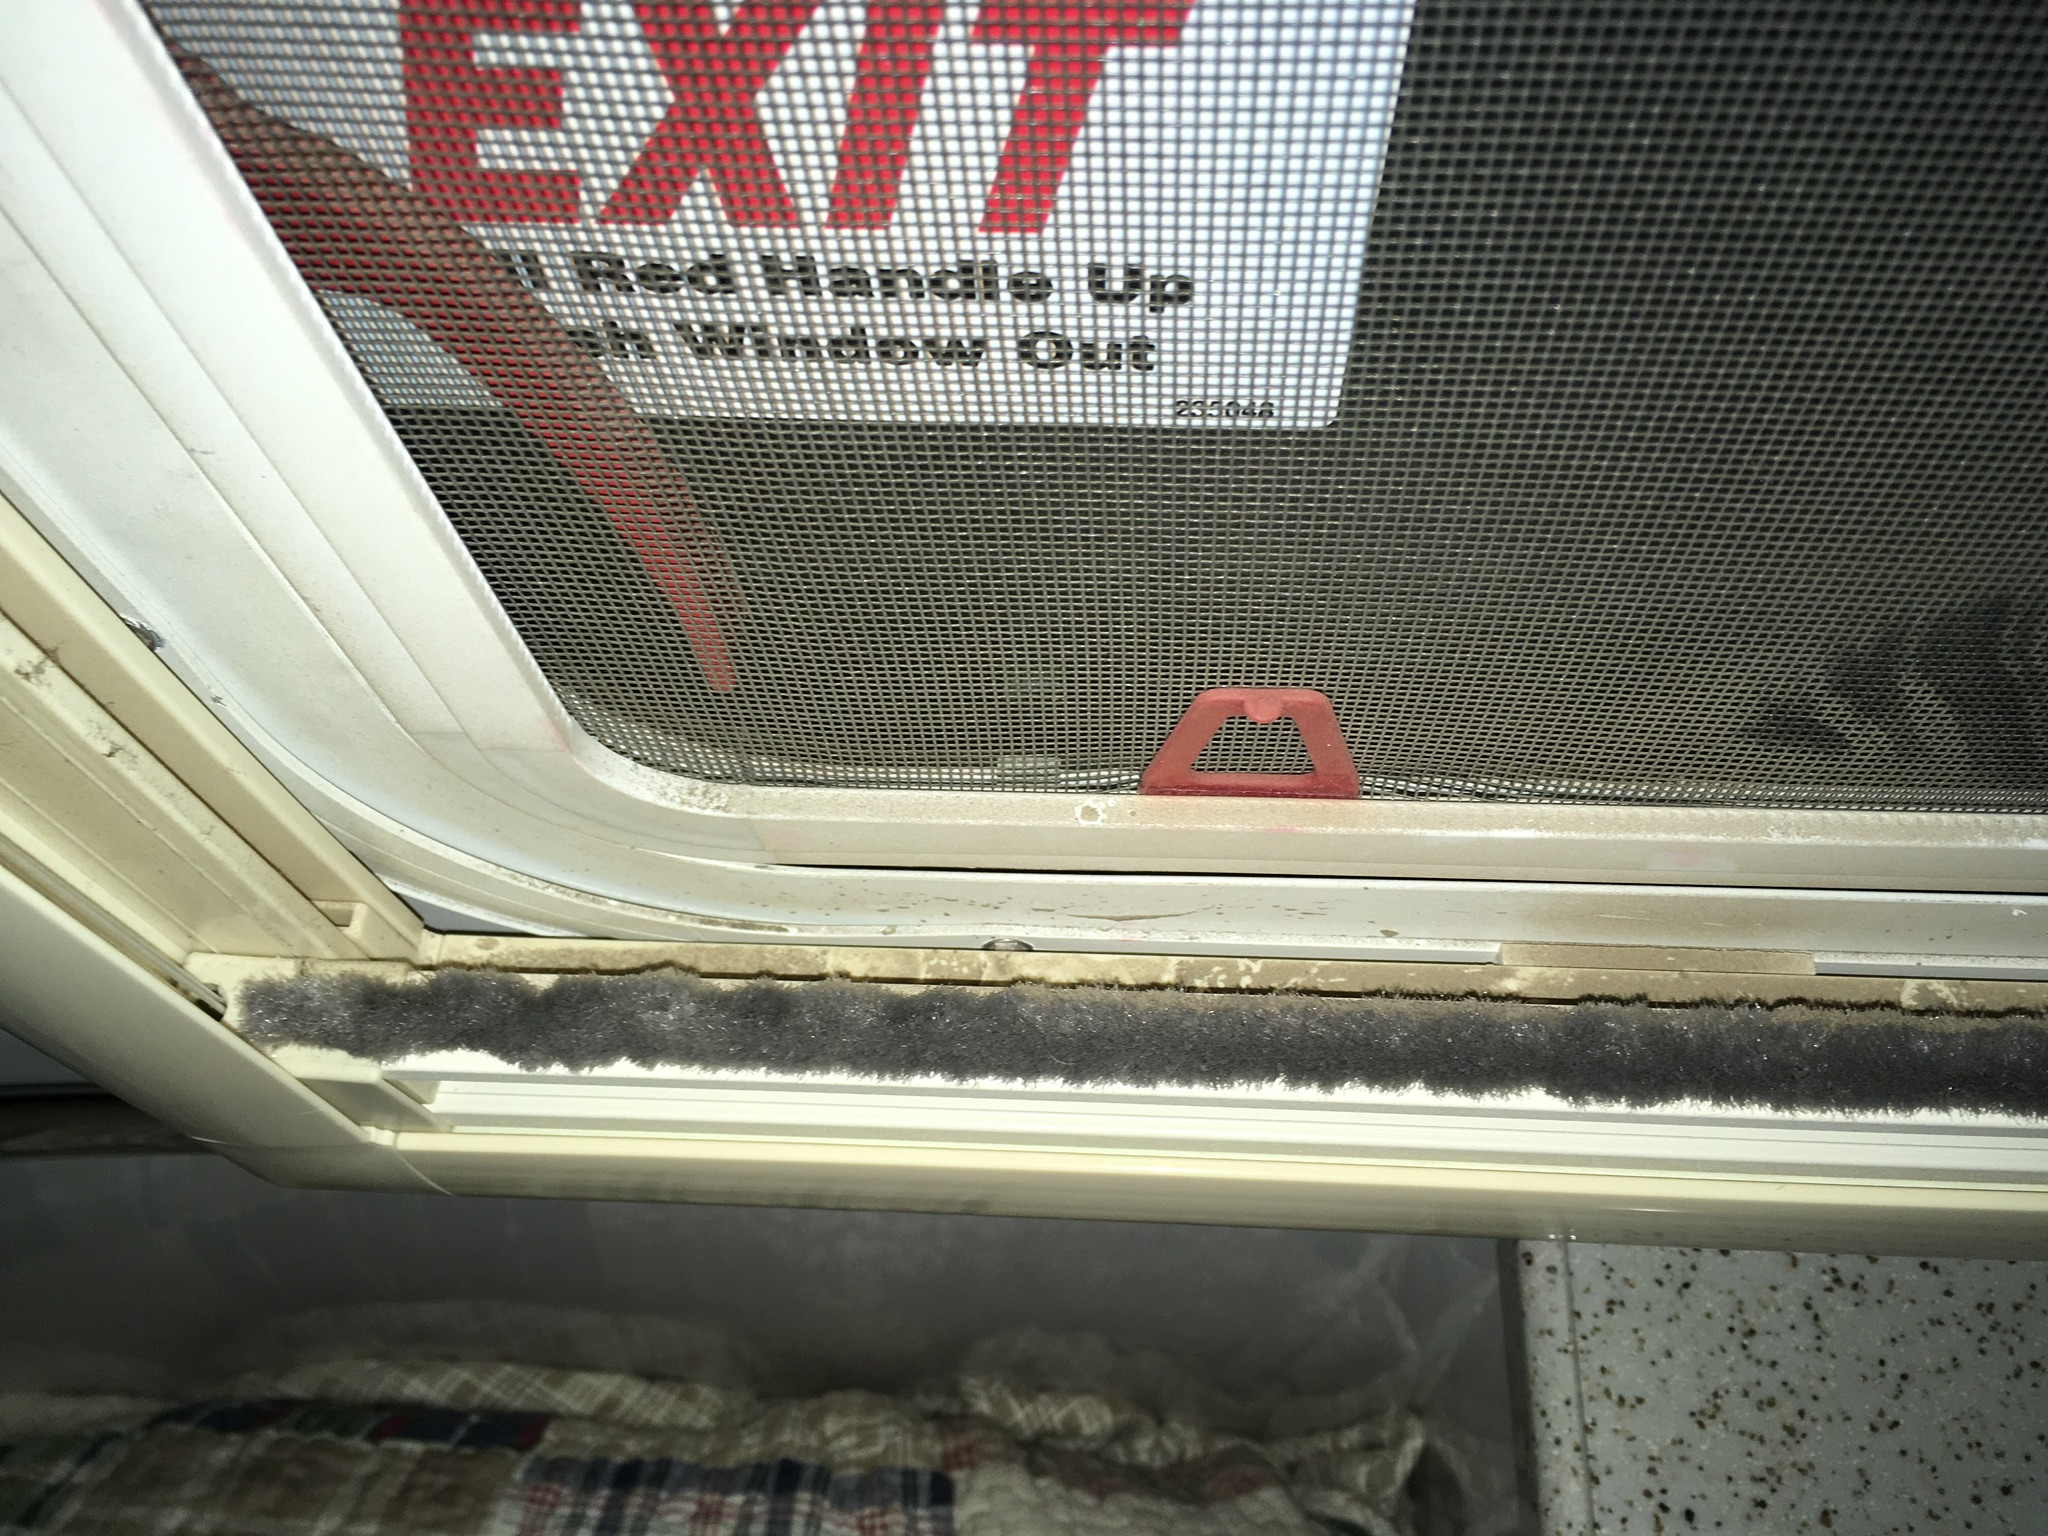
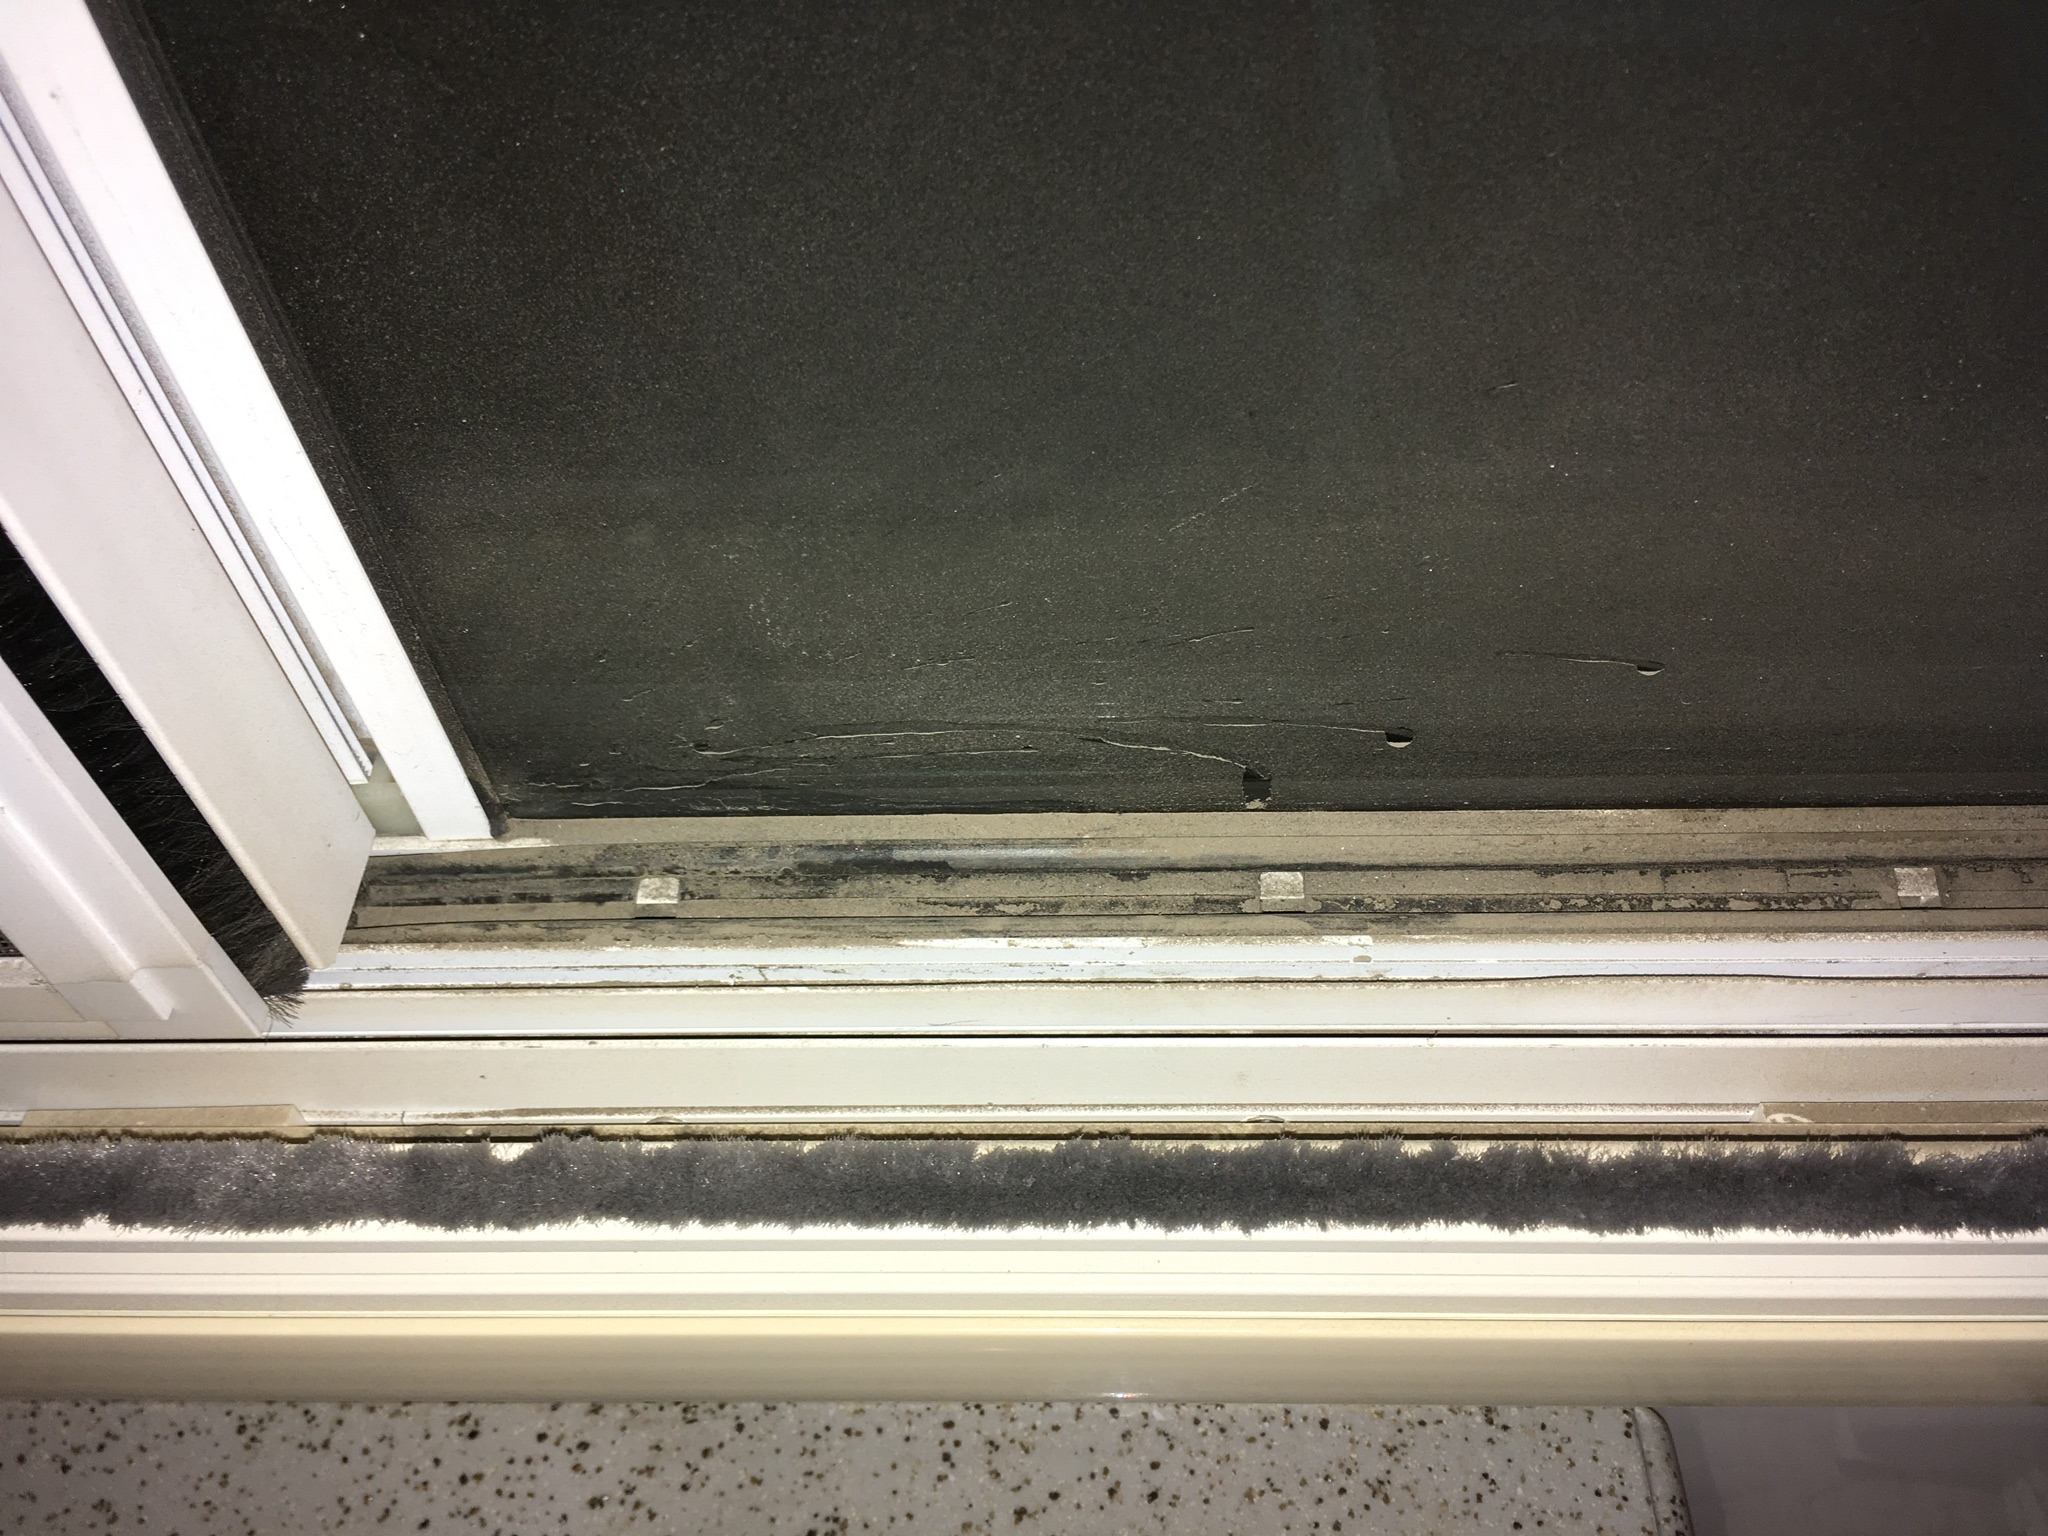
Well, this is disappointing but not at all unexpected. I raised up the rear blinds and found the window channel, and the back of the blinds, choked with dust. However, it is very possible that I did this when I blew the dust off the outside with my leafblower, has anyone else seen this happen naturally, without power assistance? John Davies Spokane WA
-
HOW TO: Rear mud flaps for the Ollie
John E Davies replied to John E Davies's topic in Towing an Oliver
Do you mean remove the cable stay and let the door hang completely vertical, like the hot water heater door? No, there is about 2 inches clearance with the door hanging on the stay. So with that disconnected the door would open a little further and then hit the mudflap bracket hard. I never have a need to “crawl into” the opening, so this never even occurred to me.... I use a couple of milk crates shoved way back, but I attached ropes to them so I can just pull them out. No crawling. The long items I keep in there like a folding table are easy enough to reach. I have wondered for a long time why all the outside and cabinet doors have the hinges on the bottom, that seems completely backwards to me. It does save on the cost of gas struts.... John Davies Spokane WA -
Check your hose attachment fittings
John E Davies replied to Townesw's topic in Mechanical & Technical Tips
I doubt it, flaps are required for registering a trailer there. If you moved and took your Ollie you would have to fit a set. I think. This is heresay for me. John Davies Spokane WA -
HOW TO: Rear mud flaps for the Ollie
John E Davies replied to John E Davies's topic in Towing an Oliver
No worries, work very well.... John Davies Spokane WA
-
Check your hose attachment fittings
John E Davies replied to Townesw's topic in Mechanical & Technical Tips
Foy, that looks just so very wrong to me! And totally unacceptable. Are both sides like that, or just the left one? My suspicion is there is a manufactureing defect in the subframe, one or more hangers are mislocated, or more likely, the entire subframe was positioned too far forward on the frame rails. Either way, Oliver owes you some serious shop time to fix it. On “Mouse” the left jack is positioned almost an inch further back than the right, but the suspension is centered under the fenders. There is zero contact between tire and fender. Please start a new thread about this and report back when it is sorted out. RE the mudflaps.... I sent a link to my install thread to Jason with a suggestion that they engineer and offer a similar design as a factory option, and he agreed that it would be a good idea. He said a few customers have specifically asked, and they are mandatory if the trailer goes to Canada. Incorporating brackets or just pre-drilled mounting holes into the build of the subframes would be dead simple. Then the arms would be plug-and-play. The hardest part of the mod is lying on your back and drilling the steel subframe..... http://olivertraveltrailers.com/topic/how-to-rear-mud-flaps-for-the-ollie/ John Davies Spokane WA -
Check your hose attachment fittings
John E Davies replied to Townesw's topic in Mechanical & Technical Tips
Easier, maybe, but unless you have installed mudflaps on the trailer you risk damage from stuff thrown by the left rear tire..... I suggest that you keep them tucked away as they were installed at the factory. Or install mudflaps ;) I just finished detailing “Mouse” and noticed how much less crud and dings were in that area now.... John Davies Spokane WA -
My wife found a set of four stickers on eBay from the UK..... John Davies Spokane WA
-
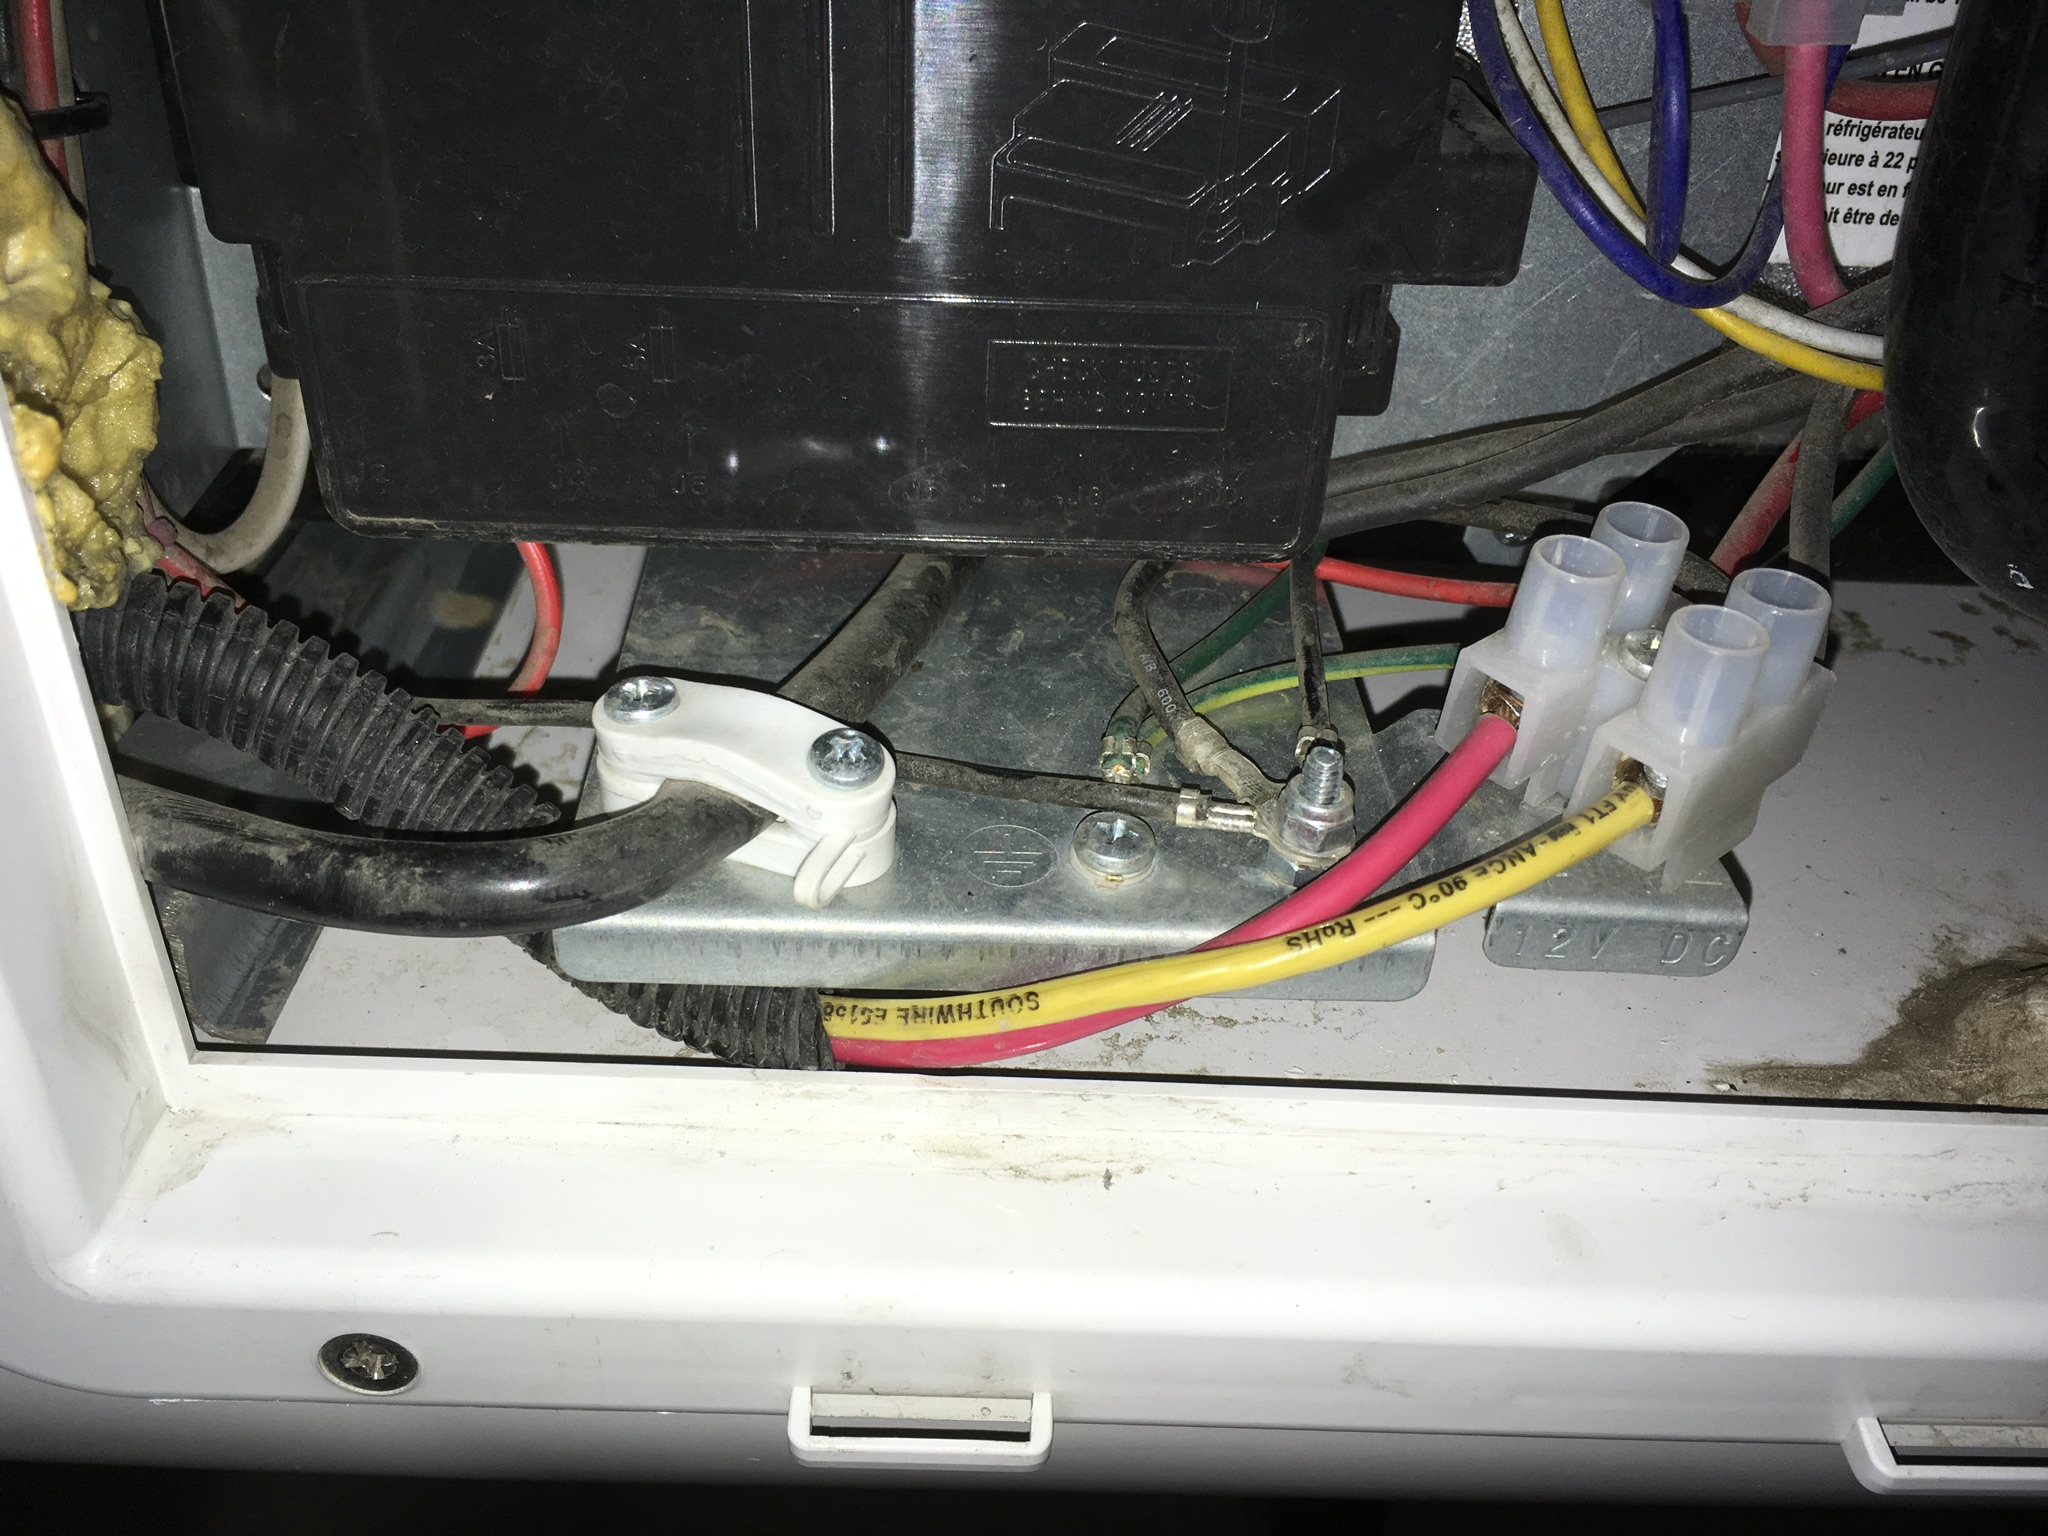
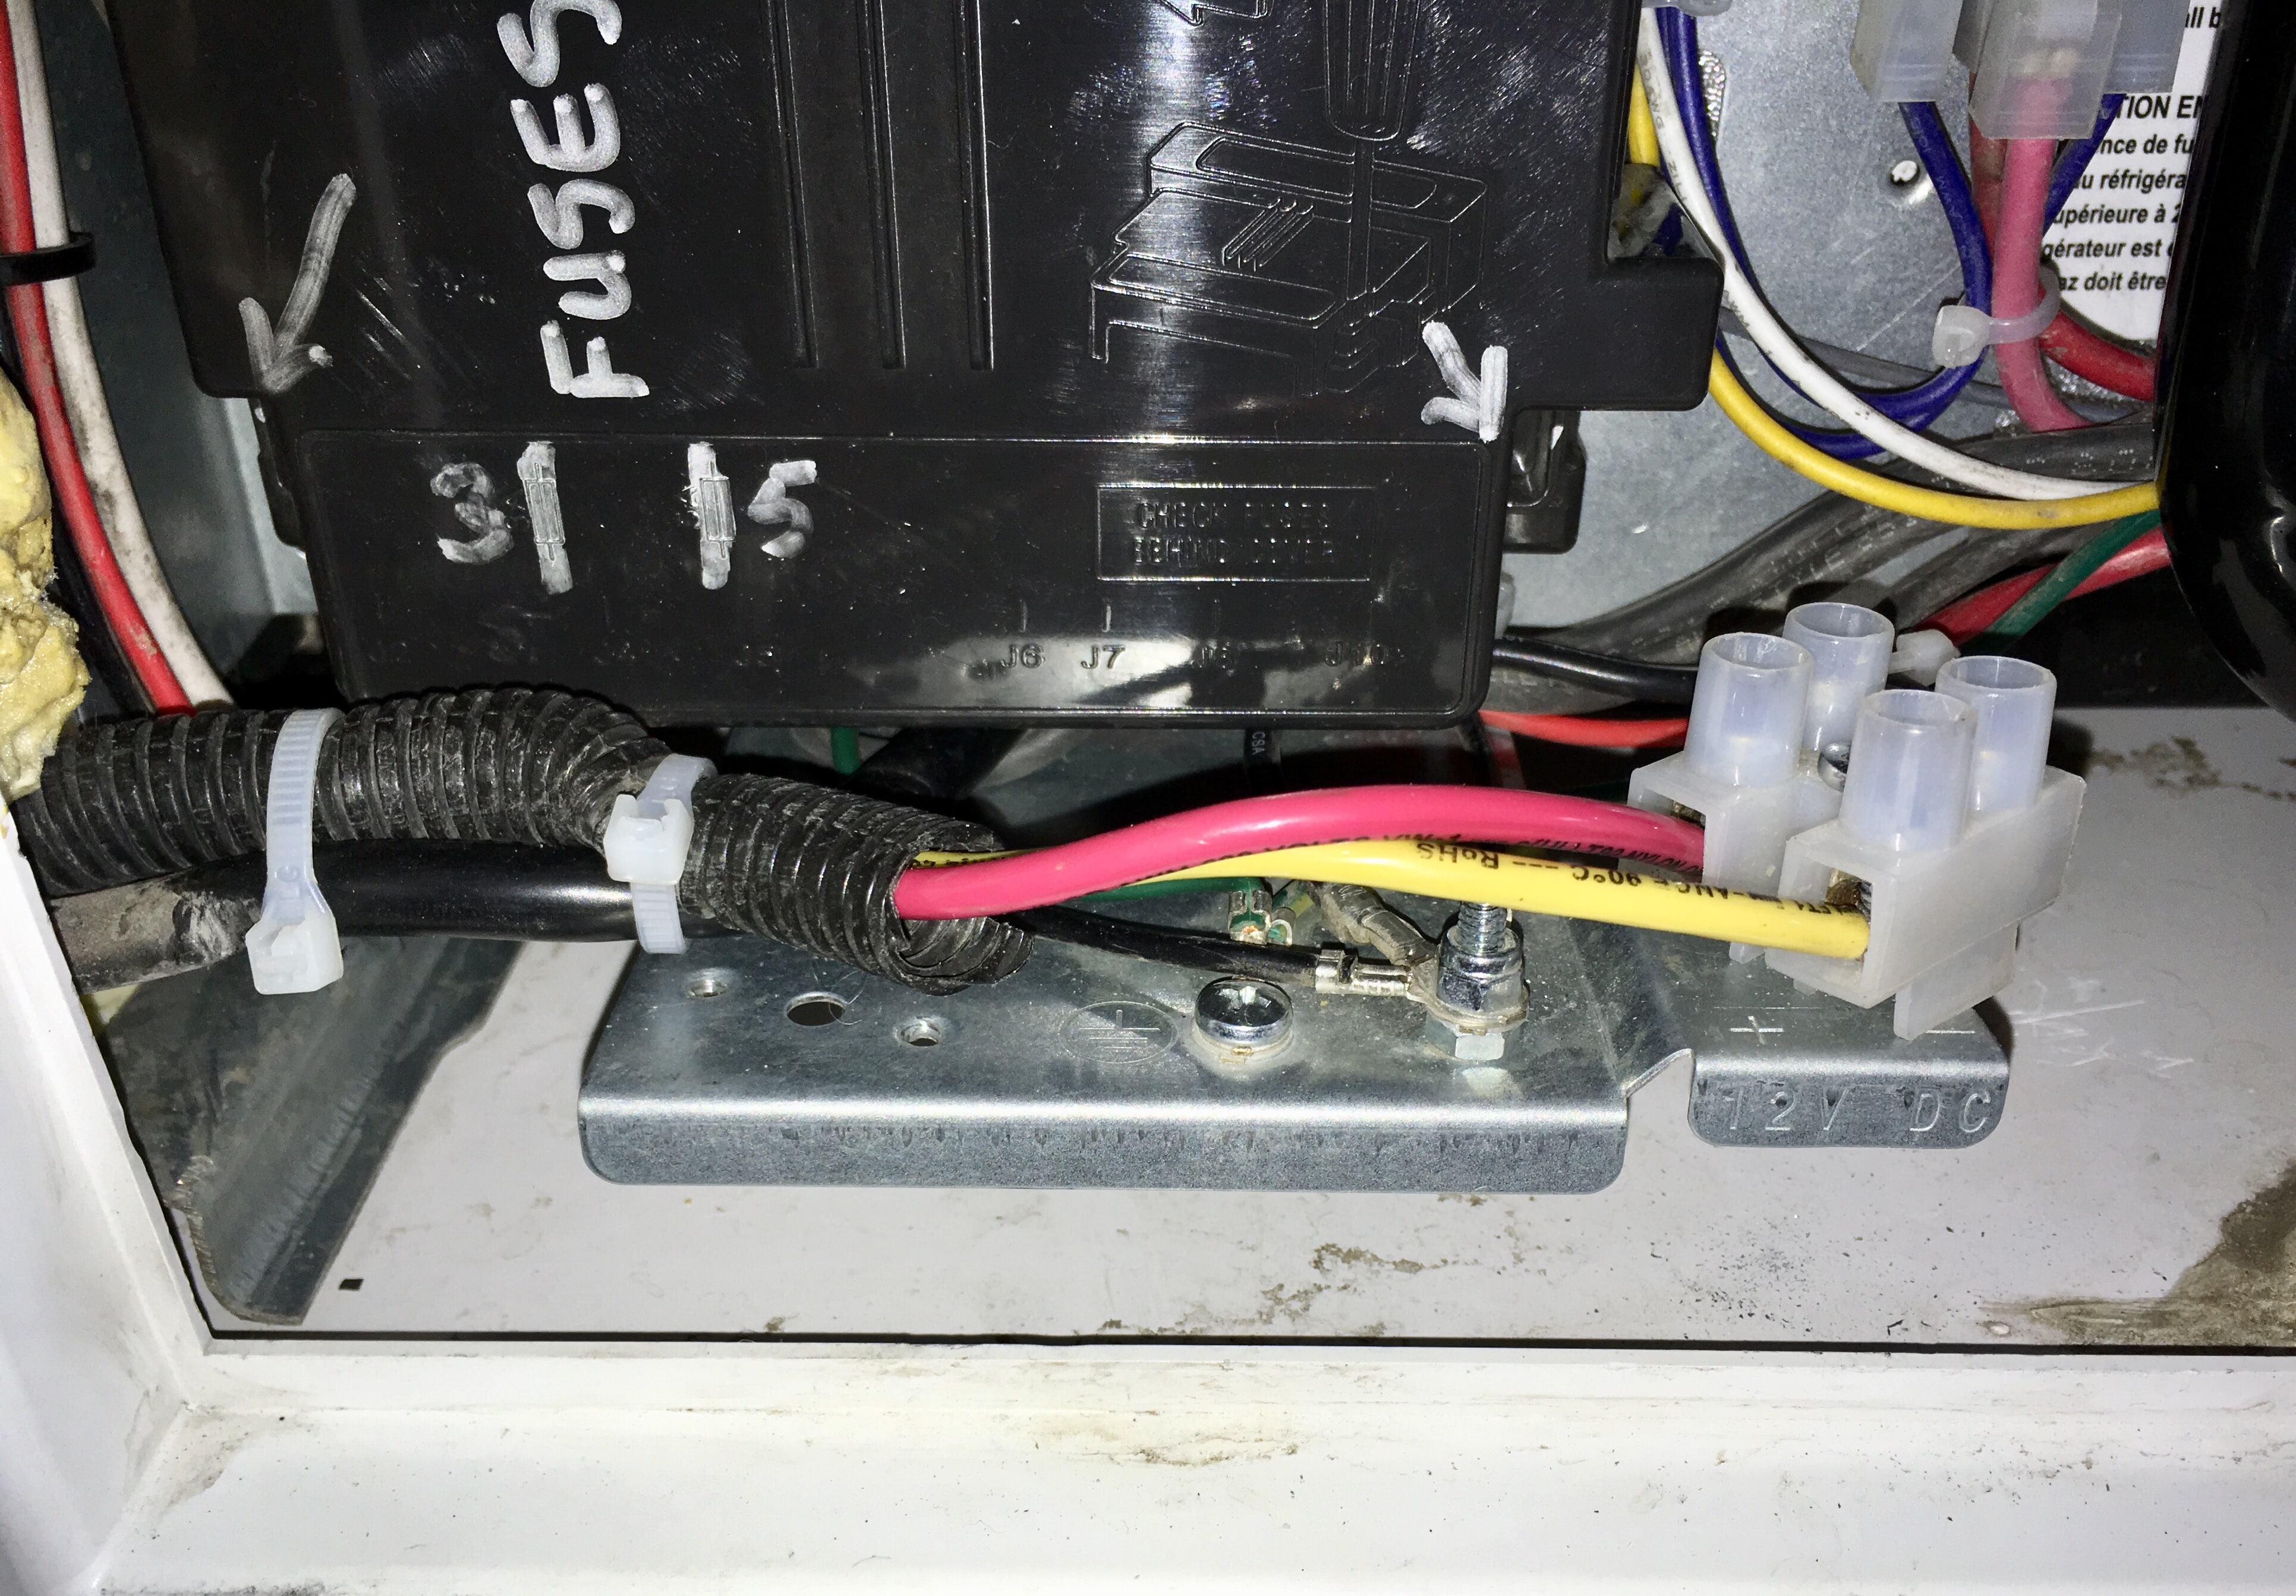
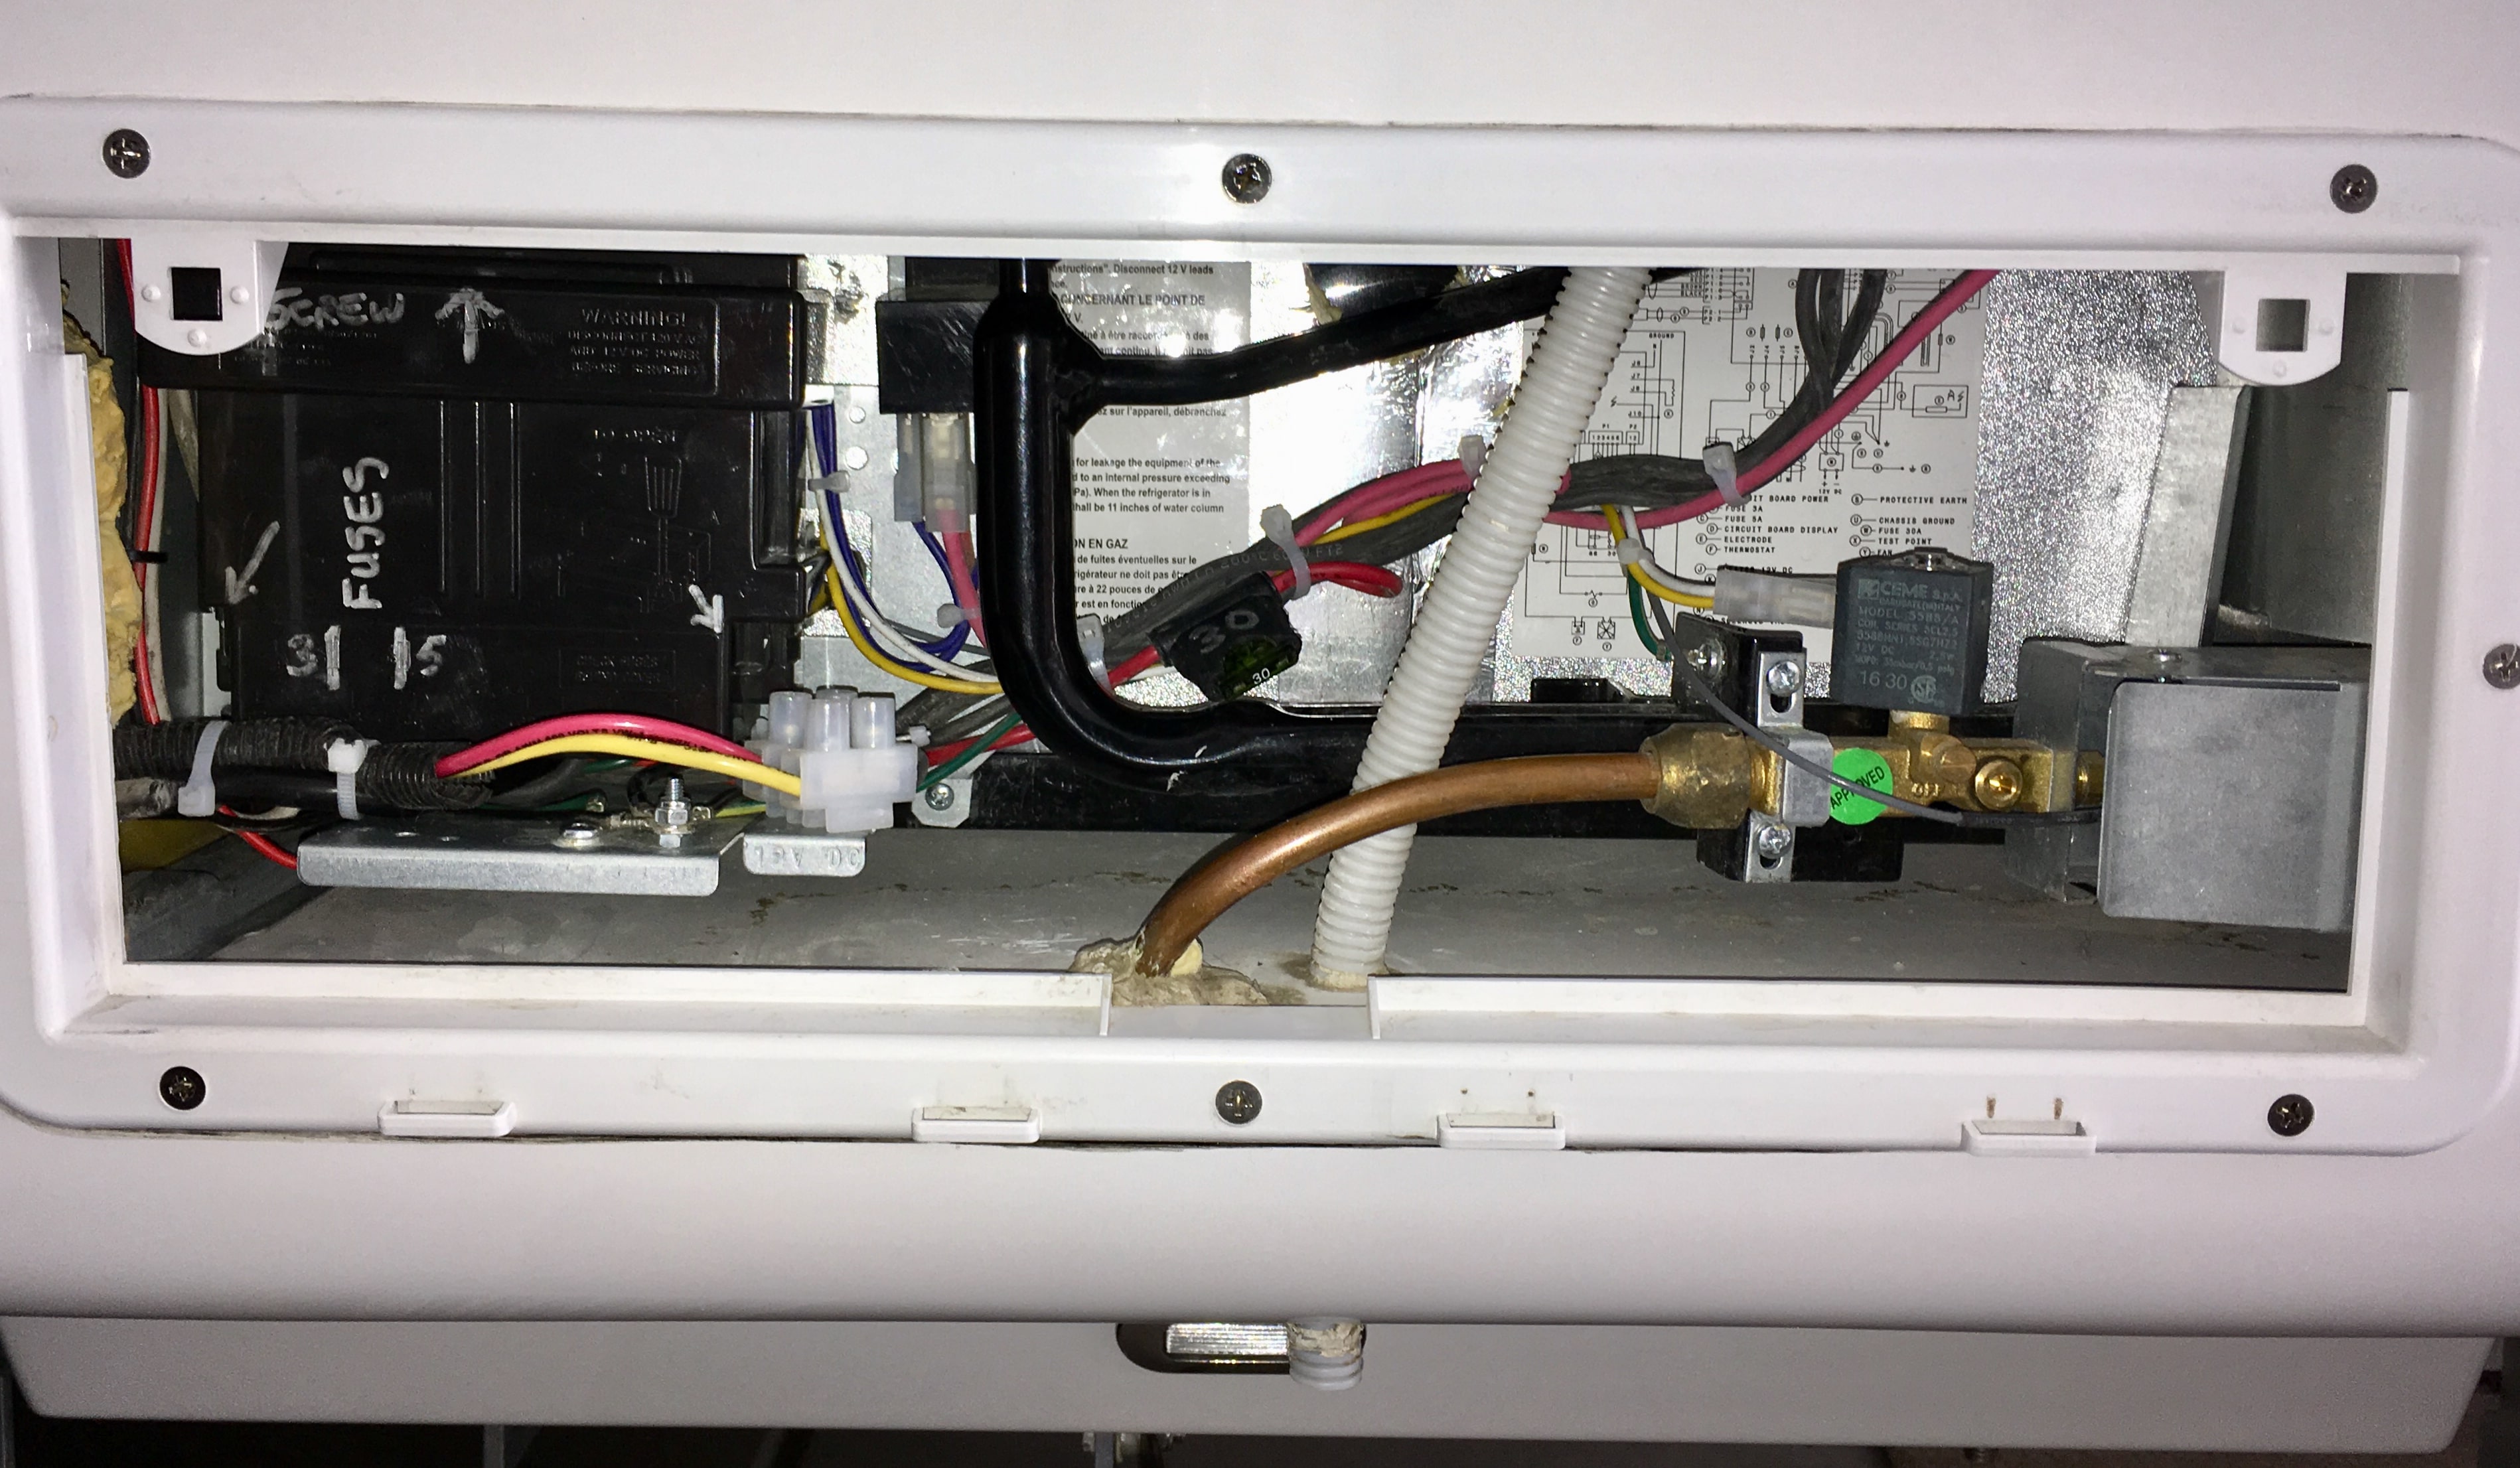
Noticed this in tidying up the wiring in my lower compartment: The fat red and yellow wires are the 12 volt power and ground for the fridge. The white block is a terminal block to join them to the wires coming out of the control board. I did not like to see them chafing on the steel bracket. Remove the 20a fuse for the fridge (under the dinette) and turn off 110vac before messing around in there! Unscrew and discard the white plastic cable clamp on the left, reposition the wires as shown and secure with cable ties. Make sure the wires are clear of the ground stud sticking up nearby. Check the tightness of the screws in the terminal block, one of mine was a little loose. I also looked inside the control box and secured the other wires to make them neater and so they cannot flop around. Check yours, and clean out the dust while you are in there. Remove the 30amp blade fuse from the holder on the red wire, dead center in the above pic. Clean any corrosion and reinstall the fuse with a coating of dielectric grease on the contacts. Secure it with the fuse angled down, to keep out water! This fuse holder really should be a sealed unit, there is no excuse for exposed electrical connections in a completely open outside compartment! Question: I am thinking of a simple way to block off this compartment for travel on dirt roads, to keep electronics and coils clean. How about a heavy trash bag filled with enough styrofoam peanuts to fit snugly in the cavity, around all the various components? The vented cover should hold it tightly in place. Obviously the fridge and propane would be switched off. Thanks. John Davies Spokane WA
- 1 reply
-
- 3
-

-
Those are definitely overkill but they look like they work terrifically well. I did fine with a scrap of Coleman sleeping pad (the blue dense egg crate foam). But I am a much smaller guy. It is important to not wear shoes that have metal eyelets, or black marking soles, or they can leave dark scuff marks on the gelcoat. John Davies Spokane WA
-
Get a tall ladder, a rope, some rags and a foam camping pad to kneel on. Pad the ladder and secure it to the awning with the rope. If your silly drip seal is still in place, you can’t do this, so tie it to the entry grab bar and be really careful not to knock your ladder over! If you have to go up near the door, you need to tilt the solar panel up to be able to walk past it. If you climb up near the rear, this is not needed. (This is another excellent reason to throw away that seal. You can clean the accumulated muck from behind it at the same time.) Climb on roof, awning side only (so you don’t slide off). Remove cover of AC. Clear drain of debris. Inspect and clean other components as needed. Reinstall cover. Climb down. Go get a beer. Blowing compressed air up from the drain bottom opening might work but it won’t get the debris away from the top opening, so it will probably plug up again. You need to physically go check out what is going on up top. If you have some 303 Protectant, clean and treat the plastic cover to keep it from getting brittle. Nobody said owning an RV was easy.... I just spent most of a day on the roof detailing. If in doubt, find a young person to do this for you or take it to an RV $hop! Note that the seal is gone: Good luck. John Davies Spokane WA
-
Current and desired production numbers, new models?
John E Davies replied to John E Davies's topic in General Discussion
Here again, the chart shows a spike beyond previous bubble highs which points to another crash. So add this indicator to trailing 12-month P/E, cyclically adjusted P/E, asset prices to GDP, and about a dozen other historically-reliable valuation measures that are now screaming “get out!” https://www.silverdoctors.com/headlines/world-news/the-rv-indicator-is-flashing-get-out-of-the-markets-now-just-like-it-did-before-and-before/ John Davies Spokane WA
-
So I noticed that MontanaOliver has Hull 326, and Mark picked his new LEII up exactly a year after we got Hull 218. That works out to exactly nine deliveries per month, on average. Does anyone know what is the target number of monthly production? Two per week sounds like a good goal to me, but how many of these trailers does Oliver want to crank out? Will it affect the build quality? Has anyone heard if they will expand the production line, perhaps offering a new model, or just more units of the current ones? We are approaching the end of a huge and worrisome RV Bubble, and as gas prices start to climb back up towards $4.00, the bubble will burst and demand will plummet as it did in 2008. I sure hope the factory doesn't overextend. Comments? John Davies Spokane WA
-
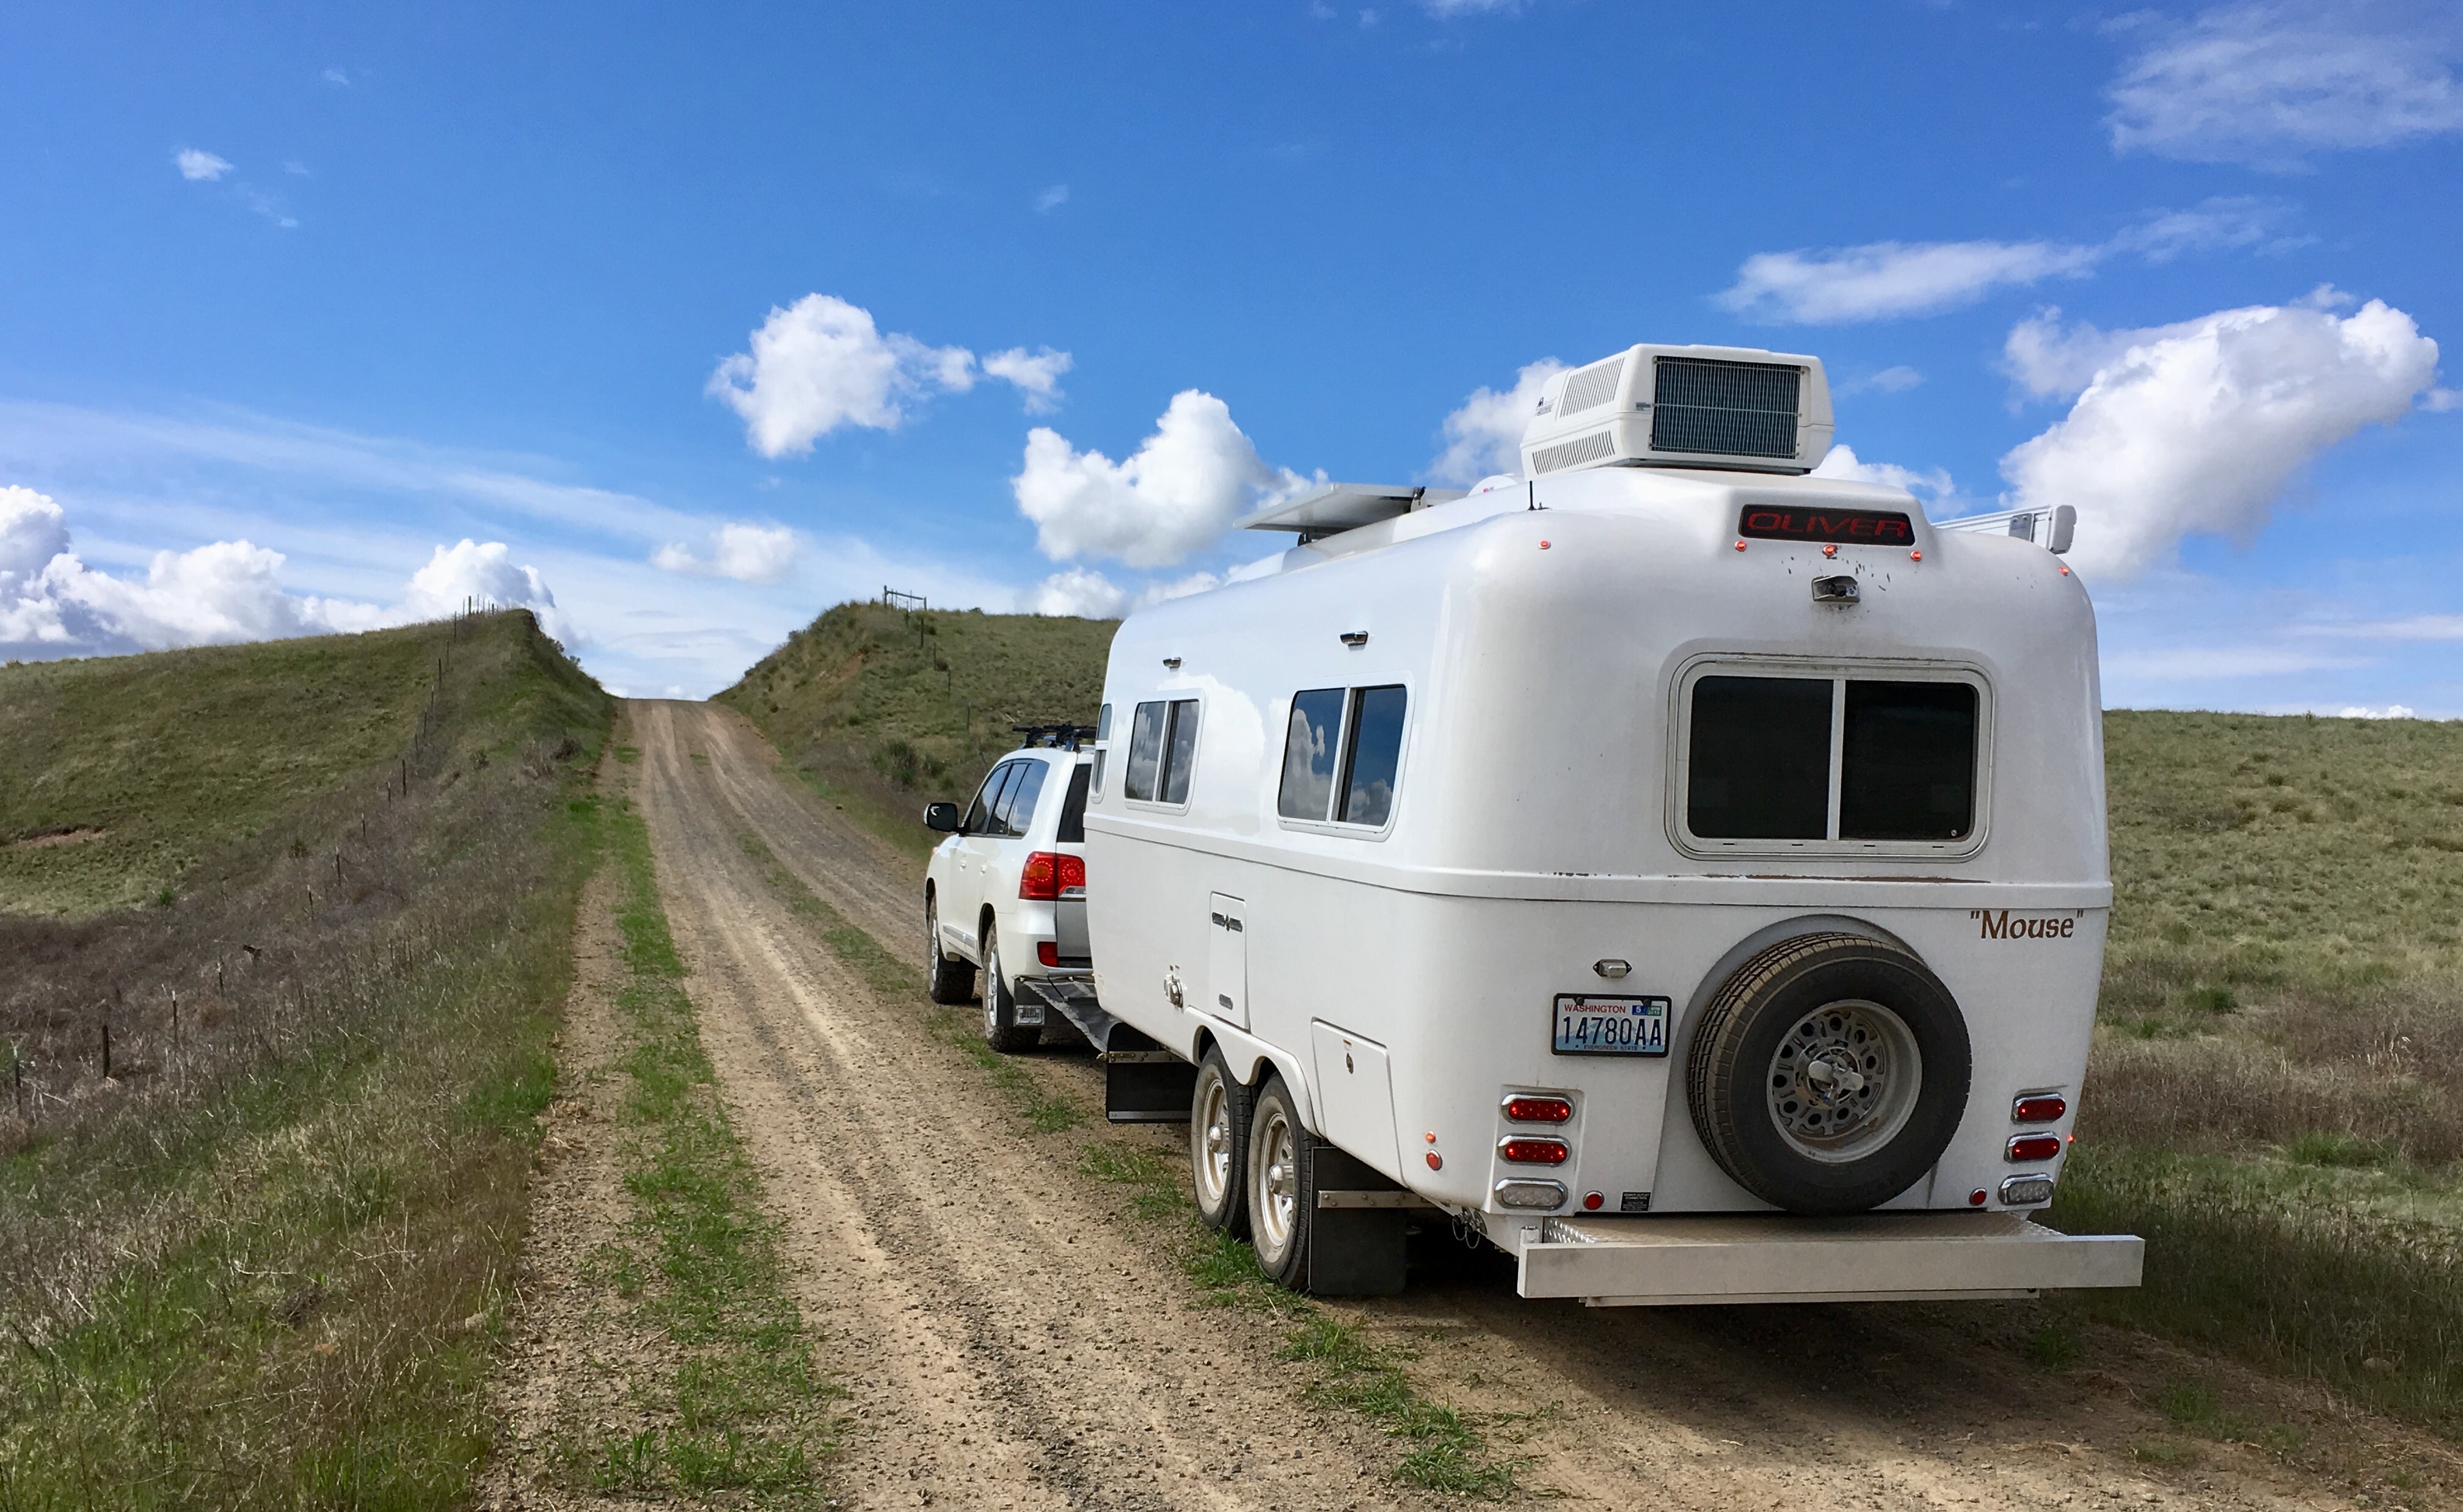
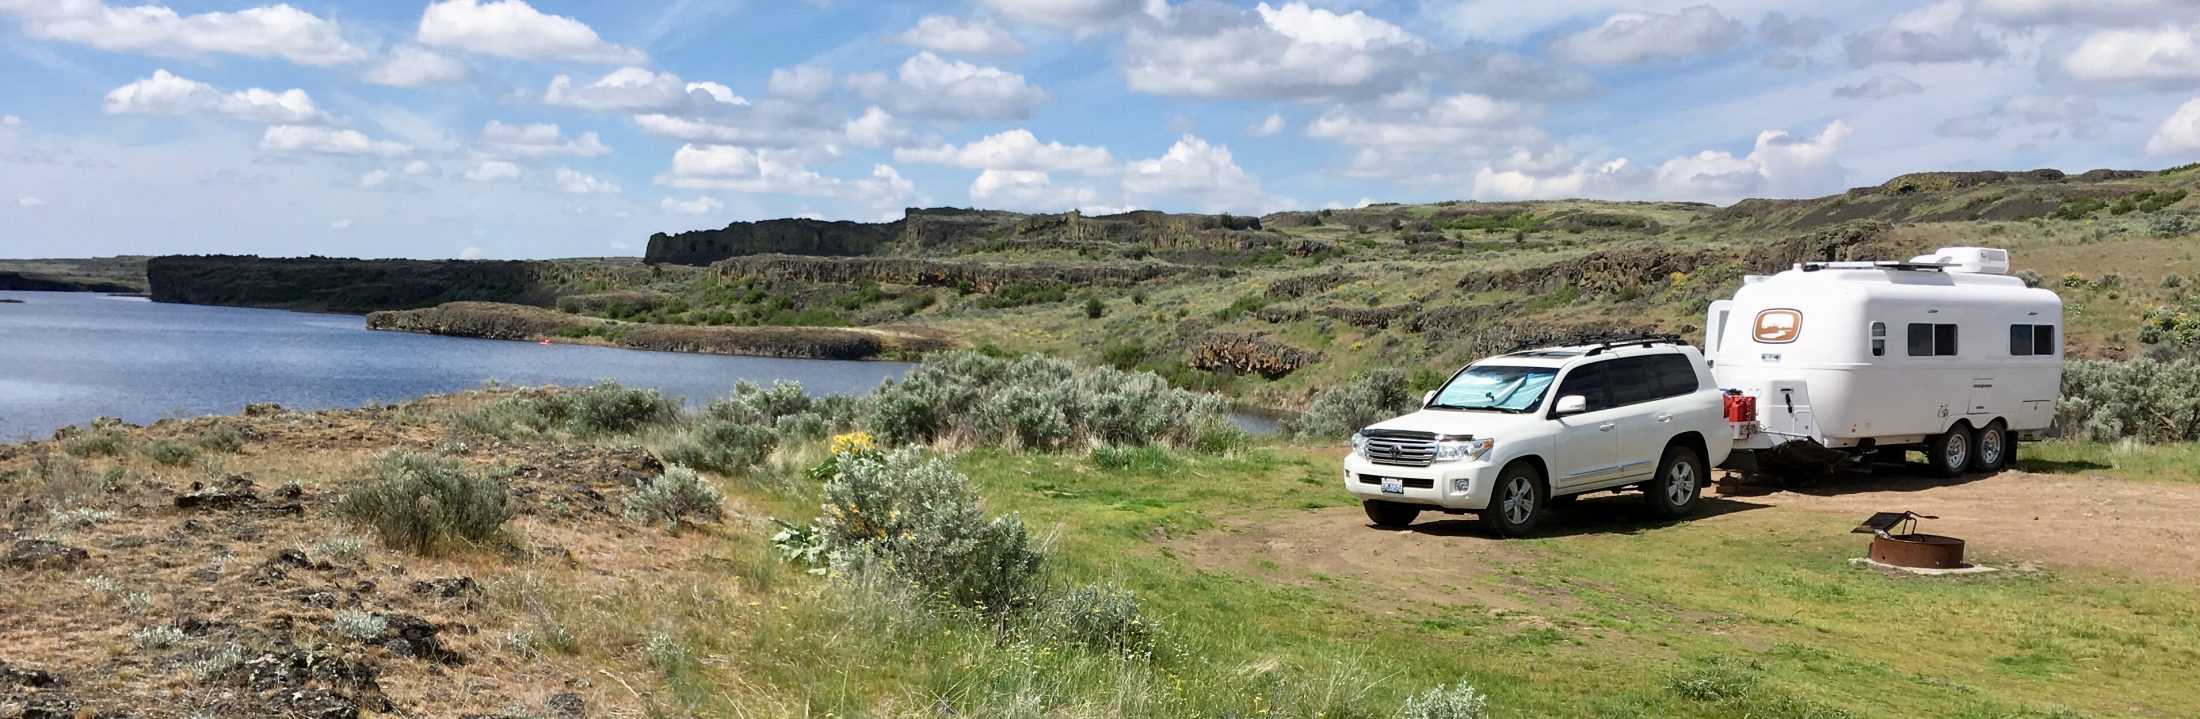
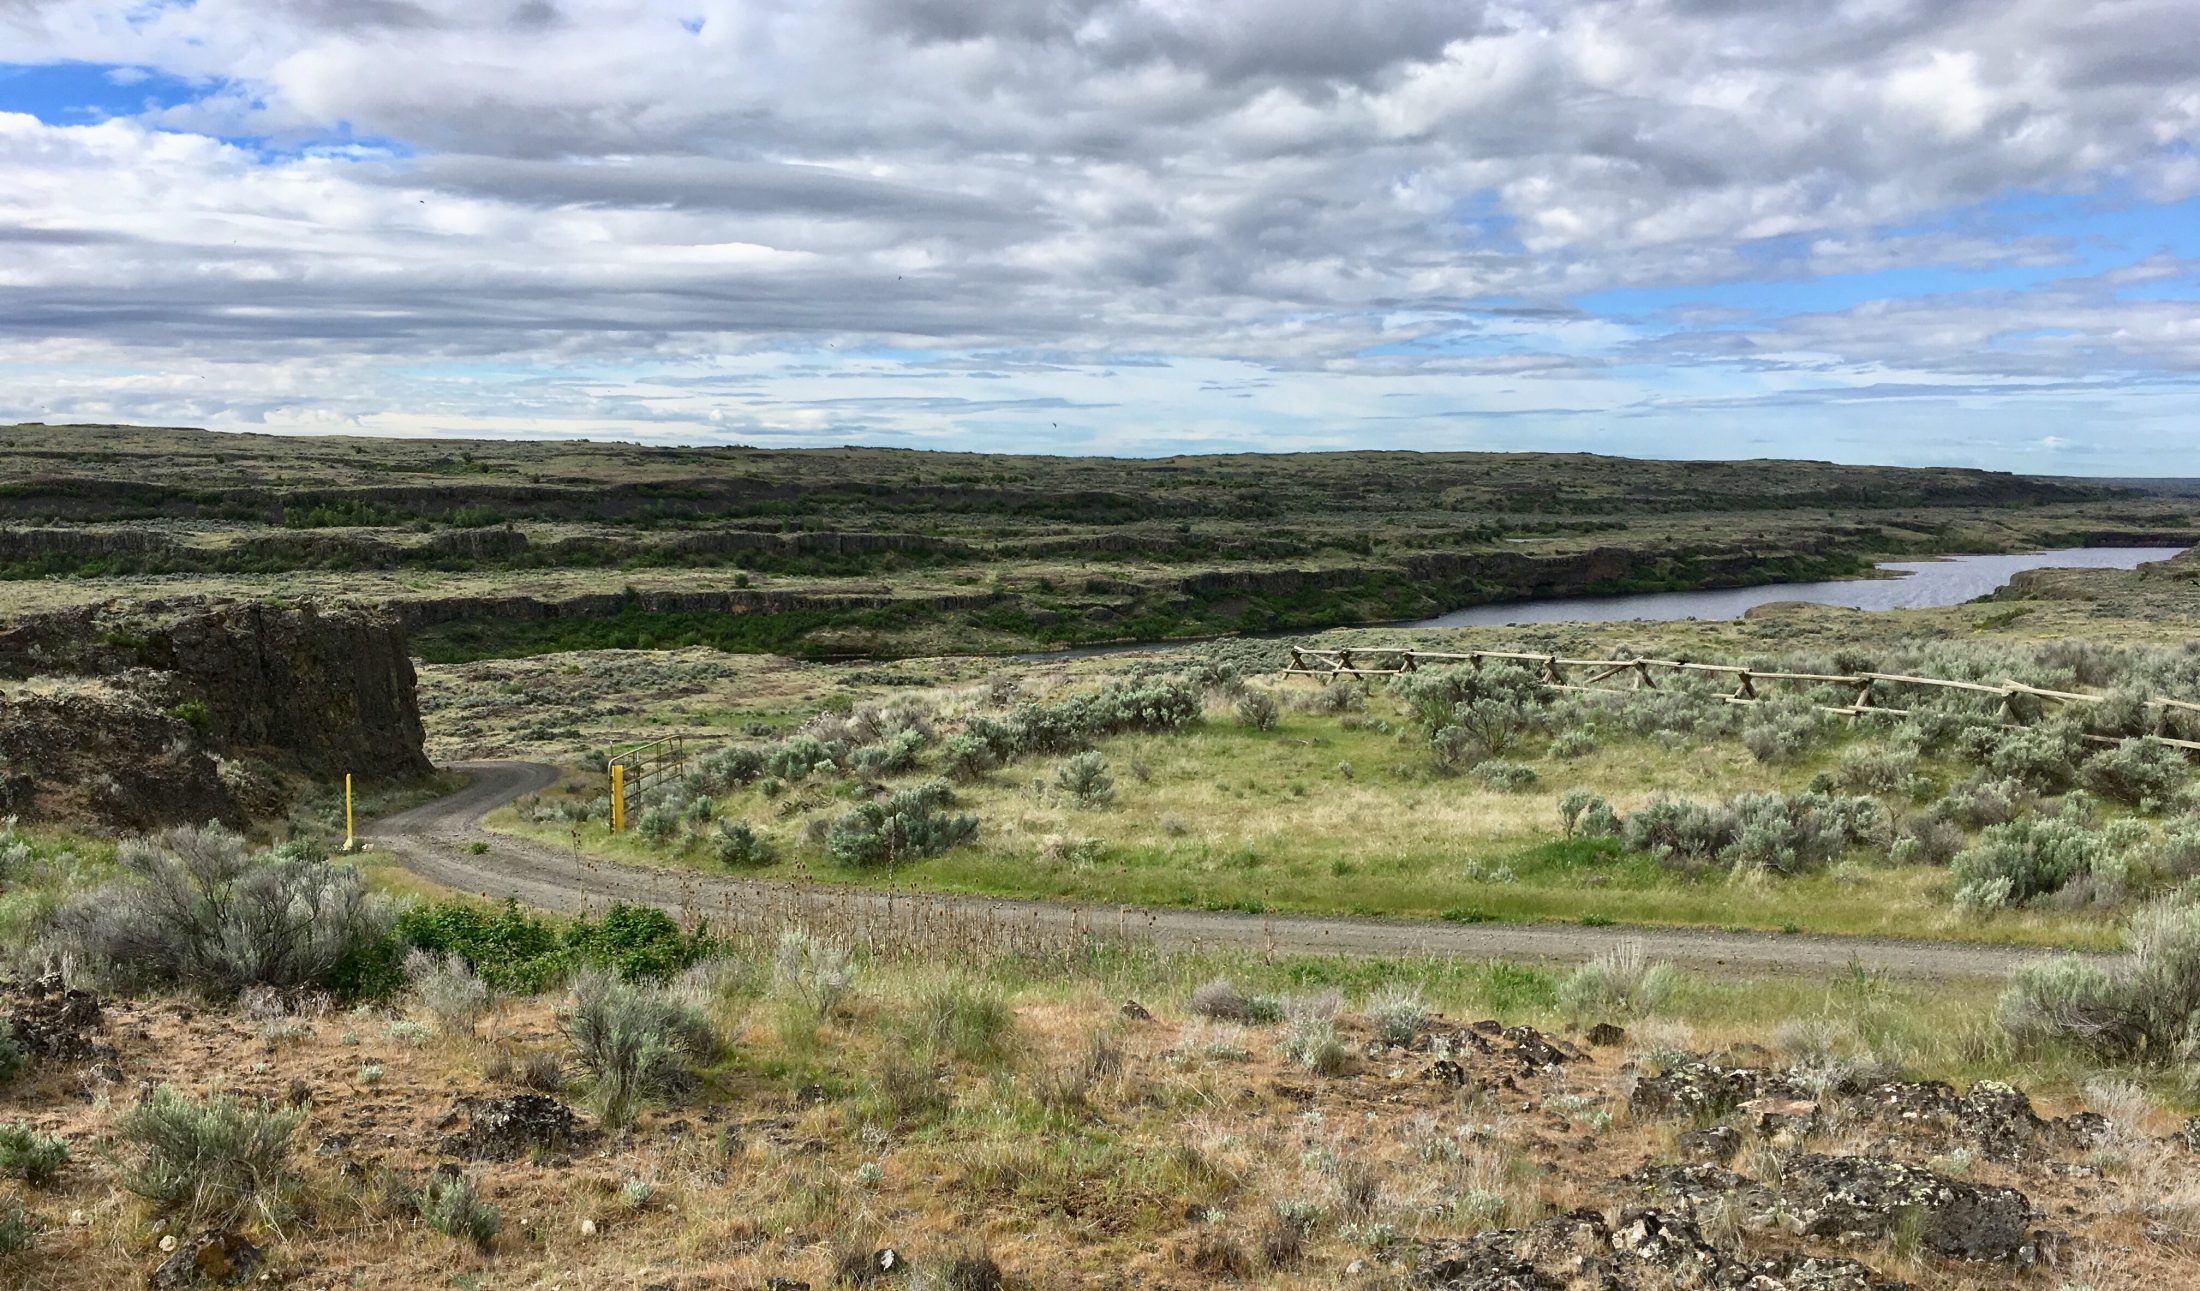
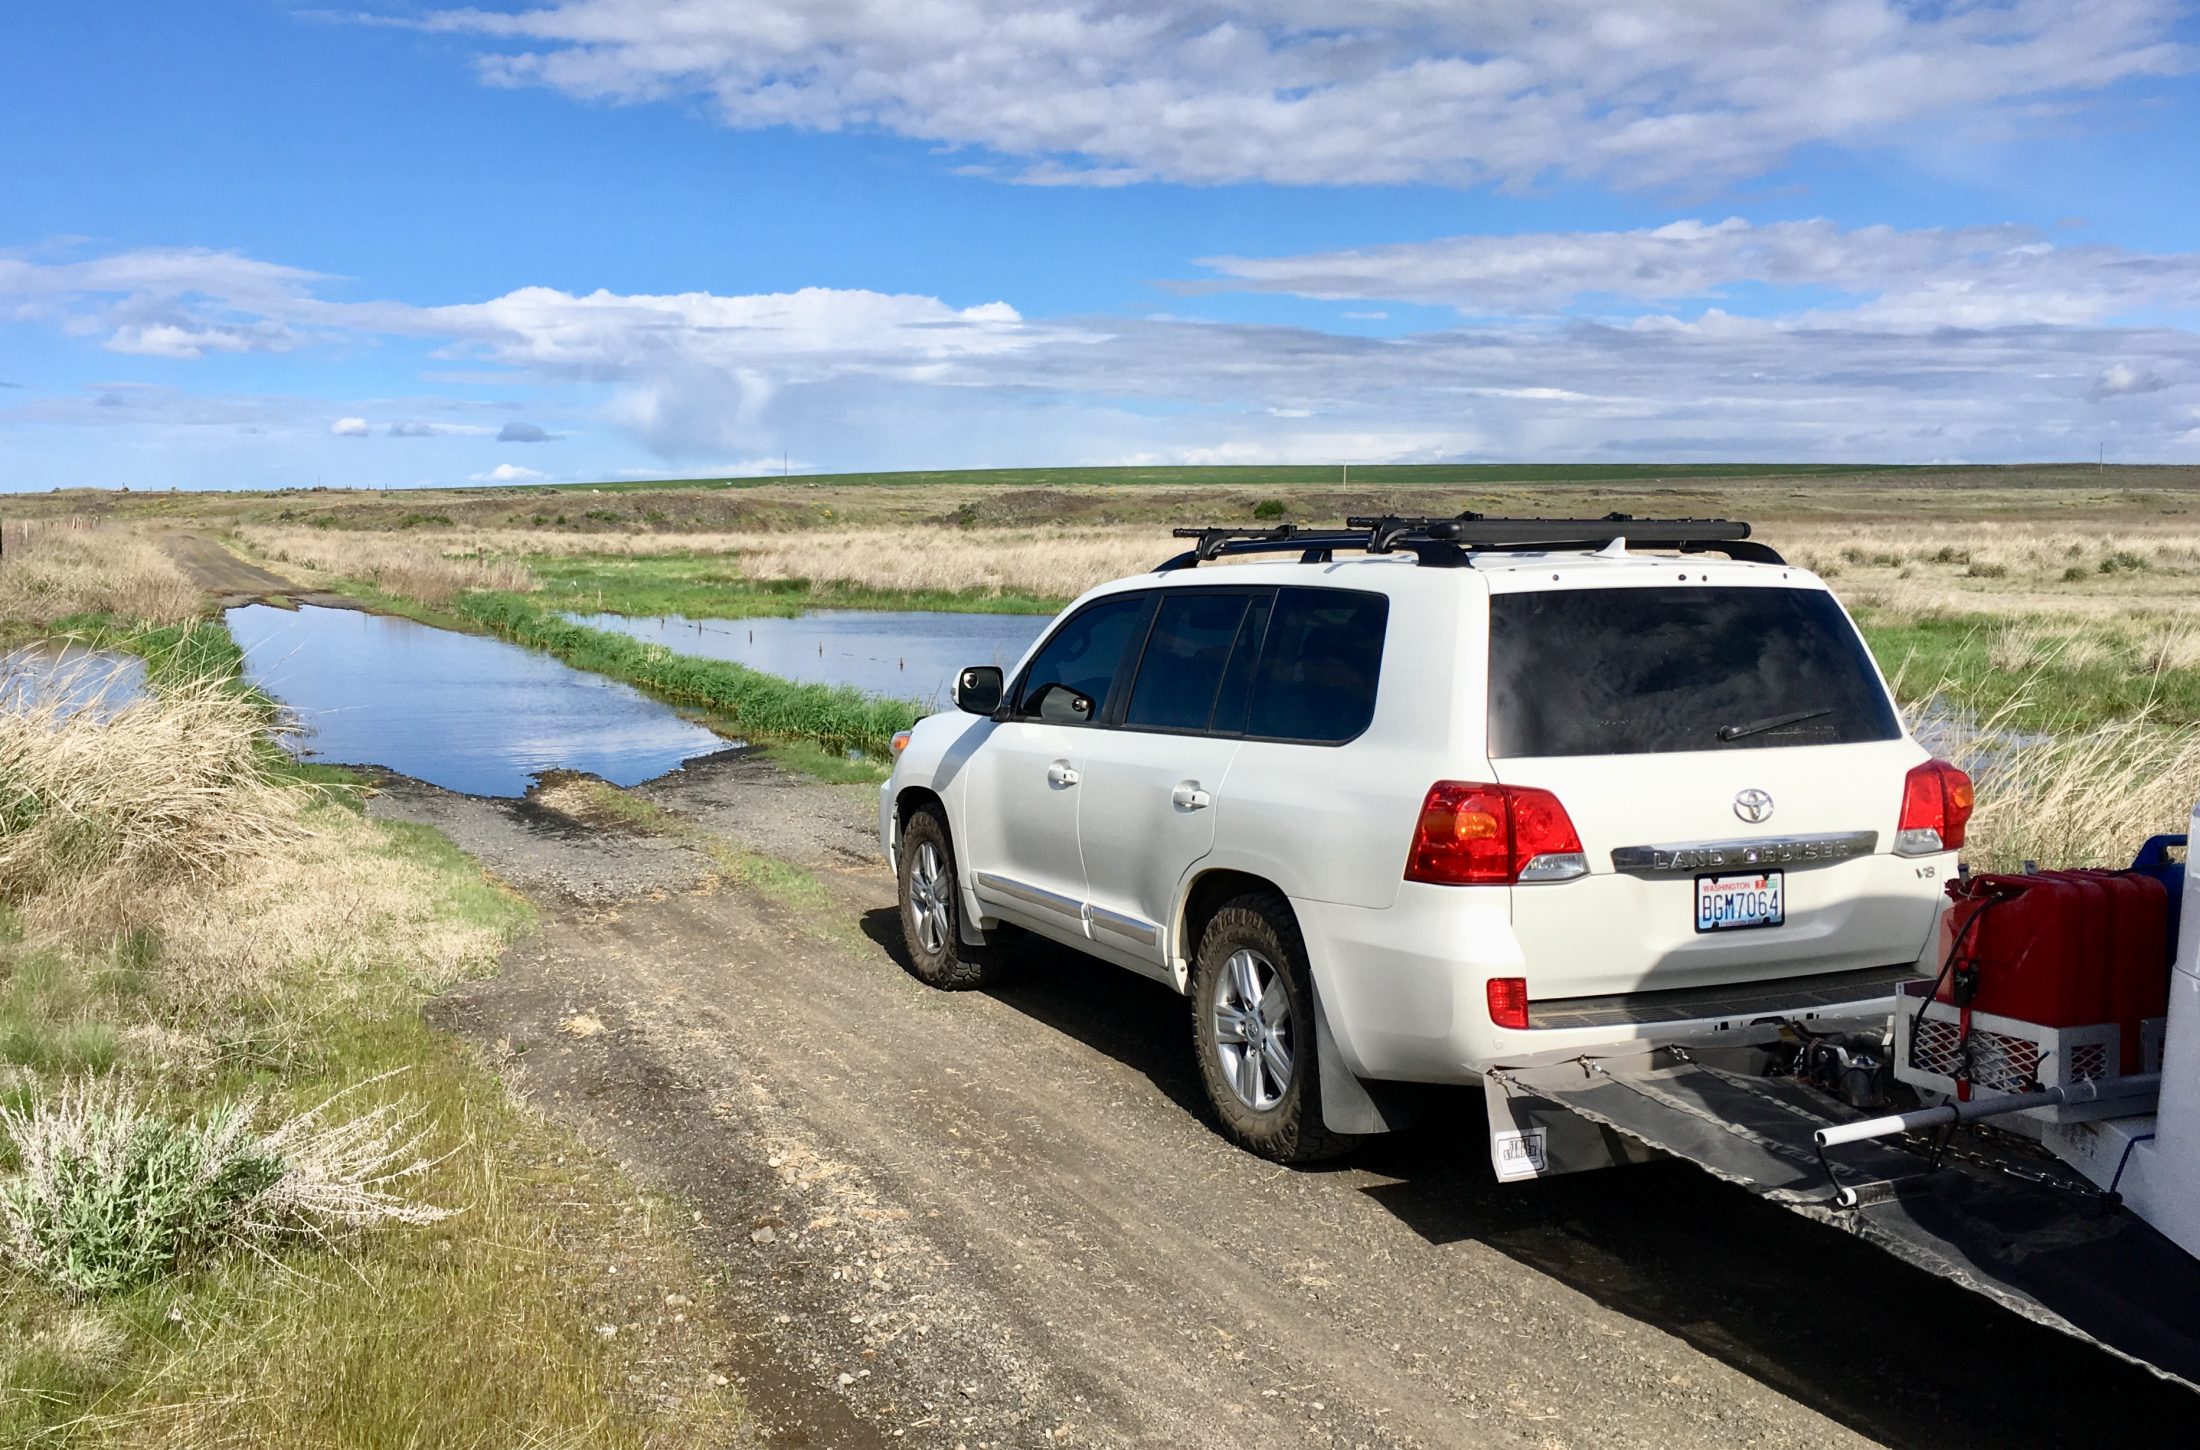
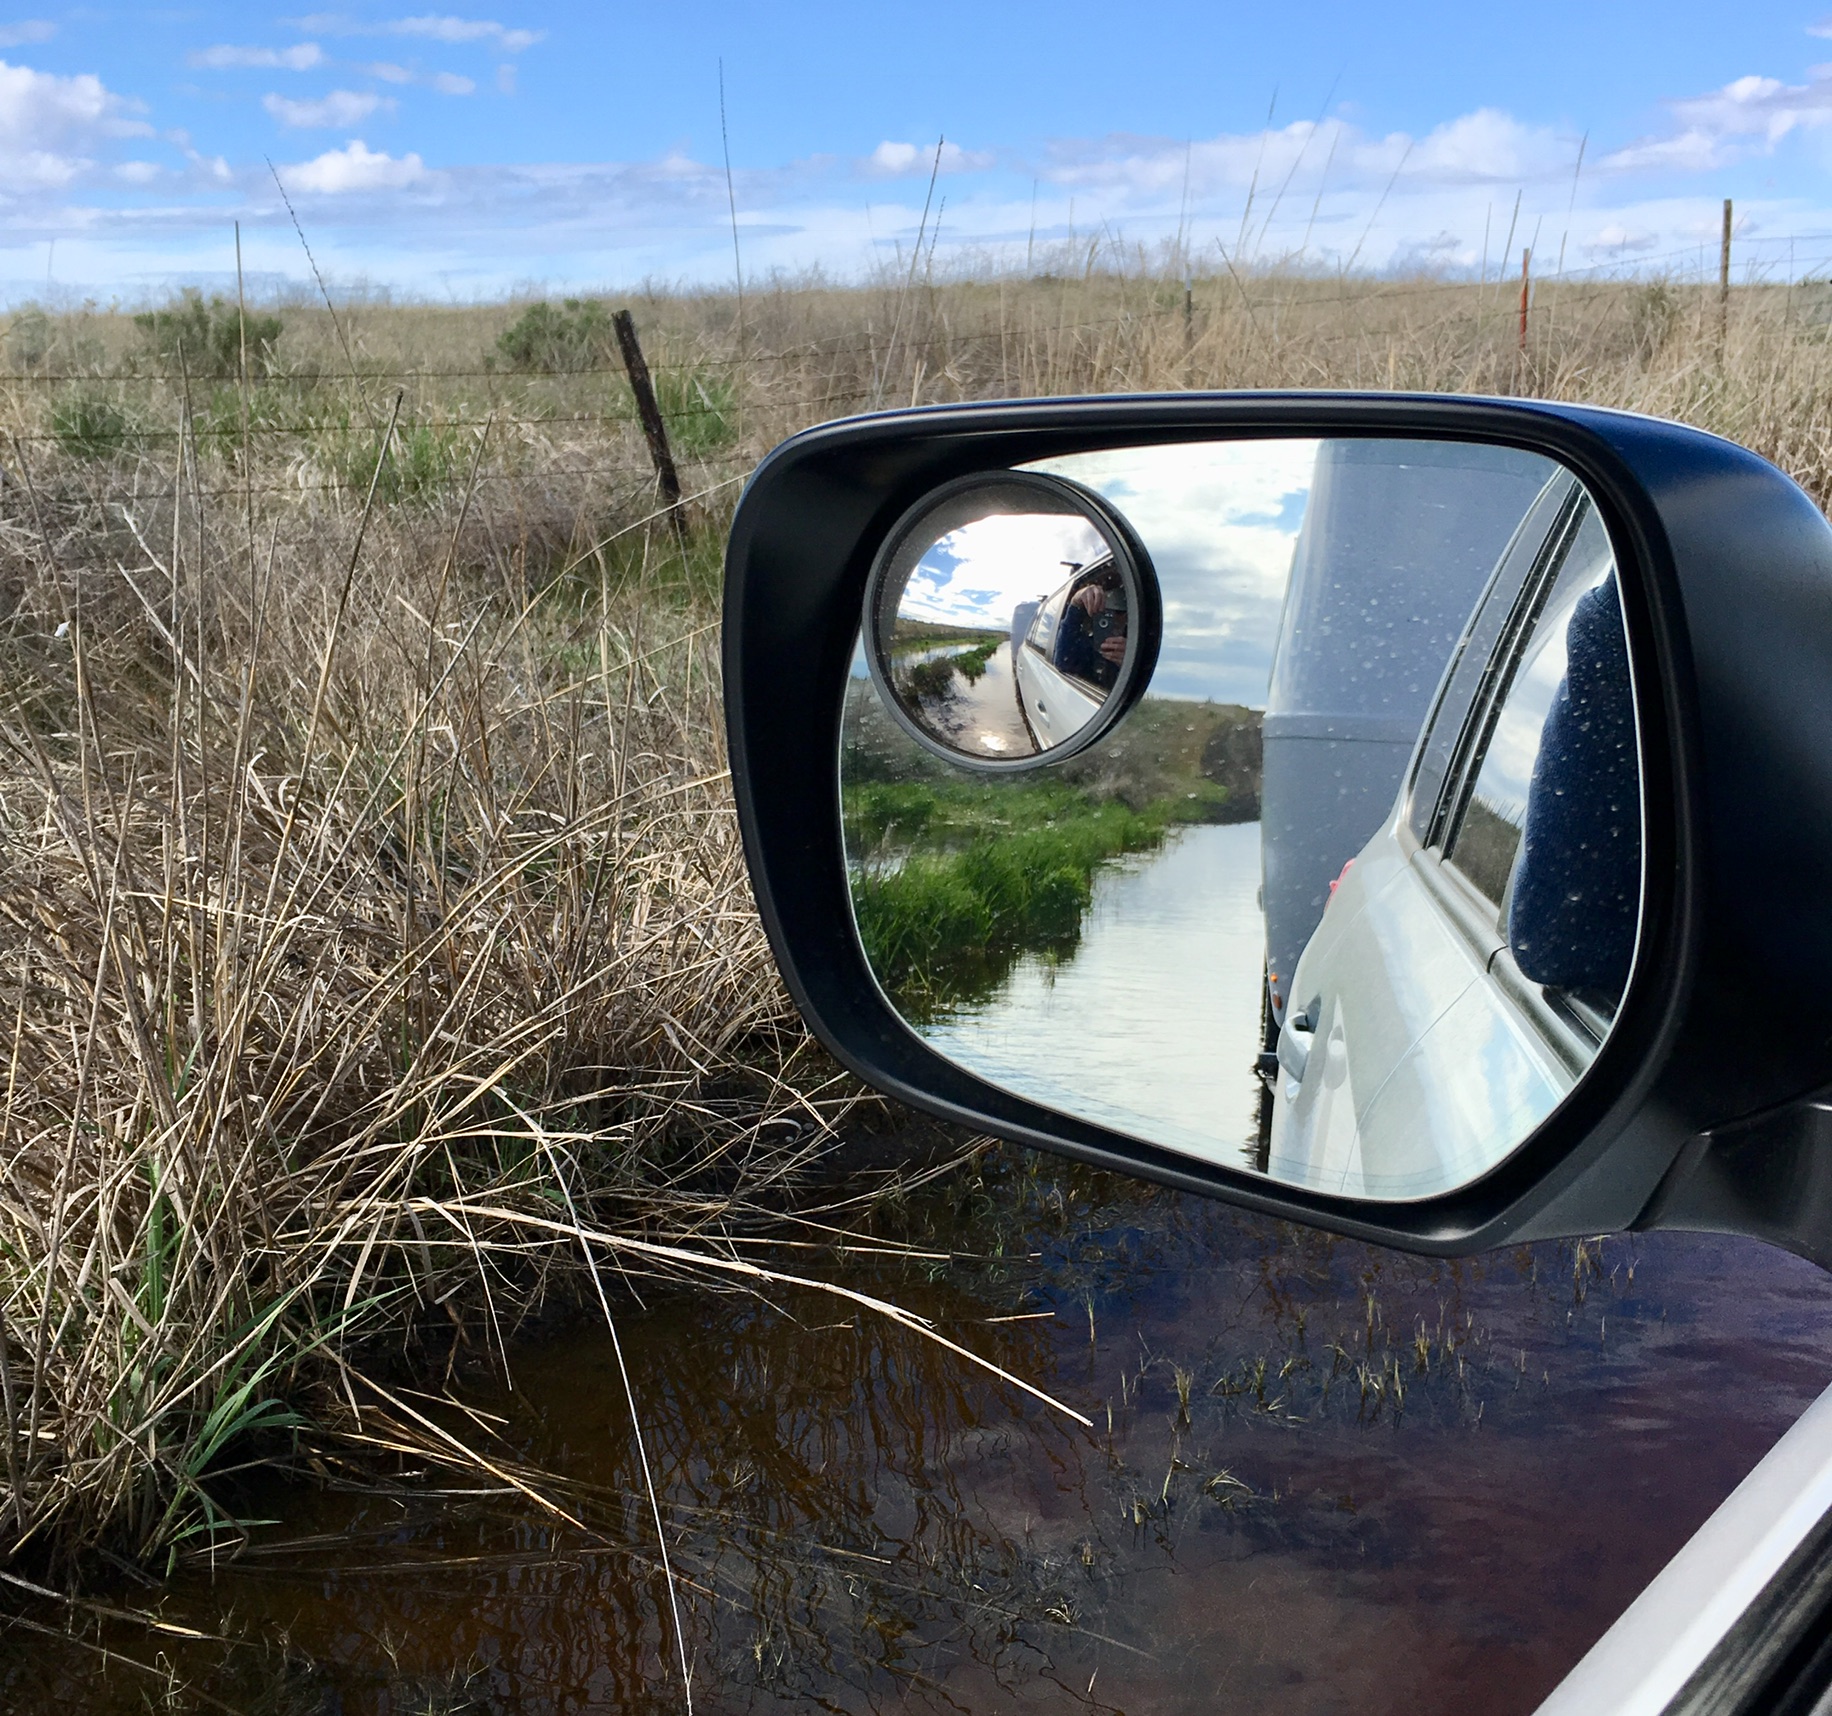
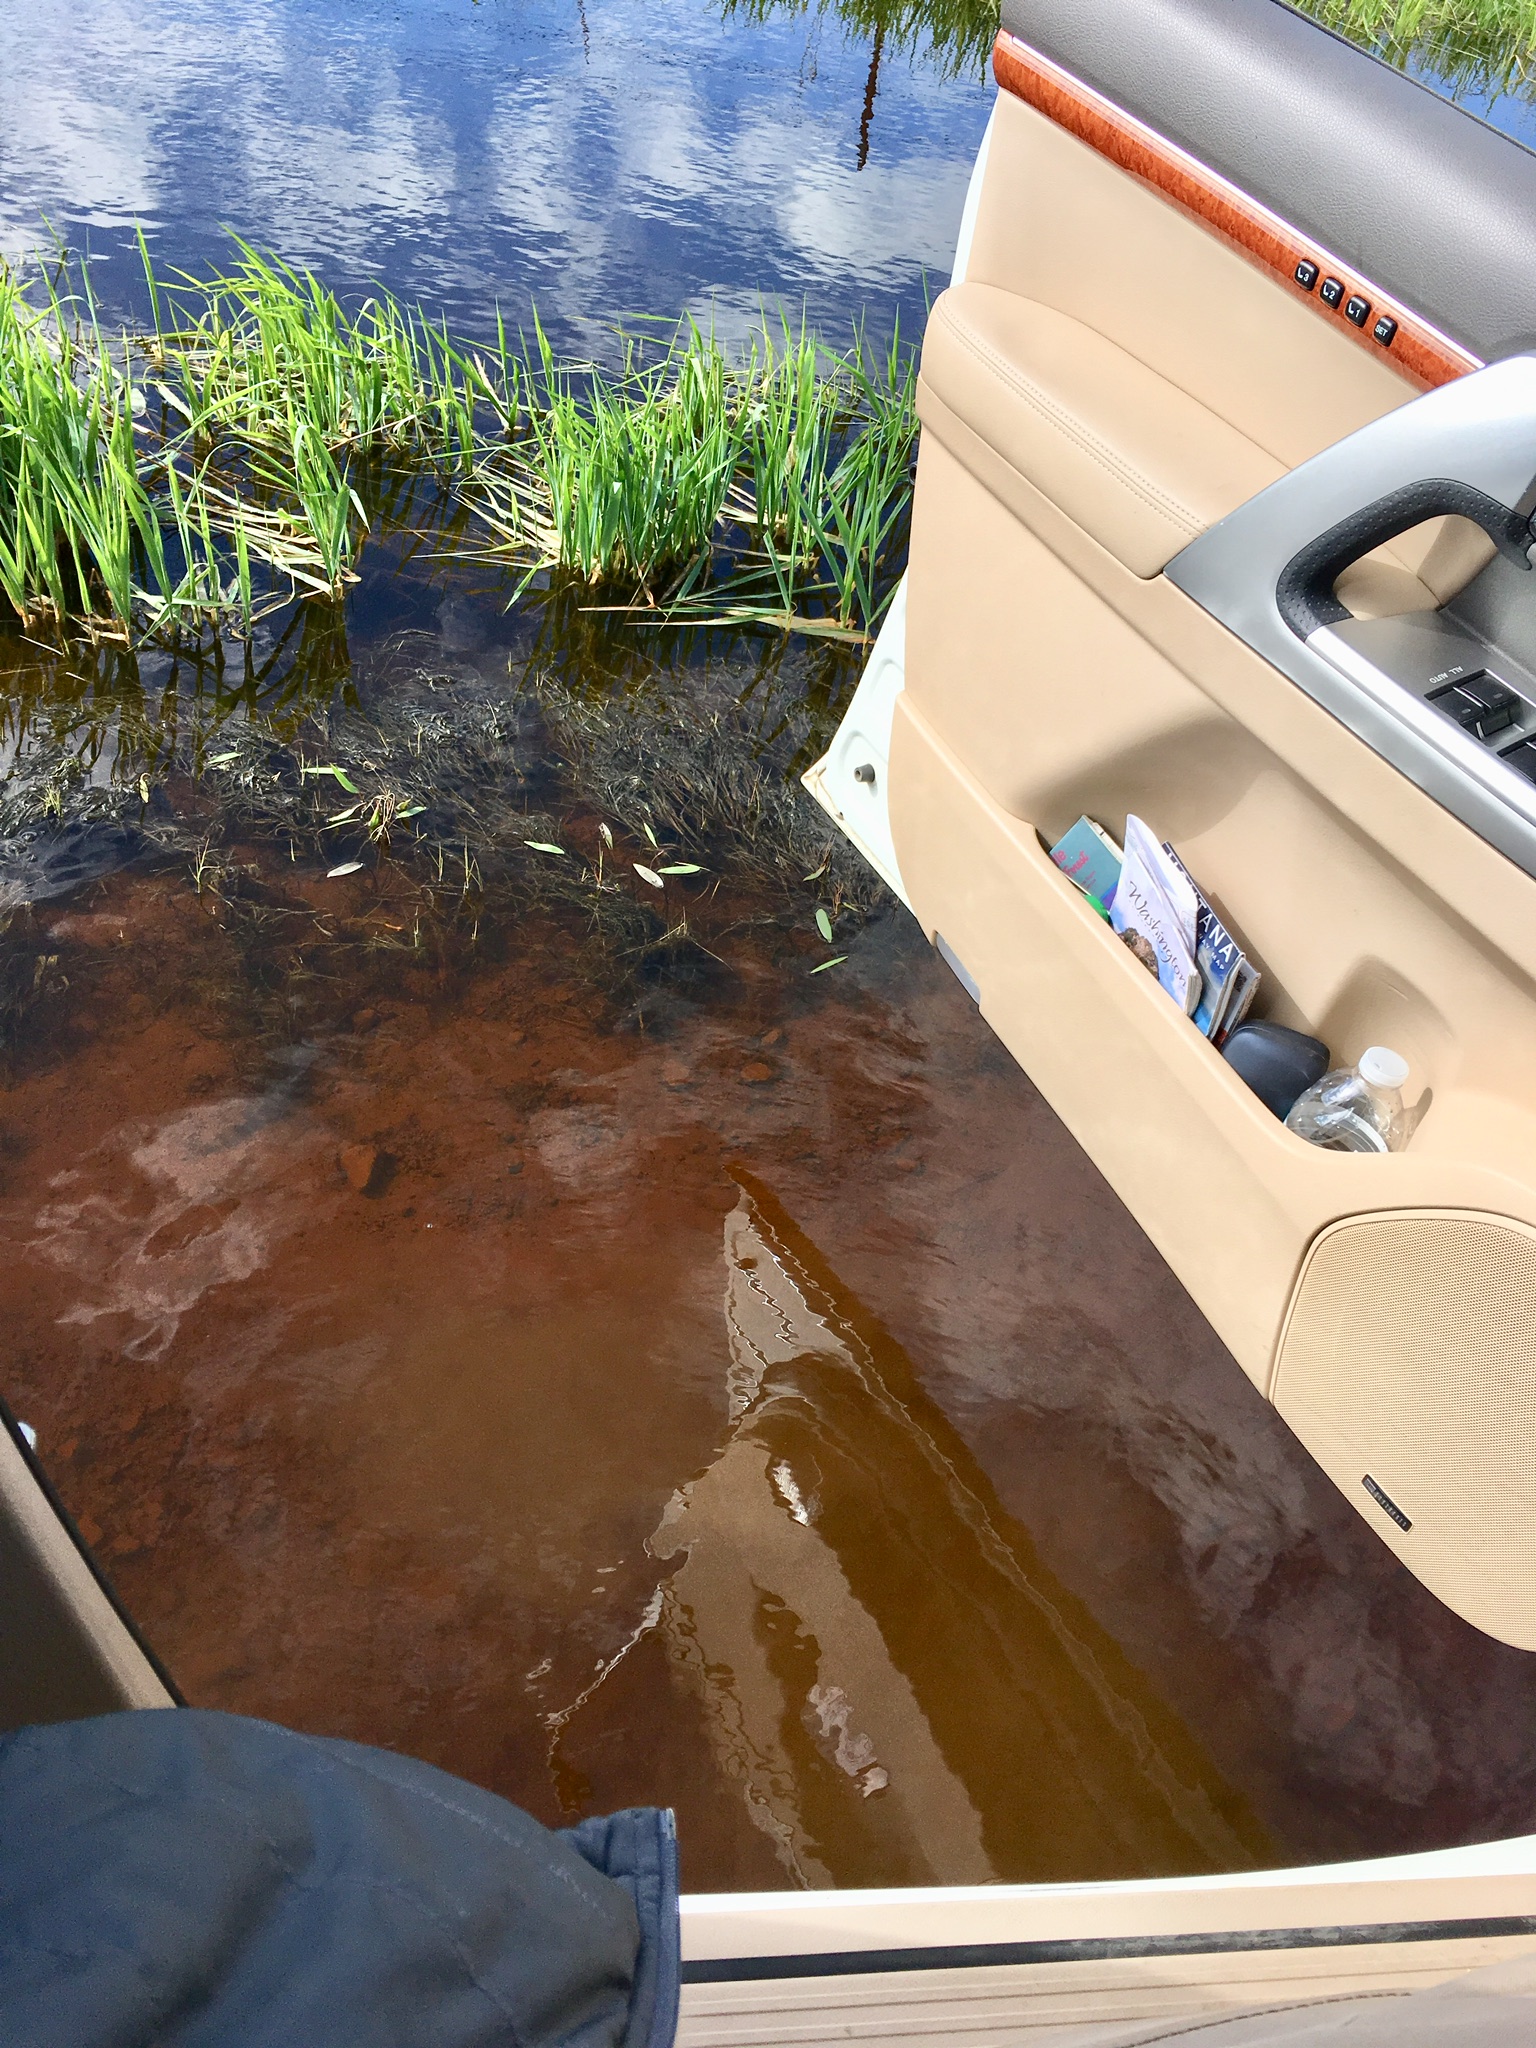
This is BLM land, no facilities, with a rough, steep dirt road leading to dispersed sites on two small Channelled Scabland lakes. Twin Lakes Recreation Area is between Odessa and Harrington WA,in the very middle of the state. https://news.nationalgeographic.com/2017/03/channeled-scablands/ When you are alone and the bugs are out, you have lots of time to mess around with a camera, making time lapse videos: [attachment file=133808] John Davies Spokane WA
-
I don’t mind having chargers that may be obsolete in a decade, if I am still around I will just deal with replacing them. I actually think that the round 12v sockets are obsolete already and I would rather just have more USB ports. It is fairly easy to replace one with a dual USB..... as far as exotic chargers go, I would just run my inverter and plug it into a 110 VAC wall outlet. You will get better results in searching if you add the term “hard wire”. John Davies Spokane WA
-
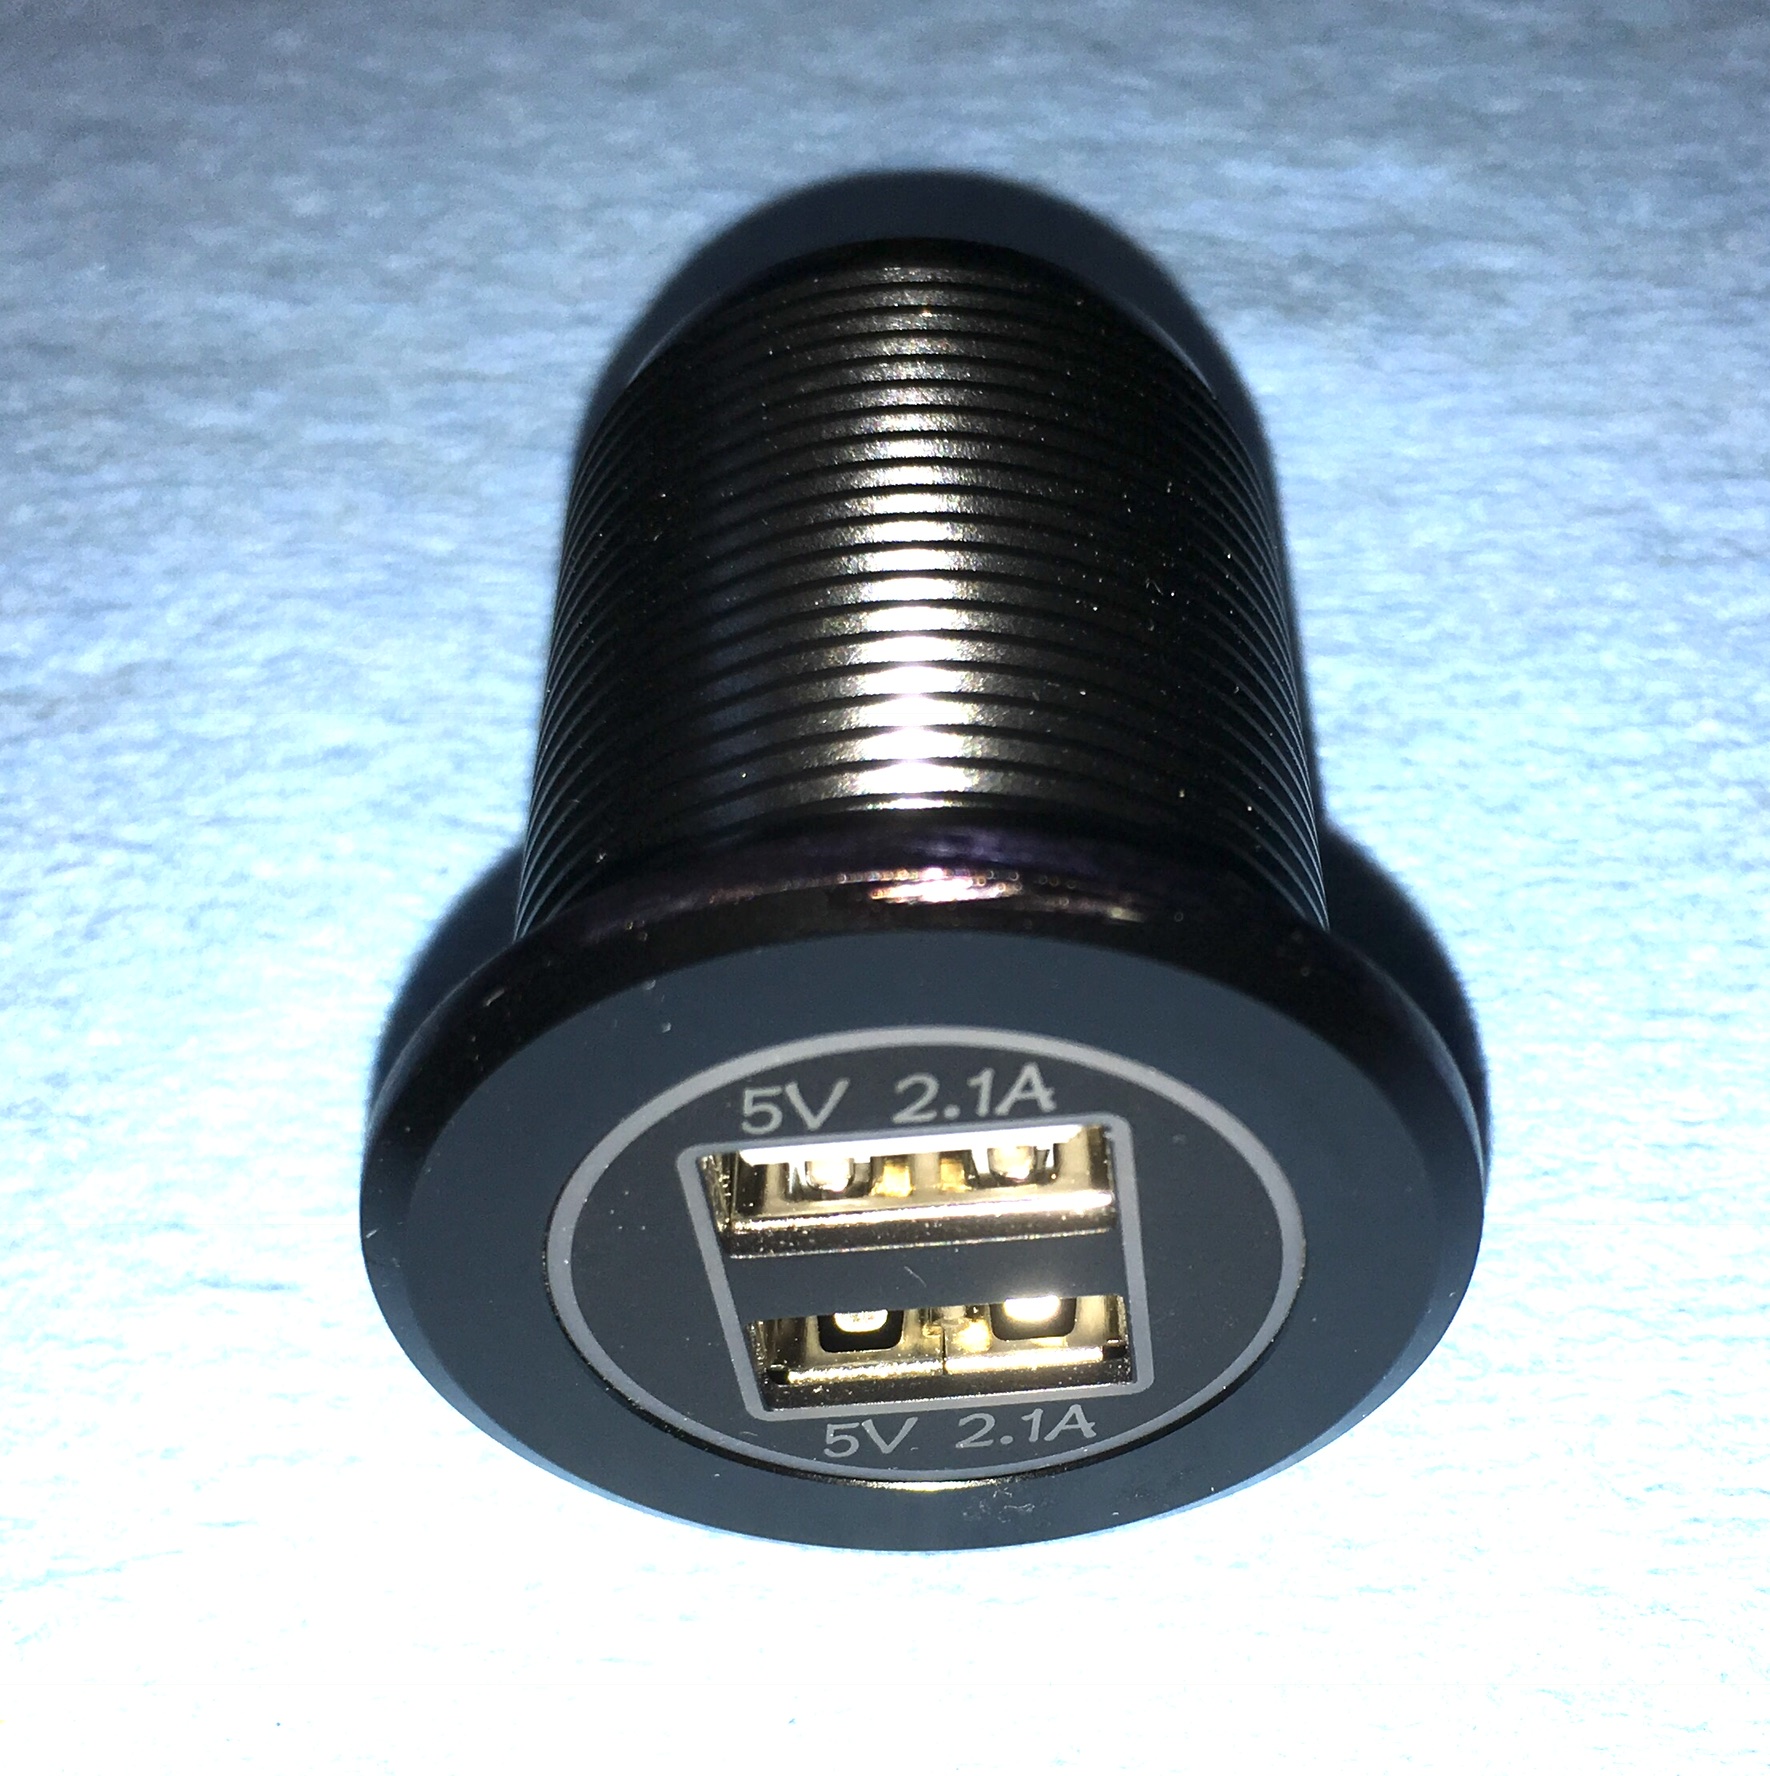
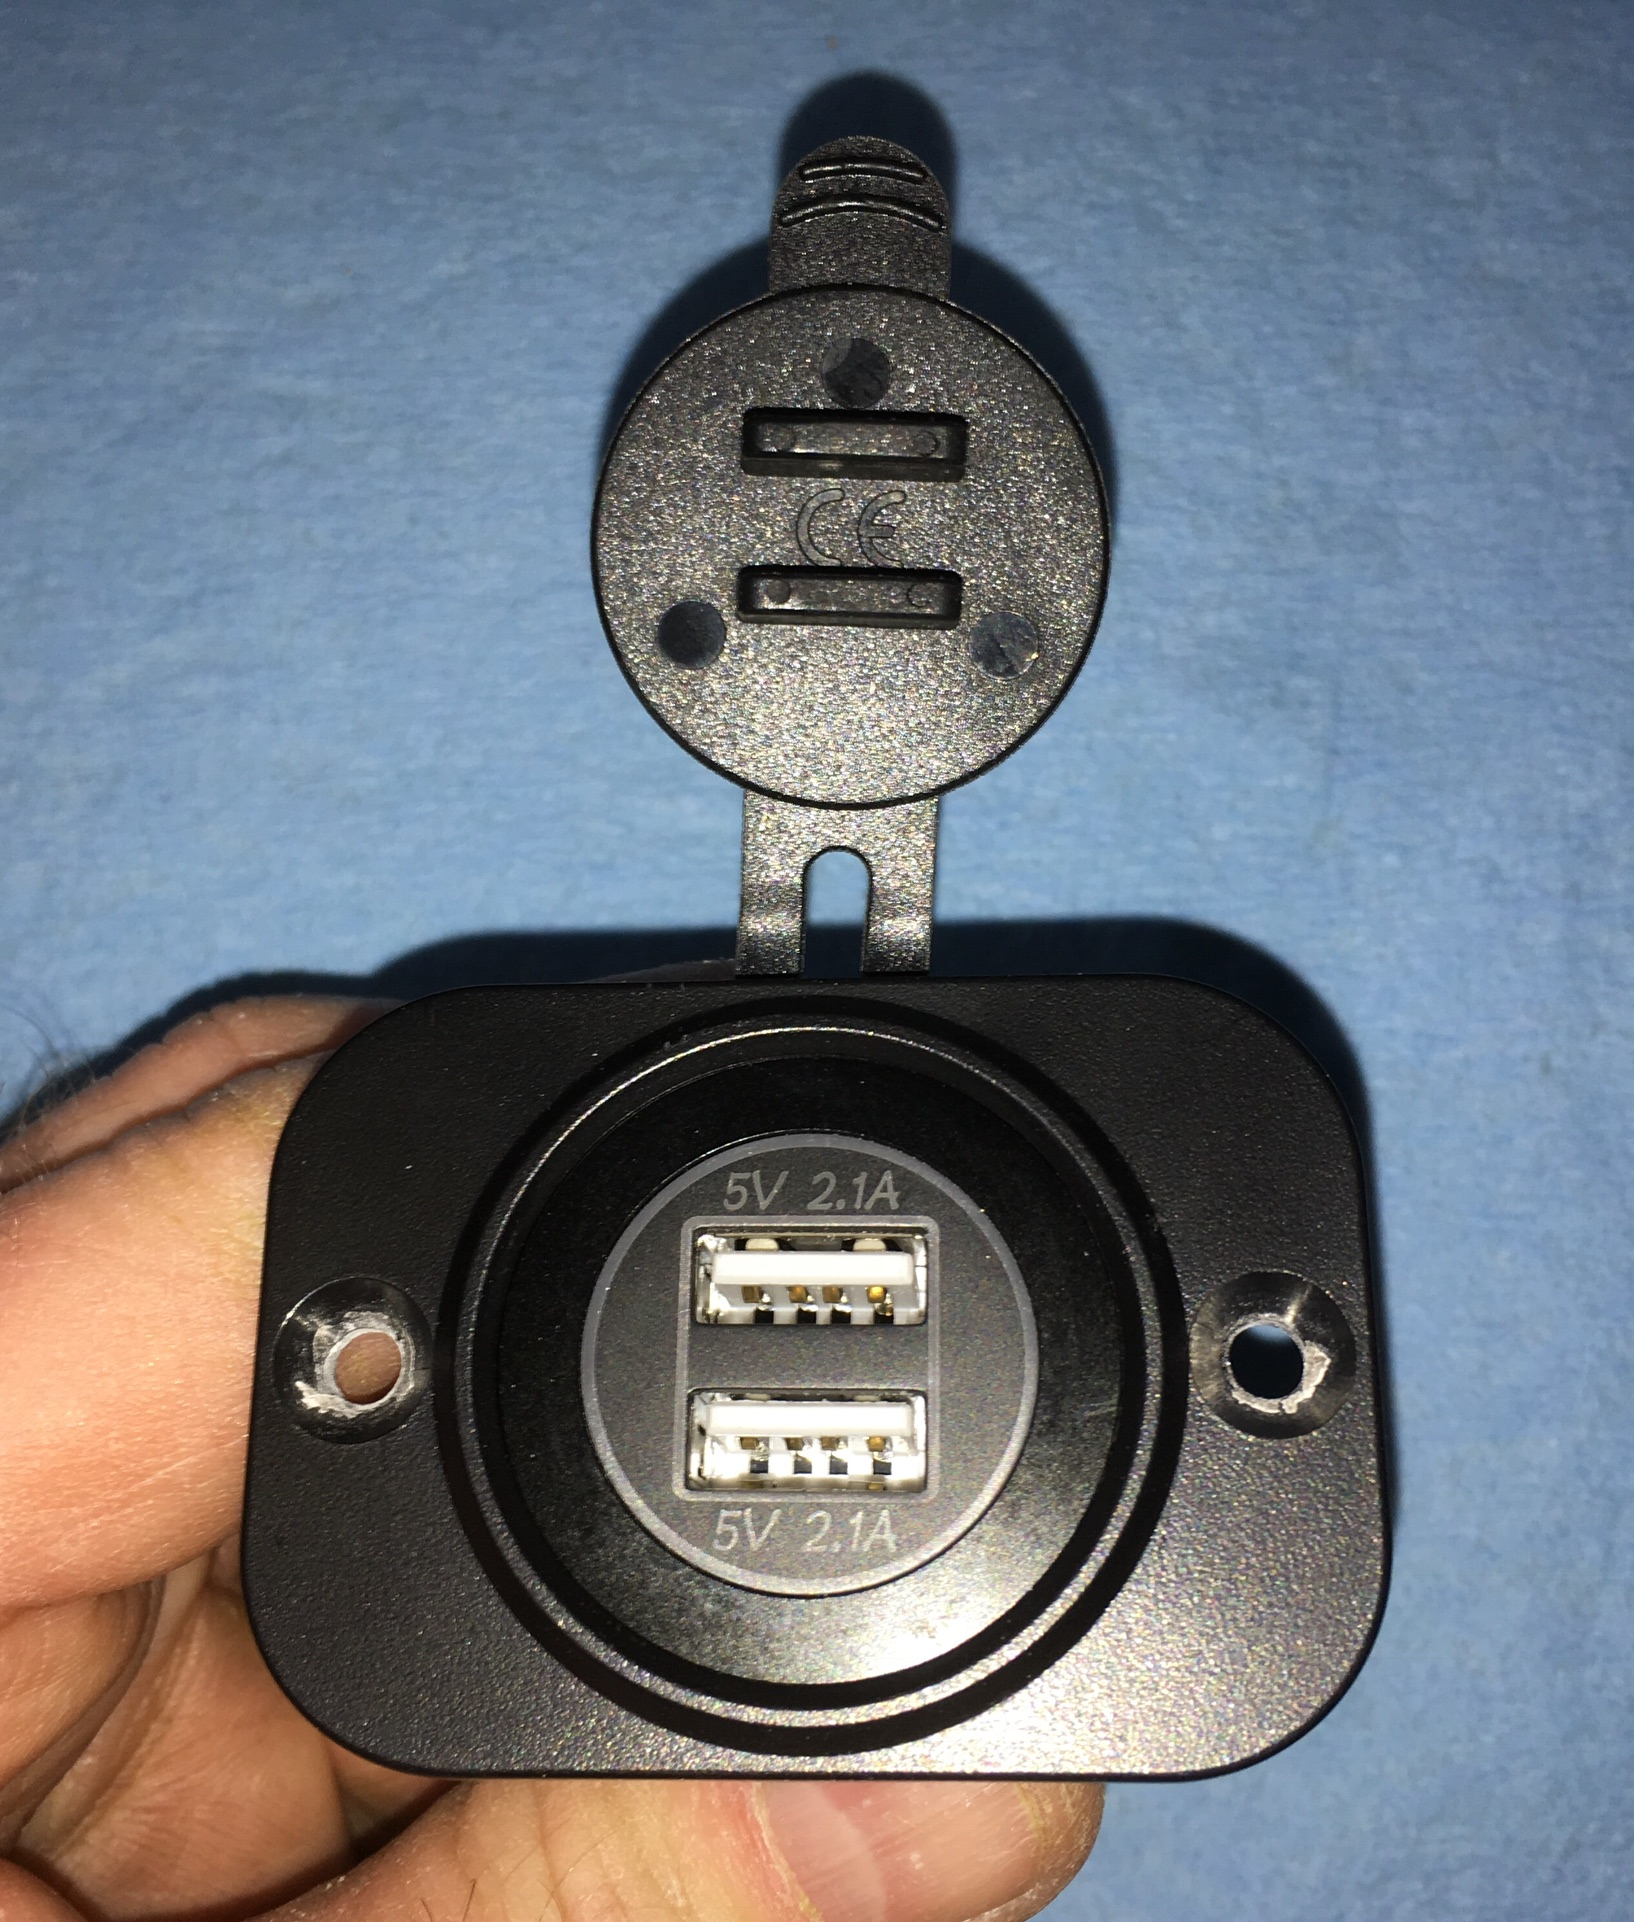
All the chargers hook up to the 12 volt system in your car or in your trailer. “5 volts” is the regulated output voltage needed by your phone, tablet, or gps. “1 amps” or “2.1 amps” is the maximum current provided for each USB receptacle. Obviously, IF your device is designed to handle more current, a 2.1 amp port will charge it much faster. A device designed for a low amp charger will not be hurt in any way by using a high amp unit, they self-regulate. You won’t burn it up. You will find lots of round plug-in chargers that have one 2.1a and one 1a port Each port will be labeled differently, which can be frustrating if you charge your phone from the “slow” port by accident. The letters are often hard to read. The dual 2.1a models are much less common. I think it has to do with their ability to shed waste heat during operation. These aluminum ones are designed to handle the heat better than the plastic ones. Plus they cost more to manufacture. With a dual port model you just stick the cord in either port, you don’t have to fuss around with seeing which one is faster.... or wondering why your iPad battery keeps going down while you are using it. John Davies Spokane WA
-
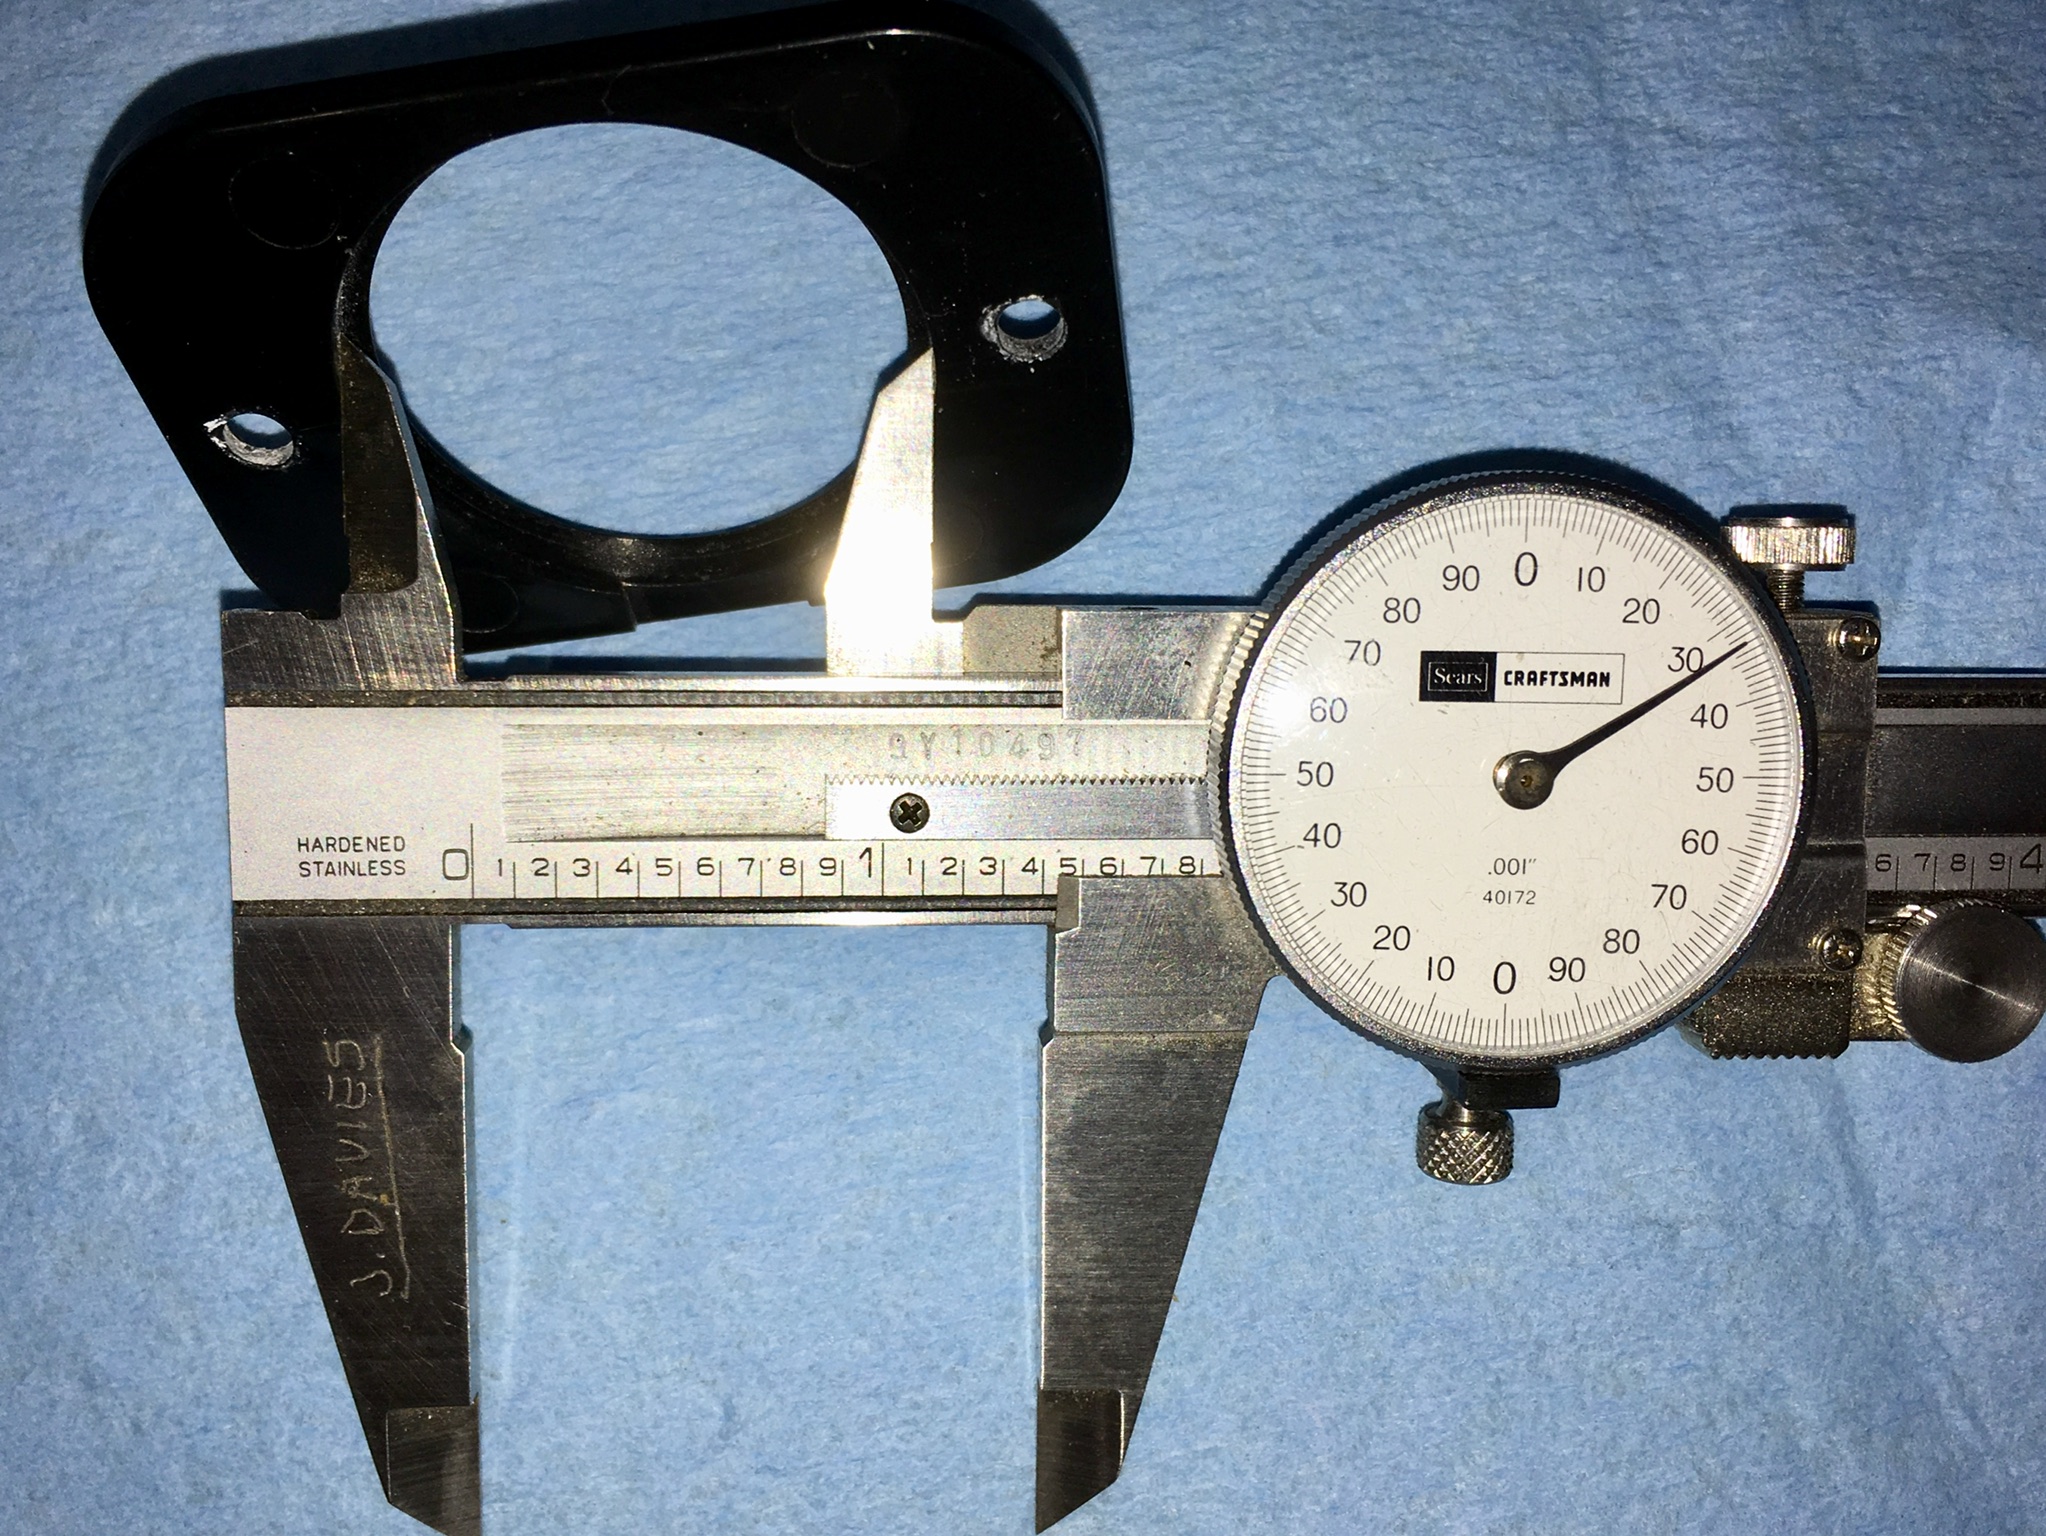
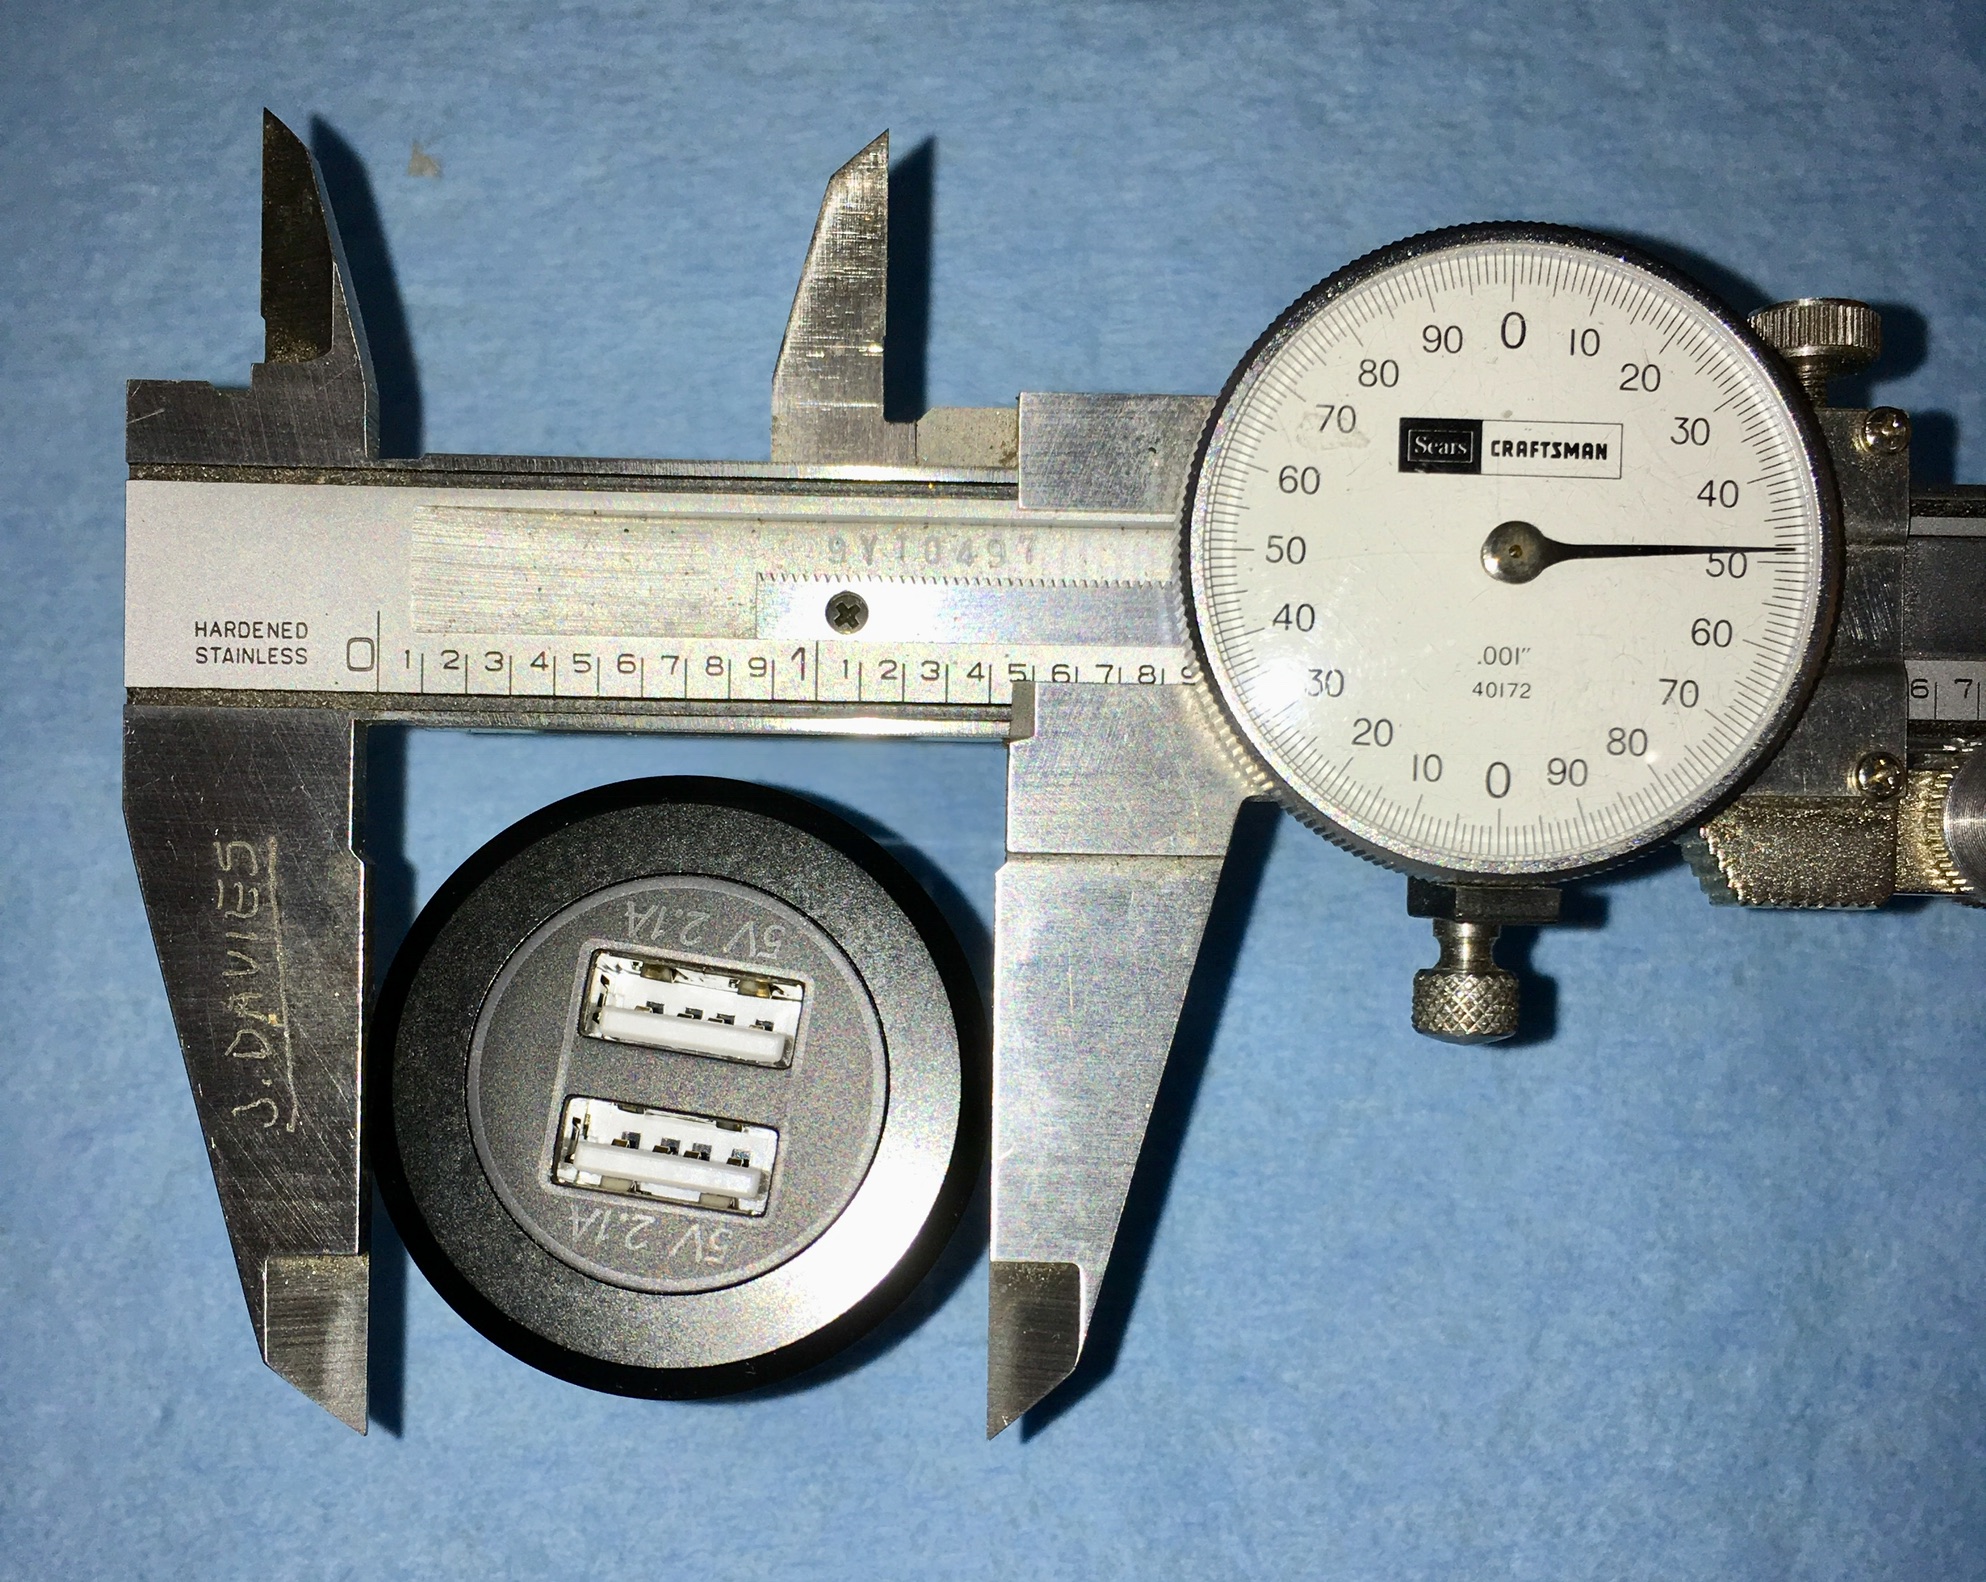
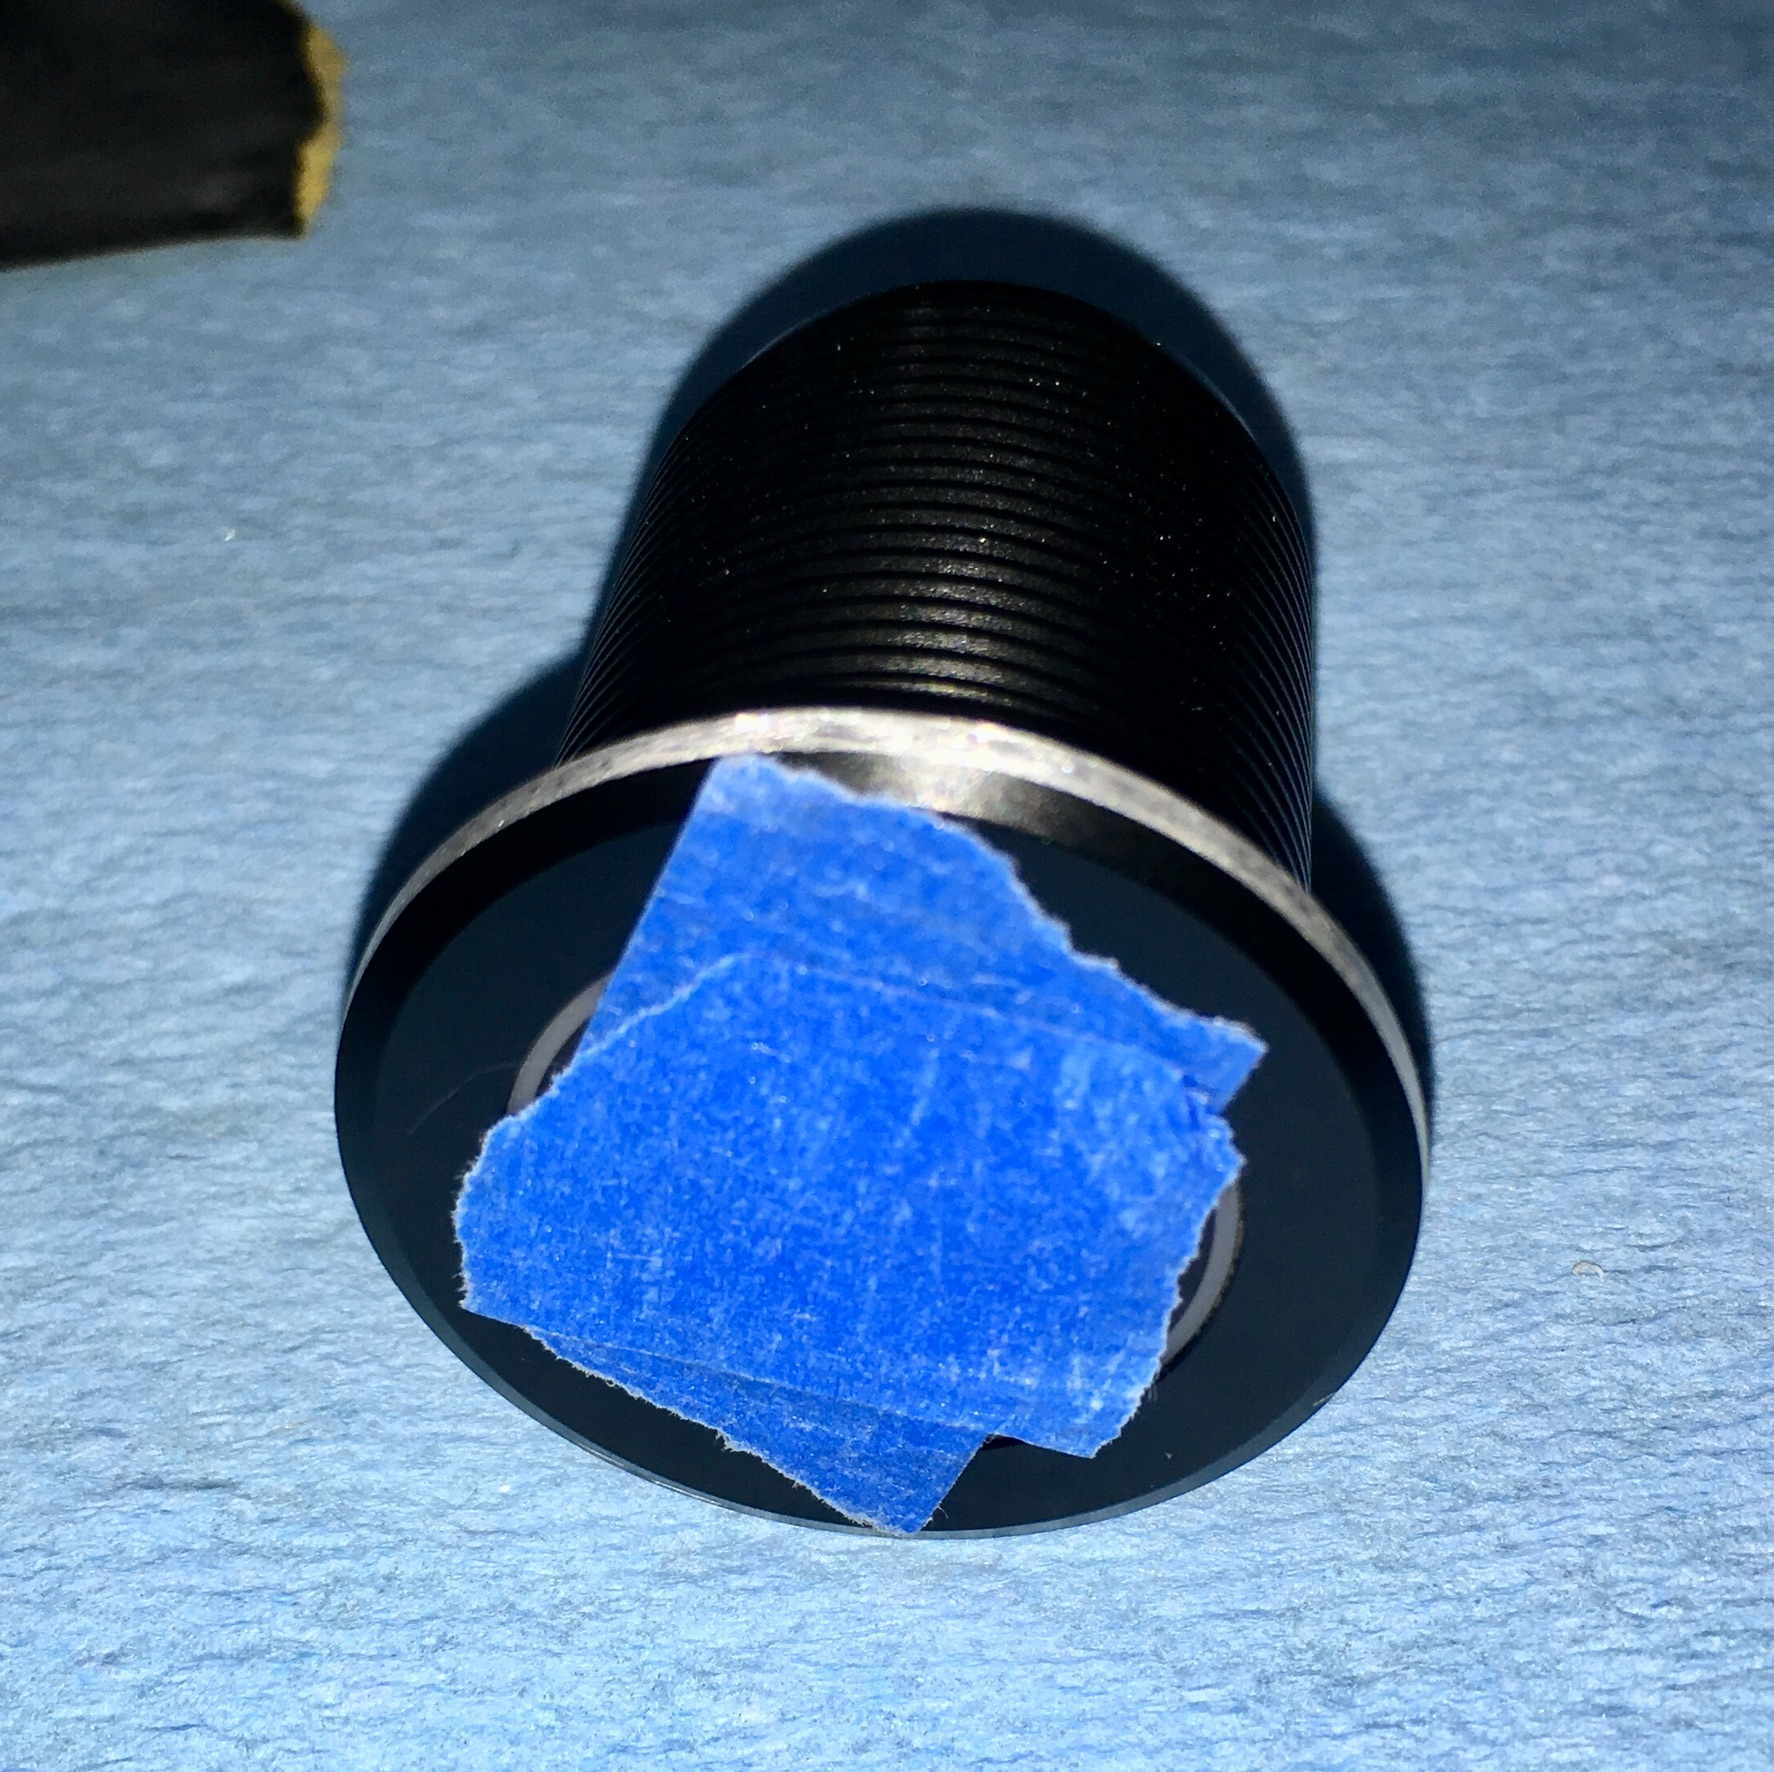
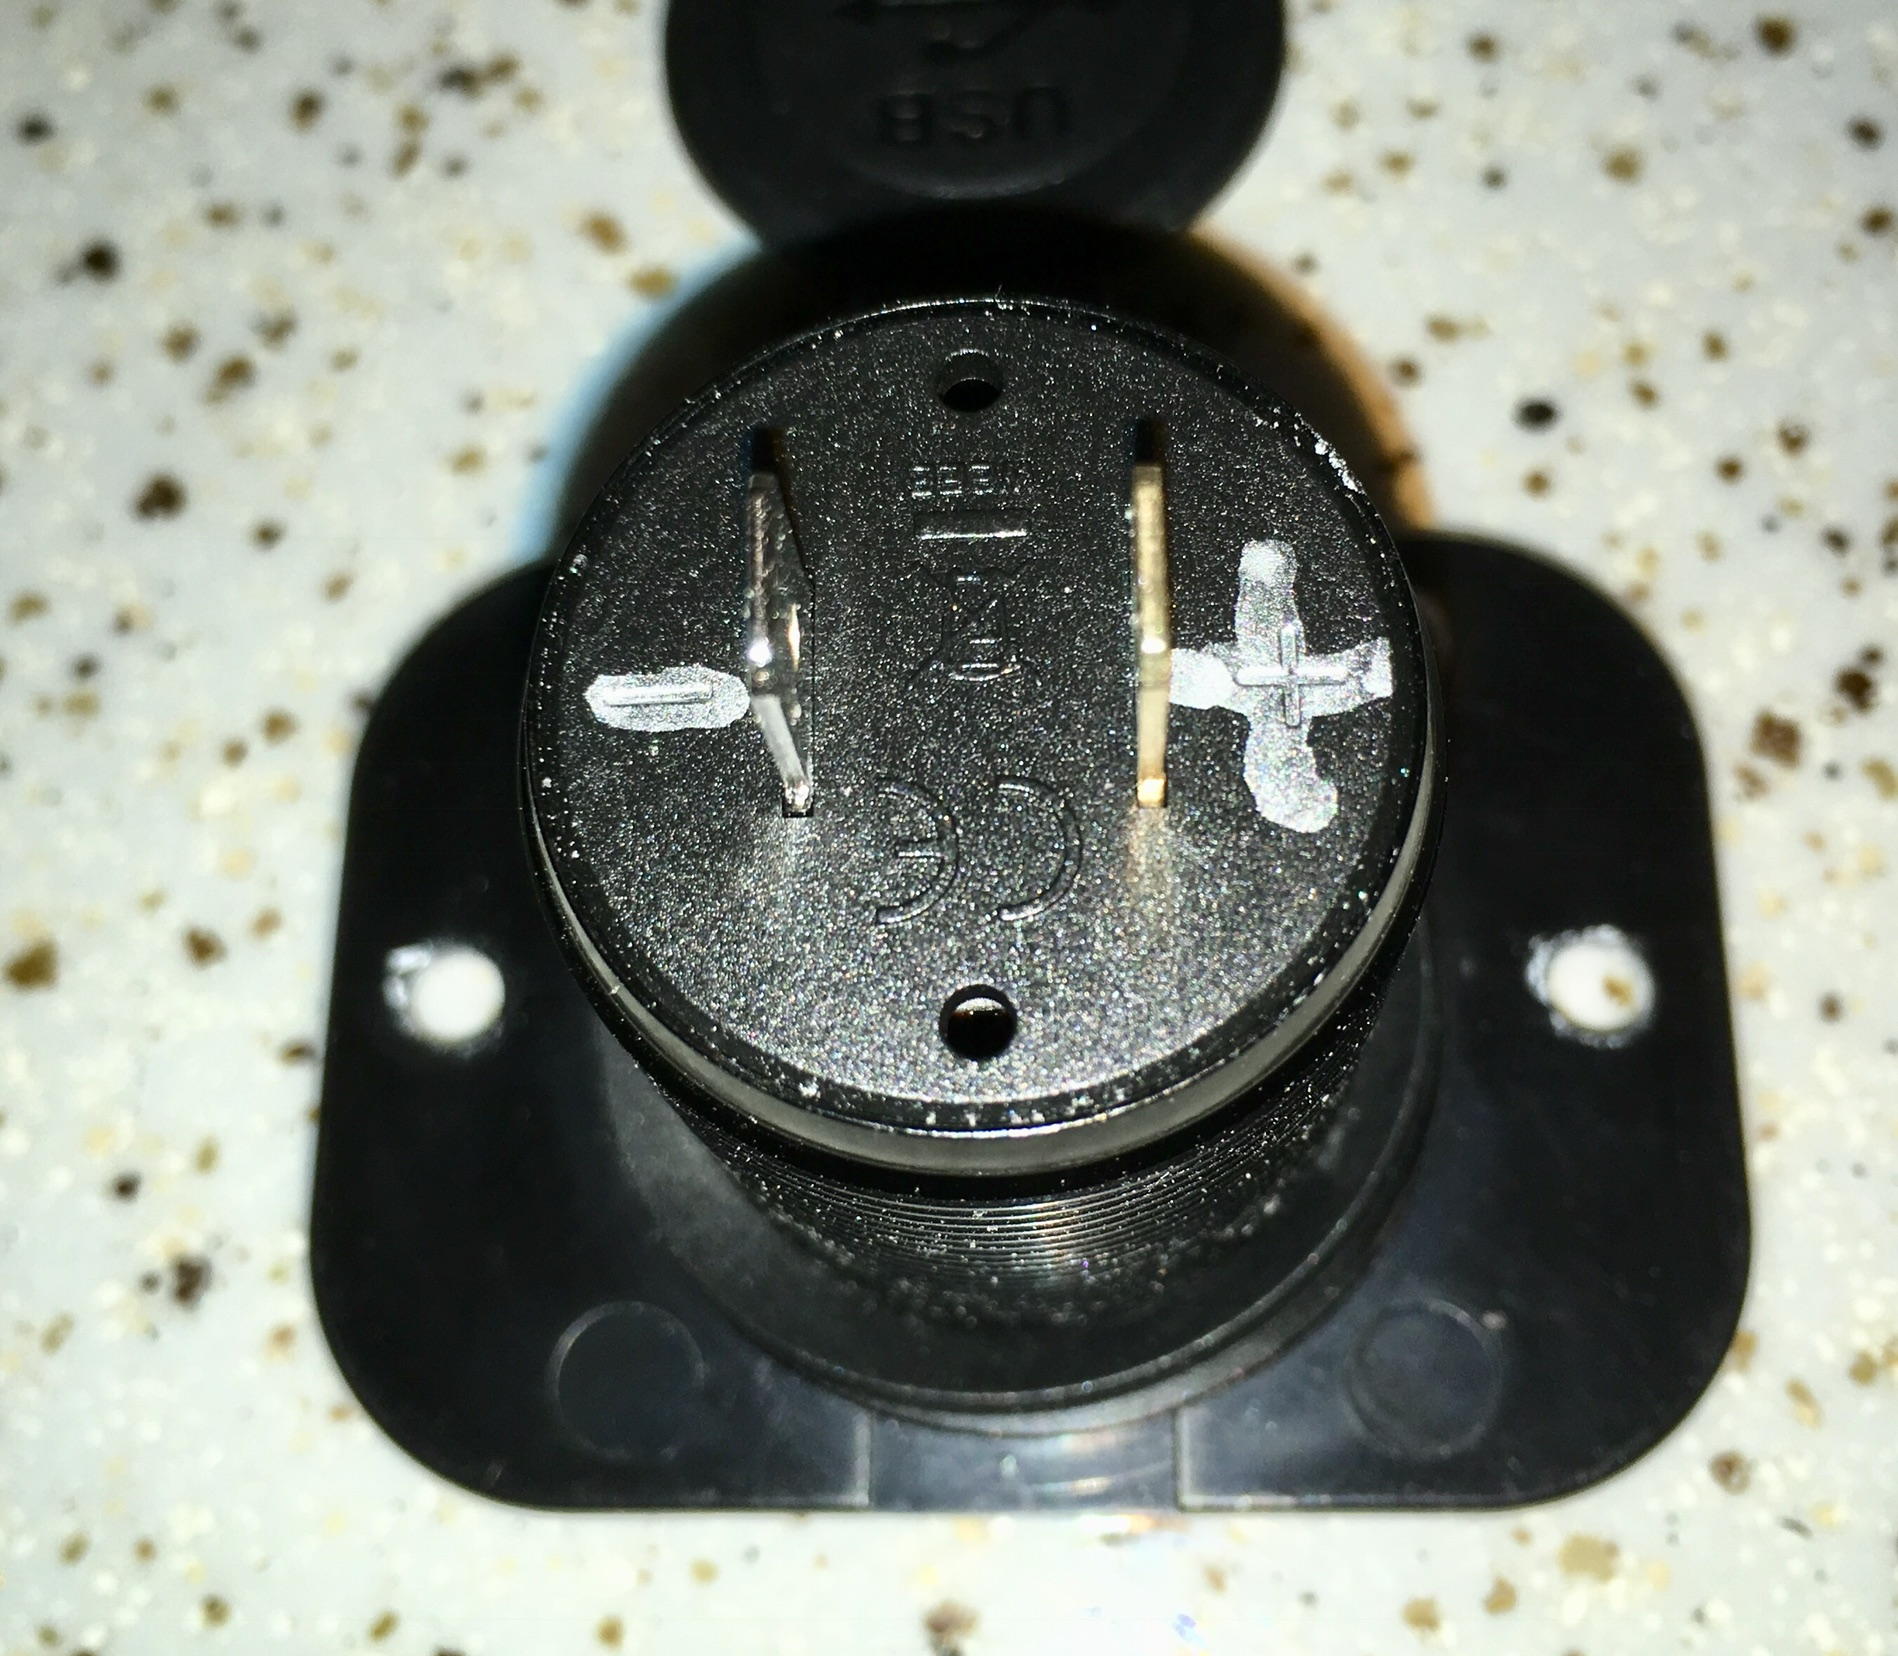
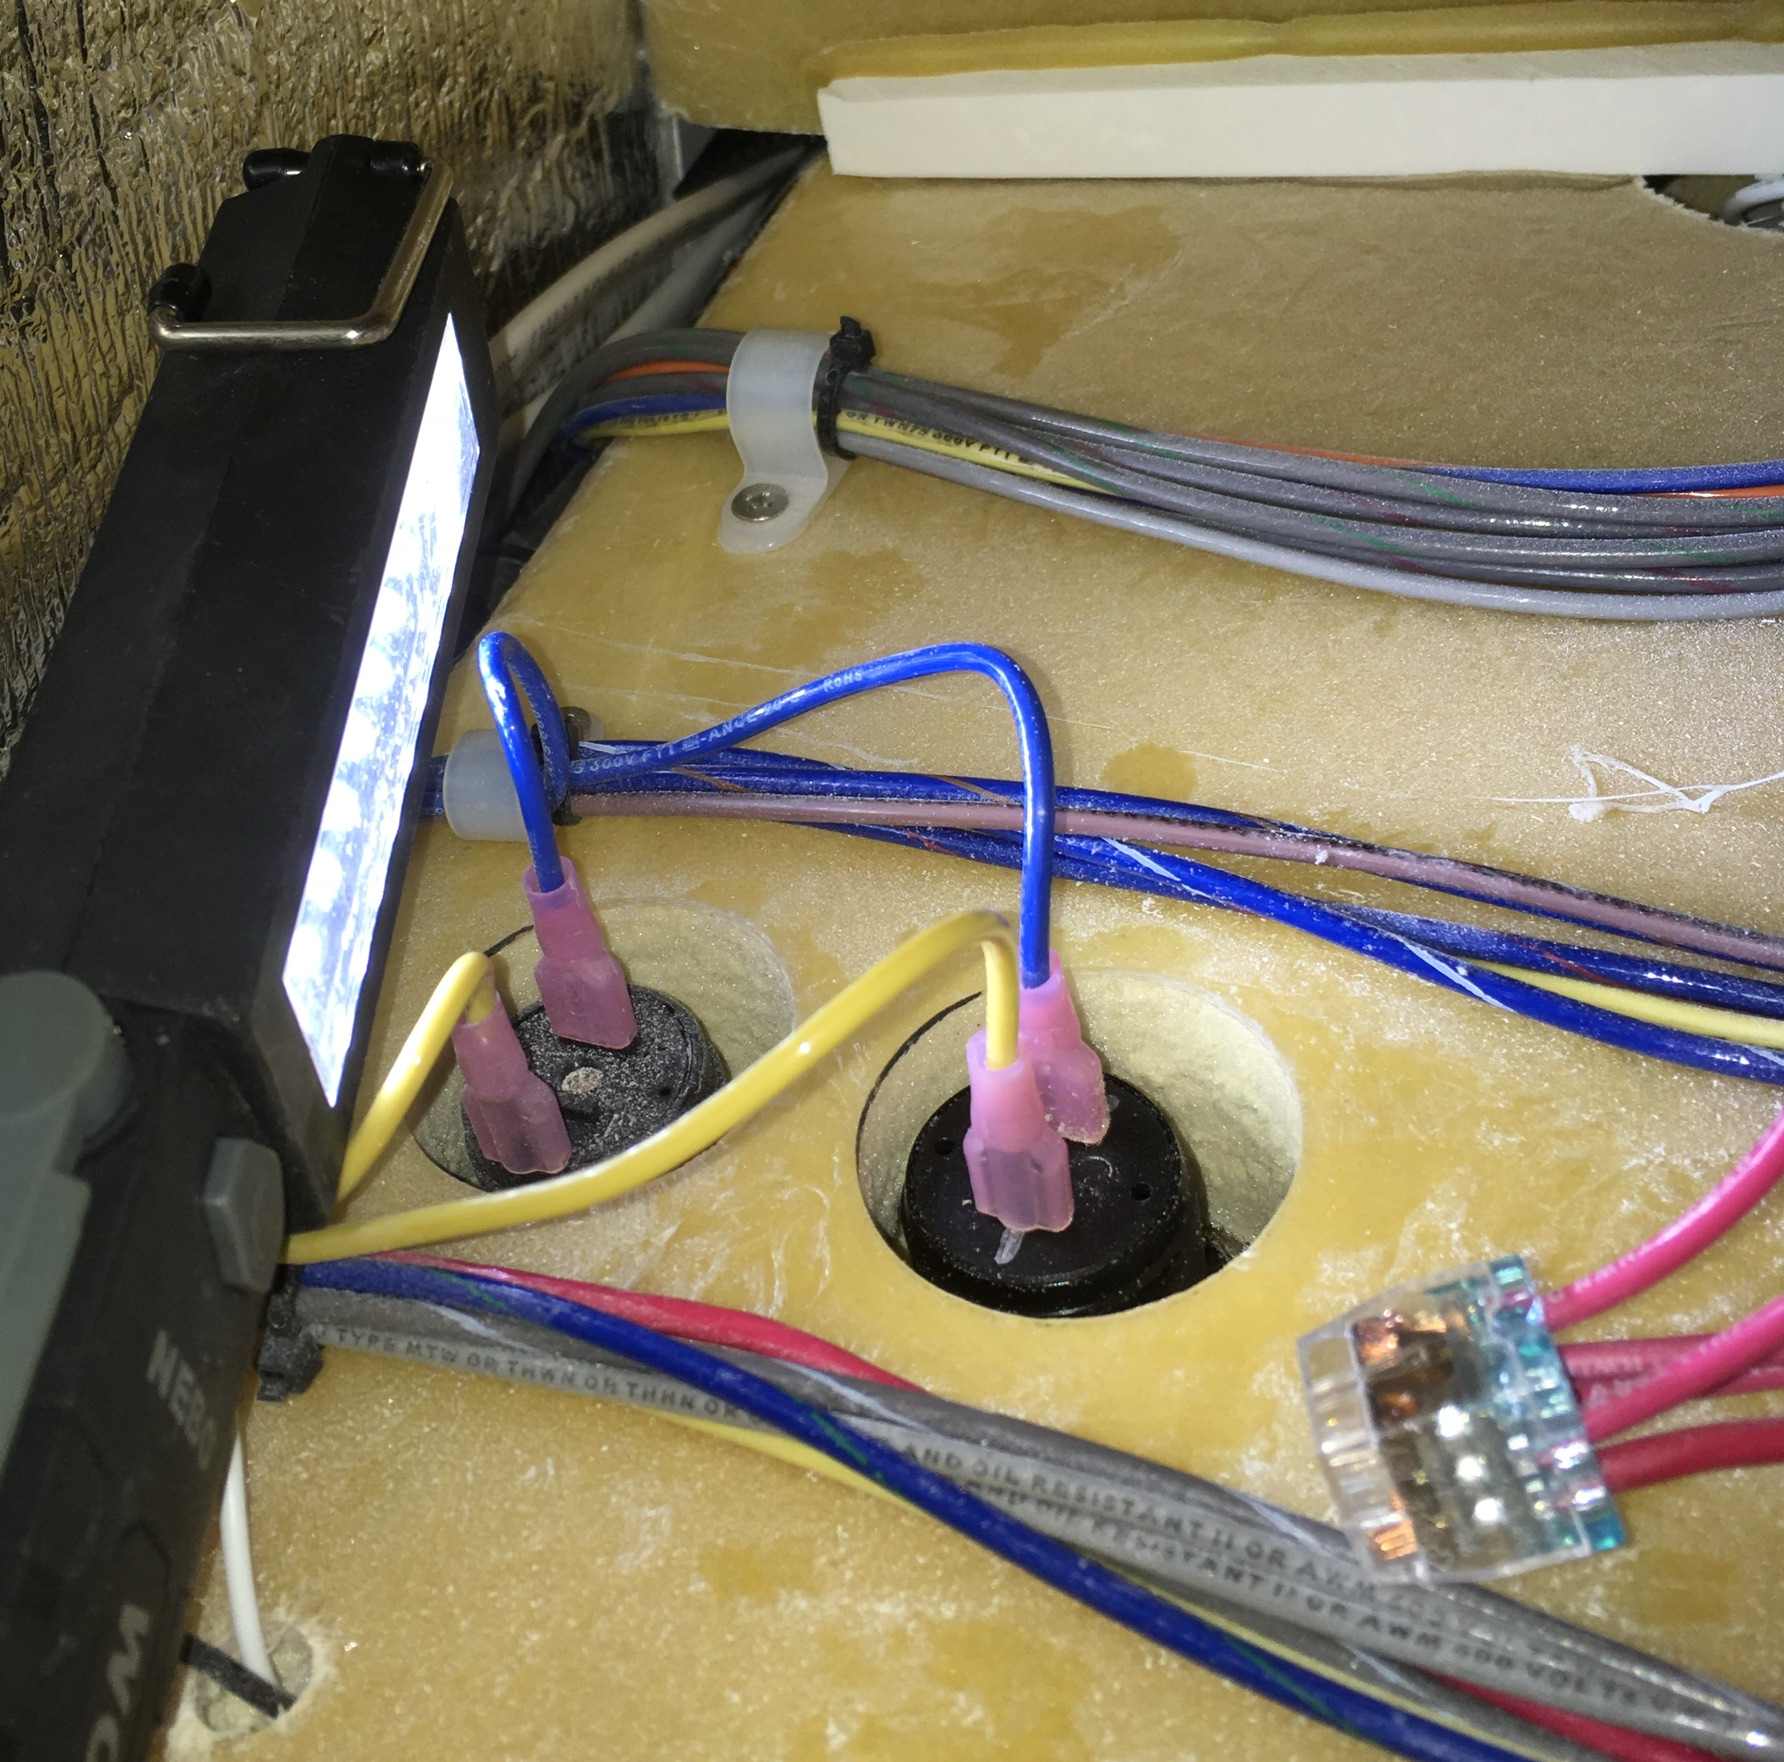
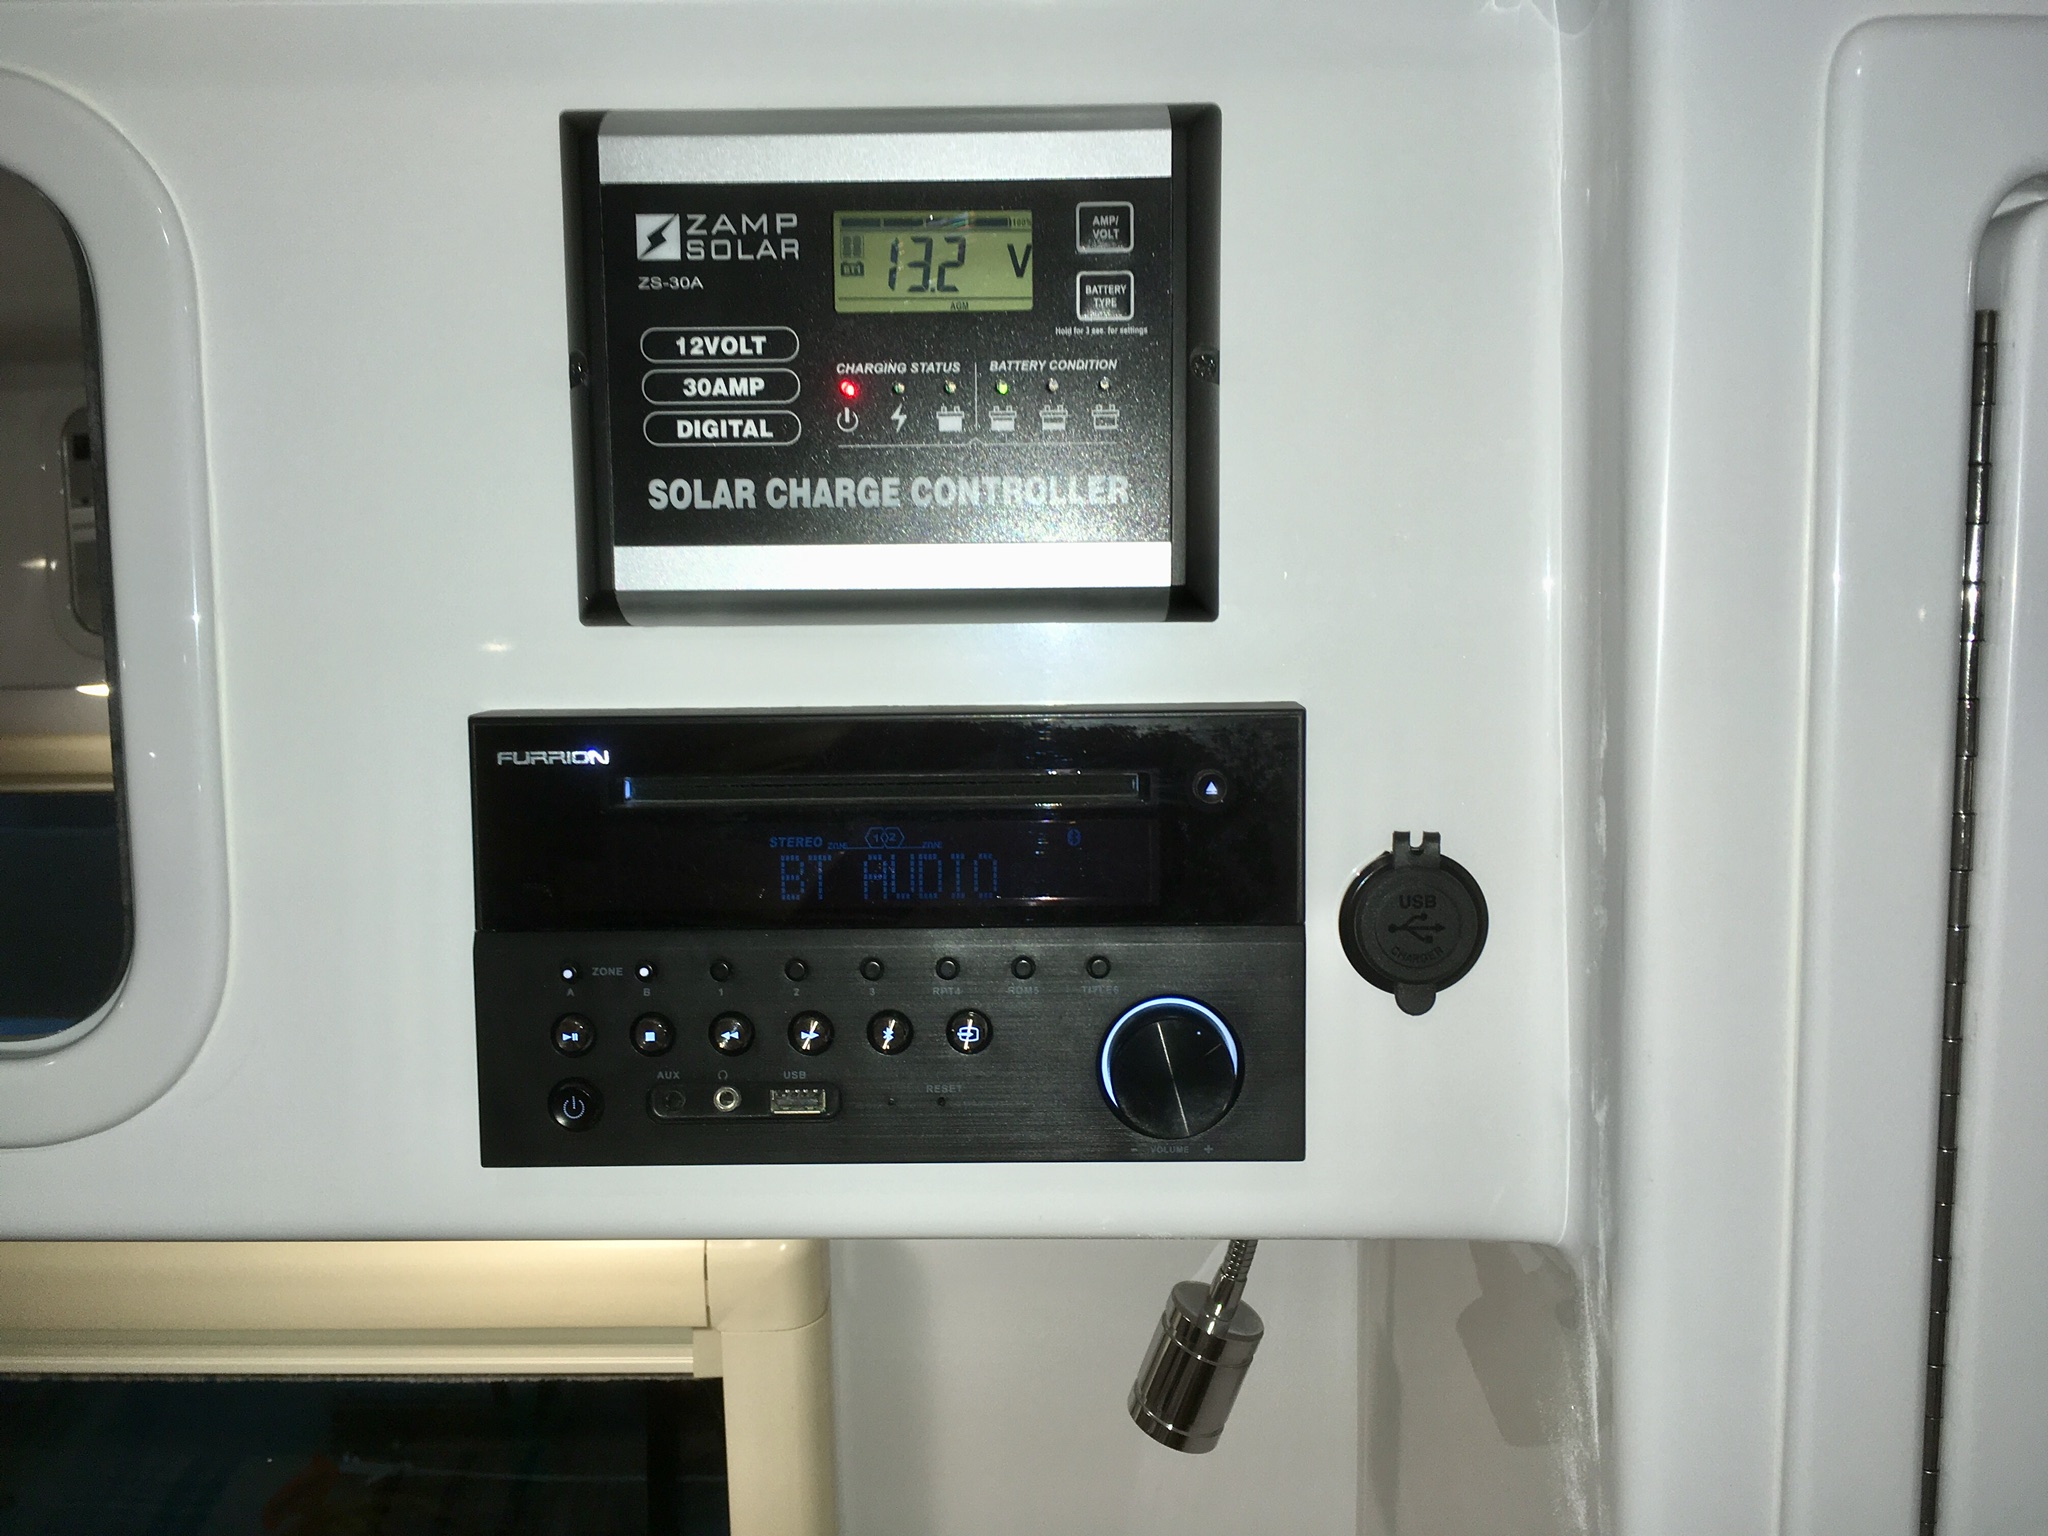
The factory units in Hull 218 are high quality (Blue Sea) but only 1 amp, so they are slow when charging a modern smartphone or tablet. It took a lot of searching but I finally found a nice CNC machined replacement that is available with a NON-illuminated face, which is perfect for over a bed or anywhere close to the sleeping area. https://smile.amazon.com/gp/product/B07CJW3ZRP/ref=oh_aui_detailpage_o01_s00?ie=UTF8&psc=1 The bezel is smaller than the diameter of the charger. Mask off the openings to keep out debris! Carefully reduce the diameter of the lip to closely match the bezel, so it will slide inside snugly. I used a belt sander with a fine grit belt, followed up by 220 grit hand sanding. MAKE SURE the unit functions properly before grinding, you might not be able to return one that you have altered! Also double check function just before installing. I “painted” the raw aluminum with a black Sharpie. Inserted into the bezel, and marked the + and - terminals with a silver pen so I could actually see them. and installed it into the hole where the factory unit used to be: Note how very thick that cabinet bottom is, I wanted to mount one more on the street side, but there was no way it would easily work through that much thickness. I pulled the stereo and drilled a hole next to the faceplate, picking up power and ground from the radio wires. I used an inline fuse holder plus a 10 amp fuse. My wife can lay her devices on top of the galley counter, or underneath to get them out of the way for food prep. These new chargers will charge my iPhone way faster than the old one. And no more glowing light in the eyes at night.... Neat mod, highly recommended! John Davies Spokane WA