
jd1923
-
Posts
3,145 -
Joined
-
Last visited
-
Days Won
229
Everything posted by jd1923
-
This is why @John E Davies in another thread replaced his single monitor with two special purpose monitors. Turns out this may be a bit overboard, a concern for those who are risk adverse! Not me, more of the risk-taking sort, being extremely lucky to have survived the 70s! 🤪 According to this org, Carbon Monoxide Facts - Healthy Building Science, "CO is slightly lighter than air. However, studies have shown no significant difference in measurements based on what height CO detectors are mounted." Thank you @Patriot for bringing this to our attention. Previous owner installed this same unit on mine. Hey, if this thing rings loud in the middle of the night, I don't need a switch. Just open the rear seat of the dinette and pull either wire away from the 3M Scotchlok used by OTT to connect it or use a wire cutter! To install a new one, yes pull the fuse, or if you're careful you can cut the wires, one at a time and wire it hot. That would be me, a low amp 12VDC circuit, just a minor jolt if you ground yourself! Just don't splice the hot (red) until you are ready to crimp it into a new butt connector. I would not have known these sensors have date codes, likely for legal vs. technical reasons, though I may be wrong on this one (does the sensor age or wear out in some way?). Looks like mine is good for another 2 1/2 years. BTW, the build date is not important, just as long as you are within the expiration date. Hey, who installed the USB receptacle? OTT did. It sure looks crooked (the pet peeve of the perennial installer)! I cut the flap off the USB ports since the cover just gets in the way (we don't use cigarette lighter outlets).

-
 I installed the Victron SmartShunt: Amazon.com: Victron Energy SmartShunt IP65 500 amp Battery Monitor (Bluetooth) : Automotive I went with the IP65 model and @Ronbrink installed the other version (see his pic above), same $130 price on Amazon for either. Not that waterproof is a true requirement, but not a bad feature for the battery bay, and I like that it came with the wiring at the same price. Love having this, not having to look down at knee height for our Blue Sky display (as it was installed in our older hull). Those of you with the Victron SmartShunt, what kind of Bluetooth range are you getting? Mine is terrible! I recently installed two Bluetooth devices, this shunt and the LevelMatePRO. The shunt is installed on top of the outer battery. The LevelMatePRO is mounted to the PD5100 ATS under the rear dinette seat, so they are about 3 feet from each other. I have to be within 20' of the Oliver for the VictronConnect App to find the SmartShunt. Unsatisfied to know I cannot connect from our living room just 60' away, to monitor over the winter w/o going outside. The Bluetooth on the LevelMatePRO is SOOOO much stronger. From the living room, yes and it can even connect from inside of my garage over 120 feet away. In either case, our RV parking is behind a 10x20' Tuff Shed blocking line-of-sight. Does the Victron SmartShunt merely have a weak transmitter? Read some Victron forum comments and there is a trend re weak Bluetooth. Maybe the IP65 version weaker? Anybody with the Victron BMV-712 Smart Battery Monitor, is it stronger? Looks like the same shunt, but I do not see negative Victron Forum comments re the BMV-712. Let us know your feedback. Thanks
-
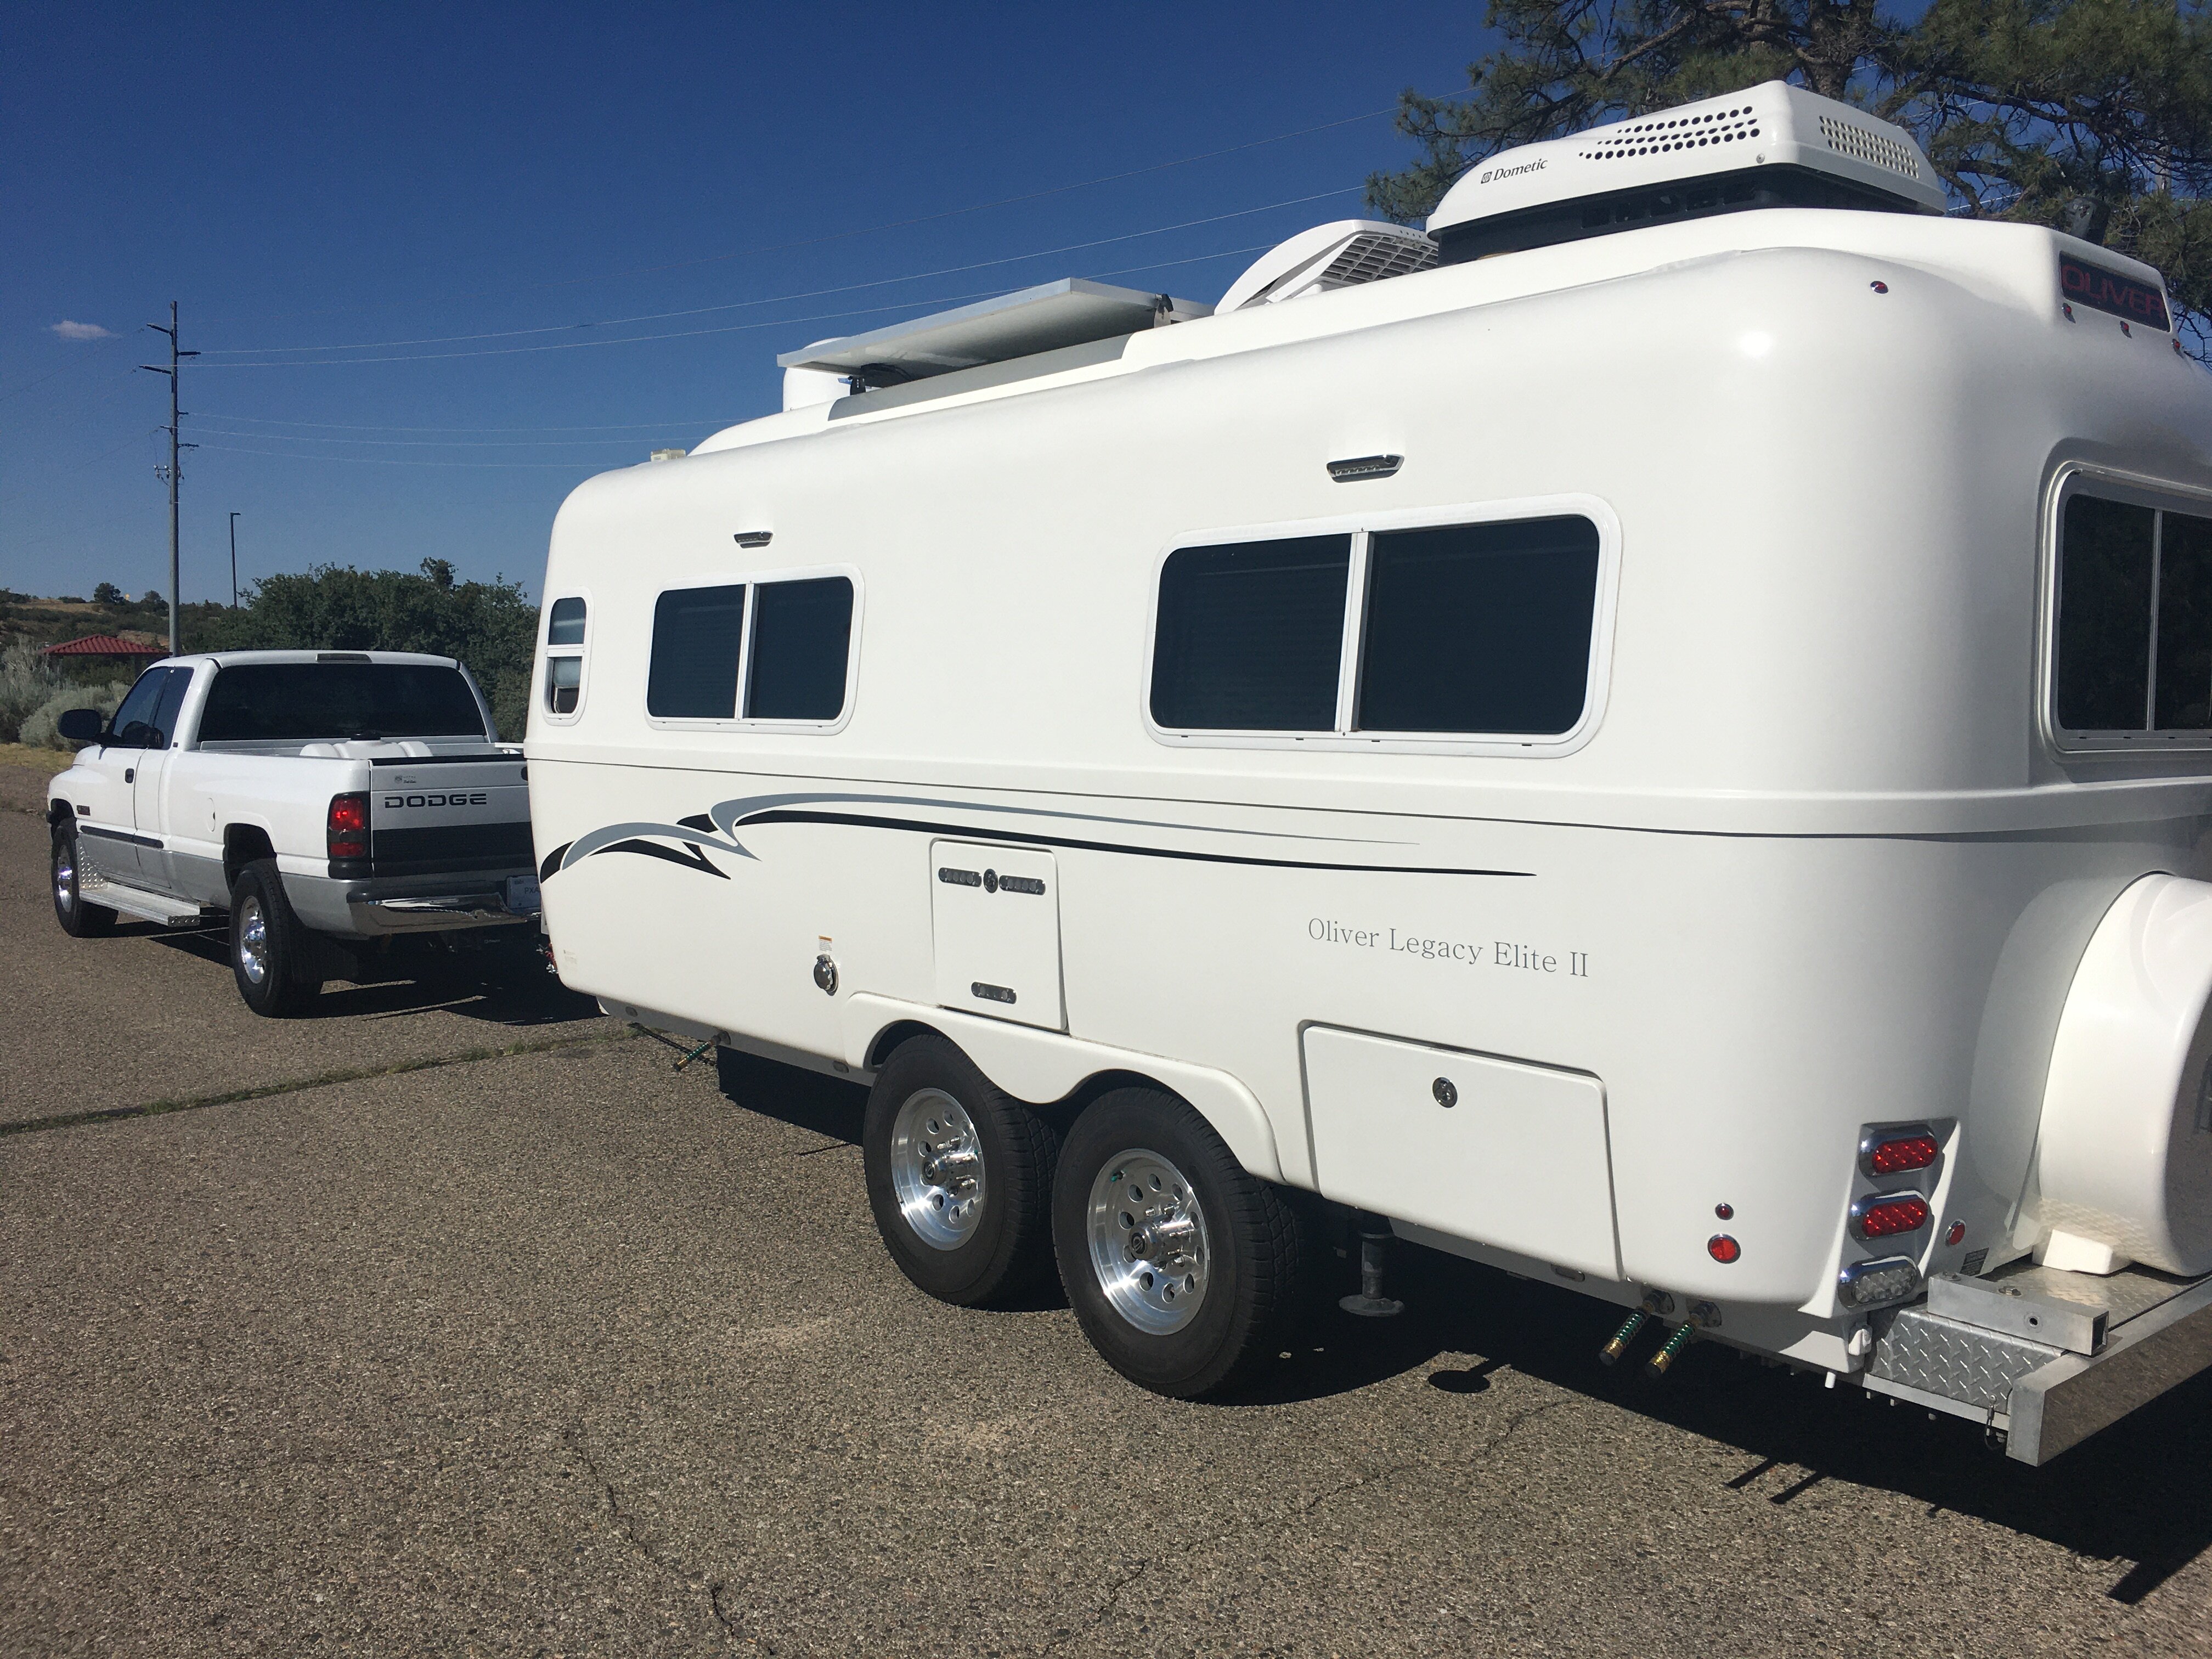
White van, white Oliver, looks like a nicely matched set! 😊
-
Need to add EMS, none installed on older hulls?
jd1923 replied to jd1923's topic in Mechanical & Technical Tips
Once I got to it, the job was only about 2 hours total. If yours has the front power receptacle for a generator, then you should have the PD5100 Automatic Transfer Switch right where mine is under the rear dinette seat. But either way, you want to cut the main line going into the PD4000 Power Control Center. It's easy to see, on mine it looped down to the floor. You can cut it in half (at the floor) to be safe and trim some excess when you get the EMS box in position. @ScubaRx yep, it has a bright RED display that constantly changes every few seconds. Why does OTT put these in the attic? It's a long walk around to get up there after plugging into shore power, which is the only time you really need to check it. I would think you could see the flashing red during the night, and more so for those that have the frosted glass cabinet doors. You could easily move the attic display to where I have mine or another location. An easy way to do this is to merely remove the new display (two screws), purchase a new data cable (looks like a phone cord) and run it from the EMS to a preferred location. Just leave the old cable where it was, or you could pull it down from the attic to the rear trunk area and reuse it (if so, tape the head of the cable so it doesn't get wrecked from pulling it). -
Yep, wider deeper threads!
-
Need to add EMS, none installed on older hulls?
jd1923 replied to jd1923's topic in Mechanical & Technical Tips
lastly, besides thanking @Galway Girl for the pic of her EMS, a thank-you to @Ronbrink, @topgun2, @CRM, @Geronimo John and @MAX Burner. Many of you warned me of the bright display! Yep, it's not of master-bedroom quality. So I was thinking, when do we first need to view this display. The answer of course is, when we first hook-up! So, I mounted mine right there, not inside the cabin at all. Many of you may have too much stuff in the Oliver trunk for this to be feasible, but I only place a few light objects back there (love having a full 8 FT truck bed, heavy stuff does not belong at the rear). I keep our shore power cord back there, the freshwater hose and a few other items needed upon hookup. So why not, when you have the hatch open anyway, put the EMS display there as well? I mounted the display with VHB tape to a L-bracket. Two screws to mount it to the flooring, using one existing screw. The opening for the data cable was already there, a little corner cutout, and it is so simple to run the wire under the pantry and streetside bed area. The display could be mounted high and out of the way of storage, but then not easily in view. For hook-up, I remove a parts bag, the power cord and hose, and it's simply in straight-line view. The attic, or anywhere else inside means you have to climb in, check status, and climb back out to finish. After installing, the screen read "No Power." I realized I had pushed the main switch off while I was working. Next thought was to protect the on/off switch while traveling. I mounted a simple L-bracket to keep stuff from hitting it while traveling. The 'pretty' install could include a screened type of enclosure for the display, but I prefer finishing the job today with spare parts when possible. Got done at sunset tonight. Time for a drink and dinner soon. I'm happy to be done with this upgrade, one item off the list, and it works well!☺️
-
Need to add EMS, none installed on older hulls?
jd1923 replied to jd1923's topic in Mechanical & Technical Tips
I purchased the PD EMS-HW30C five weeks ago (time of last post). I have always respected the quality of Progressive Dynamics products, so another vendor was not in my consideration. My last RV had everything PD! And I installed a PD Inverter and loved it, as it performed flawlessly. Finally finished today (so many items on the to-do list). I could not install it where @Galway Girl showed OTT installed hers (my Xantrex Inverter is mounted in that spot). Not a lot of room under there, but you can see where I installed it, just to the right of the PD5100. It really did not need physical mounting, a few layers of carpet tape were enough, as the main power cables and the cable you see above it (second 'shore power' input for a front generator) holds it nicely. I'll keep my eye on it to see if later I need a physical bracket. There was extra length on the main 120V cable from the PD5100 to the PD4000 Power Control Center. So much that I even salvaged almost a foot of this cable for when I need some again. First pic shows the wiring, as simple as it can be!
-
Something made 3 good batteries go bad after a 4th new battery was connected. I want to see the +/- signs on that 4th battery! No other way to be sure. Back in the day (50s-60s) my dad was a ME, a good design engineer, but he could not wrench a bolt to save his life - literally! For example, one time he asked me, "Do you have a knife." I replied sure and pulled one off my belt for his use. He then used it to remove a large screw and damaged the blade. I'm like, "Dad, are you kidding? Why didn't you ask me for a screwdriver?" My good knife was now junk! One day during the 80s, he went to start his car and it wouldn't start. He connected it to a charger and went back in the house to wait for a while. When he came back to the garage it smelled like burnt plastic. He had connected the charger in reverse polarity! The car was a 1982 Porsche 911SC. His mistake fried wire harnesses, fuse boxes, and more, lucky he did not burn down the garage, the house, oh dear dad. He traded it in the next week, claiming the trunk was never large enough to fit his golf clubs! Hey, we all make mistakes and for some reason the frequency seems to be greater with RVs! I've been repairing and restoring vehicles for 45 years and I make mistakes every day doing so. I started a thread a few weeks ago about my system not charging. I had the solar switch in the OFF position! Go figure. 🤣
-
I still think it looks wrong too. Yes, the lower left battery has the red cap wrong, but on that battery you can see the +/- signs. The new battery is top left and there are no +/- signs showing in the picture. If where the red cap is, somewhere below you find a + sign, then it was wired in reverse polarity. Like Chris wrote, the reason it would kill all batteries.
-
Beautiful pics @Patriot! and just the original basket works for you! Our old hull will likely never see a garage or a cover anytime soon. Ours came with a nice cover, but I've been too busy working on it to cover it.
-
Yep, Chris is right on the reversed polarity. The new battery has the posts in the opposite direction, so when you installed it, in the same direction (battery posts towards the center of the four) the polarity was reversed without you thinking about it. Lucky this did not explode! Likely because the other 3 were very weak. I would want to work your upgrade now. Forget the "RV shop." Batteries plus has very good AGM batteries and they will install them for you. In Mesa and the Phoenix valley, there are several solar shops if it is time for you to go LiFePO4!
-
Pricey? -- NO, just totally ridiculous, unless you're "made of money!" It's like I'm going to spend $1250 to protect my $400 generator. Just mount it to the basket. I love my open carrier that OTT mounted, throw my tools in there and other stuff when parking. When traveling, our fire ring sits there. Not wanting one myself, but I'd certainly save the $1000 for other upgrades and buy the simple and viable product @Mike and Carol suggested.
-
@Cort I am so-o-o sorry to hear of your pain! 😟 The first time I broke down in a car was 1977, trying to get home for Christmas, VA to Chicago. The car broke down, had to park it in WV and rent a car! This was the last time I knew nothing about automobiles! Just searched Camping World, filtered for Mesa AZ and I see the battery you purchased (your sales rep sold you junk). Next time anybody, go to Batteries Plus first, when on the road. I buy most of my automotive batteries there, many made in PA USA (though no experience w/ house batteries from this company). Camping world sold you a China made low end battery. Just return it with your paid receipt. Walmart would be better than Camping World, for sure. You now certainly need 4 batteries. Batteries Plus may be able to help you, but don't go back to Camping World except for the return. Wish you were 2 hours NW of Mesa. You could park in my RV spot. I'd plug you in to my 30A circuit. The invitation is open, just PM. Drive up and we will get you fixed. You could stay awhile in our amazing AZ high country. I'm off for the holidays and into late January. Isn't this what the Oliver Club is about!?!
-
You would really have to determine cause. @Cort how did you know you had one bad cell, not dead battery, but one dead cell? How did you know the others were good at the time? How did you get a 240V reading? My shop air compressor runs on 240V! Another member thought it might have been 24V, could it have been 2.4V? That would be a near dead battery. What caused them all to go bad? It wasn't adding a new AGM, if wired correctly. Immediately I would remove all 4 batteries, test each voltage independently and get the new AGM on a charger. The others may have been toast when the 4th went bad. Try charging them all. Recently I left an accessory on in a car and 2-3 days later went to start the car and got nothing. The voltmeter showed the battery had about 2V in it! Because the battery was only 1 year old, with care I got it back up to full charge. Car/truck starter batteries should be regularly at 12.6V, if less then it's getting older. Deep Cycle Batteries should sit at 13.1V with a full charge.
-
How are they dead, but reading 24V? The only way to read 24V is two 12V batteries wired in series. If this occurred, I imagine it would cause more damage than just the battery bank. Something went wrong and it's not from adding one AGM, which is just a high-performing lead-acid battery.
-
Options for Getting More Wattage during Shore Power
jd1923 replied to Going Coastal's topic in Mechanical & Technical Tips
1800W / 120V = 15A this cooker can just fit a 15A outlet/breaker. Unless you want your cooker at the pedastal, get a 12GA appliance grade extension cord. -
Options for Getting More Wattage during Shore Power
jd1923 replied to Going Coastal's topic in Mechanical & Technical Tips
Don't most campsites have 3 connections? A 50A, a 30A plus a standard 120V 15A household outlet. Not sure you need any splitter to wire this cooker to the shore power pedestal. This is what I've generally seen where we have camped. -
When water freezes, it just needs a little room for expansion, a little and not a whole lot. Think if your freshwater tank was half full and it gets well below freezing. It would just expand upwards, say another 10%, a slight bulging upwards. Nothing bad will happen, the plumbing will exist as-is. Since there is nothing but air above, with an overflow tube to boot, nothing happens but water freezing to ice. If the tank was 100% full, then tank would fail. When small diameter pipes freeze, they freeze at the ends first. Once the ends have frozen, and the lengths of the plumbing freezes, there is nowhere for the expansion to move and hence the plumbing will crack. If your water pump is half full it can freeze without issue, even at 80-90% full! And btw, when you blow out the lines, running the water pump at least once, it is most likely empty or very close. Fear shall succumb to knowledge. Remember, my friend living in Calgary has worked this procedure annually for more than a decade, where their daytime winter highs are lower than our nighttime lows. Thanks ☺️
-
Did we all survive the holidays? Minimal political or religious discussions with family members of opposing views? Christmas presents we received and don't know just how to say we'd prefer to exchange this item! These are the little things, and there are greater concerns. It was nice Christmas was on a Monday this year, allowing a long weekend! We were home and as much as we enjoy camping, we have a wonderful home we've built over the years. We enjoy being home with family, and for us this year was just our immediate family. I give thanks to ALL we have! The world today is a troubled place, worse we've seen in recent years and perhaps in our lifetimes. Many of us are "baby-boomers" and we worry for our children. It is extremely difficult in our society for those who are younger today. How can the young today be accepted, afford a home, and be secure today? 🙏 God bless you all, God bless our freedoms as outlined in the Constitution of the United States of America! God bless we have the freedom to exist, to travel and camp, enjoy this life, and live the lives we all love! This is what I am thankful for today and in the time to come. Happy New Year! 🤗
-
My point on TV alternators was not re limiting factor. The DC-to-DC chargers drawing 20-30-40A and with 4GA cables can pull a lot of Amps. Is your alternator designed for that? Some have extra capacity, what you may call a HD alternator and some do not. if you're investing the expense of a DC-to-DC system, make sure your alternator is up for the task. Back in the day, I had an alternator give out in an old car while on the Interstate. Didn't know it went out, until I heard a backfire and the engine quit (battery charge got too low to run ignition system). We were lucky and coasted off an exit ramp, pulled into a hotel parking lot, where we spent the night, went to the AP store in the morning! Would hate to be pulling a trailer in this situation. Every alternator is rated for amperage, and if there is a higher capacity model, it's the one you want for DC-to-DC charging. Look up your TV on rockauto.com, replacement parts and further down the list premium parts (usually 2 amperage specs). Those running these chargers should keep their eye on the battery/Alt gauge and if you do not have one, add one. @Geronimo John I agree with your written statements re the purpose of both the Shunt and the Solar Charger (SC). I've always seen them integrated. Look again at my Blue Sky pic above to see what I mean. I believe the SC reads the current draw data from the shunt in their charging algorithms. I may be wrong, but in the two systems I've worked with they are always installed together (perhaps not with Victron where everything is modular). We do need an experienced EE in our group! Check out two PDF files (attachments). I installed a Bogart Engineering BMS and SC on my last RV. One doc simply explains the shunt. The other is for their SC product. Check out page 2 for the wiring diagram. They sell their SC with a shunt. @Ronbrink I'm totally jealous of your battery bay installation, cleaned up the factory install, and everything is so NICE, excellent work! Electrical_Shunts_Explained.pdf SC2030 INSTRUCTIONS_041018.pdf
-
I see now how this thread was split off from another post @Geronimo John started about flexible panels. Like your 'OllieEvolution" story! We totally get it and hence we purchased used to be affordable. Our own Oliver Evolution has been long in only 6 months... We have already added $5K in extras, none of it solar related, but can afford this given our initial cost (new TV A/V system, rebuilt axles, new beds and bedding, improved water pump and electric valves, etc.). Bought a 20-year-old TV too and when I'm done, we will have another $10K into it (already new suspension, wheels, tires, brakes, water pump and timing belt, hoses, all fluids, fuel pressure/temp gauges, tool boxes and water tank, performance chip and next year an exhaust brake). When I get all done, we will have spent 30% the cost of a new diesel 3/4-ton truck. Start small and yes, Evolution! Our solar/battery/inverter setup is good enough for quite a while. LFPs for us will come 4-5 years down the road since our 450 AH of lead acid is only 2 years old. I would like to add the Victron SmartShunt ($130), not thinking we need anything else at this time, but I enjoy reading about everybody's upgrades. I'm thinking I can add the SmartShunt directly at the battery ground like @CnC did for his 712 install, and just leave the Blue Sky shunt as-is (see pic above). What a simple install, since I'm not adding the 712 display, everything is wired within the battery bay with Bluetooth to read battery information. Although, the SmartShunt has a gray lead that can read the TV battery voltage, be attached to a battery temp gauge, and other uses. I could wire this to the black lead, at the +12VDC bus (also shown in pic above), which connects thru the trailer electrical connecter to the TV battery. This should show about 12.6V when sitting and 14V+ with engine running when operating correctly. Just purchased this: Amazon.com: Victron Energy SmartShunt IP65 500 amp Battery Monitor (Bluetooth) : Automotive
-
Thanks Geoff! I was asking for holes in my procedure, and you found one. IMHO, I feel expansion in a P-trap goes 99% upwards, like an ice cube tray, and has not concerned me. We can add a step 13 to the procedure: 13) Add 3-4 OZ of RV antifreeze to each drain (bath, shower, kitchen) and in the toilet bowl (with water). There is no additional maintenance in this step, as p-traps do not need to be flushed and cleaned later like the freshwater plumbing system. You can drive on and use them as-is. Great addition!
-
Just run the pump while working the procedure. Only if a pump freezes filled 100% with water can it be damaged from the expansion of freezing water. BTW, when y'all get around to up grading your pump, most high-end pumps today can run dry for hours without issue.
-
Yes, thank you @Patriot for starting this post! I thought I would see a holiday thread here, so I stopped in to see. Merry Christmas and Happy New Year to all OO and families! We're very happy to be Oliver Owners too, just past our 6-month anniversary! The next 6 months, we'll do less learning and fixin' and more getting out on the road. Hopefully a New Years week outing will work out for us and if any of you will be in Quartzite in Feb, we'll haul down the mountain to meet you! Equally happy to be part of this forum and getting to know y'all! Ho-Ho-Ho
-
Because we live in the SW, we do more camping over the winter months, spring and fall of course, and none during summer (think Snowbirds RVing in Quartzite AZ). So, we don't truly "winterize" but live at 5400 FT elevation and it can get COLD overnight. Whenever the weather report forecasts several consecutive nights low 20s or in the teens, I'll blow out the water, but we could be heading out next week! This occurs often, 2-3 times a winter. I could not see adding antifreeze and flushing it clean on this basis. If winterizing the Oliver with antifreeze takes you 20 minutes, then using air should take 10-15 minutes. Yep, you need an air compressor. Mine has a 100' hose so I can fill RV tires all the way out on our road. Good time to check tire pressure and overfill your tires 10% for winter parking. This way when you are ready to leave again all you have to do is check pressure, let a little air out. The real difference is when we are ready to head out, everything is done and ready. No flushing antifreeze, just fill the freshwater tanks at home or at the campsite depending.


