
jd1923
-
Posts
1,257 -
Joined
-
Last visited
-
Days Won
44
Posts posted by jd1923
-
-
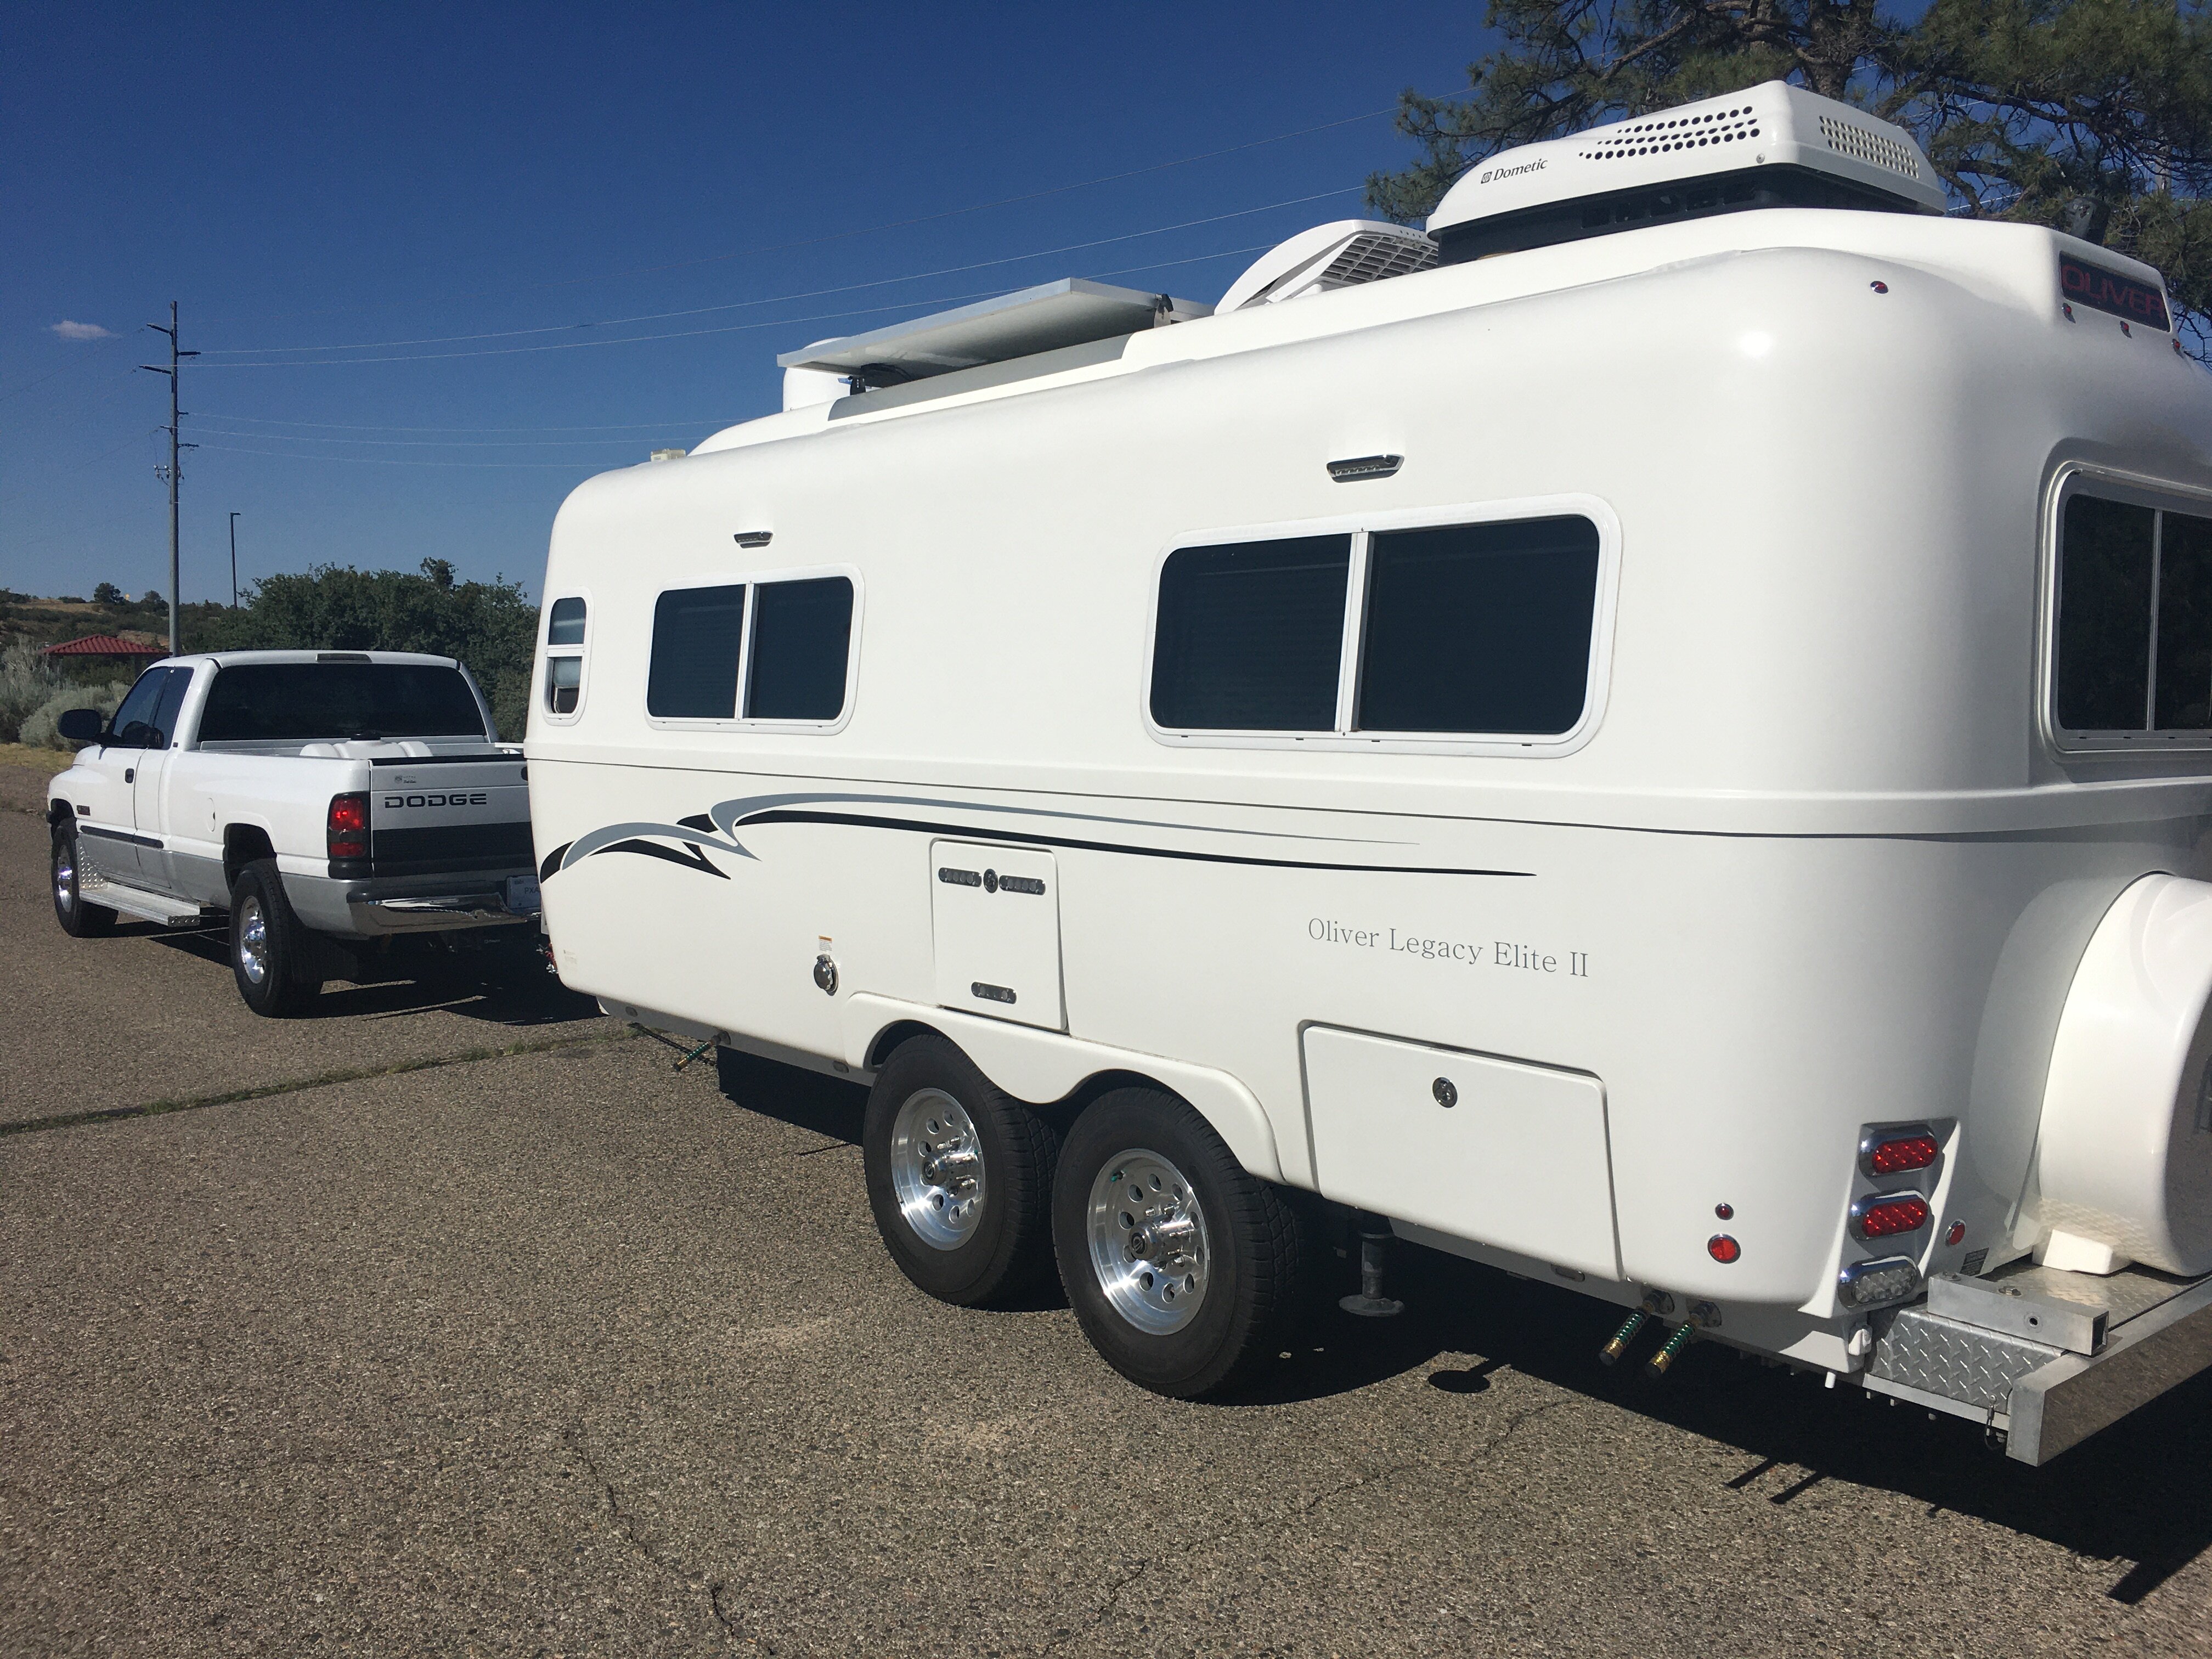
I want to lose the supplied Andersen WDH but have yet to do so. I find without it the backend of our TV is bouncy, don't notice sway either way.
Our TV is an older Dodge Ram 2500 Cummins and the user manual states to use a WDH for trailers > 5000 LBS. Our TV is known as a 2nd Gen Ram Cummins, and it is LB and 2WD. We owned 3rd Gen for years, HD w 4WD and it was much more tow capable. The newer Rams with the 6.7 Cummins have even greater capacity I believe.
This Ram has OEM "Helper Springs" that are two leaves that sit above the main leaf springs, designed to come into contact when greater rear load is applied. Problem is with the Oliver, weighing in at only 6000 LBS, it does not have enough weight to engage the helper springs. When hitching the Oliver the hitch height will drop 2". I wonder if a suspension shop could adjust the helper springs, to come into contact sooner.
I tried the "Timbren Rear Suspension Enhancement System." They are like adding airbags to the rear, without the air being rubber cushions. I believe I wasted $300 on this kit. One spacer is to lose, and one is too tight. Too lose is like not having them. I have it on my list to call their tech support. Liked this idea and many on the Cummins Forum suggest them. I never want to get into true airbags again, what a pain.
-
5 hours ago, Ronbrink said:
Oliver is most likely installing the 6 on 5.5 hubs on both axle sizes, maybe to keep the wheels universal on all builds. I have the D35 axle with the 6-bolt pattern.
Yes, the D52 axles will have the same 6x5.5 hubs, but you should see 12" brakes and E-Z Lube bearings. See in your pic (ours is the same) where it shows 10" on the drums.
-
Have the same map, in our bin of travel maps. We bought ours when we first moved to Prescott, AZ in the year of 2005. I love paging through the printed maps of old!
When traveling, RVing (or TTing) these days we use Avenza maps: Avenza Maps | The #1 Digital Map Store
You can download all of the USGS maps for free and many others. The beauty of the online maps is you can see your location, at the little blue dot! Have it on my phone, whether we are traveling or even dirt-riding in the Arizona BLM and NF.
I believe I made some odd comment, the first time I read one of your posts...
You have an intriguing writing style! We look forward to your next addition. 😂-
 2
2
-
-
4 hours ago, JEssary said:
I wanted to reach out to everyone regarding this issue. We have been made aware of the issue and are currently investigating. At this time it appears to be a single incident but we will be continuing our investigation.
Thank you, Jason, for contributing here! This shows the class act of OTT! ☺️
I'm certain you understand that manufacturing defects are more often batch-based than a single incident. At the same time, we hope it is a "single incident" for those we title Oliver owners.
I recently purchased an older used hull, so np here. First thing I did was to check. There are many Oliver owners that do not frequent our wonderful OTT Forum. I would imagine that OTT is sending a safety/recall notifications to every OTT customer in your owners database. Thank you Jason!
-
2
-
-
12 hours ago, Ronbrink said:
When doing a complete axle swap from 3500 to 5200, is the wheel bolt pattern the same for each axle or do the wheels have to be changed, as well?
The 6-bolt wheel pattern on the Oliver is more readily available on the 5200 LB axles. Most 3500 LB axles generally come with a 5-bolt pattern.
-
1
-
-
3 minutes ago, Lisa Rae said:
...Having worked in manufacturing with engineers, then becoming one myself, for over 30yrs I see both sides of it. I also know that some decisions are made by a purchasing person...
I worked for Motorola, back in the day, and what you wrote is spot-on! Thank you.
I trained 1000s of manufacturing associates, in advanced manufacturing technology (CIM), and Motorola would pay for the education of associates in continuing education, work the line and later get an engineering BS or technical certification. Motorola brought us much of the technology we use today and was the founder of Six Sigma quality!
So many of the issues we see are the result of purchasing, agreed 100%. But engineering does not end with design, it is full life cycle, and finishes with Total Customer Satisfaction (Motorola TCS). As a design engineer, my project is not finished until I have 1000 customers providing feedback, and we work the next months, or year towards improvement! GB you @Lisa Rae!
-
1 hour ago, STEVEnBETTY said:
I have hull #219, i can’t relate to the low flow in the toilet, but as Mossemi described in his post there was a flow restrictor “water saver” in the shower head.If I remember correctly it was a red piece that popped right out, that made a huge difference in mine
And our toilet fills quickly NP, yet our sink/shower faucet is the issue.
A filter on the toilet! 🤣 I hope it filters particles larger than the norm!
-
On 3/19/2024 at 8:37 PM, Jason Foster said:
Don't forget, it is an Oliver requirement to go meet them with a six pack of quality beer.
Or good Texas Vodka!🤩
-
3
-
-
Look under your curbside bed, and locate the drain. Pull the heater ducting out of the way and there is a simple valve. Make sure this is pushed down to touch the floor. The outlet can get pushed up, and if pushed up enough, it can be above the tank height.
OTT should, may I say SHOULD strap this line to the floor, but they don't! And because they do not, the drain WILL move up.
An easier way to fix, if you’re like me always crawling under trucks, trailers and the sort, is to climb under the rear passenger side tire, find the blue PEX drain and pull it down hard. Given the front of your TT is somewhat higher than the rear, you should be 98% empty.
-
 1
1
-
2
-
-
Some of us here are adding true mods, yet many of us are making corrections for cheap parts and inadequate design, and asking why in an expensive TT. And I understand being proud of Oliver! Yes, it's a good overall design in travel trailers. Continuous improvement must be a component of company culture, and OTT has improved through the years. It starts by admitting past mistakes.
@Geronimo John, you must admit, user feedback was not asking for 1.25 GPM flow at the bathroom. "Please keep the pressure low, so my wife cannot rinse her hair!" Or the seasoned engineer determining, "a 45 PSI regulator is required for the 55 PSI RV water pump system." There is a disconnect here. No physical reason can be cited.
We could also reference the half-a-dozen recent threads on the furnace duct system. Reason the return is arm's length form the strongest duct. Reason the bath duct has very little air flow with no return (again with improvements through the years). Reason why the main water lines are running along and touching the back wall, the coldest area of the trailer? Reason for Dexter China bearings vs. Timken. Reason for multiple leaf spring failures? ...
I need a reason, and it's not just that I'm an engineer, or that I should take your word for it because you are. You wrote, "We may not know the reason (for) it, but they know it from experience." Sorry, I can't swallow that one. Never have, and never will. Not accepting the status quo, asking "How can we do better" is the basics of good design engineering.
-
Crank down the pressure on the WDH to bend the chassis on that EV! The single axle AS sure looks big in that picture. Tow capacity is one spec, but in this case, it is the length of the lever. Go over train tracks quickly, with this rig, and it's the EV that would bounce as the AS stays grounded!
-
15 minutes ago, Lisa Rae said:
...if/when I replace them I will go with the higher PSI as you suggest. I will still use an external regulator also though...
...I don't think I am going to try and replace the fitting to get them to be true 1/2" just yet but might as a last resort...
It's unnecessary use an external regulator, given the 40 PSI inline regulators.
There will be some who will warn against going to higher PSI. But honestly, design engineers can be so dumb at times! Why would OTT install a 45 PSI regulator on the City Water line, but install a 55 PSI water pump? Why does the Fresh Water inlet need one at all? Pressure cannot build up in that line, since the fresh tank is vented via an overflow. Just the reason why it takes long to fill the tank. Now I understand why we have better pressure using the internal water pump vs. the City Water line! Thank you for this.
You could not possibly remove the dozens of PEX elbow and other connector fittings, but if I can remove 2-3 from hot and cold lines showing in the vanity, I certainly will, to open and soften the flow. Haven't looked in there yet.
We just got back from Casa Grande AZ, where the afternoon temps were high 70s. I did a couple outdoor showers since the pressure was better (and to not get the bathroom wet)! We carry an extra 35 gallons potable water in a truck mounted stock tank. We like to boondock for a week with all the water with good pressure as possible!
-
1
-
-
Thank you @Lisa Rae. I've asked about this before and like you said, the threads to not come to conclusion. Can it just be the length of the plumbing, rear to front, that makes it slower, or is something truly restricting flow?
I replaced the water valves with motorized true 1/2" valves and in the doing found out OTT had installed brass valves with measured 1/4" inner diameter. The elbows, used in 1/2" PEX are about 3/8" ID. Wonder how many of these elbows I will find under the sinks. I will remove some PEX and as many 90-degree elbows as I can under the sink and replace with full 1/2" ID soft water line.
So great you removed and cleaned the rear brass backflow preventers and regulators. I asked before, why 2 parts when the OTT plumbing diagrams only show a backflow preventer? I feared one was a regulator. I can just read the stamping on the regulator in your picture. Looks like 40 PSI, or 40-50 PSI. This is likely too restrictive, even when clean. Really should be 55-60 PSI, for those of us who want more than a trickle.
We can see from your video, that the bath is certainly slower. You should measure for a true before and after. @mossemi suggested a procedure.
I timed "seconds to fill" an empty gallon water bottle at both sinks.
Formula: 1 / # seconds x 60 = GPM
Example: 1 / 48s x 60 = 1.25 GPM (it took 48 seconds to fill the gallon)
Do this to get hard numbers and then you can compare before and after vinegar cleaning, or any plumbing change.The 1.25 GPM rate was what I measured at our bathroom faucet. The kitchen was a little faster at 40 secs, calculating 1.5 GPM. We upgraded our water pump, with a variable speed pump, and it increased flow in both locations about 10%, and not as much as I had hoped. The new pump is quieter, but the plumbing under our bathroom sink has gotten noisier, that banging plumbing sound.
Next step for me is to remove the front of the vanity to see what is restricting the flow. I'll do the @Frank C vanity mod after we get done with spring travel: Bathroom Vanity Cubby Modification - Mechanical & Technical Tips - Oliver Owner Forums (olivertraveltrailers.com)
-
1
-
-
Now that we have realized this BD hitch is a 5000 LB Class-3 hitch with a 7000 LB Class-4 OEM-mounted label, it really has nothing to do with what was designed for an LE-I or any OTT model. As @ScubaRx has verified, all travel trailers manufactured by OTT since 2015 have specified the 7000 LB Bulldog.
OTT did not install the wrong trailer part. They installed a DB hitch mislabeled by Bulldog. The question is, did OTT receive just one (1) of these defective (mis-labeled) hitches, or a few? They could be on any 2018 +/- OTT trailer. Also, what was the defective batch size? Besides OTT, what other trailer manufacturers could have received mislabeled units?
OTT management should not only be monitoring this thread. They should pay for ALL of @rideadeuce's expenses and some and pay to have this defective unit shipped back to OTT as evidence. In the end, Bulldog should pay. OTT MUST make Bulldog aware of this immediately, to limit OTT liability. DB must trace this unit by manufacturing batch number and communicate a recall to all possible BD consumers.
-
5
-
-
13 hours ago, Jason Foster said:
Hold up, ya'll. The top of his hitch says class 3 but the bottom says class 4. Which is it?
It's the number in the casting that is most important. The strength is in the casting. The label gets added after casting of course, and after the sleeve and latch mechanism is mounted, and even later after painting.
Since it is the label that was added incorrectly, btw, makes this a BD defect and not an OTT assembly mistake, since upon installation the label would be most apparent, and no technician would think they'd have to check two manufacturer markings to be certain of application.
Thank goodness ours has 7000 LB on the casting and label. This is in a way a one-off defect, but what is unknown is the batch size. Did Bulldog make just one of these (likely not), or did they produce 100s like this in their manufacturing process? Bulldog must act quickly and communicate a recall.

-
6
-
-
3 hours ago, ChrisMI said:
I would be more concerned (depending on ambient conditions) with the generator overheating with a tight fitting cover. Something like an umbrella like cover vs an enclose would be my preference.
You could mount a receiver in the corner of the front basket, to drop the handle of a golf umbrella into when it rains. ☺️
-
4
-
-
Just spend the extra $$$ on more Ah in LiFePO4.
Lots of Ah storage, adequate solar, perhaps a DC-to-DC charger, depends on your lifestyle. I'm a combustion engine guy, more than most, but solar & LiFePO4 have obsoleted the generator for RVing (or TTing)! -
9 hours ago, Jim and Frances said:
What do you all do to cover your generators when you need to run them and it's poring rain outside? I've seen some "covers" at the Jungle Store - not sure about them.
That little generator tent is kind of cut, or not! 🤣
Just let 'er run in the rain, and if it's not running, get one that can. Most generators are built to weather the storm! Can't stop thinking of the cute lil' baby's bassinette to keep her out of the rain.
Just run it, rain or not. It would be like me not running a truck or tactor, on a farm property, cause it's just raining!
If the rain comes
They run and hide their heads
They might as well be dead
If the rain comes..."
(John Lennon 1966)Love you guys but think of your bigger travel issues and let your generator, be a generator! Or just go solar and don't even ever again think about it!
I will never carry one again! Would if truly required, but not with battery technology today... The genset is now or soon becoming obsolete in RV life.
-
1
-
2
-
-
You listed this Suburban model SW6DE. I did not look it up today, but I recognized this number immediately. Not knowing your hull #, we're both 2016. I bought two of these last fall, going with the name brand: Amazon.com: SUBURBAN MFG Suburban 233514 AnodeRod Magnesium : Automotive
-
3
-
1
-
-
3 hours ago, Dennis and Melissa said:
I may end up doing this. What are the downsides if the 2 sides aren’t set perfectly?
Perfectly can't happen, but the WDH works best when set properly.
Reading page 11 Section 5 of the Andersen WDH, "HAND-TIGHTEN both Tension Nuts as much as you can... using a socket... tighten both Tension Nuts another 3-4 threads." Later they write, "Although it is not crucial" tighten or loosen each the same amount.
When you get hand tight, the # threads left and right may not be the same. Could be the bomerang mount is not even and the bracket installation might not be equal left and right. Drive down a straight road a mile +/- and keep the steering straight ahead for 100 yards just prior to parking. I have a favorite street in our neighborhood to achieve this.
You can start over with the hand tightening... Or just make sure each red rubber bushing is slightly bulging the same small amount. Eventually you should know for your hitch what is the correct number of threads left and right, and just do that without thinking.
You want to see that level line, from the front wheels of TV to rear bumper of TT. How tight depends on how much weight distribution you need. Tighten the two nuts some MORE equally and the rear of the TV will come higher, nose more down. Loosen and the opposite. They cover this in the next section 6 of the instructions.
None of this will work right if your Andersen hitch is not mounted at the proper height. Start with Section 2, regarding hitch height. When set properly, ours runs so nicely down the road. I can certainly feel the difference when I tow without using it. A lot of bouncing in the rear.
-
1
-
1
-
-
Our Oliver needs ceramic coating, but not heading all the way to TN anytime soon! It appears from comments here that Glidecoat must be a top ceramic coating, besides the GCI service. I just went on glidecoat.com and requested a quote for our zip code. Will let you know what I hear.
Prior owner had ours ceramic coated in Boulder City NV, using Ecocoat Kenzo: IGL Coatings USA | Eco-Friendly Auto Detailing Products. I have a Jan 2021 receipt, but the top shell, everything in front of the entrance, above the LP tanks, has gotten dull, looking like flat paint in contrast to the lower sides that still shine. Also, ours will be in the AZ sun all year long! Prior owner used a cover some, but what a pain, on and off.
How often is ceramic coating recommended? Does the fiberglass need to be buffed, serviced in anyway, to shine prior to ceramic coating? I'm sure the boating crew here would know a lot about this.
I can't stand seeing old caulk or wax around the edges, and ours has a lot! OTT replaced our furnace with the Atwood brand in 2018. Our hull went back to OTT during 2021 and one service item was "Recaulk Exterior." There is no need to caulk and re-caulk like this (see pic)! When I hire a detailer, I will request hours of cleaning/stripping/prepping work prior to applying ceramic coating. Re-caulk, after removing all old caulk, with the lightest possible application.
-
1
-
-
So, if an Elite I has the 7K BD, how did OTT have a 5K unit in the shop?
-
 2
2
-
-
35 minutes ago, MAX Burner said:
We used to carry a big wooden mallet to get the whale tail to behave - now, we've transitioned to simply back-off both nuts to the end of the threads, which lengthens the chains to the MAX, easily connect and pin the whale tail, then tighten the nuts with a dedicated ratchet & Anderson socket enough to expose 7 - 8 threads on both sides.
Less of a PITA and NO more mallet!
I just started doing it this way too. I believe I get about 5 threads each side.
-
1
-
-
14 hours ago, Donna and Scott said:
Points of interest...
Done Cooper's BBQ a few times, most every time we drove through Llano, often coming from the west, on the way back to Austin. Cooper's is a Hill Country Texas BBQ classic.
If you do head down an hour south to Johnson City, besides the LBJ Ranch to the west, one of our favorites is Pedernales Falls (just 12 min east of US-281). We've been there 3-4 times, when we lived in Lakeway TX. When the water is running it's a fun place, and decent hiking: Pedernales Falls State Park — Texas Parks & Wildlife Department What are the water levels like this year?
I've heard that while LBJ was president, he had the Army Corps of Engineers change the direction of the Pedernales River, so that it would run through their ranch, water their cattle. When we lived in Austin, paid our electric bill to the Pedernales Electric Coopertive (PEC).
Or you could just save gas money and time, take it easy and hang at Inks Lake!
-
1
-


Draining Freshwater Tank
in Mechanical & Technical Tips
Posted
You can have the front of your TT 2-3 FT above the rear and if the drain valve is not seated on the floor, your Fresh Tank can stay half full! (See my post above.)
I made a comment about leaving the drain open in another thread and was warned of the authorities not liking that. We do it on roads less traveled, or just drain in our driveway while unloading. Our driveway is steep enough.
With everything right, why does draining the Fresh Tank take so long? Because the drain valve has a 1/4" ID opening. See my pic, when I had replaced all OEM valves with motorized ball valves. Those are 1/4" and 3/8" drill bits to illustrate ID size. Every PEX connector reduces the 1/2" pipe to 3/8" and all the valves installed in our 2016 hull had 1/4" ID. Our motorized drain valve now has a 12mm opening which allows the tank to drain in half the time!
Love the motorized valves since they are less restrictive. Also love the convenience of pulling extra water from your TV when the onboard fresh empties after for us 3-4 overnights boondocking. We fill the Fresh tank again and still have another 10-15 gallons for a third fill if needed. We leave home with over 65 gallons fresh water. And when we get home, I drain what's left in two fresh tanks!