Leaderboard


Popular Content
Showing content with the highest reputation on 12/27/2016 in all areas
-
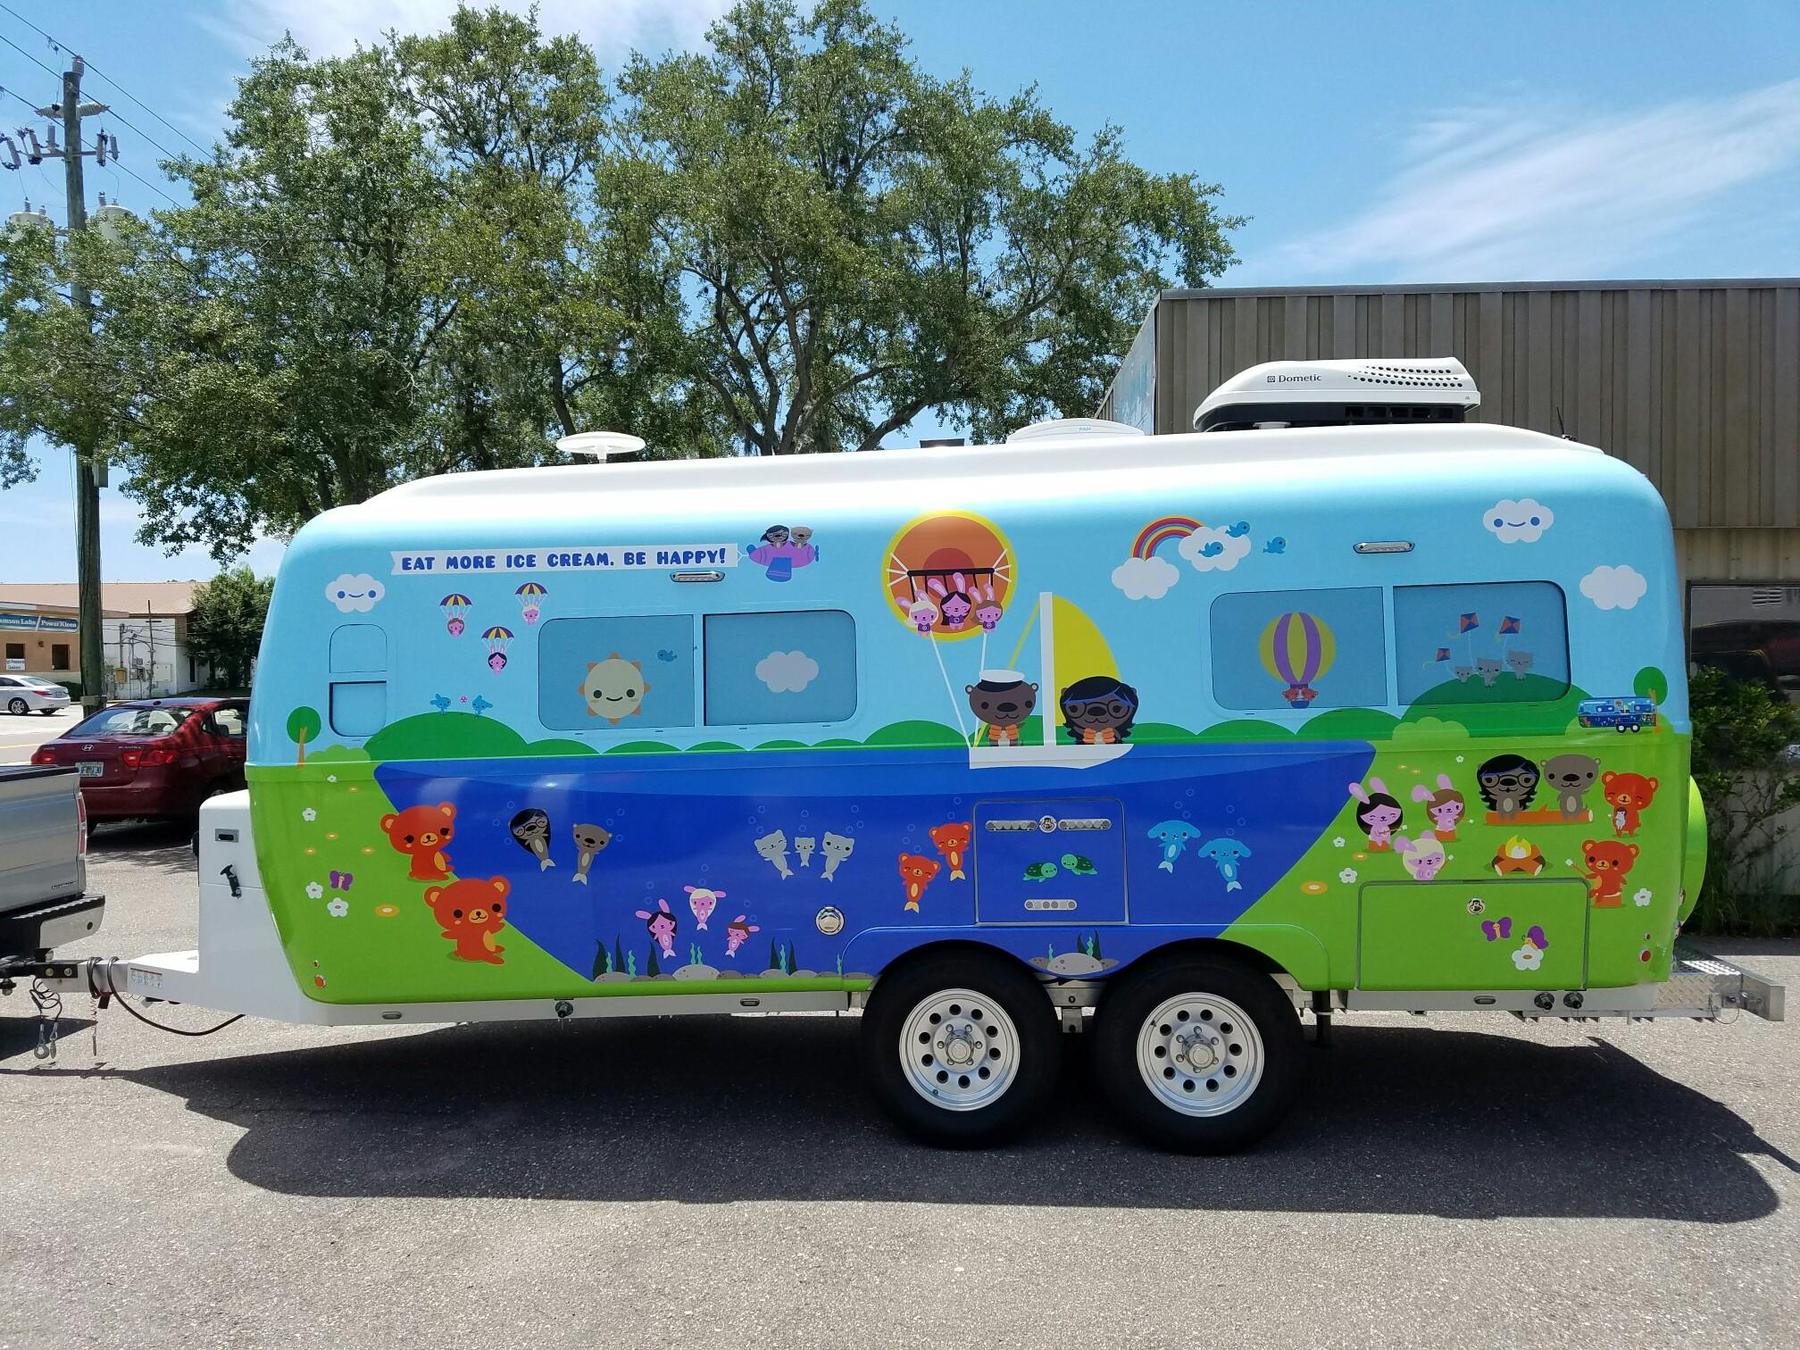
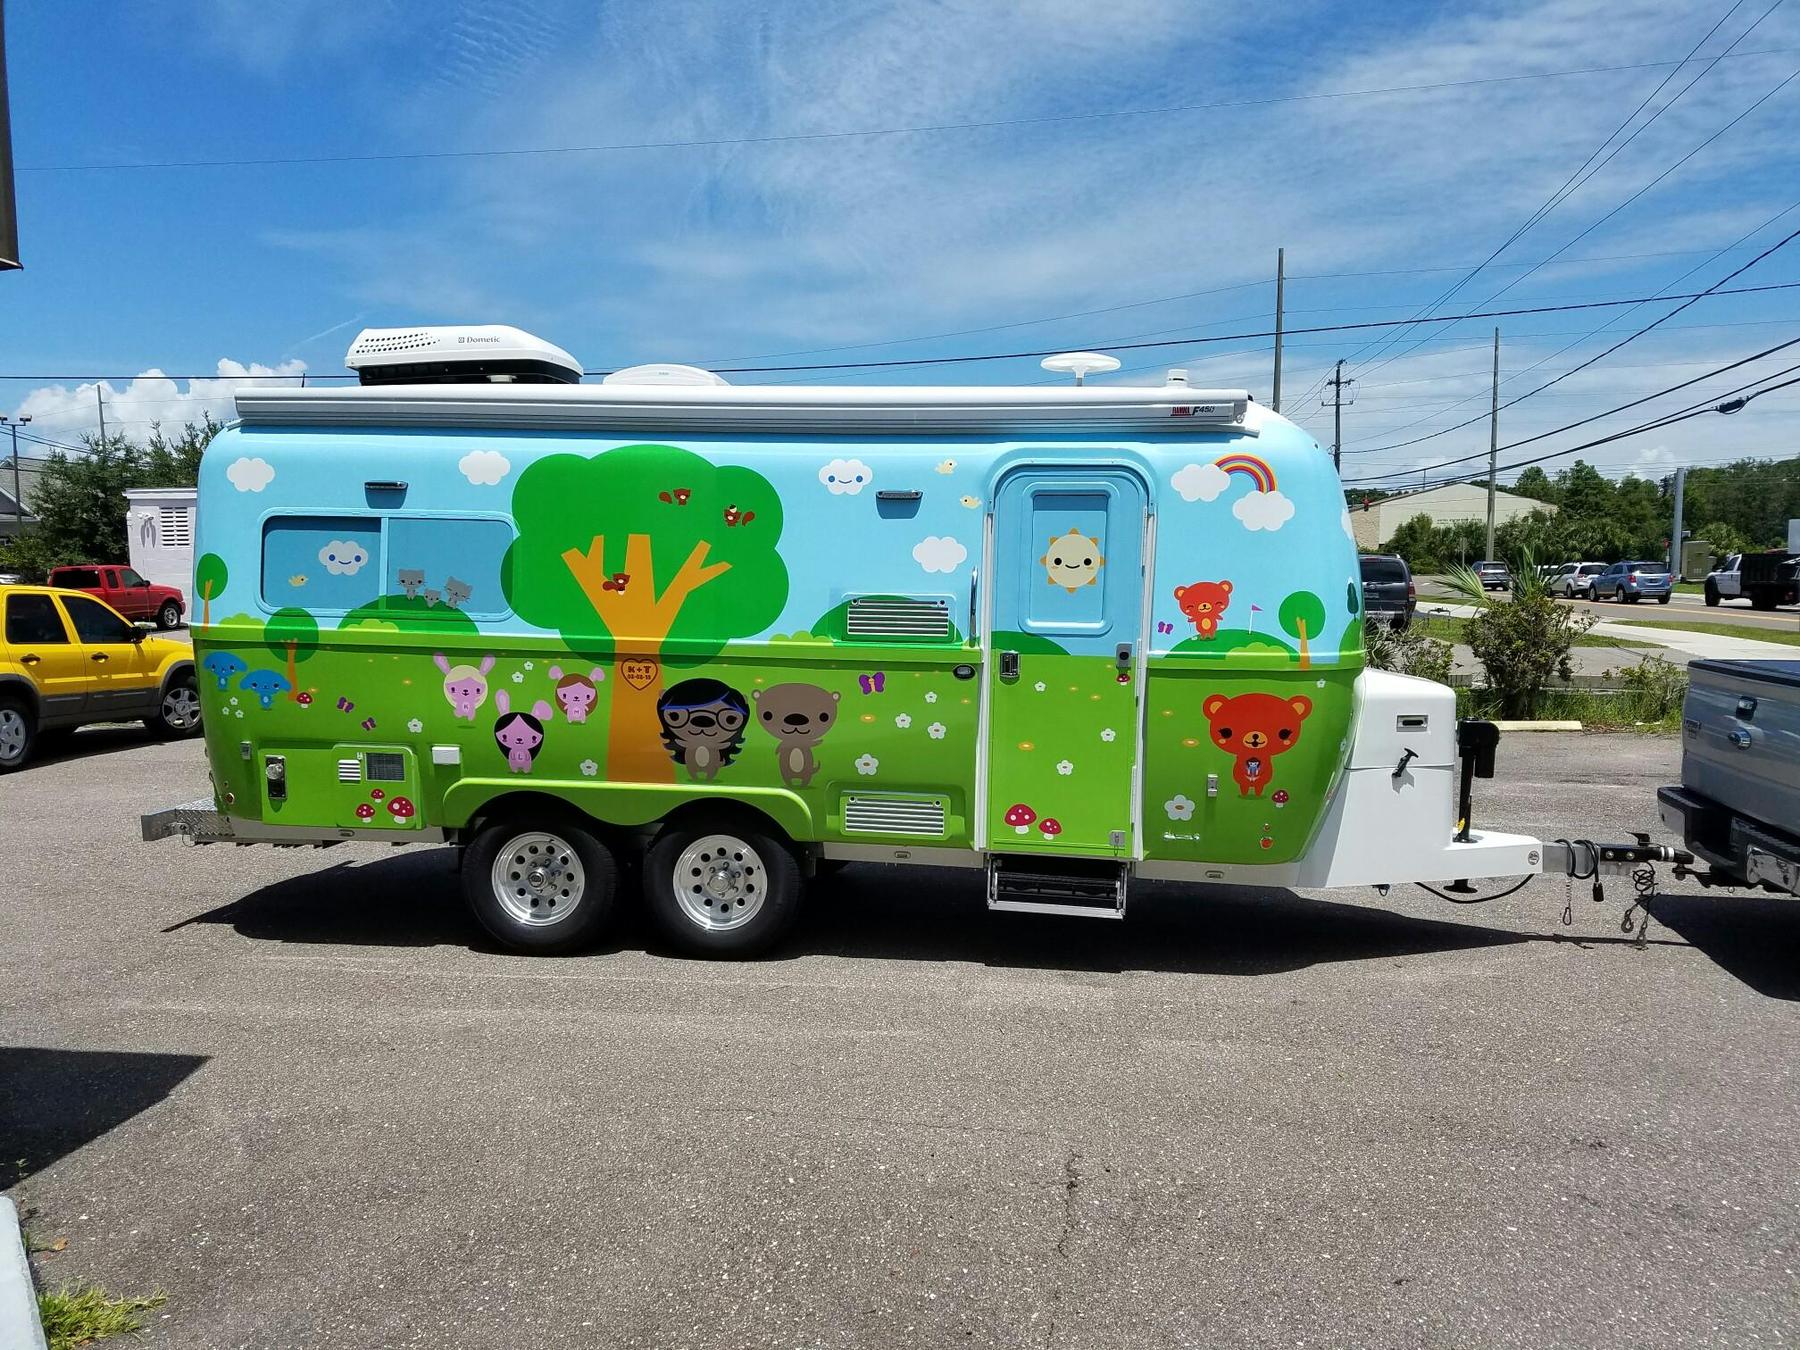
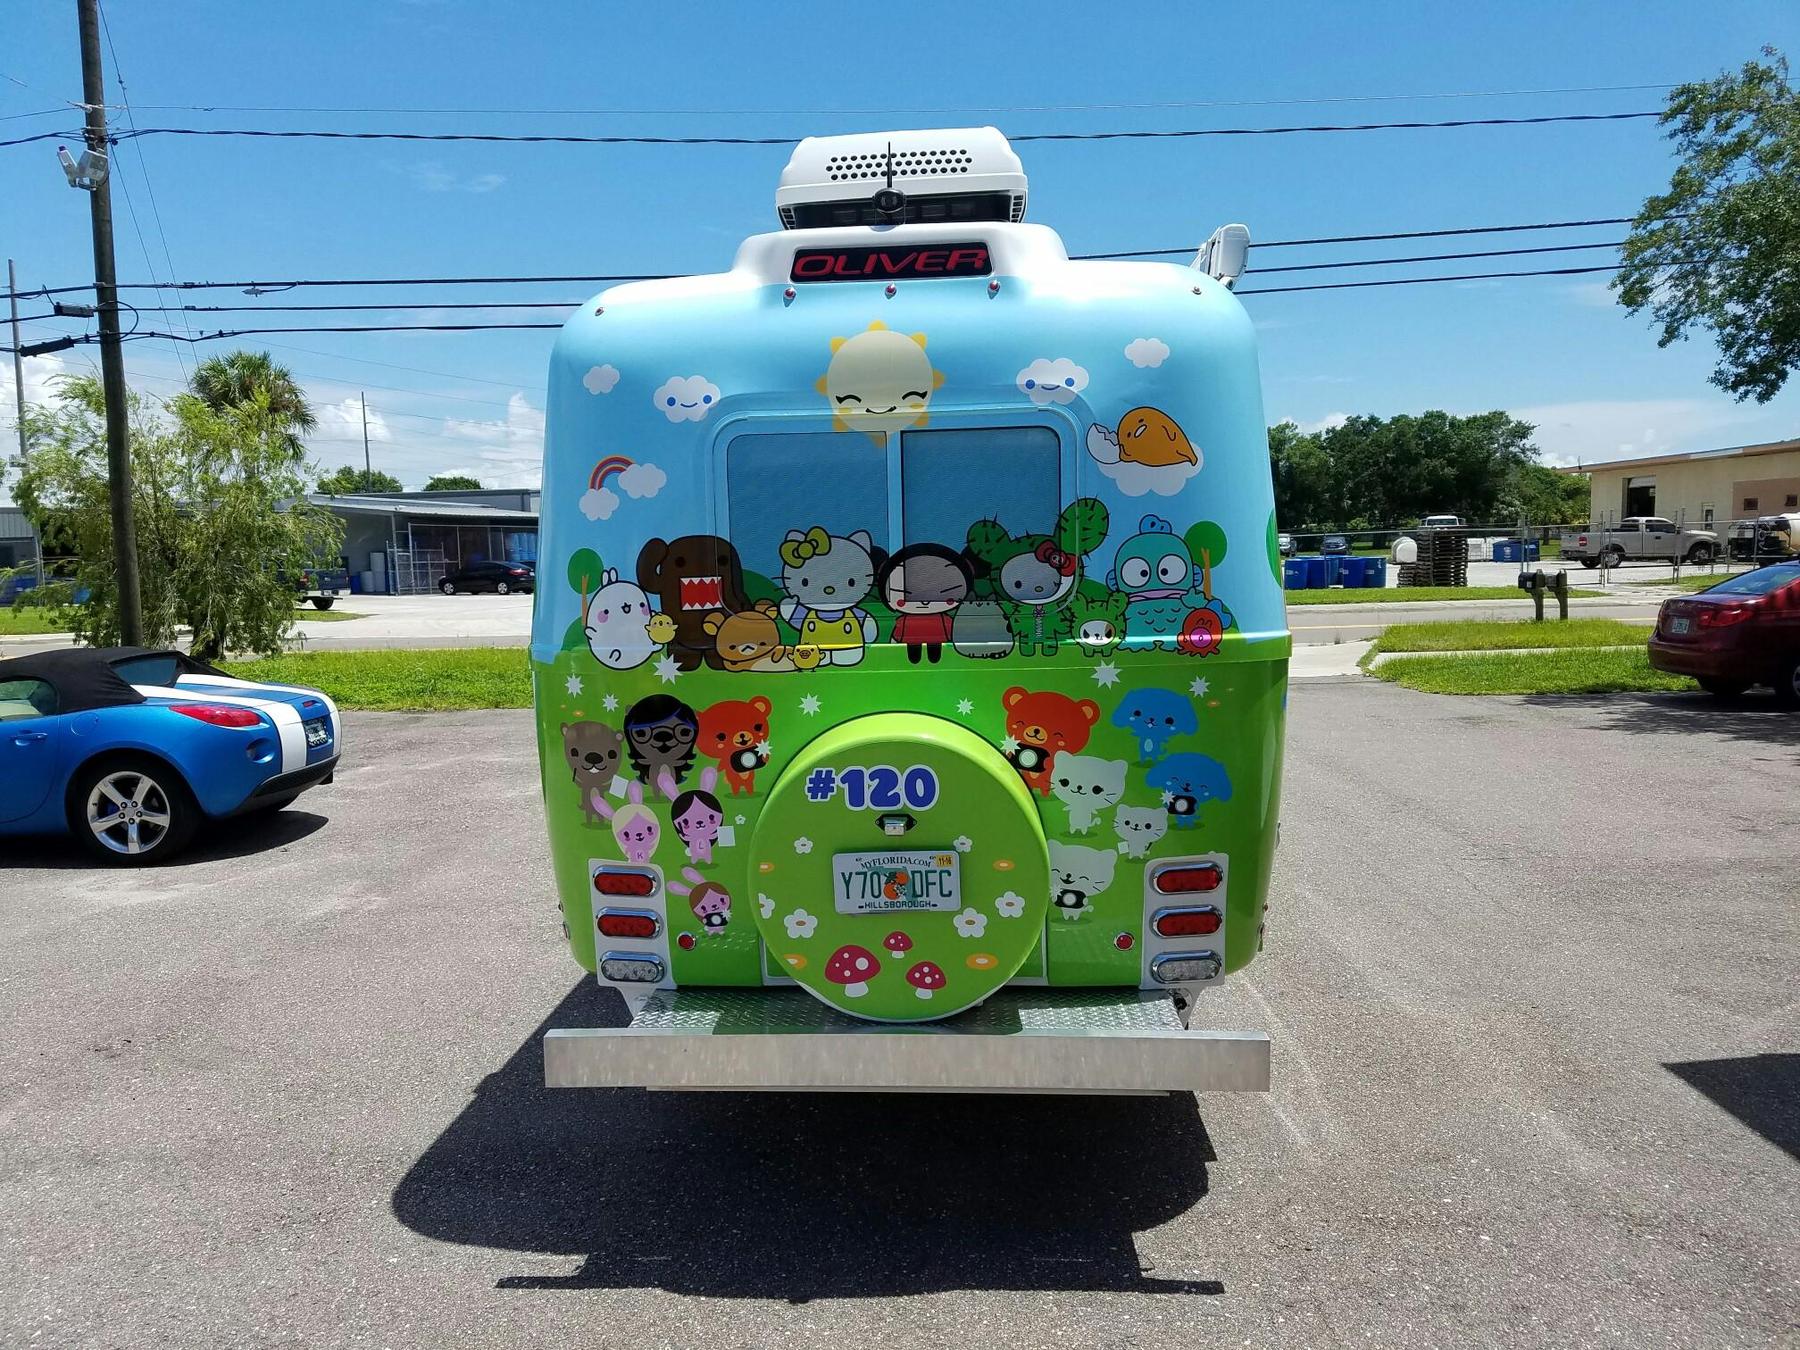
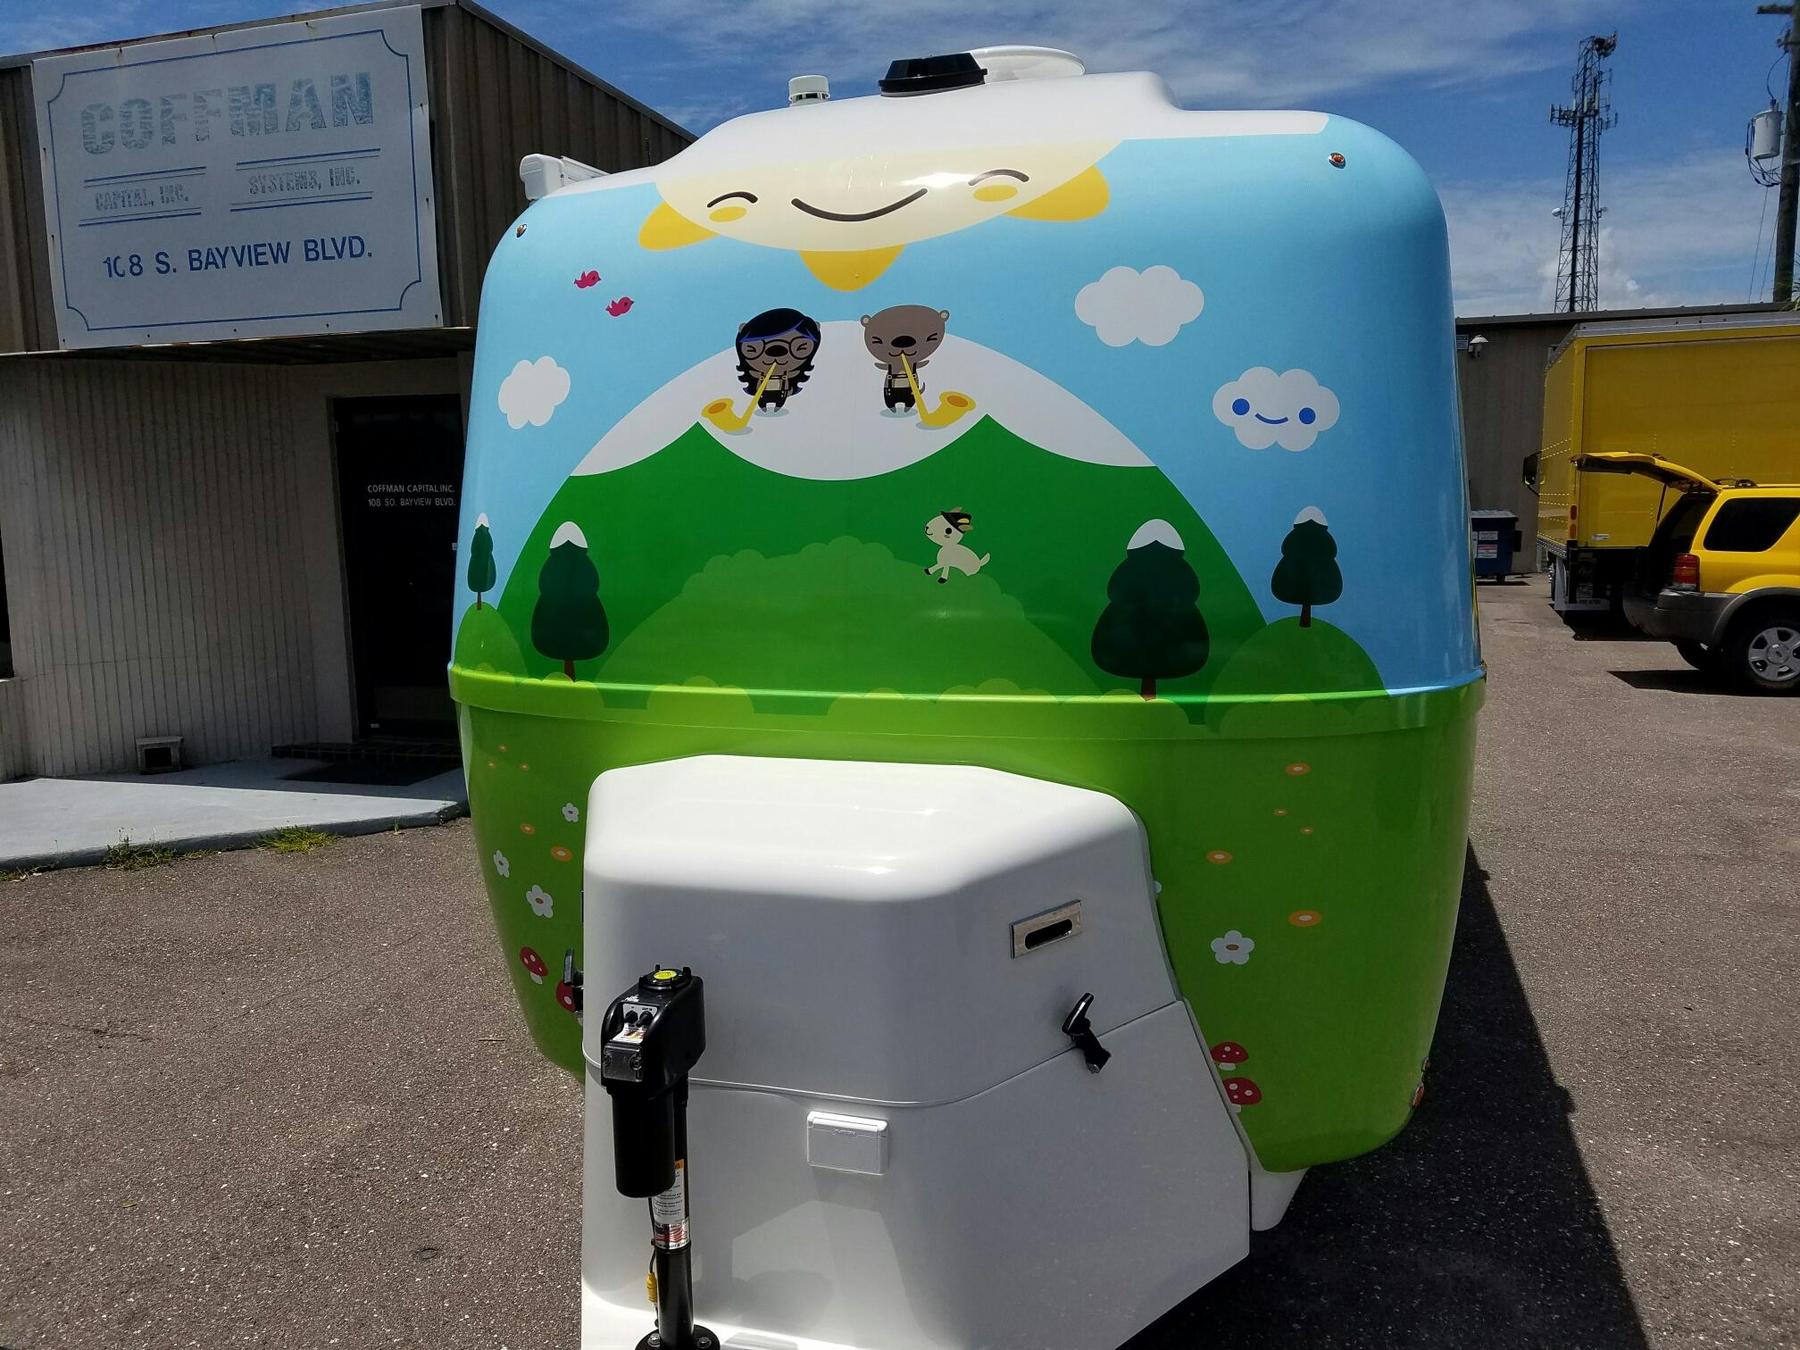
ADDENDUM: SEE POST BELOW TO EXPLAIN HOW THE IDEA OF THIS WRAP CAME ABOUT... attached is a link to the pictures explaining our new trailer wrap:) http://imgur.com/gallery/d1fO2 hope to see you guys in the future:) tina and ken
 1 point
 -
Good Monday morning Ollie owners and perspective owners. Just wanted to share this post with you since I've had to answer this question a few times. Progressive dynamics surge protector will give you an error 2 code with some generators that have a neutral ground. The way to solve that is to get a plug designed to ground the system. The following link has such a plug and a short video demonstrating how to test your generator to see if it needs one. Have a great week everyone. http://www.progressiveindustries.net/#!generator-plug/c1mwy1 point
-
Make sure to put your floor jack under the steel channel that the suspension is attached to.1 point
-
Like the idea of a "quick start reference and safety guide". We purchased our Ollie used. The original owner probably covered as much as the factory would for us, but it was a lot of information to remember. Found myself going through the owners manual and equipment guides to find some of the information previously reviewed with the original owner. I'm slowly going through our owners manual and updating with photos and making notes, too. Going to keep a log book of maintenance and upgrades, too. Speaking of Oliver tractors, while camping in Illinois, a family camping next to us invited us to an antique tractor show and took a photo of a row of Olivers behind this Case:
1 point
-
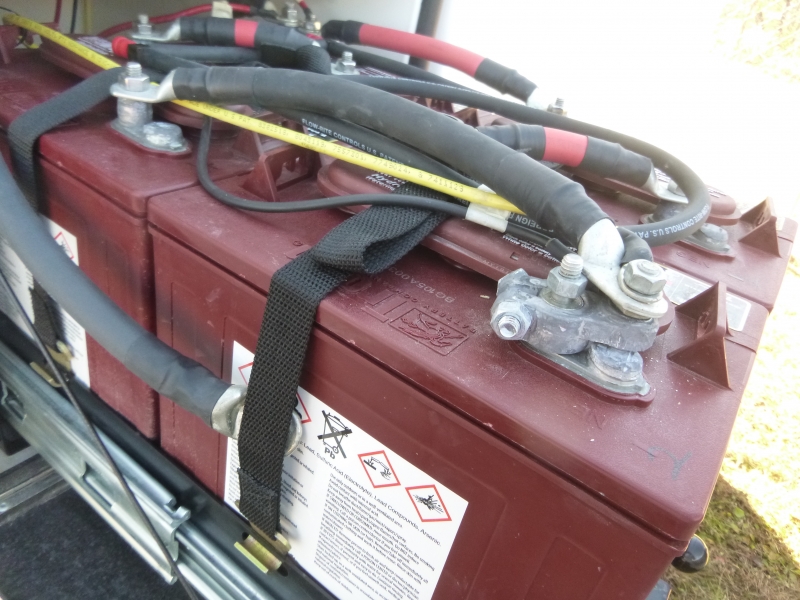
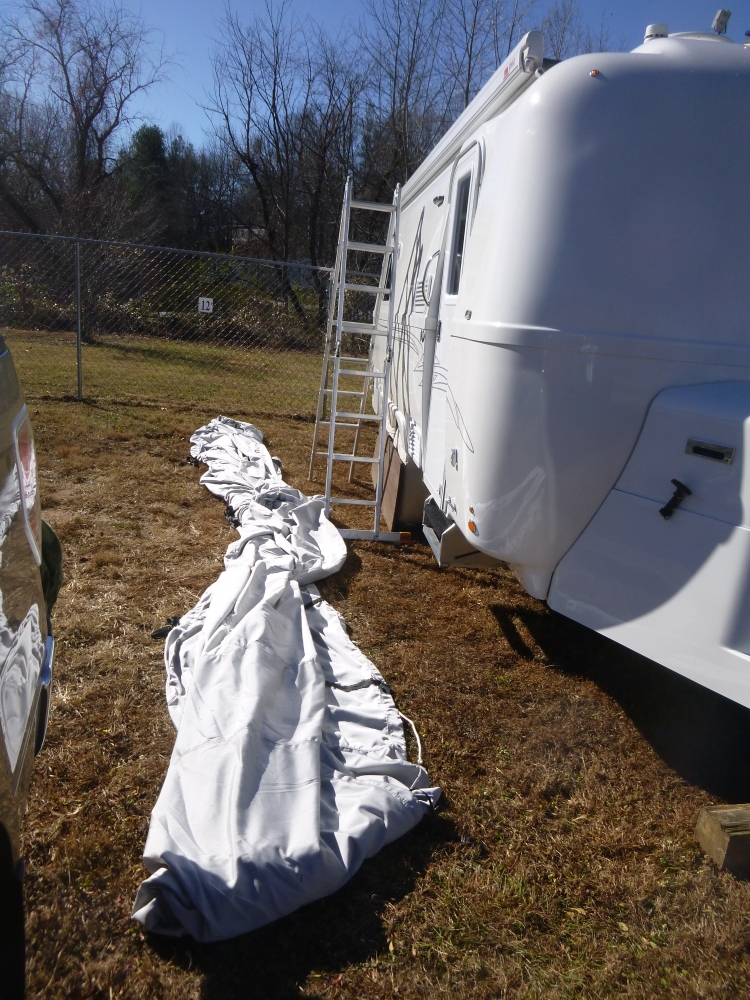
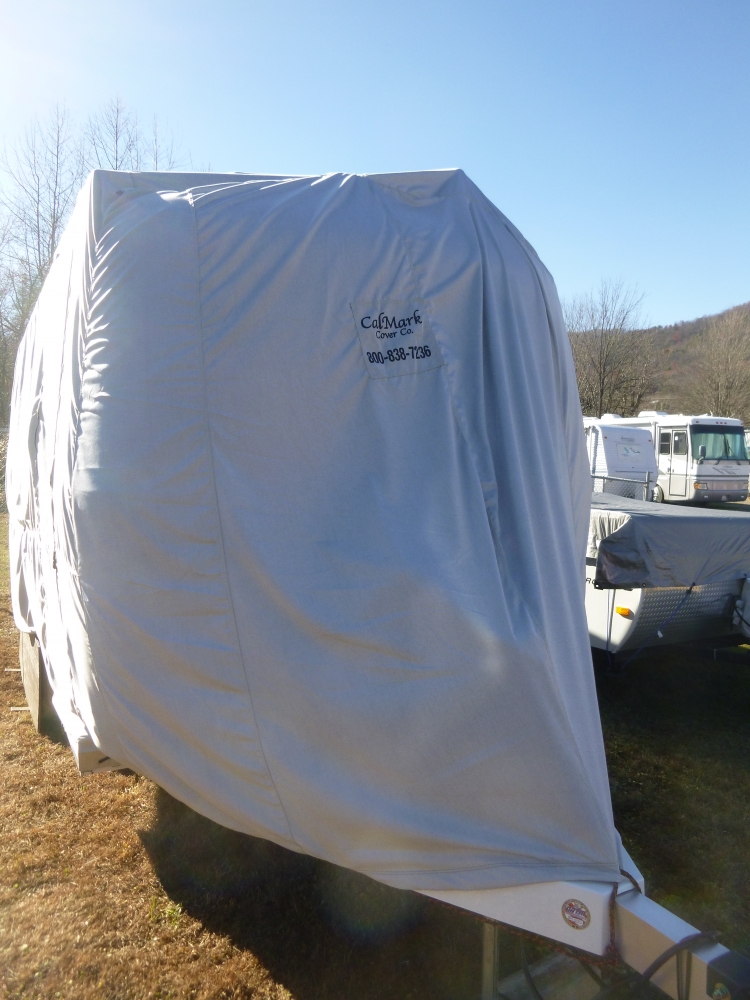
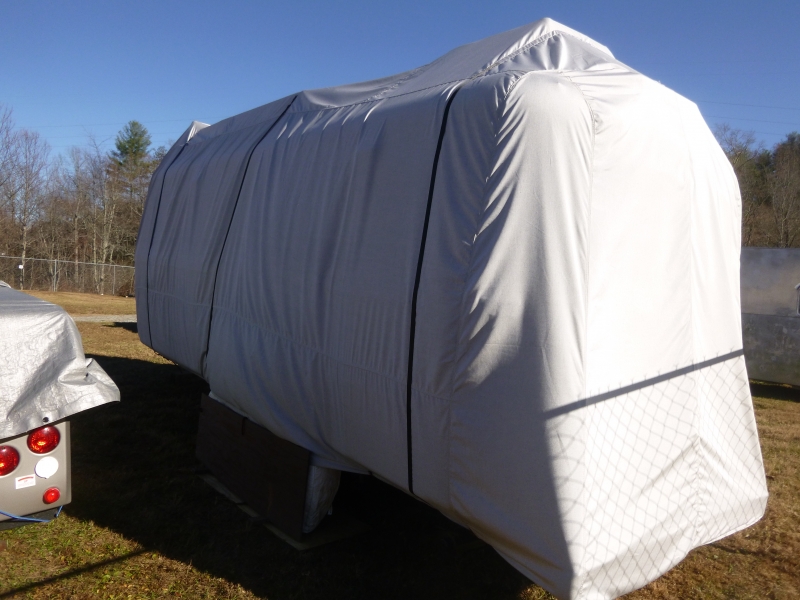
I received my CalMark cover four days ago. In addition to the cover they also sent several "patches" and a tube of E6000 glue. These patches are to be used to repair any areas that might get worn and/or to be placed in areas that might be subject to extra wear. With time growing short - it is the 2nd of December - and the forecast for a high temperature in the high 50's with abundant sun and little wind, I decided that today was the day to really put Twist to bed for a couple of months. Once I wiped down the entire camper to remove as much dirt as possible (automotive detailer is great for this) and to get the morning dew off, I wanted to fabricate a PVC sleeve to fit over the WiFi Ranger antenna. Since I could not take this antenna off or lower it or even remove the unit entirely, protecting it and protecting the cover was the only choice. I used a 2" piece of PVC with a cap on the end. In addition, prior to putting the sleeve in place, I covered the antenna stalk with a piece of pipe insulation which should help keep the sleeve from moving. In putting the sleeve over the antenna I cut a piece out of the sleeve at the bottom that measured approximately 1 1/4" wide and 1 3/4" long. This allowed the sleeve to fit down over the bracket that holds the antenna to the WiFi Ranger main unit without actually touching the roof. Given the downward pressure caused by the cover and the friction fit on the WiFi Ranger antenna bracket, I don't think that this will move at all under the cover. I then took two six foot pieces of 3/4" pipe insulation and placed them on the edges of the solar panels. Adding shorter sections (about a foot long or so) from the corners of the panels toward the middle of the camper, the cover should be protected from those solar panel edges - next year I plan to use "pool noodles" but I could not find any for sale when I stated looking for them in October. I placed 18" pieces of this same pipe insulation on the corners of the bumper - again to protect the cover from wear. Finally, since the solar panels will be covered, I turned off the main switch (the big red job under the streetside access panel and tripped the two circuit breakers located in the same area) and I disconnected the main negative battery cable. Since it rarely gets below 20 in this part of North Carolina (and even then it doesn't get there for long) and since I plan to either use the camper or charge the batteries no less than every other month, this should not cause undue harm to the four Trojan 105's. Taking the cover out of the box I found the front (a label with CalMark on it is the front) and laid it out next to Twist on the ground. Grabbing a hand full of the cover at about the middle of the camper, I climbed the eight foot ladder and lifted as much of the cover as possible onto the top of the camper. I then used a clamp to temporally hold it there while I did the same thing to both the front and back of the camper. As a part of the cover, CalMark sews on three straps that eventually go completely around the camper. However, these same straps can be used to help pull the cover material over the top. There is a seam roughly placed at the "edge" of each side, so, you can use that as a guide to see that you are relatively evenly spaced. Obviously, given the various things on the roof, the cover does not simply "flow" on and over, but, with the small exception of the cover sleeve that I made for the WiFi antenna and getting enough material up and over the air conditioner it was not terribly difficult getting the cover on and positioned properly. The final step is snugging up the straps mentioned earlier, pulling the rope that is sewn into the hem to tighten the cover around the bottom of the camper and then placing rope through the eyelets that are sewn into the hem further securing the bottom and making the cover relatively tight all around. Questions? Bill
1 point
-
Steve, My apologies - I originally read your post as wanting information on tire covers - duh! In talking with ScottyGS prior to ordering my calmark cover I decided to slightly alter his measurements so that there might be a bit more coverage on the sides and rear and a bit less at the front (see attached). I have not received my cover yet, so, I can not tell you how these adjustments worked. I had an ADCO cover on a previous camper and I believe that the CalMark is a better cover with both priced about the same. Bill
1 point
-
Water heater rinse education1 point
-
I talked to Tommy Staggs at Oliver on Friday about winterization. I sent the following email to him after our conversation and asked him to respond. When I receive his response, I'll share the update. I'm pretty sure I'll add the step regarding the "cup/filter" for the water pump. Tommy, Thanks for taking the time to talk to me about winterization. I’ve prepared this short check-list. Let me know if I missed anything or got something wrong. Winterization: 9/14/2016 Conversation with Tommy Empty black and grey tanks Drain freshwater tank Remove anode from water heater to drain Release water pressure in water heater Bypass water heater (access from inside under bed—on bottom of water heater) Use air compressor set at 35 psi to blow air through fresh water fill, city water and the one in back of the trailer for at least 1 minute each. Do this with faucets open. Should expel all water Replace anode in water heater Reverse step to bypass water heater Pour small amount of RV antifreeze in kitchen/bathroom sinks and shower drain to protect the traps Pour a small amount of RV antifreeze in toilet to keep toilet thing lubricated. To use the trailer when ready in the spring, you don’t need to do anything because you don’t have antifreeze in anything other than the drains.1 point
-
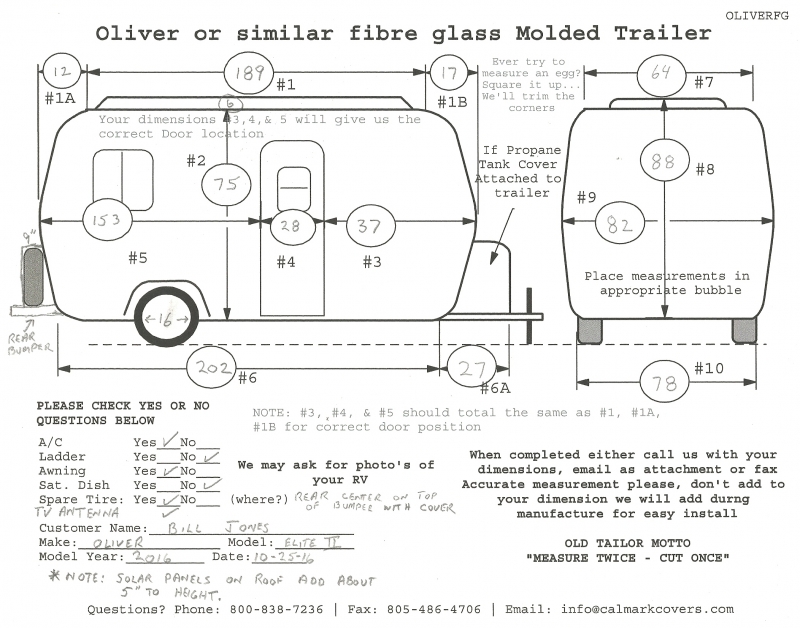
hi bill! we actually ordered a custom cover for our elite II from calmarkcovers.com here is a screen shot of our measurements. it's a nice cover, seems like a durable material, easy to put on and very secure. we've had it for 4 months now and it's holding up well in the hot florida sun. the fit is not perfect but it serves its purpose.
1 point
-
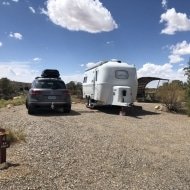
Agree with Stan about how good the Ollie stability is. Checked the VIN load capacity (from Oliver) and it’s 2140 pounds. Ollie GVW 7000lbs – 2140lbs = empty Ollie weighed in at 4860 pounds (assumed) at the factory. Scale results at local landfill, no CAT results yet: Ollie axles weighed while connected to previous TV scale results: 4520 pounds 4940 pounds Ollie weight, gear in camper with empty tanks, our Elite II has optional fiber granite counter tops, exterior LP gas connection, reading lights, thicker than standard memory foam mattresses, and Winegard ROADSTAR Omni-Directional Antenna (RS-3000) . Ollie weight 4940lbs – 4520lbs axles weight = 420 pounds Tongue weight We started towing during August 2016 with a 2016 4x4 5.7L Toyota SR5 Tundra with factory tow package not using WDH. Our Tundra weighs in at the local landfill scales at 6120 pounds with full 38 gallon fuel tank, two people on board, and 50 pounds of stuff, without travel trailer tongue weight added to Tundra. Been getting around 13MPG with the rig so far in the NC foothills. The Dexter EZ flex was installed on the Ollie before we purchased the Tundra, so can't give a handling comparison before and after EZ flex upgrade with the Tundra. This is the first time we have had a backup camera, and we really like it. It's easy to connect the ball to the Ollie hitch with only TV driver1 point
-
Don't spend the $20.00 or so to get one from the company. Simply buy a replacement cord plug from Home Depot or equivalent and internally short the ground and the neutral. Plug this into the 20 amp outlet on your generator and leave it there until you sell it. All your problems are solved (or at least the ones concerning your surge protector not letting power from your gennie pass through. )1 point
-
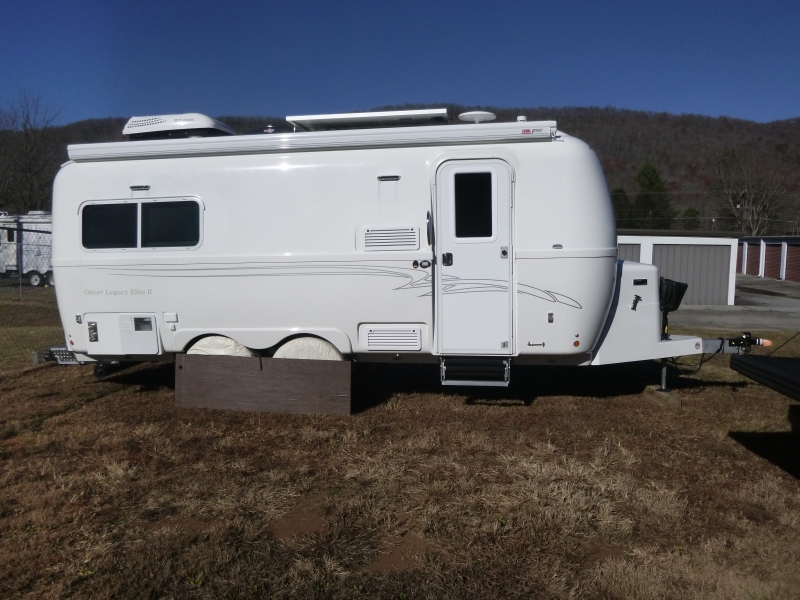
a bit of commentary, no need to respond, but this explanation is a bit therapeutic for me:) one of the unfortunate side effects of social media is the open vulnerability of posts/pictures to conflicting opinions. i was and still AM so excited to have had this wrap designed and installed for us. the wrap is a purely personal and custom work of love for myself and my family. i don't normally post to facebook and our account is actually a requirement in order to have a facebook business page (for our ice cream store). the posted album was an easy way to share the wrap with friends, who excitedly shared with their friends (including the oliver travel trailers' own facebook page)...but alas, one comment made me cry a bit inside, like a punch to the stomach: "oh! how sad (with an accompanying crying frowny emoticon)". i think the person thought i permanently disfigured my oliver??? well the answer to that thought (if it was thought?)is no... for anyone interested, the vinyl graphic idea originated with me seeing pictures of the 2 custom ollies painted black and red early on in production. i asked anita and the sales staff about options for color and they mentioned it was too costly an option to offer so instead i asked to leave the stripes off of the trailer and leave a blank slate. i did some research on after market options for color on the trailer, initially focusing on painting of fiberglass. very soon i found the option of vinyl wraps being a much more viable and reasonable solution. my first thought began with a simple different exterior color but as i continued with the research i discovered the infinite possibilities of a wrap, not just on the exterior walls but over the windows as well! fyi, the wrap is completely removable, partially or in entirety. the design we chose is completely personal and we love it, but i just wanted other oliver owners out there to know that other colors on your own oliver are possible:) this forum has been and continues to be a great venue for sharing and introducing ideas for completely novel and personal modifications and i thank everyone here for that! also side note: i'm researching the option of wrapping the interior window shades a bright white as an alternative to the spray paint. will let you guys know what i find out. thanks so much for letting me get this off my chest - yes ignoring other people's comments is an easy thing to say, but not so easy (for me personally) to do:) love you guys! tina1 point


-
Recent Achievements
-


")


")


