Leaderboard


Popular Content
Showing content with the highest reputation on 04/15/2026 in all areas
-
Ya, We were visiting son last year in Kentucky, and decided to go down to the mother ship in Hohenwald. Driving through Nashville wasn't fun. At least the larger roads are better in Oregon. THe back roads in Oregon and Tennessee are pretty much the same. (yuk). We got a truma repair and a new AC. We enjoyed the last year's models on the sales floor. Several updates I liked, but not enough to buy upgrade. Good to know that Salem, Oregon has someone that could do some repairs.3 points
-
We finally got a window (and the courage to drive through PDX traffic) to visit the Oliver dealer in Salem, Oregon. It took about 30 minutes, and the tech seemed professional. Atta boys for the service team We also took a few minutes to look at the new Olivers that were at the dealership. They’re nice, but I suspect we won’t be buying a new trailer. I did like the compressor fridge and lithium batteries, but I don’t think it will be enough to sway us.2 points
-
I did. It should be findable as I posted pictures and instructions. Essentially I opened the third port on the Dometic heater and hard ducted it directly across the rear of the trailer. Turned 90 degrees forward and installed a flow adjuster right after it reentered the underbed area. I placed a diverter at that point, and sent part of the warm air directly down under the drivers side bunk. I also installed a 3" flex line running forward all the way to the forward dinette seat. I have been in minus 18 degree F temps in Republic, and the minimum temp under either bunk was 38 degrees. My friends trailer water froze every night by 9 pm. It is tight, but doable! The electric option just would not work for me as I use my Olly as an Elk Camp Cabin. I wanted an extra propane heat load, not an extra electric load.2 points
-
@mossemi I applied it to both surfaces. I spread it with a 1/8" v-notch metal spreader. West Marine actually sells a plastic 1/8" v-notch spreader (and they are widely available,) but I used one I already had. Seemed to work great. The G/flex is easy to work with. Sorry for the slow reply - I either didn't get a notification that there was a post, or I didn't see it. Hope this helps!2 points
-
Several owners have added individuall heaters in the intersticial space between the hulls. The top choice is to get heat to the water liness entry area aft of the port bunk. This area tends to freeze first. I recall that he used a 500 watt 120V heater for this purpose. A second area prone to freezing is the cabinet space in the bathroom. For occasional use this would in my opinion be enough. However if you are where The Orca is, a forced air approach would be desireable. Intake air from the cabin and distribute it to both port and starboardd areas with extra air going on the port rear side would be my choice. GJ1 point
-
If pulling on wires / switches and things temporarily work don’t discount the possibility that fiberglass dust may have gotten into a connection or switch. I’ve had this happen at times. Look for loose or contaminated connections as a possibility.1 point
-
@Grizz000 No worries! I thought you might be out camping! Thanks for the info. Mossey1 point
-
I have not seen or tried one, but they do look interesting. I’ve gone another route for rough terrain and have purchased a high clearance teardrop for my solo trips. The teardrop I mentioned above has a Max Coupler articulated hitch. While it’s nice in rough terrain, I can’t see myself taking the Ollie into those conditions.1 point
-
@Grizz000 Thank you for the excellent write up on your Xantrex inverter/charger, battery and solar mod. I do have a question about your method of attaching the Coosa board to fiberglass. I am specifically interested in how you applied the G/flex 655 to the Coosa board panel. Did you apply the G/flex to both surfaces and was it applied in a bead or puddle and did you spread or tool it? Mossey1 point
-
I downloaded the pdf for when I get around to doing my upgrade. Thanks for all the detail and thought you put into putting this together.1 point
-
Fantastic right up! Very nice job with great detail. I am sure this is gonna be a big help to other Oliver owners who want to do a similar upgrade. Thank you for sharing.1 point
-
I would rather have a great product with no warranty than a fair product with a great warranty. The time and PITA factor in obtaining warranty work/recompense is ..., well, a PITA.1 point
-
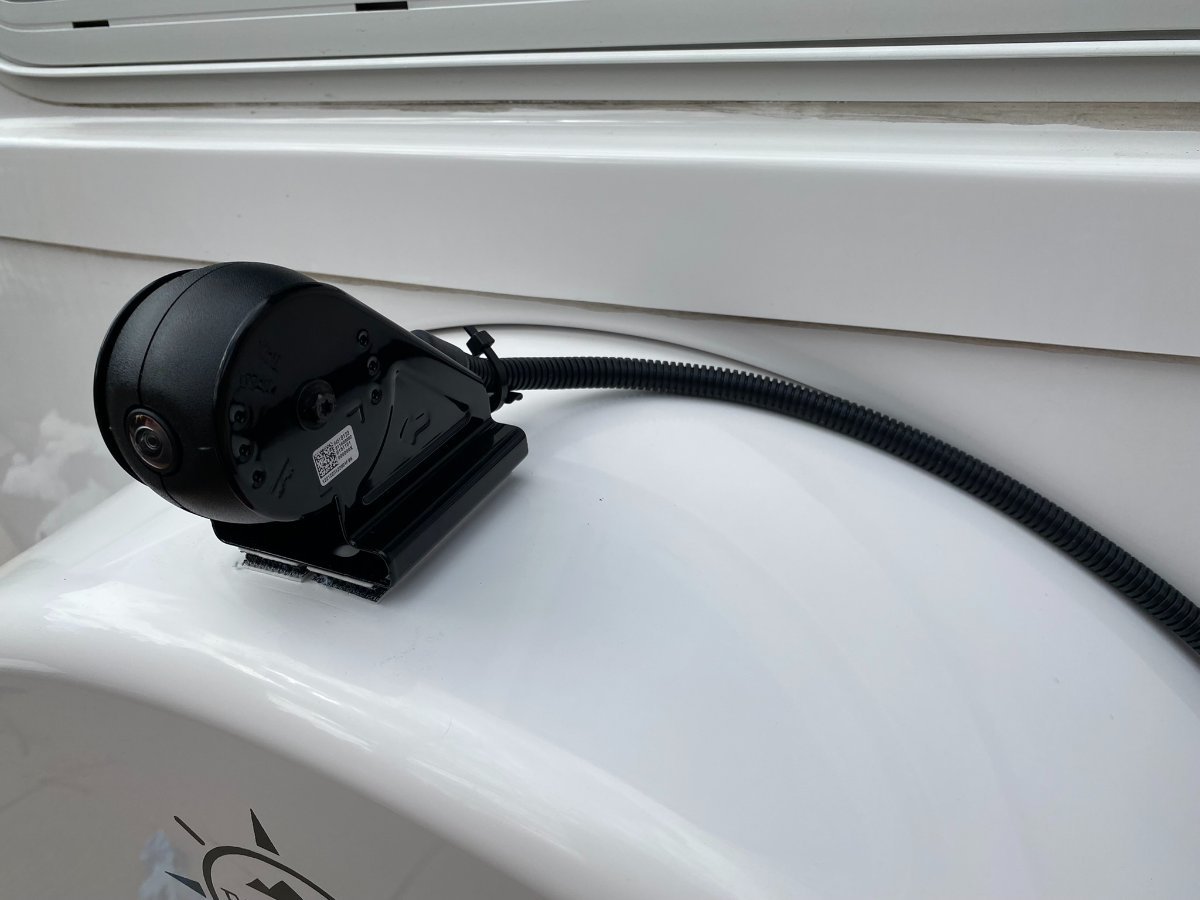
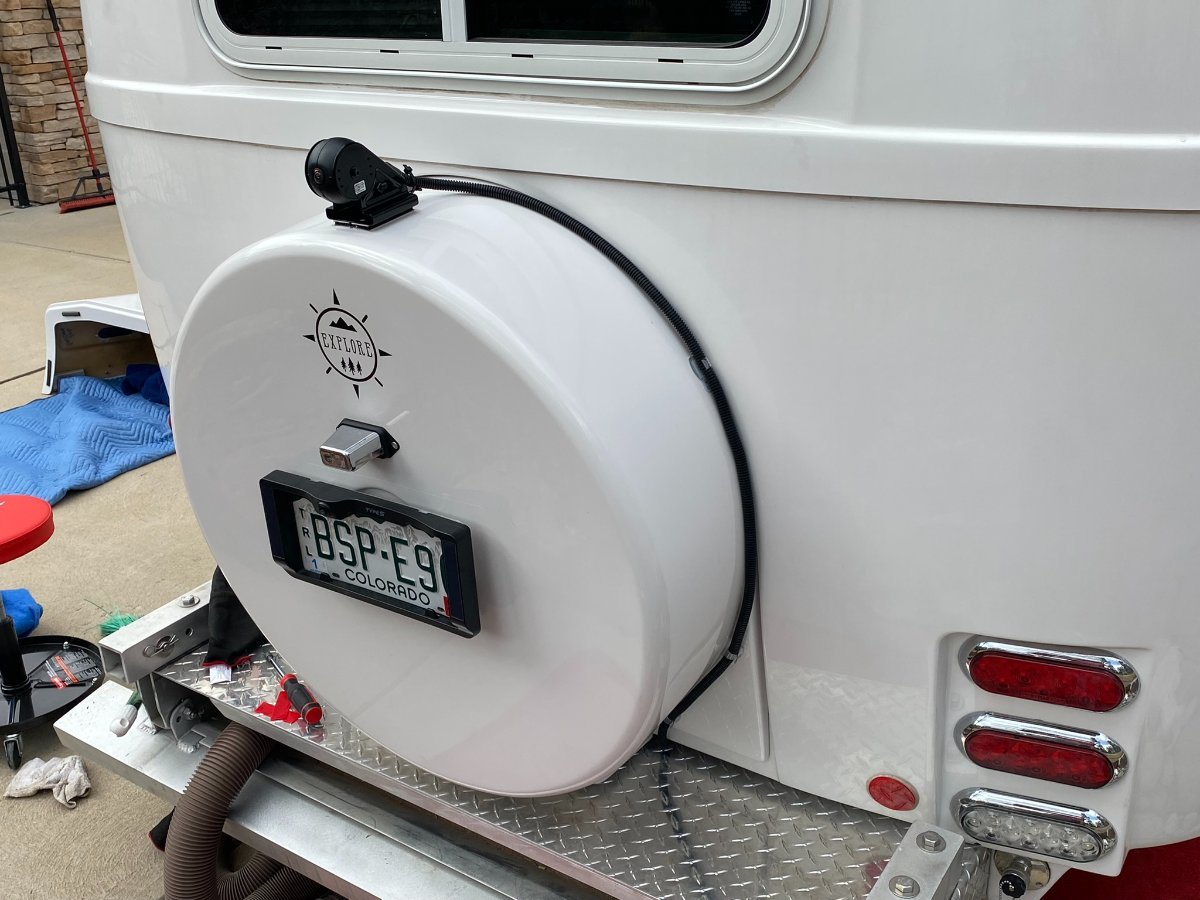
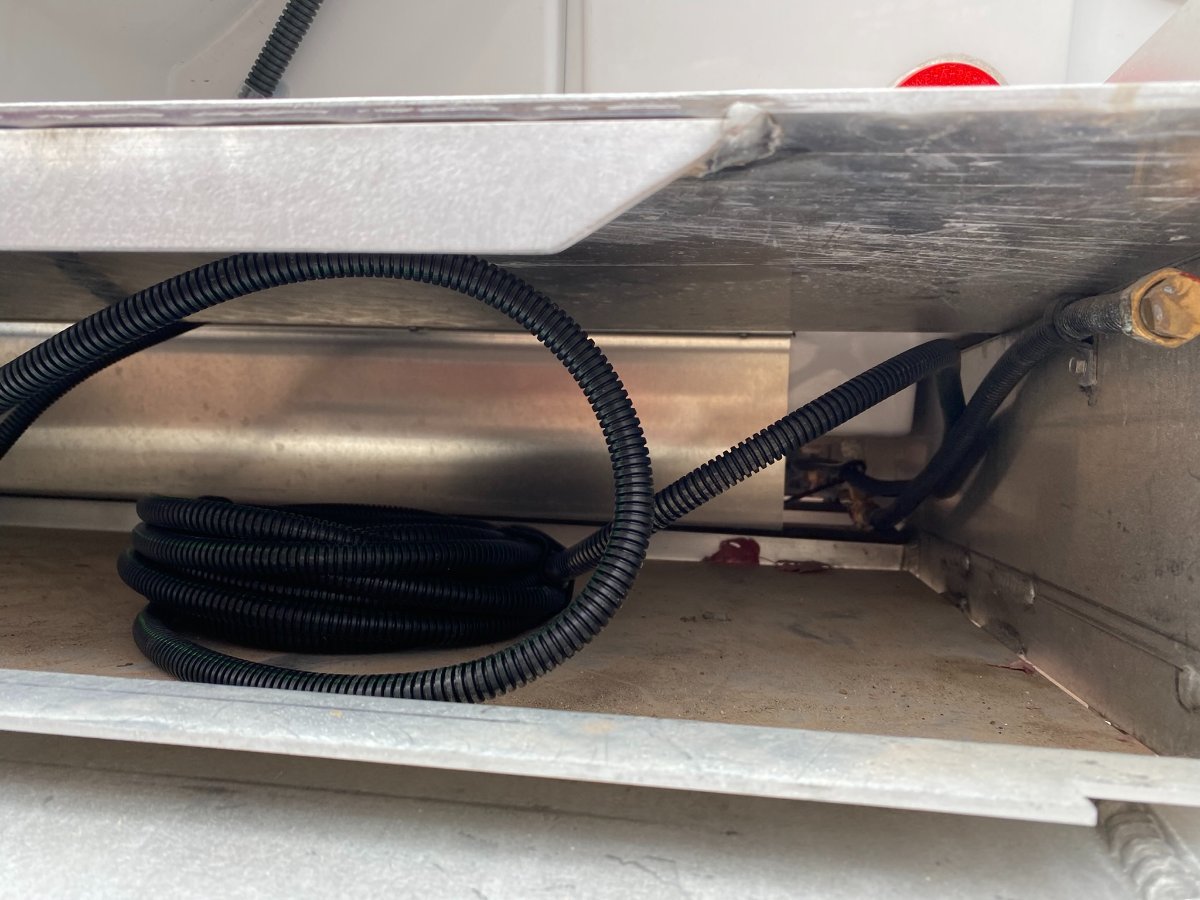
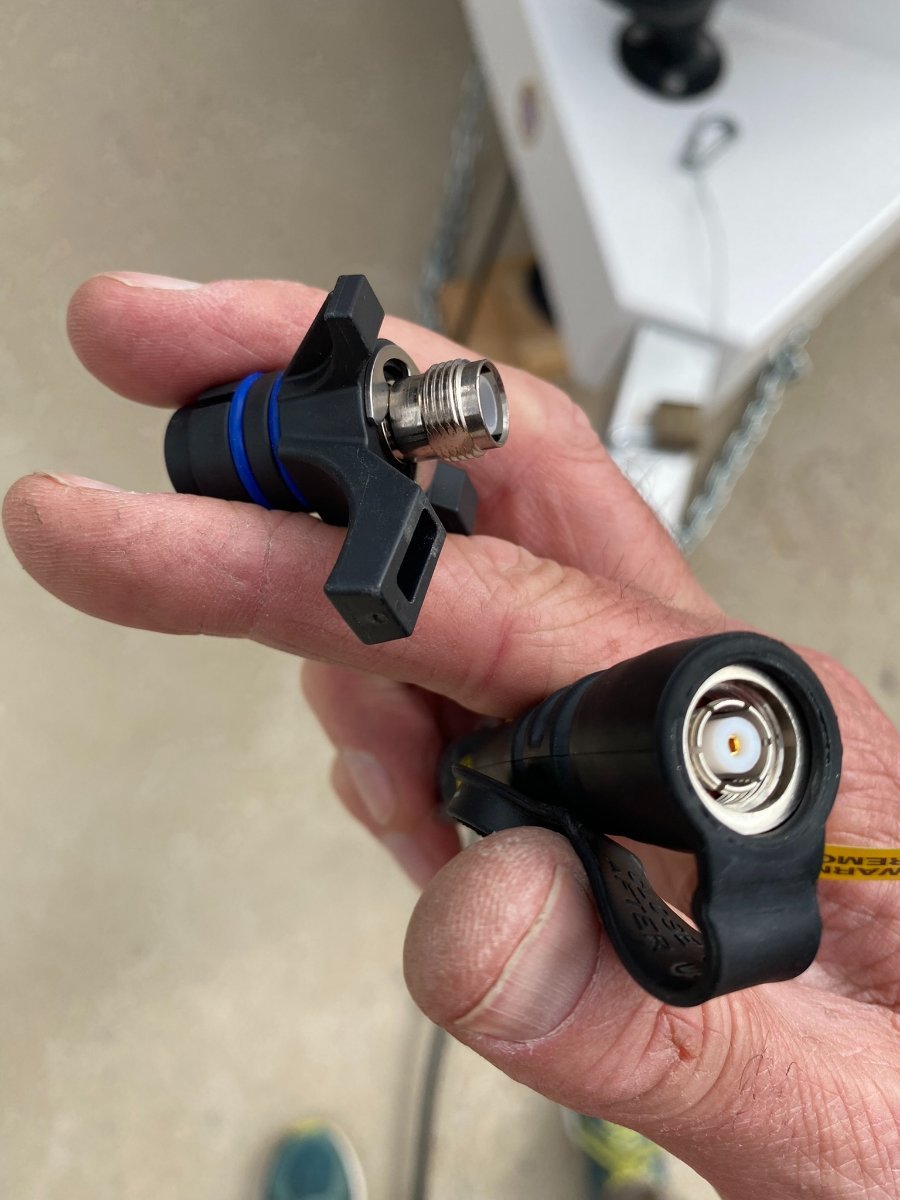
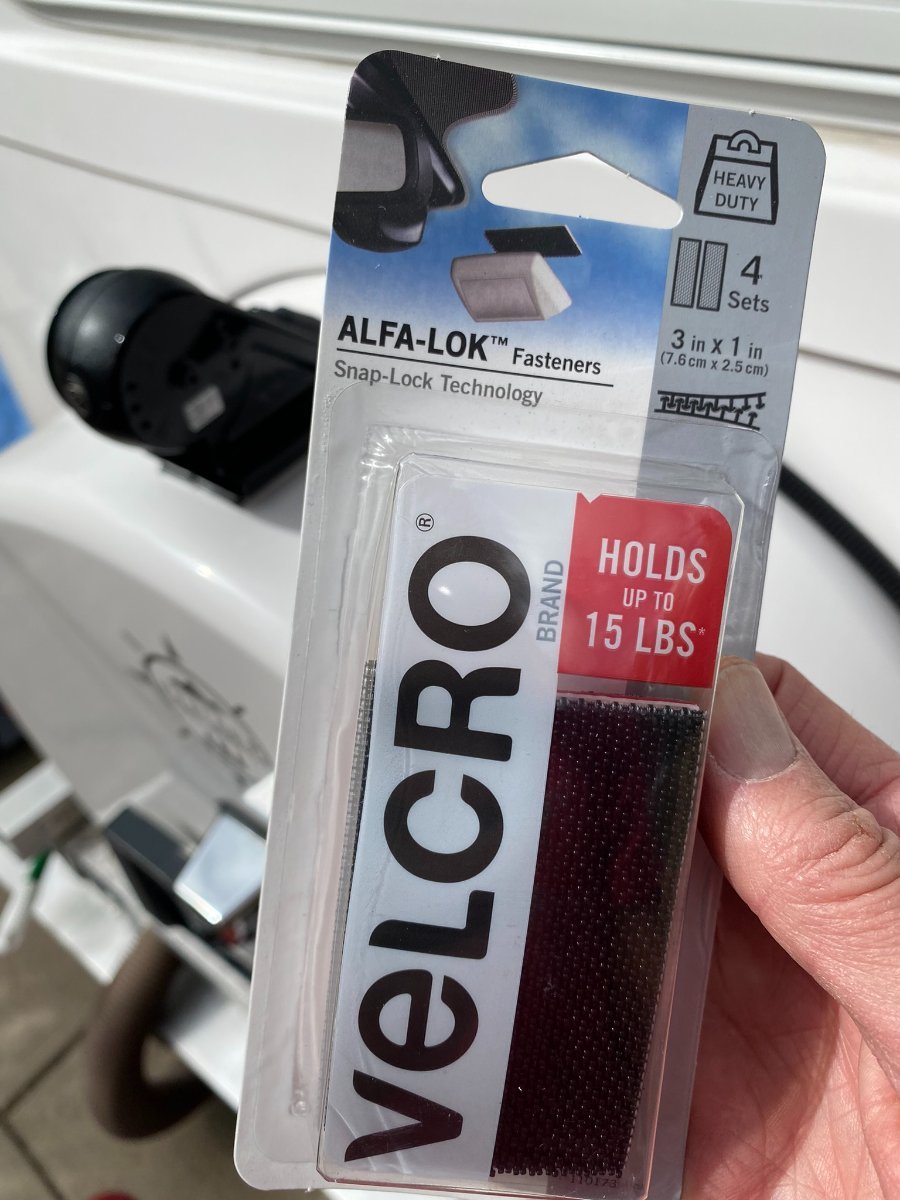
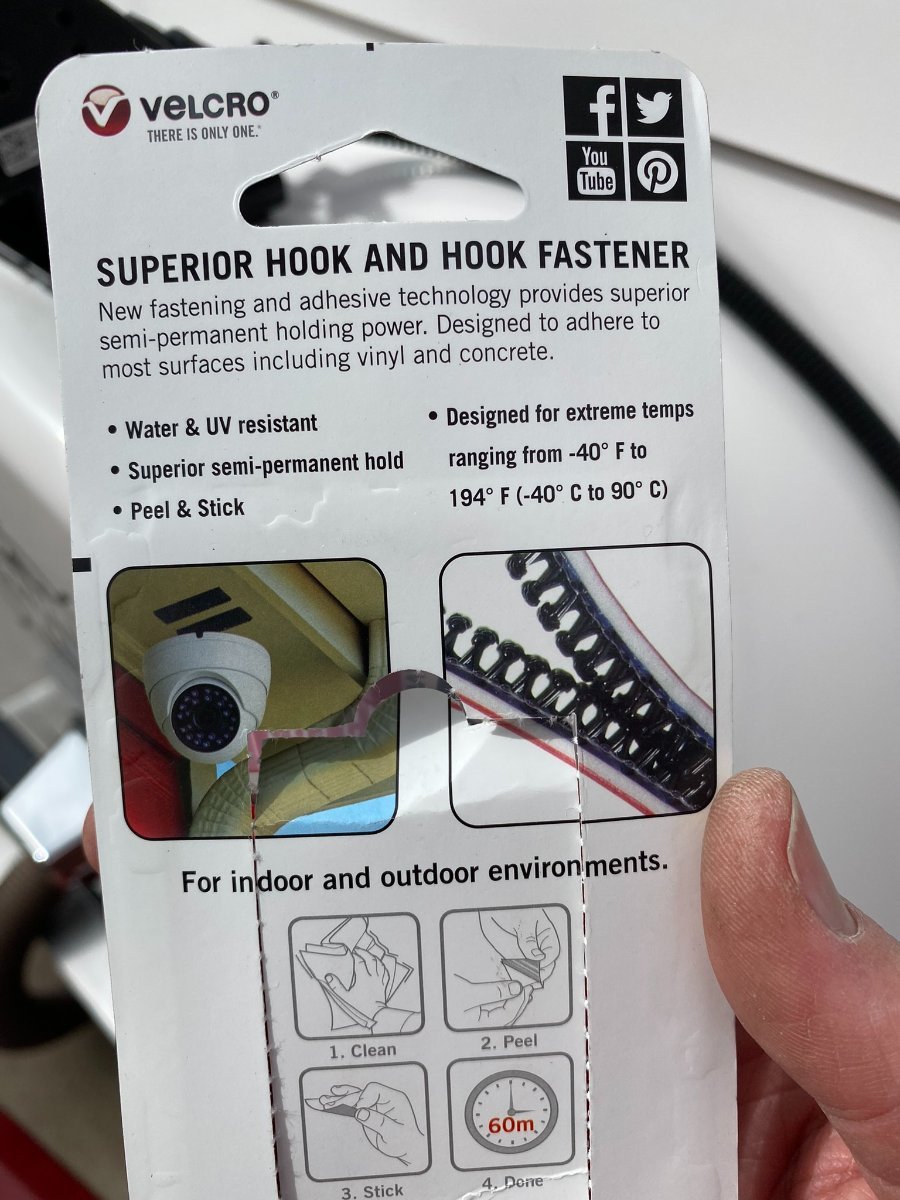
I thought I would follow-up on this after my install. Might be helpful if anyone else has a 2020-2022 GM vehicle with the advanced trailering feature and is considering this accessory... Everything went well and it was easier than expected. The "transparent trailer" view feature requires that the camera be placed within a certain zone at the back of the trailer and on the Oliver, the only plausible location is to mount on top of the spare tire cover. @Cameron shared a photo above of the camera installation that Oliver did for him, and it looks great. I decided I didn't want to drill holes in the spare tire cover as the camera is not compatable with non-GM trucks and I might move to another TV someday even though I love my Silverado 3.0L deisel. The other challenge is that you must still be able to remove the spare tire cover if needed, so I needed a plan for either easy removal of the camera or lots of slack cable inside. As it turns out, I have both. There is plenty of room to run the cable in the channel between the aluminum crossbars and the fiberglass under the trailer on the curb-side. This is where the propane line is located and runs all the way from front to back. The cable is well protected and tied in with several zipties along the way. The plug-end of the cable that plugs into the truck bumper port can be unscrewed to make it smaller and now it fits easily through the gap at the back of the diamondplate bumper and fiberglass to route the cable into the storage area in the bumper. Then it is easily routed into the chanel where the propane line is to run all the way to the front. To scure the camera, I elected to use this high-strength plastic Alfa-Lock Velcro product that utilizes 3M tape. This allows me to remove the camera if needed and replace it easily yet it has a very secure hold. I will only need to remove it if I need to access the spare or, alternatively, I can leave the camera secured and pull the excess cable up through from the bumper storage space. Since the camera is mounted on a horizontal surface, this seems plenty adequate. Finally, I used a few stick-on plastic retainer clips to hold the cable around the outside of the spare tire cover. The look is not as clean and good looking as Cameron's install from Oliver but I'm happy with it and it seems plenty secure. I will see how this it goes this travel season. If the Alfa-lock Velcro fails then I will try 3M automotive tape and rely on pulling through the extra cable from the storage space when I need to remove the cover. Hope this is helpful for anybody else considering this accessory install. Dan
 1 point


-
Recent Achievements
-


")

