
ScubaRx
-
Posts
3,322 -
Joined
-
Last visited
-
Days Won
175
Everything posted by ScubaRx
-
On a related note, I need the little locking knob for one of my awning legs as it wiggled out somewhere between Utah and Washington and was lost. If anyone is traveling thru those areas, please be on the look out for it. I too had called Fiamma back in early June and learned of their troubles. Strange that I had talked to the fellow that did the shooting several times in the past and he was as nice as he could be on the phone. I was told by the folks at Oliver that they were having to look at other awning brands for the new builds.
-
I bit the bullet today and ordered the Truck System Technologies model 507. Some of our members have successfully used this system for several years and many miles. As most of us do, we tend to travel long distances during our travels and this afford us additional peace of mind. This system uses replaceable CR1632 batteries that are readily available most anywhere (think Walmart) and will monitor up to 22 tires (The only use I can imagine for this would be if 5 of us were traveling in tandem, we could use a single readout.)
-

Where will you be on 08/21/17, Total Eclipse?
ScubaRx replied to John E Davies's topic in Events & Rallies
Why don't you have a mini Oliver Rally and invite all your "friends" wink, wink.... -
Camping in August and September in Dakotas and Minnesota
ScubaRx replied to Kgoodusav's topic in Campgrounds & Parks
It won't get any better than this. As a side note, read up on the town of Wall SD and Wall Drug. I was there MANY years ago. It really is a working pharmacy (or, at least, it was then.) History of this area is pretty interesting -
An Elite hull mounted on a FUSO expedition truck tray....?
ScubaRx replied to John E Davies's topic in Ollie Boondocking
That unit is one of the original 2008 models. Since there were only 49 built, we could probably figure out which one it is. -
I don't think it was ever Oliver's intention to represent the trailers with "twin beds" as anything further than meaning it was equipped with two individual beds rather than one.
-
That would be Pete Marks (bugeyedriver) and Bosker in the Wonder Egg.
-
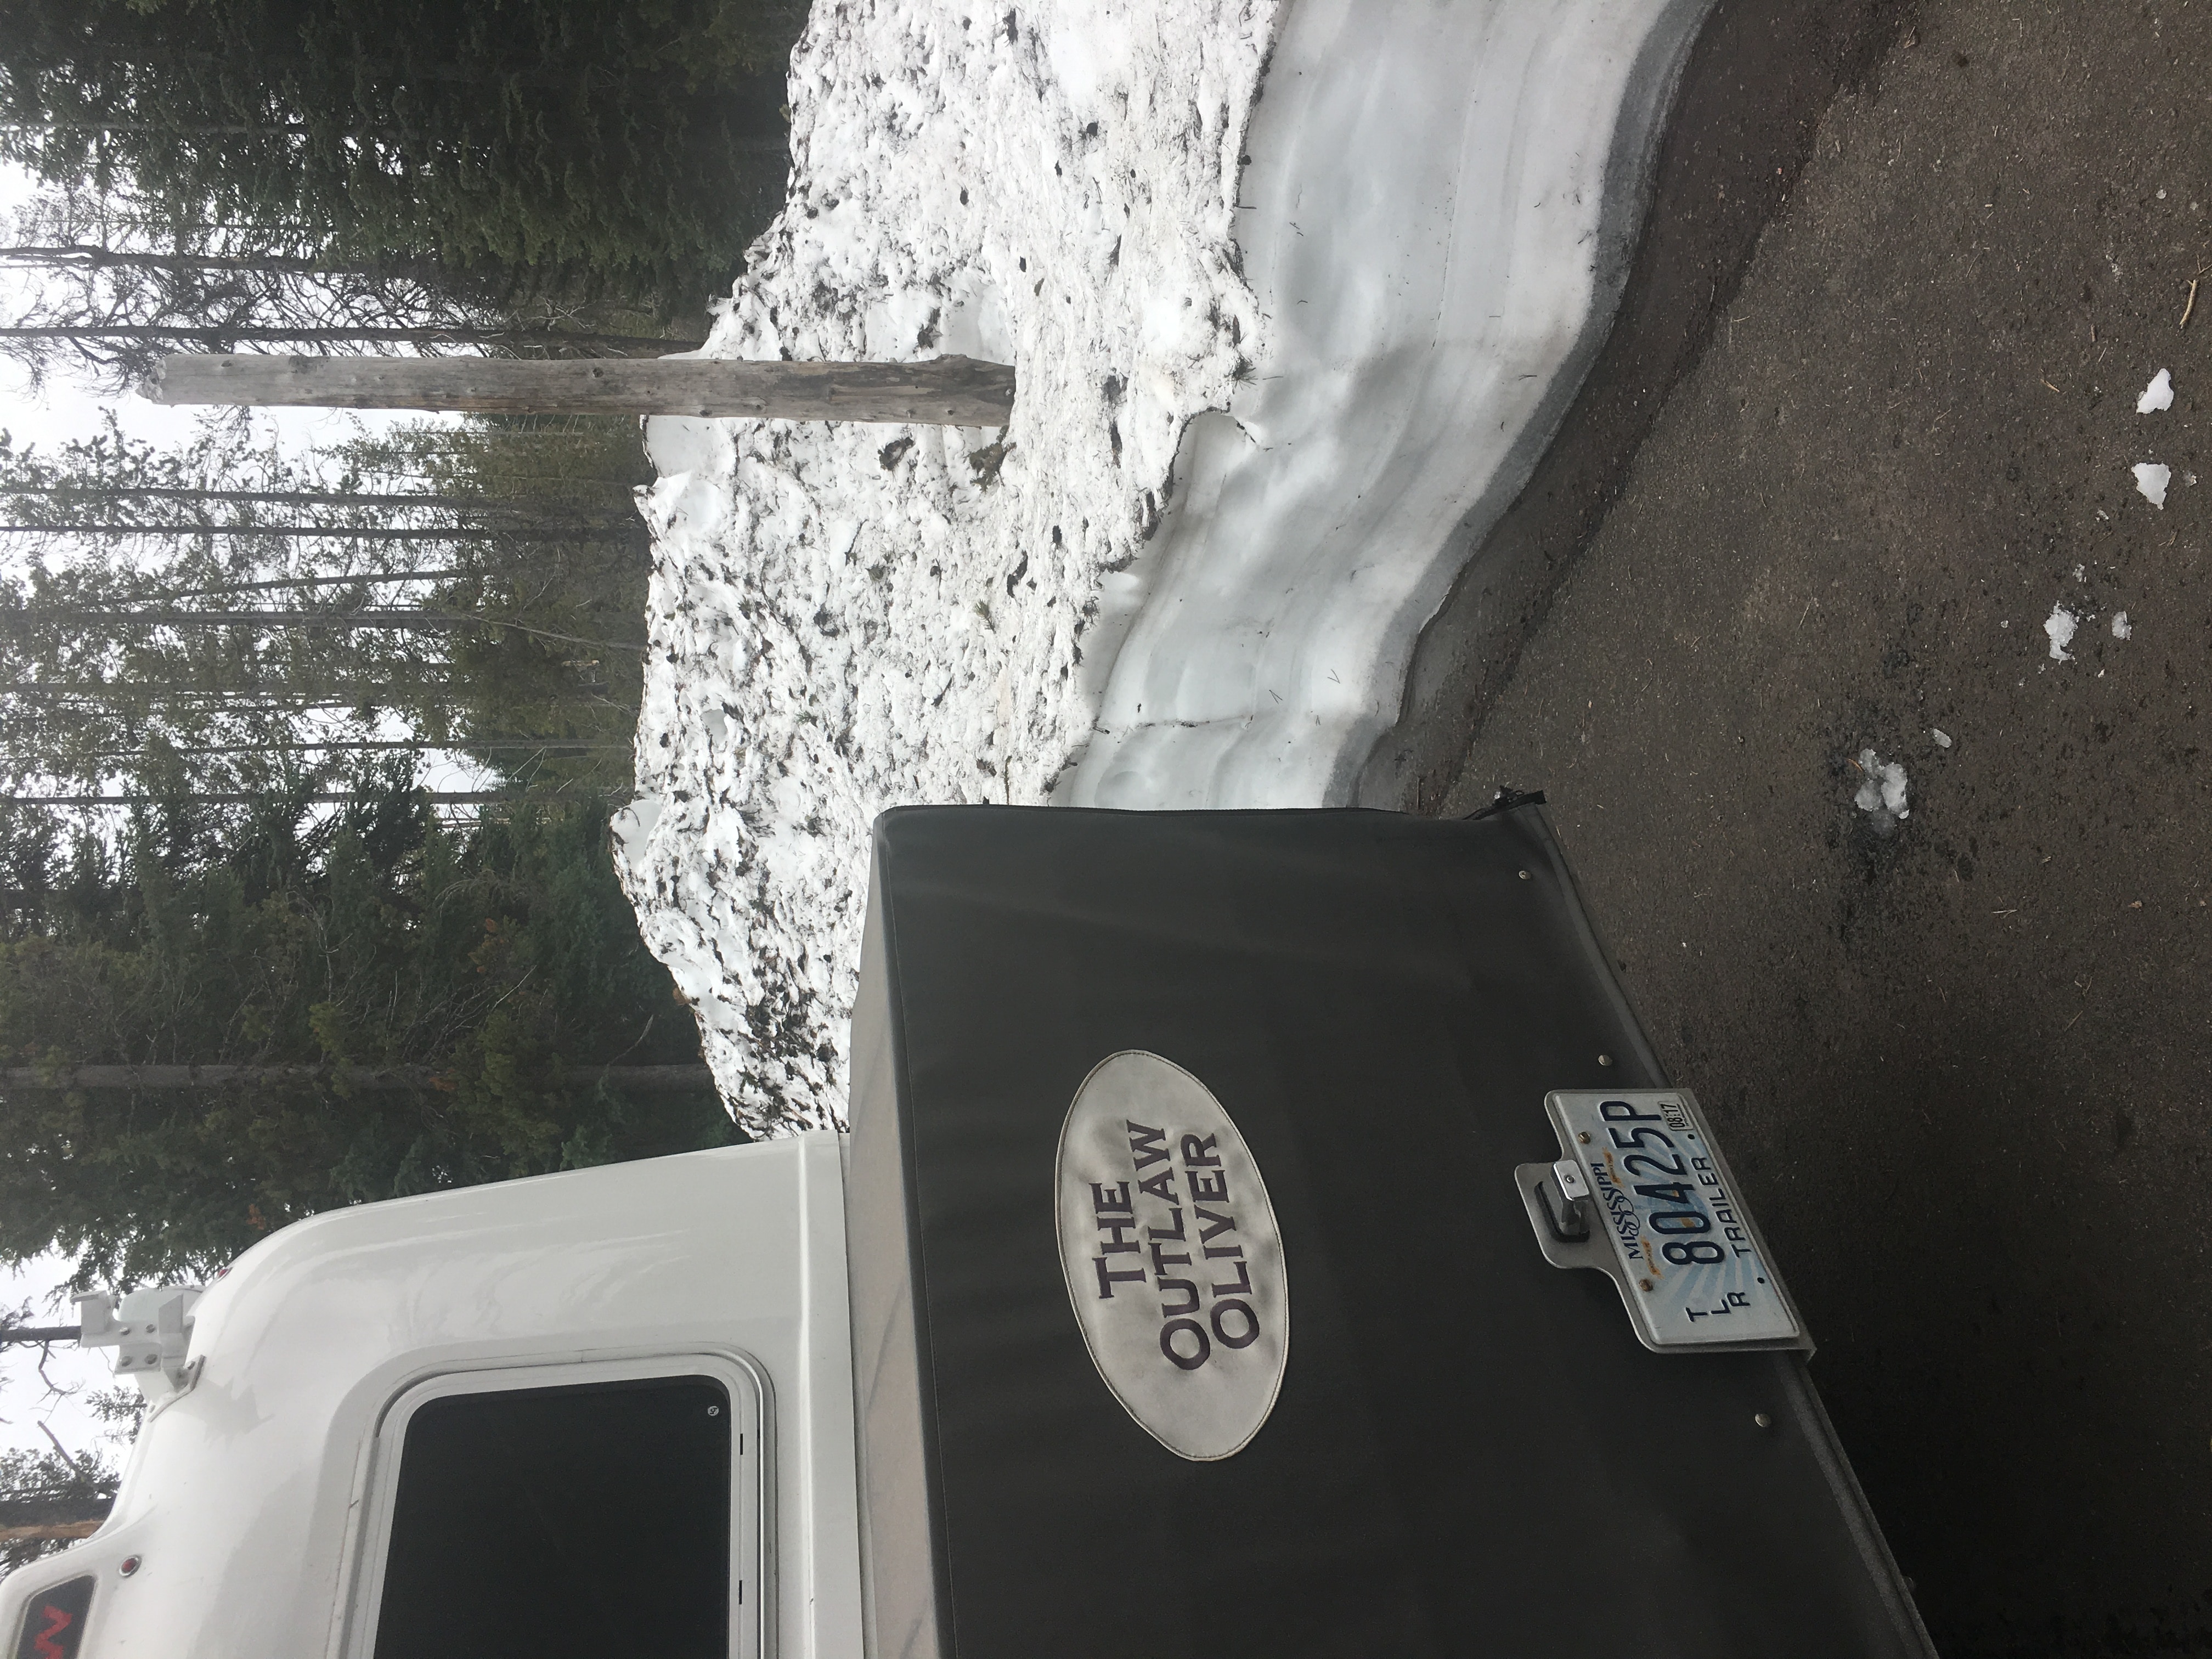
We saw an Elite II parked in the lot at the Taco Bell in Dumas, TX about two o'clock on Monday. Oh wait, that's ours. We're on our way back to Mississippi after about 70 nights out. We've seen temps from 21°F up to 104°F. The most dramatic day's change was after camping at Crater Lake. When we left that morning it was hovering just above freezing with about 4 feet of snow on either side of the trailer. By the end of the day, it was 102°F.

-
You know it's a tough life out there mountainborn. But, as they say, somebody's got to do it. You two have fun and be careful out there. I sure do wish I had some of Miss Betty's fried catfish and hush puppies . That'd be mighty good. We are camped at Colorado National Monument.
-
That is as cool a name as I have ever heard. Claim it now before someone else does.
-
Over two years ago when the decision was being made to swap from the Blue Sky system to the is the Zamp system, I questioned Tommy Staggs as to the reason. He told me that "...the settings on the Blue Sky equipment is too complicated for our customers..." (and that) "...it provides information that our customers don't need and they are being confused by it all..." It was my personal believe then (and is still today) that the problem did not lie with the intelligence of the people buying Oliver's nor the (admittedly) complicated menu system of the Blue Sky IPN but rather Tommy's inability to answer the numerous questions from potential and existing owners of the Blues Sky system. I base this belief, in no small part, on the number of customers Tommy referred to me to answer their questions concerning the set up and operation of their Blue Sky equipment.
-
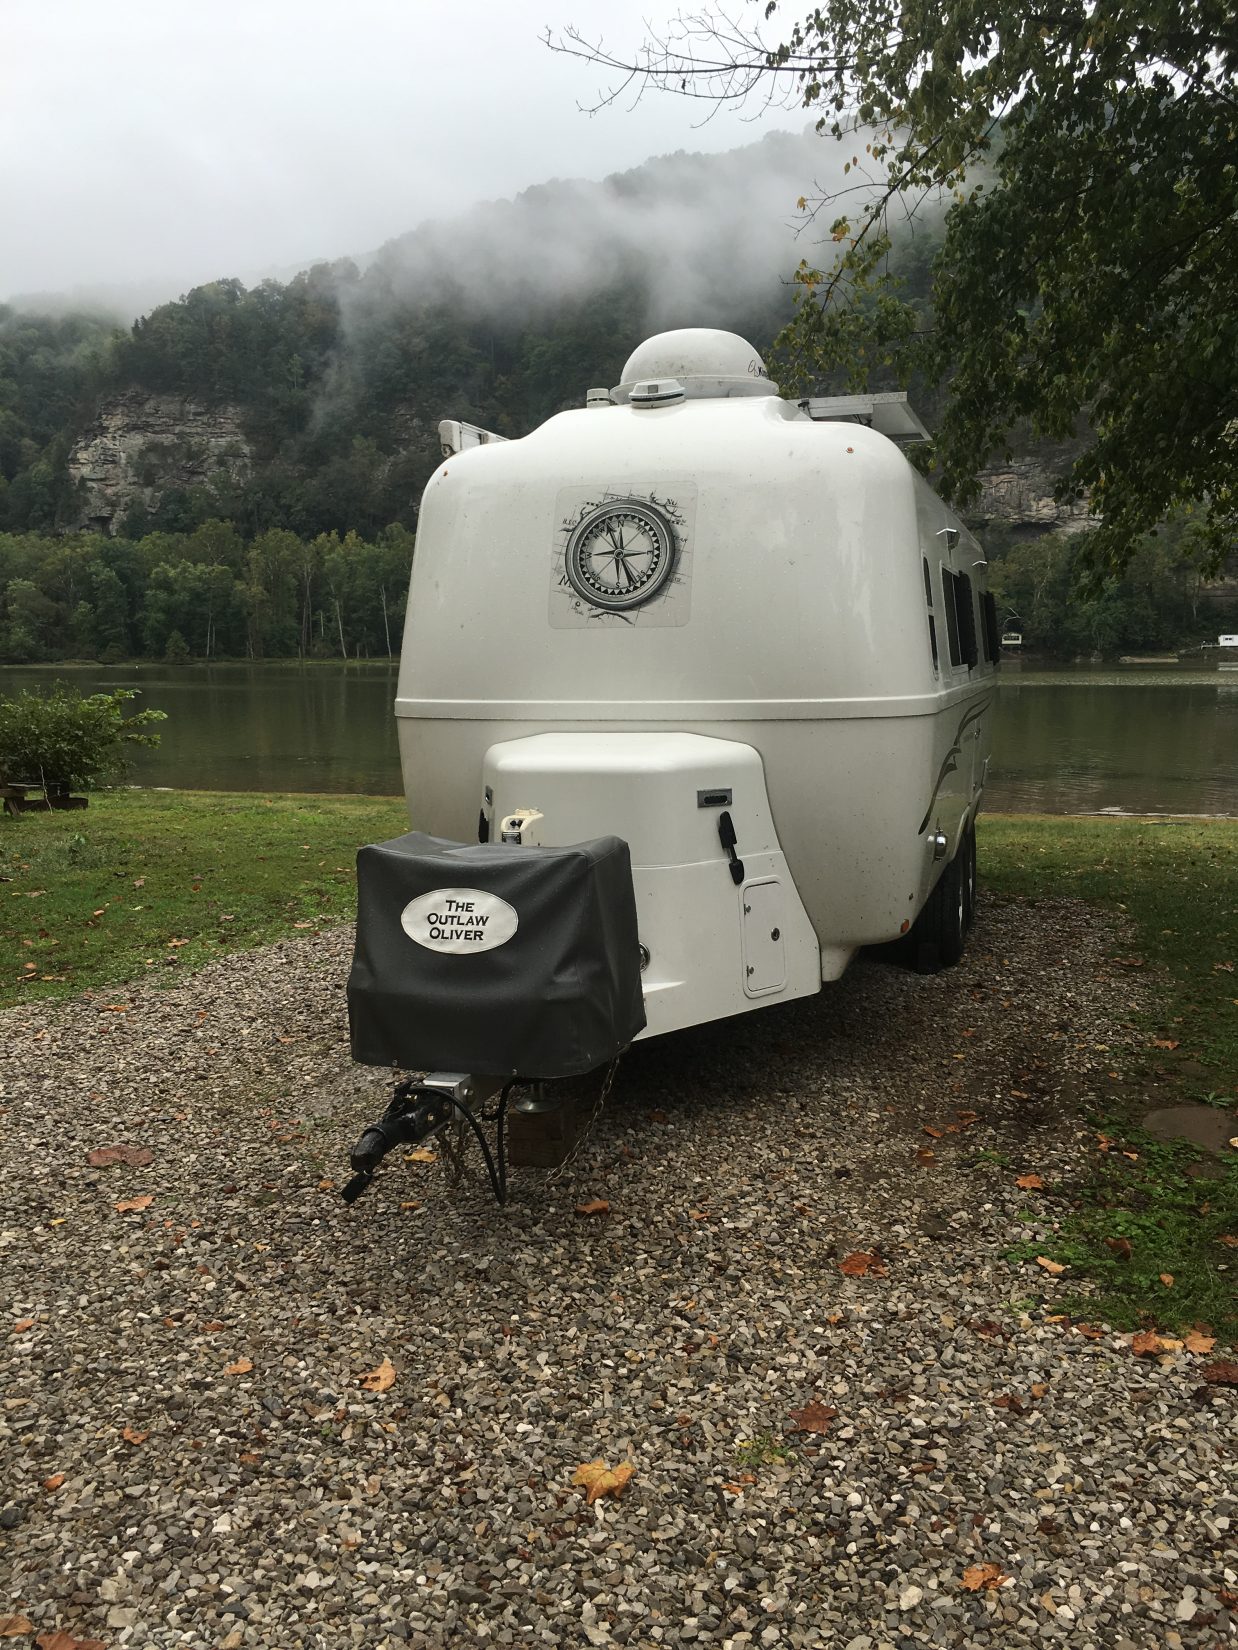
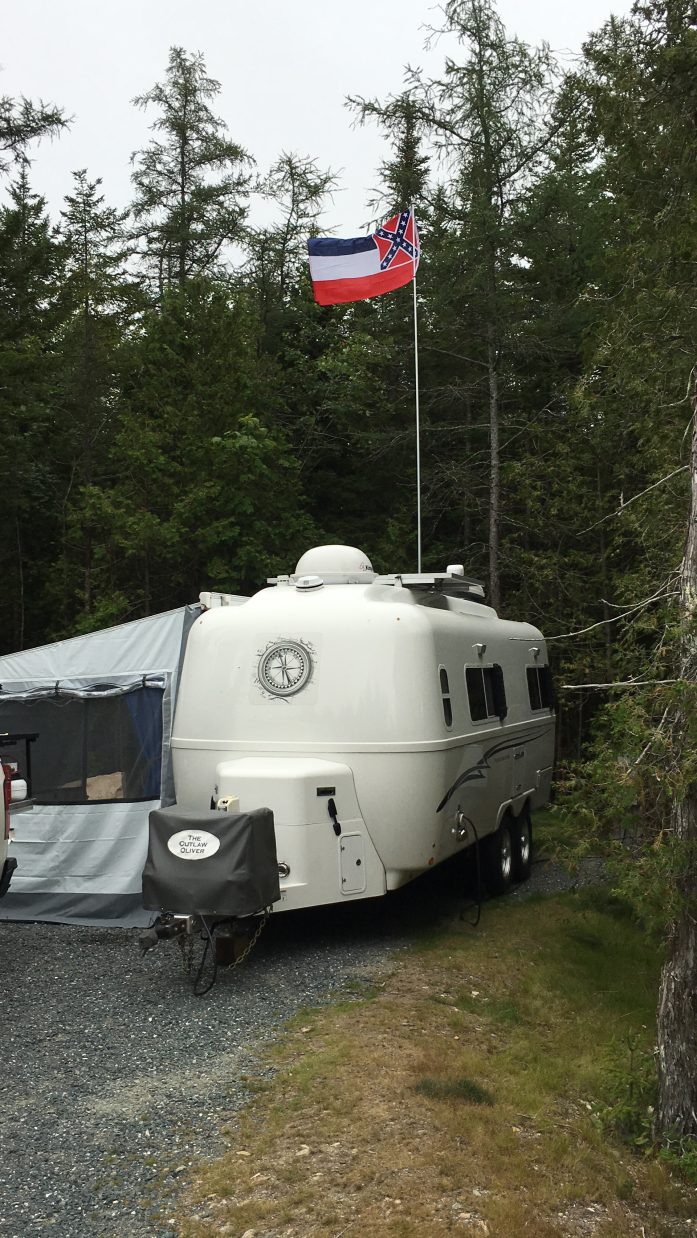
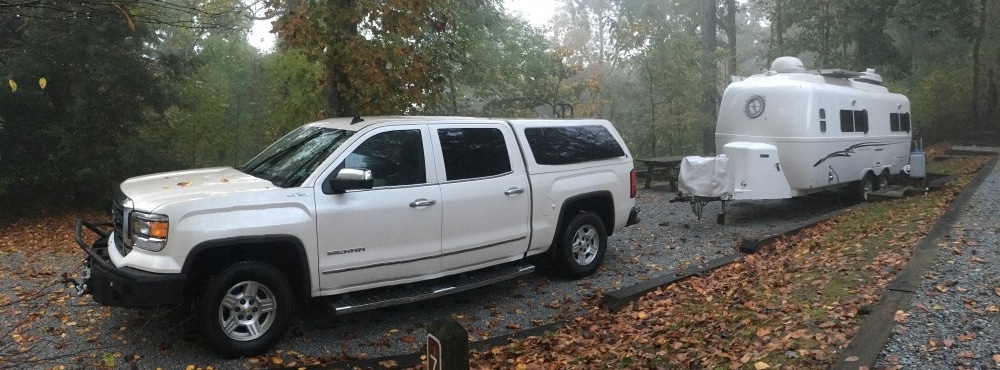
Hull #50 The Outlaw Oliver...
-
Fresh water tank modification, new suction line.
ScubaRx replied to Raspy's topic in Ollie Modifications
I am really unclear on why anyone would want to POUR water into their freshwater tank when there is such an easy and elegant method already available to PUMP it into the tank. I can fill my tank in 15 minutes without ever having to hoist the weight of a water can. I did replace the manual valves with electric ones so that I do not have to manually turn them after crawling down under the bed. From then it's a simple matter of dropping my custom sump hose into the Scepter water cans and turning on the pump. We have all already got all the equipment needed installed in our trailers without any modifications whatsoever. Please feel free to enlighten me if I am missing something. -
Tie down points for the generator tray?
ScubaRx replied to John E Davies's topic in Ollie Modifications
We have had the same generator basket on two different Olivers carrying our 165 lb Yamaha 3000 for over 60,000 miles total with no problems. -
We have the risers and we love them. But then again I designed them myself in 2013 during the build of our (then) unfinished Outlaw Oliver in order to have additional storage space for a very specific piece of gear that I wanted to be able to carry. Steve Parsons at Oliver built special molds to make them. Our mattresses are about six inches thick. If you can stand erect in our trailer, when sitting on our beds your feet would not touch the floor. When Parsons built the molds, I had a specific height requirement but he told me he was designing them so that the piece being made could be cut down to a lower height if someone so desired. Understand that by doing this you would also decrease the amount of under bed storage. My design specifications resulted in over 13 ft.³ of storage under each bed and has a compartment door that will allow the introduction of an object up to 10 1/2 inches tall.
-
Ours are black. You could stare at the sun with them with NO light getting through. They only show fingerprints "a little" according to Tali. Personally, I've never noticed. We chose black because that is what we had in our first Outlaw Oliver and it compliments the black front of the refrigerator and our microwave.
-
UNHINGED our laptop takes a hit while out on the road
ScubaRx replied to mountainborn's topic in Mechanical & Technical Tips
Good work, Larry. Always better if you can repair something rather than just replace it. -
LOVE those western Corps of Engineers campgrounds!
ScubaRx replied to John E Davies's topic in Campgrounds & Parks
We are currently having lunch in McCleary, WA on our way up to Kalaloch CG on the coast in Olympic NP. -
John, aren't the two "inside" pics the same?
-
How to: Install a Garmin BC-30 backup camera
ScubaRx replied to John E Davies's topic in Ollie Modifications
Good looking install. Very professional. -
We are crossing from Idaho into Washington in the next day or so. We have been on the road for the past few months. We have hull # 50, the first new Elite II. Built in late 2013, picked up in early 2014 it is a twin bed model. Previously we had a 2008 Elite I with twin beds.
-
New owners: how is the Quality Control of your rig? Grade it!
ScubaRx replied to John E Davies's topic in General Discussion
On our way to lead the Southern Utah Tour a month or so ago, we drove up from Durango to Silverton one afternoon. We had thought about spending the night in Silverton but decided instead to drive on over Red Mountain Pass to Ouray. It is a steep and winding road with sheer drop offs and no guard rails. The pass was at a little over elementary thousand feet. We had been told by the locals in Durango not to do it, but I don't take orders or unsolicited suggestions too well. The drive was beautiful and well worth the time spent. Although Tali says it was a "white knuckle" experience for her and she wasn't driving! -
I would not even try to limit myself to 100 items. Shoot, I carry more tools than that, most of which I personally never use but I tend to carry things that other folks will need and I am always ready to assist them. During our recent Southern Utah Tour, I was able to get three different campers refrigerators operating again, tighten another's water heater annode, check an electrical problem with a portable solar system, replace a campers fuses that he accidentally blew and assist airing up tires with our onboard air compressor. I guess that's why our rig weighs in at over 14,000 pounds! But I always have what it takes to get the job done. I would not have it any other way.
-
Brandi, I have tons of pictures of your red trailer and the black trailer taken all the way from 2008 to present. Your history seems to be spot on. We are currently traveling in the far western reaches. We have just left from leading the Southern Utah Tour and are headed north towards Salt Lake City and then on into Idaho, Washington and Oregon. We will be home sometime in mid July. I would be happy to share what pictures I have of your trailer with you.
-
You Meet Interesting People While Camping
ScubaRx replied to Mike and Carol's topic in Submit Your Story
Banner Elk, home of the Woollyworm festival.