
Patriot
-
Posts
2,080 -
Joined
-
Last visited
-
Days Won
77
Posts posted by Patriot
-
-
Don,
I don’t have a rear cargo carrier, but if I were to consider one, your design looks great.
Well done sir!-David
-
 2
2
-
 2
2
-
-
3 hours ago, Mike D. said:
I’ve had only one light stop working in galley. Could have been my fault as I was tapping them instead of touching them, my wife finally trained me. A quick call to Service had a new one sent immediately.
At our last Oliver service visit I purchased (2) extra touch lights to keep as spares. I think they were like $3 or $4 ea.
-
2
-
-
On 4/24/2022 at 12:58 PM, bhncb said:
I believe those touch light circuits are fed from the Master Light Switch on the panel by the entry door. Instead of having to pull the fuse, this switch can be used to turn the lights off. Flipping the switch off and on a few times might also lead you to the problem. Through the access plate in the overhead cabinet above the microwave, you can check the wiring for a loose connection and stress on the switch terminals.
That is correct the when the master switch is off the touch lights do not operate. 👍🏻
-
1
-
-
On 4/23/2022 at 2:08 PM, mossemi said:
Your Ollie is 5 years younger than mine and I do not have the touch lights, so please excuse my questions if they are silly. Where are the 5 touch lights located? I assume they are not the ceiling lights because they are hard to reach for my wife and that would make the touch function a silly feature for short people. So I guess that the problem lights are under the upper cabinets. Is there a dimmer function on the lights that are malfunctioning or any of your other lights? Do you have the ability and a multimeter to test voltages? The lights in my Ollie are all 12 volts and I assume yours are the same. So if the other 12V lights are working as usual, the problem is probably isolated to that circuit. Are the problem lights on a 3 way circuit with 2 different light switches? Or is there a light switch at all and every touch light is it’s own switch?
Mossey
Mossey,
To answer your questions, we have the touch lights in our Ollie. One is over the sink, another over LP burners, one above on the ceiling over each twin, and one over the dinette. There is no dimmer function. I had two touch lights that began to flicker and eventually go out. Both were in the galley sink and and LP burners. The replacement was not very difficult. To remove the light cover, drill out the tiny rivets, remove the light from the opening and cut the wire close to the old light fixture to leave plenty of wire to attach the new light to. I simply turned off the master switch to these lights, reattached and braided and taped the wires and used shrink tubing where the wires connected for the finish. I have not had any issues with these lights since this repair. Each touch light has its own touch switch in the dead center of the light cover. It’s simply a delicate pressure switch to turn them on. These touch lights or at least ours, only require a gentle touch and nothing more to turn them on and off.
-Patriot
-
3
-
-
5 hours ago, Carl Hansen said:
I just checked the three mounting bolts on my front jack and they were all loose. Glad I caught them now.
BTW... what tool do you guys use to track the maintenance on your Oliver?
A spread sheet. We document all maintenance we do and any Service Oliver does to our Ollie. My Bride deserves the “administrivia”accolades. 😄 She is an excellent book keeper. I am a very blessed man.
-
5
-
-
On 4/4/2022 at 9:02 PM, dhaig said:
John,
Useful advice on dealing with the drawer releases. However, I suggest NOT glueing the bottoms of the drawers to the sides. The drawer bottoms typically rest in a groove in the drawer frame and are purposely NOT glued to permit movement of the wood as temperature and more importantly, humidity vary.
Don,Agree 💯on no glue suggestion.
Thanks!
David
-
Another good video by Jason on drawer removal listed here-
-
2
-
2
-
-
On 5/28/2022 at 3:47 PM, Patriot said:
If you listen to the words it is obvious that it is about mother nature and the eventual demise of the human race by our own ignorance. We think that we are somehow more powerful than the earth and that we ultimately determine it's destiny. When in reality she can take it back at any time and we will be the only cost.
Her love rains down on me easy as the breeze
I listen to her breathing it sounds like the waves on the sea
I was thinking all about her, burning with rage and desire
We were spinning into darkness the earth was on fire
She could take it back, she might take it back some day
So I spy on her, I lie to her, I make promises I cannot keep
Then I hear her laughter rising, rising from the deep
And I make her prove her love for me, I take all that I can take
I push her to the limit to see if she will break
She might take it back, she could take it back some day
Now I have seen the warnings, screaming from all sides
It's easy to ignore them, God knows I've tried
All of this temptation, you know it turned my faith to lies
Until I couldn't see the danger or hear the rising tide
She can take it back, she will take it back some day
She can take it back, she will take it back some day
She will take it back, she will take it back some dayYellowstone??
-
Glad all went well on your maiden voyage! Congrats on your Oliver!
Also an staying an extra night or two at the Oliver Service Campground will give new owners a bit of time to a shake down their Oliver before heading home. The new sites at the Service Center really are nice and if you have any issues needing attention you are right at the mothership.
Taking delivery before the new Oliver Service Center CG sites were established, we spent (4) days at David Crockett CG post delivery day. This allowed for us to go over our systems and check to make sure all was well.
Just a thought for future Owners to ponder on delivery day. 😊
-
4
-
-
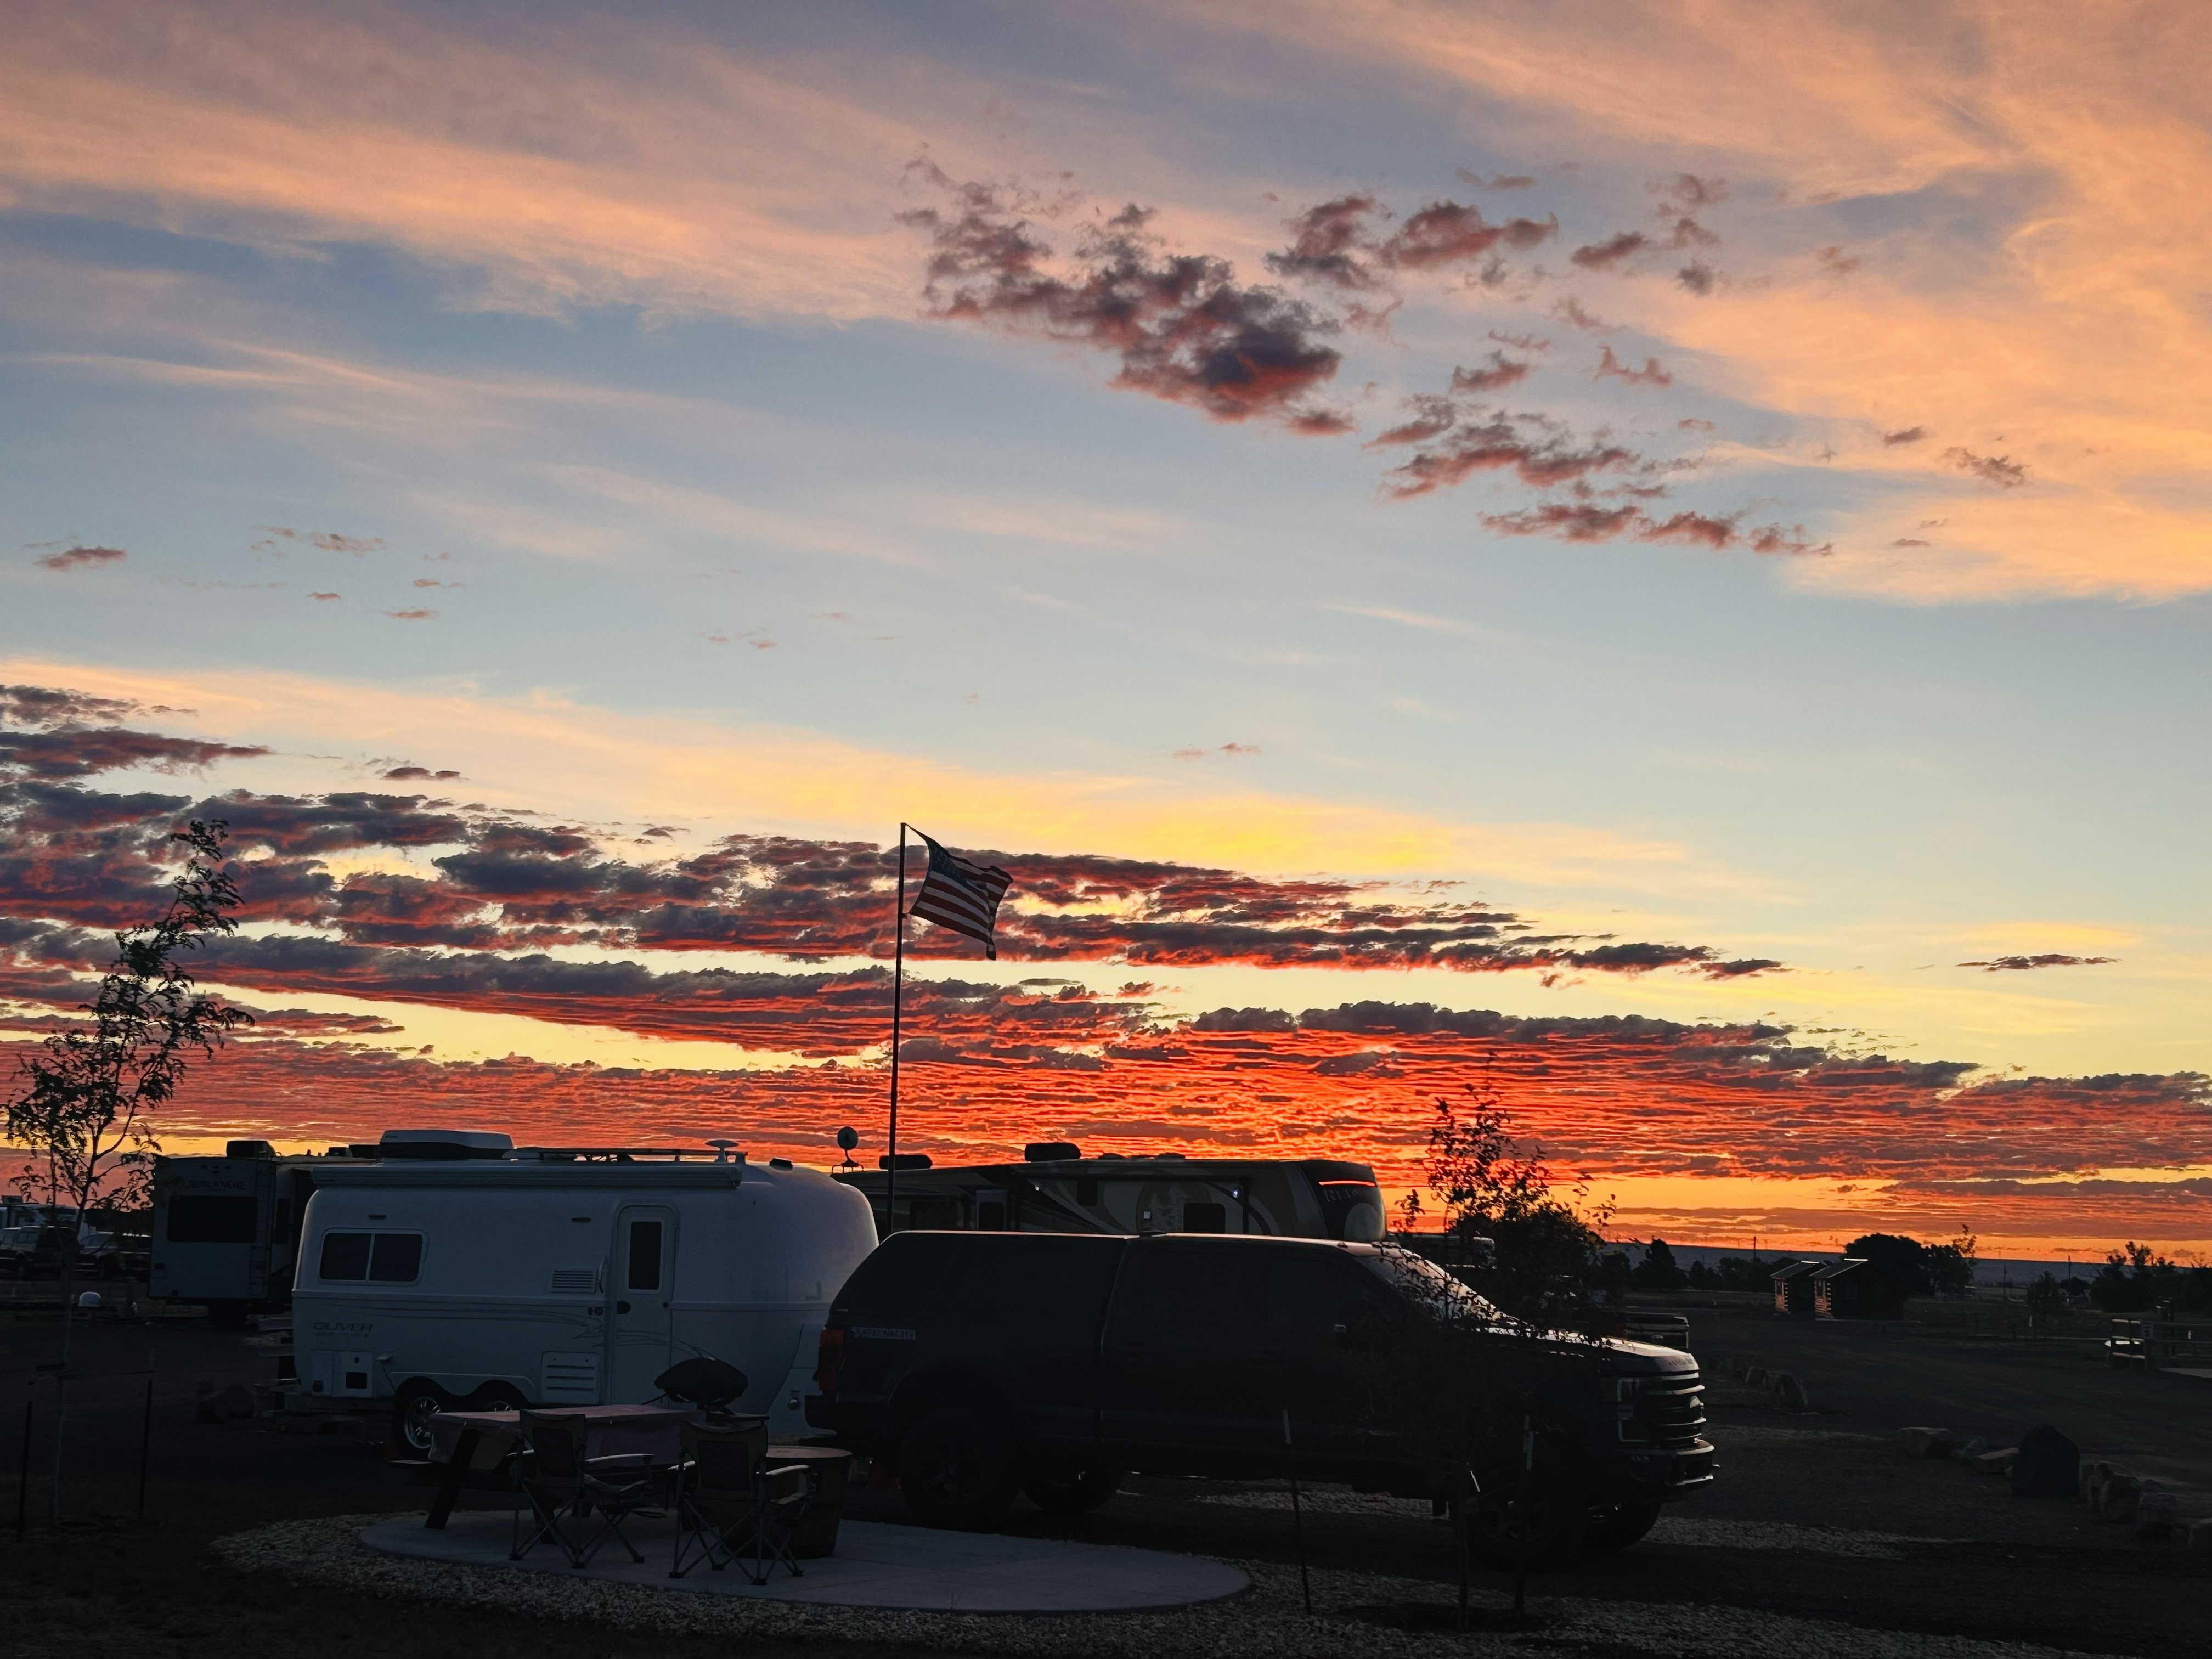
We recently had Oliver Service Center install a new Furrion Vision S Rear Camera on our Ollie. The original Voyager camera that it came with was diagnosed with water intrusion and was out of warranty. So a replacement was in order.
The new Furrion S works great and we really appreciate long distance rear highway visibility and the safety factor when changing lanes when under way. A real plus is we can also see our bicycles when mounted up on our bike rack. The Furrion S also has a feature which allows the driver to hear the spotter when backing into a campsite as the camera has a microphone and the video monitor has a speaker. This allows the driver to see and hear voice commands of the spotter when backing up. Pretty cool tech if you choose to use it.
The Mod-
I decided to purchase an extra silicone dash mount for $13 which is the exact same mount we use for our “TST TPMS” system. The rubber mount holds the Furrion monitor securely on the dash which I prefer rather than use the suction cup on the w/s. The fit of the monitor into the silicone holder could not be more perfect. And now no more sticking a suction cup to the w/s for viewing the rear cam monitor.Just thought I would pass this along in case anyone is interested.
A side note. I returned the Voyager Camera to the company that sells Voyager. They have agreed to replace the old camera which had water intrusion with a brand new one. They did not have to do this, as I was 6 months past the 1year warranty expiration.
I have already promised/sold the Voyager to another Oliver owner with full disclosure of why I replaced it with a new Furrion.Pics of silicone mount, Furrion backup cam monitor and shark fin rear camera -

TST silicone rubber dash mount -
Rear Sharkfin camera-
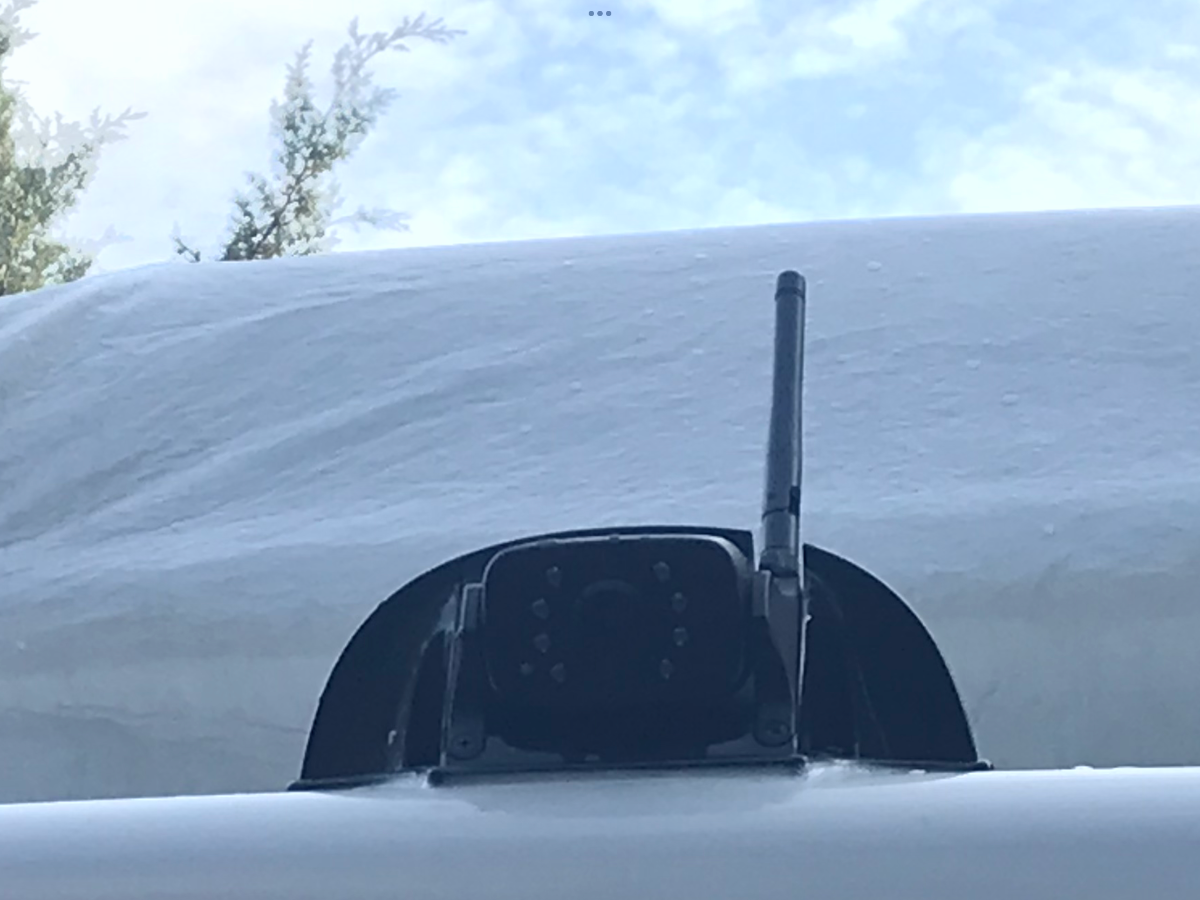
Furrion Vision S -
Temporarily laid the mount on the dash to check line of sight visibility. I am still deciding on the best location for the monitor.
-
7
-
-
Looks like Discount Tire is running specials as well. 👍🏻
-
4
-
-
2 hours ago, dewdev said:
Ralph
Thanks for posting the link. The story of Hull #50 was amazing.
I guess I would have to go to TN for the work to be done, as I guess they do not come up this north.
When these guys came by our site at this years Oliver Rally they told us if there were enough Oliver requests for detailing and ceramic coating in a particular state to make the trip worthwhile they would certainly try and make it happen. I bet if you reached out they would be willing to work with you and other Maine owners if the interest is there.
Just a thought based on what they said to us. Certainly hard working young men for sure.
-
1
-
-
Nothing like a polished up Ollie! Looking great!
-
49 minutes ago, topgun2 said:
HERE is a video showing some of the flooded areas.
Bill
Thanks for posting!
Ultimately Mother Nature will have her way.-
2
-
-
1 hour ago, VBistro said:
Oh! And in case you were wondering, we didn't drink all that wine by ourselves. We like to share with our friends! 🙂
😅
-
2
-
 1
1
-
 5
5
-
-
Great post and really cool pics! Those lobster 🦞 rolls look yummy..mmmmmm! 😋
Thanks for sharing!
-
2
-
-
1 hour ago, Steph and Dud B said:
The lack of a 2" receiver adequate for one of the RV-rated bike racks irritates me as well. (There are no RV-rated 1¹/⁴" racks.) Our Ollie receiver is therefore relegated to a small cargo carrier and our bikes are going on top of the truck.
Not sure if you have seen this older post. We carry (2) 30# bicycles on our Ollie using a 1Up USA bike carrier with a slight modification to the receiver. No issues what so ever. Just thought I would repost incase you had not seen it. Also the rear lights on our Ollie are completely visible even with bicycle covers installed.
-
1
-
-
2 hours ago, Jim_Oker said:
Looks like you found a decent option but for folks who may still be hunting, here's what I got based on the advice in a few articles on Practical Sailor. The DeWalt buffer was enticing as it works even faster but also runs more of a risk of burns and swirl marks if you're not really on your game - I would want a LOT of practice before risking using one of those. Even this Shurhold buffer requires attention to not overdoing any one spot. I used this to compound out some bad oxidation on the gelcoat of the roof of our camper van and it did a great job of that. I also used it to buff out the paste wax i used on that as well as on our Oliver - it also worked well for that, though for waxing I think one of those one hand cheap harbor freight auto buffers would work fine and in some ways be a little easier to handle. https://www.practical-sailor.com/boat-maintenance/shurhold-shines-among-electric-buffers I would not hesitate to use this to compound/polish the Oliver when that's needed.
On these threads Mr Miyagi will aways weigh in regarding the goodness of hand-done "wax on/wax off", of course! 😉
Jim,I agree with your comments on the rotary buffer and the potential for burns and swirl marks. I especially don’t like the heavier weight of the rotary buffers some averaging almost 6# ugh. Our oxidation was not terribly bad, but it was visible. Its all gone now and I hope to keep it that way with continued regular washing and waxing.
Thank you for the link and your view points and as always your thoughts are appreciated. For now I am going to stick with what works and really works well. This little $30 HF buffer along with Meguiars #67 and Meguiars Marine wax really impressed us with the results.
Thank you for you thougths!
- Patriot
-
4
-
-
1 hour ago, Rivernerd said:
Thanks for your informative post.
How long did it take you to address the areas you covered?
@Rivernerd
It actually took about 1.5 hrs to buff out the entire street side roof area. A lot less time than “flying elbows” 😅. I could not be more pleased with how it turned out and with little to no downward pressure on the HF a buffer/polisher just letting the tool do the work. Hope this helps!This really works well -
https://www.meguiars.com/marine/products/meguiars-marinerv-one-step-compound-m6732-32-oz-liquid
-
1
-
2
-
-
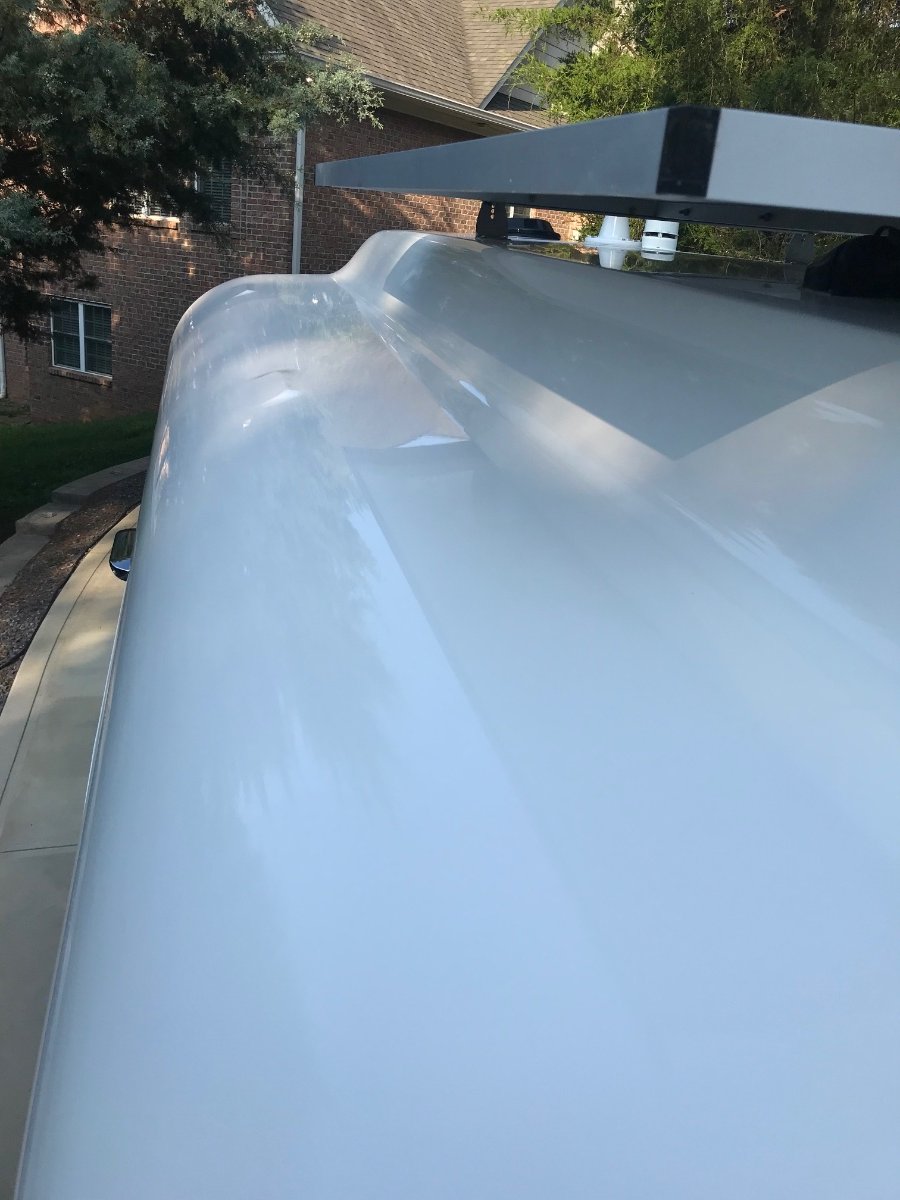
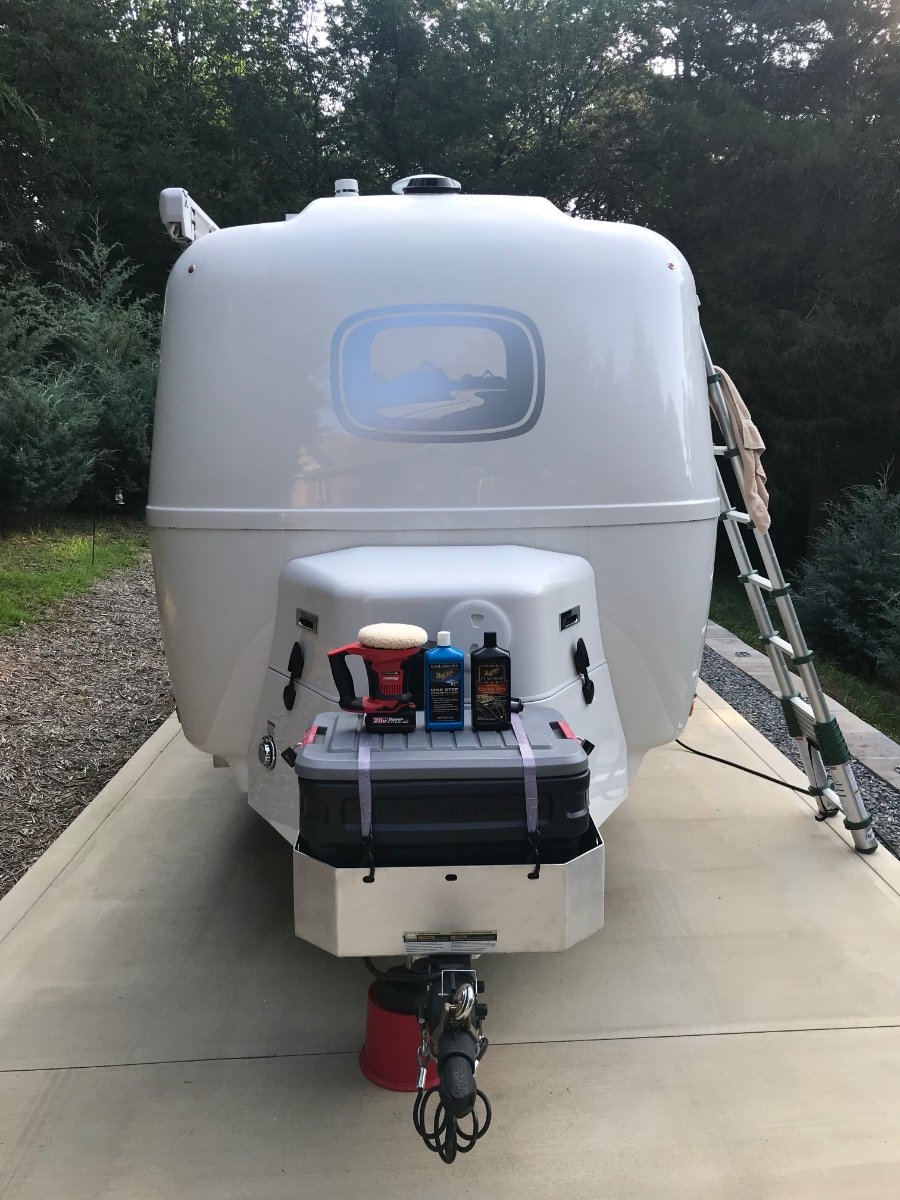
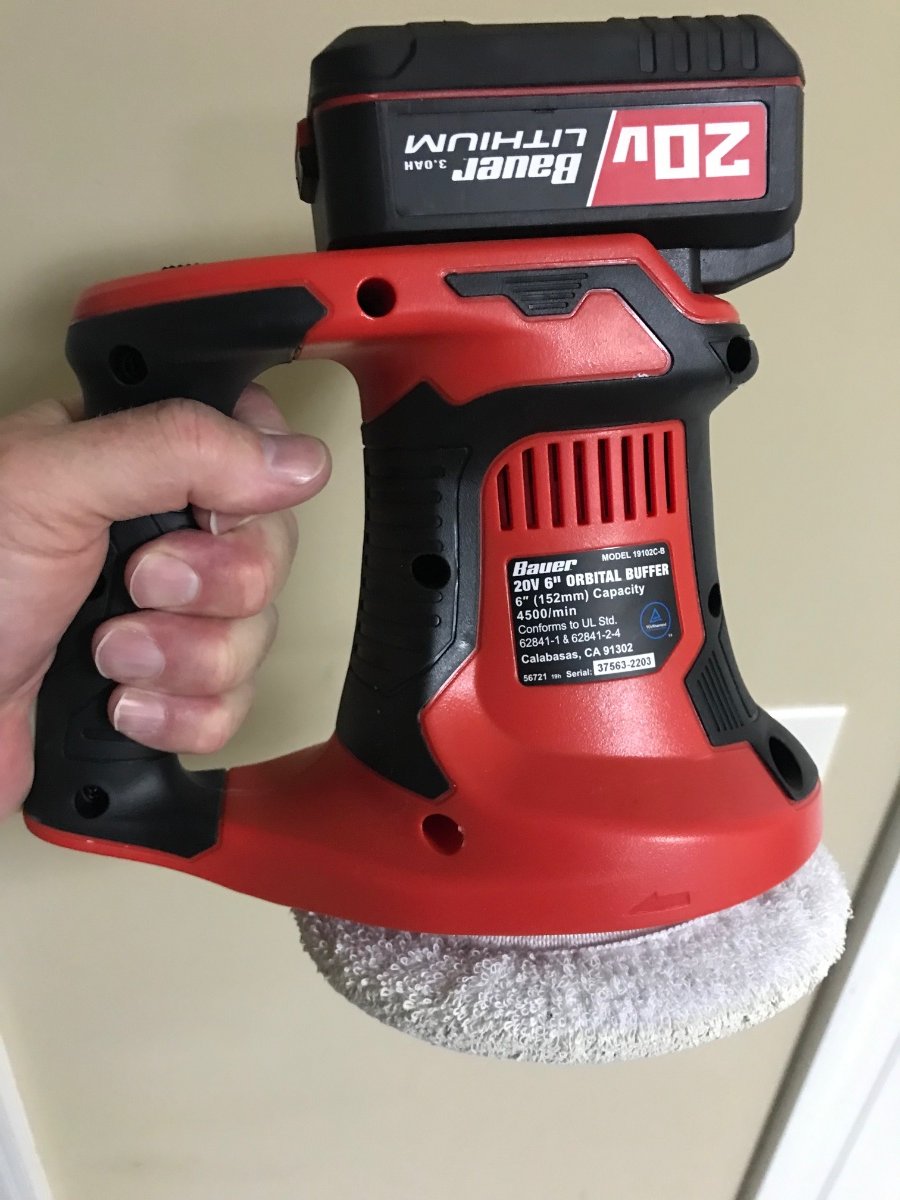
Yesterday evening I purchased this HF cordless buffer/polisher and honestly was very skeptical about how well it would work despite the very solid reviews. I thought for $30 why not give it a try?
I had light to medium oxidation beginning on the street side front roof top corner and all along the top of the street side roof which I wanted to remove. I have to admit my wife and I were both really surprised and pleased at how well this 4.83# buffer removed ALL the oxidation with ease using Meguiars #67. Our Ollies roof top now looks as good if not better than the day we took delivery. Note- I never needed to replace the lithium battery during use.
As mentioned I used Meguiars #67 with a terry cloth polishing pad on this little buffer which easily removed areas of oxidation. I then followed up with a buffing pad after applying Meguiars Premium Marine wax. 💯 % satisfied and happy with the final results. Letting the buffer do the work, I really prefer to work smart not hard.😎
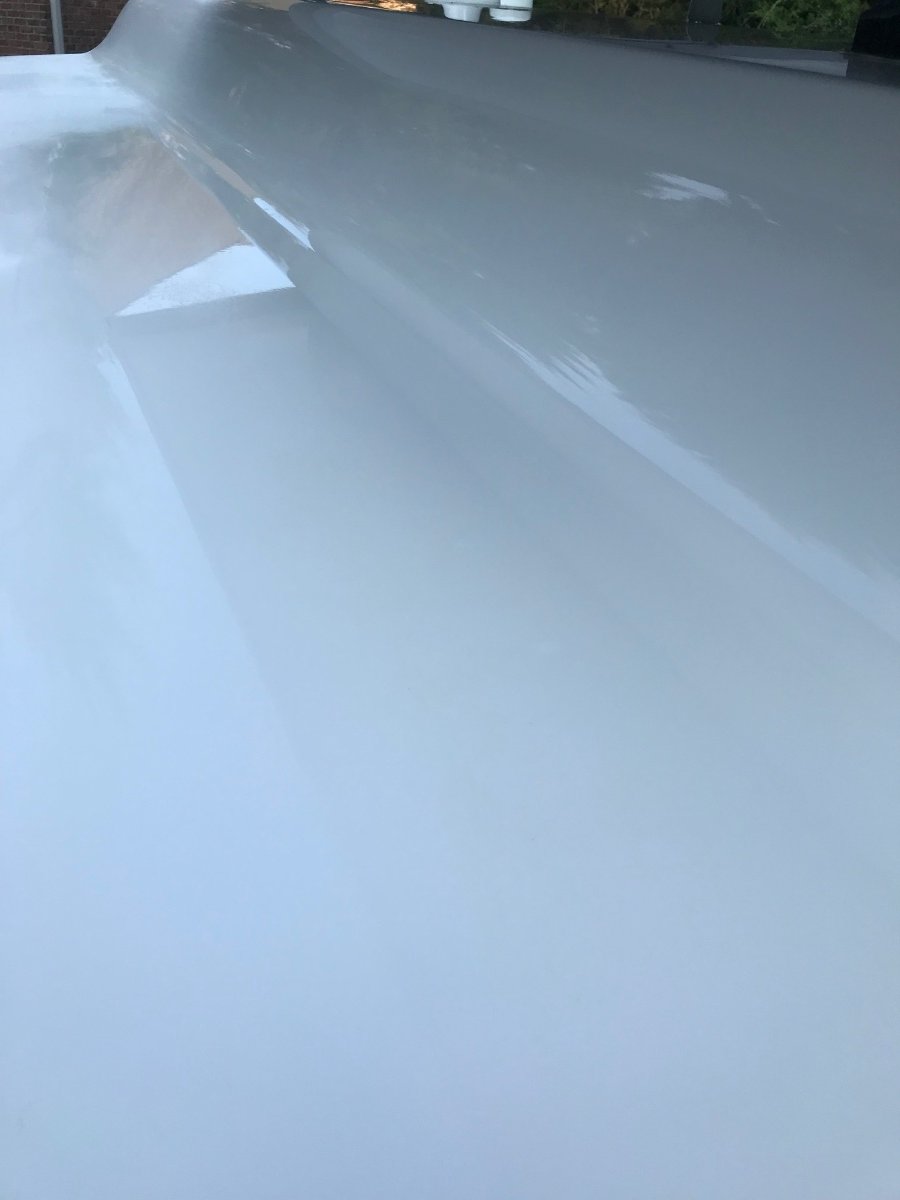
The buffer is light weight enough that you can actually use it with one hand (perfect). The ergos of the handle felt very comfortable as I never got tired of using it while working up on the ladder. Another thing I liked is I was able to use the buffer under the solar panel over hang a plus.A 💯% keeper. Thanks to everyone’s buffer thoughts and suggestions, I have found what works really well for me at a very reasonable price. I would not hesitate to purchase this buffer again as it really brought the shine and beautiful luster back to our gelcoat and saves a ton of elbow grease.
Happy Camping and Happy Polishing! 😊A few photos -
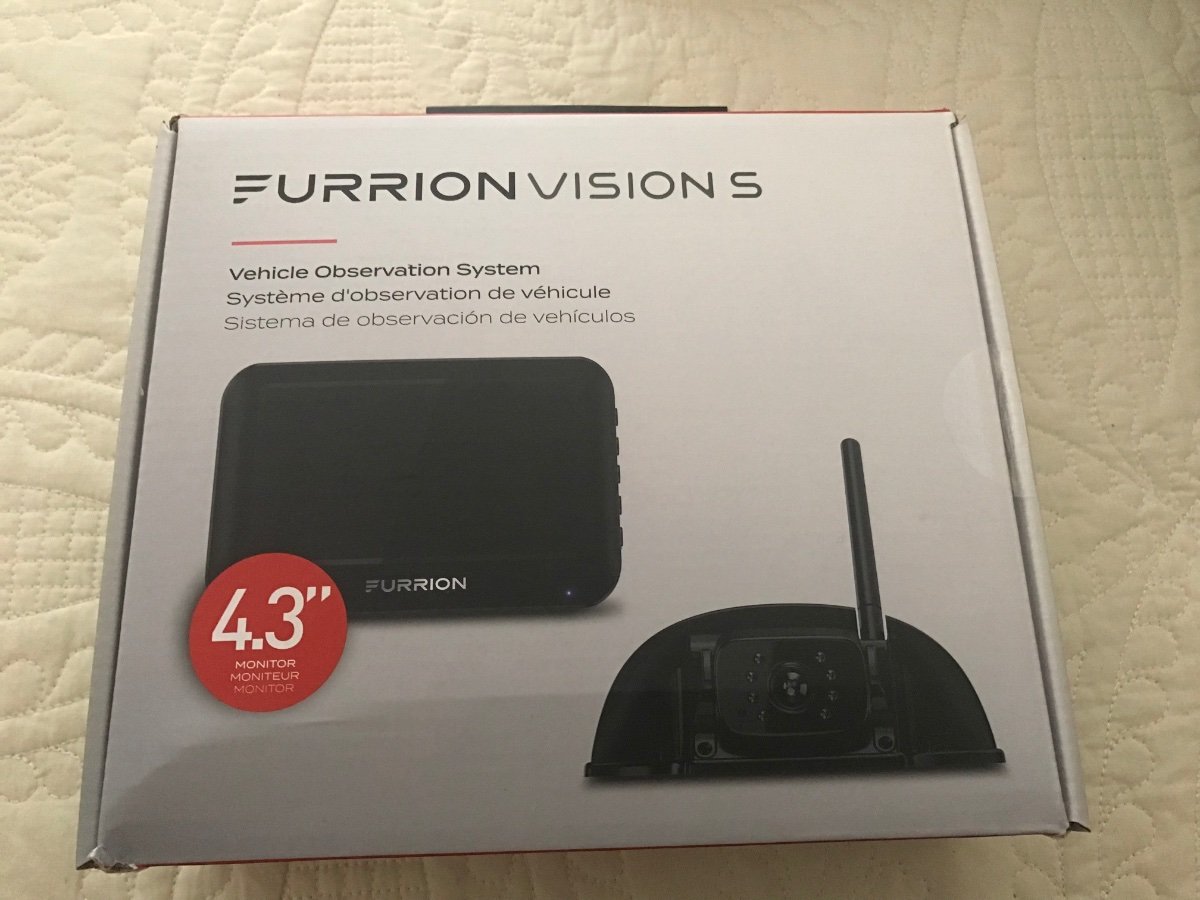
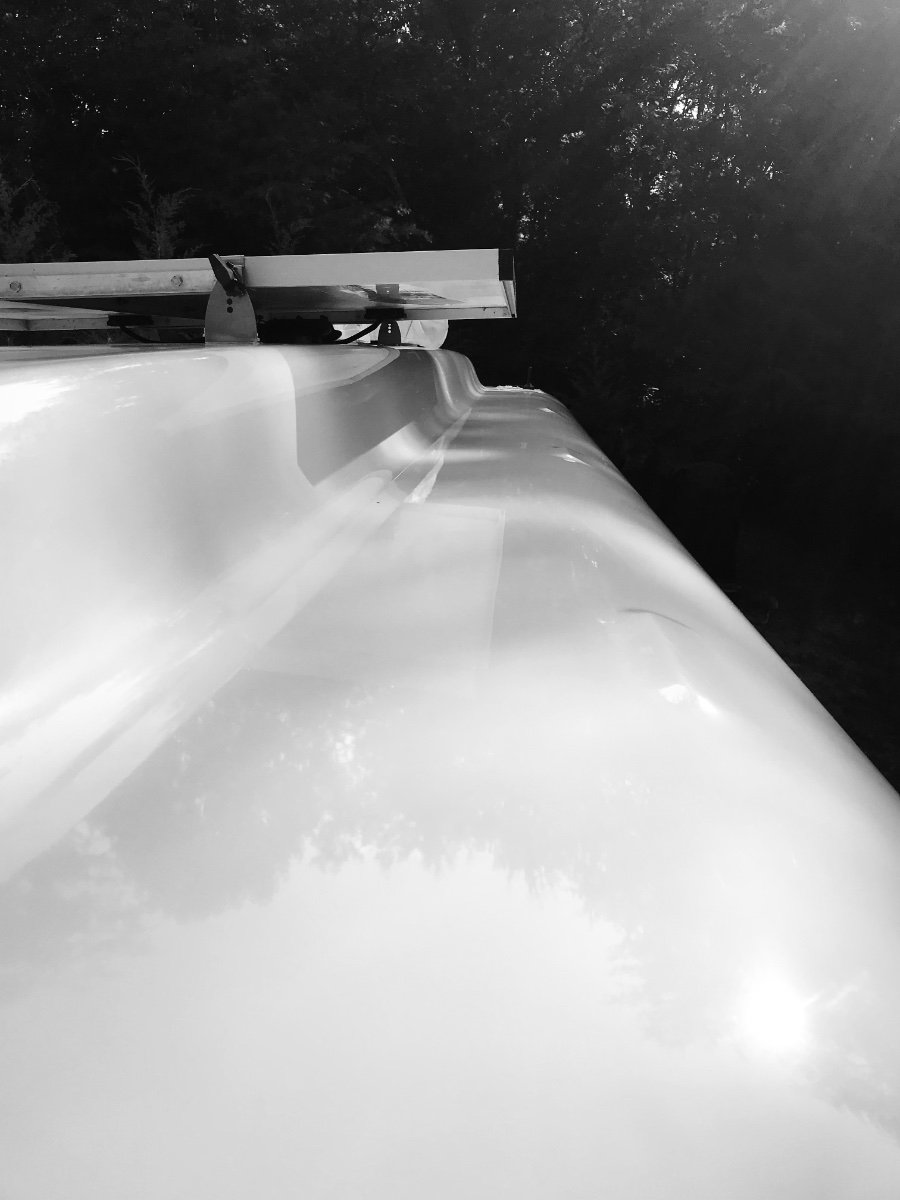
This area had the beginnings of oxidation…it’s gone now. The shadows are reflected shade from our trees.
Very happy with the luster of the gelcoat completely restored to our Ollie.
Just clears the solar panel. 👍🏻
Terry cloth pad -
-
7
-
-
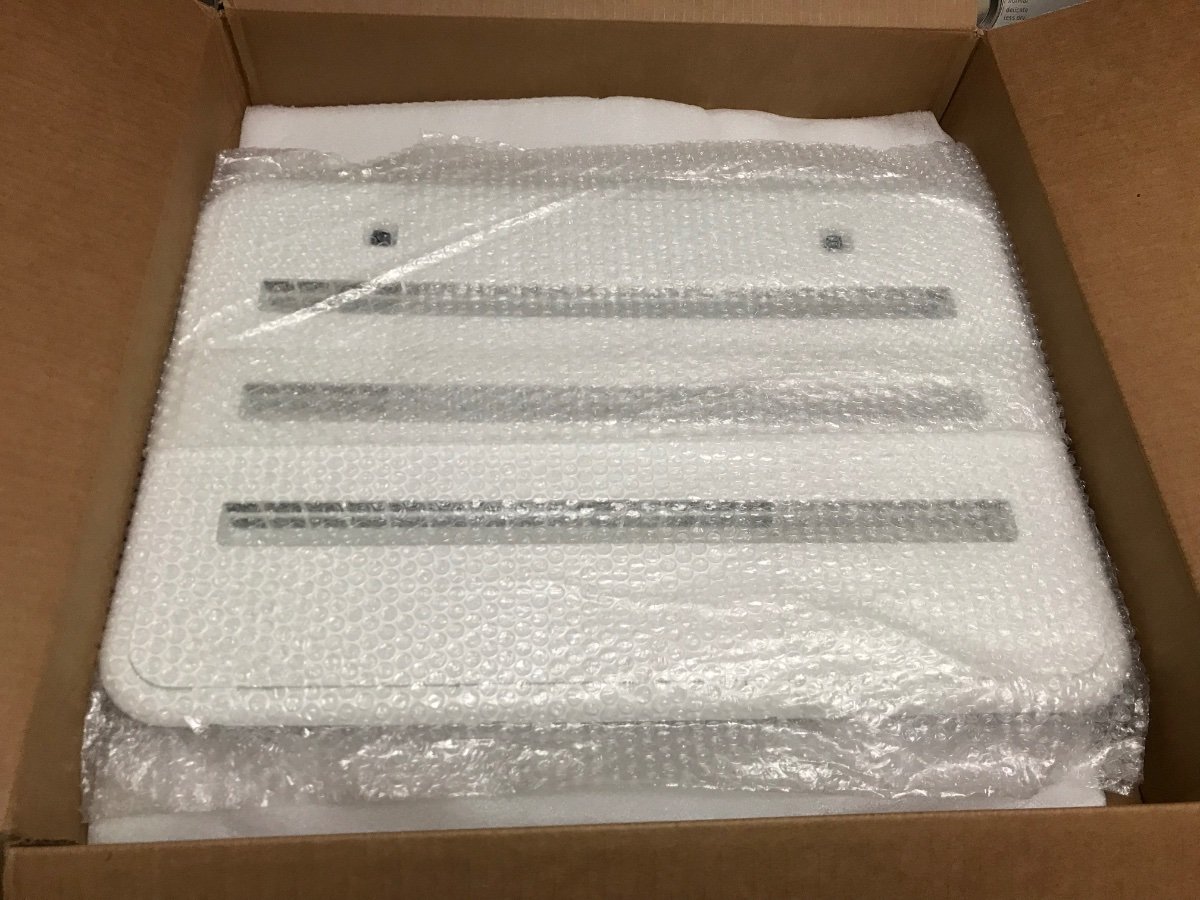
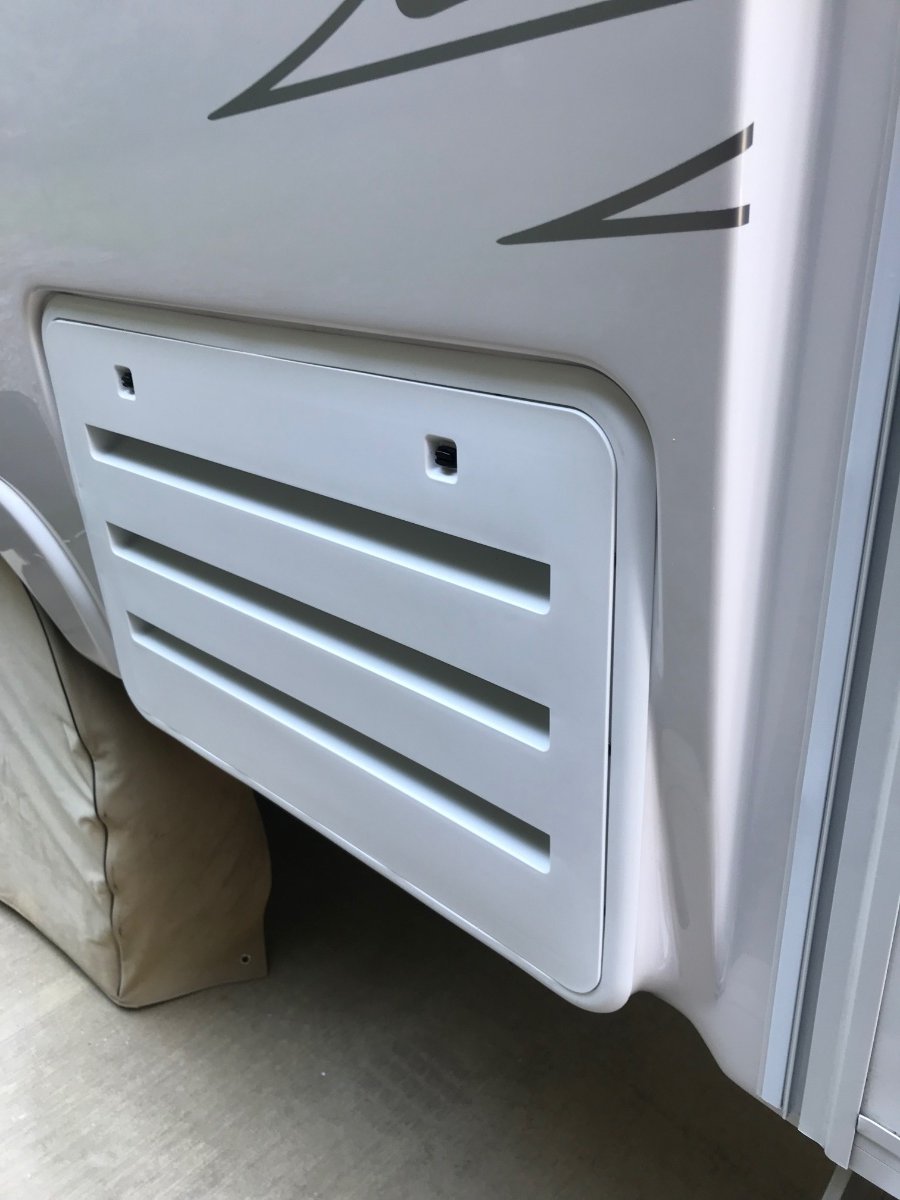
@Cameron
Just a follow up on this minor repair. I received the new frame and vent today from Oliver - wow fast shipping. Removed the old vent and frame, cleaned off caulk and applied 3m tape to the inside of the frame (pic) and reinstalled the frame (tip- do not tighten the S/S screws so tight that it tweaks or warps the frame, just snug them down do not over tighten. The old frame may have been tighten down to tight on the assembly line which resulted in the warp on the original vent door and frame just not matching up.) Now no more bow in the vent door. Reinstalled the insect screens and done.
Thank you to Oliver parts department for the super fast shipping.
-
4
-
-
3 hours ago, John E Davies said:
Thanks for posting. Do you have any inside-the-building pics that you can share?
Do they let you come inside the service area to, for example, look underneath your frame while it is up on a lift?
What is the hourly rate and what does a typical annual service cost, do you know?
Do they provide detailing services?
John Davies
Spokane WA
I have no interior service area photos. The hourly labor rate i believe is $125.00. We did not ask to look up under the frame as it was not on a lift. My guess would be they don’t want owners hanging around the service bays for general liability reasons and the techs stay pretty busy.
As for the annual service cost, I do not know. A good question to call and ask the Service Center. To my knowledge Oliver does not provide washing and detailing of trailers being serviced.-
2
-
-
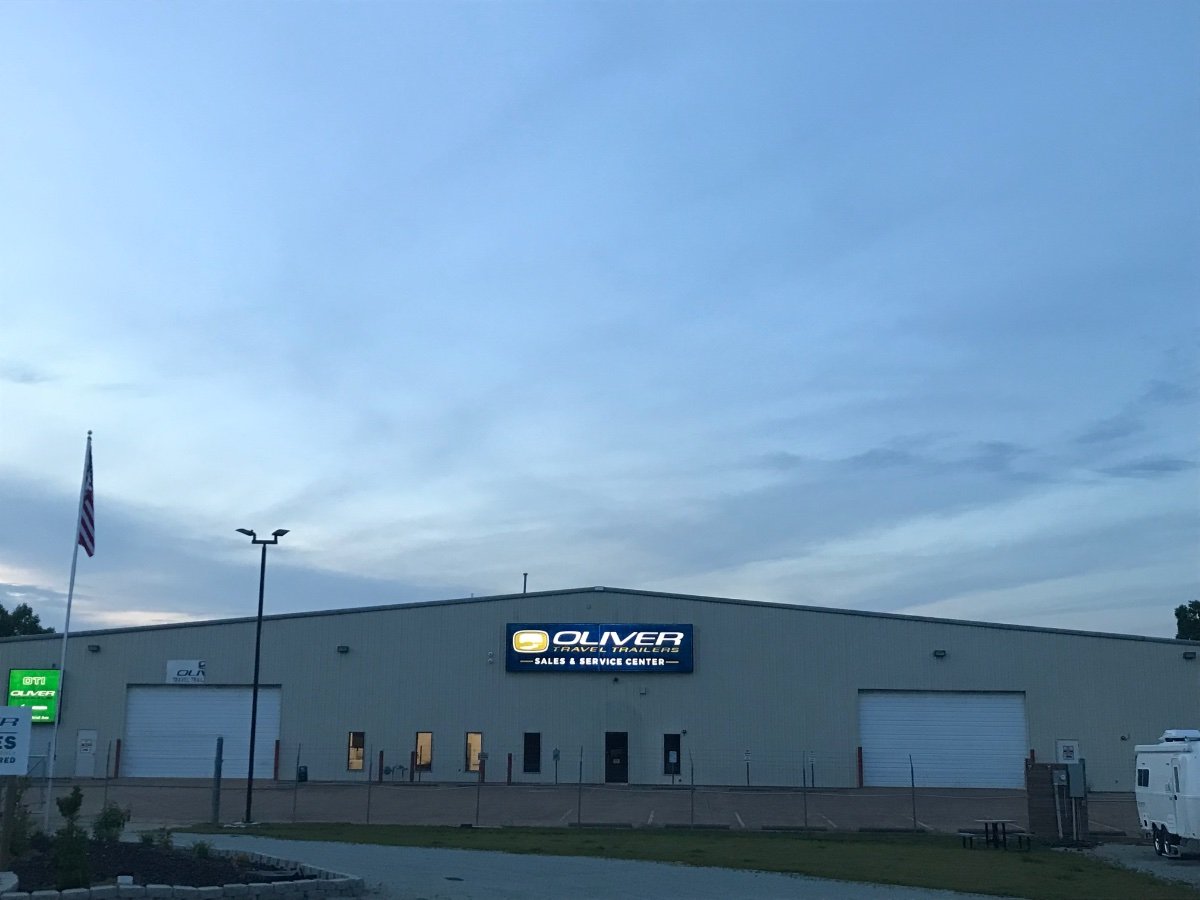
We just wanted to give a shout out to the Team at Oliver Service regarding our June 2 service/maintenance visit. A big thank you to Crystal the front office administrator who set us up at the Service Center Campsite. What a really nice quiet place to overnight when having service work done. Each site has water and electric and there is a dump station located as you exit. We also wish to especially Thank Jason, Ryder, and Tucker for their attention to detail and excellent work attending to a few minor maintenance items we needed addressed on our Oliver.
This service team was 💯thorough, listened carefully and totally went the extra mile to address any and all concerns. 🌟🌟🌟🌟🌟
-
1
-
9
-
-
8 hours ago, ChrisMI said:
I’ve had a cyclo unit for over a decade. It’s nice but heavy. I’d probably go with a smaller unit like the PC…I’ll have to look up the exact model.
Good point Chris, I am looking at a lighter weight cordless polisher. Thanks for your input. 👍🏻
-
3
-


Greetings from Lake Powhatan NC
in Campgrounds & Parks
Posted
We are going to have to check Lake Powhatan out. Thanks for the great photos and info.
Happy Camping!