Patriot
-
Posts
2,889 -
Joined
-
Last visited
-
Days Won
146
Everything posted by Patriot
-
After having the guys at CGI buff, polish and ceramic coat XPLOR I will never buff or wax the exterior again. It also helps storing it in our Ollie Hangar. It truly looks better than the day we took delivery.

-
A professional ceramic coating will allow those bugs to wash right off with a PH neutral car wash soap. We had our Oliver ceramic coated by CGI and they did an outstanding job. 🌟🌟🌟🌟🌟 Highly recommend! https://www.cgidetailing.com/
-

Inaugural Rollout Apex X23, 2Dreamin, Hull #1738
Patriot replied to FirstApex's topic in Delivery Day Photos
Congrats and wishing you all the very best on your adventures. Don’t forget to chock the front of those trailer tires! 😊 Welcome to the Oliver family! Patriot 🇺🇸 -
Used Oliver advertisements Return to the Oliver Forum
Patriot replied to dewdev's topic in General Discussion
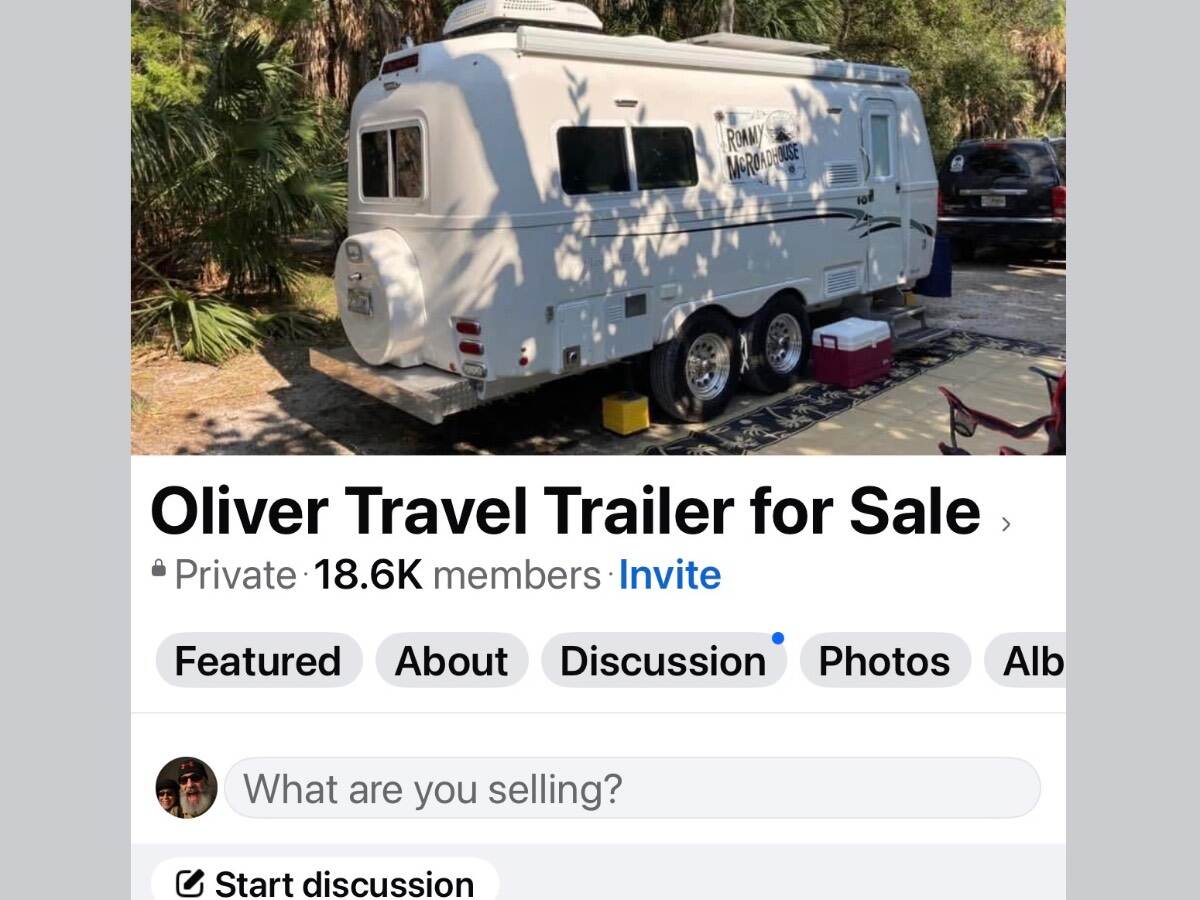
If I were interested in buying or selling an Oliver, the Oliver Travel Trailer For Sale Facebook page would be my first stop for several reasons. While I may not be a marketing expert, the impressive 18.6k members on the page suggest a much larger buyer and seller audience compared to this forum. The Oliver TT Facebook market site provides a seamless way to quickly connect and communicate with potential buyers and sellers in real time. Over the years, I’ve seen many Olivers sold on the FB platform. I would be surprised if an Oliver TT classified section ever reappears on this forum.
-
In prior conversation a few years ago with Jason Essary at Oliver Service, I learned that Oliver Service would have to physically see your Oliver to match your paint and gelcoat in order to properly match/repair chips. Oliver no longer maintains any history paint colors. I think @taylor.coyote has offered the best remedy. I would also suggest calling a local fiberglass boat/yacht club as they can be a great resource for mobile fiberglass touch ups if you want it done professionally. DYI touch ups more often than not end up looking like DYI touch ups 😕 and will highlight your chip repairs vs make them disappear. I had 8 mil XPEL PPF (paint protection film) installed on the front blast zones of our 2020 Oliver LE2 and am glad I did. It really has helped preserve the gelcoat especially on the front corners, dog house aka propane tank storage. I also had it installed under the quarter panels front to back.
-
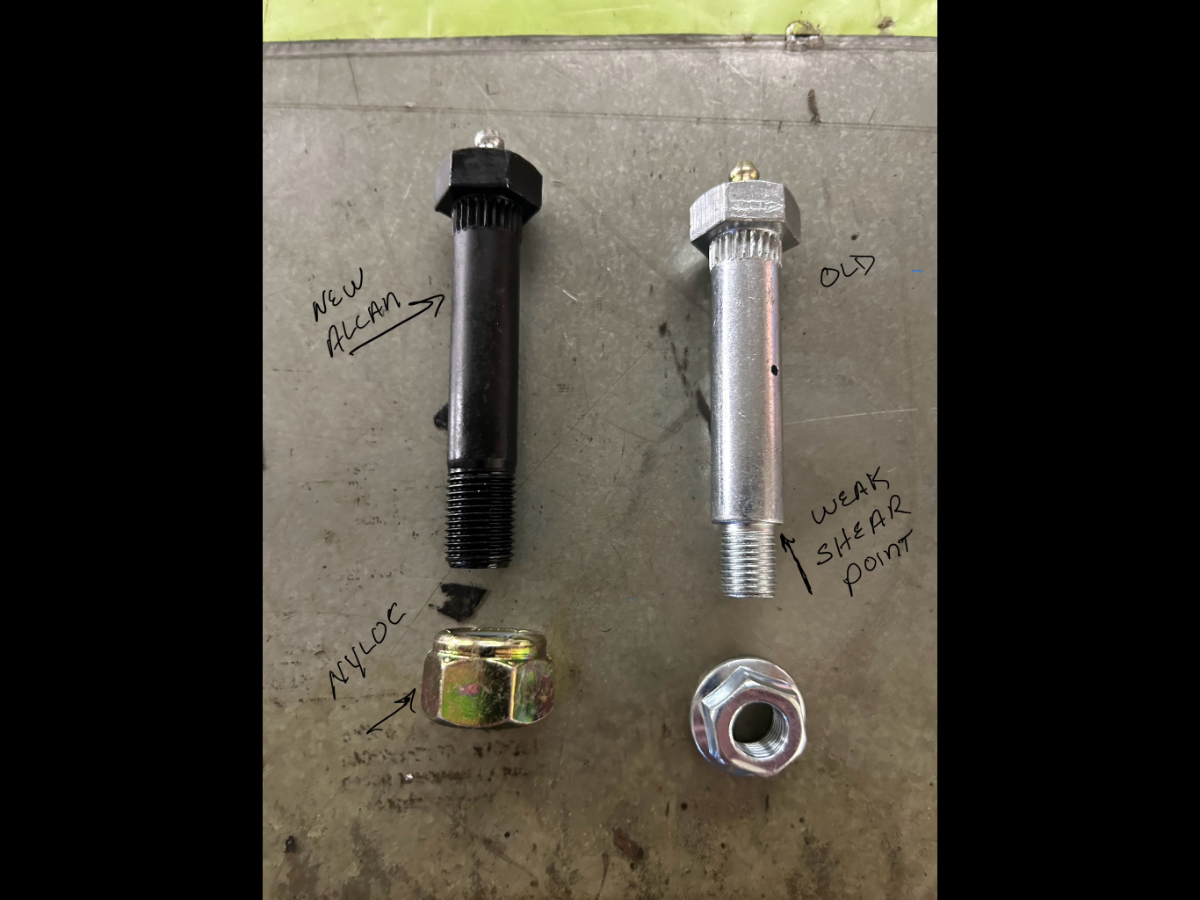
I had Lew’s team at Alcan install these upgraded wet bolts during the 5 leaf pack install. Also made sure the zerks were facing inside the under belly for much easier access when servicing wet bolts. Also had Alcan HD shackles installed. Very happy with my Alcan running gear.
-
Steve, cool vid. So glad to refer you to Easton at Inverter Services and he got you all taken care of. He handled all your upgrades exceptionally well. As previously post, Easton installed the same outstanding and comprehensive Victron system on XPLOR Hull # 634 after we returned from our 54-day trip to Maine last fall. Nothing like a super clean professional upgrade/install. I highly recommend Inverter Services and Mr. Easton sure knows his way around Olivers!
-
Congrats on the new running gear. Best money we ever spent on labor was having Alcan professionally do the work on our Oliver. Good for you. The torquing is the easy part. Safe Travels!
-
God Bless our military 🇺🇸
-
Great job Jason and Aaron!
-
- 5
-

-
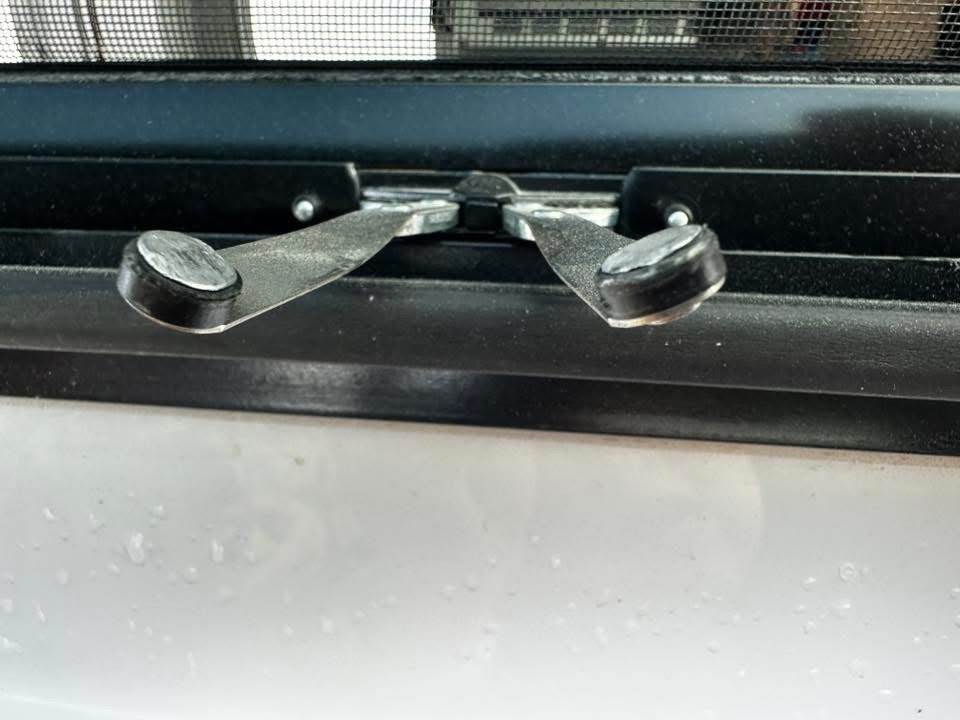
Yes, by the photo from FB these hinges are 2026 the awning style windows with the 3” opening at the bottom.
-
Back to the drawing board on awning windows.🤔 The key question is are these the new 90 degree opening awning windows Oliver has since began installing, or the previous model awning windows that only opened 3” at the bottom?
-
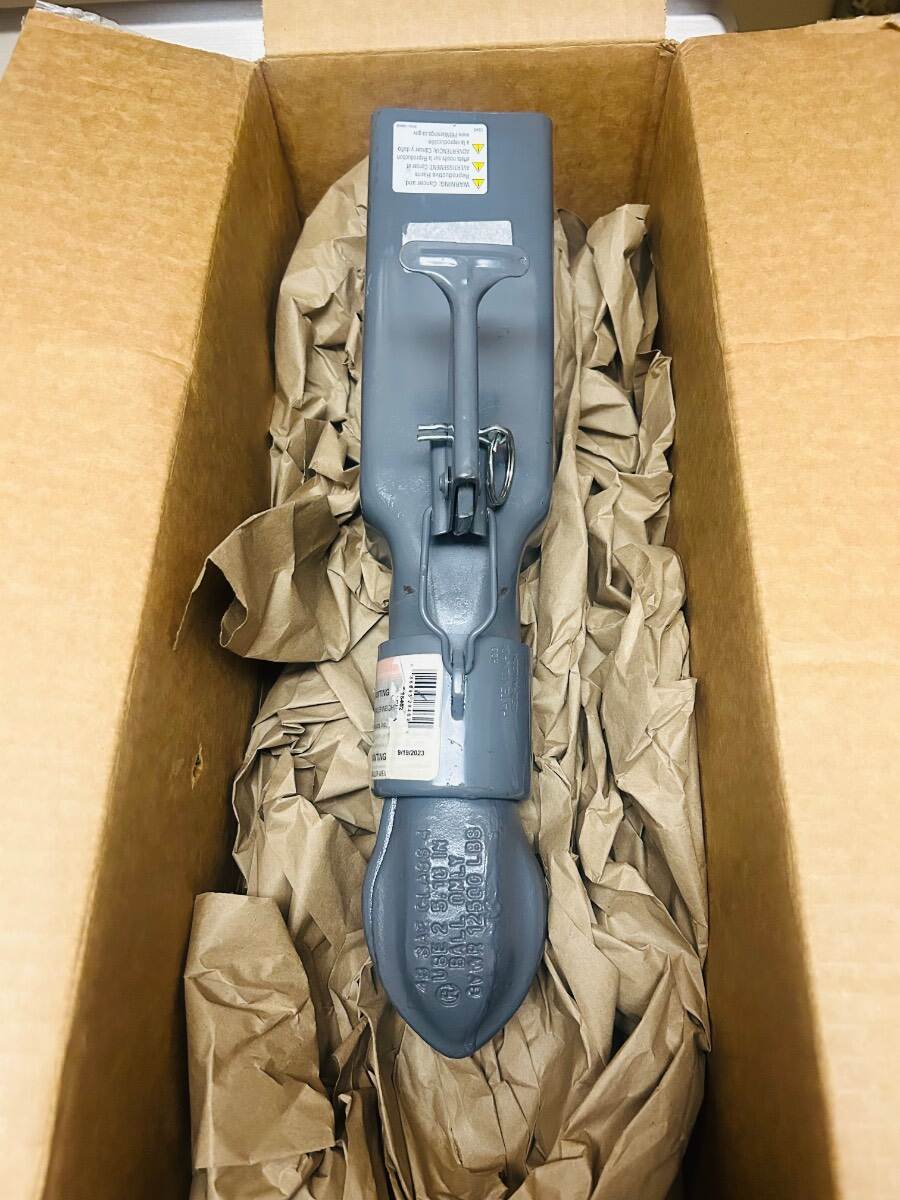
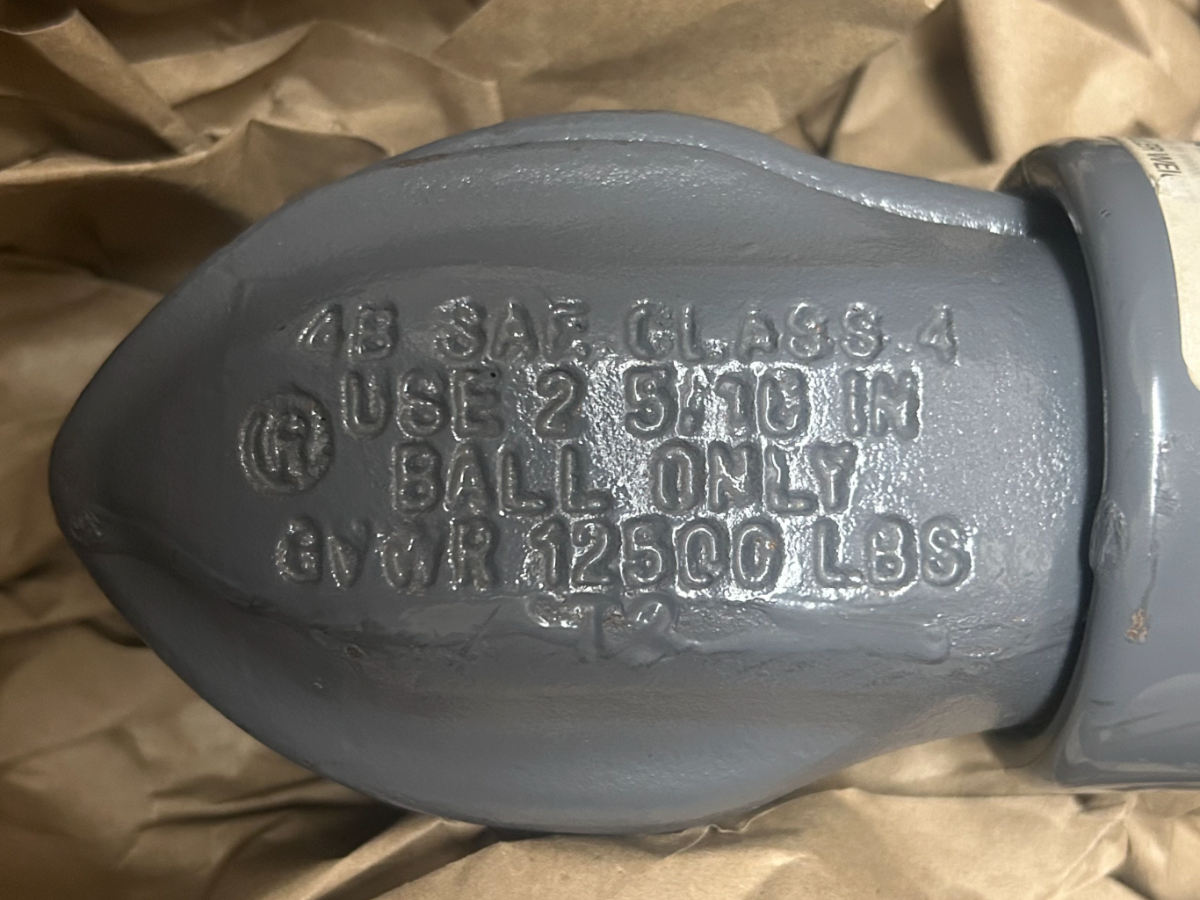
Yes, you are correct. Oliver has had to source another coupler supplier. Bulldog is supposedly in bankruptcy proceedings as of Oct of 2025. Hopefully they will restructure. Pic of new coupler -
-
Welcome and Congrats and enjoy the delivery day! There is something really special about taking delivery of a brand new Oliver, it was for us. Before you know it your day will be here!
-
Upgrading from a Bulldog 2” coupler to 2 5/16 BD coupler
Patriot replied to Patriot's topic in Ollie Modifications
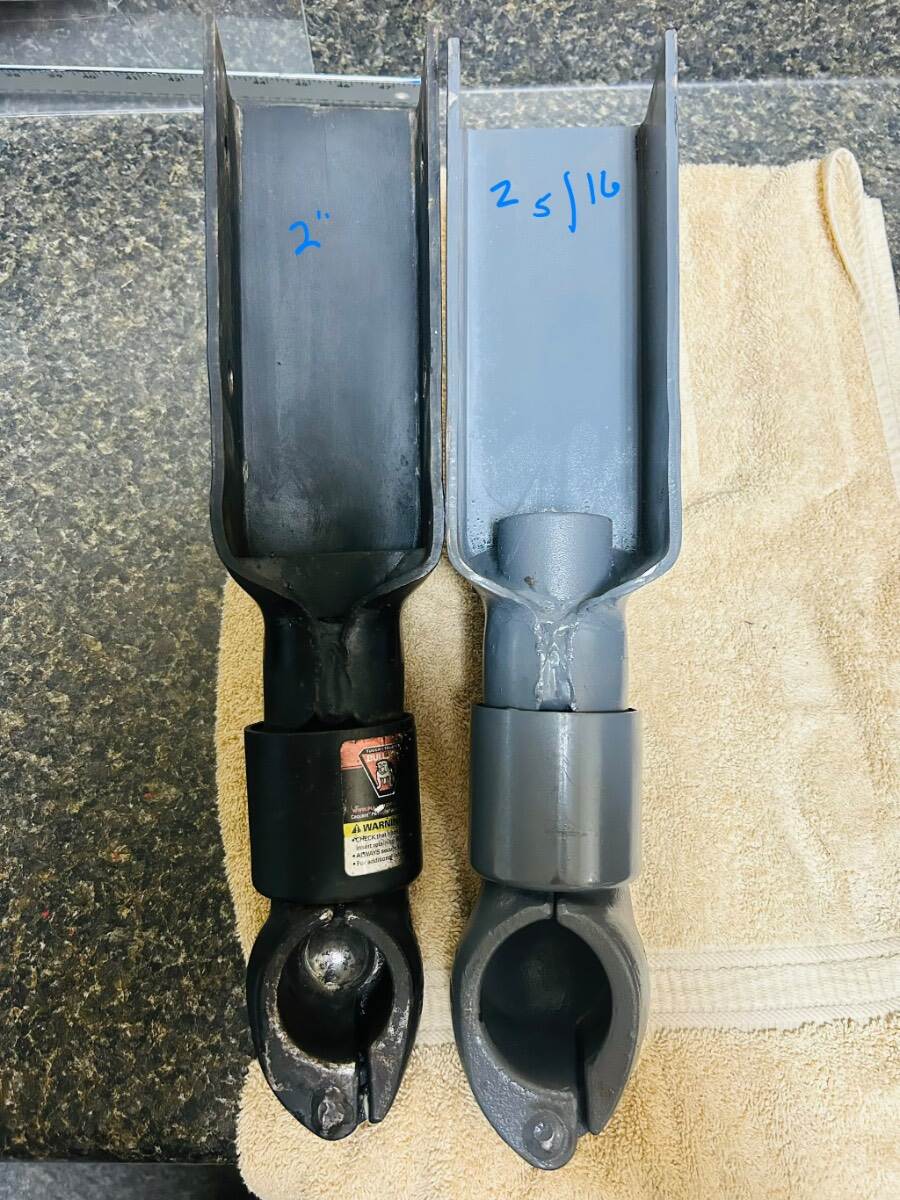
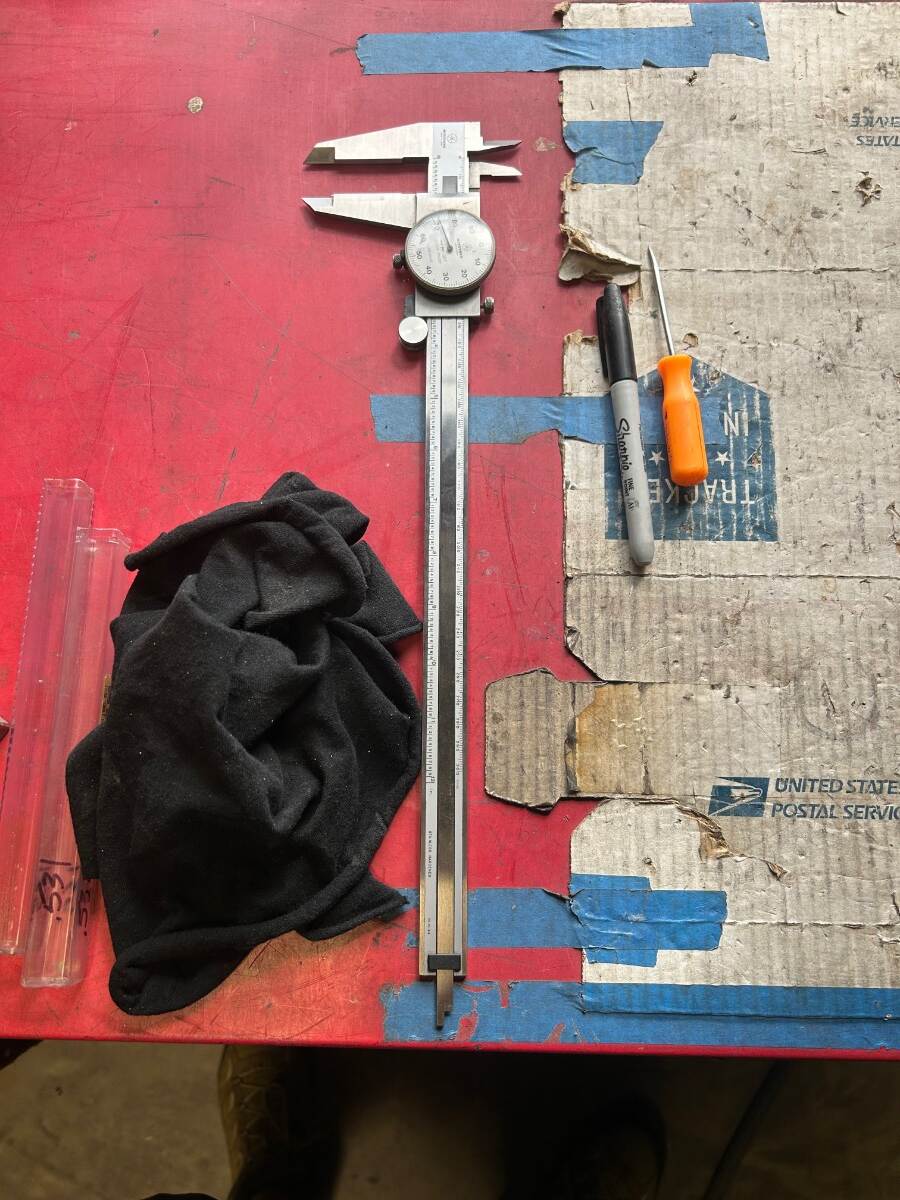
You are 💯correct on the stamping of the hitch sleeve being different on each coupler during BD’s production. This has to be accounted for and calculated when drilling new holes for a proper fit. My buddy who is a machinist measured each of the 1/2” coupler holes individually and then transferred and dialed in those exact measurements onto the new 2 5/16 coupler. He totally nailed and fit was better than factory. An inside pic of how different the couplers actually are. Pic of the bottom of the 2” coupler on the left and the new 2 5/16 coupler on the right. You cannot see the difference in the sleeve fold, but it’s not the same and thus requires exact measurement of each hole prior to drilling for proper precise alignment and fitment on the tongue. My buddies tools of the trade and his knowledge were invaluable today.
-
Upgrading from a Bulldog 2” coupler to 2 5/16 BD coupler
Patriot replied to Patriot's topic in Ollie Modifications
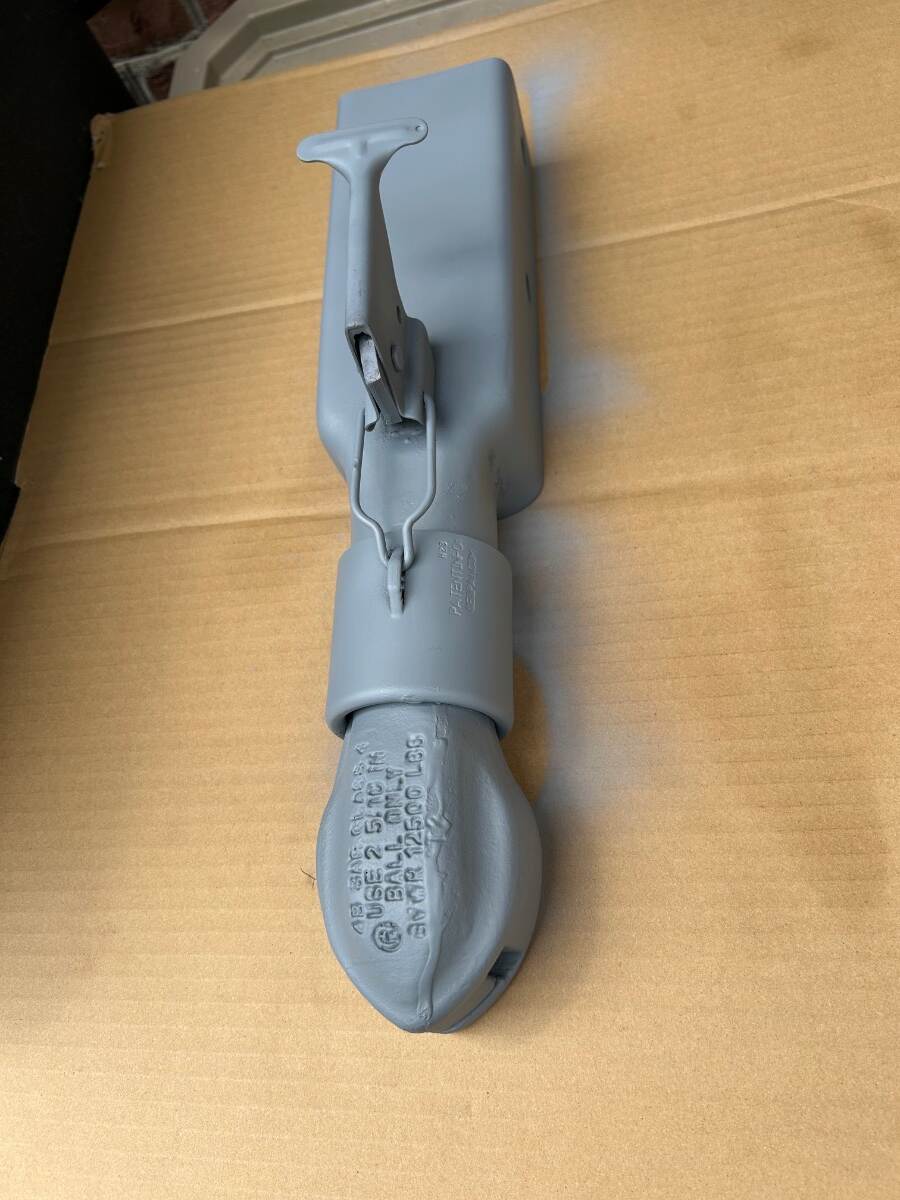
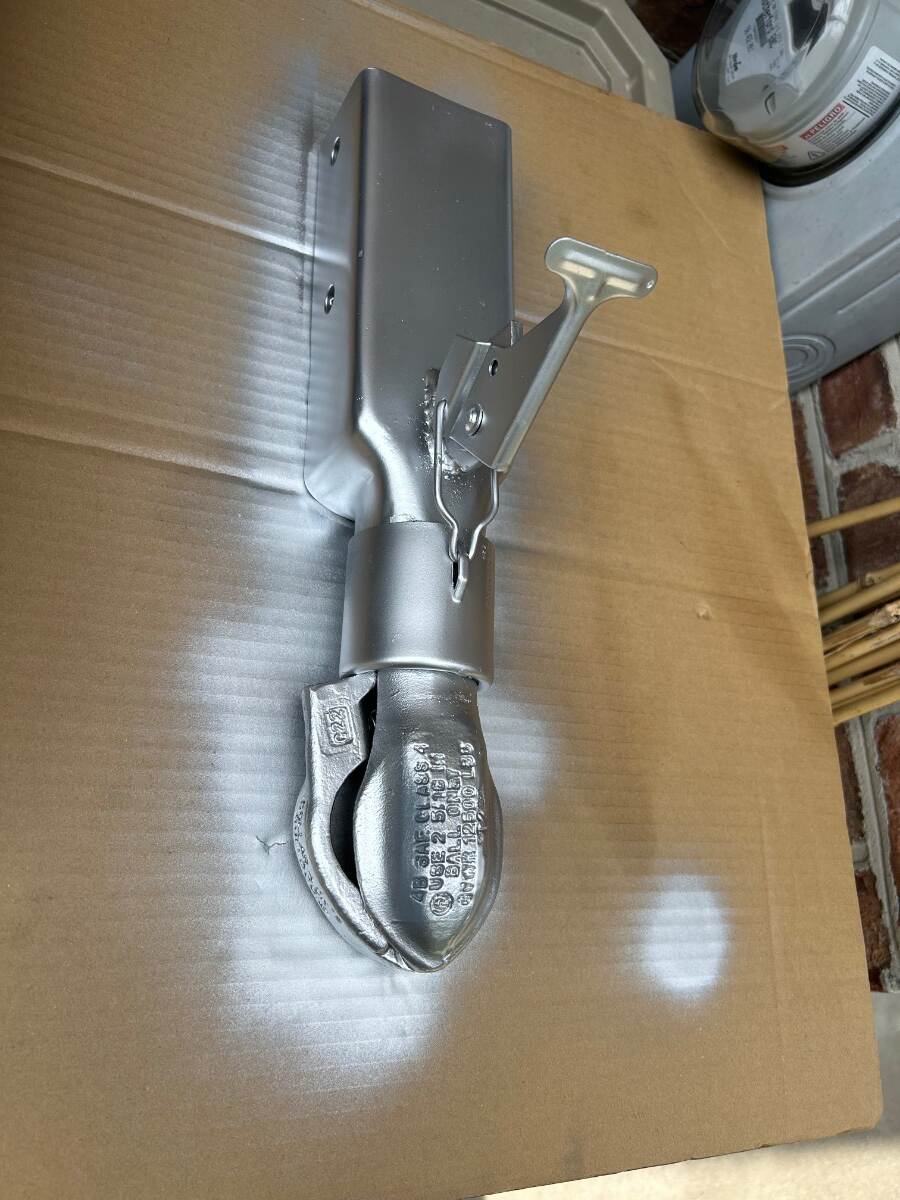
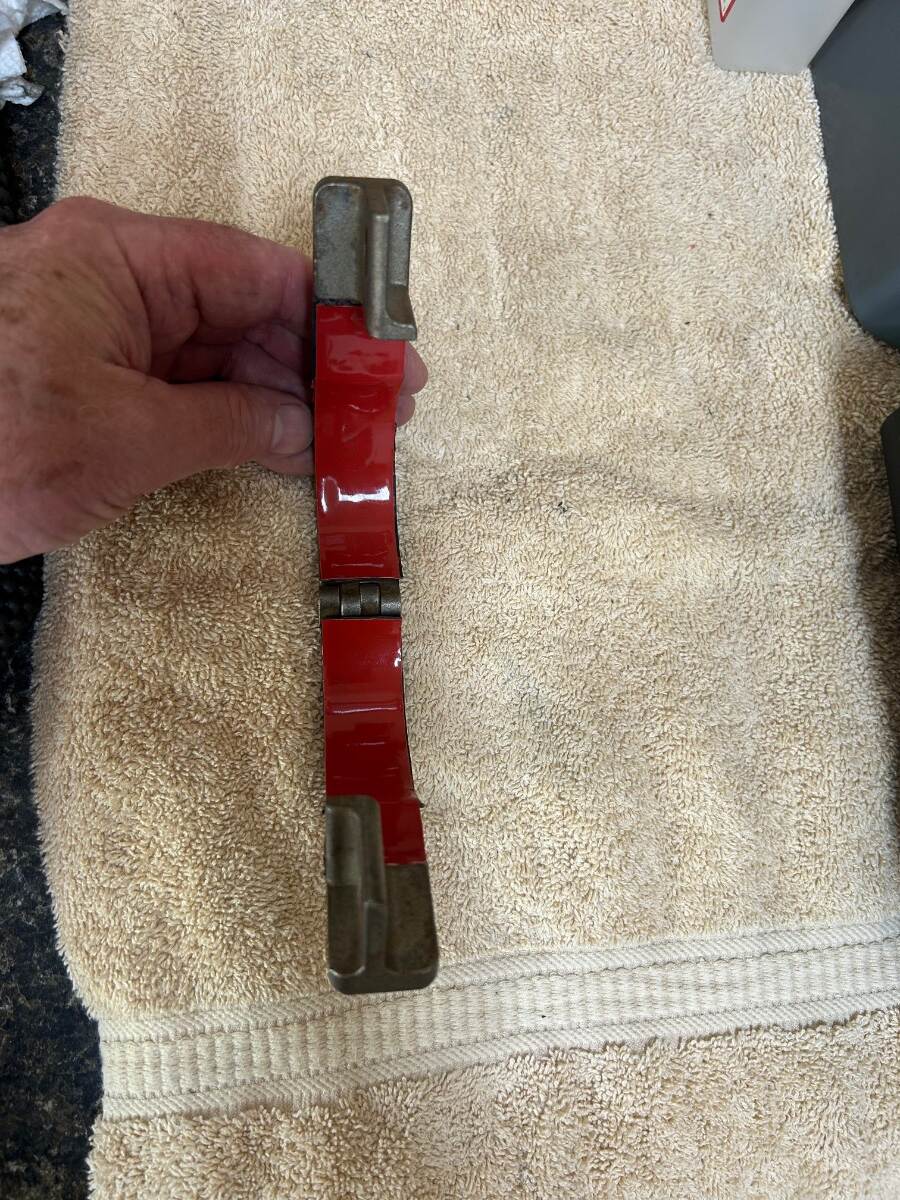
New Bulldog 4B4 coupler drilled, de-burred, cleaned, primed and painted, installed and torqued down. Another project completed despite the smokin heat and humidity of the day. I could not be happier with the final product fit and finish of this mini mod. A big thanks to a close friend who owns a machine shop that does precision work. He measured twice and drilled once. For those running the S/S coupler, I applied double sided tape a few years ago on inside of the coupler to keep it from the metal to metal wearing the paint thin on the coupler. It worked great, so I reapplied it again with new tape. I opted for silver metallic to match the swooshes on XPLOR. A few mod/upgrade photos.😎 Safe Travels! My buddy Brian gotter done! Thanks Brother!!
-
Upgrading from a Bulldog 2” coupler to 2 5/16 BD coupler
Patriot replied to Patriot's topic in Ollie Modifications
Hey Tony, The repair kit will work on 2” or 2 5/16 couplers. -
Upgrading from a Bulldog 2” coupler to 2 5/16 BD coupler
Patriot replied to Patriot's topic in Ollie Modifications
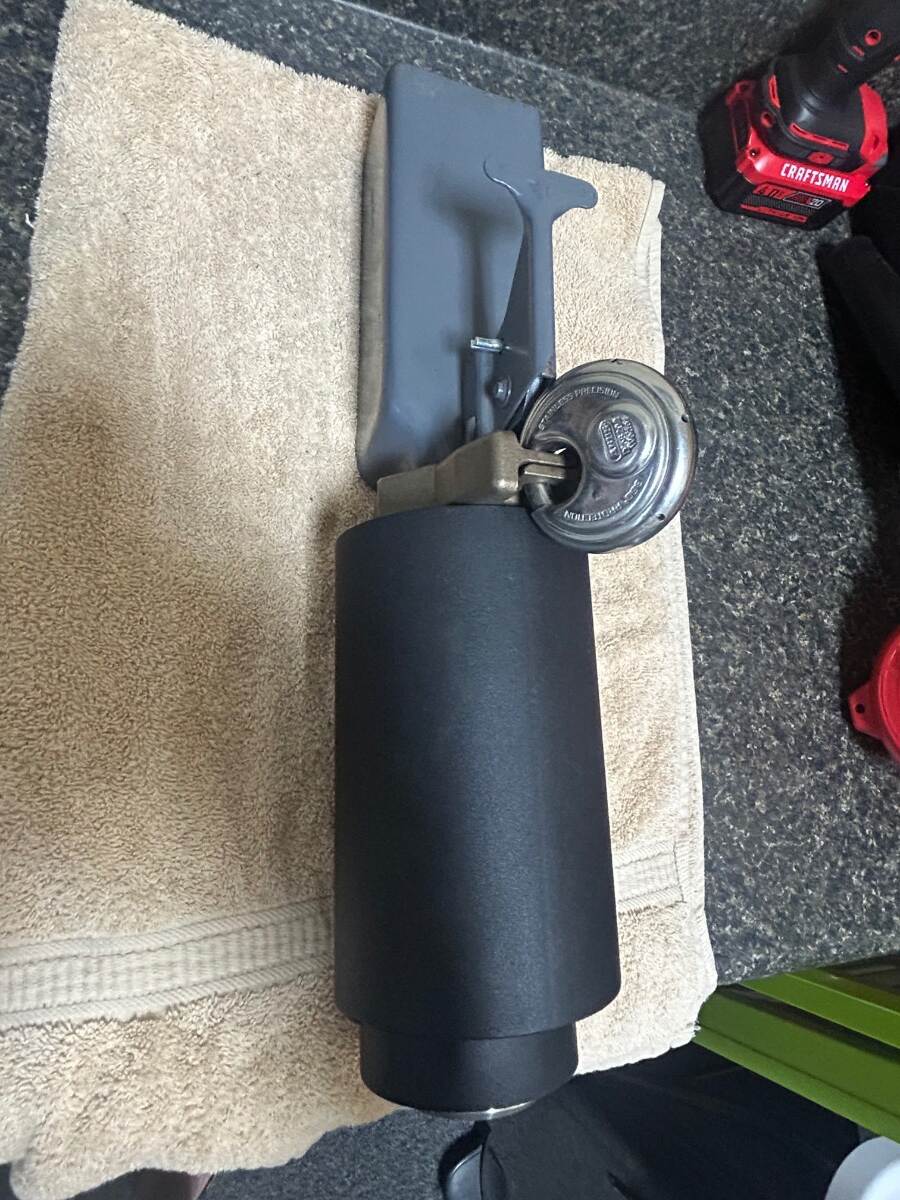
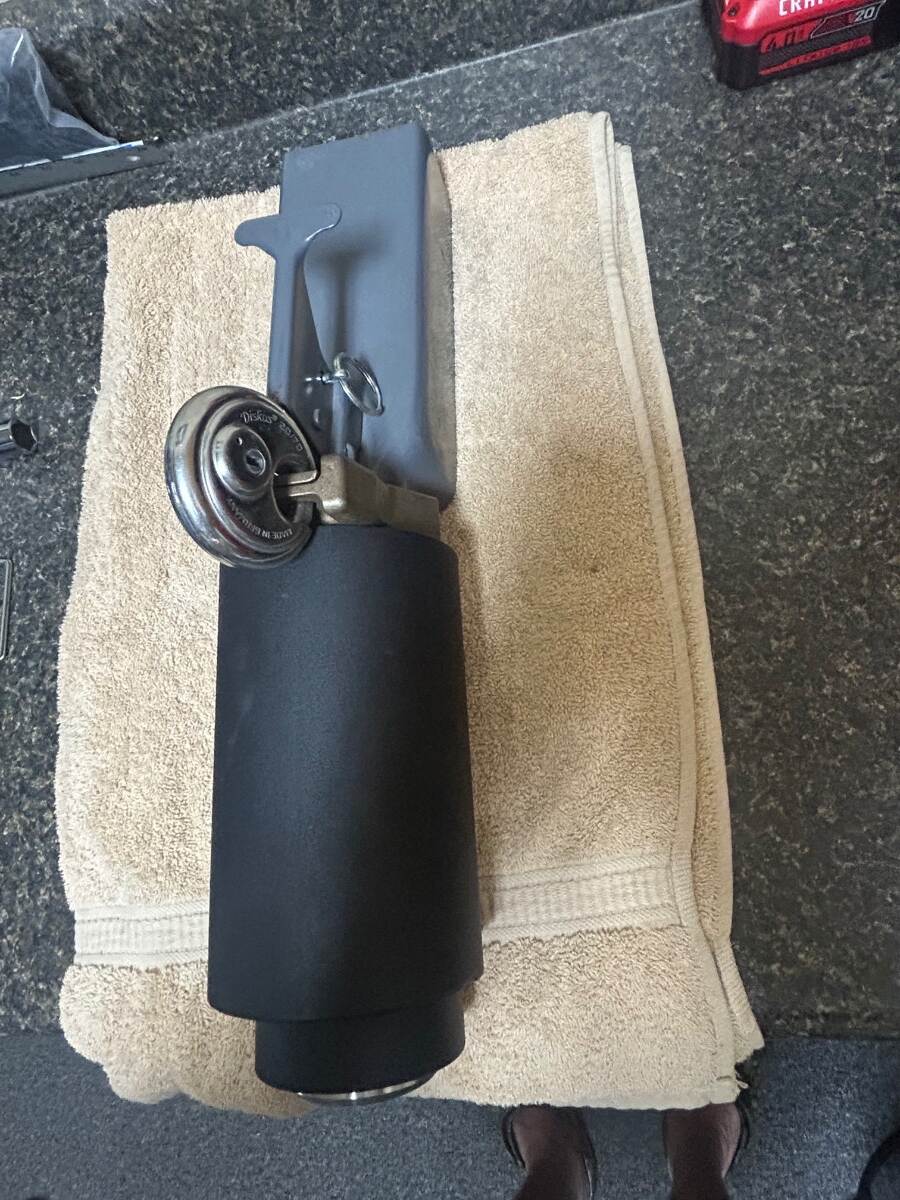
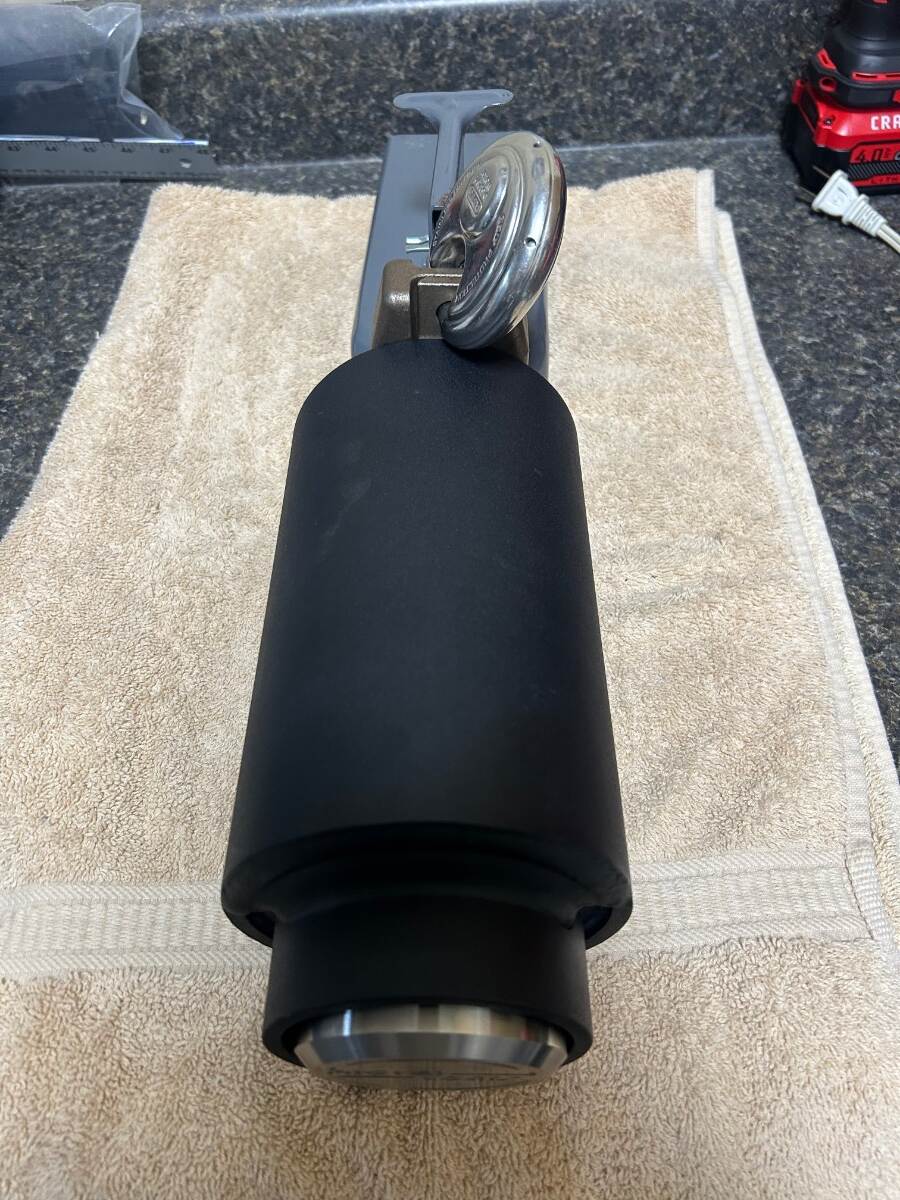
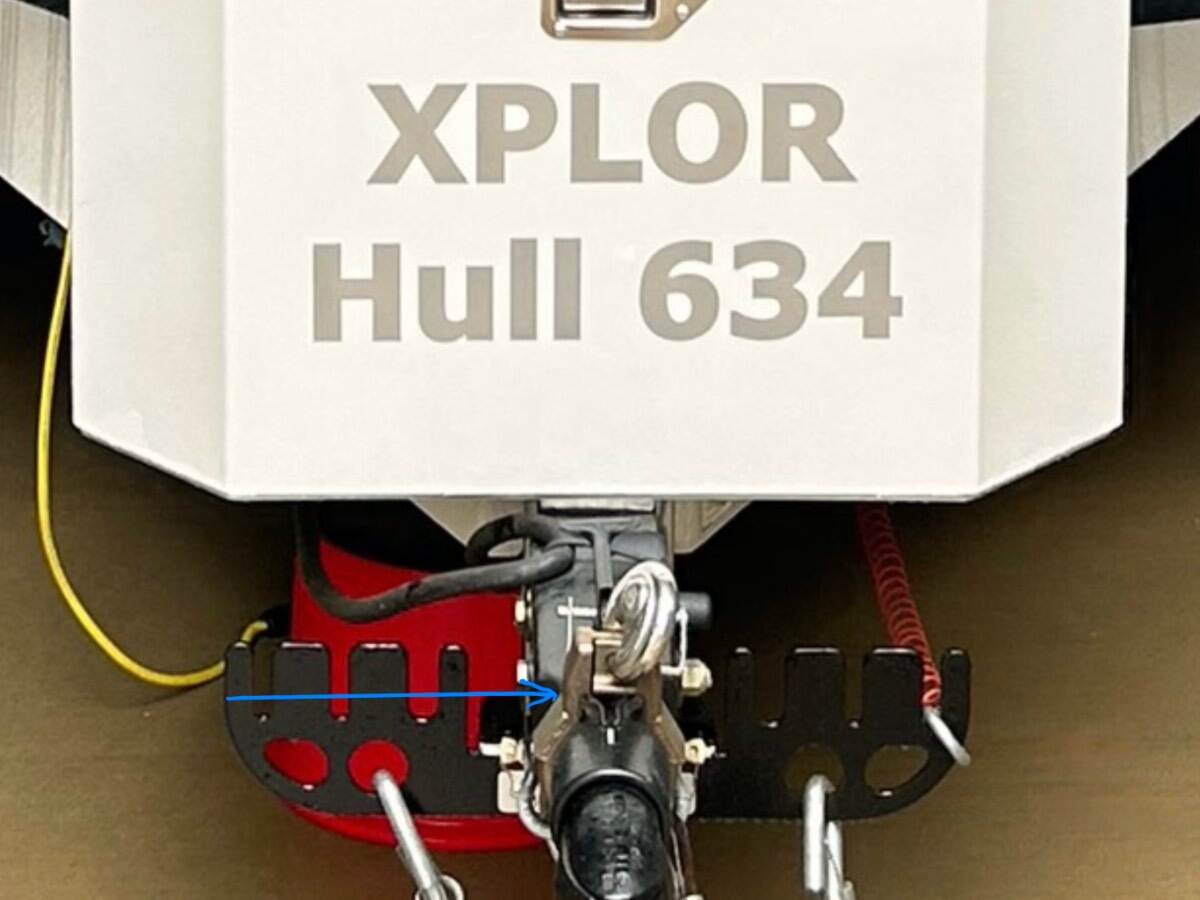
When parked at camp, I use a Proven Industries coupler lock with the optional S/S puck and Medco lock which is extremely robust. It’s just about bomb proof. **** A note to any owners upgrading to the 2 5/16 BD coupler and IF you presently use a Proven coupler lock for with a 2” ball, no need to purchase a new Proven Industries lock. Your current 2” coupler lock will work. I mocked mine up this morning on the new BD 2/16 coupler and its fits perfectly. Do not loose the keys, as I cannot imagine trying to remove either of these this locks.
-
Upgrading from a Bulldog 2” coupler to 2 5/16 BD coupler
Patriot replied to Patriot's topic in Ollie Modifications
Yes sir Bill, another big plus to the S/S collar. 👍🏻 -
Upgrading from a Bulldog 2” coupler to 2 5/16 BD coupler
Patriot replied to Patriot's topic in Ollie Modifications
Hopefully they will restructure like many companies do. Only time will tell. -
Upgrading from a Bulldog 2” coupler to 2 5/16 BD coupler
Patriot replied to Patriot's topic in Ollie Modifications
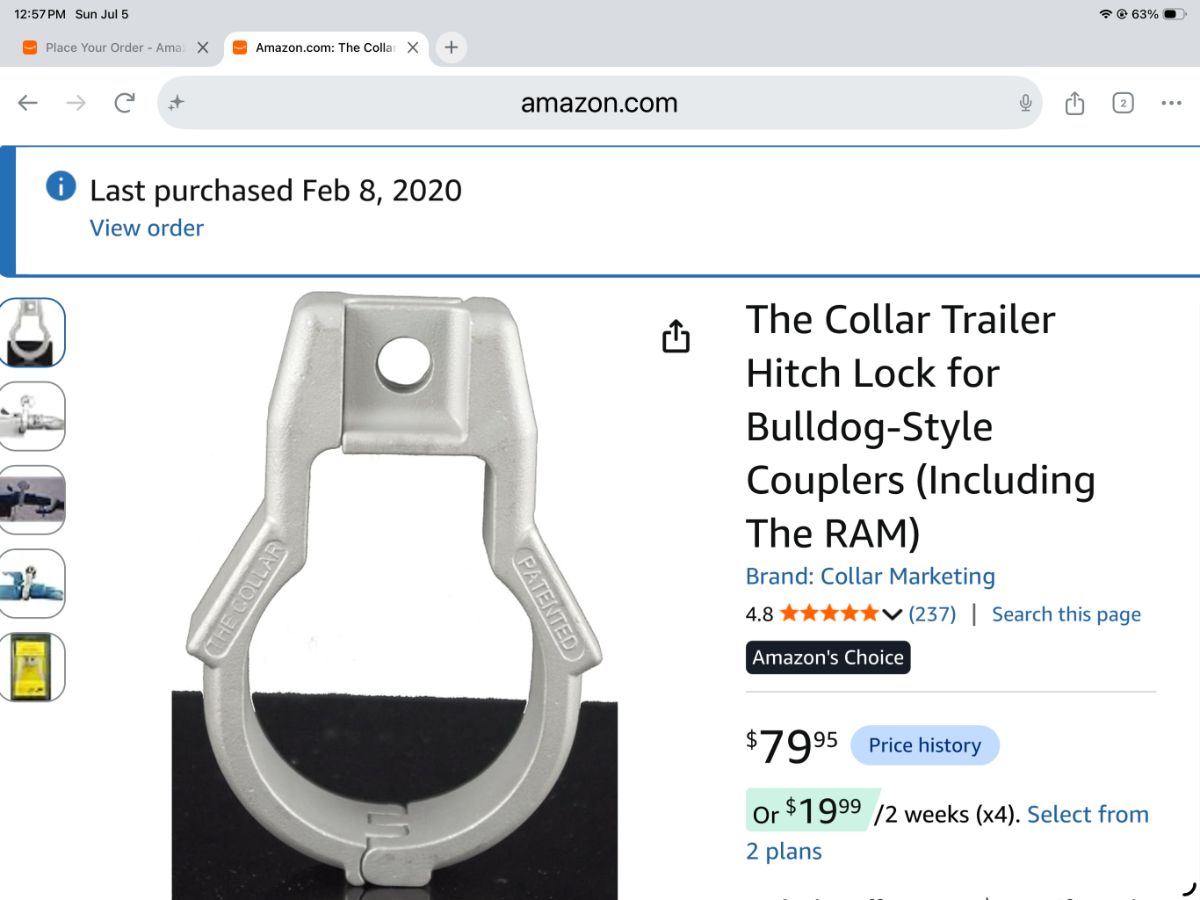
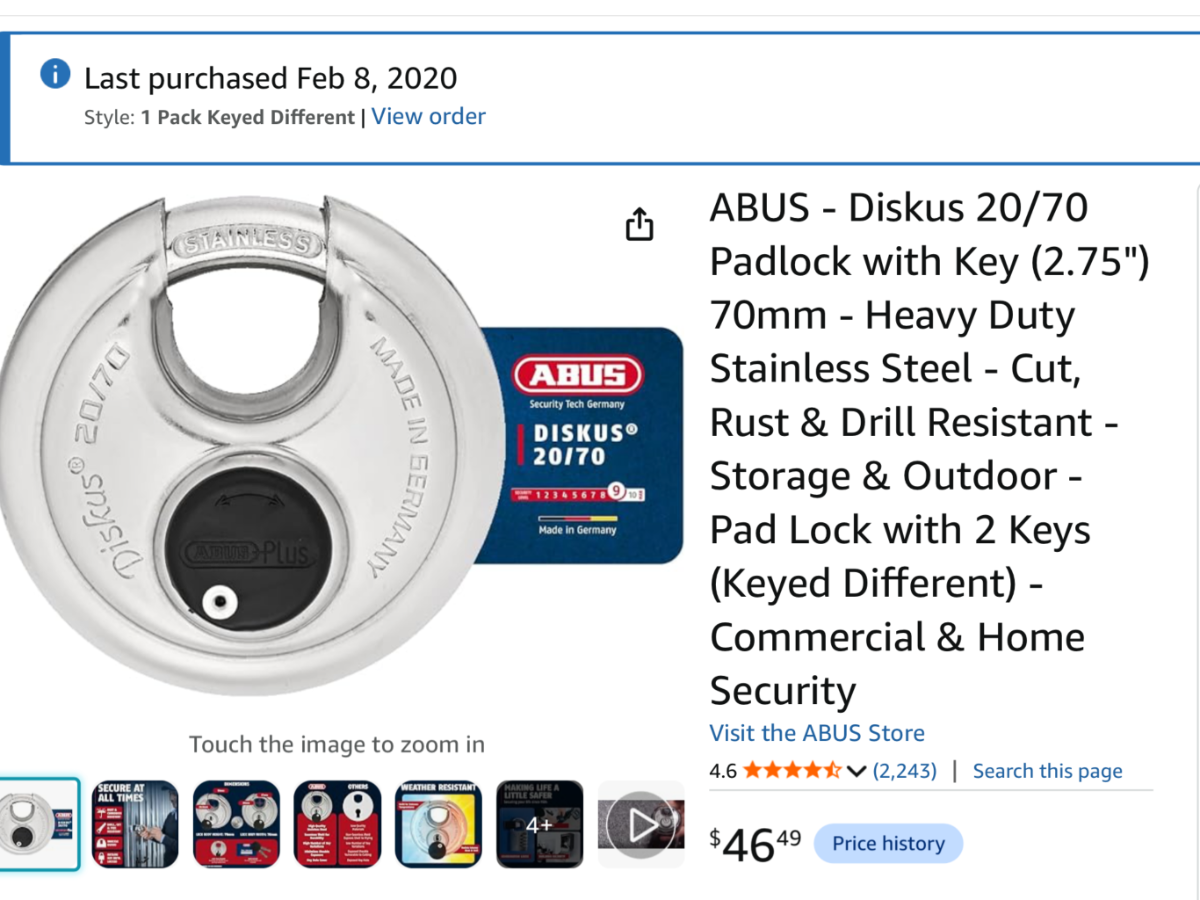
We have used this coupler security and ABUS lock combo since we took delivery in June of 2020. Since it only takes less than 5 minutes to remove the BD coupler via the two bolts off the trailer tongue it’s a good deterent and better than nothing. Also when on the road it makes for an easy eye safety check during a walk around of our rig. This combo continue to serve us well 6 years in. Both have strong reviews. I will use this collar and lock on the new 2 5/16 coupler. Another plus with the S/S collar, you cannot secure the collar on the coupler locking mechanism if the coupler is not properly locked down so the clam shell cannot be moved back on the hitch ball. A nice little extra built in secondary safety feature. https://www.amazon.com/dp/B00HL2NM0K?ref=ppx_yo2ov_dt_b_fed_asin_title ABUS Stainless lock made in Germany- https://www.amazon.com/dp/B009S5Y6ZS?ref=ppx_yo2ov_dt_b_fed_asin_title&th=1
-
Oliver Bulldog 2 5/16 coupler upgrade. I decided to finally pull the trigger and upgrade our Oliver from a 2” 7000# Bulldog coupler to a new Bulldog 2 5/16” 12500 coupler. I also ordered a spare coupler repair kit. These 2 5/16” BD couplers are becoming difficult to locate and purchase with Bulldog filing for bankruptcy protection in Oct of last year😳. It’s my understanding, that BD is no longer manufacturing and shipping these couplers to RV manufacturers possibly due to bankruptcy proceedings. (open source) I did attempt to purchase a 2 5/16 BG coupler from Oliver and they no longer have this upgrade in stock and available to purchase and ship. Jerry at Oliver told me they have no idea if or when they will have this coupler in stock again and are seeking alternative options. Will there will be a restructuring with BD? Anyone’s guess. I will be taking the new coupler to a friend’s machine shop to have the holes precisely drilled. If you’re on the fence about upgrading to a 2 5/16 12,500 #coupler it might be a good time to search for a vendor that has one on the shelf and ready to ship. A big thank you to @rideandfly for helping source this coupler! The Vendor I ordered from was Croft Trailer Supply in Kansas City, Mo. Ended up myself, @rideandfly and @John Dorrer purchased the (3) they had in stock. If it’s an upgrade you’re considering you may not want to wait. Safe Travels! Hull#634 XPLOR
-
I understand and yes, upgrades are spendy! We also use our camp chairs for drying towels which work great too! 😊
-
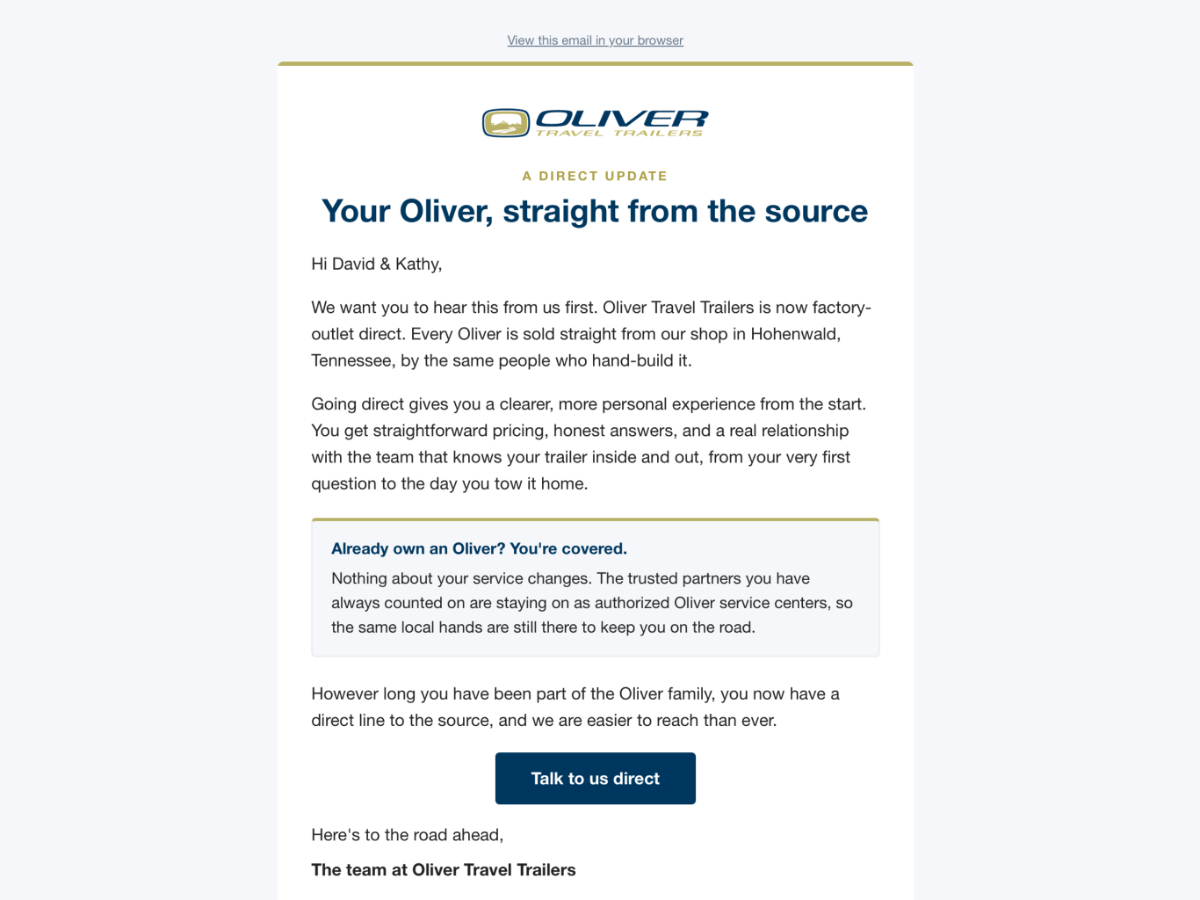
Oliver just sent this out to owners on June 30th to those who have opted receive their regular marketing emails.