jd1923
-
Posts
3,602 -
Joined
-
Last visited
-
Days Won
276
Everything posted by jd1923
-
 We use a 35 ft rigid hose to get from our truck bed to the Boondocking inlet! (when hitched) Here I used only the 25’ hose since I had backed closer. Not carrying those little water jugs! We fill about 18 gallons at a time, every 3-5 days, half our 35-gal storage tank. Filled up this morning while breaking camp (in the rain) and dropped some gray which is allowed in our remote NF location. Ready for our next camp!
-
Drove us crazy, June in Wyoming and Colorado with temps in the 90s! We had to pay for electric to run the noisy Dometic A/C! It's 60F here today, 10AM at 8910 FT. Was a low of 48F at dawn and a forecasted high of only 64F today, got to 73F yesterday. It breaks all stereotypes of Arizona weather! Love it, love wearing wool socks, shirts and hats!
-
Don't forget Hawaii! 😂
-
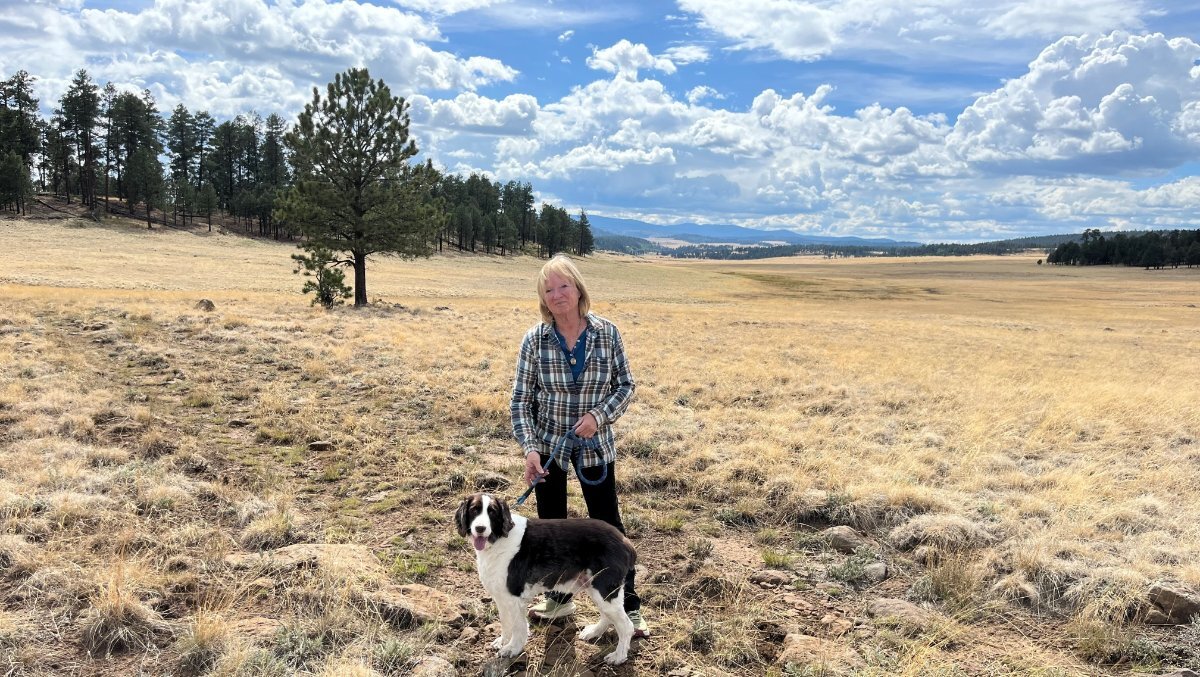
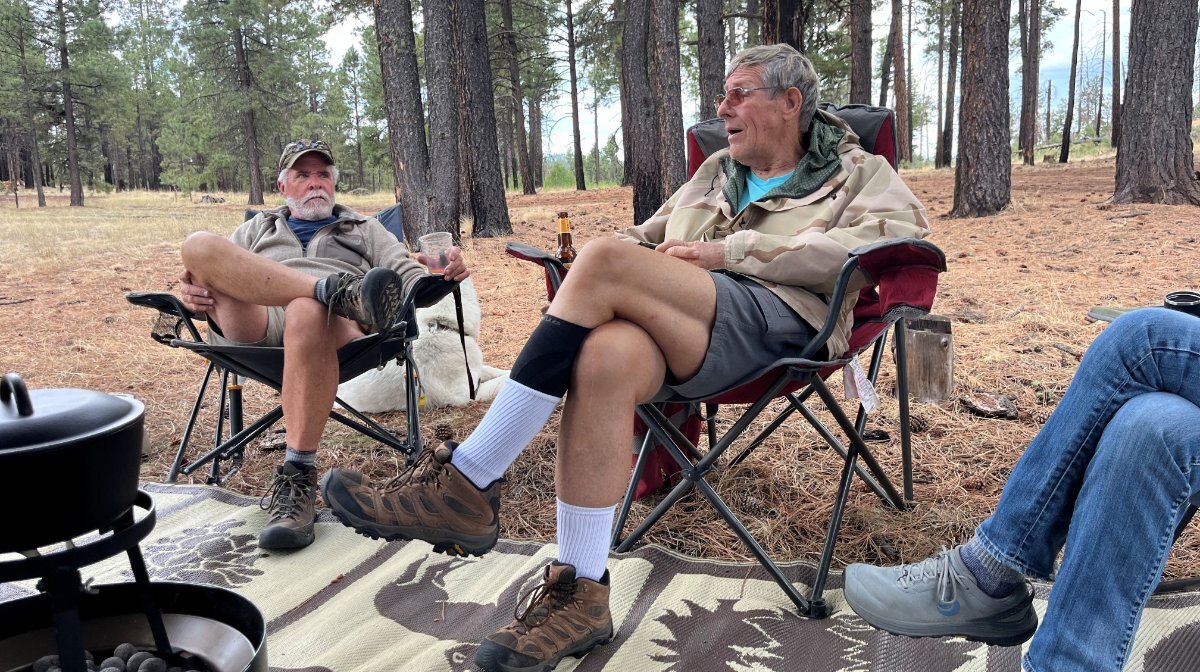
God’s country with great people and taking time to enjoy! Chris calls this camp “Our Place!” We hiked today and found 2-3 backup campsites down our small FS road, with great views along the way!
-
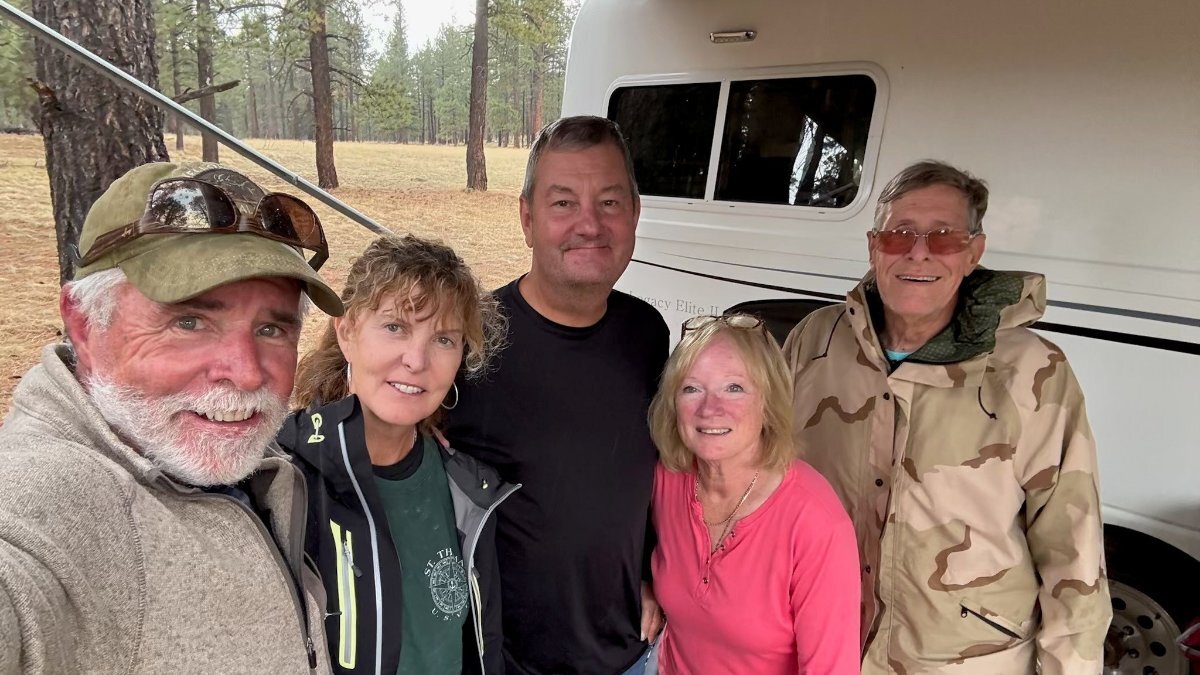
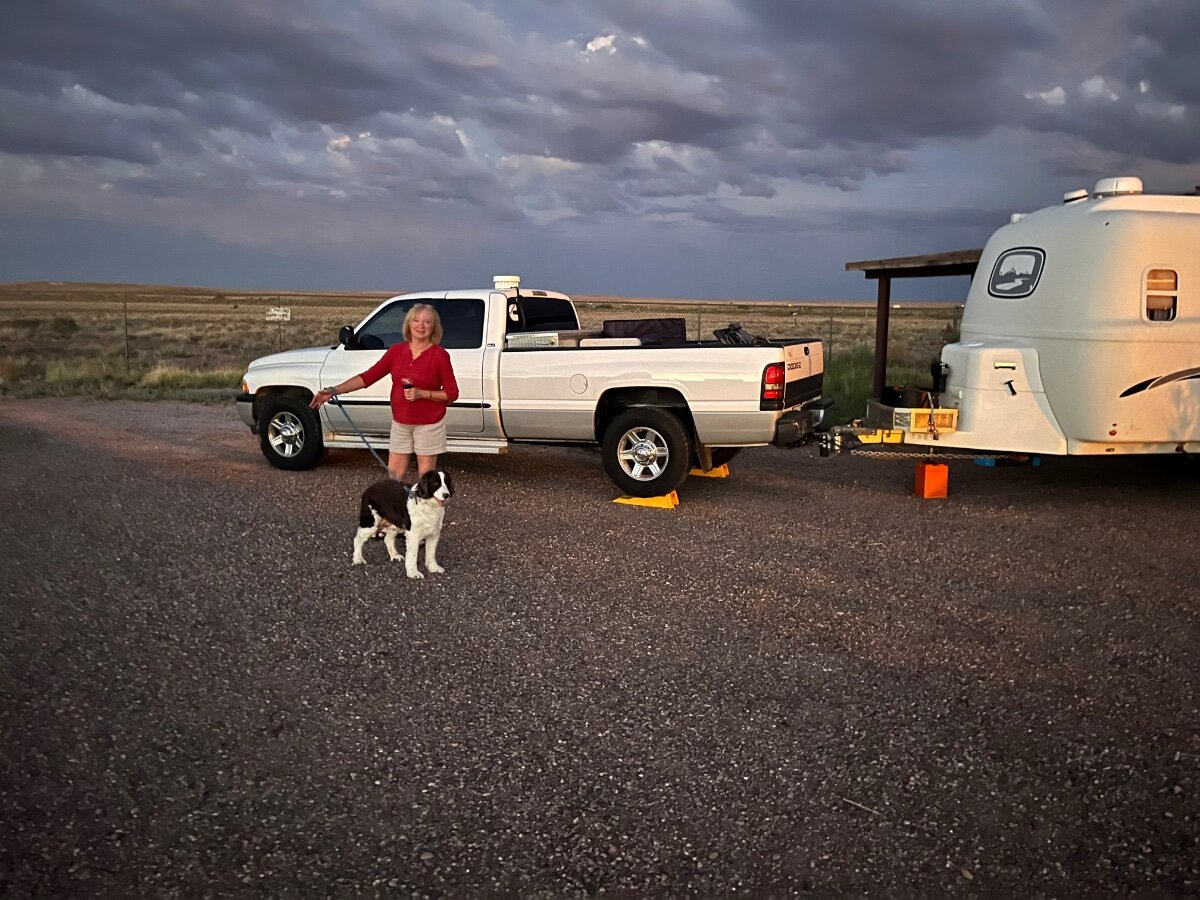
If it wasn’t for my bad directions, mountain rains, wet dirt roads and no cell reception at 8900+ ft in the Arizona White Mountains, we would have had three Ollies together! The next day, we spent the day together at our camp. Picture by Art with Diane, then John & Chris and John pictured. @MAX Burner, @jd1923 and @Geronimo John all in one place… Priceless!
-
Correct, but not for just a small few of us who need to pull water (vs. push) though the Boondocking inlet. When a hose shrinks or flattens it cannot be used as a suction line. We just had a thread on this subject.
-
Keep in mind, flat hoses and other compact hoses recommended do not work for filling the fresh tank via the boondocking port. Something we do often, filling from our extra 35-gal fresh tank in the pickup bed. When pulling water by suction you need a rigid hose, one that will NOT shrink or flatten. We go with the standard Camco hose. 35 ft is what's needed to get from our truck to the boondocking inlet when hitched. I had a 25' hose so purchased a 10' hose which is great alone when we have water hookup at a campground. They are firm and many complain about rolling them up. I roll in big loops and it fits in the Oliver Trunk and unwinds nicely. Good reviews on this Amazon item: https://www.amazon.com/Camco-TastePURE-Heavy-Duty-Construction-22843/dp/B004VHXS20/?th=1
-
What the trip computer reported in Austin traffic carrying that weight for that short period of time. Yes, the average would be better. The Prius carries 1-2 people to work efficiently but far less efficient carrying much extra weight. That's why I prefer a 2WD long-bed full size pickup. On identical models the 2WD truck will sit lower and the steering and suspension by design are more stable (though it's difficult to source high-end aftermarket parts). The long bed provides a longer wheelbase which also provides for more stable towing. We climb a lot of sketchy dirt roads out here, with only 2WD towing our Oliver. Some Oliver owners who have visited here recently could vouch for that! Just keep your rear wheels over good dirt and you be fine! 🤣
-
The following example took place 10 years ago, and perhaps hybrids are better today. At a job in Austin, 4 of us big guys 800+ LBS total, went out to lunch together a few times a week. One guy had a Prius and he bragged about MPG when commuting! When the 4 of us, packed in like sardines, went out to lunch in the Prius, the onboard trip computer showed an insulting 12 MPG, equal to an old 80s carbureted pickup truck! 🤣 On lunch days when I drove our 2014 VW Passat TDI, getting 38 MPG commuting daily with no measurable difference with 4 big guys onboard, seated comfortably! When we moved from TX to S Fl, Chris drove the Passat alone while I pulled a cargo trailer with the Ram Cummins. We packed every cu ft of the Passat, passenger side, back seats and trunk full. We got 45 MPG highway the whole trip one way! I’ve had 2500 series diesel trucks for 22 years now and will continue to do so.
-
The highest number I ever got was a reading of 367W for a few minutes! Was I limited by the 30A SC or will a 400W panel actually get greater than 90% the advertised number in real world usage? Let us know if you get 450W readings with your new setup. To get this number the panels were lined up to the angle of the sun as close as possible. Then a cloud comes by and it’s reading 220W. Later the alignment was off and it’s reading 260W. Given ONLY near perfect alignment and dry sunny Arizona sky will get over 300W, the 30A SC is enough. Could be enough for a 450W panel too but the 50A would produce more in perfect conditions. Of all the mods I’ve made, adding the Renogy 400W solar suitcase, extension solar cables and internal wiring, the Victron MPPT SC has been our least used mod, wished I had saved the money, close to $800 total. It is only useful when staying in one location, without electric, for a week or more. When moving more often it’s unnecessary because of the following - We spent less money on our Victron Orion XS 50A DC-DC Charger and it pays for itself everyday we tow adding +35Ah on average every hour on the road, rain or shine! No fuss, muss, just attach the DC-DC cable when you hitch up! (panel setup is a pain!)
-
Me too. Sales low due to being ugly and it’s just not a pickup! Where do you load 20 sheets of drywall? 🤣
-
The Life is Good collection is available at Ouray Emporium. A few doors down the street is Mouse Chocolates. We had to go there both days in town! Get some Scrap Cookies 😂 at a deal and a morsel of chocolate at the going price.
-
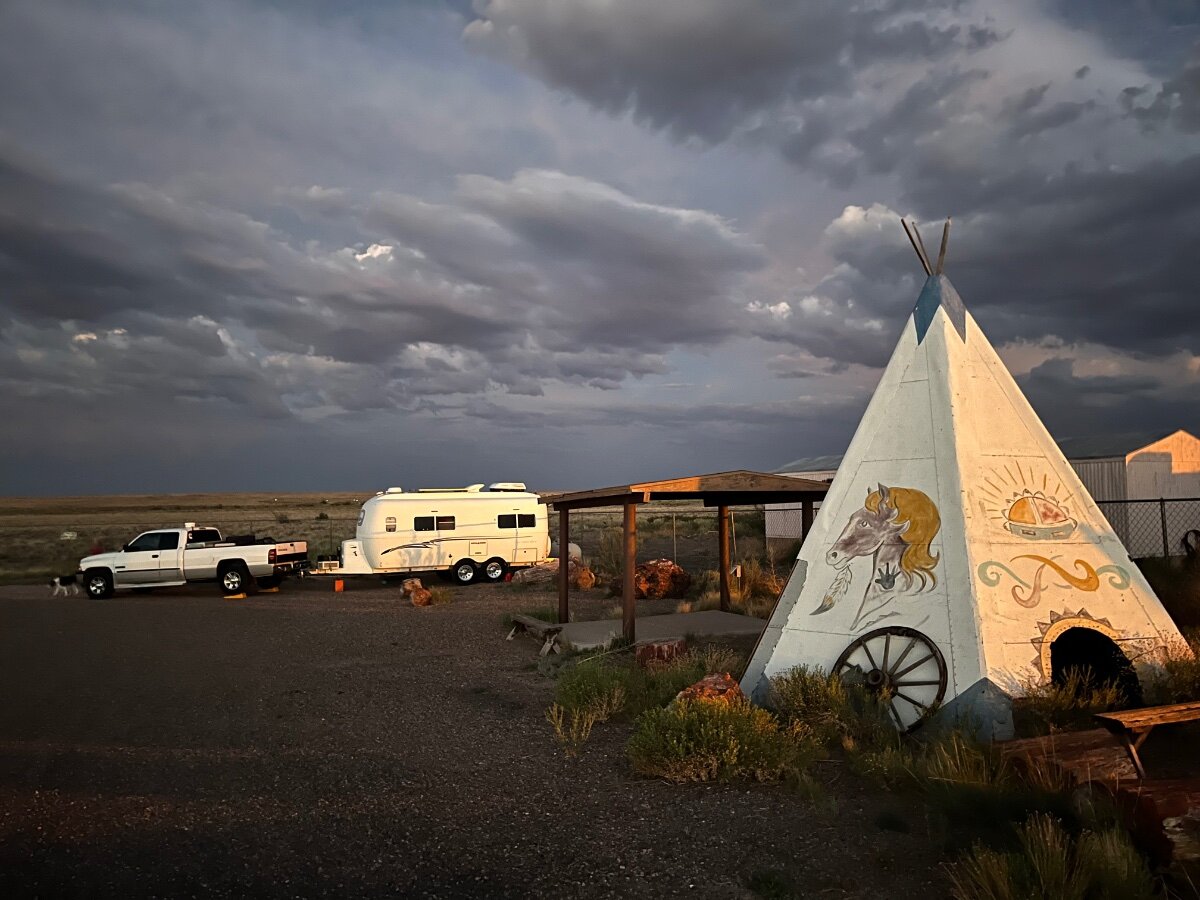
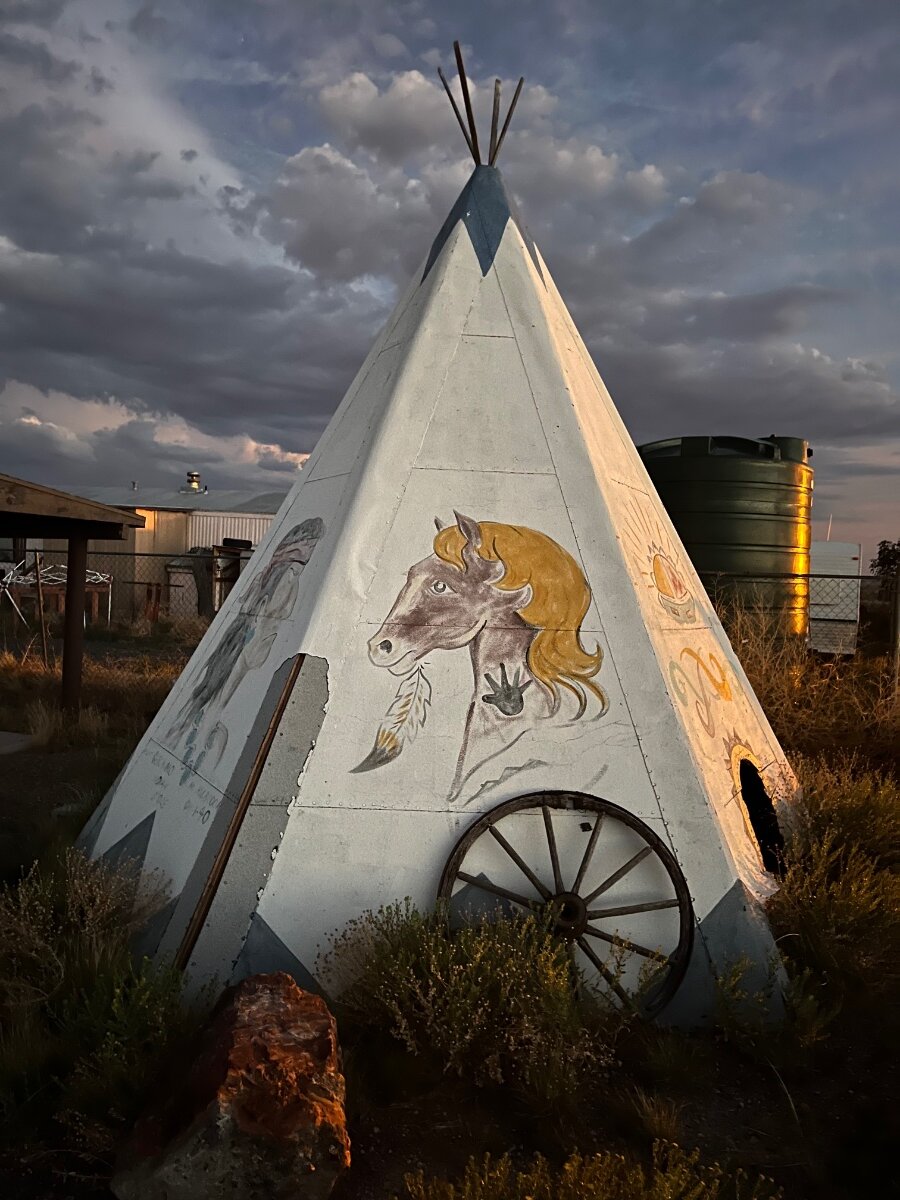
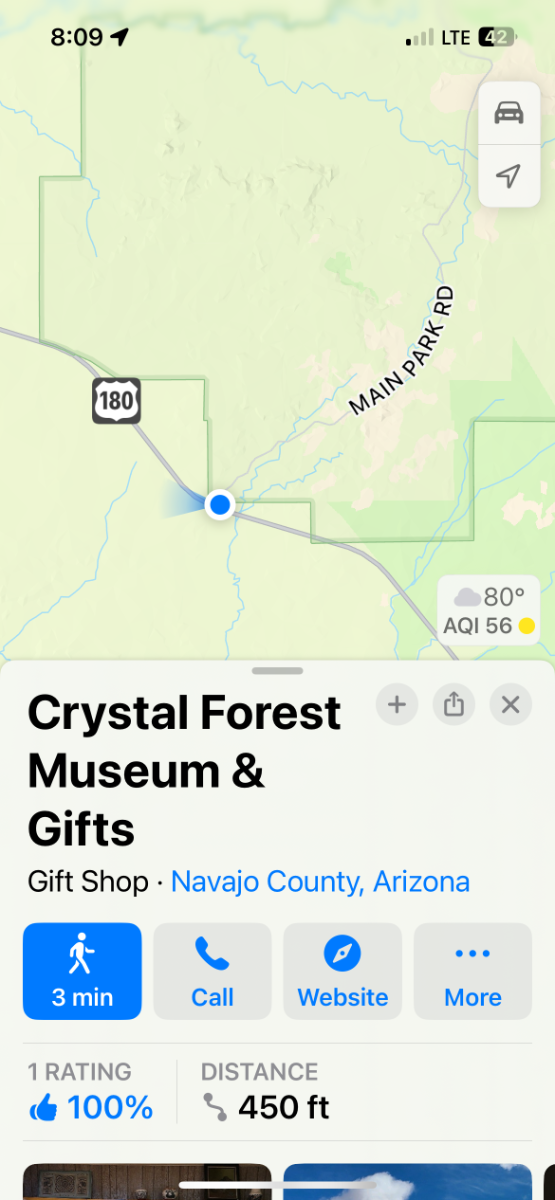
Ollie #113 is on way to meet new friends tomorrow! We were here just 2 weeks ago. Was our last stop on the way home, and this time our first stop on the way out, 3 1/2 hours from home. Great place! Last time we bought two nice samples of finished Pertrifed Wood. Wonderful Mother & Daughter running the shop! Free Parking on the east side of the park road. $25 for electric on the other side. And if your comin’ here, don’t take my corner spot! 🤣 Nice pics, huh?
-
You would have a good margin of safety with that (450 / 12 = 37.5A) and you would not hit the 100V limit either. I went with the Victron MPPT 100|30 for our Renogy 400W suitcase. Thinking 30 x 12 = 360W and this number is the highest I've seen (for a few seconds), most often getting between 200-300W from 400W panels. https://cleversolarpower.com/what-size-mppt-controller/
-
We were just there 3 weeks ago! It’s been drought out West for a couple years now. We got our first rain this week since last fall!
-
Got the router, new in box, thanks Geoff - Leaving tomorrow on a short trip and we will try it out soon. First try, I'll just use the provided power supply plugged into the 110V outlet. Our TV is 1080p and 4K and I did not set it lower, although YouTube and other services often downgrade the res when download speeds are slow. Your TV will buffer and get ahead when the signal is good to make up for the brief off-line periods. We had little to no interruptions when this occurred! I'll get to the proper "Where's Ollie" subject in two days when I post "three Ollies camping in the Arizona White Mountains!"
-
Yes Bill, this will work, but our experience shows the connection may pulse on and off. Starlink runs a series of satellites in an orbit. As one is in a small opening between the trees and moving off to the east, the next satellite coming from the west must take over. At one campsite with a small opening the Starlink would read “On-line” then “Off-line” for a few seconds, and it repeated this pattern continuously. Because of buffering we could still stream TV. I had some photo uploads fail and determined that happened when I clicked to upload just when the Starlink was “Off-line” for a few seconds!
-
Two Quick Stabilizer Jack Questions
jd1923 replied to Tony and Rhonda's topic in Mechanical & Technical Tips
Tony, I clean most grimy auto parts with Go-Jo hand soap (not the pumice kind). It cleans grease and oil off the mechanics hands and does well with cleaning most parts safely without abrasives or solvents. I worked it in with very fine steel wool, that's it. I detailed this and a complete and thorough maintenance of the Stabilizer Jacks on page two of this old Forum post. -
Two Quick Stabilizer Jack Questions
jd1923 replied to Tony and Rhonda's topic in Mechanical & Technical Tips
First thing I noticed is the jack feet on your Oliver are much different from our Hull #113. Ours are round and flat vs. oblong and dished. I rebuilt our front jack to properly service and grease it. The first photo shows the jack stand with shaft brushed clean to metal and the foot was cleaned, but NOT painted (jack stand in mid air when pictured). I'm generally against paint, especially for the bottom where pressure will just make the paint peel. But our Oliver has mostly been in warm dry climates. The second picture is one I took when we had a steep uphill dump station. Pictured here to show the Andersen Hitches Trailer Jack Blocks. We use one of these always for the rear levelers (the two shown) and the stackable 1" blocks for the front. I don't believe the feet on our jacks will ever need anything but soap and water to clean. I would replaced the feet on yours with the round kind pictured and get a set of these Andersen products! https://www.amazon.com/ANDERSEN-Accessories-Stabilizers-Jackstand-Quickjack/dp/B0754NWJGR/?th=1
-
Tested and corrected this today. I had 12V+ at the Dometic Fridge DC plug which proves the wiring was installed as planned. Searched the User Manual re DC wiring and it had nothing technical to add. In no illustration did it show which side was +/-. All it stated is do NOT cut off the fused cigarette lighter plug (first thing I did)! The DC positive and ground tested good today, so what's up? My next thought was that maybe I had the DC polarity crossed. I made the wrong assumption that in the bonded power cable the positive should be the 'ribbed' side of the cable. True in AC wiring, check any lamp you have on your desk or in the house, the AC hot is ribbed in a bonded lamp cable, the neutral being smooth. Not true here where Dometic wired it the other way around! I had purchased a HD hardwire kit from Amazon for a later permanent installation and after looking at the kit, wires are clearly colored in Red and Black. I had the wires crossed! A few cuts and splices and all was good. Now running our Dometic CFX5 on 12VDC. Turns out you can have both AC and DC cables plugged in and it will prefer the AC connection and revert to DC when AC is disconnected. That's what I was hoping for, so not to change cable connections at the rear of the fridge. Before I connect the fridge to 12VDC, I measured our dual AGM tow vehicle batteries at 12.53V. When I turned on the Dometic, the display stated battery input voltage at 12.5V without having .01V precision. The reading looked to be accurate and it's nice not to have to measure this often manually. I will check voltage on the display and manually later tonight and in the morning 12 hours later to measure the decrease in battery SOC over time. The Dometic system also has shut-off protection when the batteries read less than 12V. Later plans are to add a dedicated battery, connection to the onboard DC-DC charger (already working today), a 100W Renogy flexible solar panel and Victron 15A MPPT SC... It should soon be GREAT! Love grabbing cold water while working on the truck and Oliver. A good mod for use in while traveling and camping! 🤣
-
Just searched for "truck wash" and got lucky. We had no idea! I imagine these are only available in good size cities in warehousing areas along Interstates.
-
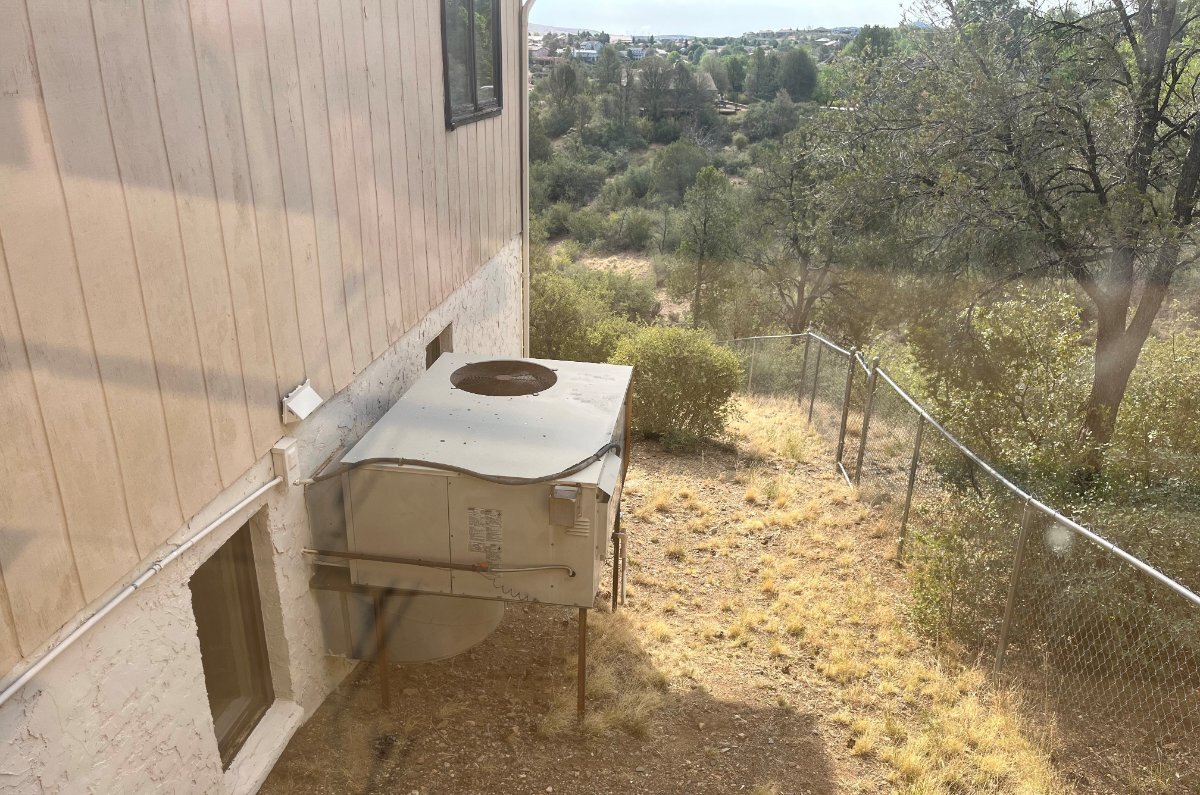
Our home finished in 1980 has the original A/C with natural gas furnace, an all-in-one meaning the evaporator is also outside in one housing. As far as maintenance, I open up the panels every few years, remove nests, dead squirrels and such, hose the condenser coils clean and that's about that. Five years ago the condenser fan went out and I replaced it. That's it in 20 years ownership of our Prescott home. It has lasted 45 years! But the required 6 lbs of system freon was down to 2 from micro leaks on the coil (was repaired with a fix-a-flat kind of sealant). The service tech was amazed at the condition, so rebuilding the system to newer (legal) freon was possible. A $2300 retrofit including all new valves and seals vs. $16,000 for a new system, I was relieved! It's on our southern exposure where the siding and window mouldings take great abuse, needing frequent painting, from the relentless Arizona sun. Our summer Monsoons and winter storms also come from that direction! Now you can see why our Oliver, also out in the elements, doesn't have that CGI shine! 🤣
-
Legacy Elite II with 3000w Inverter - Generator Setup
jd1923 replied to EurekaJ's topic in Mechanical & Technical Tips
True that! -
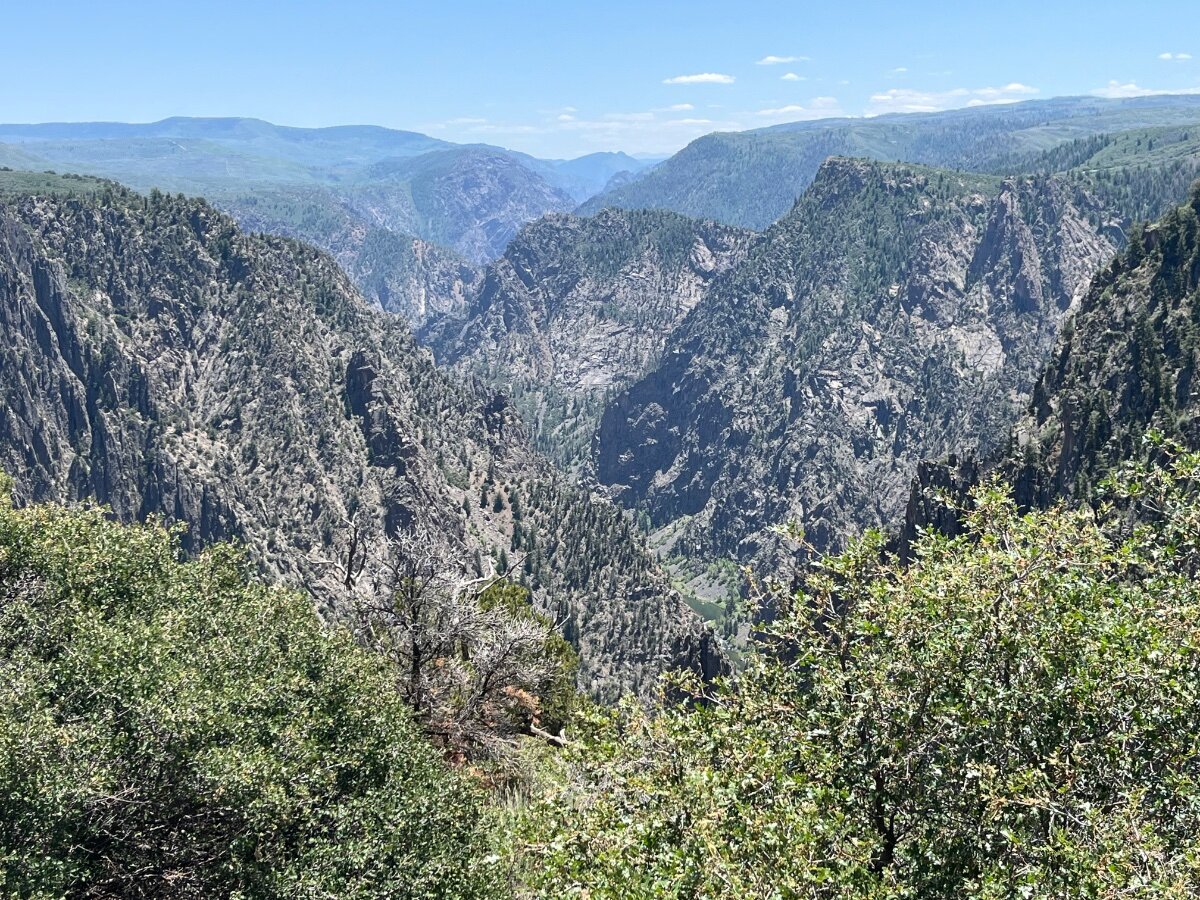
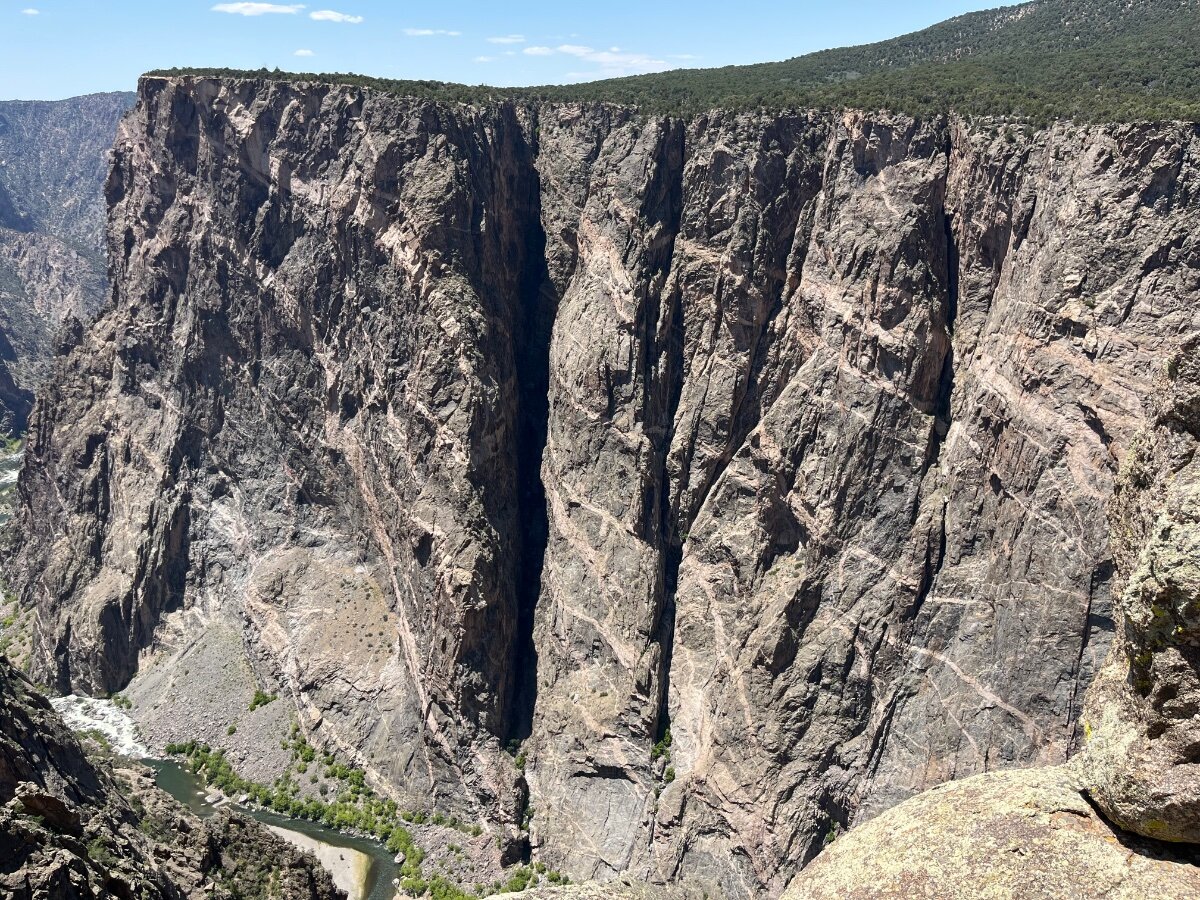
Perhaps we can bump into you along the way! We're thinking 9/22 start to about 10/15. We loved the areas south of Grand Junction (after my Alcan visit), from Ridgway CO down, Sunshine Campground near Telluride, then south along the Delores River ending in Delores CO. Endless boondocking opportunities along the way. During our recent trip we only had a few days in the area, so we want to go back and camp along that route for 3+ weeks! 😂
-
Thank you for this notification! We were thinking of going to the North Rim this Sept-Oct. Looks like our alternative of SW Colorado will be it. Wonder what will the National Parks Service do about rebuilding the lodge? (We would boondock in the area anyway.)


.JPG.0e863be1f134008e4cac426a6b9ee410.JPG)