jd1923
-
Posts
3,649 -
Joined
-
Last visited
-
Days Won
281
Everything posted by jd1923
-
Ray, you and Nancy are awesome! Hey if I was not 1000 miles from home, I would have loaded the truck with tools and my replacement parts, 90 min out and @Cort would have been on the road in hours. Your positive attitude, and those of others here, are what makes us Oliver owners a strong community. I used to belong to car clubs where we had a national directory, including phone numbers like you mentioned. I’ve had to make that call broken down on the road and others had called me. Had the correct OEM starter motor sitting on the shelf when one member called in need. That’s just great! 😂
-
First off, my suggestion re part # SW4B was to buy what's available in 1-2 days to repair and get home. Not to buy a set of 4 by all means! Though I agree with GJ and Ken that side-to-side motion and leaning up or downhill adds to stress, still it’s not like 70 MPH hitting a pothole, uneven RR tracks, etc. AND there should be enough engineering tolerance for ALL of these common environmental issues that are common in trailers! I talked to Alcan today and will post that on the LONG thread where we’ve been discussing these frequent SW4B failures. @John Dorrer please don't think this will not happen to the newer hulls. I believe it’s older hulls like ours where the steel was better 10 years ago. Lance’s failed on a 2021 and Rich’s 2023 “are already showing signs of flattening!” Mine still look perfectly arced, but either way a year ago I purchased a set of OEM SW4B springs for a roadside repair if necessary! And I carry a bottle jack, jack stand, 1/2” drive sockets, breaker bar with 30” extension, new u-bolts, etc! 🤣
-
On the recommendation of Lance, Steve, Art, those who upgraded early and from what I’ve read, Lew at Alcan the 5-leaf is what he in the business suggests. Also, on this our first long highway trip, I’ve noticed how our hull waddles like a duck across RR tracks and other road contours. Less worried about vibration and other cited concerns.
-
Patriot, you’re doing it to me again! Earlier I’m thinking about a fridge-freezer box for the TV and now this! Hope to meet you on your next trip west! 😂 Lance @Mountainman198 we met at the Q in Feb and thank you my friend for being the pioneer in this upgrade! 😂 So we’re sitting at Mt Rushmore, did the Presidential Trail yesterday, Bison filet at the Powder House Lodge and went back for the night presentation, lighting of the monument followed by a salute to our veterans, what a majestic place! We slept well and got up to coffee, the forum and checking the map for the next leg of our trip. So Grand Junction is on our planned route, halfway between here and home! Not sure I want to afford their full service treatment but I would not upgrades leafs without the 5200 lb axles and all the extras you mentioned. Just had breakfast and after another cup of coffee, I’ll be calling Lew. I have no idea if they could fit us in a week out and not sure if they have the 50” axles required for our older hull. I will at least stop by, purchase the leafs, HD shackles, wet bolts, etc. for a later installation at home, purchasing axles later… Or perhaps, bite the bullet, beak down emotionally and let somebody else work on my Oliver! 🤣
-
First off, close to town, there is a loop from Copper Basin Rd to Thumb Butte Rd where in 15 min you get above the 5300 ft of downtown Prescott to close to 7K. There are about 40 designated campsites that are usually available unless the annual Mountain Bike Race is in town or the like. Then check the Motor Vehicle Use Map (MVUM) for the Prescott National Forest for literally 1000 other possible locations. Camping around Flagstaff, I imagine you have the MVUM for the Coconino NF. I used that on our very first Oliver trip 2 years ago to Kendricks Peak Wilderness Area. It was July so we were looking for a first camp above 7K ft. 🤣 We can just barely see Kendricks Peak from our deck, so it’s been on my list for years! Along as with views of the San Francisco and Bill Williams mountains that are closer to Prescott. God’s Country!
-
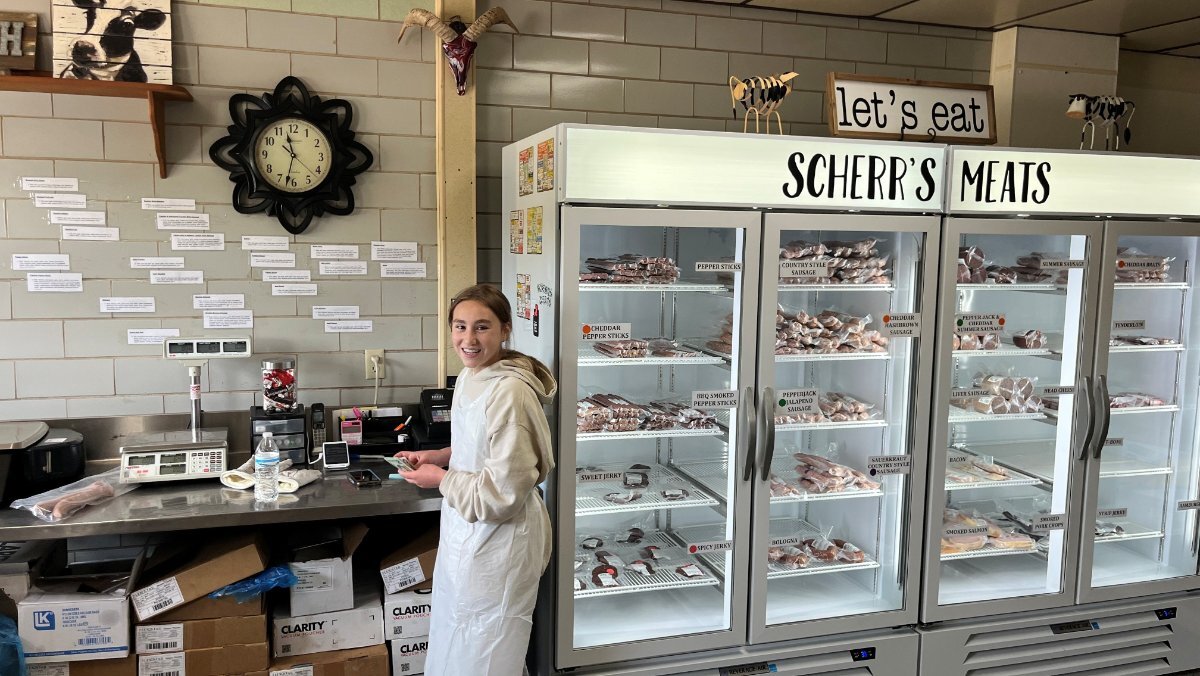
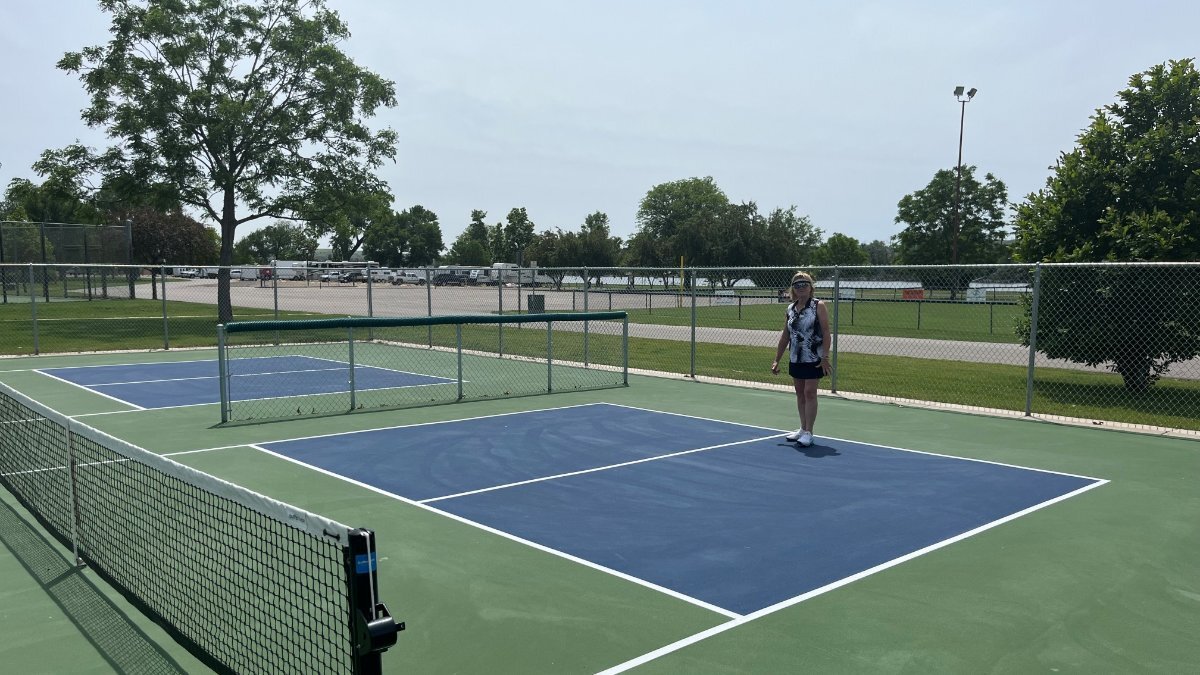
Leaving Beaver Creek Rec Area we had to stop at Scheer's Meats in Linton North Dakota. The place looked promising the day before but they were closed. If I remember correctly, Kara help us. We picked one huge T-bone to split, 2 lbs of hamburger meat (had a burger for lunch today and it was great)! And bacon, liver sausage and jerky and we could not believe it all for $52! Great meats and service and if we lived nearby, definitely would be regulars! Then we headed to Pierre SD, a town I've wanted to visit. Nice clean small city. We stayed right in town at Griffin Park on the Missouri River. Chose it for the pickleball courts a short walk away. Great river view, beautiful soft lawn, although the RV spots were just a gravel lot. We needed the electrical cause the heat wave had started. We enjoy short hikes when traveling, but Chris and I have played tennis since the 70s, together since the 90s and for us 2 hours of pickleball is good exercise, gets the endorphins up and we feel better all evening (and at our age, some aches the next day of course). This was the 5th time we played n our trip. We played in Lincoln Nebraska, Mason City Iowa, Lakeville Minnesota, and both Fargo and Pierre in the Dakotas! We also shopped food in as many places always in small family-owned shops. In another post after @Patriot mentioned getting a fridge-freezer for our TV, I was like, no I don't want to do that. But he was right which is often the case! If we had a second freezer we would have spent another $100 at Scheer's Meats for sure. An upgrade should be coming a a time TBD...

-
Cort, when you get your Oliver suspension straight, and we get past this heat wave, come offroad by us sometime. I'll show you some good spots to camp!
-
A rocky road is a reason to tear the sidewall of a tire. Leaf springs need to handle the weight of the trailer regardless of conditions. Hitting an uneven bridge seam or RR tracks on a 65 MPH highway is a lot more stress on springs and shocks than the bumpiest road traveling <20 MPH. No excuses for these lame Dexter leaf springs!
-
Also, if you decide to do this yourself... I have not done this work myself on a trailer but would get through it if I was there. Members here, like @ScubaRx and @MAX Burner and a few other have DIY this job and could help walk you through the steps.
-
I'm not familiar with trailer shops around Flagstaff, but unless you have backup parts the first thing is you need to source the correct replacement leaf spring. I would call every trailer shop around Flag to see if they have the correct leaf spring. I bought the following parts, 2 springs and a u-bolt kit so I could fully replace springs on one axle, left and right, on the road if this were to happen to us. Drive slowly and carefully if you only replace the broken spring on one side as the other will become the weak link. Very sorry for your predicament! I believe the part number SW4B is all you need to order. I ordered these from SW Wheel which you can see online for reference: SW4B-BR TruRyde® 4 Leaf 25 1/4" Double Eye Trailer Leaf Spring Bronze Bushings 1750 lbs APUBR3BX Southwest Wheel® U-Bolt Kit for 5,200-7,000 lbs. 3" Trailer Axle - APUBR3BX I have read on this forum that eTrailer will overnight these parts. Perhaps SW Wheel would as well. Get on the phone asap! As far as the shock, just remove it. They are unnecessary for travel. You can install 4 new shocks when you install 4 new upgraded leaf springs. Also, re-using U-bolts is not suggested. But I would if I was replacing just one leaf to get home or to a safe place to park the trailer. Hope this helps! Best wishes, JD
-
Yes, we are! Was that you exiting Badlands NP Wednesday morning? I wrote a mention about it in “I saw an Ollie.” We’ll be here ‘til late morning. Tomorrow night Horsethief Lake to visit Mt Rushmore. Love to see and Wendy!
-
Love it! Boondocking on the Badlands Wall BLM as I write. Per Mike’s comment, I added a column to our “Oliver Travels” spreadsheet! So I’ll need the 100 camping badge and the 50 “no hook-ups” badge, now 104 nights and 56 of them dry-camping. That’s about 54% but if I continue camping more in the west, we will get that number higher! 🤣
-
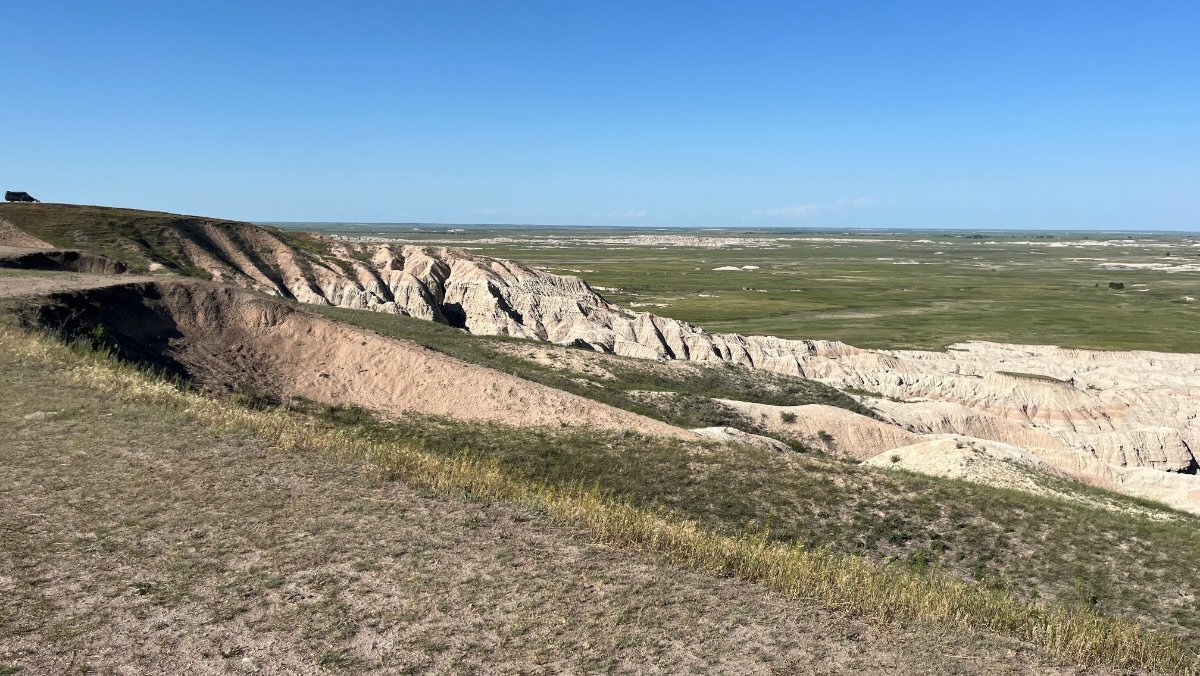
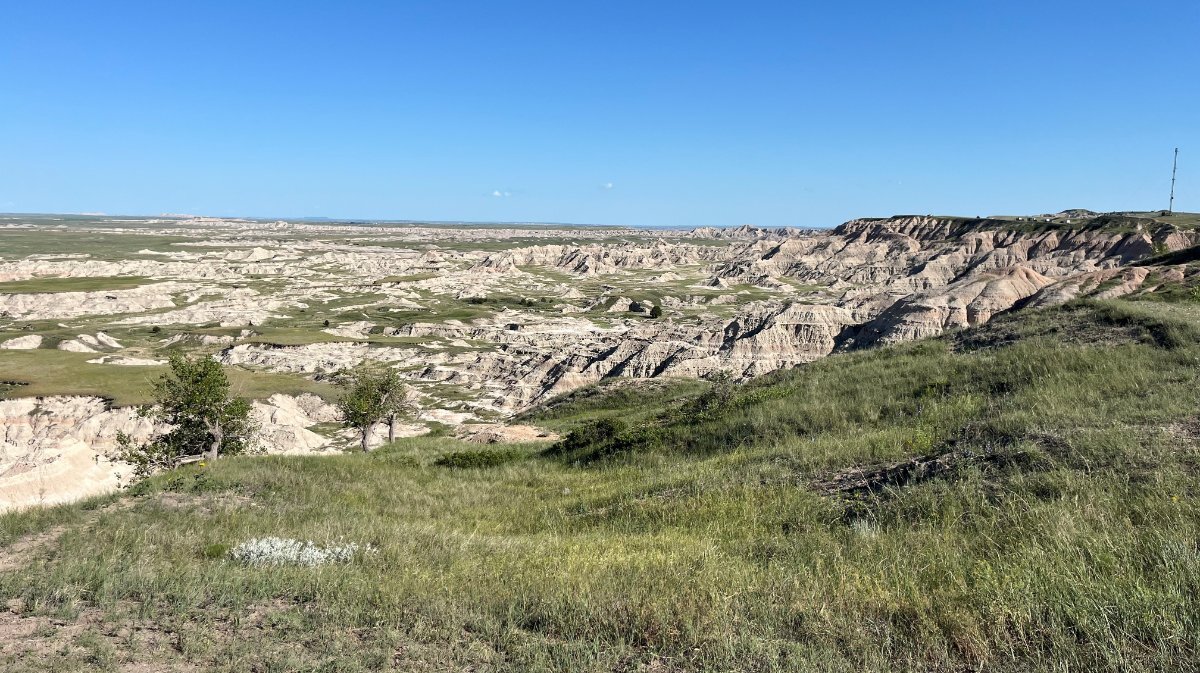
So Bill replied to my post on, "We saw an Ollie" and I thought my reply would fit better here, on Where's Ollie" one of my favorite threads (thank you Mike)! I believe that is where we are camped, on the BLM land just outside of the west park entrance, heading to and presently 6 miles south of Wall SD. From our campsite, you need a wide-angle lens or pano-view on your phone (which did not turn out). Walking from our hilltop site, 30 yards toward the dirt road, these are the views. From up here we can easily see 60 miles over the badlands. Love that the wind is from us towards to dirt road, what a great campsite! Sorry Bill, I don't do dawn unless I'm up all night! 🤣 Dusk will not show a decent sunset since at this time there is not a cloud in the sky. God Bless! we finally got out of the doldrums of the great Midwest and back to bright clear dry western skies, high pressure and higher altitude to keep my head straight. Chris wants to go to Wall Drug tomorrow, but to me it's like the Ron Jon of SD, less the surfboard stuff! For history and tradition I will attend. I'll get their long-advertised "free ice water" and a couple donuts, to boot!!! 🤣
-
Chris noticed an Ollie coming out of the east entrance of Badlands National Park, as we were entering today at 11:30 AM MDT. I was following a commercial truck and a row of slow-moving vehicles so I did not see her coming. And yes as soon as she said it, there was an Ollie in my sideview mirror as she passed by quickly. Too bad we could not meet up! Our second roadside Oliver sighting to date without meeting the other Oliver Owners, too bad! We're boondocking on the Badlands Wall tonight and on our way out of this amazing NP, I took these pics! 😂
-
John, I would just go with hand tightening, but… What would help is to purchase new split lock washers, nuts too if you like, correct size and good quality from a local hardware store (not Amazon). The hardware parts on these breakers are cheap and weak. The stronger spring steel in good washers should hold tight. You can torque, even over-torque the cheap hardware and they will still loosen up. Give my idea a try! 😂
-
Reminds of an award we had as members of the Chrysler 300 Club International (was a member 15+ years while I restored a ‘59 300E)! We had two meets a year, spring and fall meets. In a way similar to the spring OTT National Rally and the fall Texas Rally. Of all the awards, People’s Choice, Concours Judging, my favorite award was the Long Distance Award, given to those who in their old classic drove the furthest to get to the meet! This was the true badge of honor, no points for the sitting Trailer Queen. It took work and time on the road to achieve this award! For those of you who put real miles on your Olivers should deserve such an award! 😂
-
I liked when Steve started this thread! As of Sunday, which was also Father's Day, we hit the our 100th overnight in our Oliver. We just passed the 2 year mark in our ownership, and although we only did one 2-night trip in our first 7 months, we're catching up now! By the time we get home on July 3rd, it will be 118 nights over the last 18 months. That's a better rate than I had expected, but a lot of short trips will add up! Starting to feel we're getting our monies worth too. The Oliver, the tow vehicle and the tens of thousands of upgrades on each! 🤣 She also had a bath for our special day!
-

Battery and Solar Disconnect Install Questions
jd1923 replied to Tony and Rhonda's topic in Ollie Modifications
True, but you need to size wire AWG and the fuse rating based on load requirements. The single largest load in a 12V RV system is the inverter, given you have one. And inverters have overload protection and so do modern LiFePO4 batteries and either can fail, so we use fuses or circuit breakers. From the examples I've seen, OTT installs 4/0 battery cables whenever they install an inverter. This is more cable than you need, over-engineered. There are so many wire gauge charts but I like this one since it covers short wire lengths. Although I do not know the source of this tables, the numbers seem to make sense. When I pulled the original 4/0 cables in our hull, cleaned them up and reused them for new batteries and the larger capacity Victron inverter, I noted each cable was less than 5 ft long. Based on this table, B+ plus B- lengths of 4/0 cable adding up to 10 ft can safely carry 600A. Victron specified a 400A fuse for their product which also has a built-in safety factor. They spec'd 400A,so that is what I installed. There is another conclusion you can make from reading the data in this table. If the 250A fuse was all that was required in the 2KW Xantrex inverter that was originally installed in our hull (and others as the example pictured above), OTT could have installed 1/0 wire which can handle 250A up to 12 ft long.
-
Battery and Solar Disconnect Install Questions
jd1923 replied to Tony and Rhonda's topic in Ollie Modifications
Sorry, I assumed Geoff installed his since he suggested adding the switch with installation instructions. It read to me like he had added his, my mistake. So now we see Rich has the same on a much newer hull. Who knows why OTT stopped switching the SC on hull #251 and perhaps others of that era! ? -
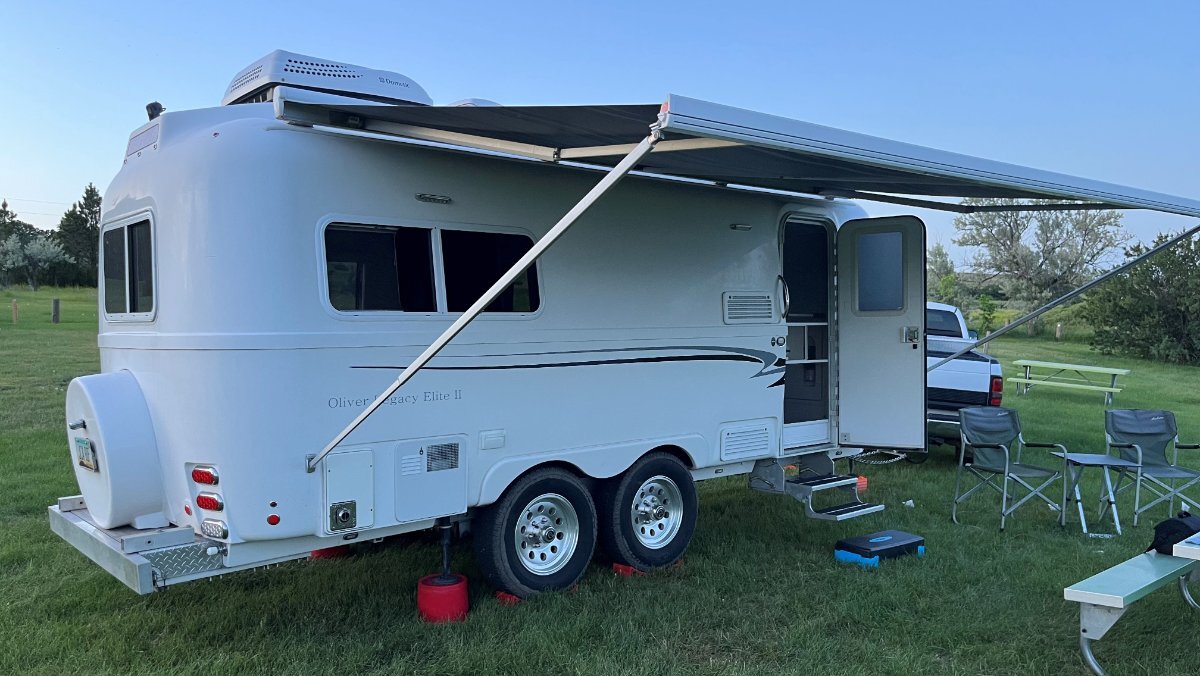
So we woke up the other morning in central North Dakota, it was cloudy at 52F. We drove to our next stop, it got sunny along the way and later very hot, 85F and humid. Our camp was on lush grass by lake which made it feel worse. So I thought, why not try the awning? It truly made a difference. With the breeze off the lake it felt 20 degrees cooler in the shade of the awning. It worked well. I could tighten it and then you could hear it vibrate in the wind and a turn looser was perfect. The setup was less cumbersome than I had remembered it. I took it down as it got dark and good thing since we had light hail, heavy rain and winds that literally shook the Oliver! I couldn't figure out the rafter. The awning had a proper receptacle for it on the extended side. Up along the Oliver roof it did not seem to have the same mount, even though the rafter has identical fittings on each side. I got it somewhat connected and even being tall I could not reach the tightening screw without a ladder or at least standing on metal milk crate we have. I just left it there untightened as it did not seem to matter. Is the rafter truly necessary? Any help or advice on how to mount it correctly and get it tightened?
-
Jeff & Cindy, we're on one of those "meandering trips" right now, so we certainly understand. One thing is for sure, 5 weeks is not nearly enough time to leave AZ, see family in MN and have much time for multi-day stays in between! I like how Mike said it: I much prefer short drives each day and taking each day as it comes. Then as Mike wrote, staying a couple nights to "rest up" which we tend to do when we find a spot we like! I thought we would have some 3-day stays on the way back. That's not going to happen. We have 2860 miles so far and a good 1600 miles to get back home. We setup camp as needed on a daily basis. On one-nighters I prefer to stay hitched and even on some 2-night stays if we are just going the rest up and enjoy the campsite. Sometimes I'll decouple to get the tongue up high enough to level, but just keep the truck in place for quick coupling when leaving. I'll ask Chris about what's for dinner and sometimes we need the grill or not. If it's cold out I'll pull the fire ring out of the front basket. We cook over the fire ring too using skillets on a grate or the Lodge Dutch Oven. We've had more rain, certainly than we're used to, so I'm often partially breaking camp the night before to be prepared for a Midwest storm. Several nights I put our lawn chairs inside the pickup so they would be dry in the morning for coffee outdoors. When we leave, Chris works inside and I do the outside, it only takes us 20 minutes to break camp ready to leave. No checklists but we have it down now. Got to see all we can on our large travel loop. I remember the map of your large loop which is at least as big. I'm not pulling the Oliver, not likely to Minnesota again in my lifetime, so we want to make the most of it on our way to and from! Enjoy your trip and best wishes, JD
-
Battery and Solar Disconnect Install Questions
jd1923 replied to Tony and Rhonda's topic in Ollie Modifications
For the main battery fuse, check your inverter spec. OTT had a 250A ANL fuse installed in our hull for the 2KW Xantrex that was our original system. When I upgraded to the Victron Multiplus II 3KVA Inverter-Charger the manual stated using a 400A fuse. Most applicable inverter specs will be in the range is 250-400A. When choosing a cut-off switch, it should be rated equal to or above the proper fuse rating. Most go with the available Blu Sea 300A or 350A rated switches. For your solar, use what is specified for the solar charger. Or if your MPPT Solar charger is rated for 30A, then a 35A or 40A breaker or fuse is appropriate. Our Blue Sky SC is rated for 25A and OTT installed a 30A breaker. When I added a Victron 30A MPPT SC, I believe the book said 35-40A and I installed a 35A breaker. So not to get shock while working with battery cables --- It is common practice when installing battery cables is to install the B+ side first since when the ground is not connected, the B+ side has no potential. When removing battery cables, use the reverse order, remove the B- side first. This is why in my battery installation, I positioned the main B- battery closest to the door. This way I can remove the ground (vs. having a switch) even without sliding the tray open and the closest B+ connection is 8" deeper into the battery bay, providing a very low chance of touching it by accident. -
I'm not seeing this on Campendium or Recreation.gov. The one I see at Devil's Tower is Belle Fourche, the FCFS campgrounds I referred to:
-
Yes, it has been an amazing, yet awaking adventure! 🤣 So it's Sunday and we're in Central ND, and only 2-3 days out to Mt Rushmore SD, and I finally realized, "I'm friggin' crazy!" It's mid June and we're driving into the greatest tourist stop in the National Park system, OMG! We not only have no reservations, but been so busy in our day-to-day travels that we have no idea where to stay, or even what are the possible choices! So first, I truly needed a strong drink to deal with this situation and promptly got on Campendium and Recreation.gov! I quickly found Horsethief Lake Campground, a primitive campsite only 15 min from Mt Rushmore. They had 3 sites open only on Thursday 6/19, so I booked one for the one night that was available! Before getting there I figured we would boondock on the Badlands Wall and afterwards would head to Devils Tower. There is a FCFS primitive site very near there and most RV people gotta have hook-ups, but knowing so little I thought not to count on that. Then I booked 2 nights at Rueter Campground, and a nice drive through the Black Hills to get there. This was done on Father's Day evening. In between I got calls from my step-son and later my son. After another drink, Chris made us a great grilled Walleye dinner, creamed broccoli and baked potato, nice! It was finally time to enjoy the wonderful campsite we had booked for two nights, Beaver Creek Recreation Area just on the river from Linton North Dakota, life is good!
-
Battery and Solar Disconnect Install Questions
jd1923 replied to Tony and Rhonda's topic in Ollie Modifications
Good thinking, you want both. Your batteries feed your 12VDC loads (and 120VAC loads if you have an inverter). Your solar panels through the solar MPPT charger also feed 12VDC to everything wired in the circuit. You must cut off all power sources to do M&R or make mods on your electrical systems. Some place a blanket over the solar panels, which is fine if you must! Better to be able to open any and all electrical systems with a breaker or switch.