All Activity
- Today
-

Furnace Duct Modification for Improved Air Flow and Circulation
johnwen replied to jd1923's topic in Ollie Modifications
Thanks, John I appreciate your help and insight, as always! Hope to see ya'll in Quartzsite next year :) Safe travels... Ditto on above... John -
Correct! Who knows why Dexter makes a marketing slogan out of “Nev-R Adjust!” Drum brakes have had self-adjusters almost since the automobile industry invented drum brakes! 🤣
-
Yes John, a good reminder! You can tell a lot lifting the tires off the ground, have a helper press the TV brake pedal gently then abruptly. Tighten the self-adjusters to the point where you just hear and feel the shoes rub, because we know they don’t always self-adjust as they should and the rears will be usually be looser than the fronts. Get them as so and you can be relatively confident all inside the drum is working as designed. I worked this service recently and found out brake controller was not working right. Replaced the controller and brake response was night and day. To do a full interior inspection with the Nev-R Lube bearings you’ll need a new set of 4 spindle nuts but on the positive side you won’t have to remove and repack the outer bearings (or both) as we have for decades with the old-style wheel bearings.
-

Made in USA leaf springs
Gliddenwoods replied to Mountainman198's topic in Mechanical & Technical Tips
Thanks for the explanation! If I understand correctly it is very possibe (likely) I have "nev-r-lube" axles AND "nev-r-adjust" brakes. Yes? -

Replace Andersen WDH Sleeve
srthomsen replied to Ralph Mawyer's topic in Mechanical & Technical Tips
Remove the ball & ball mount from the receiver and replace them in the receiver upside down. Then use your favorite hammer and let gravity help. -

Made in USA leaf springs
Geronimo John replied to Mountainman198's topic in Mechanical & Technical Tips
Some would also say that the brakes will need inspection occasionally as well. GJ -
Made in USA leaf springs
Geronimo John replied to Mountainman198's topic in Mechanical & Technical Tips
The number is way north of double that. GJ -
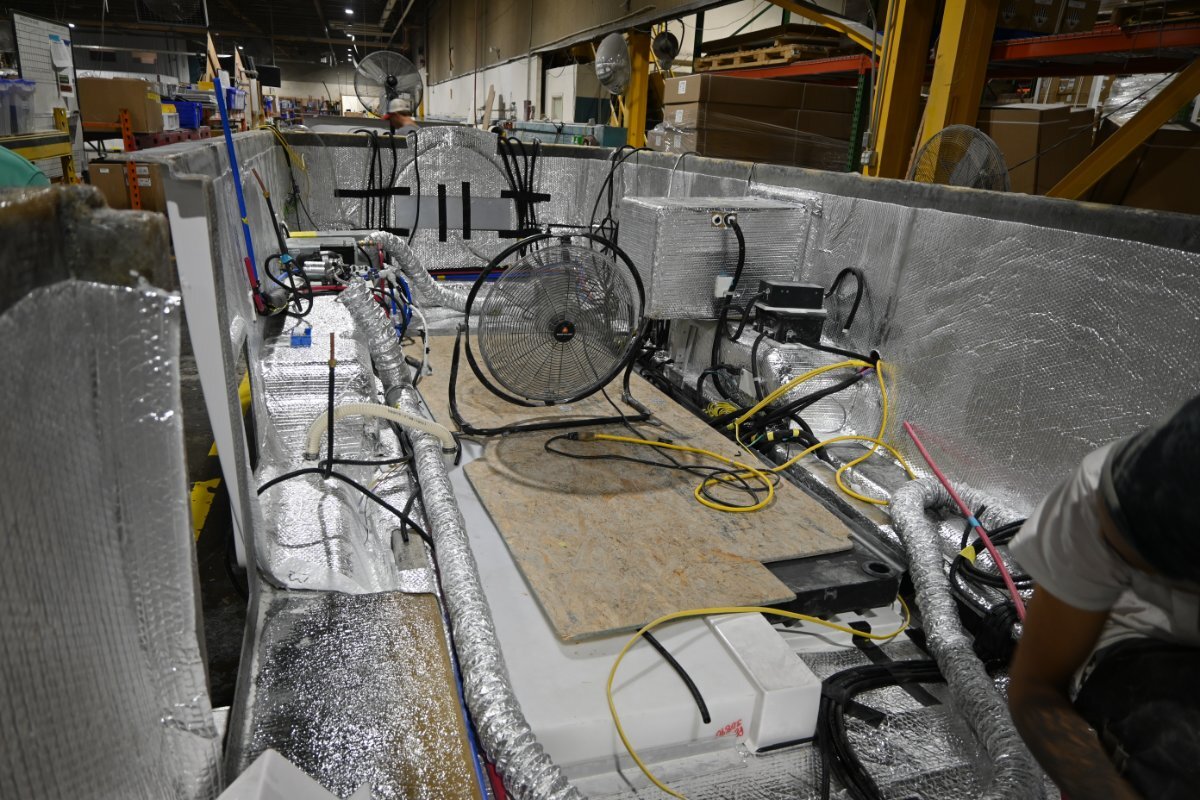
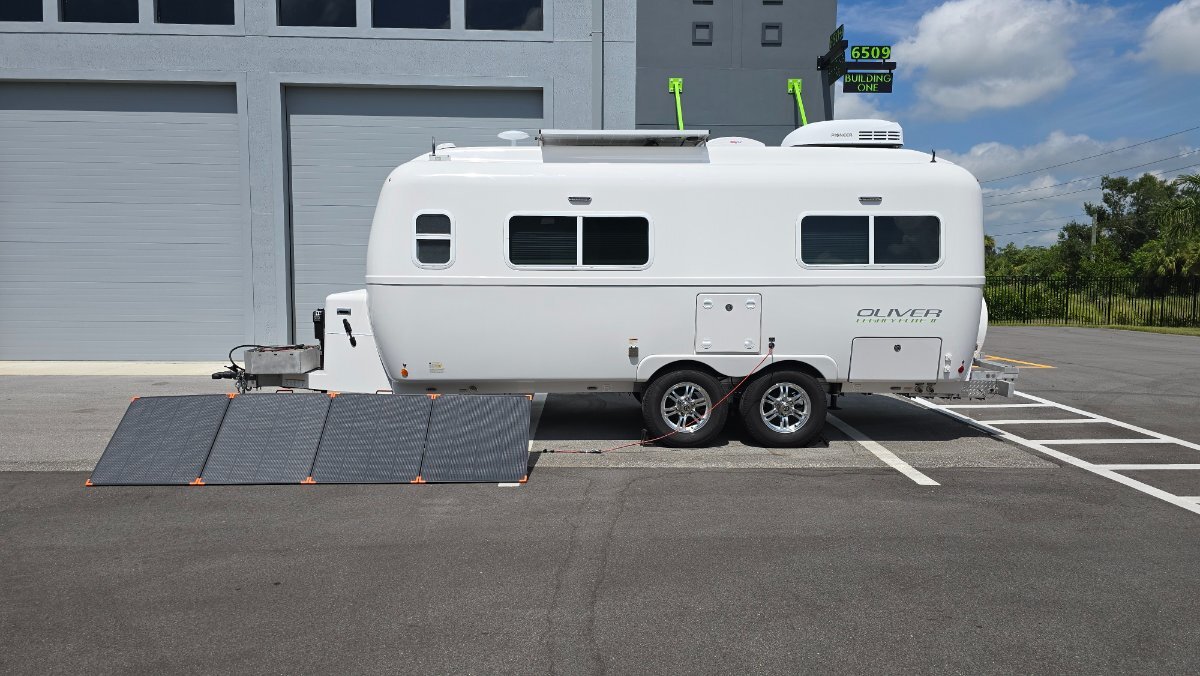
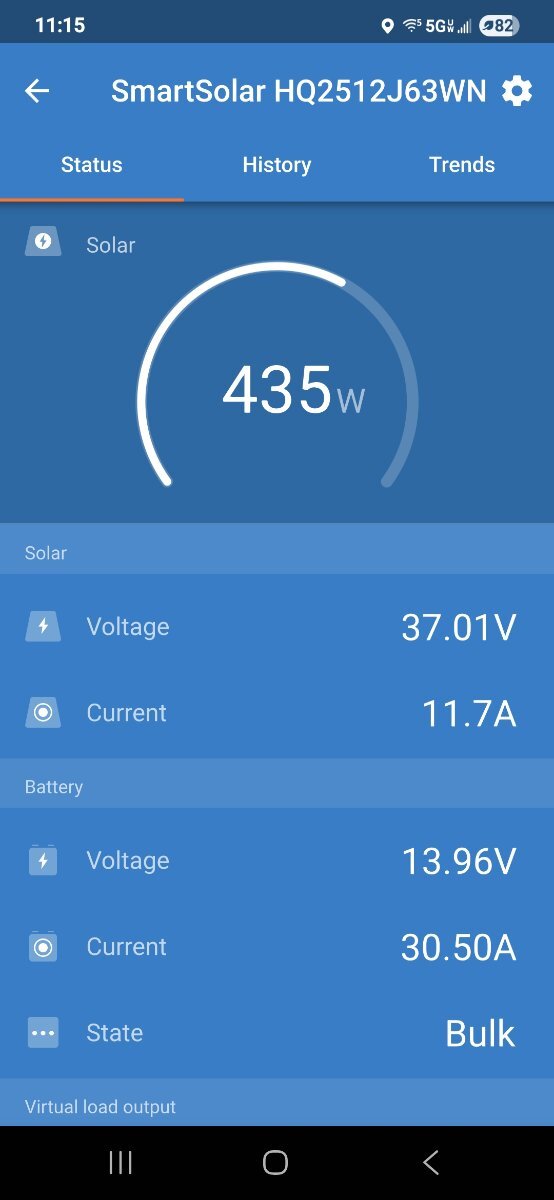
 Got the Secondary Solar Power System finished. Works well.
-
Here is a pretty straight forward SS install video…
- Yesterday
-

Replace Andersen WDH Sleeve
Mike and Carol replied to Ralph Mawyer's topic in Mechanical & Technical Tips
Ralph, I tried replacing the sleeve on that hitch back in 2017 and couldn’t get it out. I contacted Andersen and they sent me a new assembly in exchange for the old one. The linked thread below is from a 2016 thread on the Andersen where I described trying to get the sleeve out. In those days Andersen was on this forum and answered questions. Mike My Andersen post in 2017 -

More DC to DC charger installation tidbits
jd1923 replied to Snackchaser's topic in Ollie Modifications
No inverter in your Oliver? In our hull the B+ and B- battery cables go directly to the inverter, not to a ground stud as you've show. The negative DC bus under the rear dinette seat may be easier for your ground. Notice the 4 AWG cables shown in the picture which is how I grounded ours (second picture in the post linked below). Bottom-line is you want the most direct connection (least resistance) from the Orion charger to battery +/-. There are many ways to do this. Do purchase the Orion XS 50A model. -

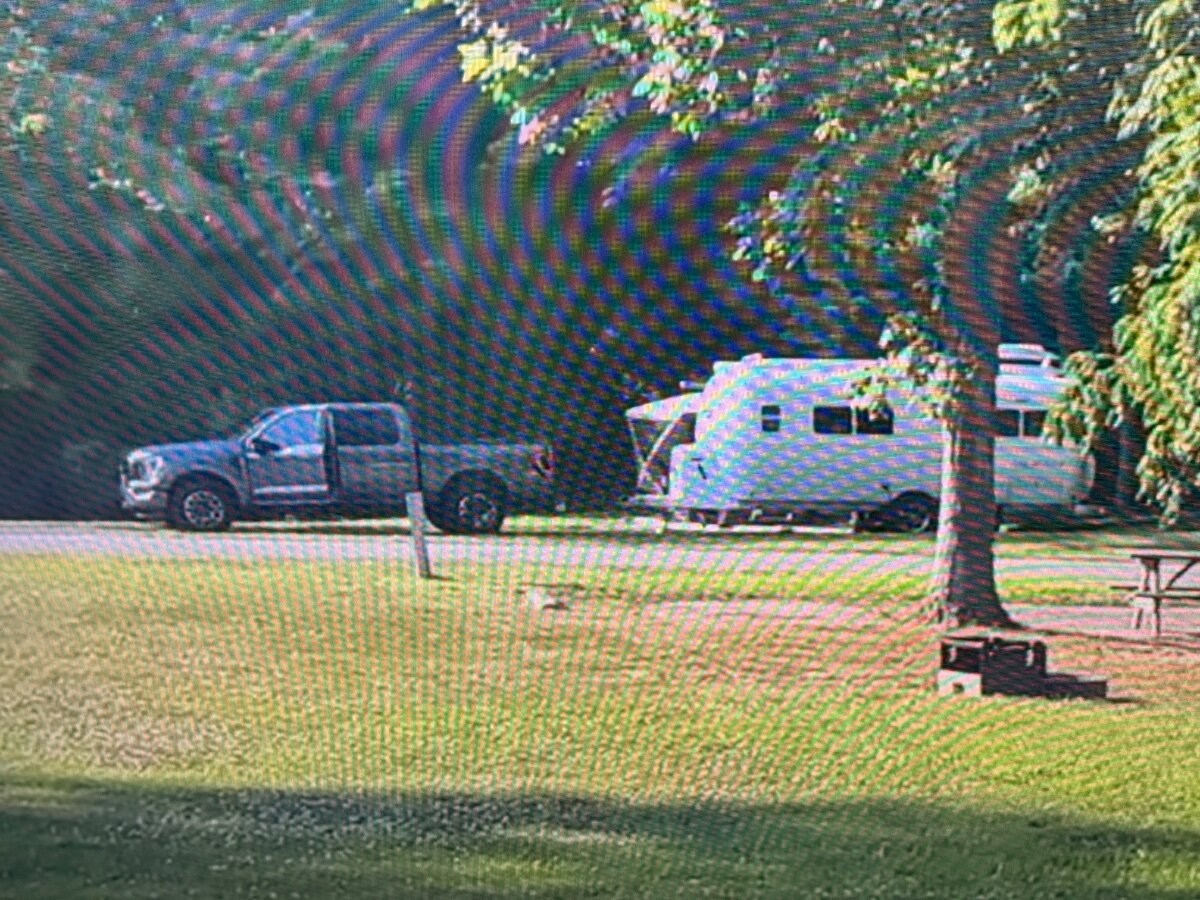
First Oliver sighting. . . love at first sight!
FloraFauna replied to Snackchaser's topic in Submit Your Story
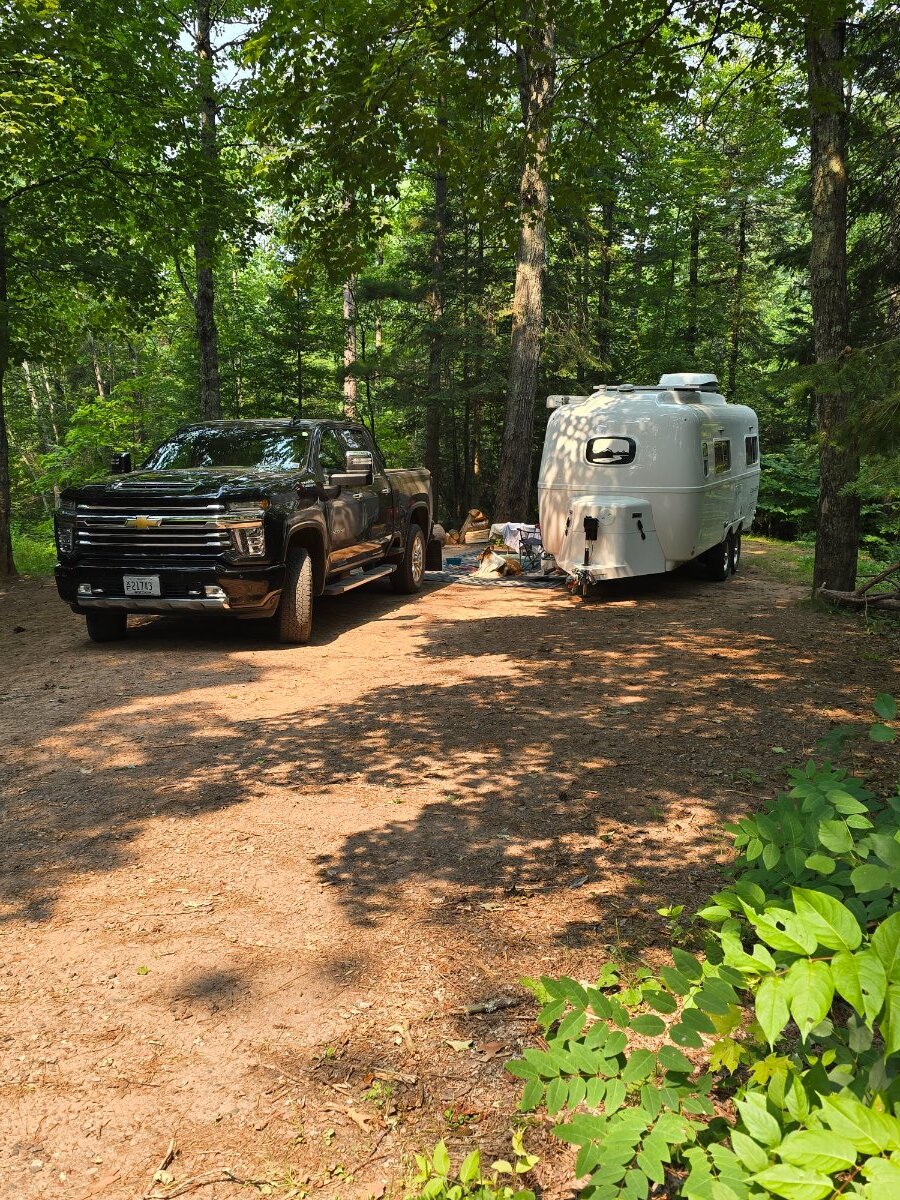
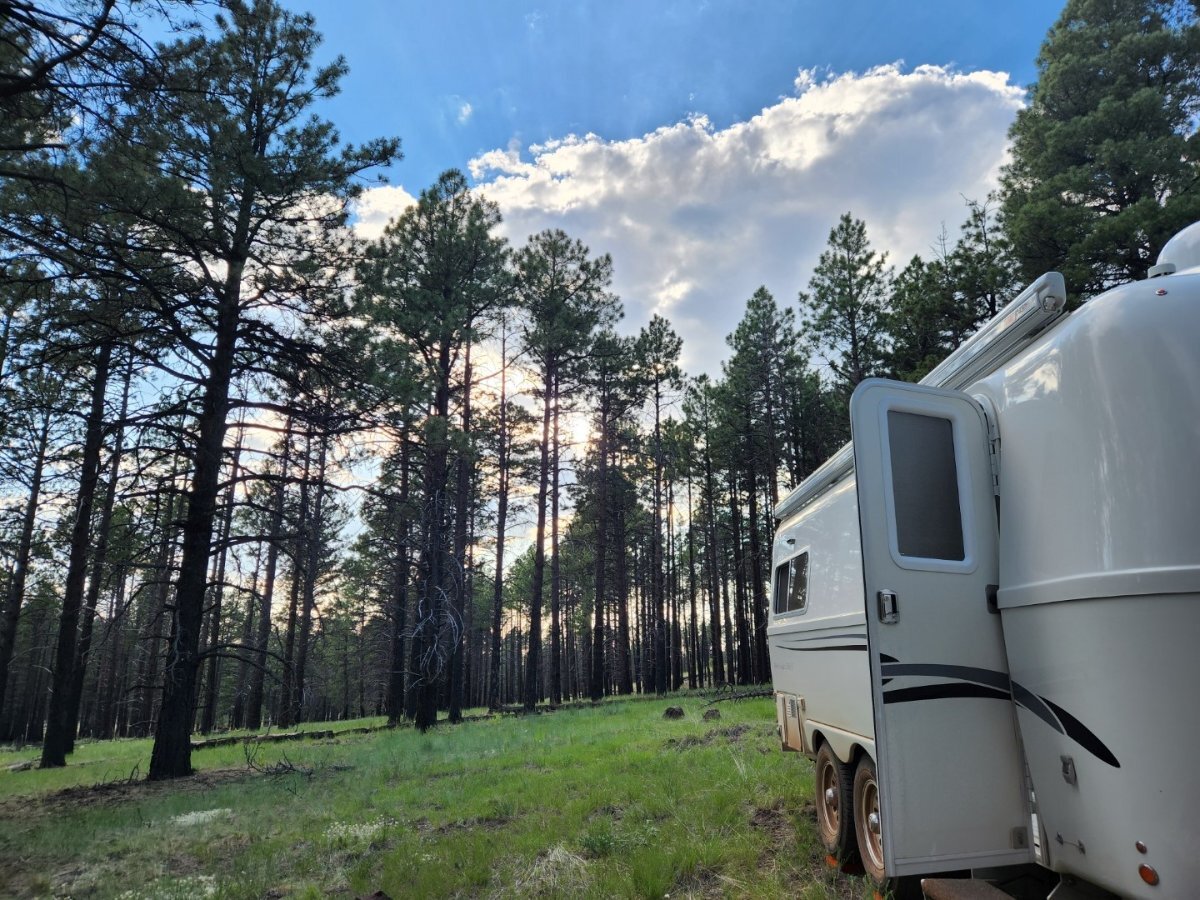
Our story is different, but equally compelling. Hadn't camped in 30 years and had never owned an RV. Purchased Hull 1394 in August of 2023 sight unseen but after a lot of research. We knew what we wanted. Just completed trip #13 today arriving home from the Chequamegon-Nicolet National Forest. Little FS primitive campground nestled away through 10 miles of single lane gravel road. Temperatures got down in the 40's most nights - we love the northern cool. No regrets. Perfect trailer for us.
-

More DC to DC charger installation tidbits
EurekaJ replied to Snackchaser's topic in Ollie Modifications
This is such a great thread and the idea of adding DC to DC charging from truck to trailer through the Victron XS is now of interest to me. I've been noodling the process, cable routing etc. I've been checking out the existing cabling on my 2022 with Lithionics platinum. Just a couple of questions for the experts: 1) For the negative connection, I've traced the battery negative directly to the hull ground stud under the aft dinette basement compartment. I don't see any external BMS or shunt in the run. Am I correct that the lithionics has its own internal BMS and that I can properly attach the negative from the Victron XS to the grounding stud as a sufficient negative return to the battery? 2) In looking at the existing status of the grounding stud, it looks like there is both anti corrosive paint and some aluminum dust on the terminal. Is this normal? If so, when ready to take this on, I can just clean everything on the terminal up, make the connections and reapply anticorrosive coating. If it is not normal, I probably need to figure out if there is an issue. All electrical systems are nominal at the moment. Thanks
-
First Oliver sighting. . . love at first sight!
jd1923 replied to Snackchaser's topic in Submit Your Story
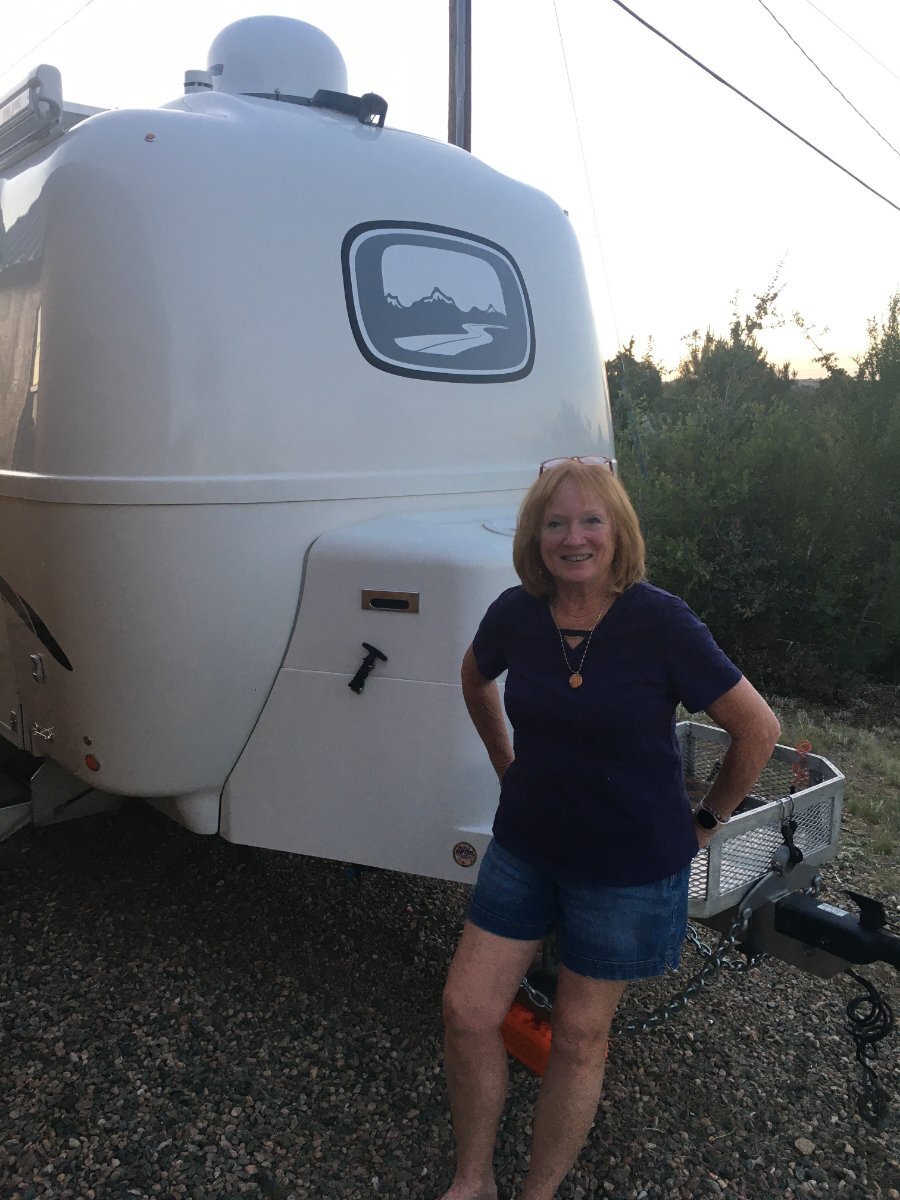
Great pics Geoff & Tanya, and great idea for a new thread! Spring 2023 we just sold our Bigfoot Class-C. We decided that given our boondocking style in the western mountains, that a smaller travel trailer would be the better way to go. Our first sighting was what became our Oliver, hull # 113! It was listed on Craigslist right here in Prescott by the 3rd owner. My first thought when seeing the ad was, "No-way we'd pay that much for a small travel trailer!" But first thing out of my mouth was, "Chris, we need to go see this!" 🤣 I put 20% down the day after we went to see it. And just a few days later we paid the balance at our bank, then Paul the prior owner delivered it to our home! Timing was perfect, as we became new owners on Chris' very Happy Birthday! 😂 Pictures of our first day and first campsite just outside Kendrick Mountain Wilderness.
-
Who was at Patoka Lake in Indiana during a recent heat wave? You made it in the background of “We’re the Russos” latest YouTube video. https://youtu.be/Fnykd-E1qw4?feature=shared
-
Furnace Duct Modification for Improved Air Flow and Circulation
jd1923 replied to jd1923's topic in Ollie Modifications
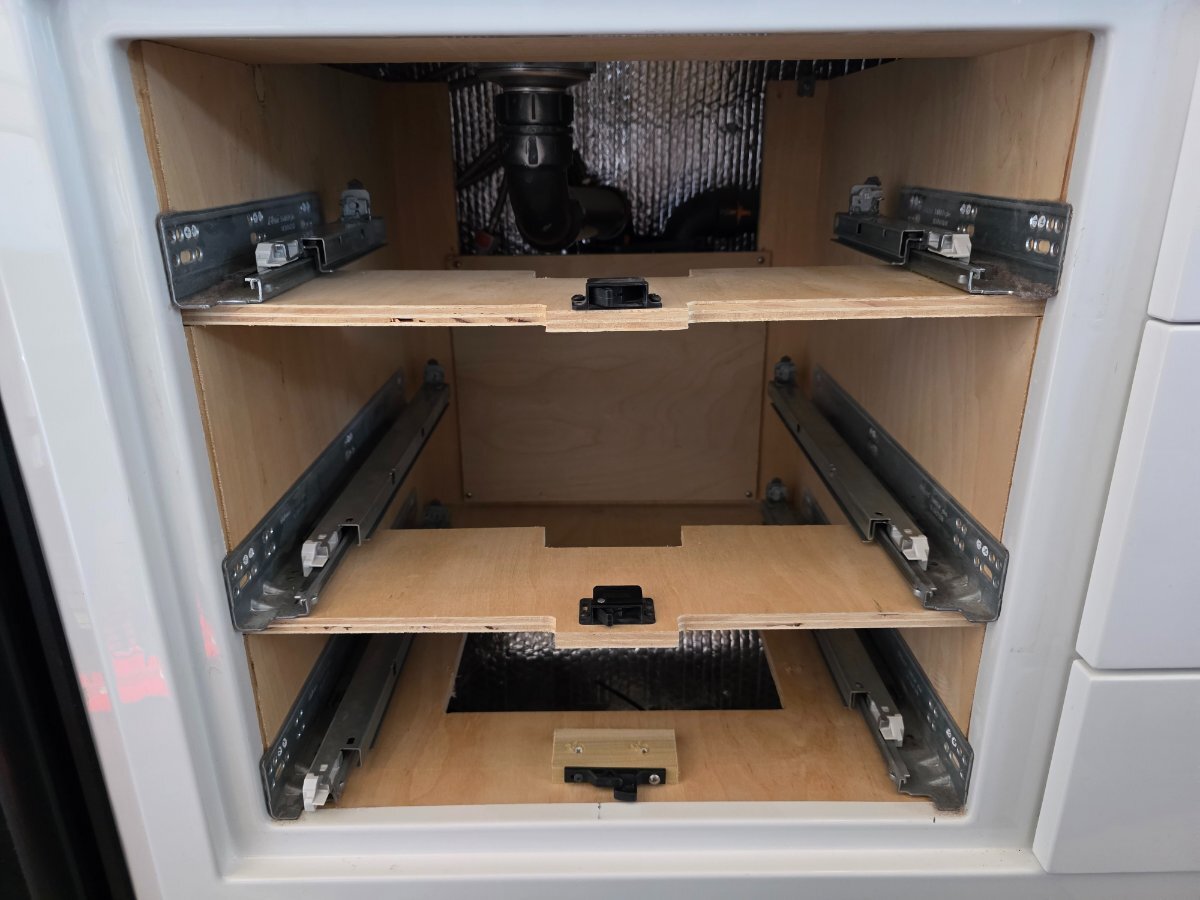
This may be your best option. I deleted the vent under the curbside bed (didn't like hot air in our faces when sleeping) and replaced the ducting up to the T with rigid yet flexible dryer vent ducting (illustrated in this thread above). I cannot imagine why OTT uses the soft flex ducting we have in our hulls. Our original ducting had holes everywhere along the bottom and a lot of dust inside. During manufacturing, it would be so easy to put solid aluminum or PVC ducting that could be cleaned inside like household ducting. Not easy, or near impossible as a retrofit! We do not have openings under our kitchen drawers as in your hull. Cutting into that area to open it up like yours would be easy enough, but getting under the fridge, under the cabin entrance, by the closet and all the way to the bathroom is another story! There may be a way to get under the floor and run ducting to the bathroom via the streetside basement, but you'd have to deal with it being in the way every time you need to be in there and would likely produce weak airflow in all its length. Yes, you could delete the bathroom run (leave the bathroom door open on cold nights). You could add another duct as far forward as you could reach and have all new ducting to that point. I would do that if/when we have to delete the bathroom since I had deleted the one under the bed. You need two 4" openings at least. The 10x6" filter added to the return duct certainly helps re dust. In this case you would have all new clean ducting and greater airflow in deleting the bathroom run which likely has leaks in it along the way. Glad to hear it's getting cold again up north! We had to use too much A/C when we were up in WY during June! -
Furnace Duct Modification for Improved Air Flow and Circulation
johnwen replied to jd1923's topic in Ollie Modifications
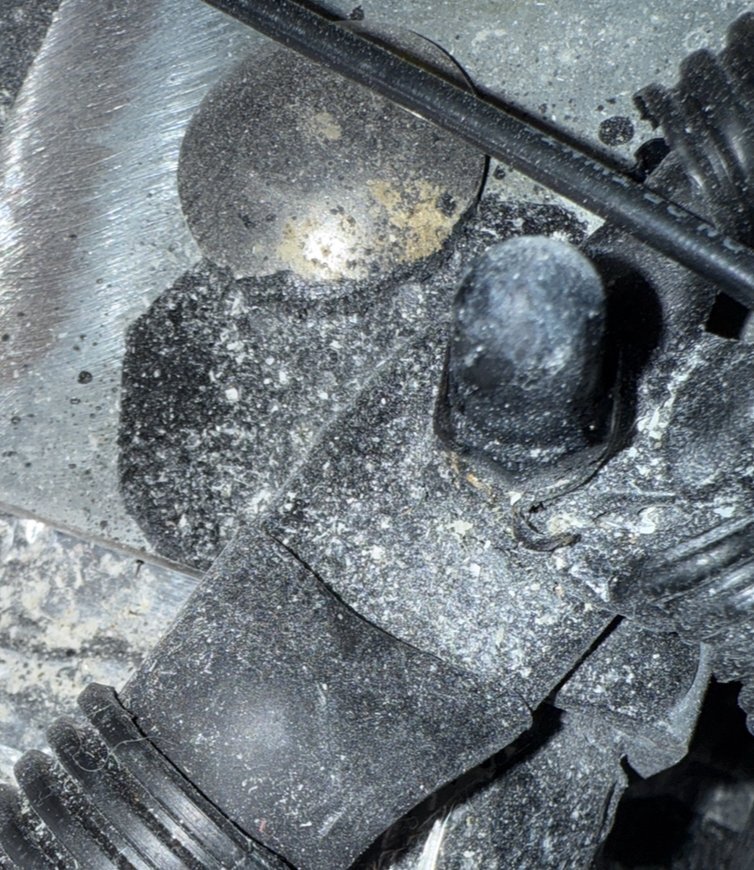
So, I already have an access under the sink and after seeing things revealed a little better I think I'd better learn to live with this problem. I suppose I could replace ductwork up to the "T" at the vent under the drawers and put an open restrictor on the refrigerator side (and not even use the ductwork to the bathroom) to allow airflow over the freshwater tank and circulate throughout the basement . I'm not getting warm air into the bathroom anyway, don't really need it. This last picture is of the duct going under the refrigerator.
-
My new axles should ship next week. I want to remove a hub to see what's what inside, bearing make and model#, etc. Issue is the spindle nut is one-use only, must be replaced if removed. Alcan wrote they can get spindle nuts from Dexter at $42 each! 🤣 We're hoping to figure out the spec for the axle nut to source at a reasonable cost from some industrial supplier vs. this flagrant pricing from Dexter. If you read the Dexter spec sheet for Nev-R Lube linked above, it states the bearings are Made-in-USA. The 42mm bearing on RockAuto shows Timken, Made-in-USA. Good eye to see this NTN brand made in Japan. I too would be good with either, Japan or USA, just no-way on Chinese knock-offs! Hoping the USA made Timken $36 at RockAuto is correct and then all we need is correct spindle nuts. The other parts should be re-usable for at least the replacement of a second bearing. We'll know more soon...
-
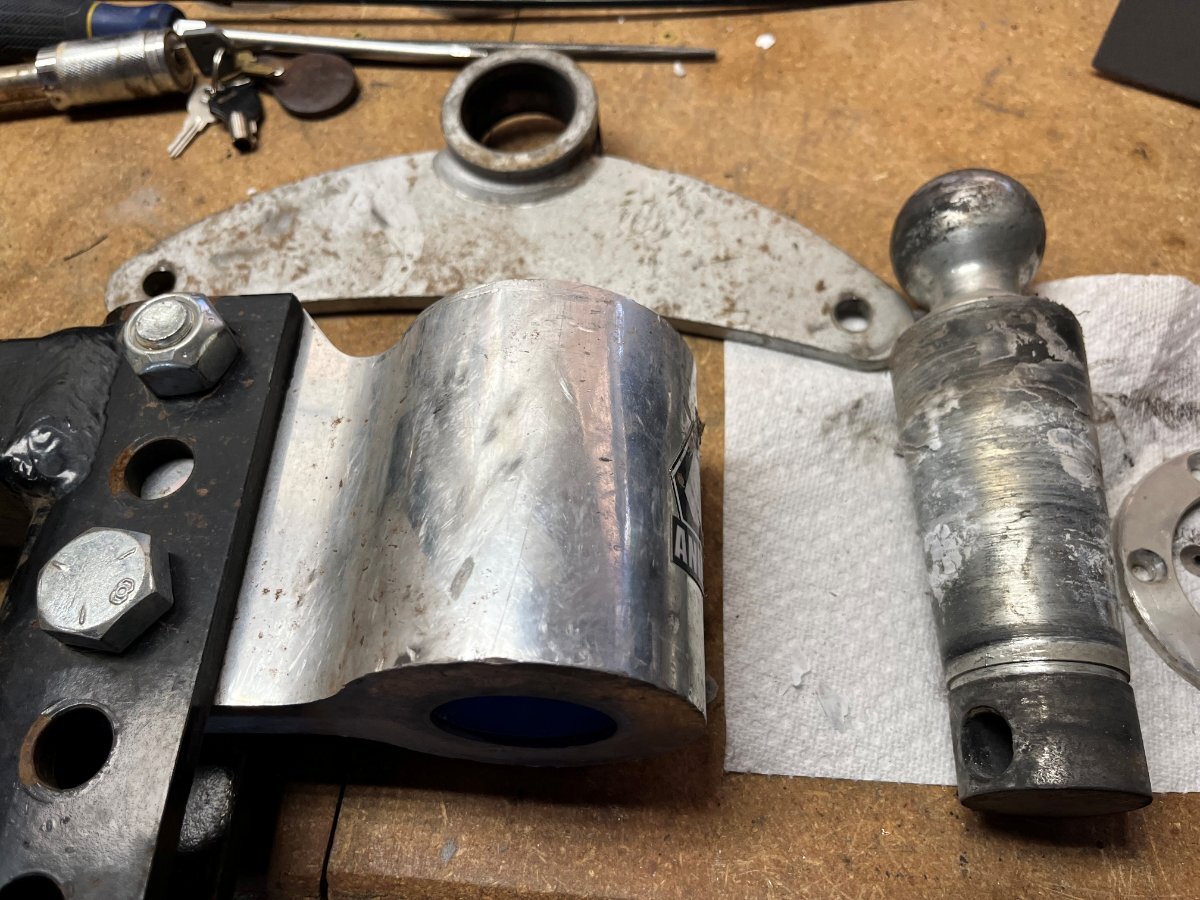
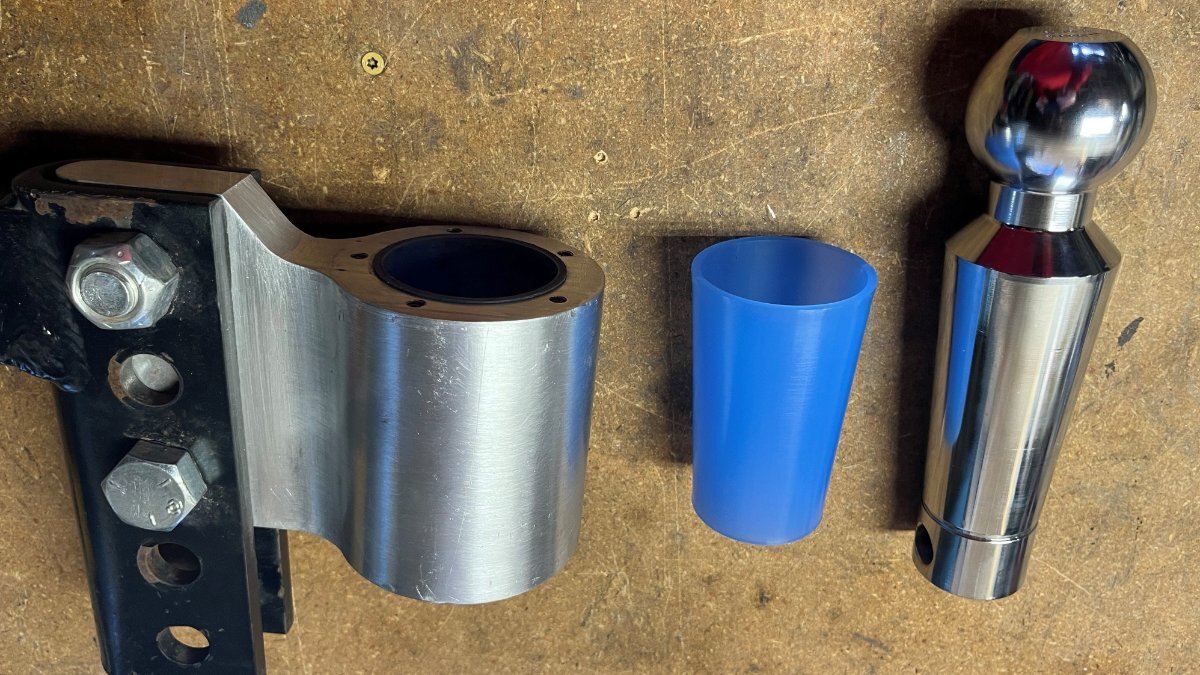
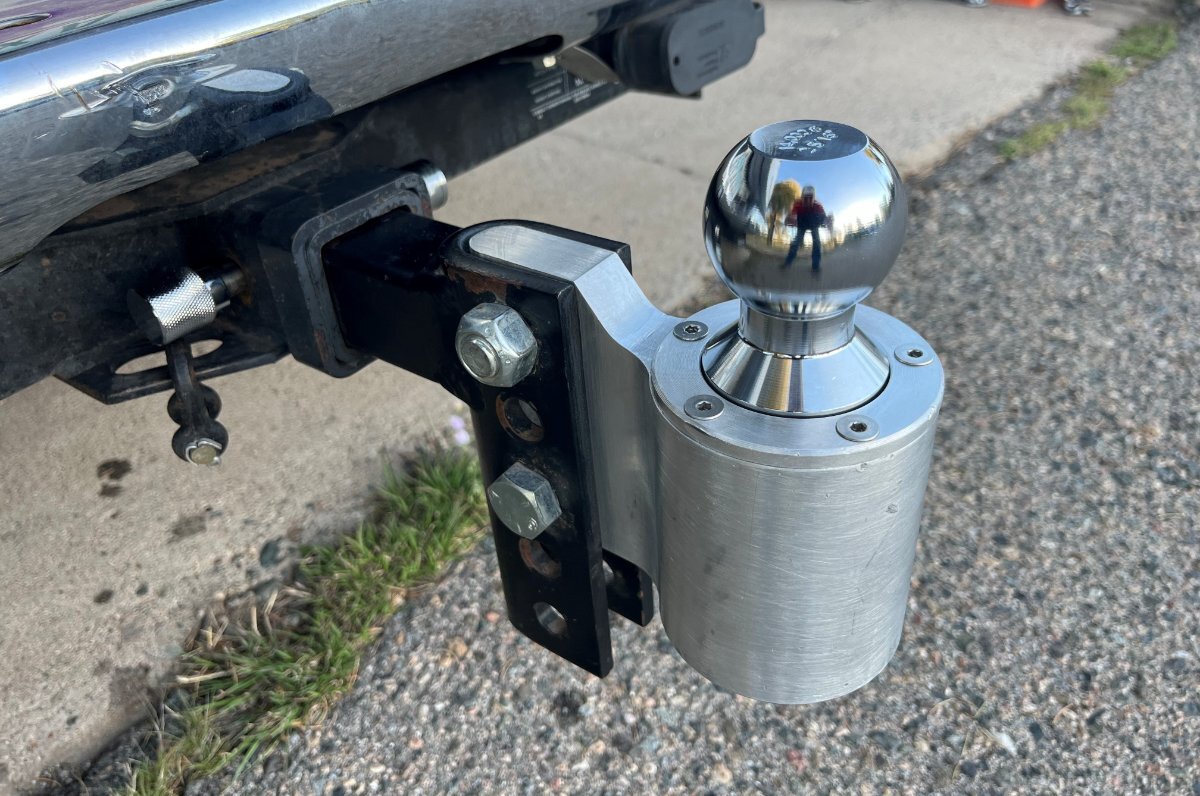
I did ours a few months ago. The cone of the ball is pressed in there good from miles of trailer tongue weight! I didn't watch the video but what I did was turn the hitch upside mounted to the rear of my truck. Then I hit it firmly with a 5-LB hammer and it dropped down to the ground on the second strike. I was replacing the ball too, going from a 2" to a 2 5/16" ball so I did not care if I dinged the ball. If I was to reuse it, I would have padded the shaft before hitting it and placed something below to catch it nicely. Pictures show work in process...
-
If you zoom in on the bearing included in this kit you'll see that they are NTN brand made in Japan. If that's what comes in the axles from the factory I'd probably leave them in and run with them instead of swapping them out ASAP with Timken's like I was originally thinking. I'd still carry a new set(s) and the tools to change them though...
-
When I read @Gliddenwoods post and read the term Nev-R Adjust I mistook it for the previous generation bearing type called EZ-Lube. John Dorrer knows the spec for 2022-25 Olivers and even though you were told you do not have Nev-R Lube bearings, perhaps you actually do (ask again). Please strike my comment made last night re upgrading to Timken. https://www.dextergroup.com/nev-r-adjust-brakes https://www.dextergroup.com/user_area/content_media/raw/nev-r-lube-lit-215-00.pdf A few of us are considering carrying replacement Nev-R Lube bearings to have as spares in our toolbox. The 5-year 100,000 mile warranty is a good claim but will not help if a bearing fails on the road in some remote location. Alcan quoted me the same price as eTrailer has it listed. It would be good to have one or more of these with you. Read page 29 of this thread for more information re these bearing kits. https://www.etrailer.com/Trailer-Bearings-Races-Seals-Caps/Dexter/31-73-3.html And as John wrote above, grease your leaf spring welt bolts but Nev-R Lube bearings do not require service as suggested in the name!
-

Replace Andersen WDH Sleeve
rideandfly replied to Ralph Mawyer's topic in Mechanical & Technical Tips
Hope the video helps. Watch the video to the end before starting. -
Furnace Duct Modification for Improved Air Flow and Circulation
johnwen replied to jd1923's topic in Ollie Modifications
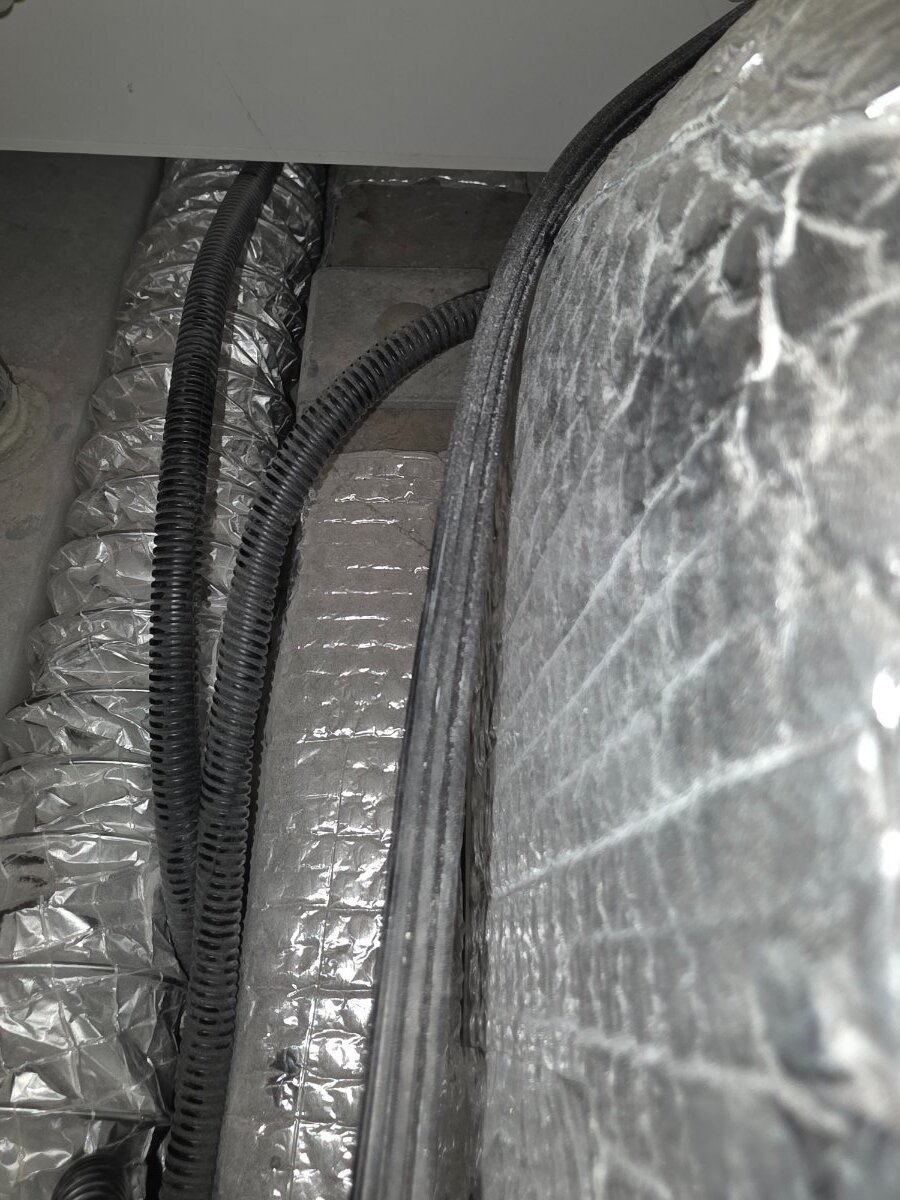
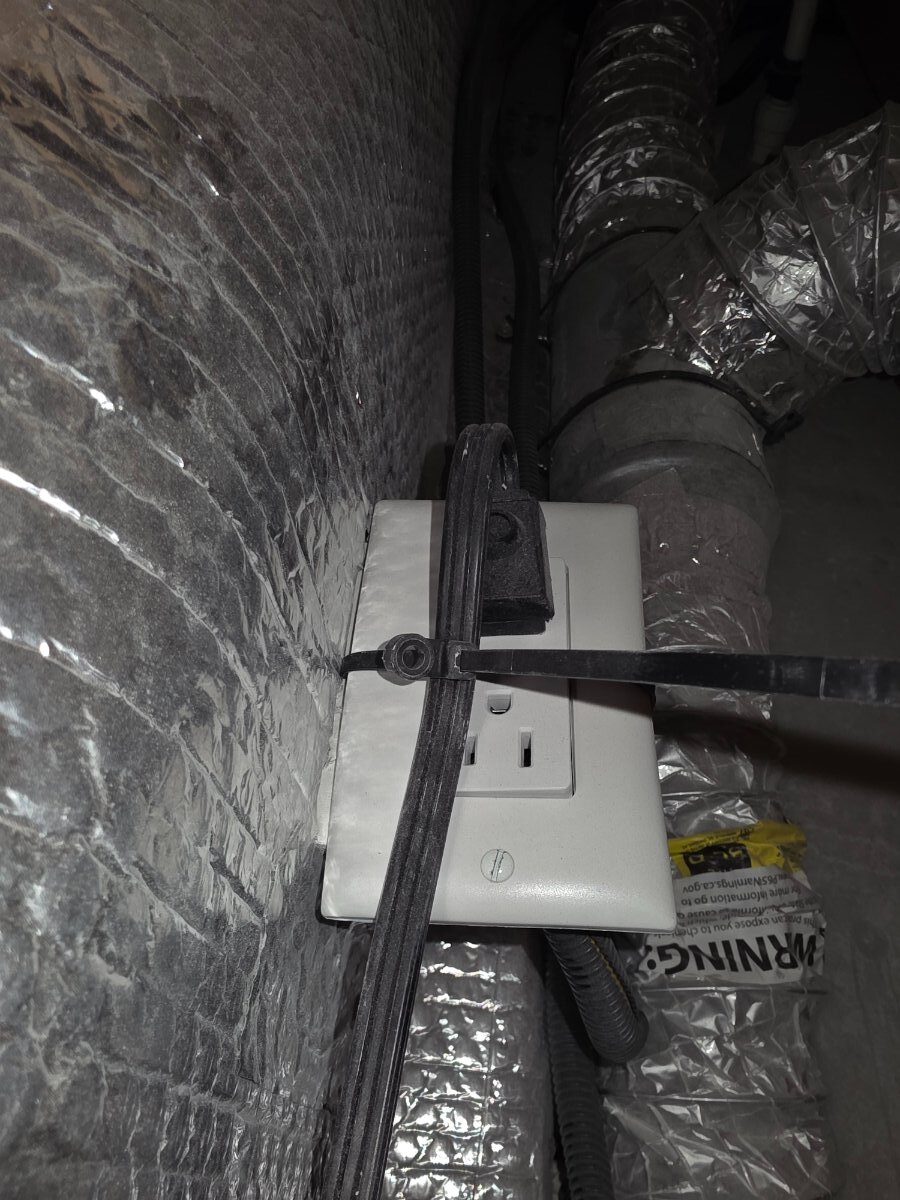
John, I resurrected this to ask is it possible to snake a new stretch of ductwork from furnace to bathroom? Here is a picture I took (when you could still take pictures) of the ductwork before the inner hull was installed and it looks as if it might be possible. Wendy is pretty sensitive to dust/allergens/pollen etc. and that flex hose is a dust trapper for sure. I put a filter on the return hatch and that stopped the persistent sail switch clogging. As you stated "Would a household system have return air duct(s) without a filter?" Google says there are no RV furnaces made like household furnaces so everything in the belly, including what comes in through the scuppers, gets cycled into the cabin. So I think I'd like to at least replace all the ductwork, since I can't clean it, and experiment with filters on the exhaust vents to keep things from infiltrating into the cabin. I'll be searching for a different type duct design. I suppose too much airflow restriction entering and exiting the furnace may cause problems. Just trying to see if others have tackled this dirty air issue. I thought I was through with the furnace this season but 34 degree temps this morning ( on 2 August?) brought it back to life :) ... we're at Warren Bridge Campground, US Hwy 191, Wyoming headed to Baker's Hole CG in West Yellowstone :) Thanks, John
-

Replace Andersen WDH Sleeve
Ralph Mawyer replied to Ralph Mawyer's topic in Mechanical & Technical Tips
Thanks. Was on their website, but guess I should have looked harder. 🙂 -
Replace Andersen WDH Sleeve
rideandfly replied to Ralph Mawyer's topic in Mechanical & Technical Tips
Have you seen this video?


.thumb.jpg.e34bf01ef7f7d5e99ad31856d45afbeb.jpg)