All Activity
- Today
-
When I installed my wet bolts I started with the Alcans and torqued them to the spec. I was unable to get grease in them unless I loosened the bolts. I did not matter on what pressure was on the wet bolt from fully loaded, slightly load to all pressure unloaded. I was unable to get grease in them unless I took the loosened the nut on the wet bolts. I also noticed that the ez-flex did not move freely when they were torque down, but it did move freely when the wet bolt nuts where loosened up. BTW the hangers on mine where spread apart some without the nuts tight. tightening the nuts cause to bring the hanger ears back to together. I dropped a leaf spring back down. I measured the width of the hangers, the bushings and then the shackles. I added up the hangers and bushings then I measure the depth off the shoulder to the base of the bolt on the Dexters and the measurement was .010 more than what I added up. I did the same thing for the shackles and bushing. I got the same results the Dexter shackle wet bolt was .010 more. I really was surprised they were both .010 longer. I would have thought with the galvanizing on the shackles it would have been different. I measured the old Dexter shackles and the Shackles I made and painted (A whole different story, I covered in the gigantic thread I believe) The width was within a .001. Note I did not measure every shackle, hanger and bushing. I just did the ones on the one leaf I lowered. I decided to use Dexter wet bolts instead of the Alcans . After I did that I was able to get grease in all wet bots. A couple I had to still jack up the trailer to remove some weight to get the 2 wet bolts to take grease, I am OK with that. The ez-flex moves freely now. As for the dexter wet shoulder bolt and smaller thread. The way they designed the bolt all of the downward pressure is on the 9/16 thickness of the bolt. In order for the step down to break you would need a lateral force again the Assembly, or the nuts on the wet bolt being overly tight, then extra lateral force could snap the step down section off. I have heard of rumors that The Dexter bolts have snapped, but I have never read of an occurrence happening on the Olivers. I torque the Dexter wet bolts to 40ft/lbs. Over the last 12K miles they have not loosened up.
-

Made in USA leaf springs
DanielBoondock replied to Mountainman198's topic in Mechanical & Technical Tips
No can’t make it unfortunately, I’m way out on the West Coast so it’s a relatively major trip. Yeah have been poring over the threads but not sure what to make of it. Mixing threads a bit sorry but since I’m in a post will put out some thoughts on the wet bolts. This is all eyeball as I don’t have my caliper with me. The spring end bolts with splines have a good <1/4” spacing between the hanging brackets and the spring. So the wet bolts are held in place by torque pressure and (maybe) splines (my splines aren’t doing anything here).On the shackle side there’s no splines but again its a (bit less) torque and nylock holding it together. So that’s it AFAIK, Alcan relies on torque and beefyness. What about end rub? Something I haven’t seen mentioned is that the inner (bronze?) wear bearing at each end of the spring has a protruding shoulder. So, just as it wears against the bolt body, so too on the bold ends with respectively the hanger or the shackle - in both cases greased. I don’t see an issue with this design as it seems eminently sensible. All the wear surfaces are against the bronze bushing both against the bolt and against the hanger or shackle. Torque/nylock keeps it all together. Summarizing Alcan Thick wall radial bronze bushing Prominent protruding bronze rub shoulder against hanger/shackle on all springs Full sized bolts (no step down) Nylock Dexter Thin wall (half size?) radial bushing Inconsistent rub shoulder, from none basically to just a minor extension Step down bolts (why why why size your nut under your bolt? Dunno, I’m new to this stuff but I see nothing but better with Alcan and not seeing anything that bothers me -

StarLink mini with StarLink router mini.
Mike and Carol replied to 2008RN's topic in Mechanical & Technical Tips
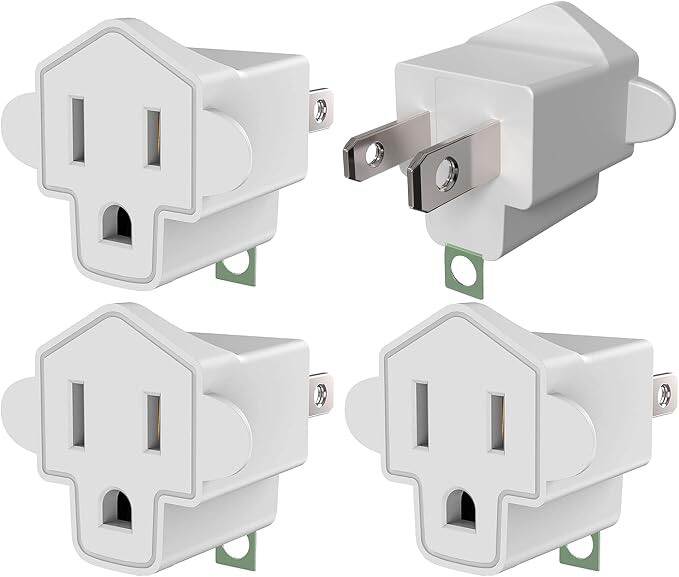
I had the same issue with the plug and the outside outlet. Just buy one of those cheap 2 prong to 3 prong adapters and it provides enough clearance to use the outside plug. Fortunately I discovered this issue at home while testing my Mini and various mounting spots.
-

Made in USA leaf springs
Boudicca908 replied to Mountainman198's topic in Mechanical & Technical Tips
I don't know enough about it to give specifics, other than to say that they did something to avoid the new parts from rubbing against the other parts. @ScubaRx might help explain this better. I don't want to use the wrong terminology. Are you going to be at the rally? We could all get together and have a powwow about this topic! -
StarLink mini with StarLink router mini.
Boudicca908 replied to 2008RN's topic in Mechanical & Technical Tips
I just make calls using my phone -- though I've 'enabled wifi calling' as required. It's only dropped like that on two or three occasions, as I mentioned. An extension cord -- I should do that. Would save me from having the window cracked open! :) -
Made in USA leaf springs
DanielBoondock replied to Mountainman198's topic in Mechanical & Technical Tips
Can you tell us here, what specifically? Also what did you learn about the wear? -

StarLink mini with StarLink router mini.
jd1923 replied to 2008RN's topic in Mechanical & Technical Tips
Can you make regular phone calls or using an app? The calls are likely dropping when one satellite is moving out of range and the next one is taking over. Use any extension cord to use the outdoor outlet vs. an window open, or you could change the outlet cover. -
Made in USA leaf springs
Boudicca908 replied to Mountainman198's topic in Mechanical & Technical Tips
I have read through most of this (long) thread several times and ... I don't follow all of the concerns regarding wear caused by the Alcan parts, though @ScubaRx did a great job helping me understand some of the concerns. Since I had my new Alcan Springs installed this summer, and asked them specifically about some items, I want to say that Alcan has made adjustments based on feedback and experience for their Oliver installations, so people need to be aware that some things are not the same compared to early installs. With all the interest and all the questions, I wish Alcan were coming to the Rally to talk springs! (Hint Hint Oliver Mothership!) -
StarLink mini with StarLink router mini.
Boudicca908 replied to 2008RN's topic in Mechanical & Technical Tips
I've used the Mini (with the built-in router, not an extra router) for 2 years and I've never had issues with connections or slow service for internet, though sometimes phone calls drop (but only a handful of locations over more than 12 months of use). I use the cord-out-the-window and satellite on the ground method. My plug won't fit into the Oliver outdoor waterproof plug; it's too bulky to get into the recess. - Yesterday
-
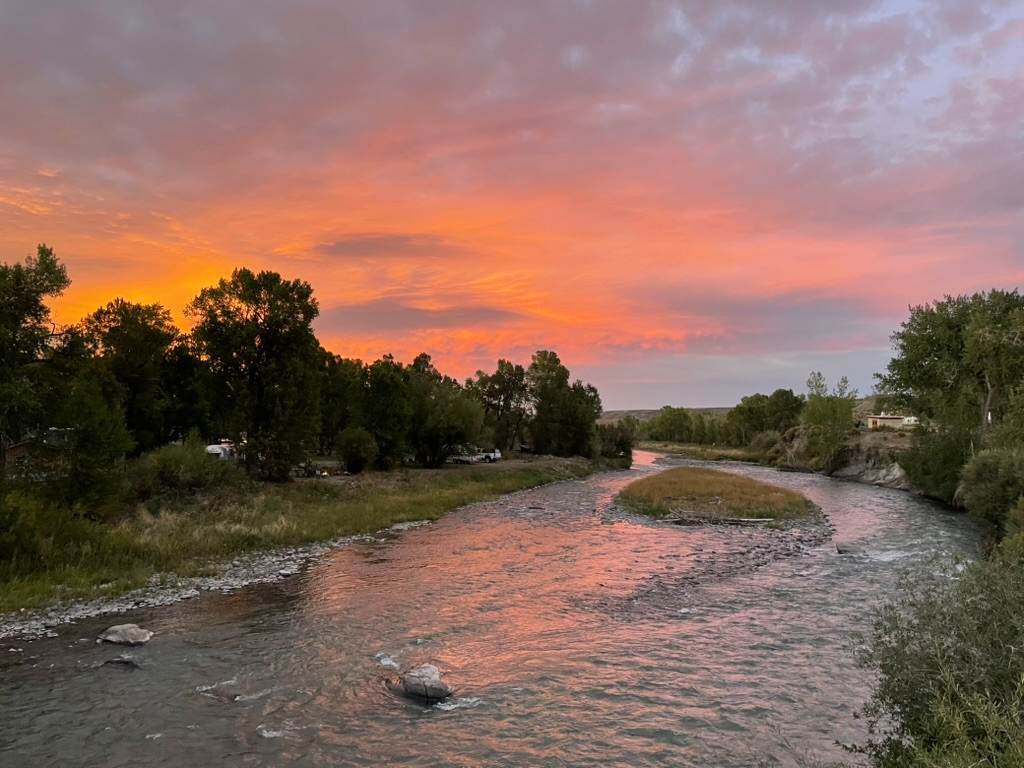
Wyoming sunsets are glorious.
-
I just went back and read the early posts from 2016. Interesting some of the names that were on the forum a lot and now are not. Lots of old timers still here though! Mike
-
10 years and still going strong. Everyone has had adventures to share! Mike
-

Shower drain pan backup while towing
Geronimo John replied to DBL-R's topic in Mechanical & Technical Tips
I agree with JD's thoughts and recommendations. The rear gray water valve is a bear to take apart. But it appears that your problem likely is the vent valve up front. I would add that if the valve is not closing there could be two causes. The valve is partially clogged. That can turn into a mess for sure to also deal with. I would approach it this way: Step 1: First try servicing all your cables as in the below DIY. Such a DIY is long overdue for your hull 99. Mine was and it is 342. That process may result in the valve clog getting mushed and then flow down to the dump station. If that does not fix the try Step 2. Step 2: At a dump station, from inside, flood the gray water lines with a LOT of water. Use your pump hot water at both sinks. Then try max flow with the pump and a garden hosed flowing into the bathroom sink. Suggest having a watchful eyed helper. Step 3: Send a garden hose with the end cut off it from the rear of the trailer to see if you can clear it that way. Be sure to open the gray valve outside to clear the pathway. Step 4: Consider getting help with a camera inspection. Hope this helps. GJ DIY - Sanitary Drain Valve Cables.docx -
UPDATE: I've got three folks in queue for the burner and two for the main board. Optical board still available. (Expect to pull this in 2-3 weeks, when Nova Kool shows up) Norcold Fridge Parts I'm replacing my defunct Norcold fridge from a 2020 Oliver II build with a Nova Kool. Someone was looking for the Norcold burner, but I can't find the PM or thread. If still interested, reach out. Available - NEW main circuit board and New Optical board, if anyone would like a spare or just needs one. (Ended up needing control panel...unobtainium_ Other parts I should salvage for anyone, that is worth your shipping cost from 78255?
-
- 2
-

-
Yes it is and certainly worth the stop even if you "thing" isn't necessarily military vehicles. This is a world class museum located about 7 miles east of Dubois. And, they are expanding (again) - soon to open will be what looks to be a fairly nice motel (on the east side of the museum) and (RV lot?) something on the west side too. Bill
-
Thread passed 1,000 replies! Congrats to everyone on such a great thread!
-
@topgun2 Interesting museum in Dubois WY https://nmmv.org/ Bill 313
-
Box Creek This is one of my favorites! It's a decommissioned Forest Service campground with pit toilet, non-potable water and no dump. Also, it is free. Box Creek is located off Buffalo Valley Road, West of Moran Junction, WY. PM me for GPS. Note that the campground was decommissioned due to bear activity. Even though I've only observed one black bear in camp I never venture outside the Oliver without some type of protection.
-

3Way Refrigerator Fan - Advice/Photos Please
Jim and Frances replied to Wandering Sagebrush's topic in General Discussion
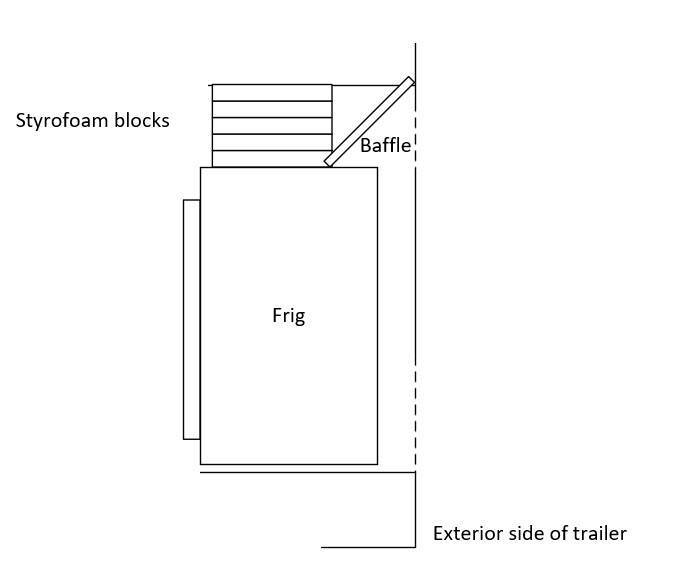
In our TX heat this summer, the good old Norcold really struggles. On hot days in the sun, I open/remove the lower hatch and place an electric fan on a small folding table to blow into the lower space kinda aiming the fan up a bit. This is the little table we use. This is the fan we use (we think the Vornado's are worth their premium price). In addition, we have installed computer style fans in the upper section. Our 2019 LEII has a baffle that directs the air flow out of the upper opening. Looks like yours is missing or they did not use them at the time of your build. I've attached a copy of the manual. The "N" code is for no cooling, which can require resetting the power board (see page 24 in manual). Hope this helps! Norcold N41x_ N51x_SM.pdf
-
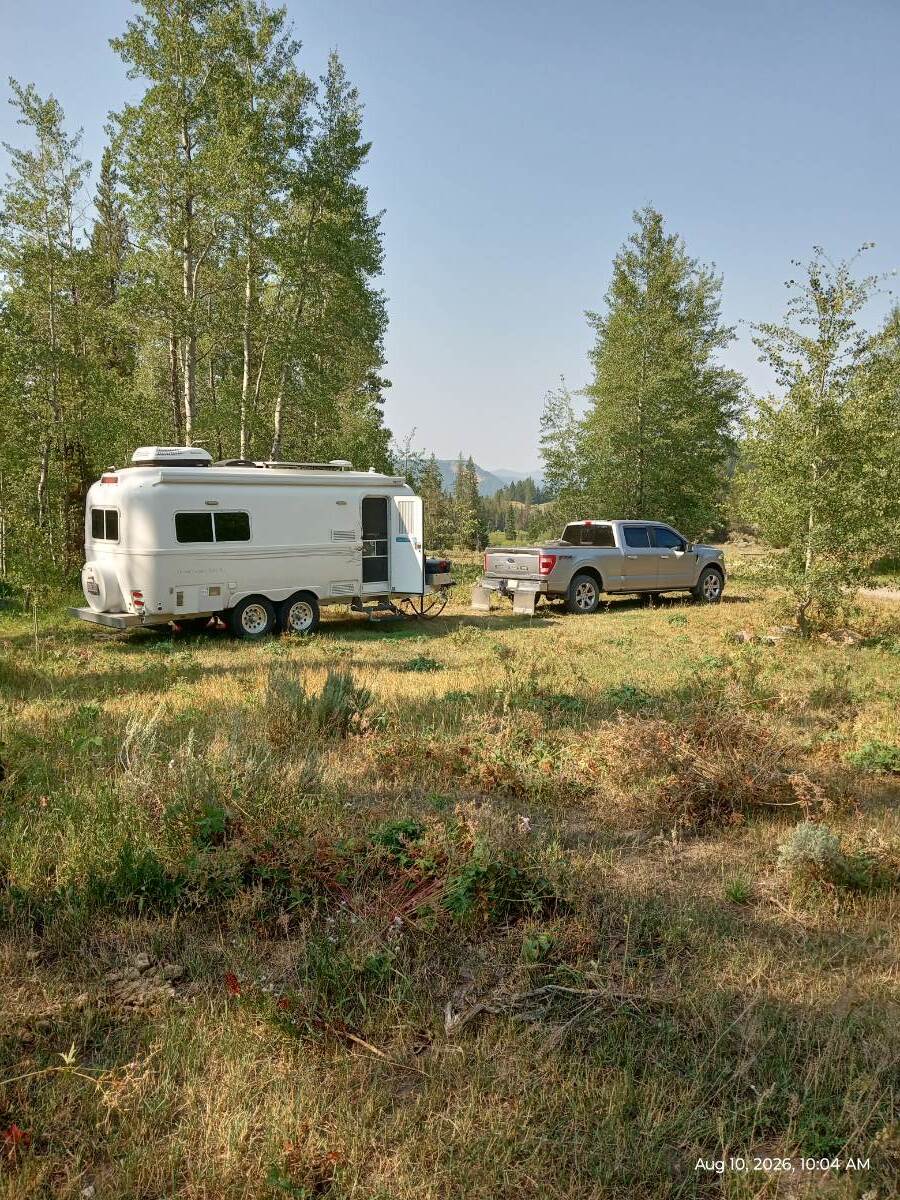
Trail Lake Road, East of Dubois, WY Note that this is a free boondocking site with decent pit toilet but no dump or water (other than what is in the lake/stream.
-
Horse Creek, north of Dubois, WY
-

StarLink mini with StarLink router mini.
2008RN replied to 2008RN's topic in Mechanical & Technical Tips
There are many on Amazon, and several on other place outside of Amazon. My problem is finding one high enough customer ratings, that has a large enough sample size to give statistical significance. Found one with 125 reviews, but I didn't like the rating number, and the comments on the reviews. I found one that had 4s and 5s on the reviews and all of the reviews were good. Problem is that there were only 24 reviews. I may take a chance and go with this one. https://www.amazon.com/dp/B0GLF9D2LD/?coliid=IHZS5CRM8MBZM&colid=27T05FXN4KH1E&psc=1&ref_=list_c_wl_lv_ov_lig_dp_it Our dog has all of the standard shots and my wife keeps good records. We usually do NOT Border the dog, So we haven't done the Bordetella (kennel cough) vaccination. There is a large nice RV parks for the 55 and older that requires them. Going to Canada we probably would not need then But I may do The shot just to be safe. -
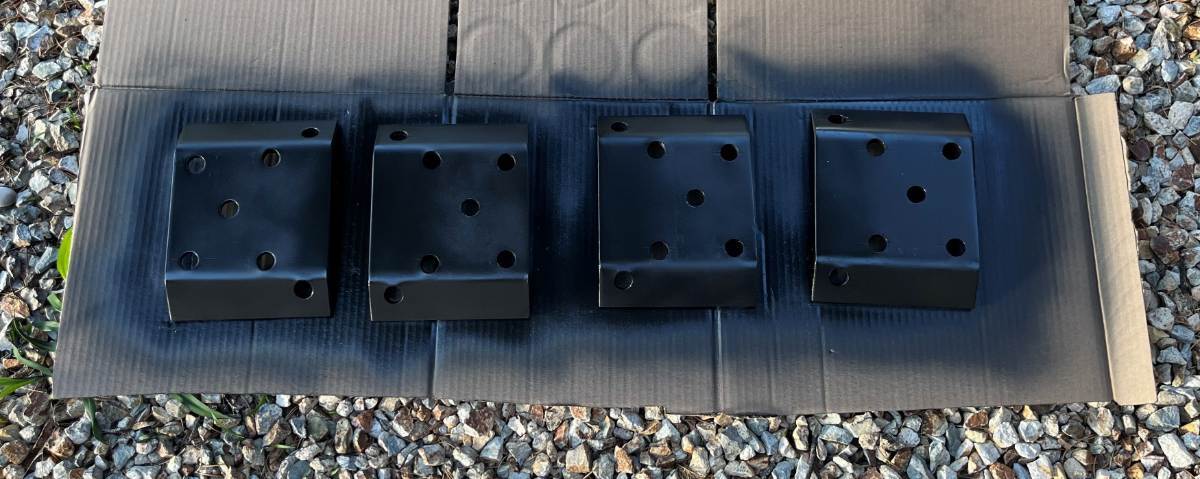
I missed this comment, yeah you're good. The two of us two engineers checking each other's work! 😎 Along with all the communicating members of our great OTT Forum! Team collaboration is the essence of problem solving! 😂 You'll have the leaf tie plates out again, so you can drill them on your workbench or vise. You're right, a Dremel doesn't work very well with heavy stock. You may have trouble finding a 19/32" or 5/8" bit. What I would do is get the plates in a vise, drill them through with the 9/16" bit and see how they may fit. Then in the correct direction push-n-pull the drill left-n-right while drilling to oval out the holes enough to smoothy fit your new U-bolts. The U-bolts come with HD washers so you'll be good. Get everything to fit well on the workbench before climbing under that trailer again! It keeps getting harder to kneel down and climb up off the driveway or garage floor. I will not lower myself with kneepads or a cushion and a steel milk crate to push myself back up on my feet! 🤣
- Last week
-
Made in USA leaf springs
DanielBoondock replied to Mountainman198's topic in Mechanical & Technical Tips
You definitely are one, I asked to double check my math as we make these kinds of mistakes all the time. Long time ago I worked on a probe that went to Mars, except it didn’t because of a math glitch (not mine 😅) I’ve got a Dremel, too much hogging for me, would have been a good idea to bring along though. I’ll just drill out, it’s only 1/32 larger on each side which is well within tolerance. Don’t have my right angle but will check how it is with the impact in drill mode Yes I called it out at the end of the post - am I missing something? The picture shows it now with a rough fit, I didn’t do anything special yet and am planning on making sure it’s aligned before final torque (this was just how I left it after the hard work). But thanks for emphasizing the point, I’ll make sure to keep good tolerances -
I pride myself on being the engineer/mathematician! Obviously not this time! 🤣 You're right it's only a 1/16" diff which may be negligible. Drill to 9/16" and you may have to use a Dremel or something on the outside arc if it doesn't quite fit. I didn't need to do anything, except I steel-brushed and painted them, LOL! I had 9/16" U-bolts installed on D35 axles installed 10 years ago by OTT. I replaced them with new U-bolts of the same size. Did OTT really cheap out on this part?!? They upgraded from D35 to D52 axles while they downgraded from 9/16" to 1/2" U-bolts. This doesn't make sense at all! Dan, make sure you didn't miss the meaning of this statement.