Leaderboard


Popular Content
Showing content with the highest reputation on 07/04/2017 in Posts
-
John & Sheila Shkor Sailors Ashore Alternative Mounting of the Andersen No-Sway Hitch Sheila and I have just taken delivery of our Oliver Elite II, Hull #217, and will be participating in the forum under the sobriquet "SailorsAshore." As the name implies we are lifelong sailors who reached a time when change in activity appealed to us. As trailer rookies we wanted to enjoy good handling and minimize the possibility of sway when towing with our softly sprung GMC Yukon. The Andersen no-sway weight distribution hitch looked like the right thing. I know that the Anderson hitch has been mounted onto many Oliver trailers and is giving great service. From Forum discussion and pictures, however, it appeared that there might be room for improvement. With the standard factory mounting, the axis of chain tension is not in alignment with the mounting brackets. The chains also pull somewhat sideways from the frame member on which the brackets are mounted. There are occasional reports of bracket slippage. And the force resulting from chain tension has to be carried through a number of welded joints in the frame. (The Forum contains a number of cautions about soft aluminum welds.) I wanted to see if I could come up with an alternative mounting system that might be closer to what the engineers would call an elegant solution. The chain tension required to shift tongue weight off of the hitch can be quite high. Our GMC Yukon has a 120" wheelbase and another 52" from the rear wheels to the trailer hitch ball. That is a 172" lever arm, long when compared to the 6.75" vertical distance between the center of the ball and the triangle plate on the Andersen hitch. The mechanical advantage (or disadvantage in this case) is 25 to 1. That means to transfer 150 lbs (of our estimated 600 lb loaded Oliver tongue weight) from the hitch to the front wheels, total chain tension must equal 3,750 lbs. (All numbers are approximate.) That sounds like a lot, and it is. But Andersen Manufacturing engineered the hitch to take this kind of loading. For those in doubt, please see the video at: https://www.youtube.com/watch?v=xvM7mCnqmwo. Mr. Ryan Andersen demonstrates the hitch and states "We like to compress the bushing....and that puts about 2,000 lbs pressure on the chain. With both of them they push the trailer forward with about 4,000 lbs. of force." What I wanted to find was a way to mount the chain brackets directly on to the center box shaft of the trailer frame. This location is attractive because the tension force is carried fore-and-aft solely by the center box shaft, without going through any welds. The axis of chain tension is closely aligned with both the mounting brackets and frame member. And the center box shaft is the heaviest and strongest component of the trailer frame. I first thought about mounting the brackets out in the open just behind the Bulldog coupler, but Andersen counsels against making the tension chains too short and Oliver didn't want to lengthen the trailer tongue. Instead, I found room to attach the chain brackets inside the propane locker, just forward of the propane bottles. (They could be mounted aft of the propane bottles, but that would make them harder to reach for adjustment.) A problem to be overcome was keeping the starboard chain from pressing on the tube of the tongue jack, since both would be in roughly the same plane. This was easily accomplished with two "quick links" which hold the chains closer together where they run by the tongue jack tube. This results in a slight "hour-glass" shape which does not interfere with the function of the chains or flexing of the bushings. (I have pictures showing this, but haven't figured out how to get them into the forum post. If anyone wants the pictures, send email address to (deleted) and I will by reply email.) The other thing I did was ask Andersen to fabricate the chain mounting brackets with a slight offset, which they were willing to do. This was to line up the axis of chain tension for the hour-glass shape I anticipated. Once mounted, however, it was evident that I over-estimated the angle needed for the offset. If I was doing it over I would go with a five degree offset. A potential weakness in this mounting method is that all of the tension load is carried by two brackets rather than being split between two pairs. This increases the possibility of bracket slippage, so I did two things to compensate. First, since I had to get longer bolts to span the 3" wide center box shaft, I upgraded to Grade 8 bolts. These stronger bolts enabled a bit more torque and friction. Second, I mounted the idler brackets just forward of the chain brackets to provide additional support. We experienced no slippage on the tow home and subsequent trips. Is this installation an improvement over the Oliver mounting method? Hard to say, but I like it better. At this stage it is only a prototype, and I am sure others will see possible improvements. If this catches on, however, perhaps someday Oliver will start welding aluminum cheek pieces with the right geometry onto the center box shaft. That would provide a mechanical stop to absolutely prevent slippage of the chain brackets. It would be an easy and inexpensive thing to do when the frame is in fabrication. P.S.: What a wonderful resource the forum is. Pioneers Betty & Mountainborn Harmon, video-meister Buzzy, all-things-mechanical Raspy & John Davies, and others too numerous to name, know much and have shared. Being able to draw on the accumulated wisdom of those with real world trailer experience has been priceless in enabling us to get a jump on understanding our Ollie. Many thanks from we sailors ashore to all who have contributed. # # #2 points
-
Justin take a look at this post, which has a brief discussion on how we determined our battery and solar needs. If the 70-80Ah number I mentioned there for average use doesn't seem to apply to you, then you'll need to calculate for yourself your battery and solar needs. To do that, you should start with an idea of how much electricity you think you need per day, in amp hours (Ah). You can research power requirements for what you'll be using, or purchase an inexpensive watt meter off of Amazon to see exactly what you use. Double that number to account for cloudy days, miscalculation, heavy use days, etc. Then size the battery bank to give you that much useable Ah, which as Bill said is 50% of the total Ah for standard batteries, or 80% for lithium (LiFePo). Then size your solar array to the battery bank per the rules of thumb given in that post. Of course, you can work backwards to decide if the standard Oliver kit works for you. Keep in mind that the larger array that's discussed in that thread isn't being offered at this time by Oliver, but you could add the extra panels yourself. And there are always generators...2 points
-
John - Over the 1.7 years that I've used the Andersen I have had to have the "cone" replaced twice due to noise. The hitch itself has always done what it it supposed to do and the hitching/unhitching ordeal that so many people complain about is certainly no more difficult than with other systems that I've used (on previous trailers using the Equalizer mainly). The customer service is excellent and Andersen's rep - Sage - is a member of this Forum. As far as I know Andersen only has one "model" (for the Oliver) and the brackets on mine have not moved even a fraction of an inch. I understand that the original installation is critical to this issue. Since I've never removed the brackets I really do not know about frame damage, but, a visual inspection of that area reveals absolutely nothing. There doesn't seem to be anything "wrong" with the procedure from OZ. I know that for most Olivers at the factory the starting point is to make sure that the hitch is about 24 inches from the top of the hitch to the ground. Brackets are then installed and the Andersen chains are then tightened so that 6 threads are showing at the rear. To fine tune this starting set-up one can either take before and after weights on the two vehicle axles (see Buzzy's discussion of this) and the red bushings should show a visible slight "bulge", of course, the trailer should be fairly level as should the TV. Of course this rough guide is only a starting point and the "final" settings will depend on the TV, the (changing?) weight of the trailer's tongue, the weight and distribution of that weight inside the TV, the suspension on the TV, etc. With all the "ya's" and "na's" concerning WDH, I fall solidly in the "ya's" category. Particularly with the Andersen, not only does one get the desired distribution but you get "anti-bounce" via the red bushings and the sway control that (with the Oliver) is probably only going to be needed in the event of a true emergency - I've never had my Oliver sway but I've never been in anything near an emergency situation with it (hopefully never will). Anything that I can do to increase the number of contacts between the TV and the Oliver is great by me and is fairly cheap insurance in the event of that possible emergency. Finally with regards to your #7 above - I actually not only recorded this number, but, I placed a label of the Andersen's "whale tail" to remind me. Again, while I don't usually change this number of threads showing, they can be changed easily to adjust for those things I listed above.2 points
-
Justin - I really don't know just how to start to answer your question. I've been in my Elite II for as long as four weeks without plugging into shore power and the batteries never went below 95% capacity. But, the answer to your question lies in just how YOU want to live and use the resources that are available to you. I'd suggest that you become familiar with a little electrical knowledge in that assuming that you will have 400 amp hours of battery capacity (which equates to about 200 usable since you never want to go much less than 1/2 of your total or you'll risk damaging your batteries) you have to manage that capacity in such a way as to not run out - so, total usable capacity minus what you use plus what you put back in via solar or generator give you what is available to you for any usage that you may desire. And, remember that if you are not on shore power and not running a generator (of sufficient size) you can not use you air conditioner. Hope this gives you a start - Bill2 points
-
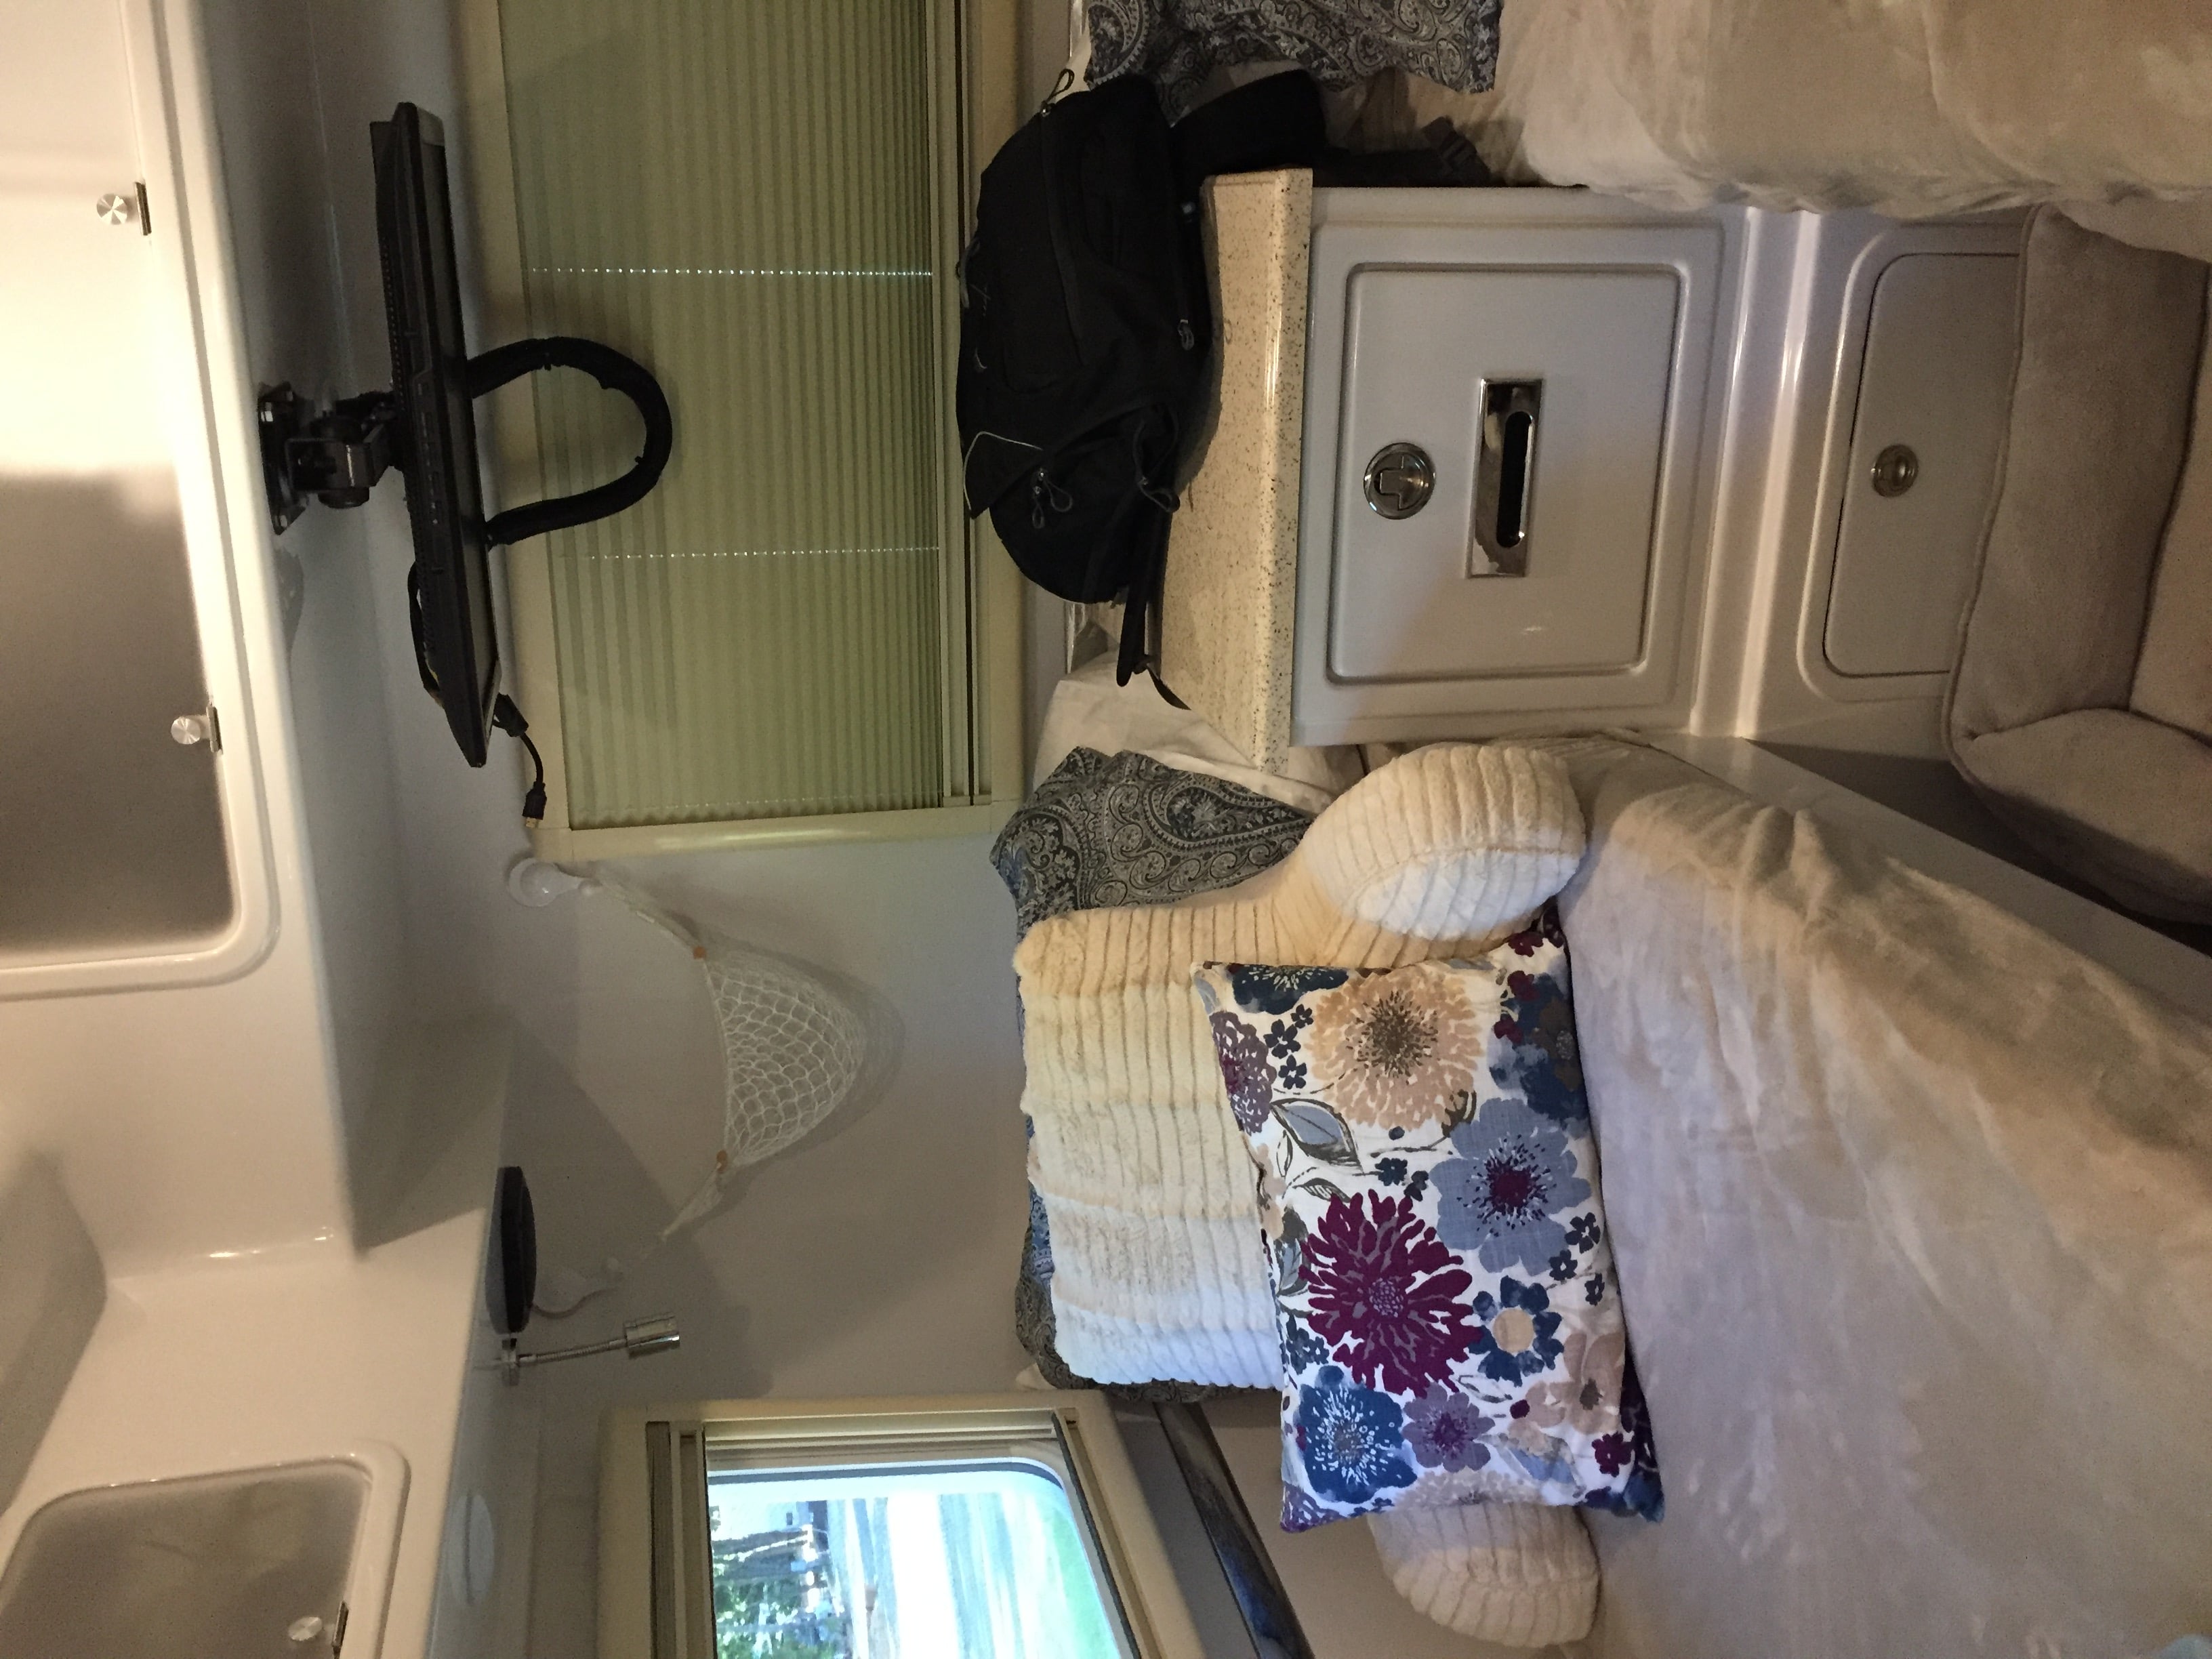
During our service visit we asked for a latch to be installed on the nightstand drawer like the one on the pantry. It seems very secure and looks nice. I don't think it will come open anymore duting travel.
 2 points
 -
So my goal is to pretty much permanently live in an Ollie in a couple of years. I'll spend a week at home base so I can work and earn income, and I'll have the Ollie at a friend's place. Then I'll spend a week traveling or camping. Rinse and repeat! I plan to run primarily on solar and propane. I guess I just want to make sure I'm not overreaching when I think I'm going to be able to live fully in my trailer. So what kind of power capabilities should I expect? What kinds of appliances can I run, for how long, etc.? Thanks!1 point
-
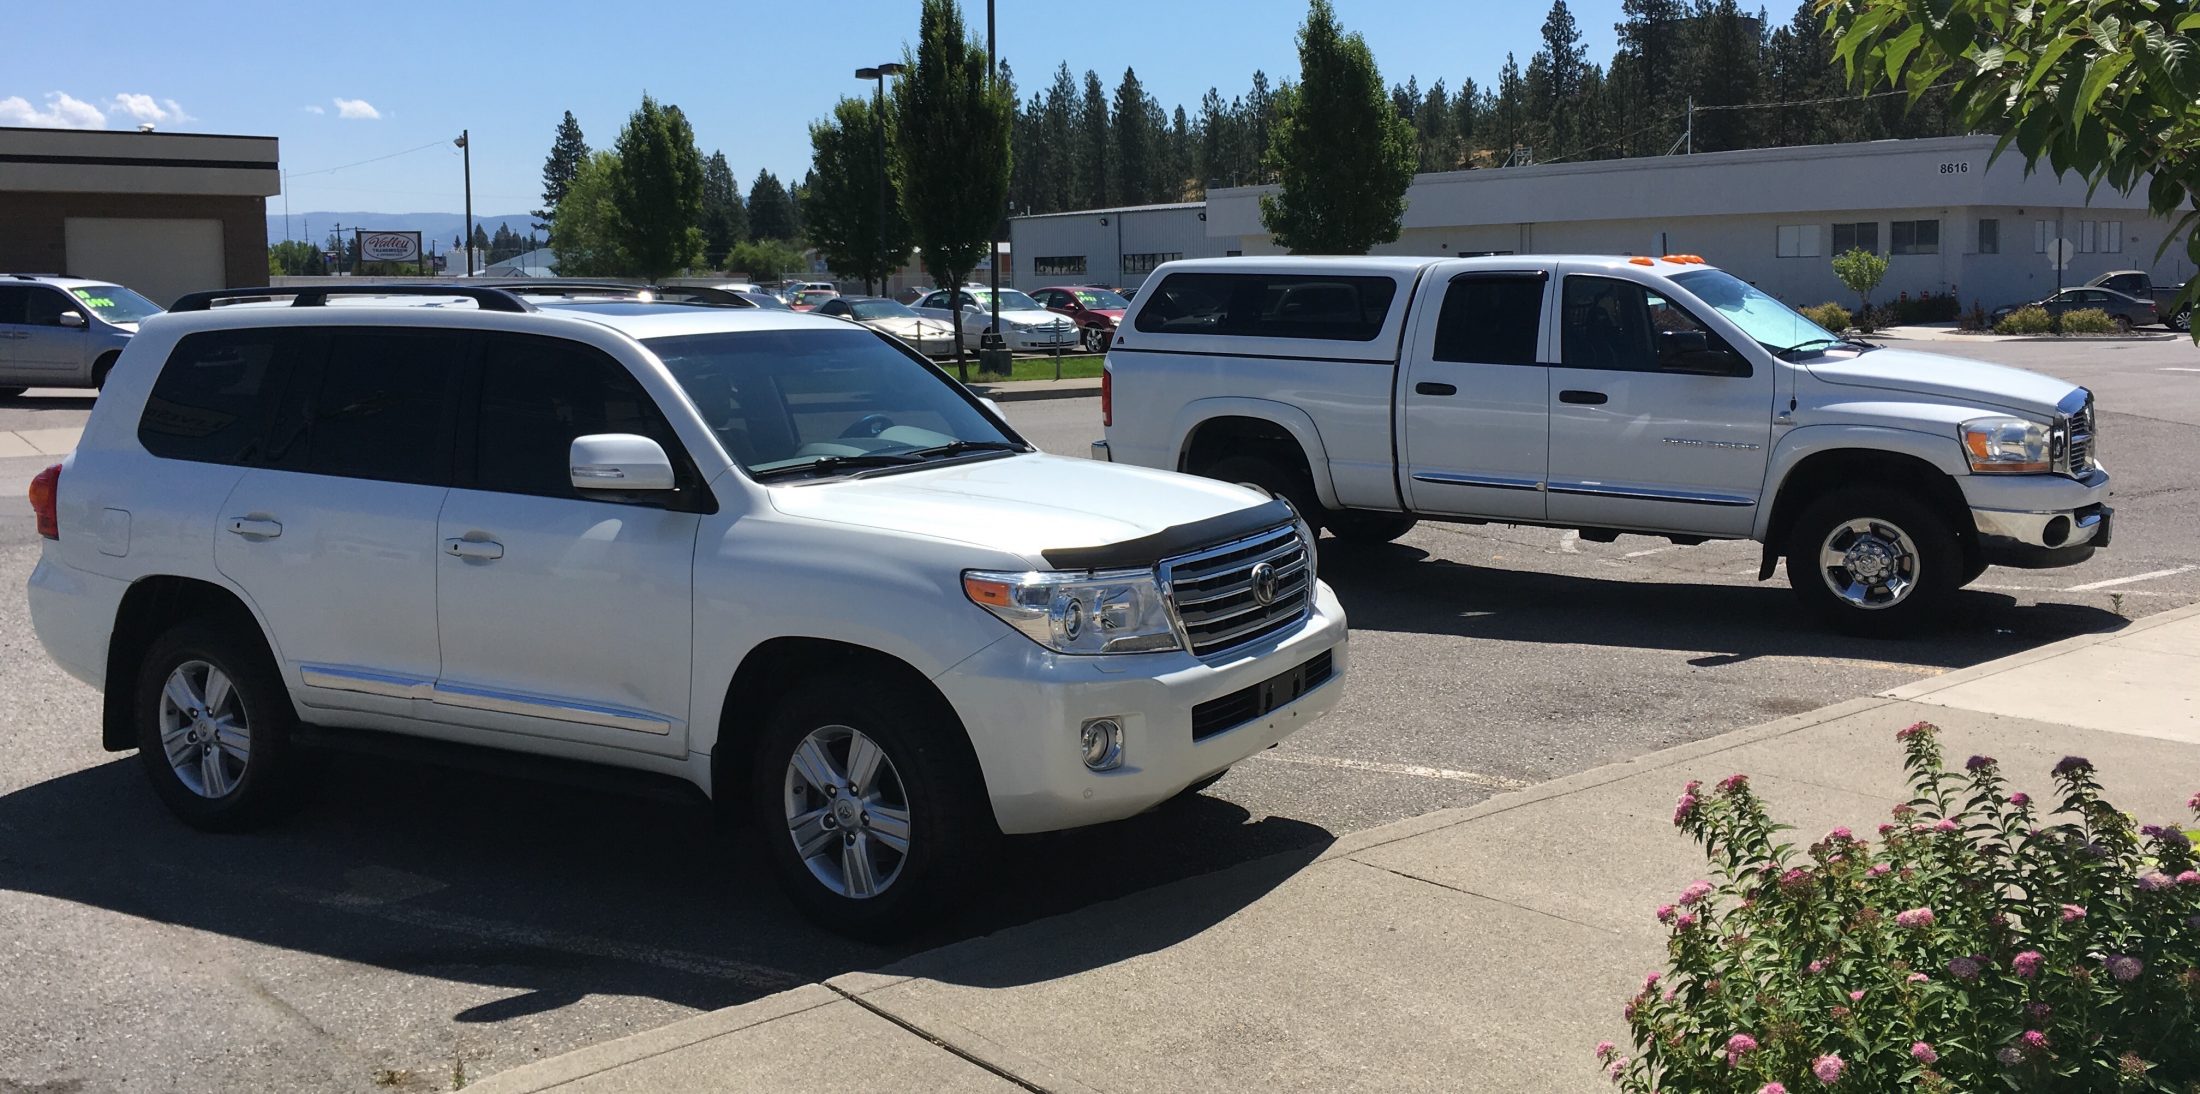
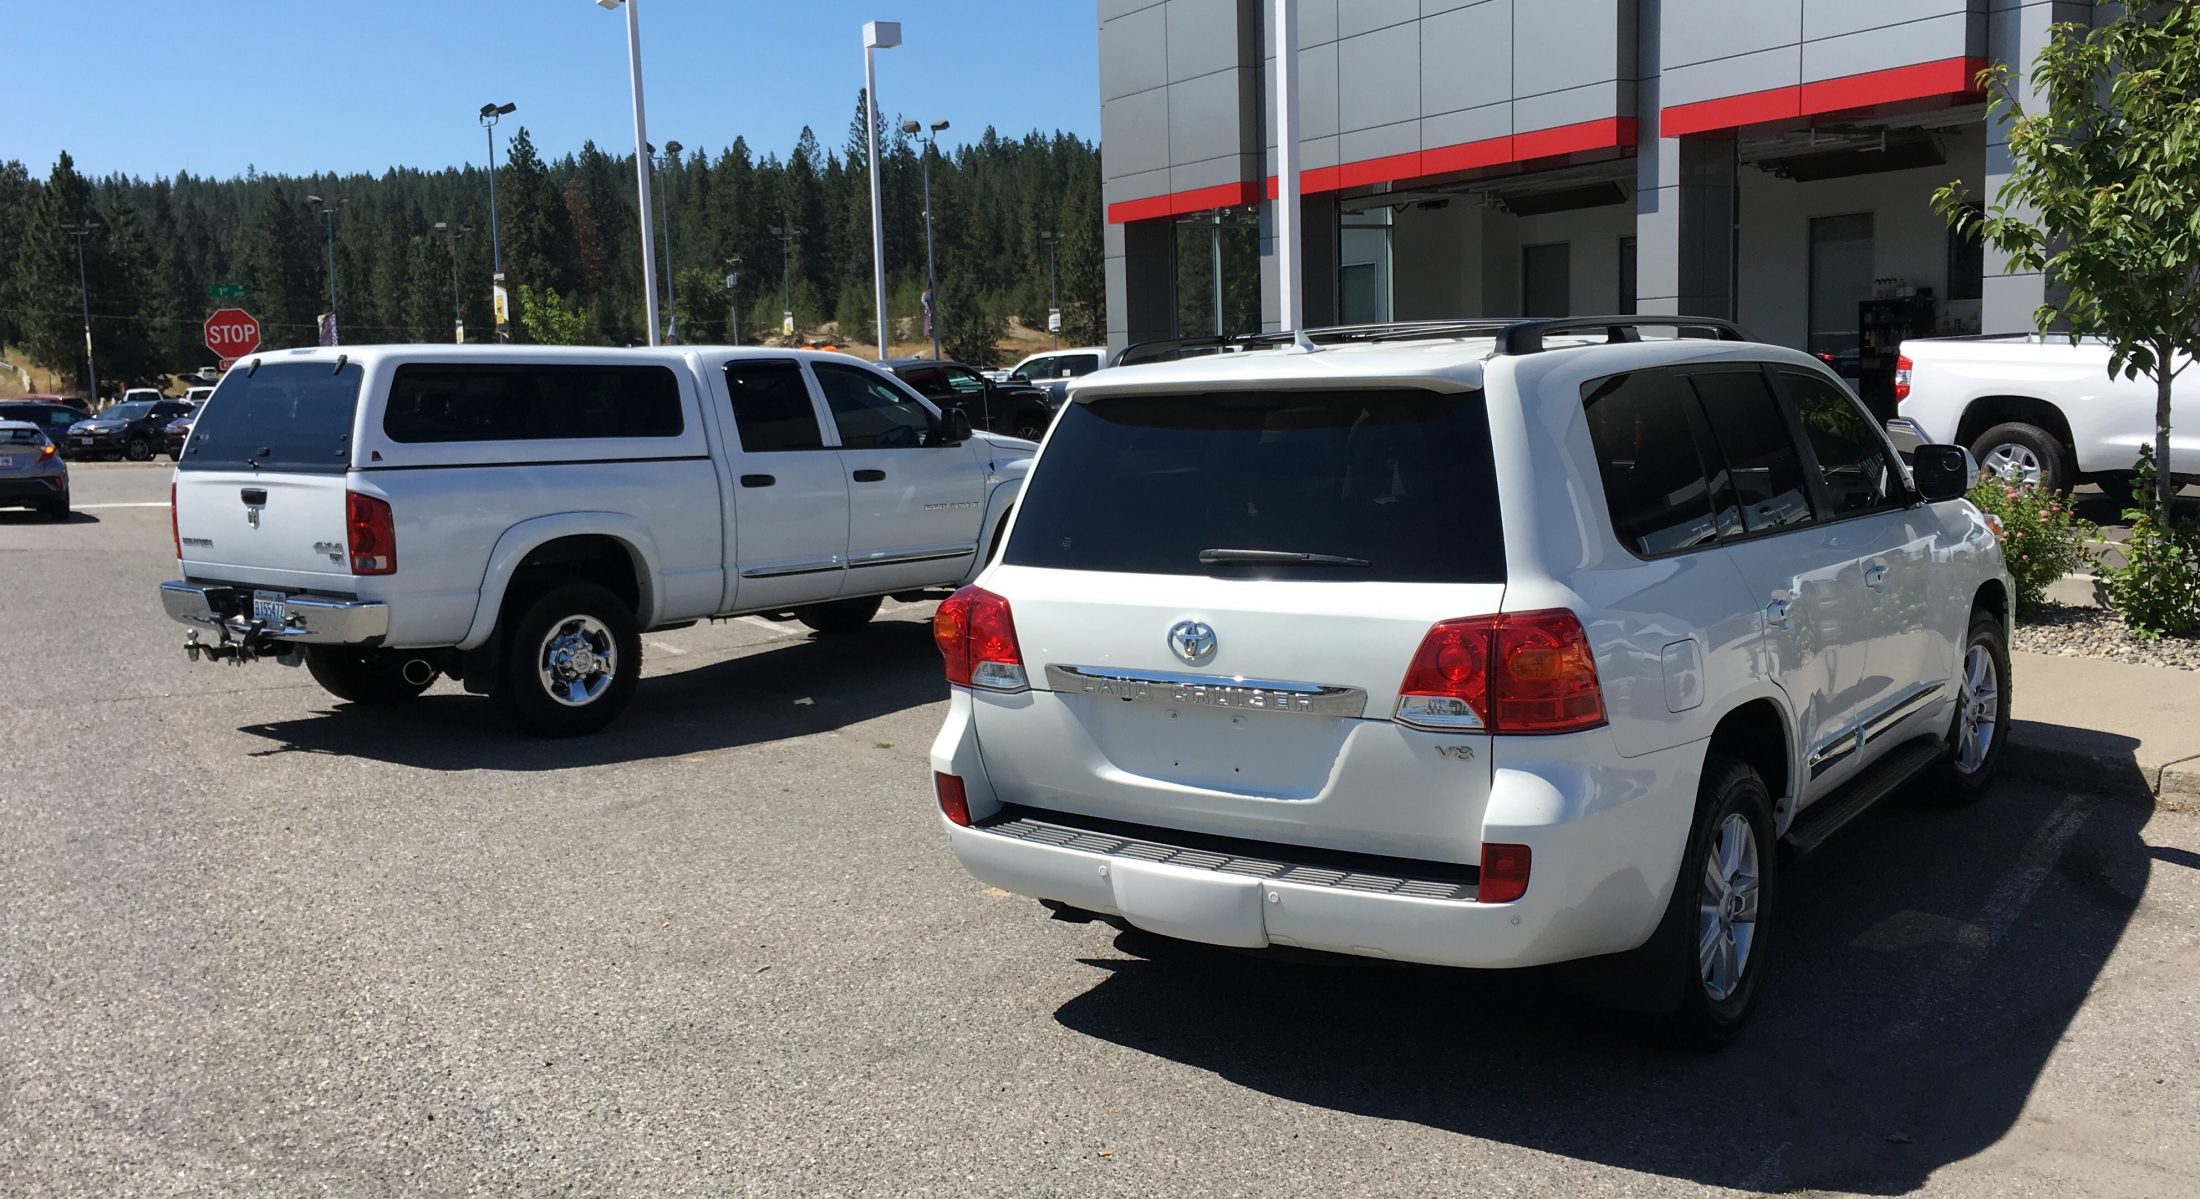
Here, I am sorry for drifting away from the thread subject. I have only owned the 200 for 24 hrs. I have already removed the rear jump seats, rigged a cargo barrier net in back, and a pet hammock for the dogs in the middle. I am waiting on my adapter harness so I can mount my P3 and then see how the truck works towing.... The Ram is in the background. I got a heck of a good trad- in value for it - the non-emissions diesel trucks are in VERY high demand. More pics in a new thread, later. John Davies Spokane WA
1 point
-
John, wow, that was a great and detailed post. Thank you. It is easy but a little unusual to add pics from your computer. You do not need a web host. Look below the text box at "Attachments". Click "Select File". A popup window will open. Navigate to the folder where your image is (I move mine to the Desktop for quick access) If you are using a notebook you will need to navigate to your pictures app. Select the image and then hit "Choose". Your pic will upload and appear at the bottom there. You can add more pics by selecting "Add another file" You can delete a pic by using "Remove this file" If you want your pic to appear in the text box with your description , click a location and then drop back down and click "Insert into content". It's a little odd but the method works great and if you put your pics in with your commentary it does look very nice. Please upload some pics of your Anderson setup! PS, you should NOT list your email address on public forums. It is asking for it to be hacked. You can edit your post to delete it. Always use a Private Message for sensitive stuff. Thanks. John Davies Spokane WA1 point
-
Reed, I do not know how accurate it is, but the Zamp does have a percentage (available battery) at the top of the display. I have to have my glasses on to read it. We picked up our LE1 a week ago and have tested all systems with the exception of the fresh water and I am pleased so far - (knock on wood). I am seeing values of 13.4 V for our Lifeline 6V batteries that are being supported by the solar panels full sun for 4 hours (200 W) and running the already cold fridge on DC for 8 hours. We are just camping and not full timing, but I think we can live with this. I enjoy ya'lls blog , Thank you, Terry1 point
-
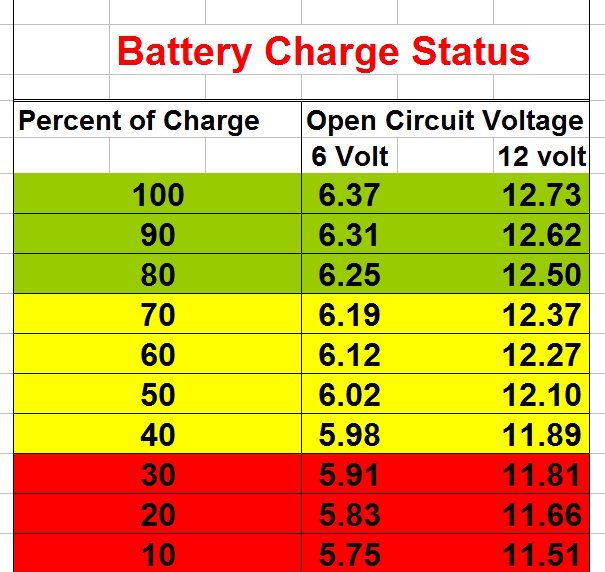
Reed & Karen - 12.1 would suggest that you are at just about a 50% charge level assuming that nothing is on at the moment. Bill
1 point
-
Oliver gets their graphics colors from ORAFAL. The ORACAL brand web site lists a lot more color choices. We chose from this list.1 point
-
We aren't camping right now but we've spent a lot of time in the Oliver. We had three showings this week, two requested through Oliver and one just a drive by who left a note on our trailer door. We also spent the better part of a day with some new owners who had some questions before they left on their first long trip. All interesting people; a custom home builder, a physician, a clinical pastoral care provider and a State Dept person who travels in the middle east a lot but can't give any details about what he does! While it is fun to show our Oliver it's also fun meeting the interesting people who are interested in our interesting trailers. Mike1 point
-
This chart shows what your "readings" should be when the battery is at rest. Rest means that you are not on a charger and it has been at least a couple of hours after you were on a charger. While on shore power or while solar panels are working you will be getting a charge put into your batteries that is in excess of what this resting battery status will be. If you are worried, simply unplug (or turn off you solar panels if you have them) wait a couple of hours and then look to see what your batteries read. During this time you should also turn off all things (that you can) that draw battery power. Bill
1 point
-
For the most part, I think we take pride in being stalked. It happens a lot, people following us into rest areas. Last trip, I experienced meeting a couple who had actually followed us into a campground and spent the night there, hoping to get a peek at the Ollie. They were driving a huge ($400,000) bus and were interested in us!1 point
-
Spoke with Jason yesterday. He's going to run my drawings past a few people in production to see if there's any reason we can't do it. Fingers crossed.1 point


-
Recent Achievements
-


")


")


")
