
Leaderboard




Popular Content
Showing content with the highest reputation on 05/16/2018 in all areas
-
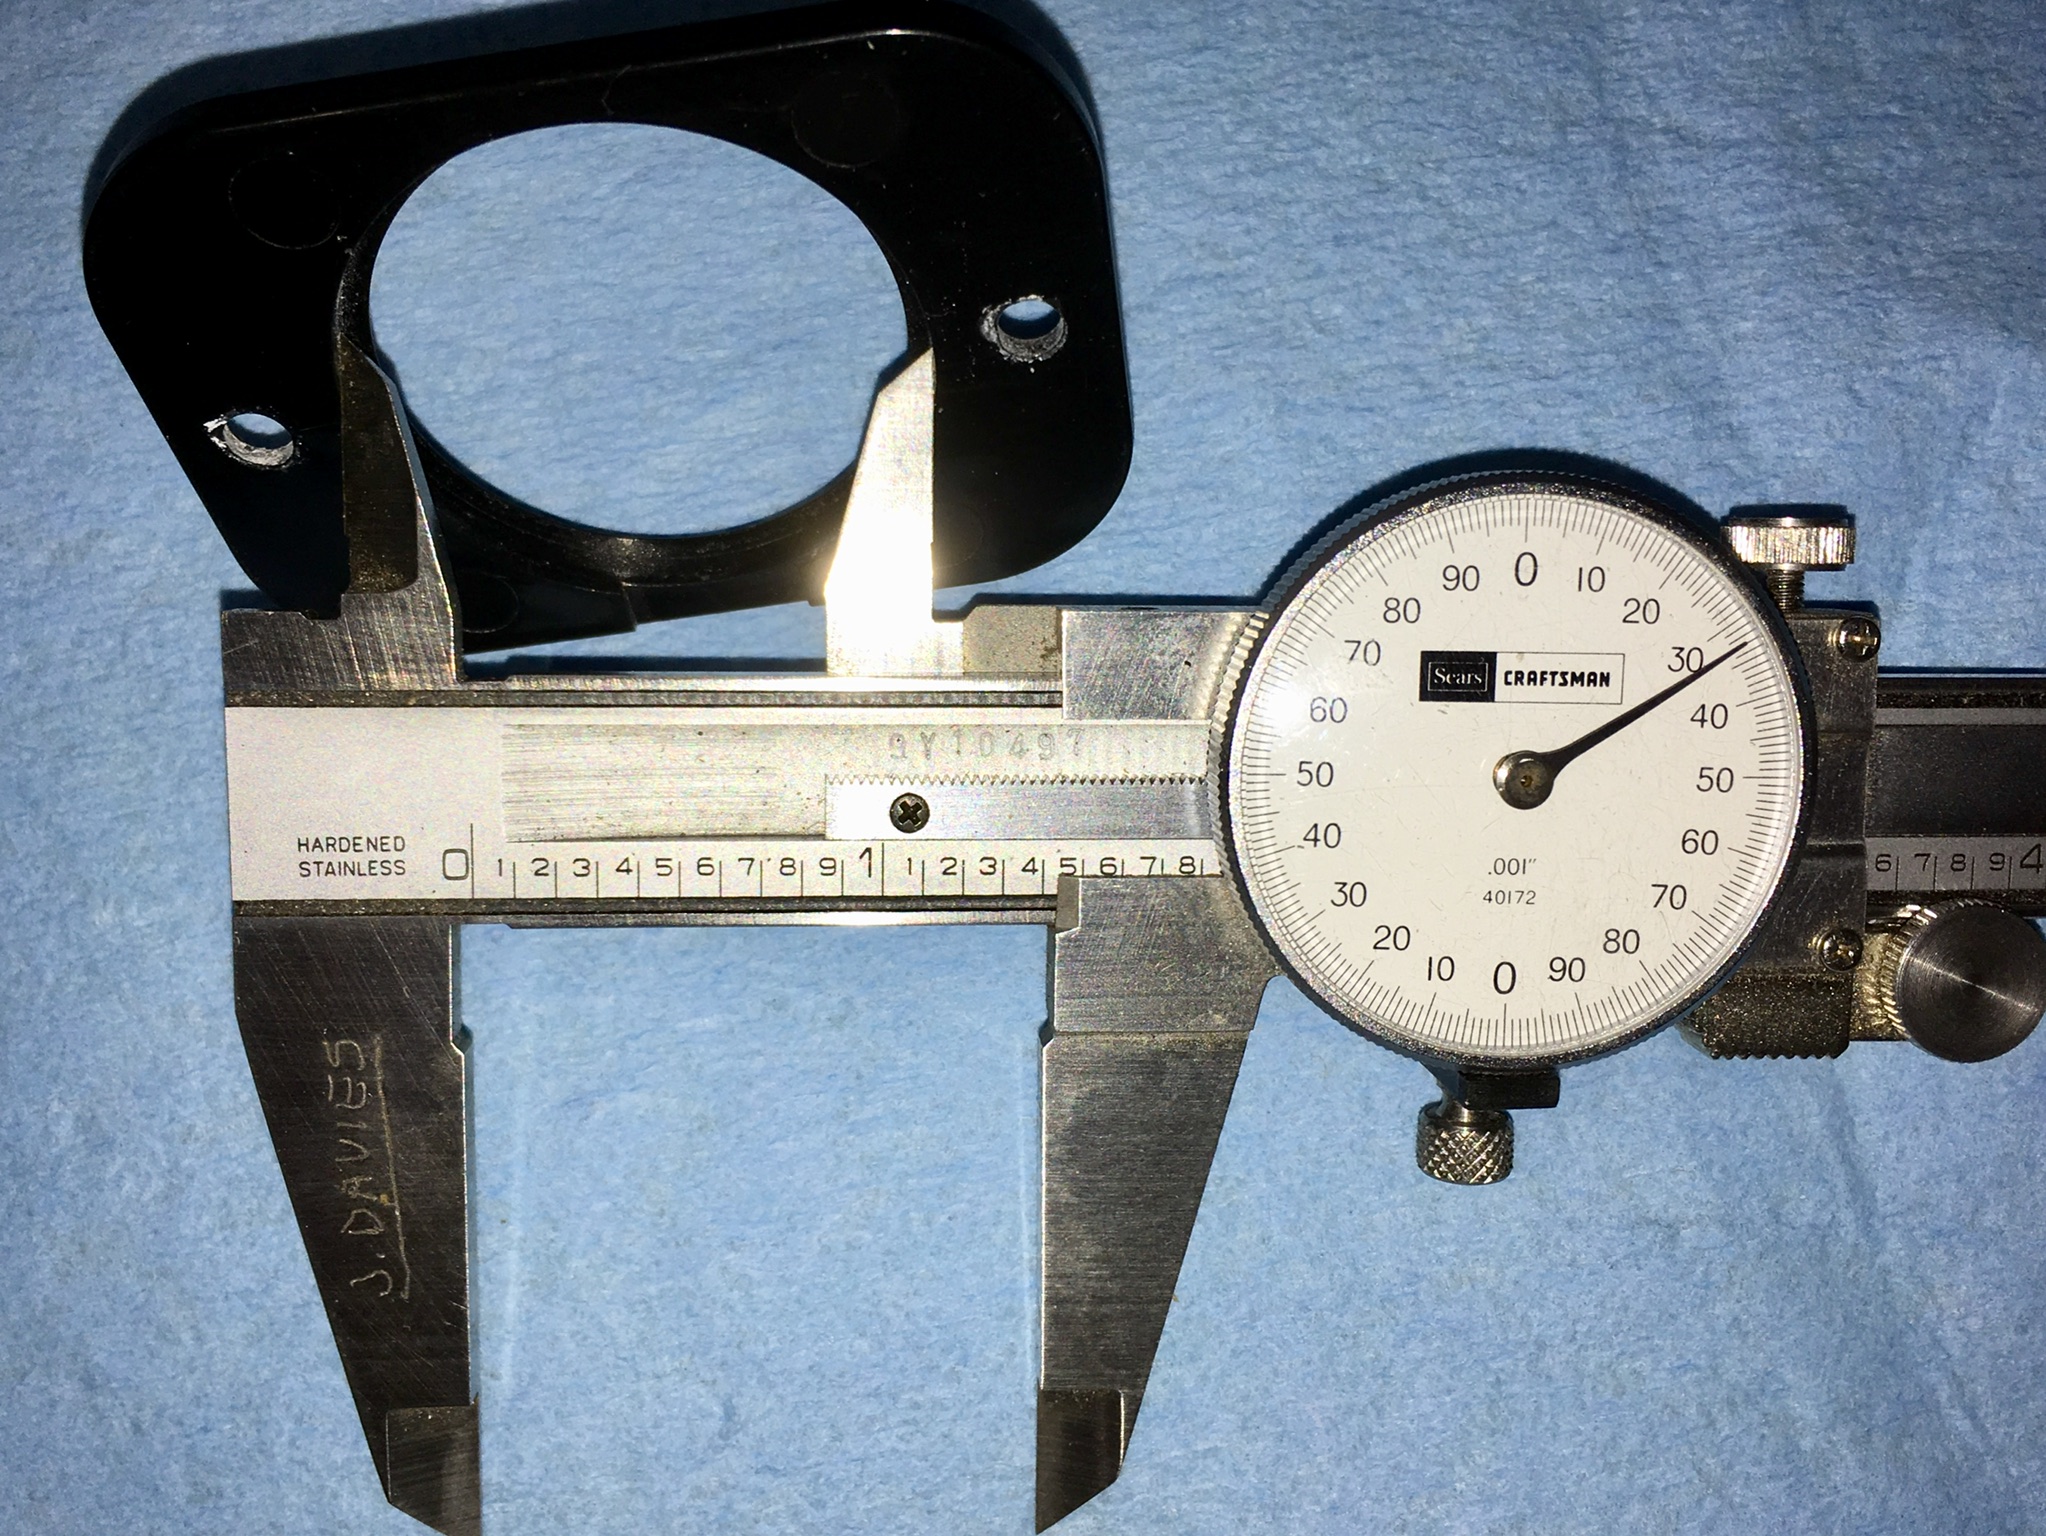
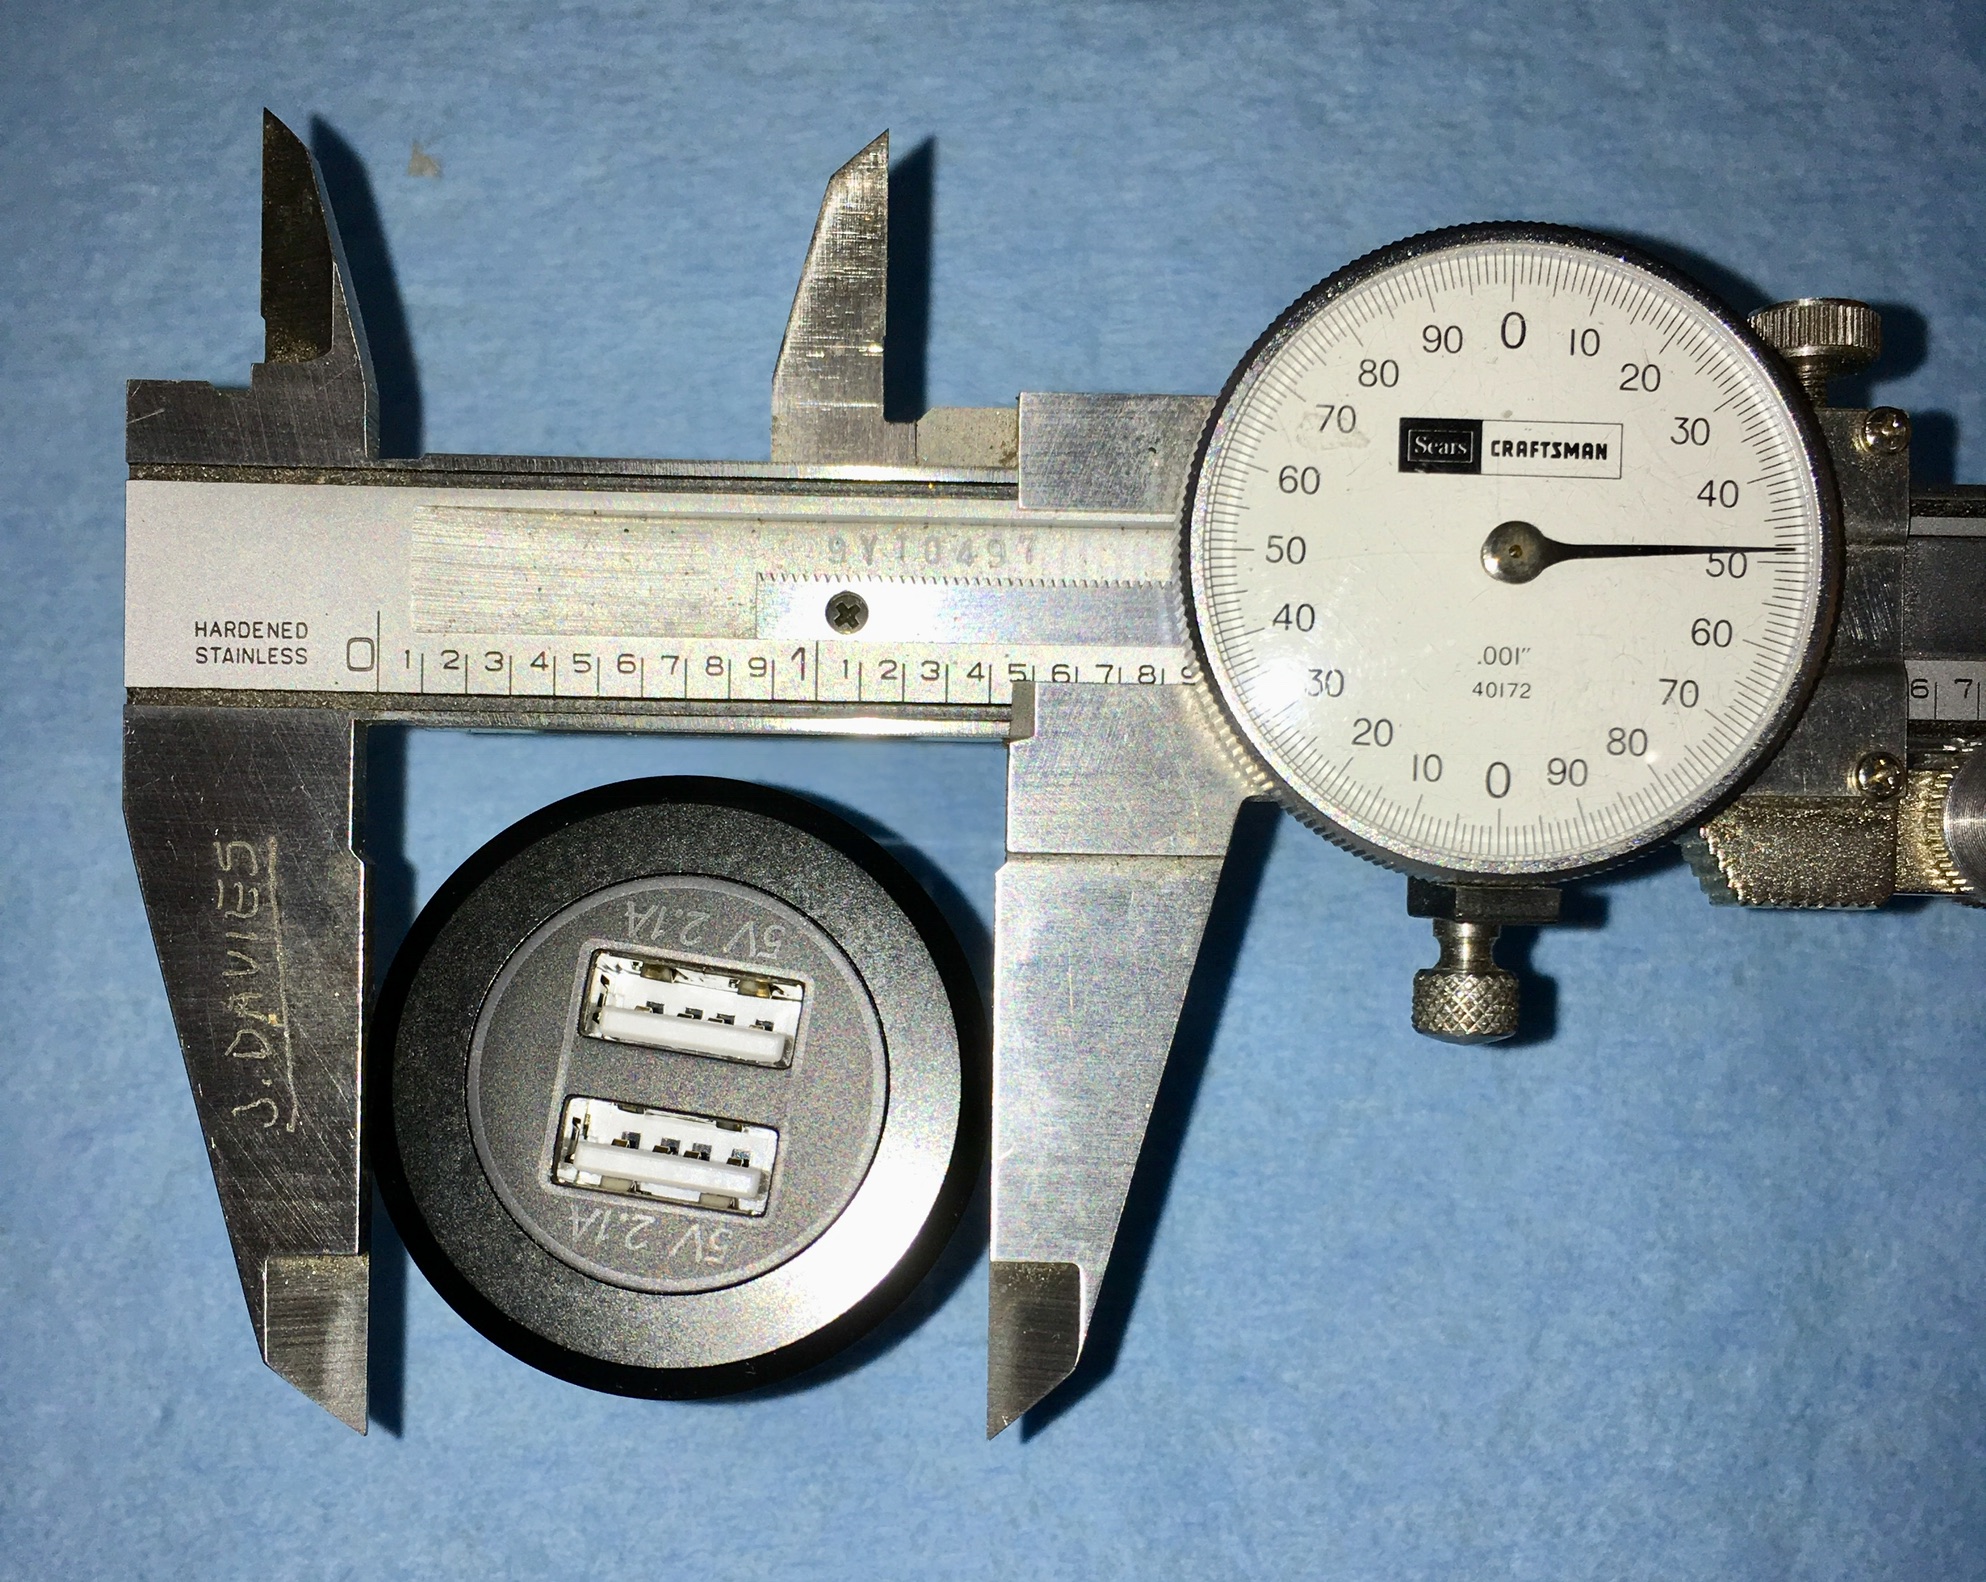
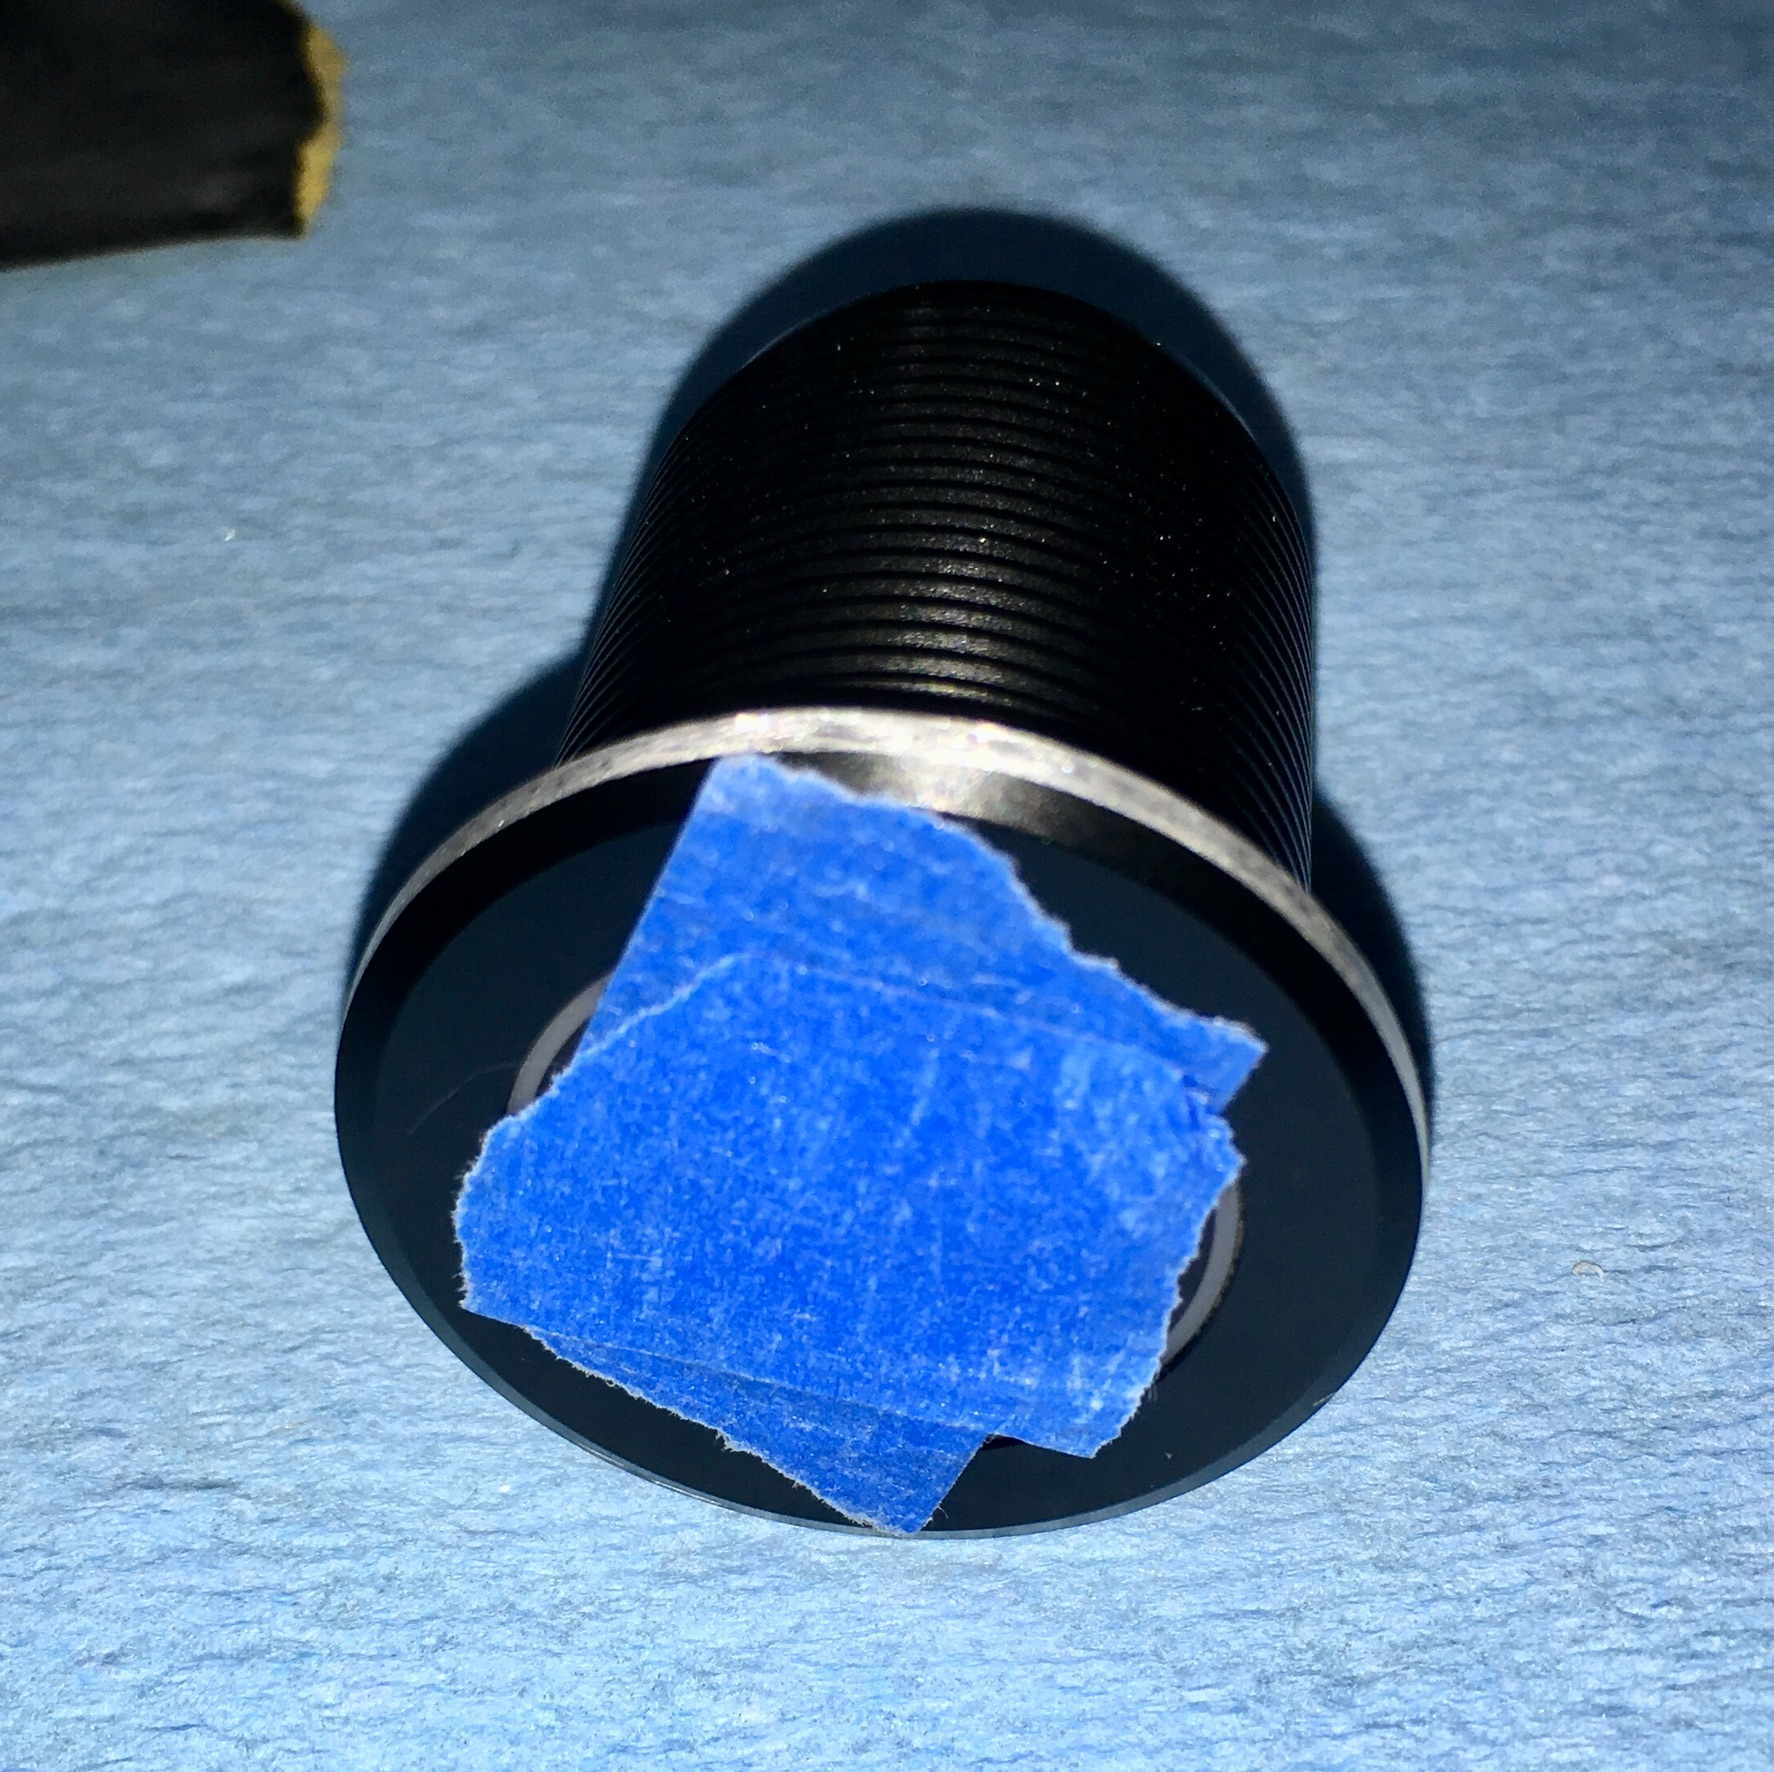
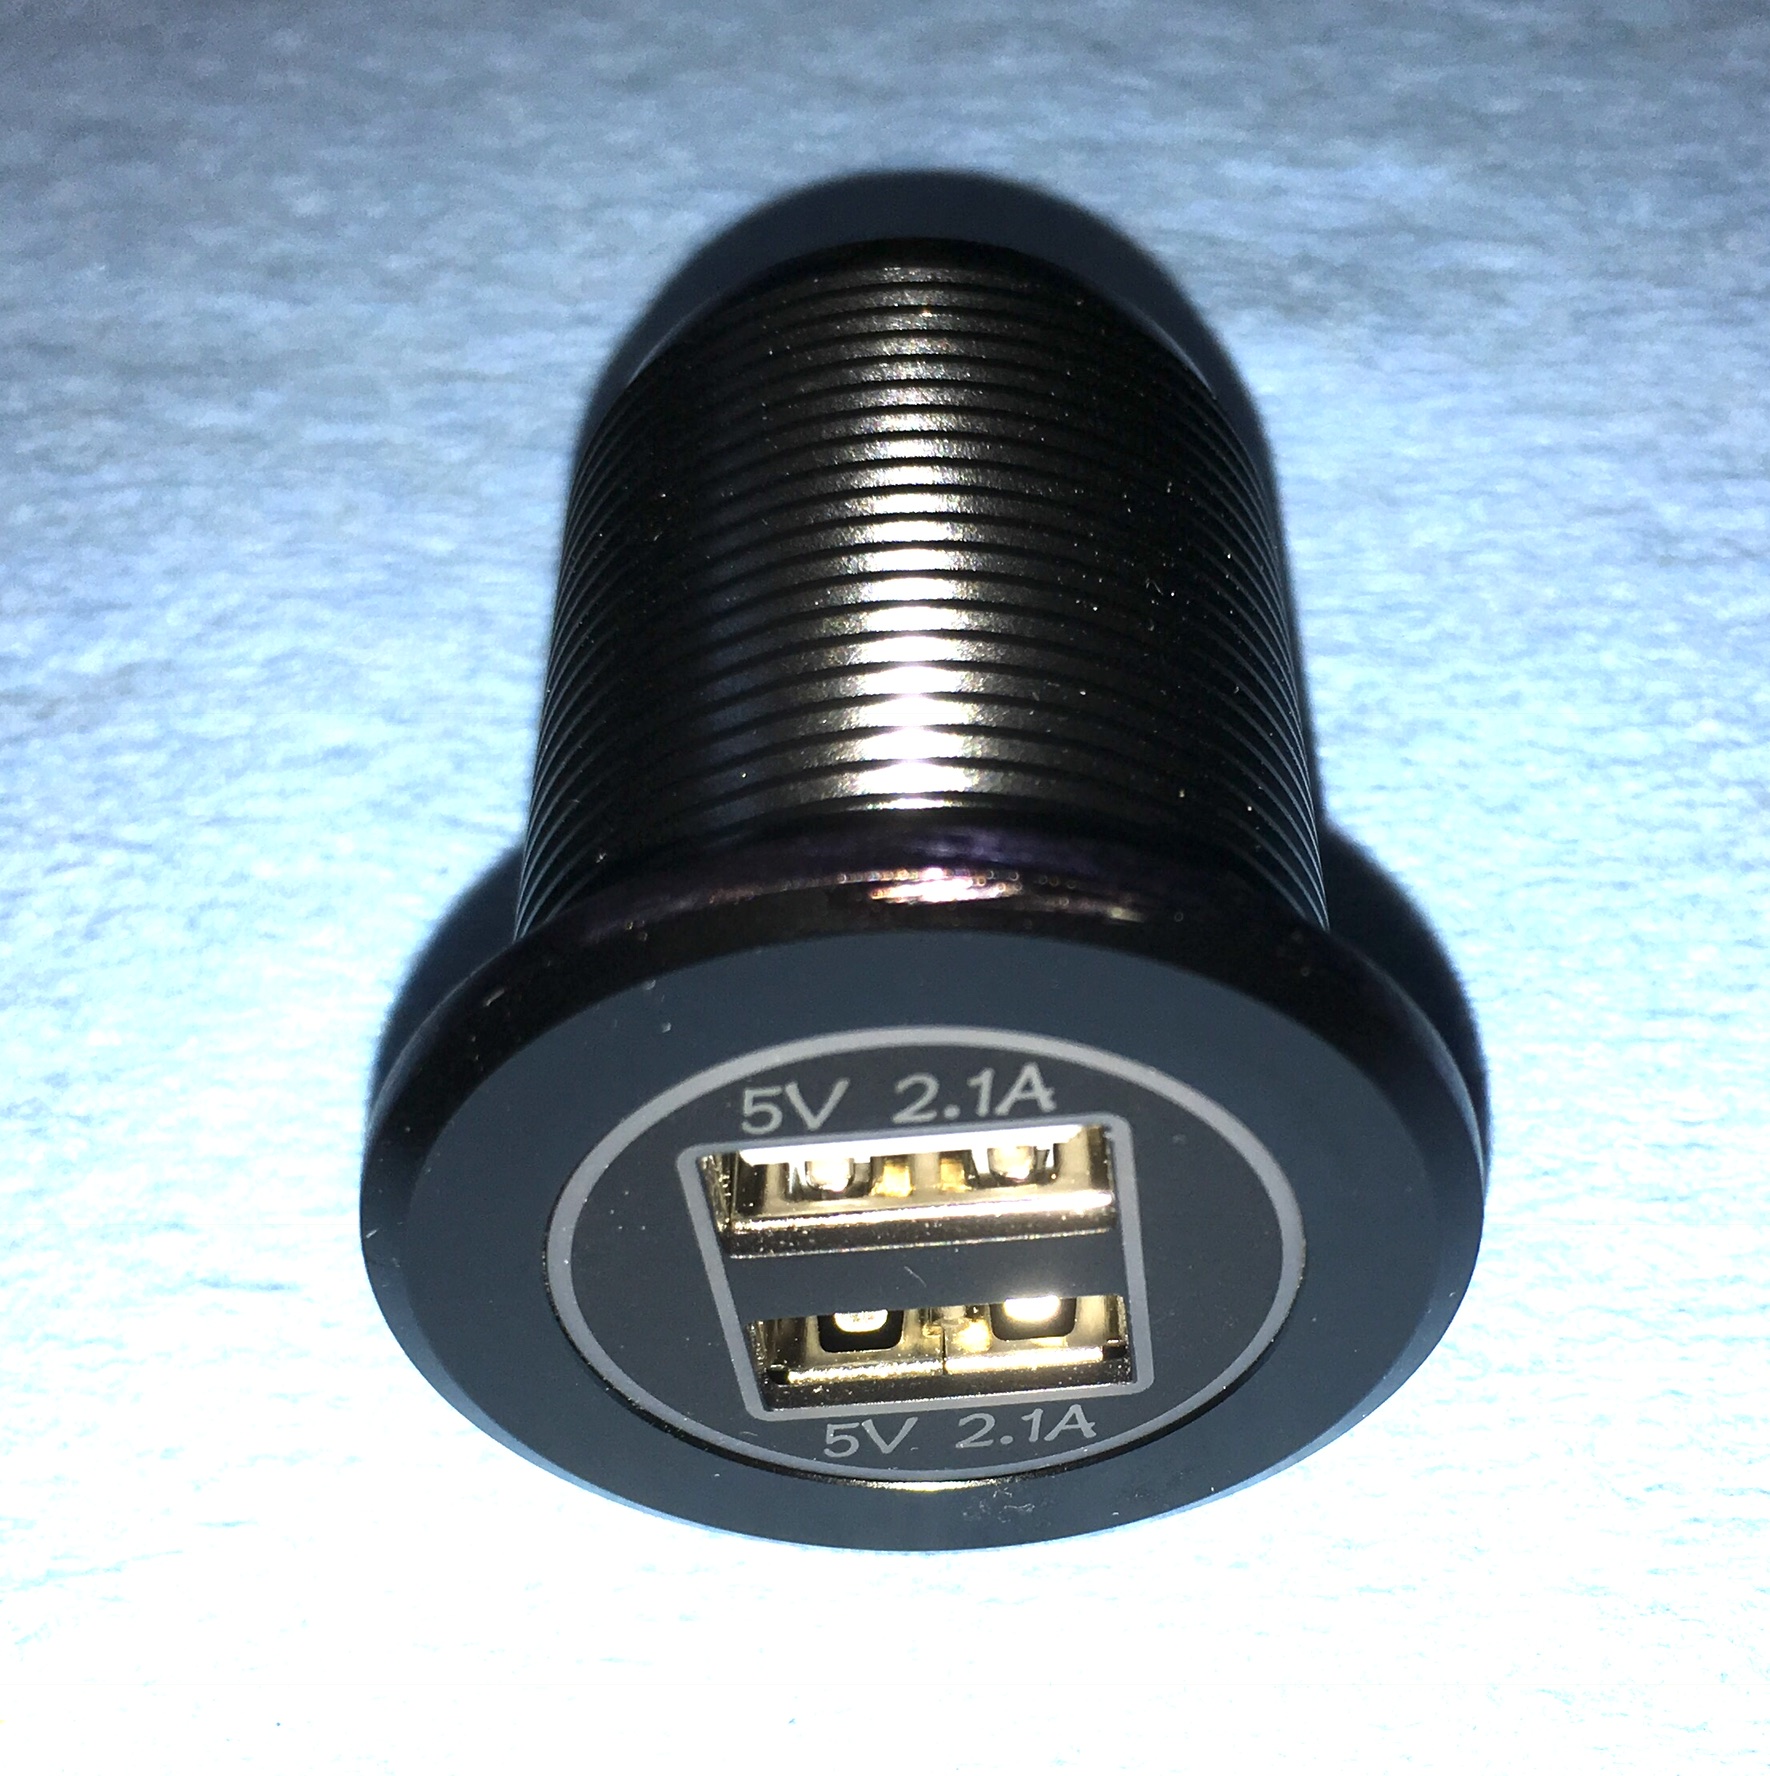
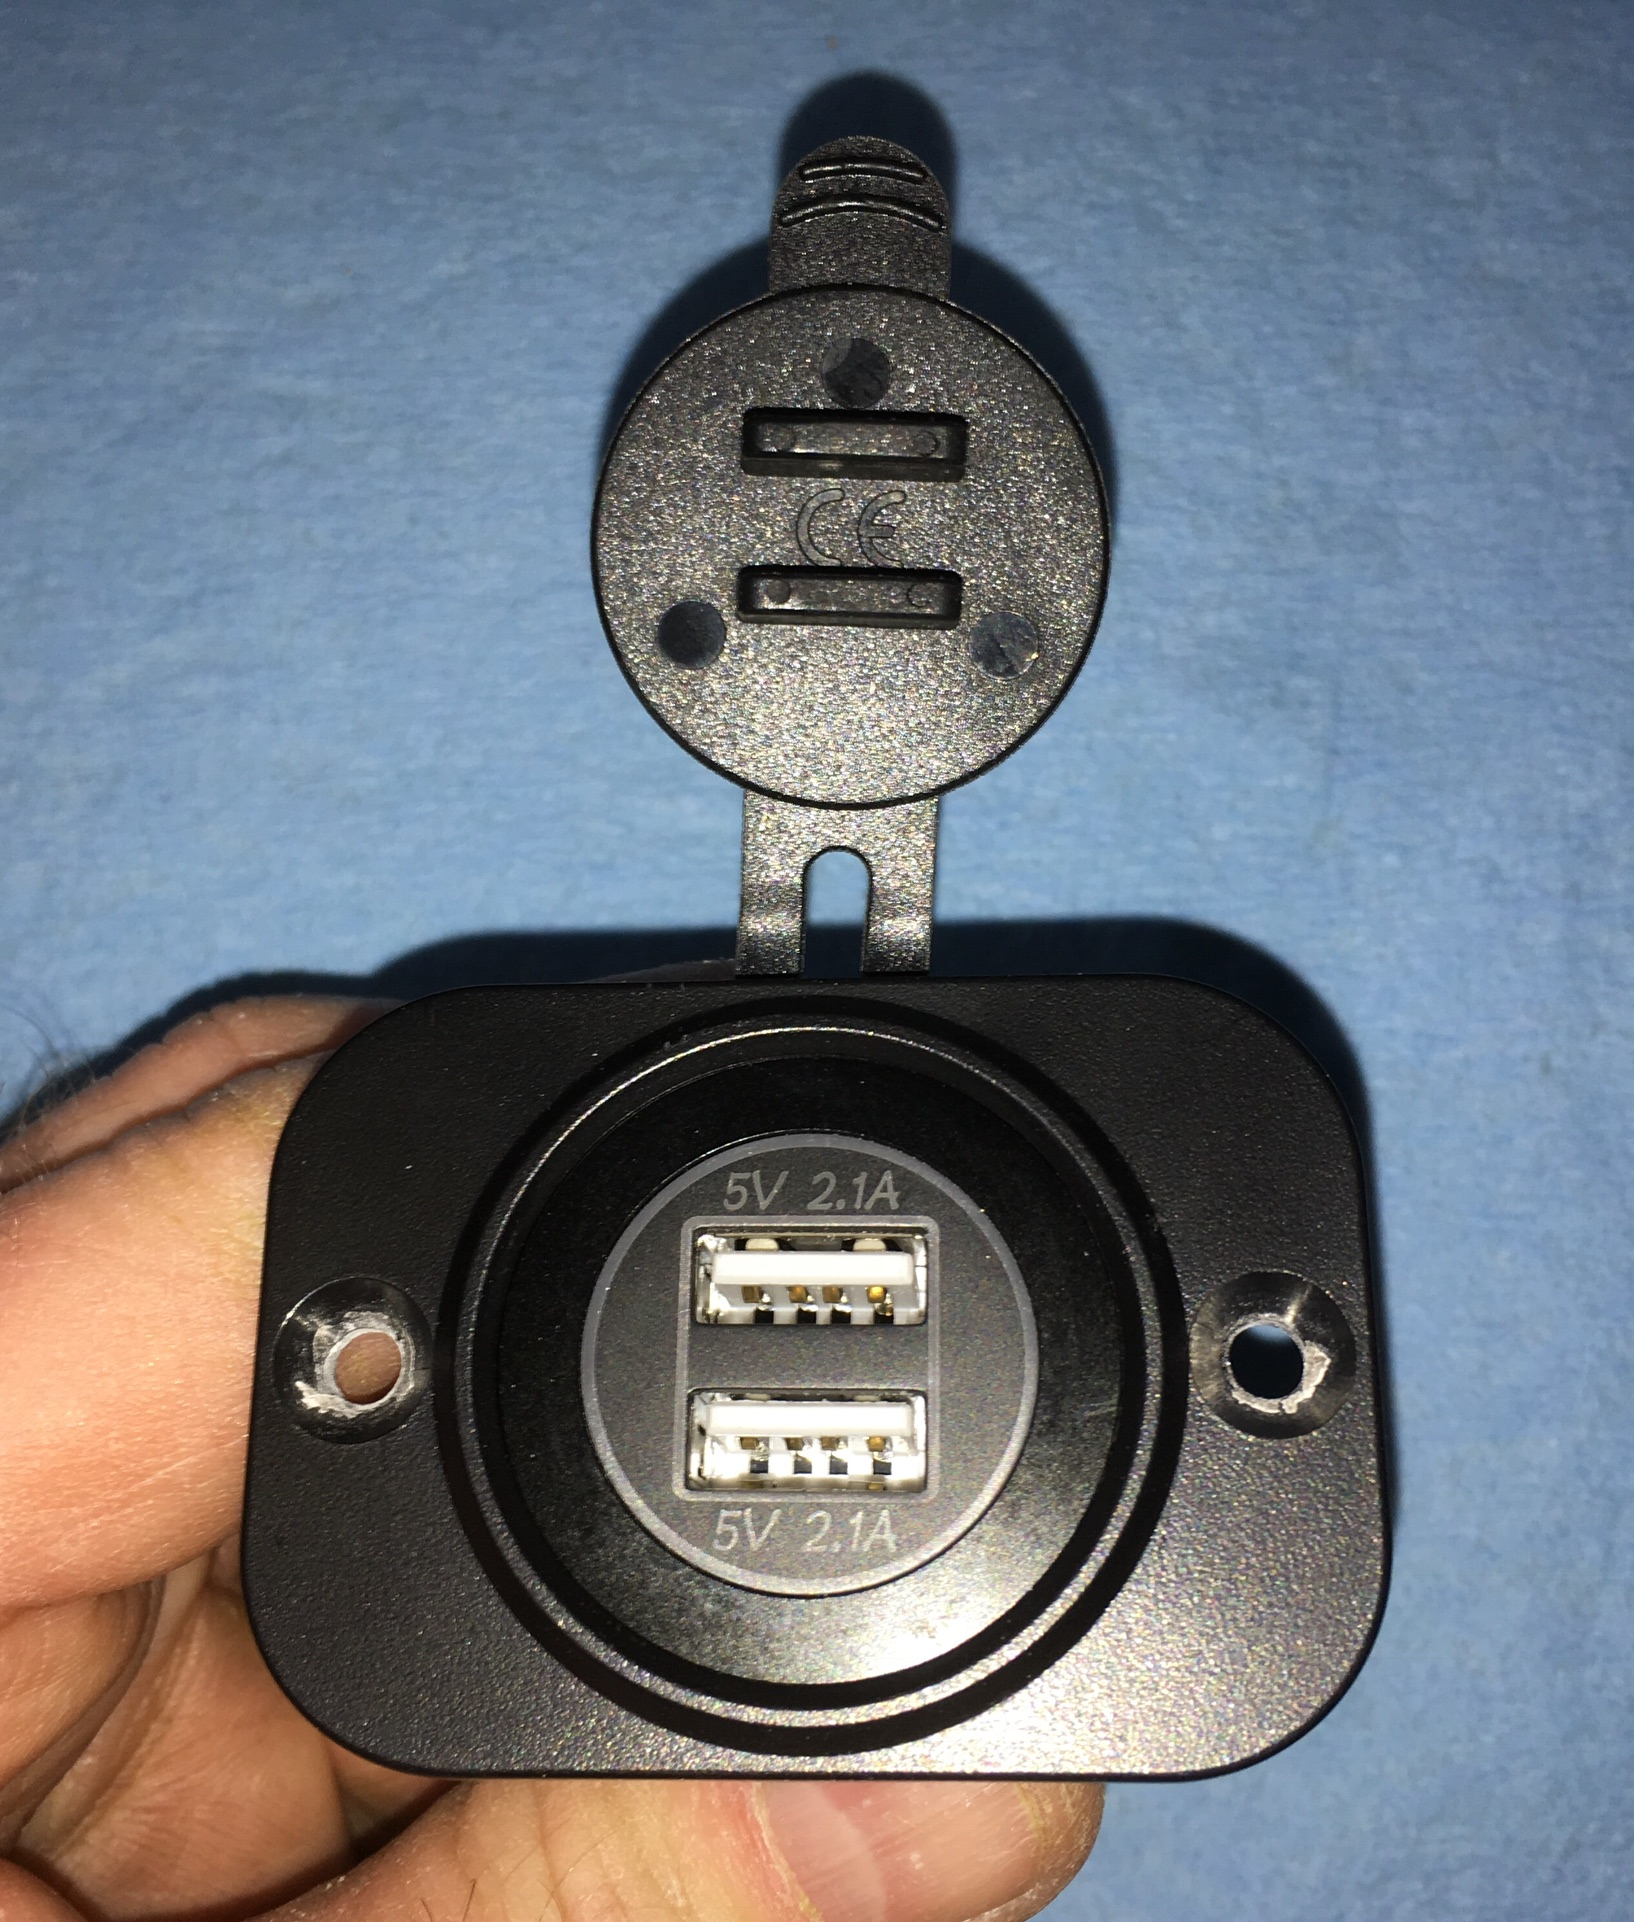
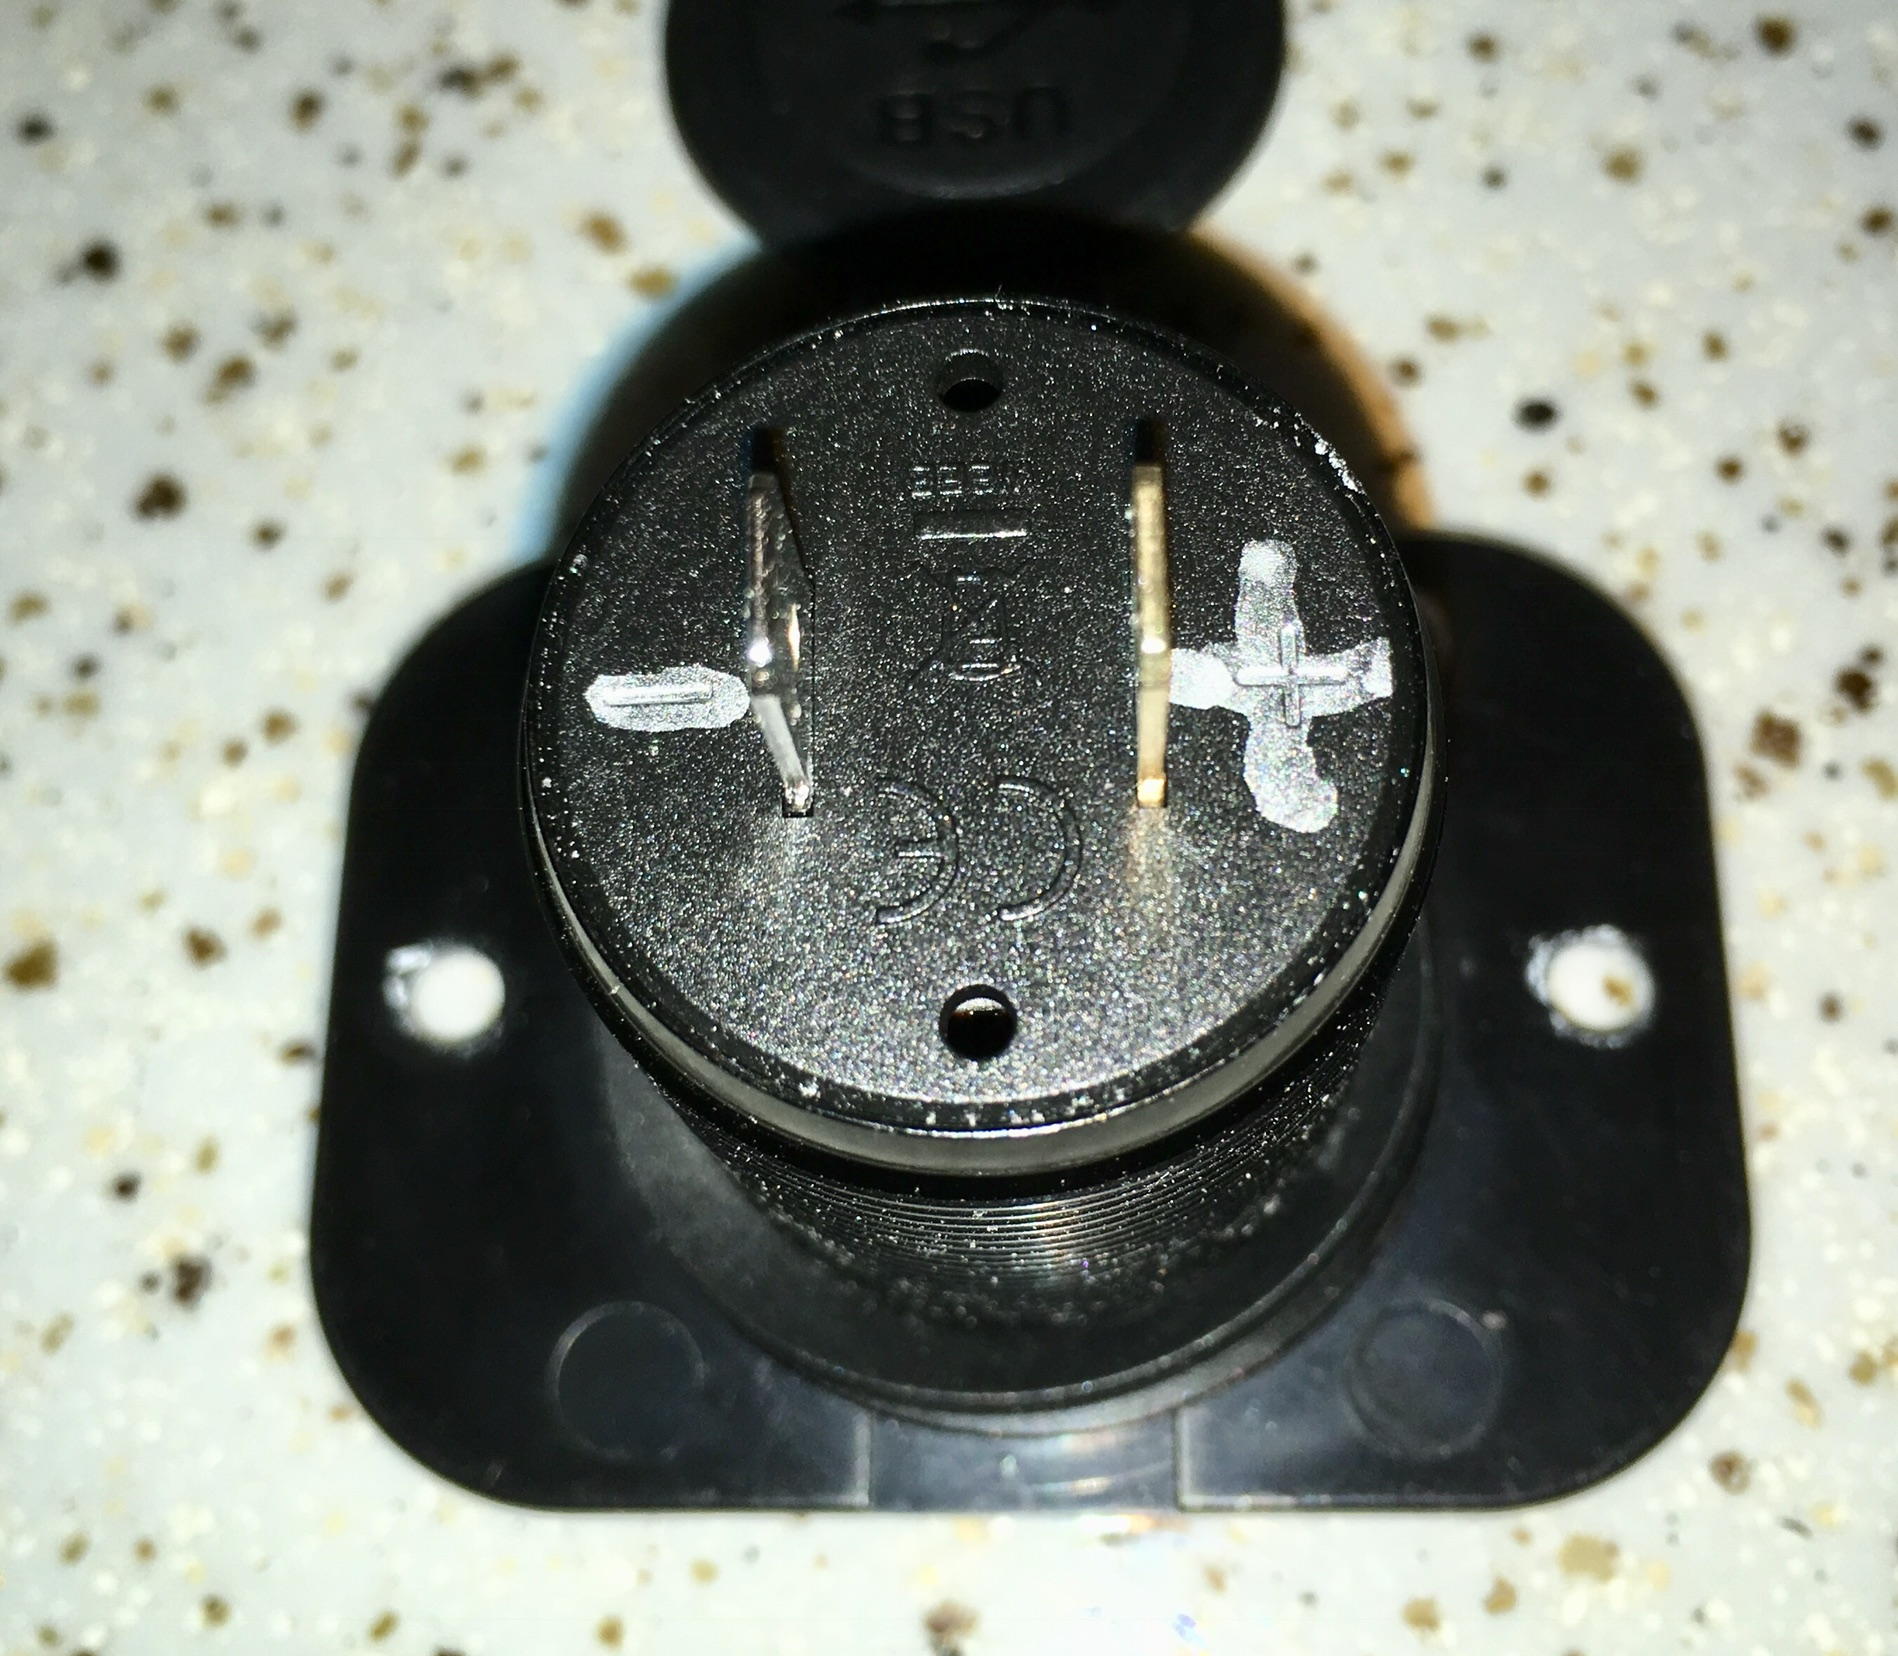
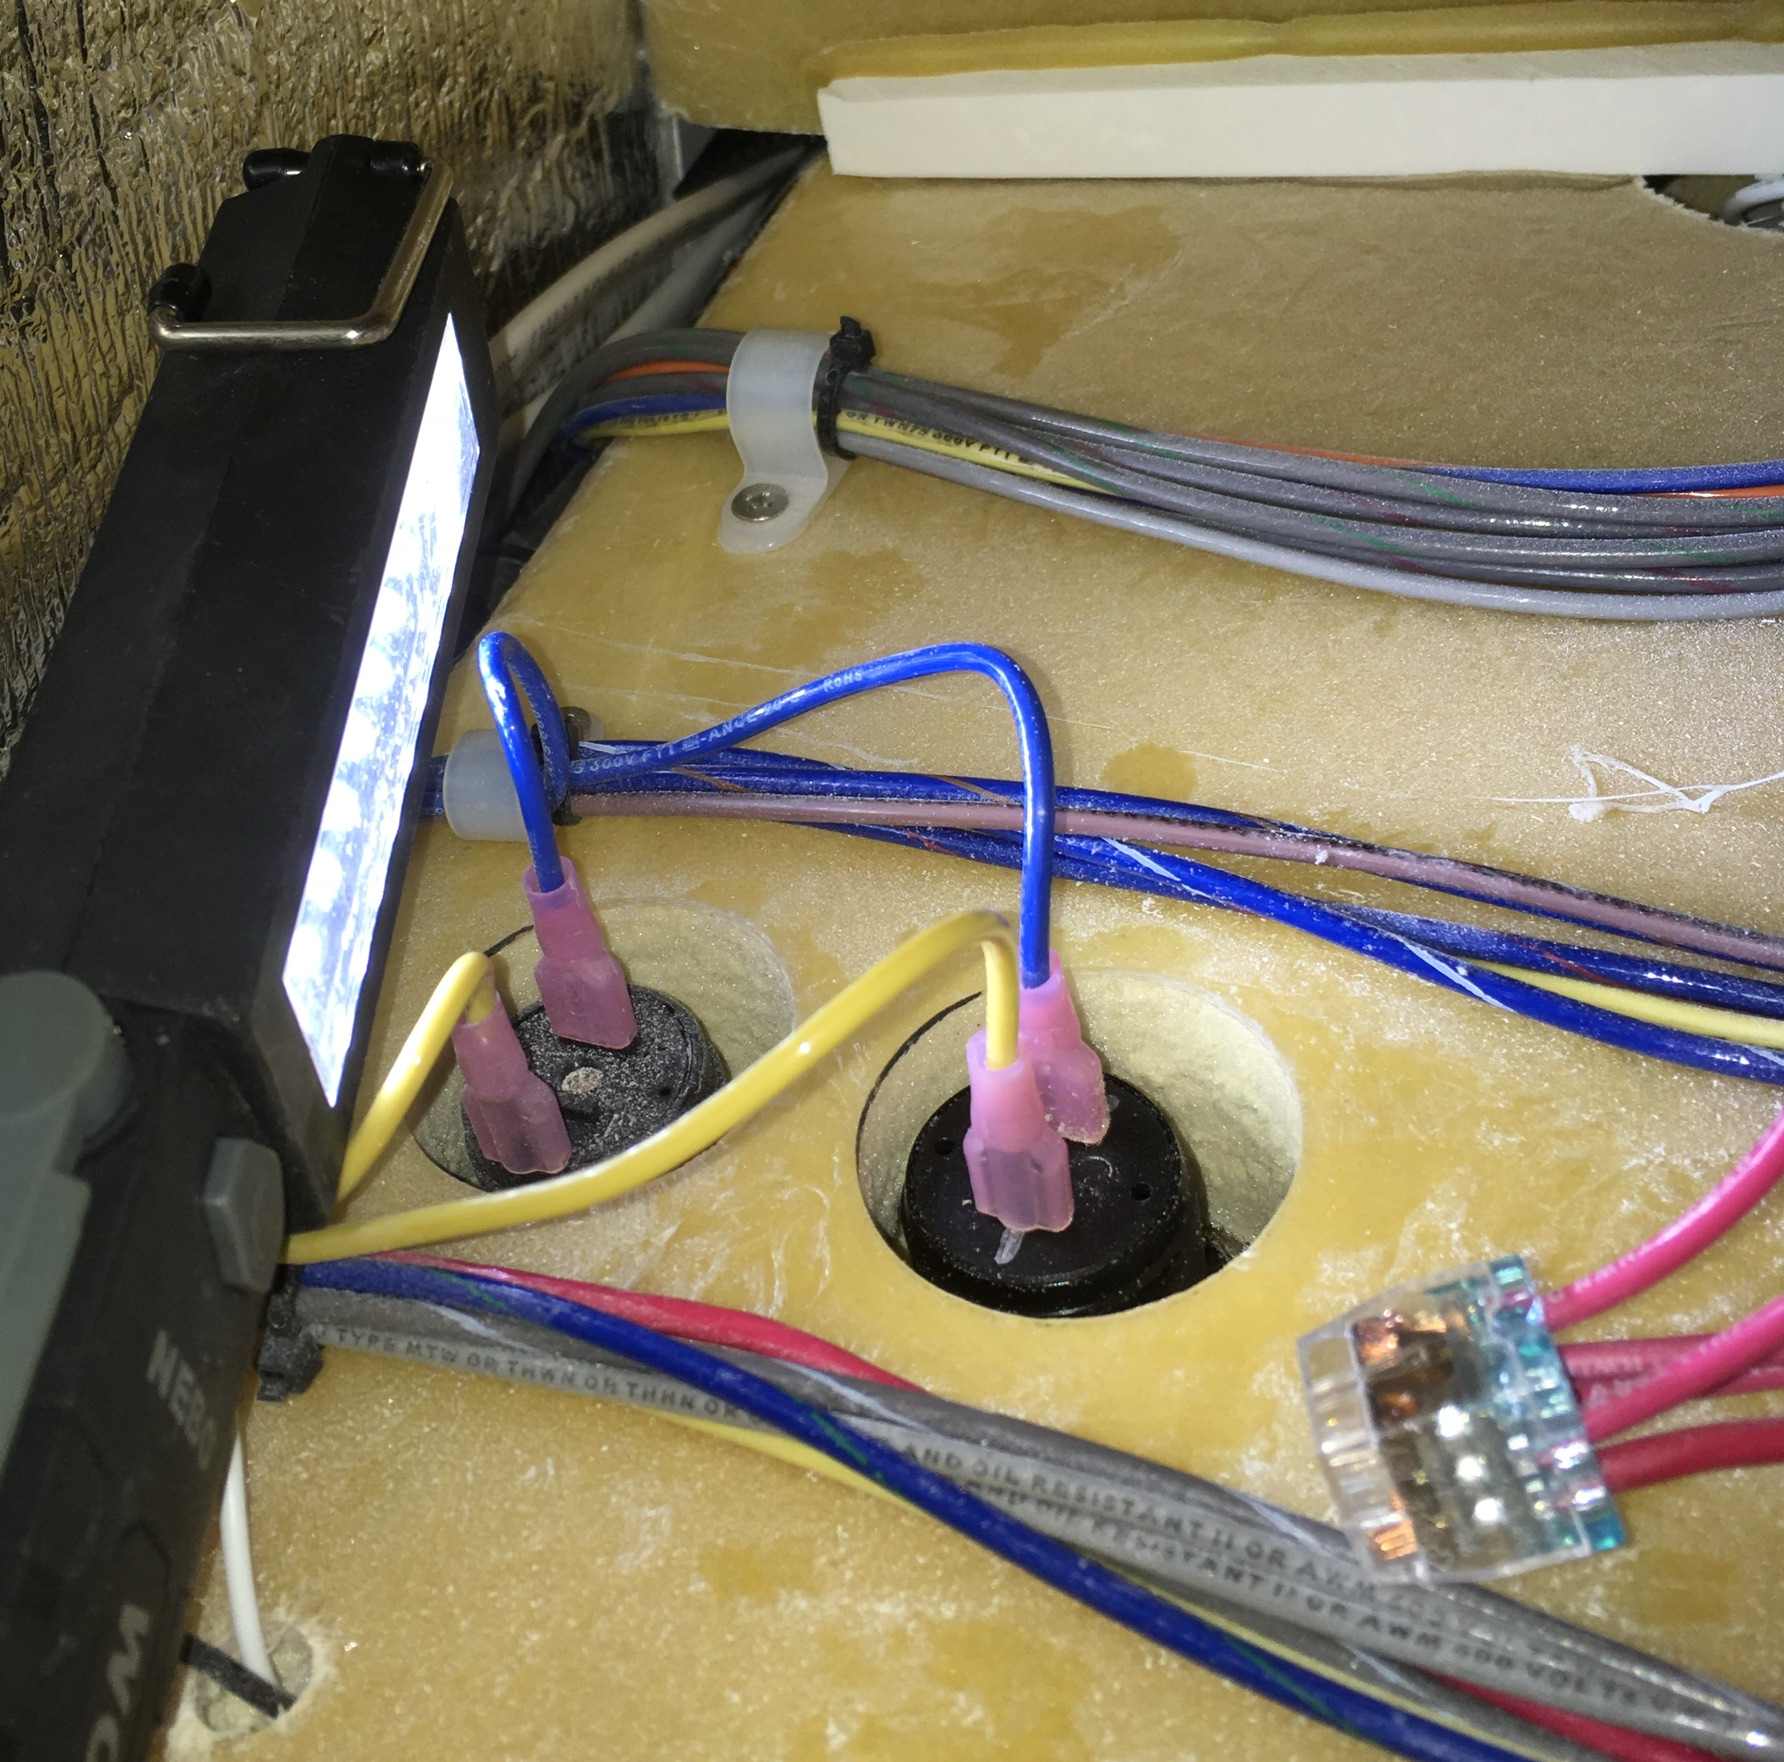
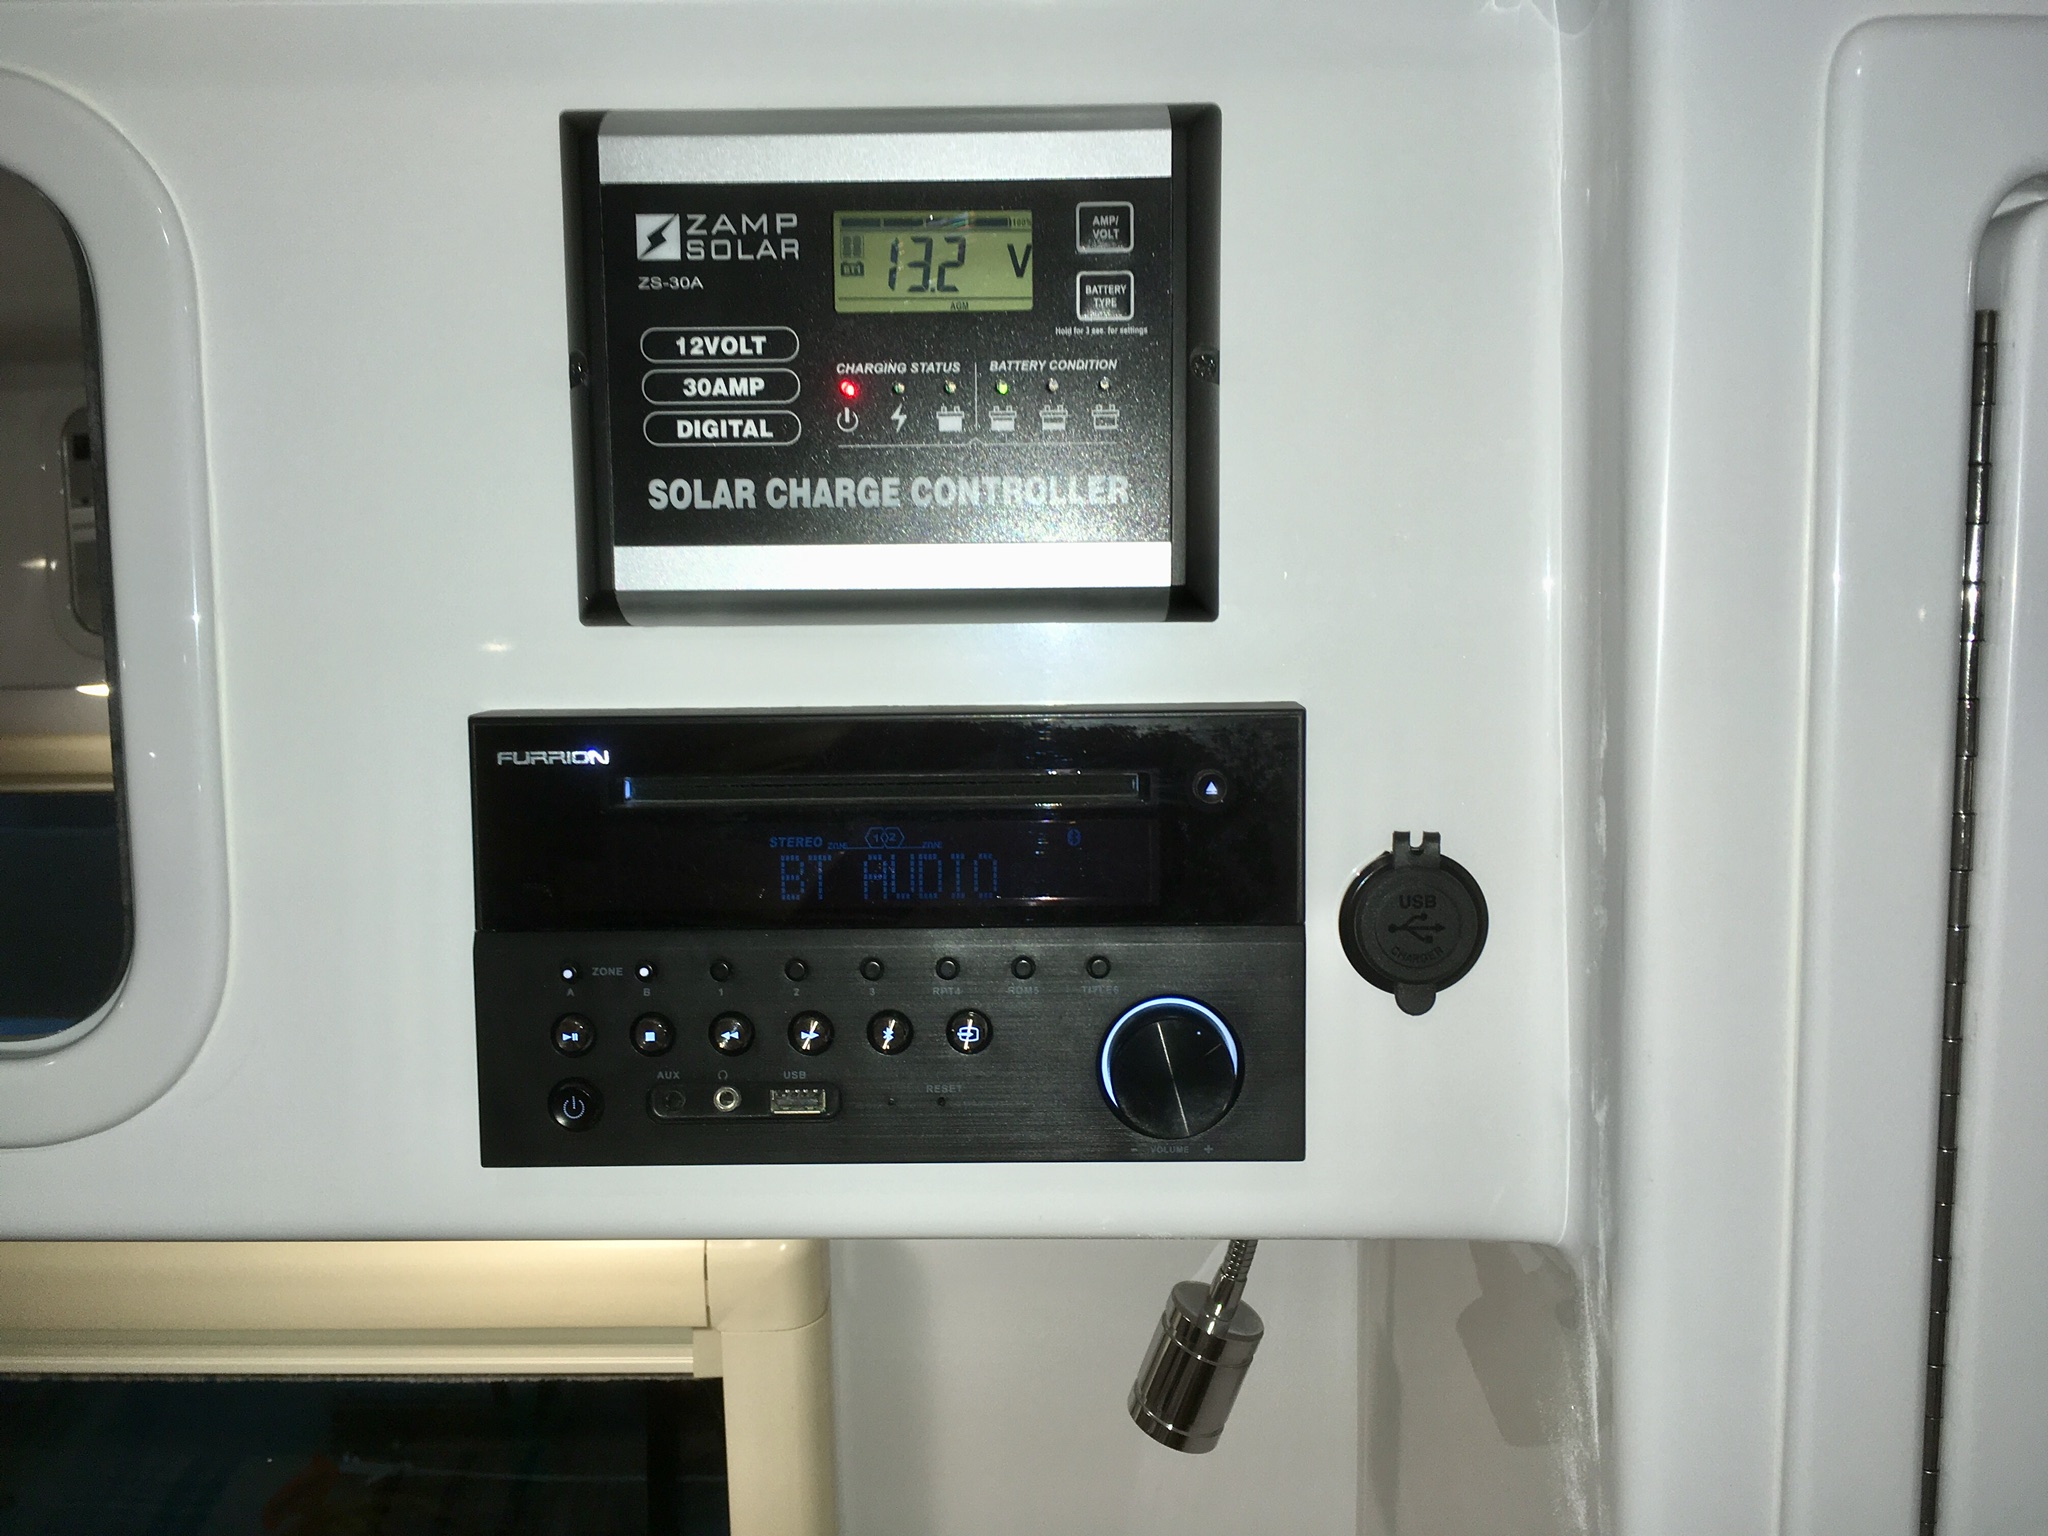
The factory units in Hull 218 are high quality (Blue Sea) but only 1 amp, so they are slow when charging a modern smartphone or tablet. It took a lot of searching but I finally found a nice CNC machined replacement that is available with a NON-illuminated face, which is perfect for over a bed or anywhere close to the sleeping area. https://smile.amazon.com/gp/product/B07CJW3ZRP/ref=oh_aui_detailpage_o01_s00?ie=UTF8&psc=1 The bezel is smaller than the diameter of the charger. Mask off the openings to keep out debris! Carefully reduce the diameter of the lip to closely match the bezel, so it will slide inside snugly. I used a belt sander with a fine grit belt, followed up by 220 grit hand sanding. MAKE SURE the unit functions properly before grinding, you might not be able to return one that you have altered! Also double check function just before installing. I “painted” the raw aluminum with a black Sharpie. Inserted into the bezel, and marked the + and - terminals with a silver pen so I could actually see them. and installed it into the hole where the factory unit used to be: Note how very thick that cabinet bottom is, I wanted to mount one more on the street side, but there was no way it would easily work through that much thickness. I pulled the stereo and drilled a hole next to the faceplate, picking up power and ground from the radio wires. I used an inline fuse holder plus a 10 amp fuse. My wife can lay her devices on top of the galley counter, or underneath to get them out of the way for food prep. These new chargers will charge my iPhone way faster than the old one. And no more glowing light in the eyes at night.... Neat mod, highly recommended! John Davies Spokane WA
 4 points
 -
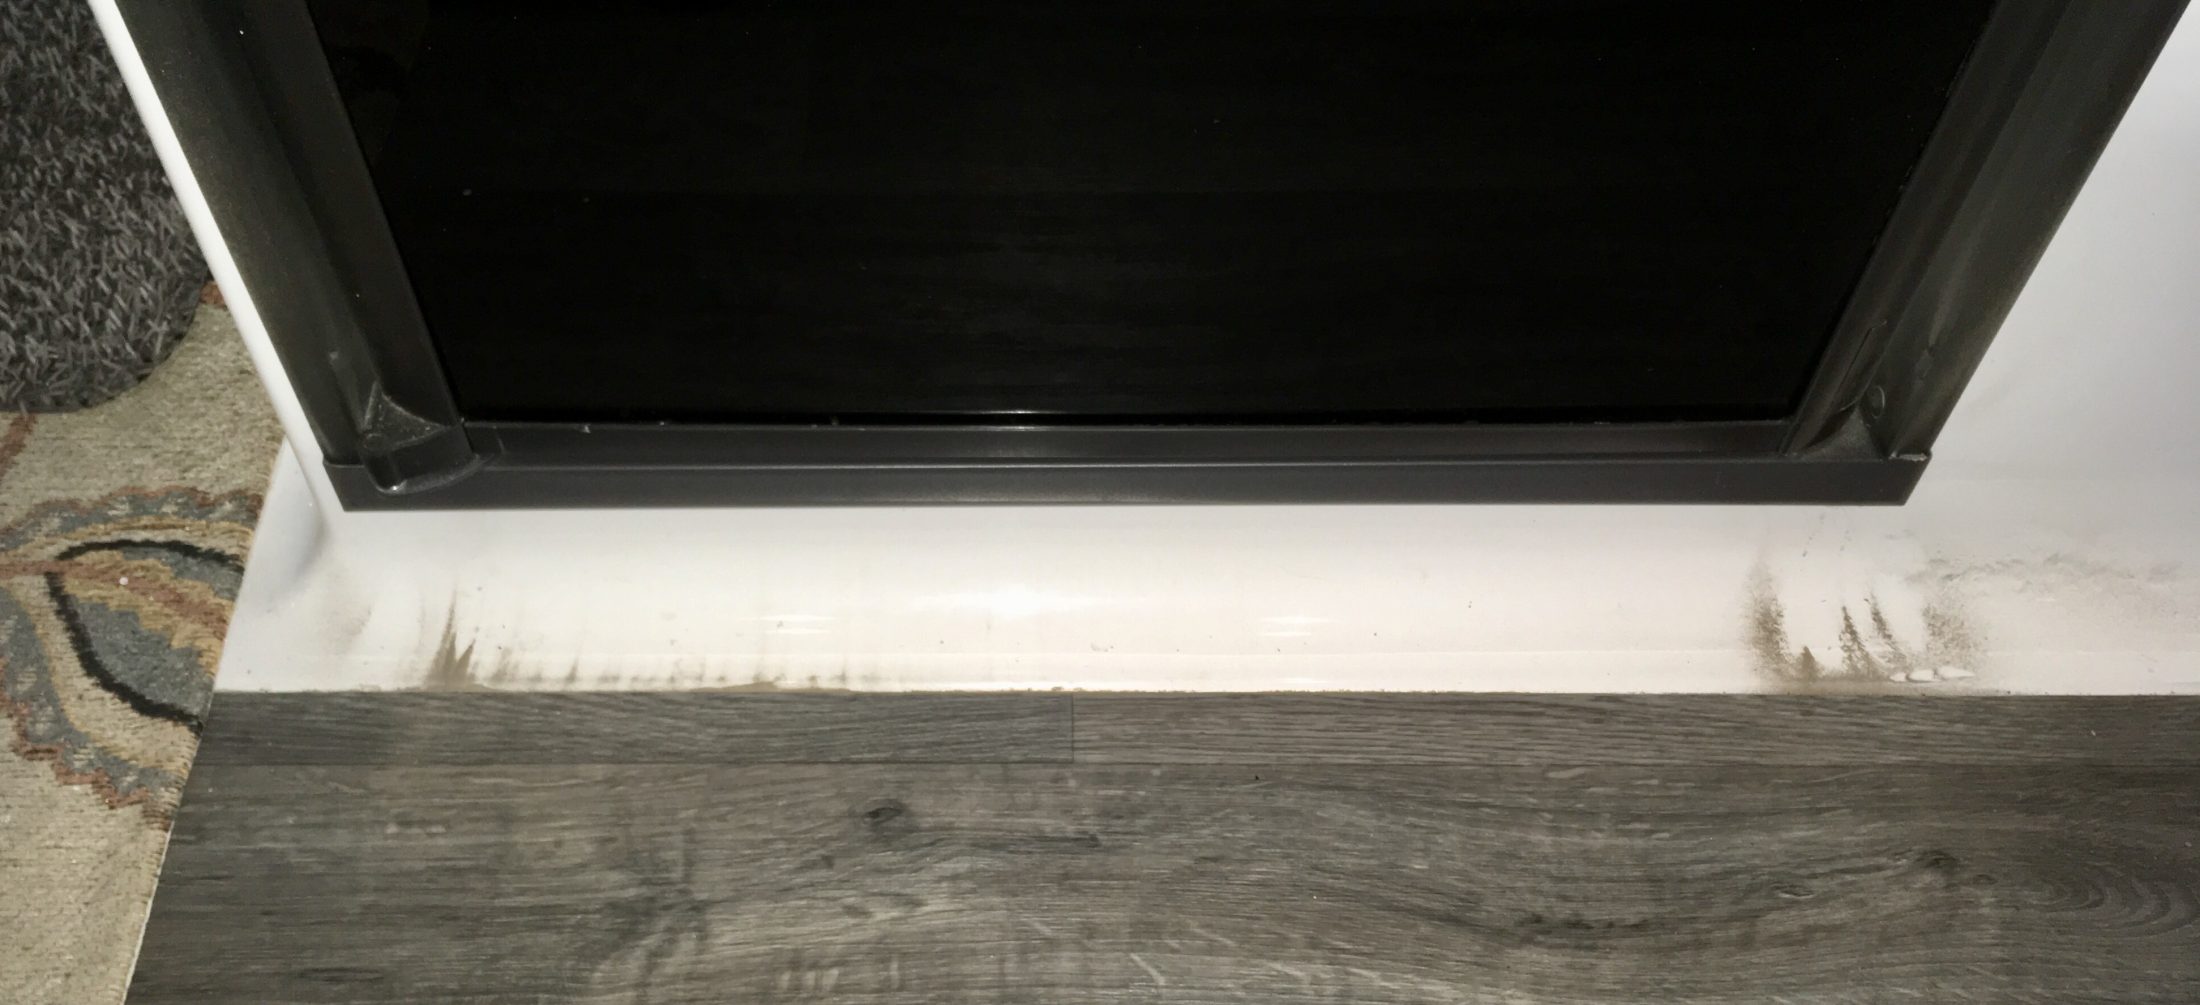
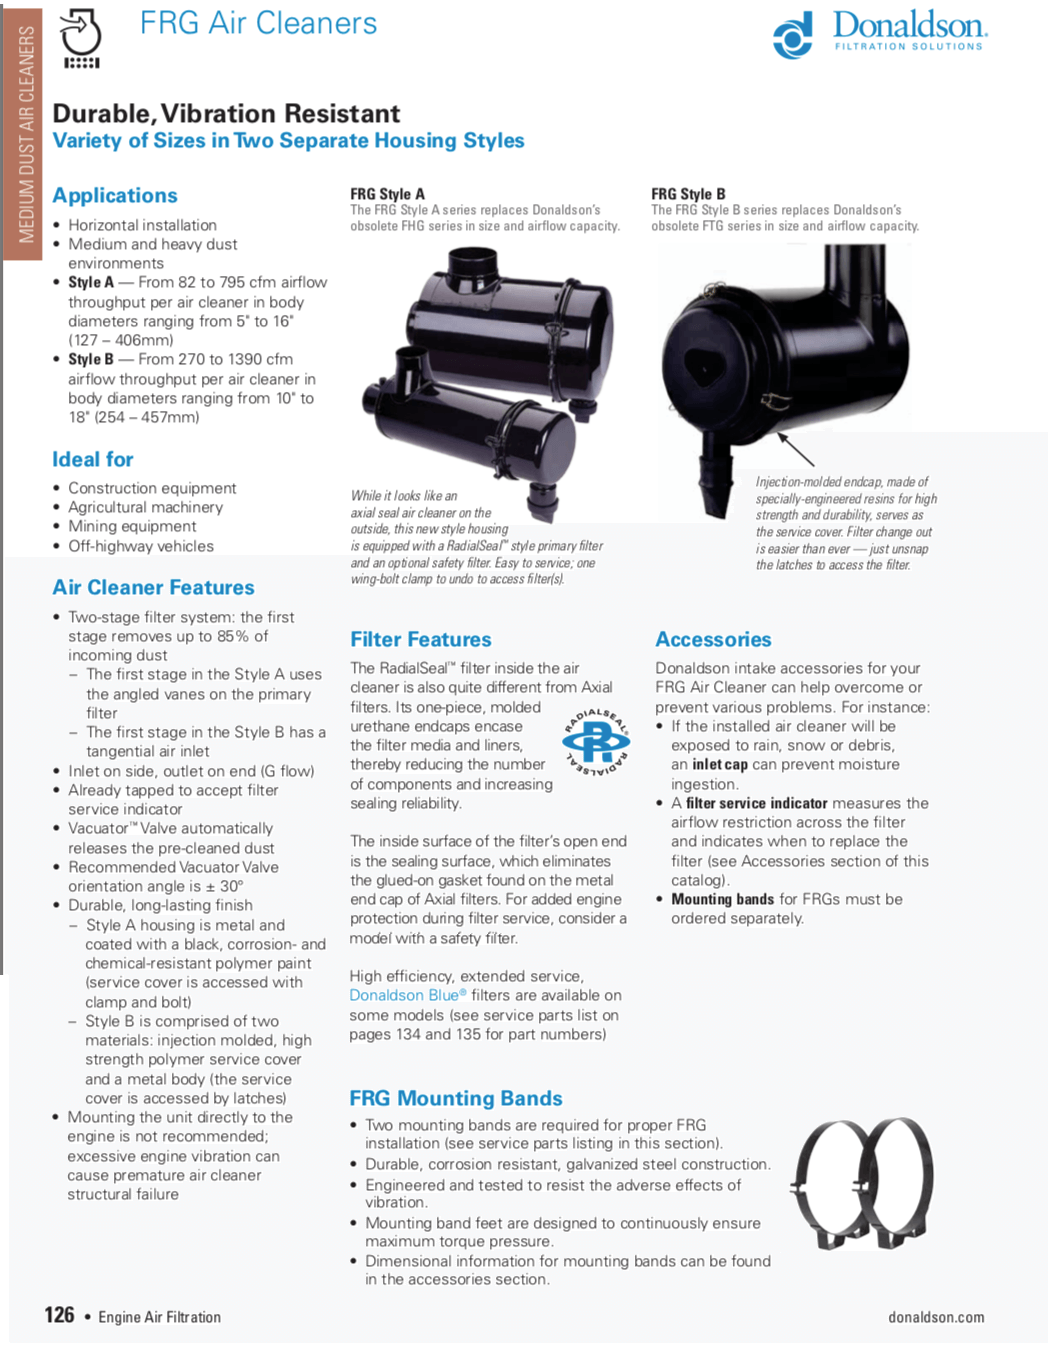
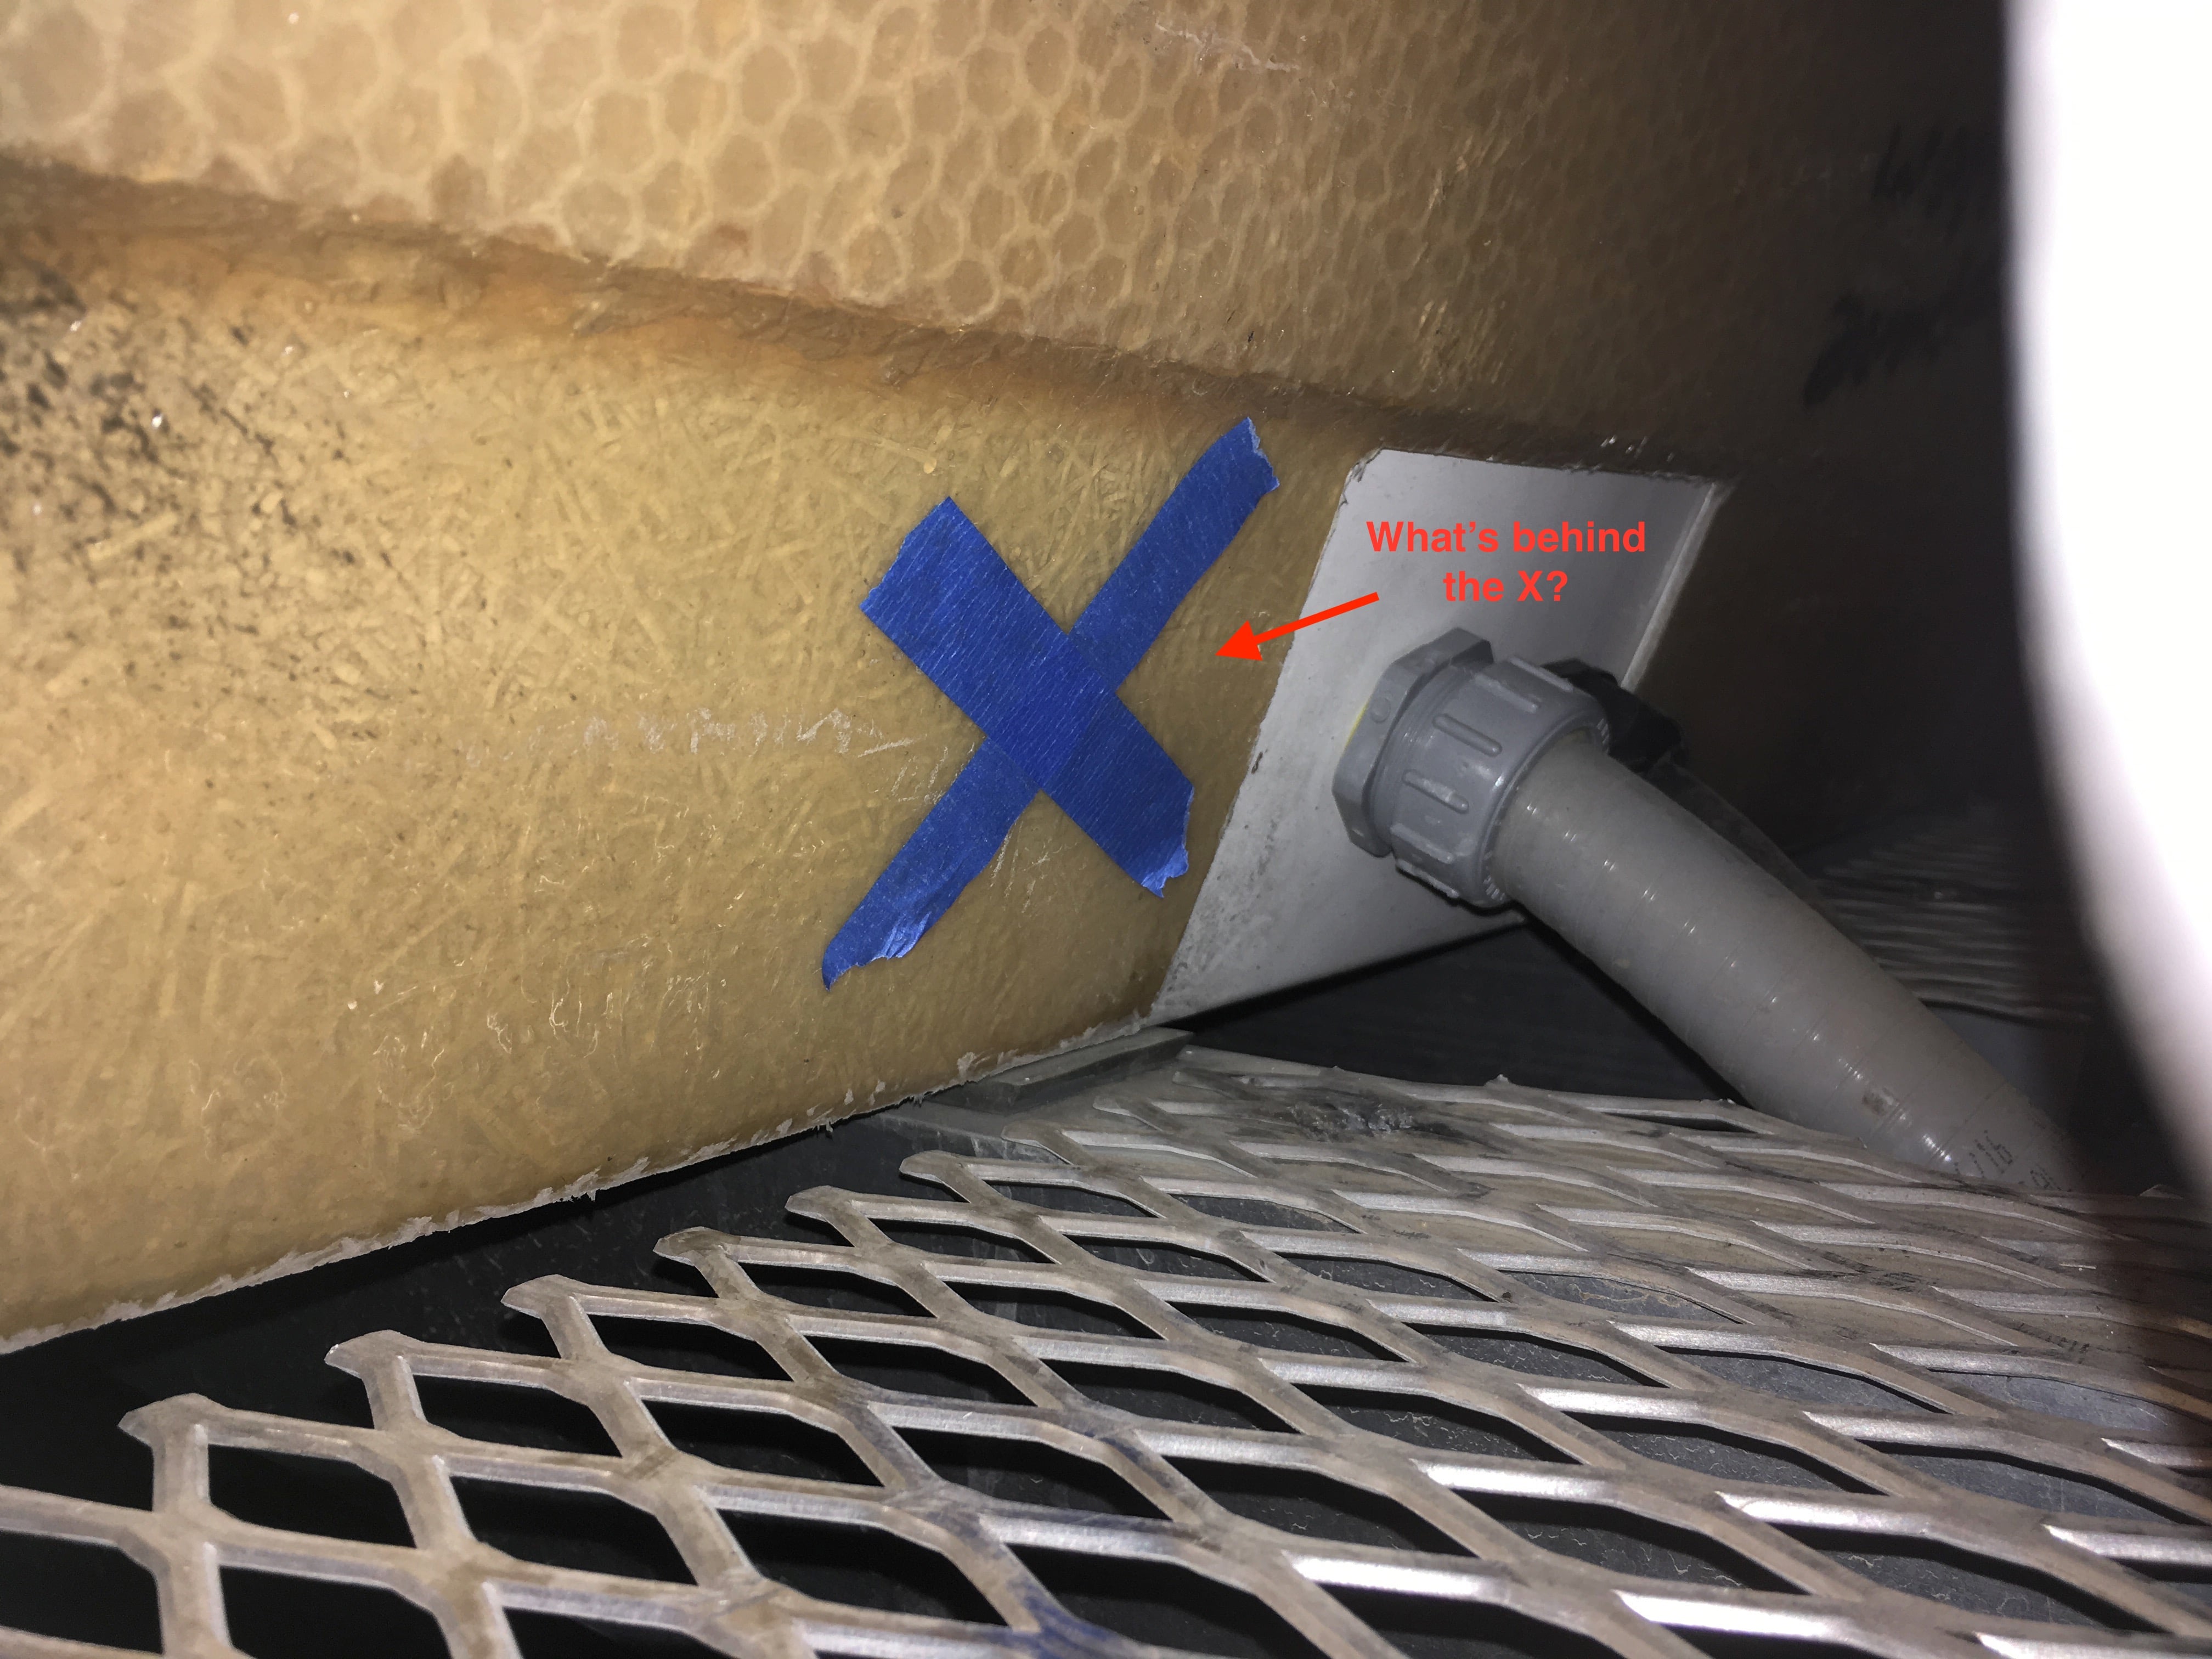
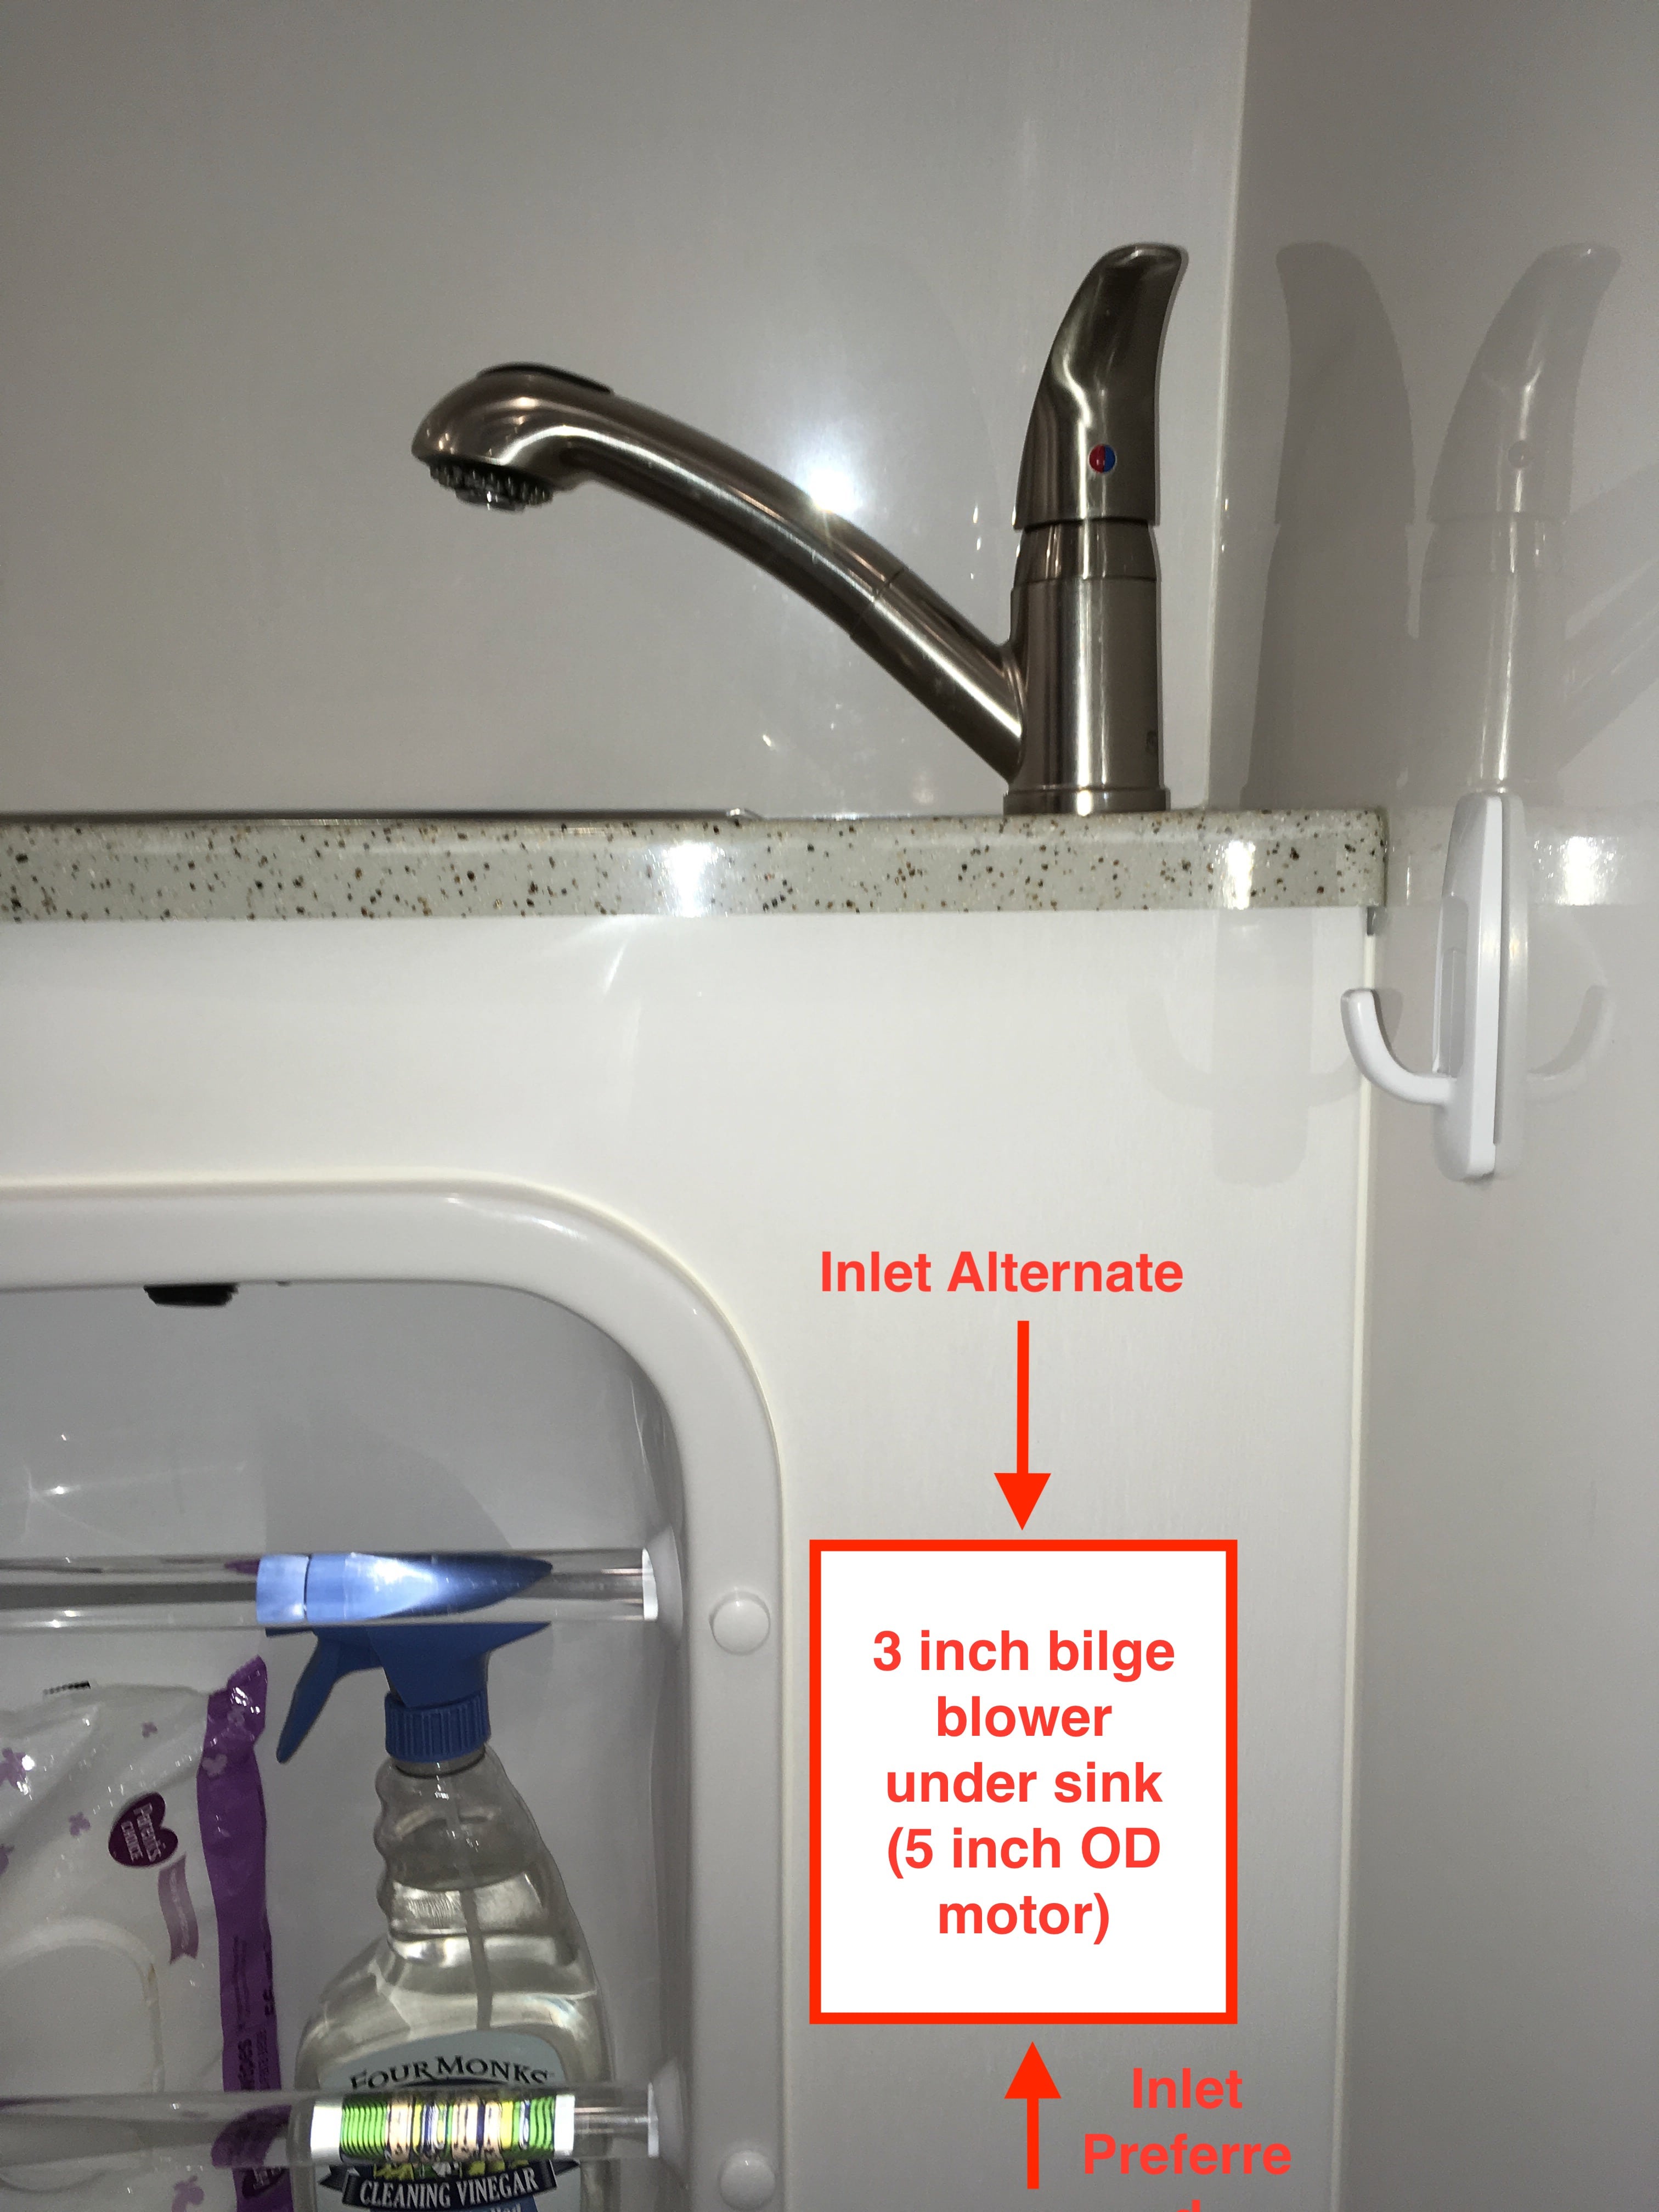
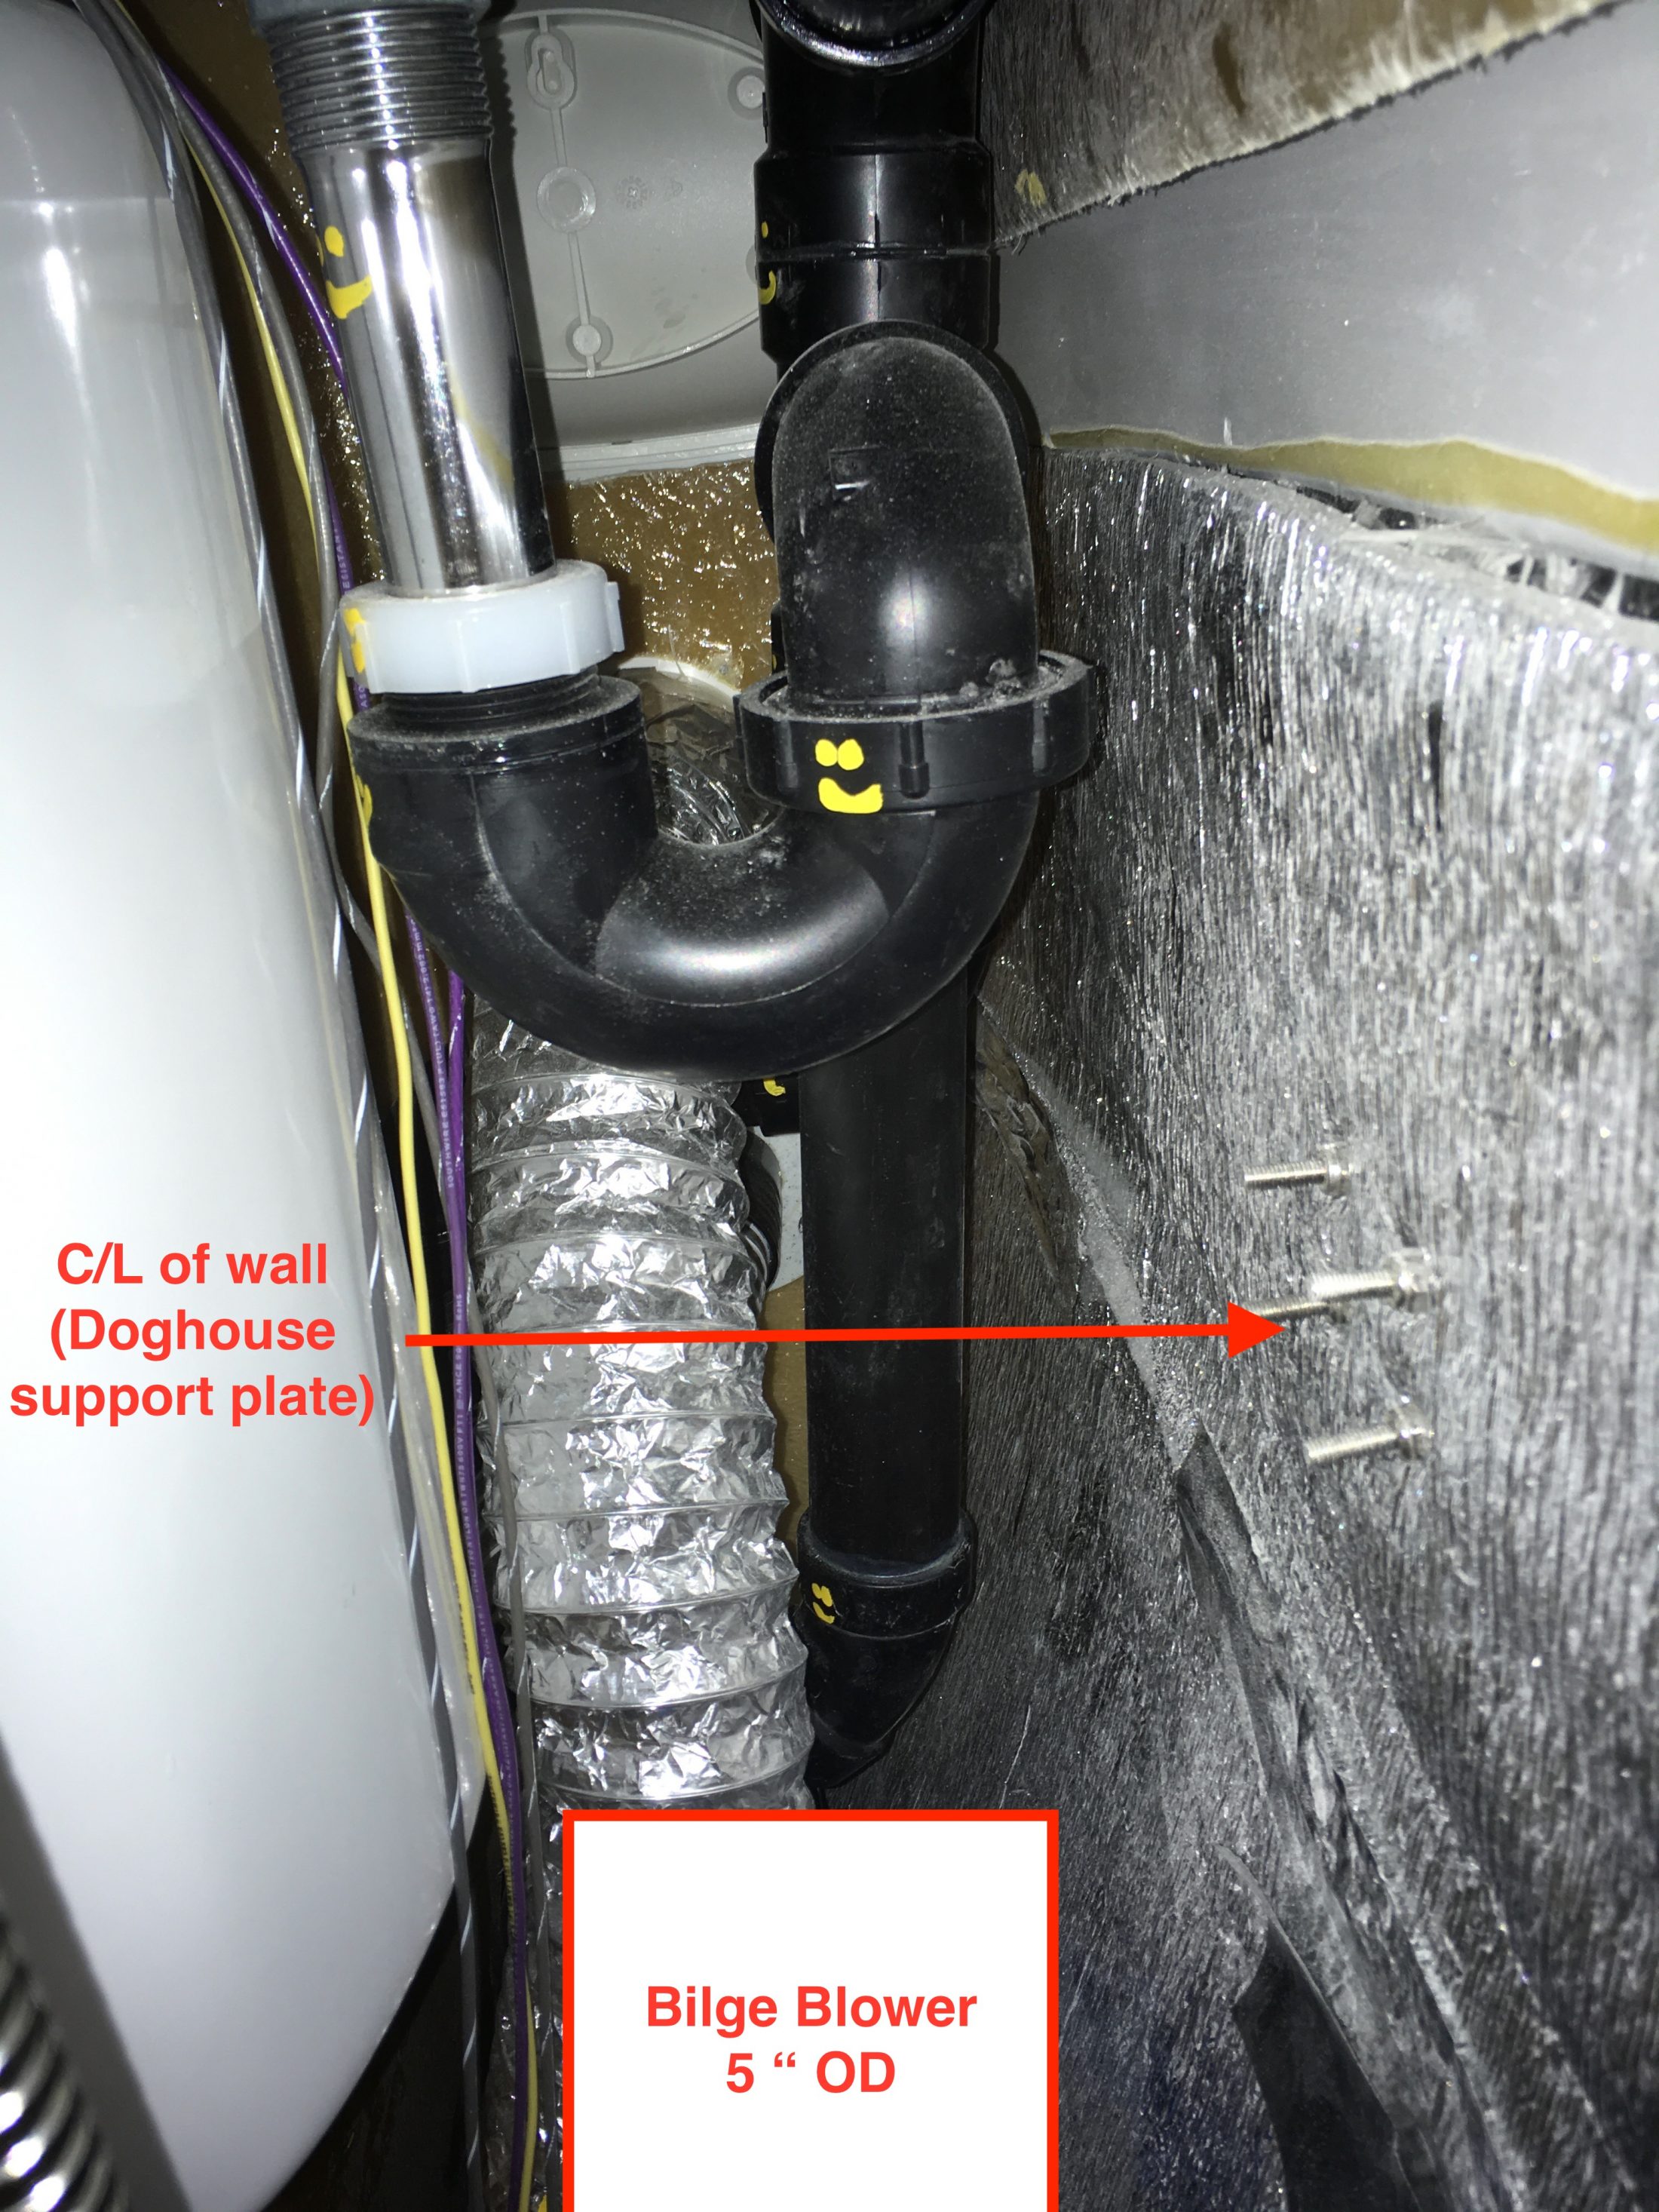
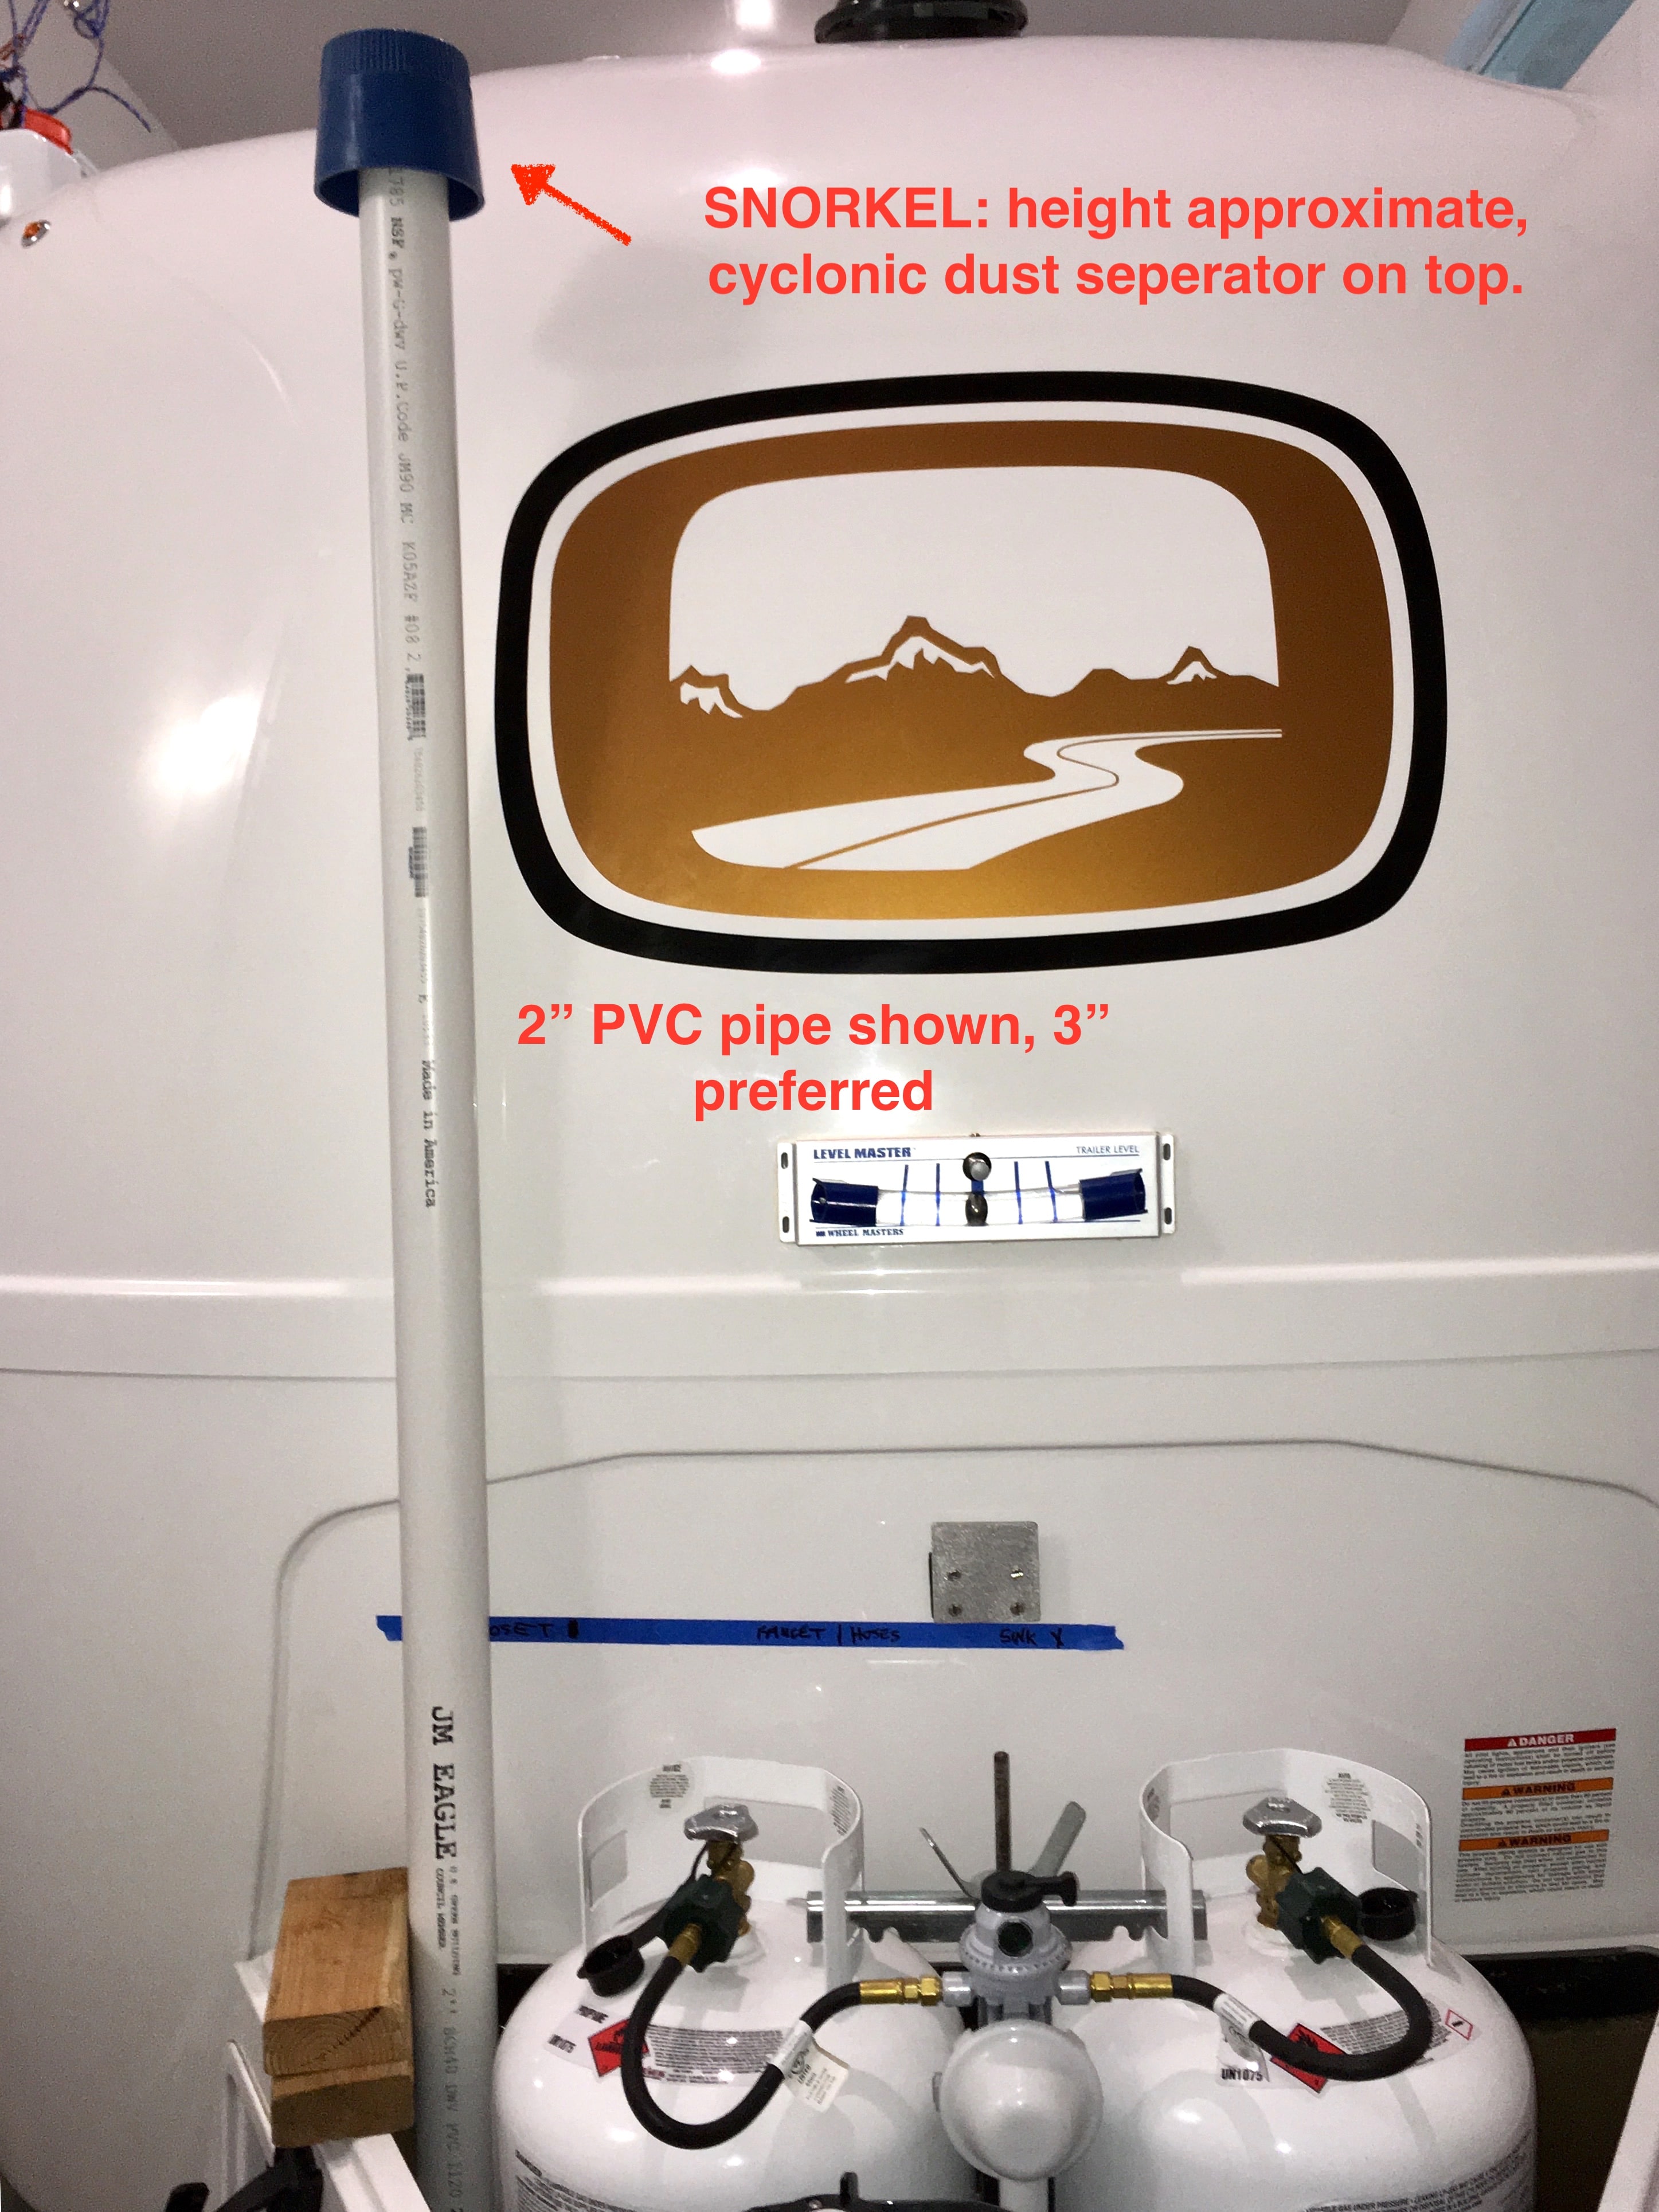
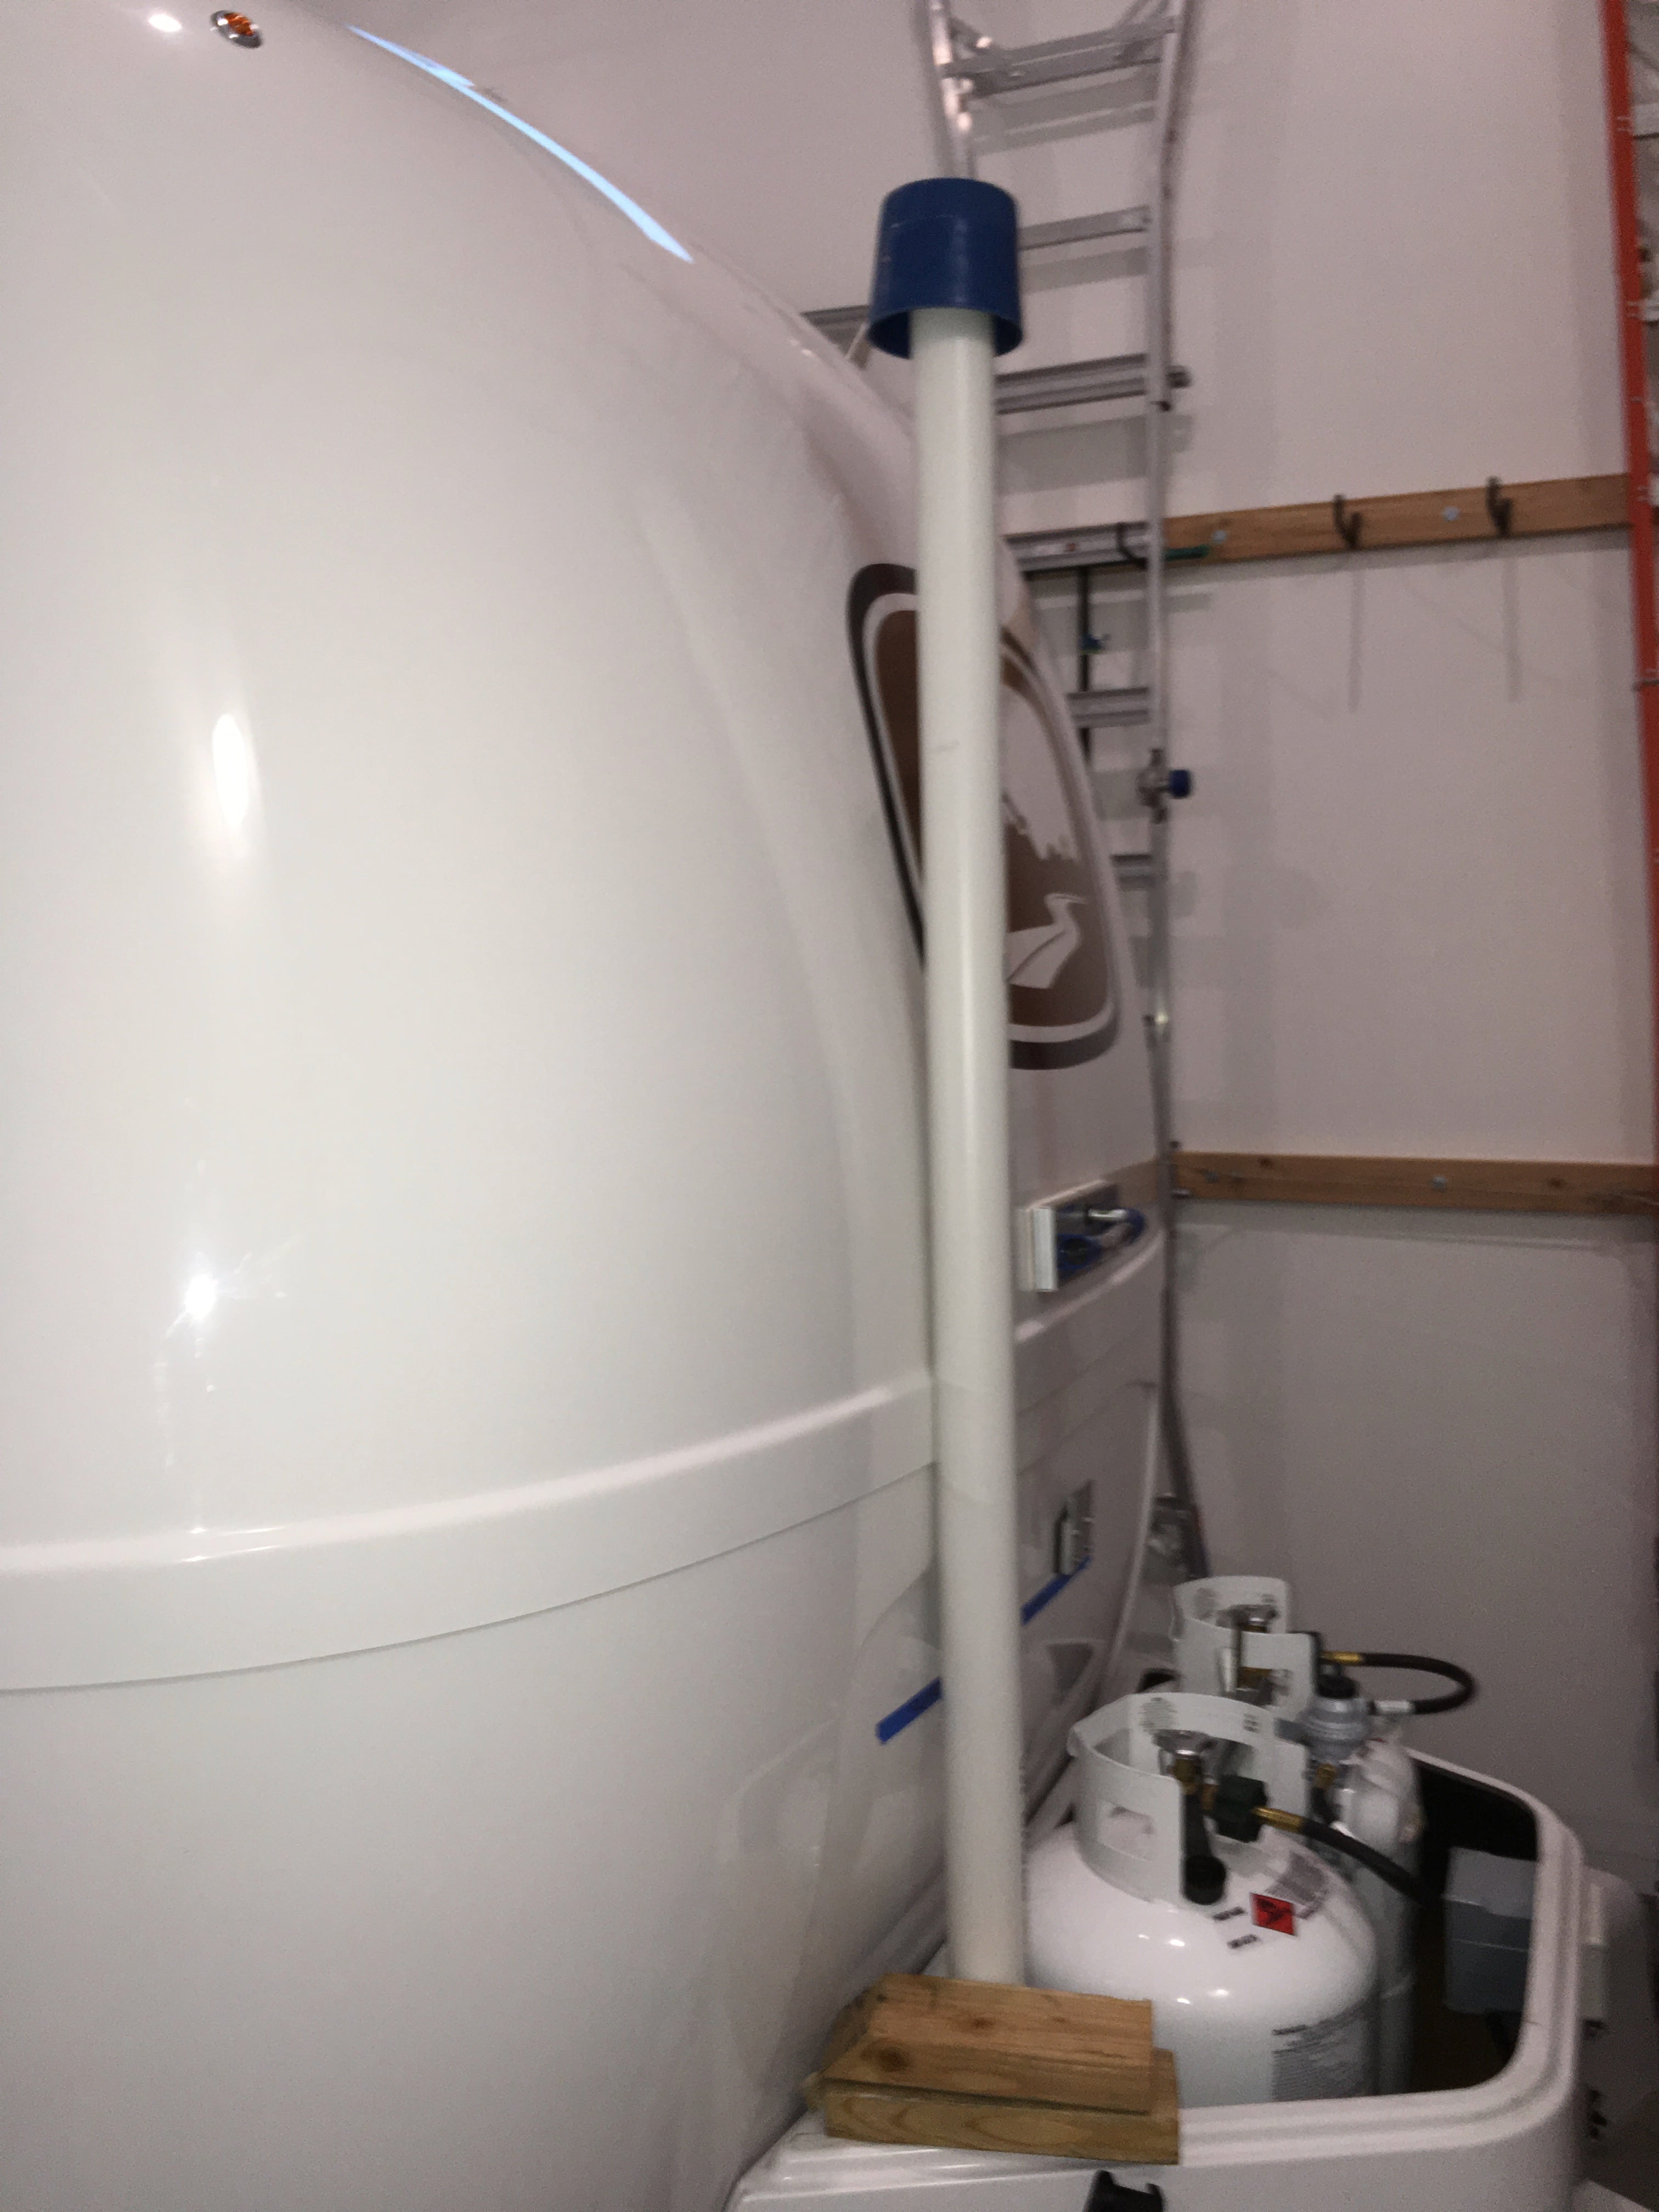
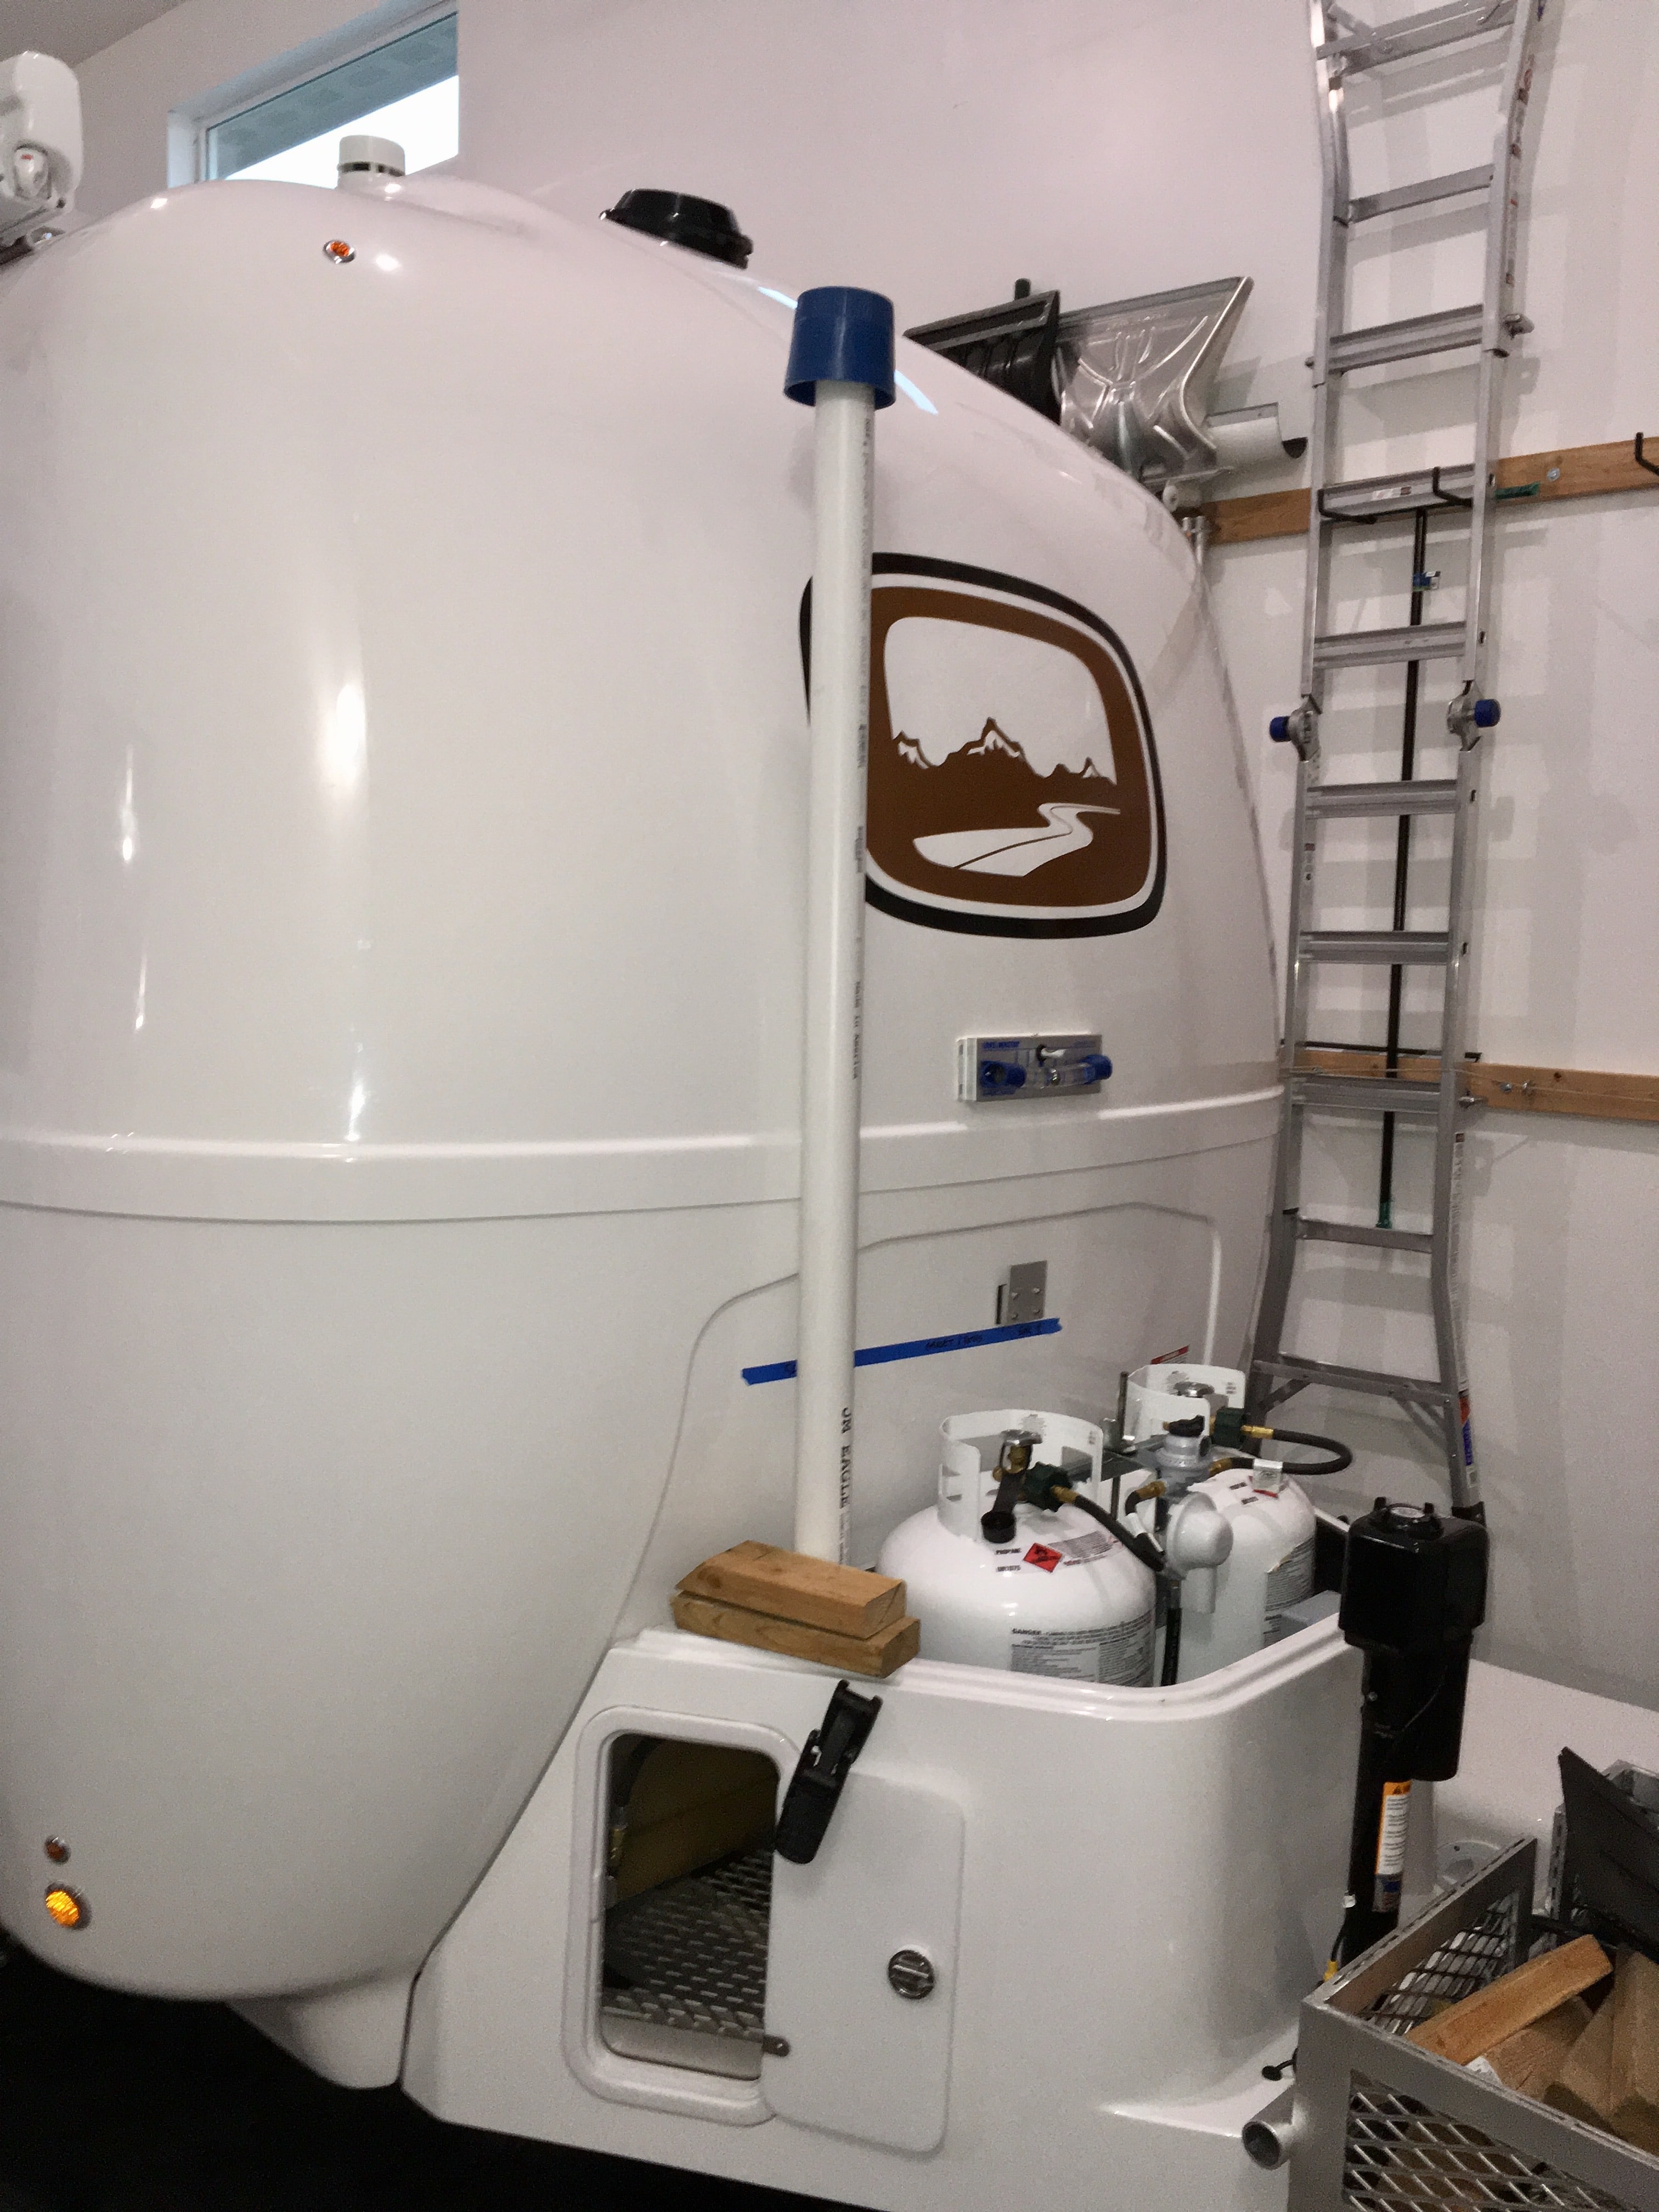
Teaser: I am sure dust is leaking into lots of places I haven't seen yet, like all the scupper drains and the roof vent. For sure I see it around the door seal near the hinges and the bottom, the aft outside storage door near the shower, and I am getting serious leakage under the fridge ... but that one is most probably a bad seal behind the flanges of the unit that I can fix: The Aussies do this all the time to deal with "bull dust". The basic idea is that you add positive pressure (clean, highly filtered air) to the cabin, shut all vents and openings, and the air leaks out any places dust would normally enter. As tight as the ollie is, it would not take a lot of airflow to be effective - 100 cfm should be more than plenty.: [attachment file=Aussi Dust syatem.JPG] I mocked up a system on Mouse and think I could duplicate that one for less than $300, using a smaller filter assembly. [attachment file=Donaldson FRG filter screen cap 03.png] That unit will fit behind the street side propane bottle, I already have side access doors. It will be easy to remove the end cap for filter replacement, and the dirt purge valve will point down to exit around the frame members. Excuse the poor graphics: [attachment file=IMG_4920 Labled.jpg] The inlet can go into the cabin here, I think. Does anyone know what is behind the X? I am almost, sort-of, sure that it is clear under the bathroom vanity. [attachment file=IMG_4916 Labled.jpg] An inexpensive 3 inch bilge blower will fit here: [attachment file=IMG_4838 Labled.jpg] Because there is lots of room on the faucet side of that cavity: [attachment file=IMG_4841 Labled.jpg] Getting the pipe in would be simpler if the X location were available, if not it could be brought in from higher up but that would complicate the plumbing. Power is there at the water pump switch (the fan motor draws less than 4 amps) and I could add another waterproof switch. Air entering the vanity would diffuse throughout the floor and enter the cabin through the heater grill and other openings. The inlet pipe from the air filter would go straight up between the two bottles, 90 degree elbow to the street side and then 90 degree elbow up to a snorkel tube: [attachment file=IMG_4927 Labled.jpg] If you wanted a totally stealth installation you could elbow down and install a washable pleated filter but that would be maintenance intensive, and the air under the doghouse is not too clean. Here is the snorkel: [attachment file=IMG_4933 Labled.jpg] Side view, it would fit pretty close to the front hull seam. You would have to notch the doghouse cover to clear it.: Thoughts? Am I insane? I think it would look totally cool..... John Davies Spokane WA
1 point
-
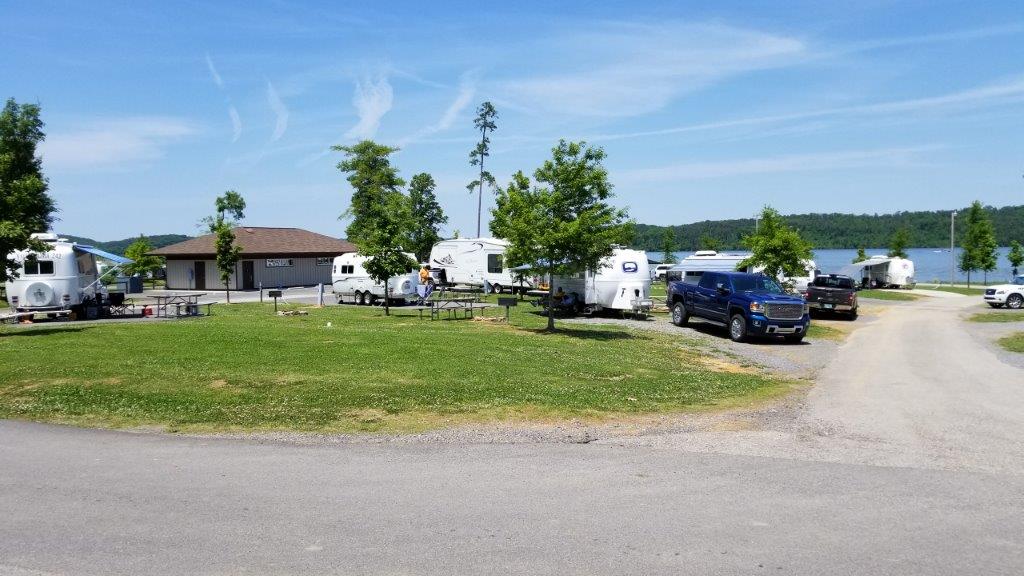
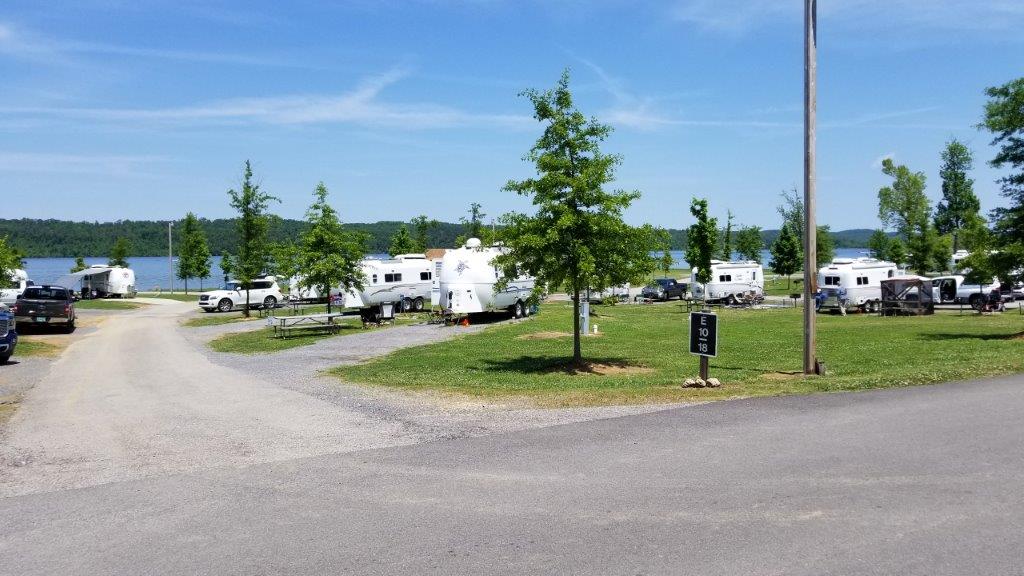
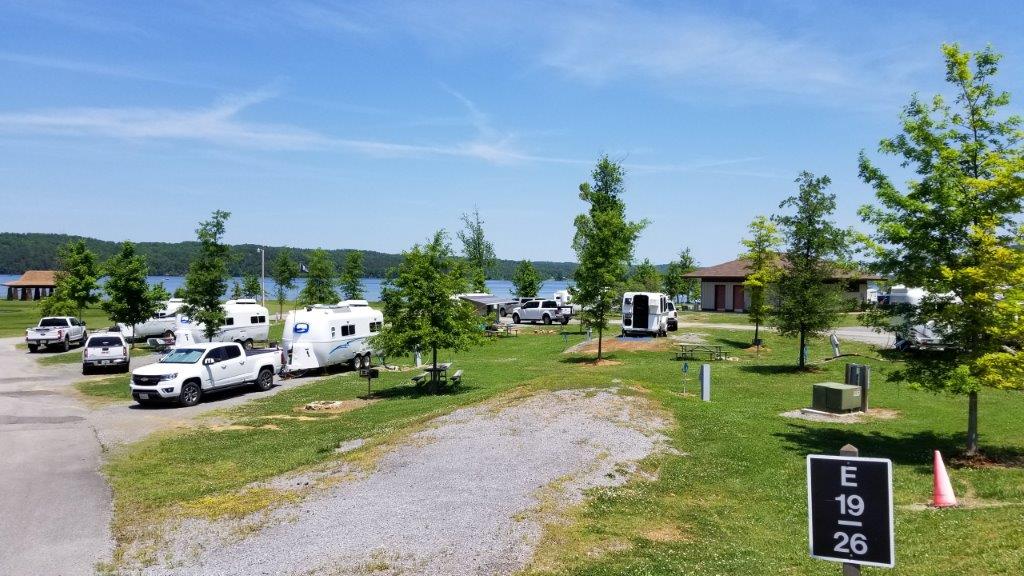
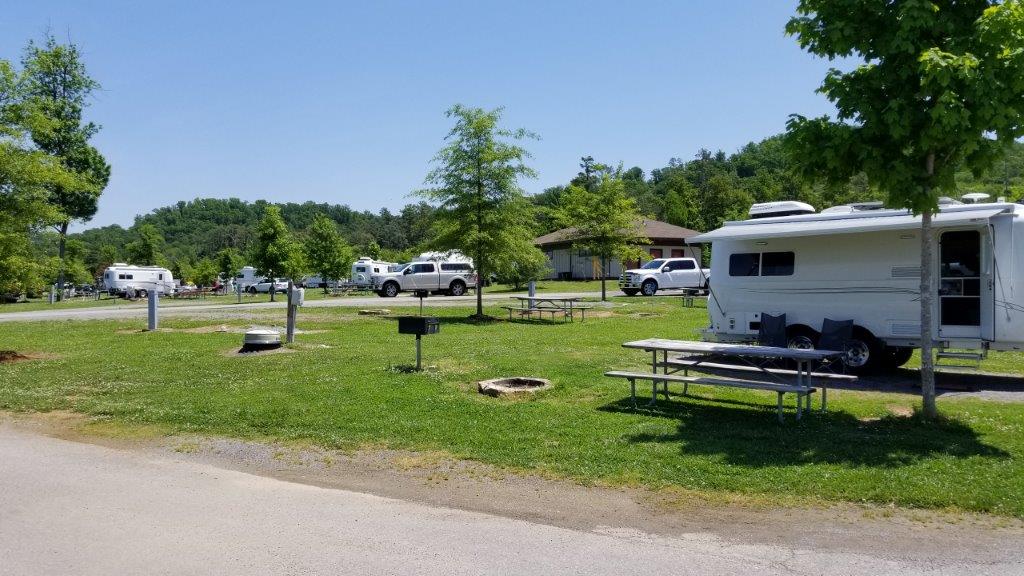
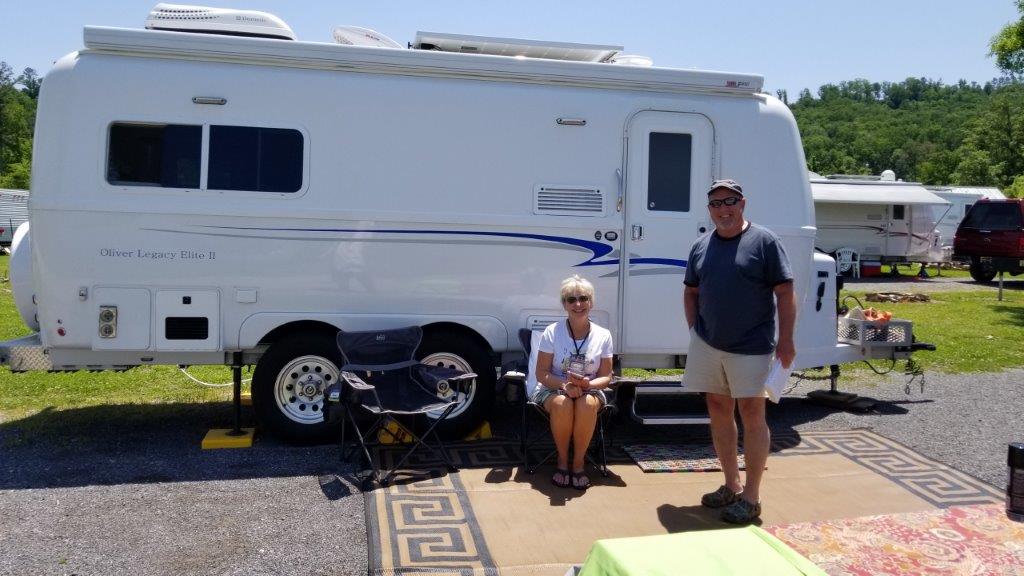
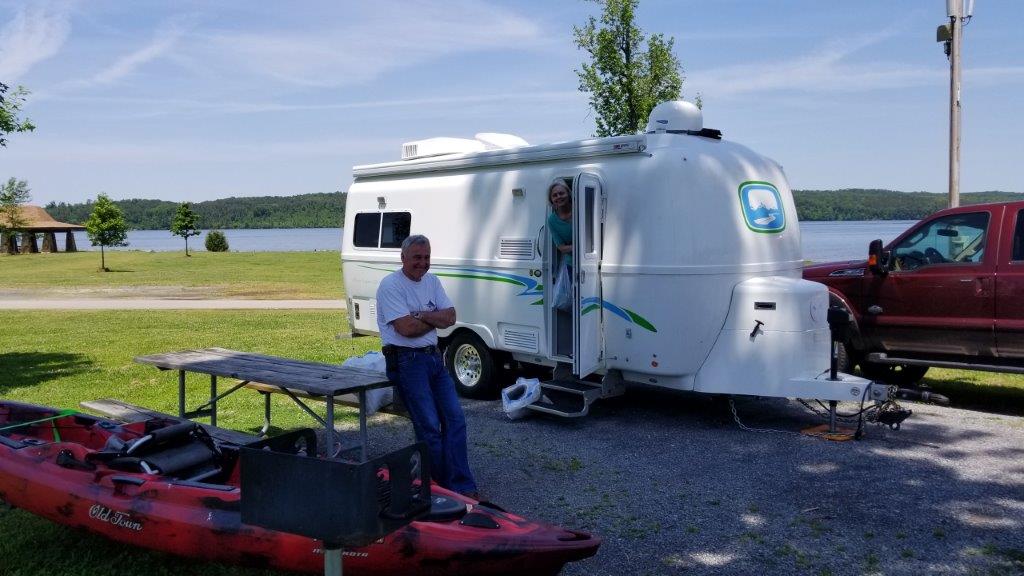
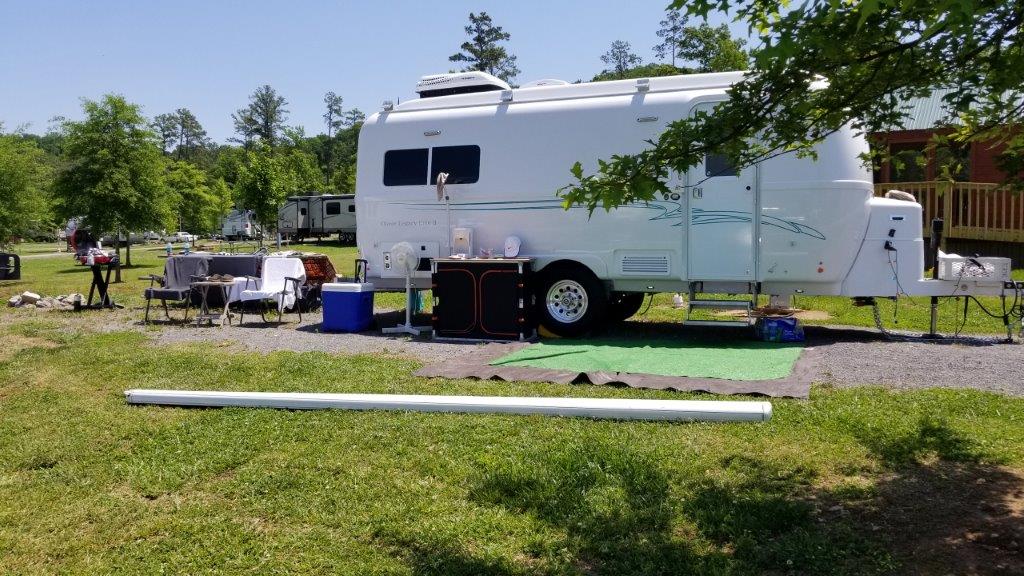
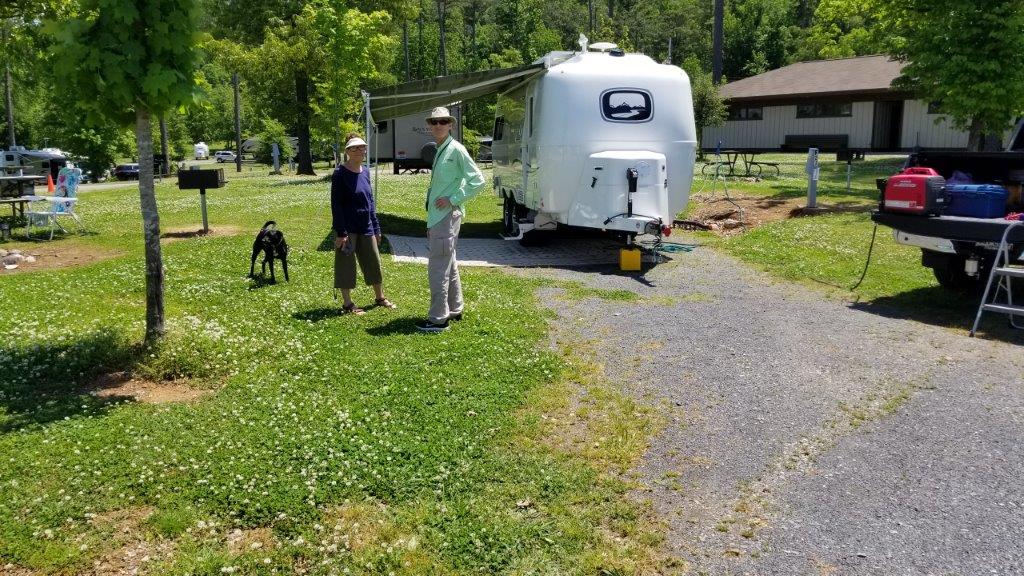
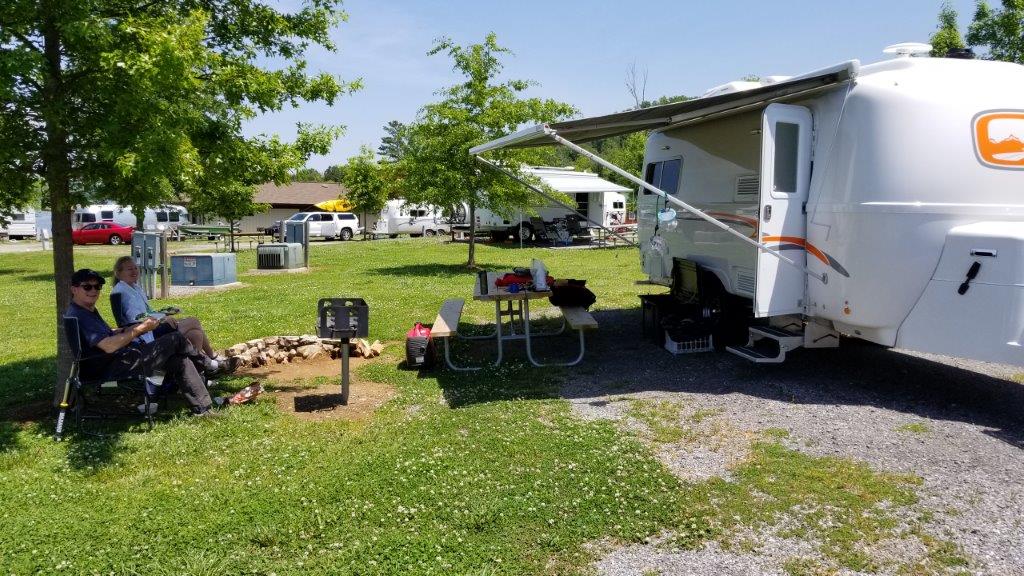
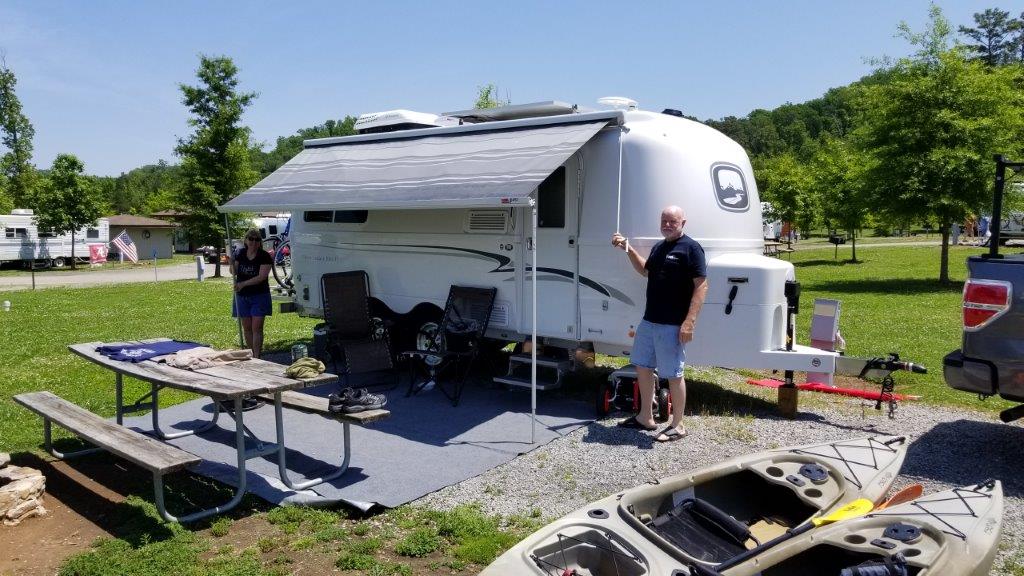
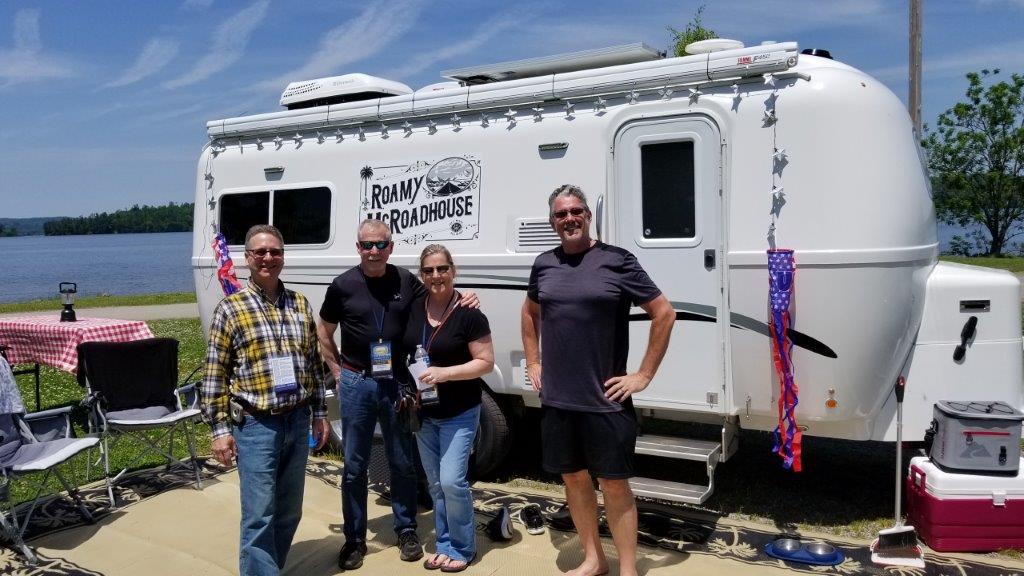
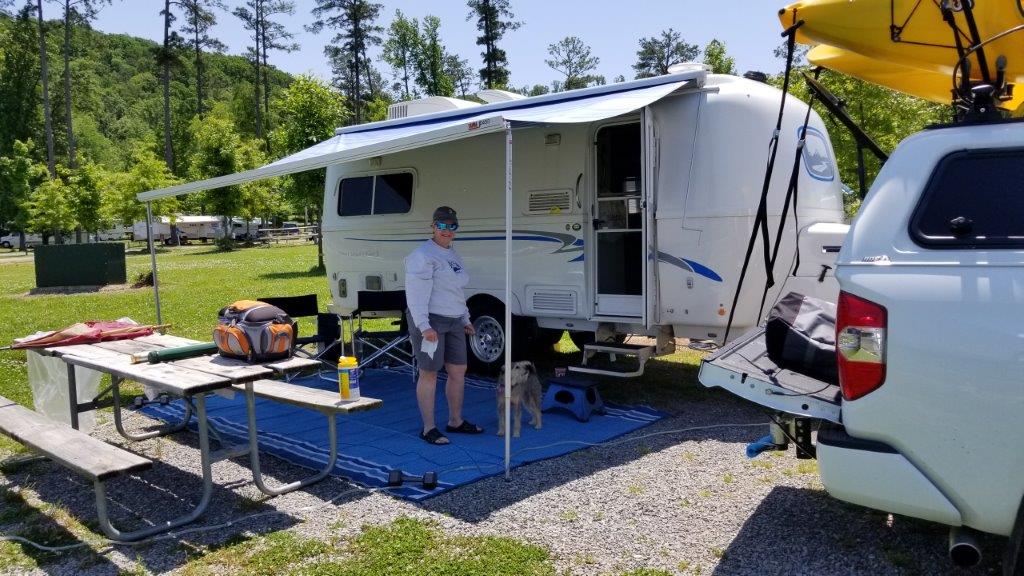
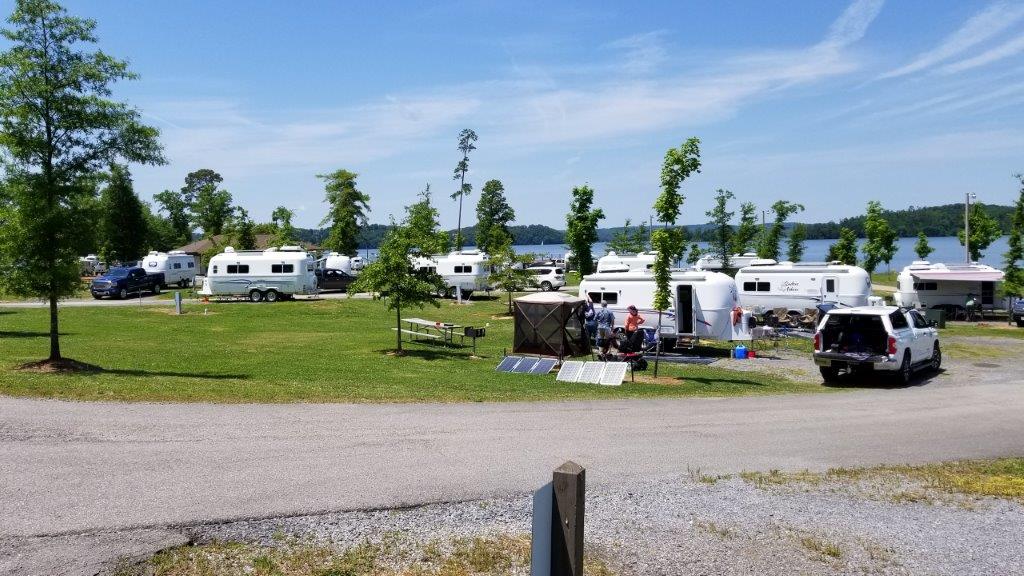
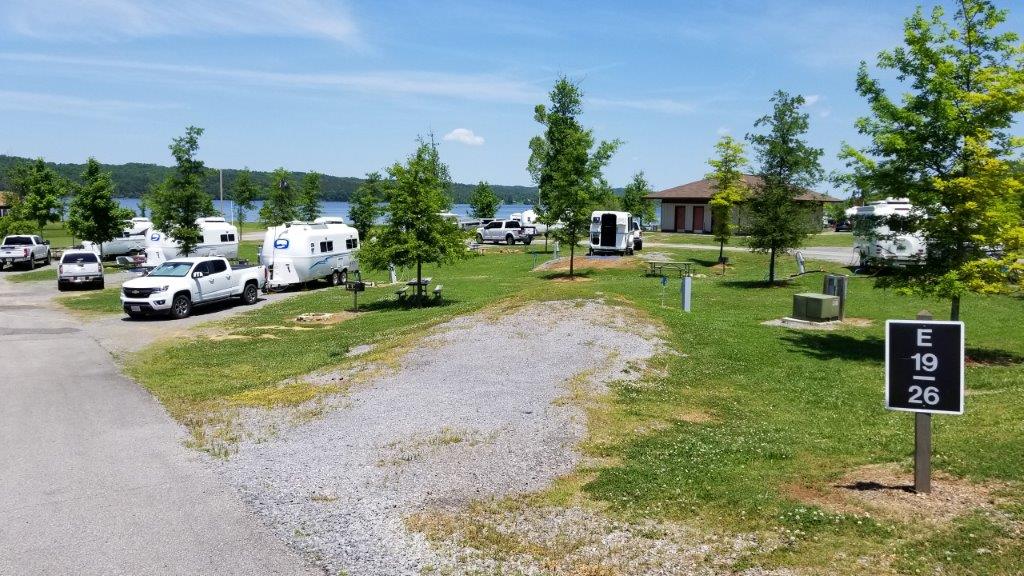
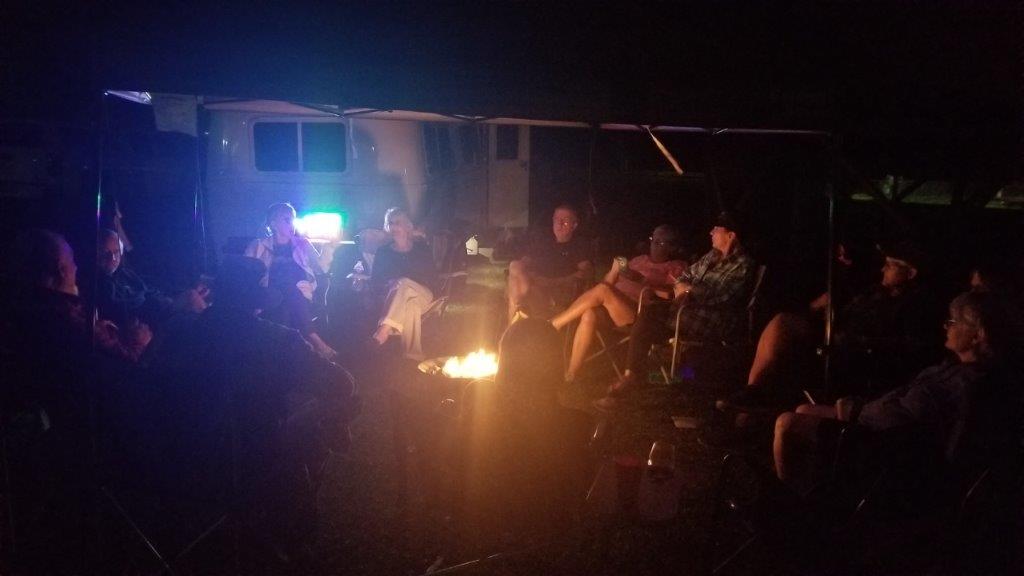
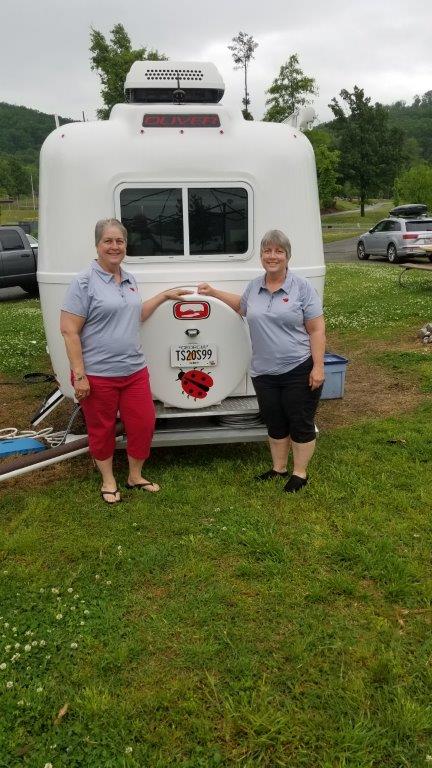
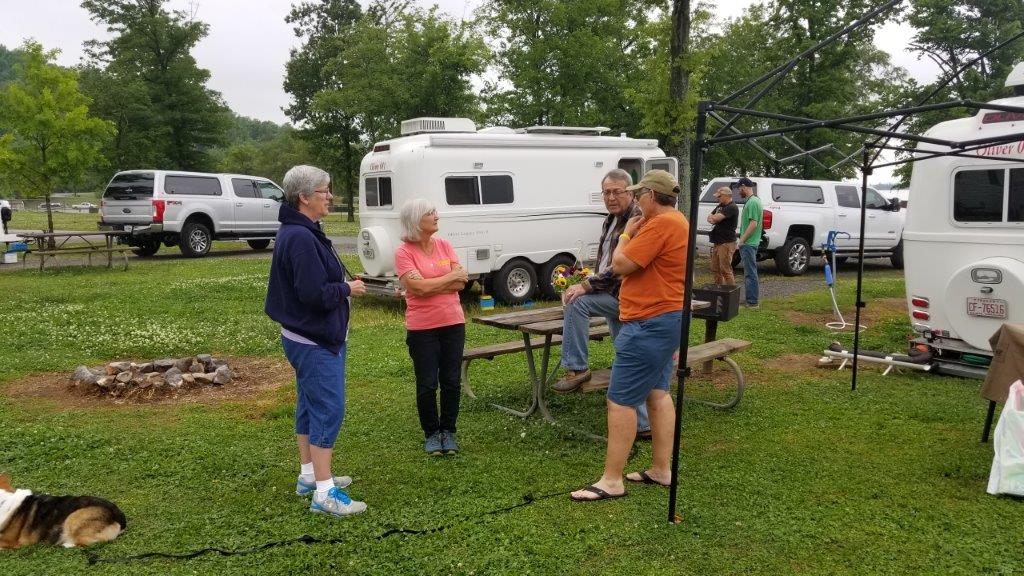
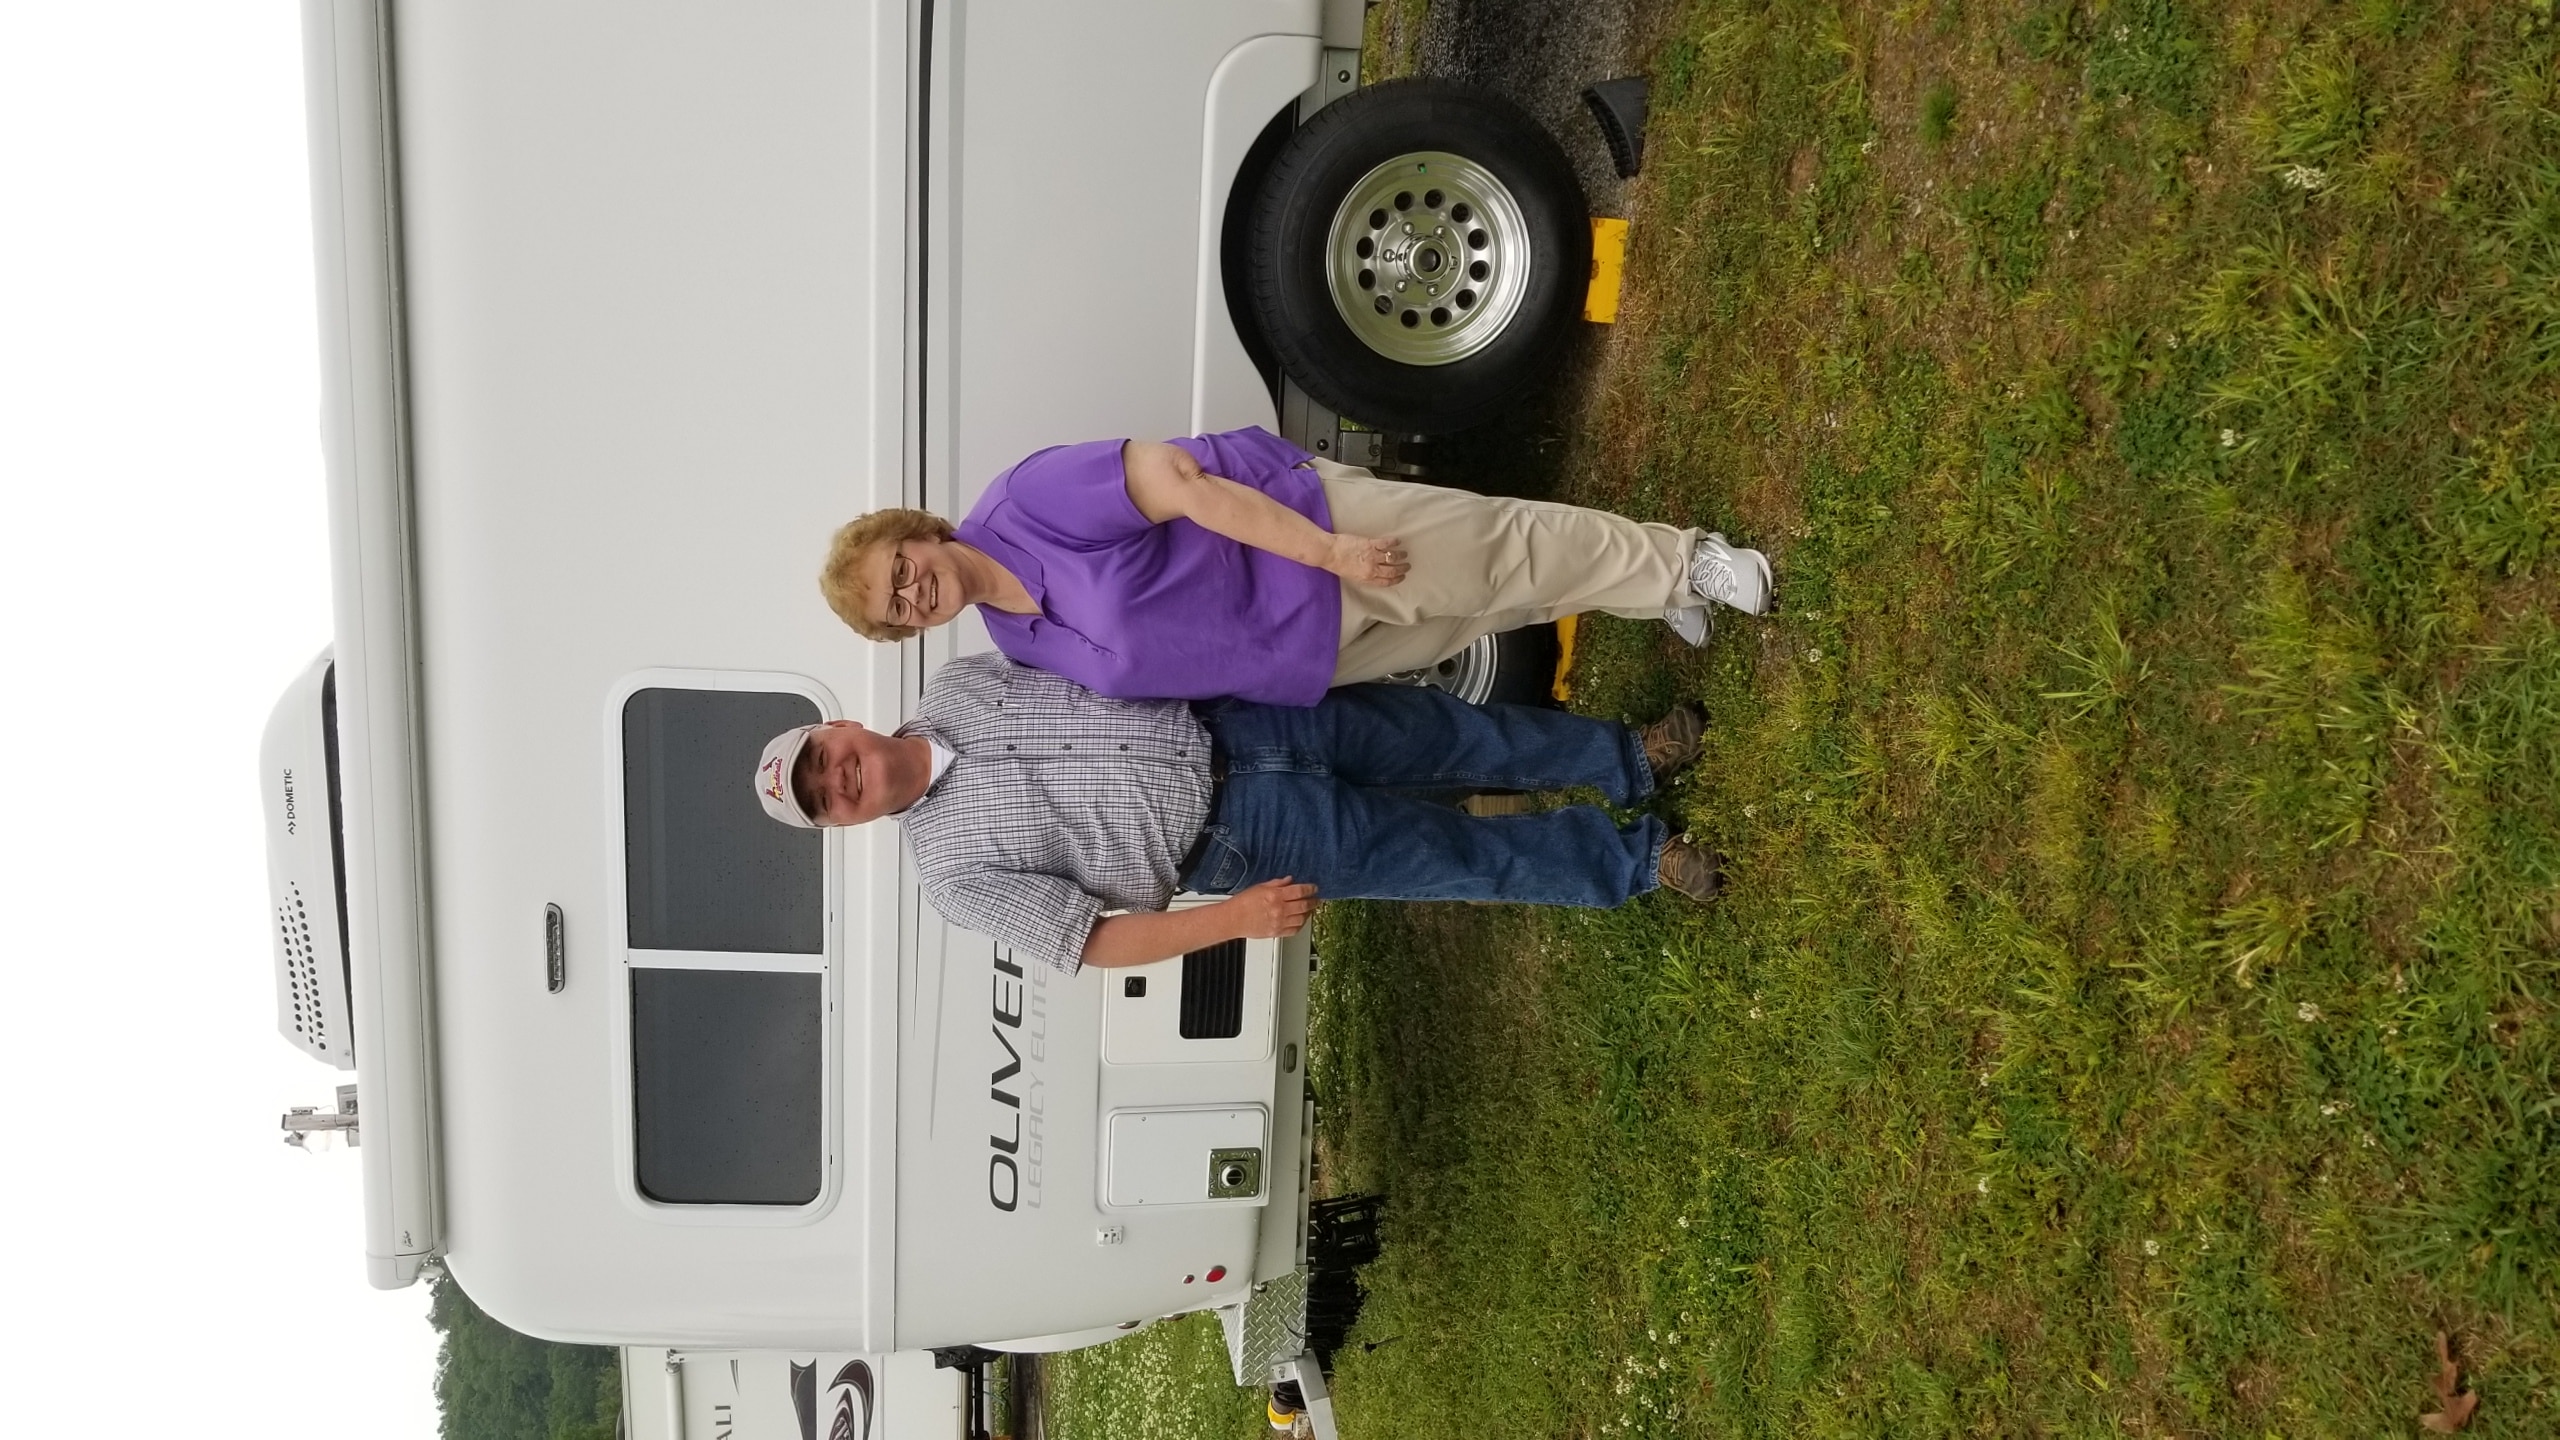
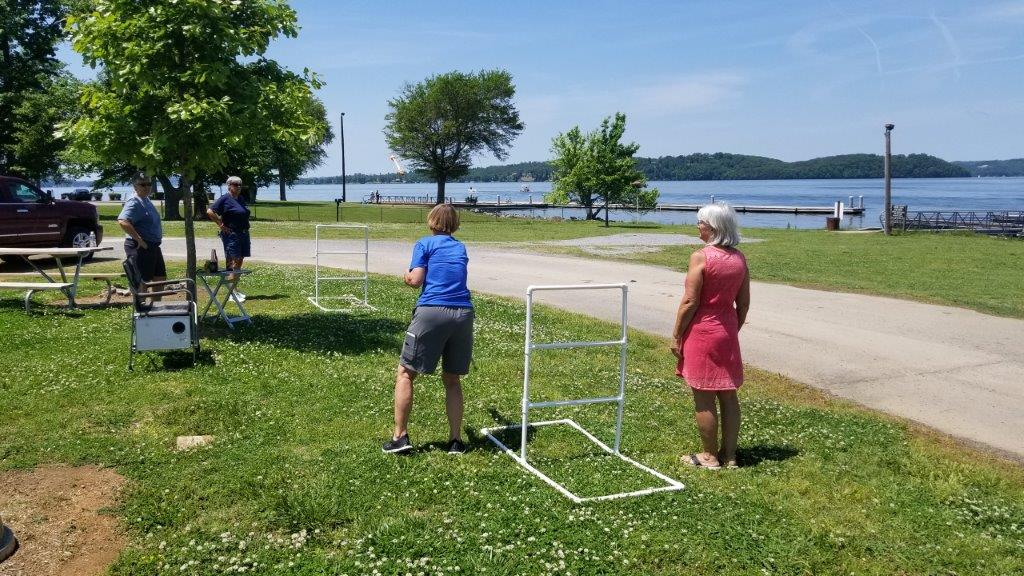
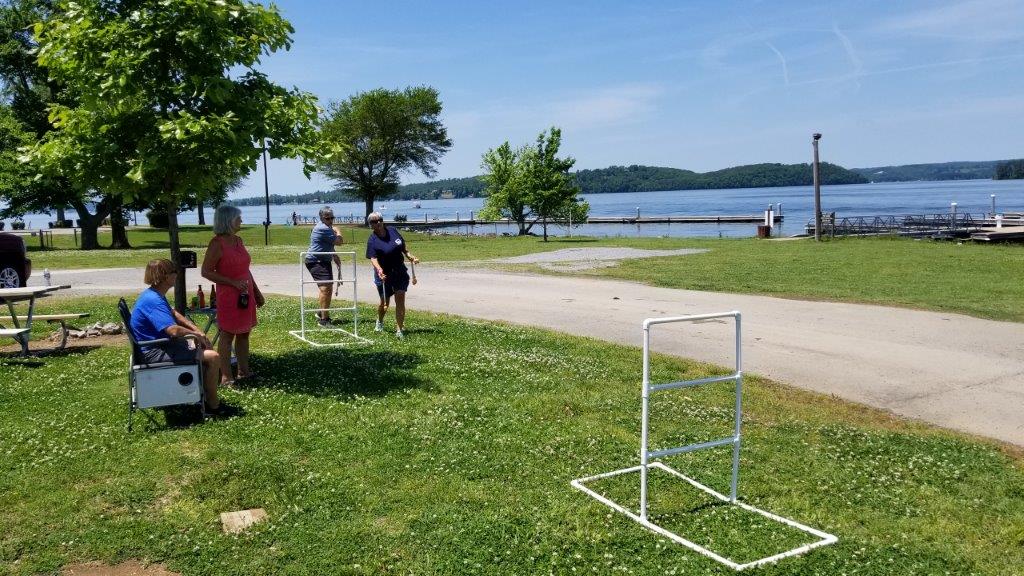
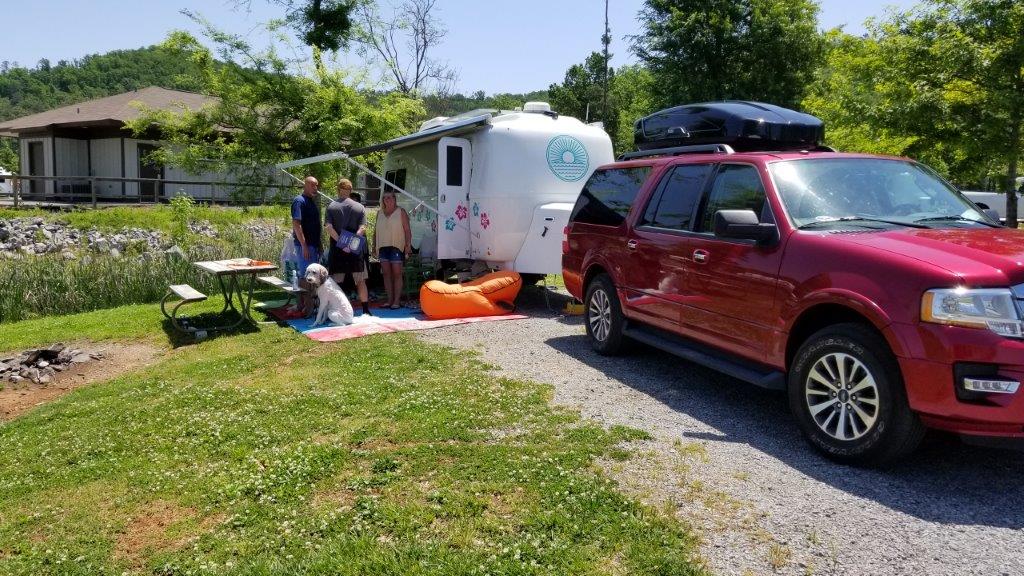
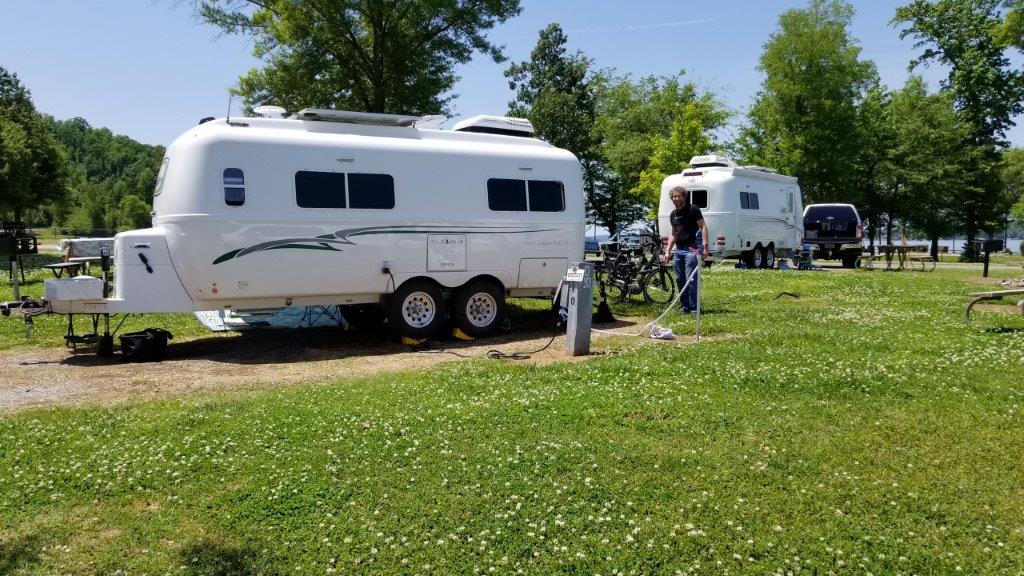
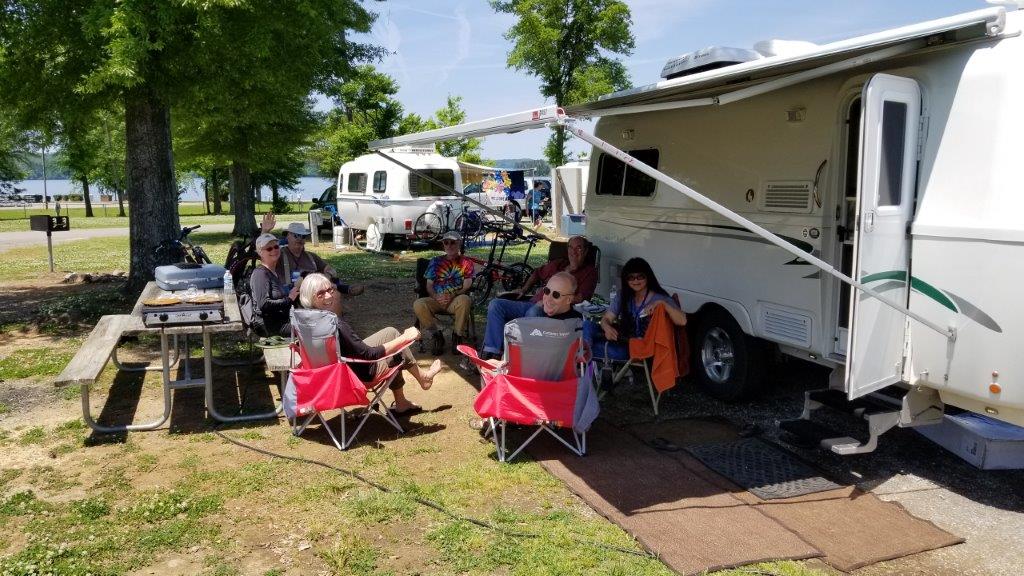
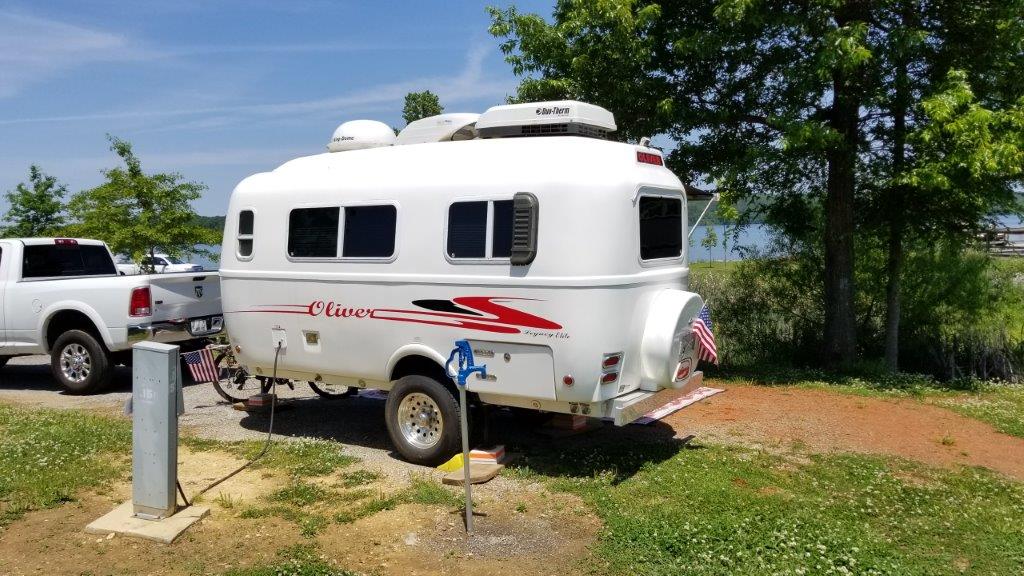
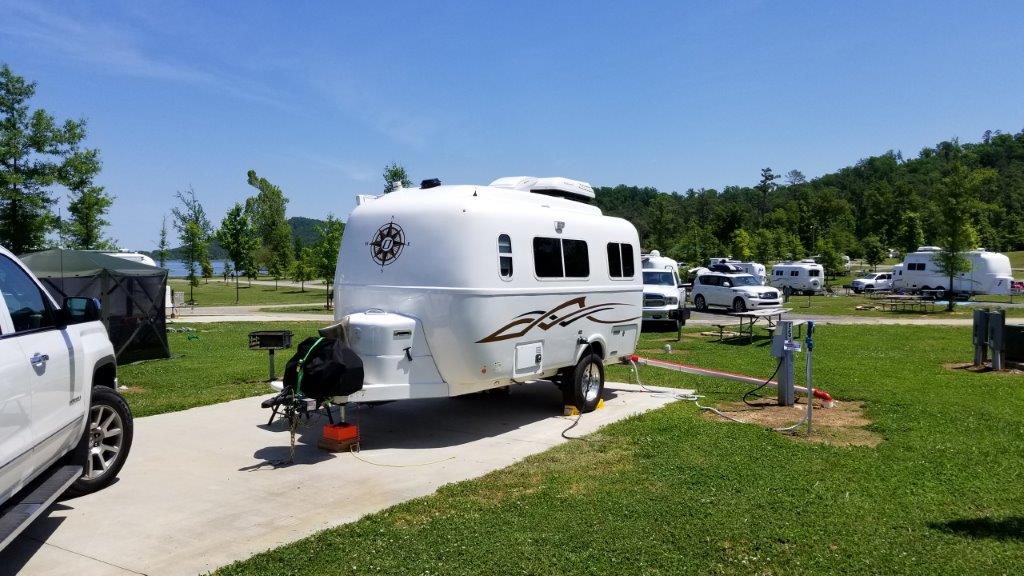
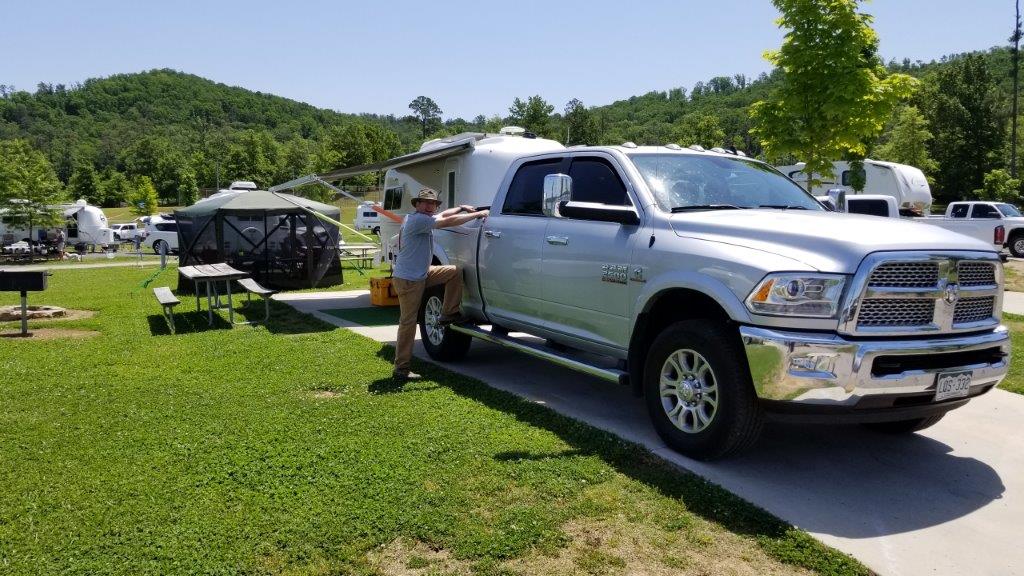
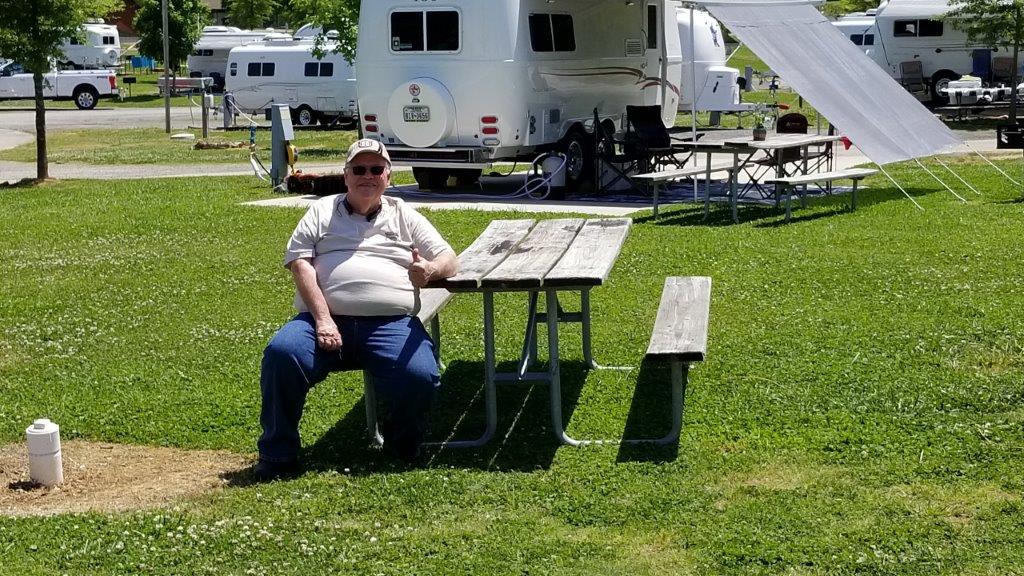
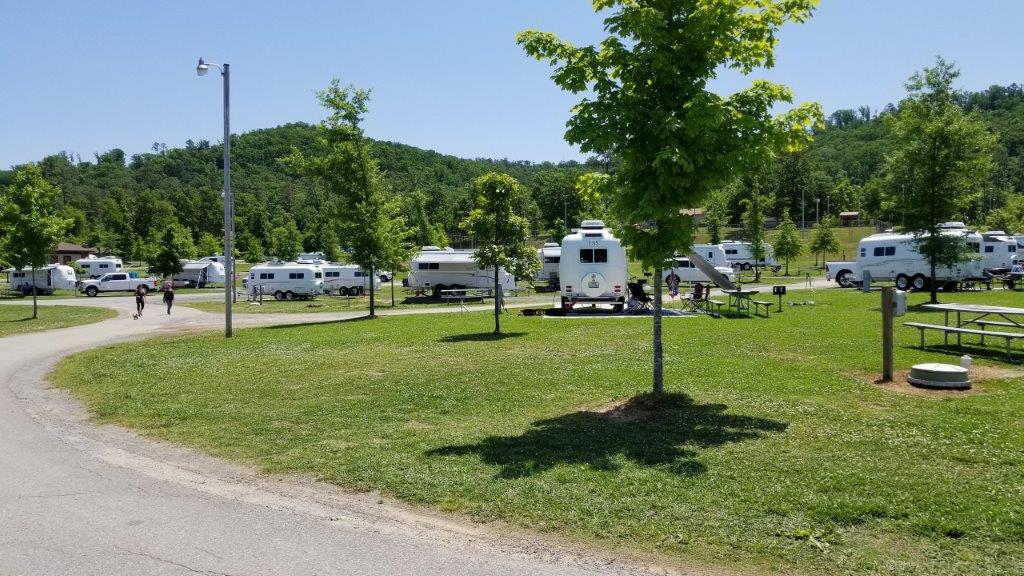
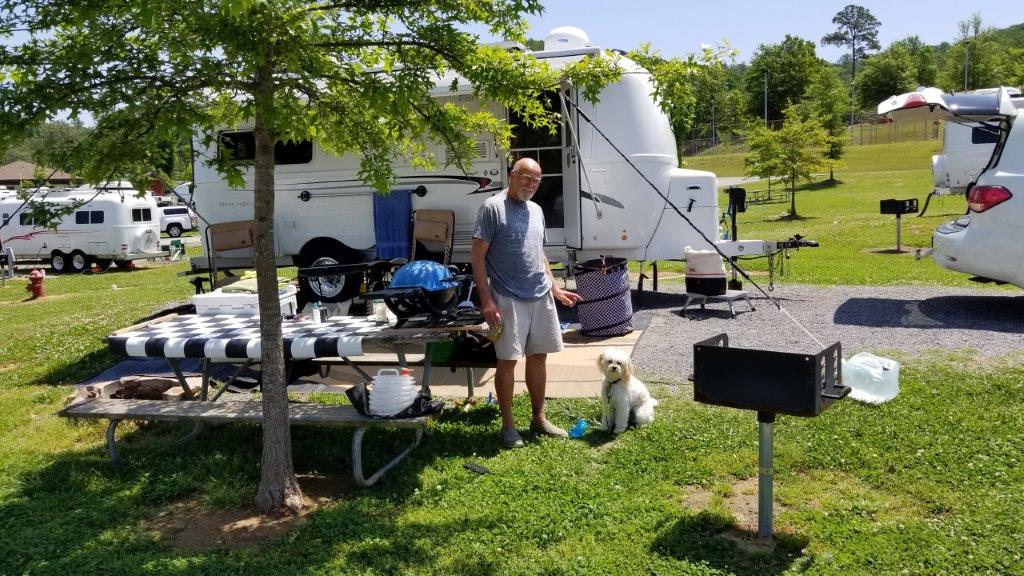
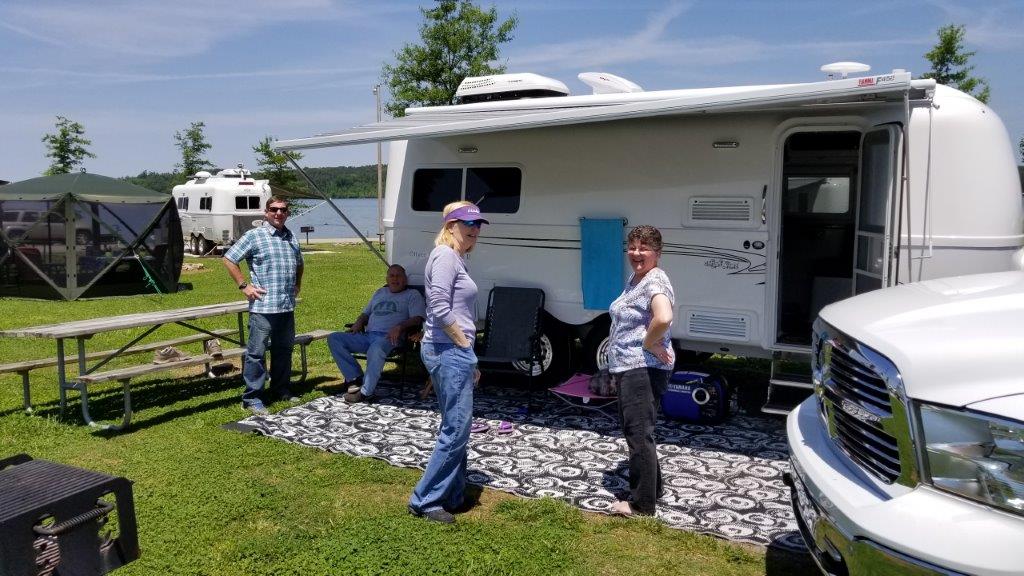
Wanted to post a few rally photos. Hats off to Coy and everyone that had a hand organizing this fine event. Enjoyed meeting new friends and seeing old friends. Additional photos are Welcome!!!!1 point
-
My experience with Micro Air is not so good. I own (owned) 2 new Yamaha 2000's V2 model and propane converted, the newest. Bought them from US Carburetor, have used them once, hooked together and was able to run our Oliver A/C with no problem at 5350 foot elevation (in our driveway in Colorado). Hoping to go down to one generator towing around, we opted for the Micro Air at the rally. Matteo did a great job and also knew my plans. I will admit here that when I asked would this work at my home in CO on propane, Matteo quickly stated "I am not sure but it should." Fair enough, it was my decision to proceed with the install. With some adjustment on the set nut on the gen after starting the A/C for the first time on propane, we got it to run and handle the load. Now, the sad part, when we got home at 5350 foot elevation, I cranked up the generator, the only one left since I sold the other one at the rally(stupid me). It could not handle the load after trying 5 times with US Carb on the phone helping me adjust and curse the unit. Finally, after giving up on propane, a technician at US Carb suggested I put gasoline in the gen (not what I wanted to hear or do, but...) Fired up the Yamaha on gas, turned on the A/C and it barely hiccoughed and ran great. So, for anyone thinking about Micro Air at higher elevations and using propane - Beware! Now, I will have to carry a generator with gasoline in it. Sigh!! Again, I want to be clear that Matteo was honest when asked about propane at my locale. I have nothing but good to say about this man.1 point
-
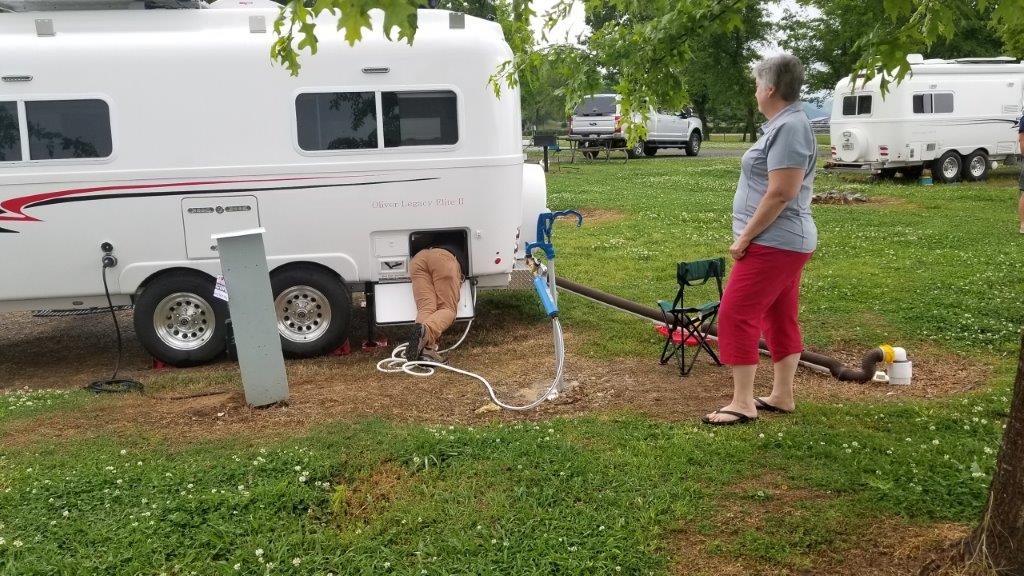
Matteo, Photos of you hard at work at the Oliver Rally. You're welcome to use these photos however you want and have higher resolution, if needed! Best Regards,1 point
-
All the chargers hook up to the 12 volt system in your car or in your trailer. “5 volts” is the regulated output voltage needed by your phone, tablet, or gps. “1 amps” or “2.1 amps” is the maximum current provided for each USB receptacle. Obviously, IF your device is designed to handle more current, a 2.1 amp port will charge it much faster. A device designed for a low amp charger will not be hurt in any way by using a high amp unit, they self-regulate. You won’t burn it up. You will find lots of round plug-in chargers that have one 2.1a and one 1a port Each port will be labeled differently, which can be frustrating if you charge your phone from the “slow” port by accident. The letters are often hard to read. The dual 2.1a models are much less common. I think it has to do with their ability to shed waste heat during operation. These aluminum ones are designed to handle the heat better than the plastic ones. Plus they cost more to manufacture. With a dual port model you just stick the cord in either port, you don’t have to fuss around with seeing which one is faster.... or wondering why your iPad battery keeps going down while you are using it. John Davies Spokane WA1 point
-
Hi again Scott. Thank you for posting here so I could follow up with you on the additional information. First, the detailed (and very boring) discussion about my Honda EU2000i failure symptoms, diagnosis, and repair is available at this link. The Honda part number for the stator winding that finally fixed the problematic Honda is 31125-Z07-C31. There are a couple different stator windings out there since older serial number EU2000i generators (like yours and mine) use this one, and the newer ones use another. I purchased the stator via special order from a Honda parts dealer in California that I had previously done business with via eBay, All-Pro Engine & Mower Supply (www.Allpro92530.com, owner Ray Gilstrap atallproengine@gmail.com). Ray was very helpful and had the best prices. You can also get it and any other part for your Honda from Jack's Small Engines (https://www.jackssmallengines.com/), from which I also purchased a lot of parts during my 10-month odyssey! Thank you again for your support throughout the rally.1 point
-
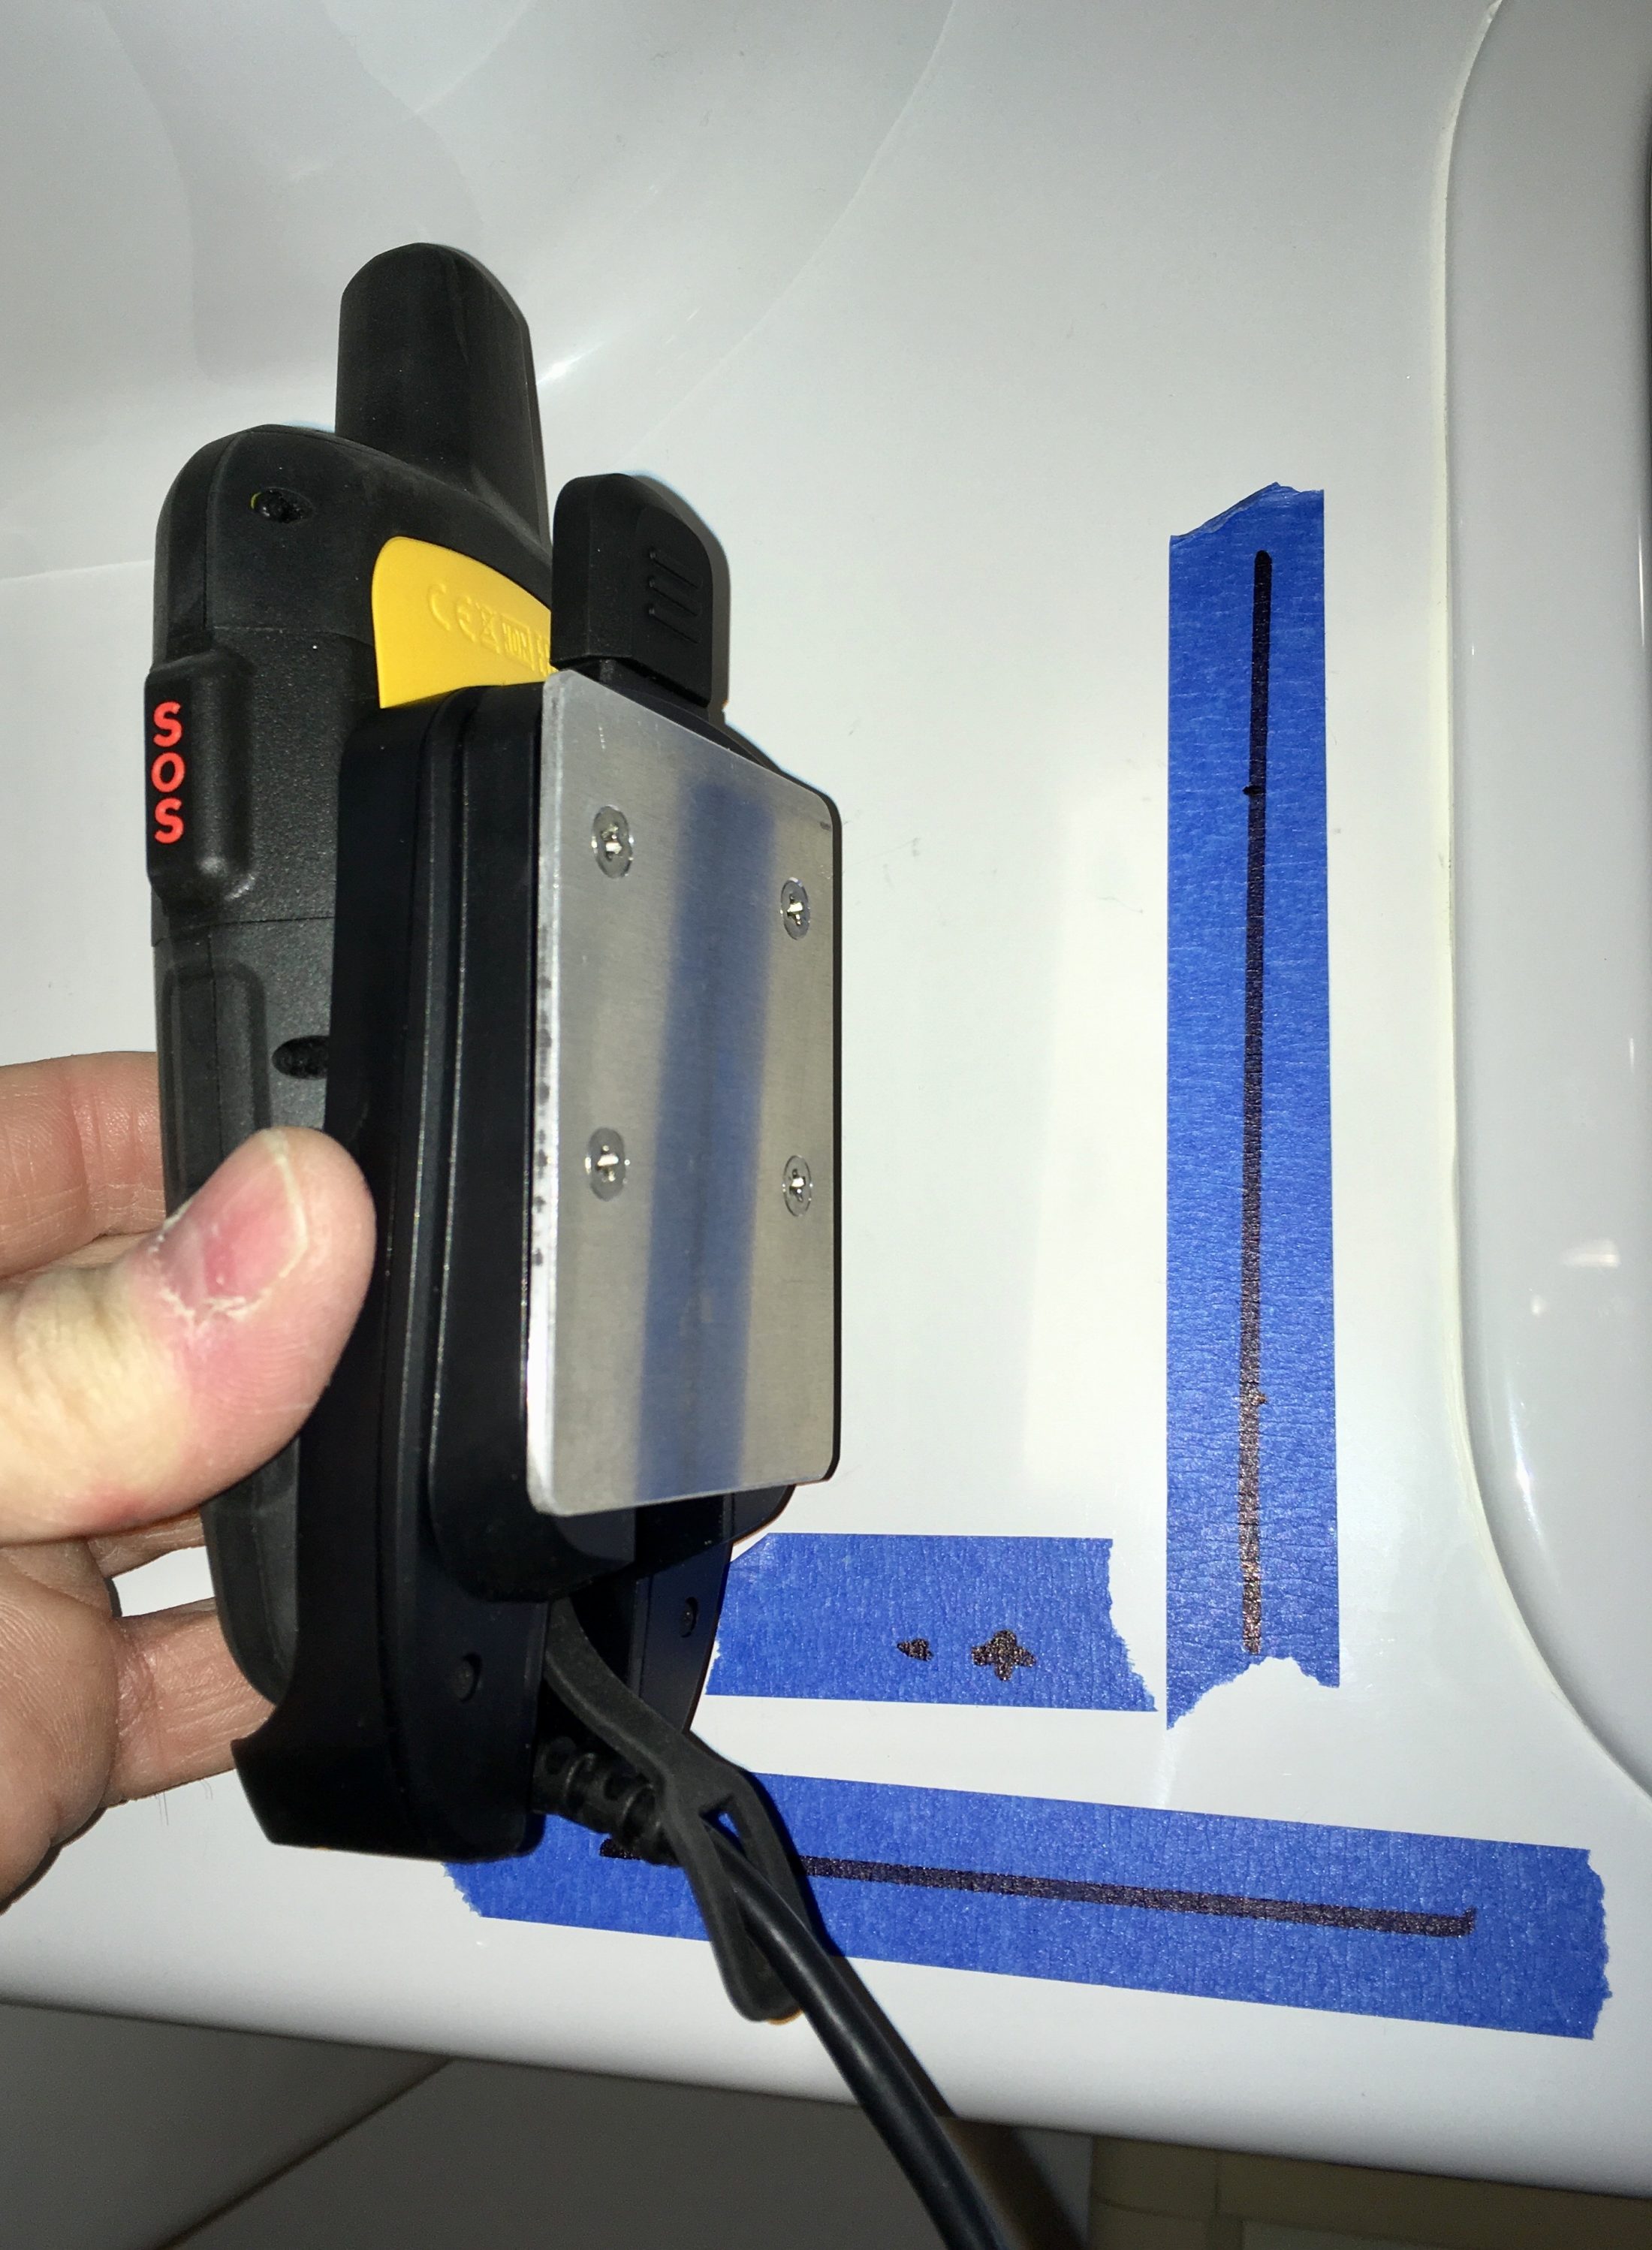
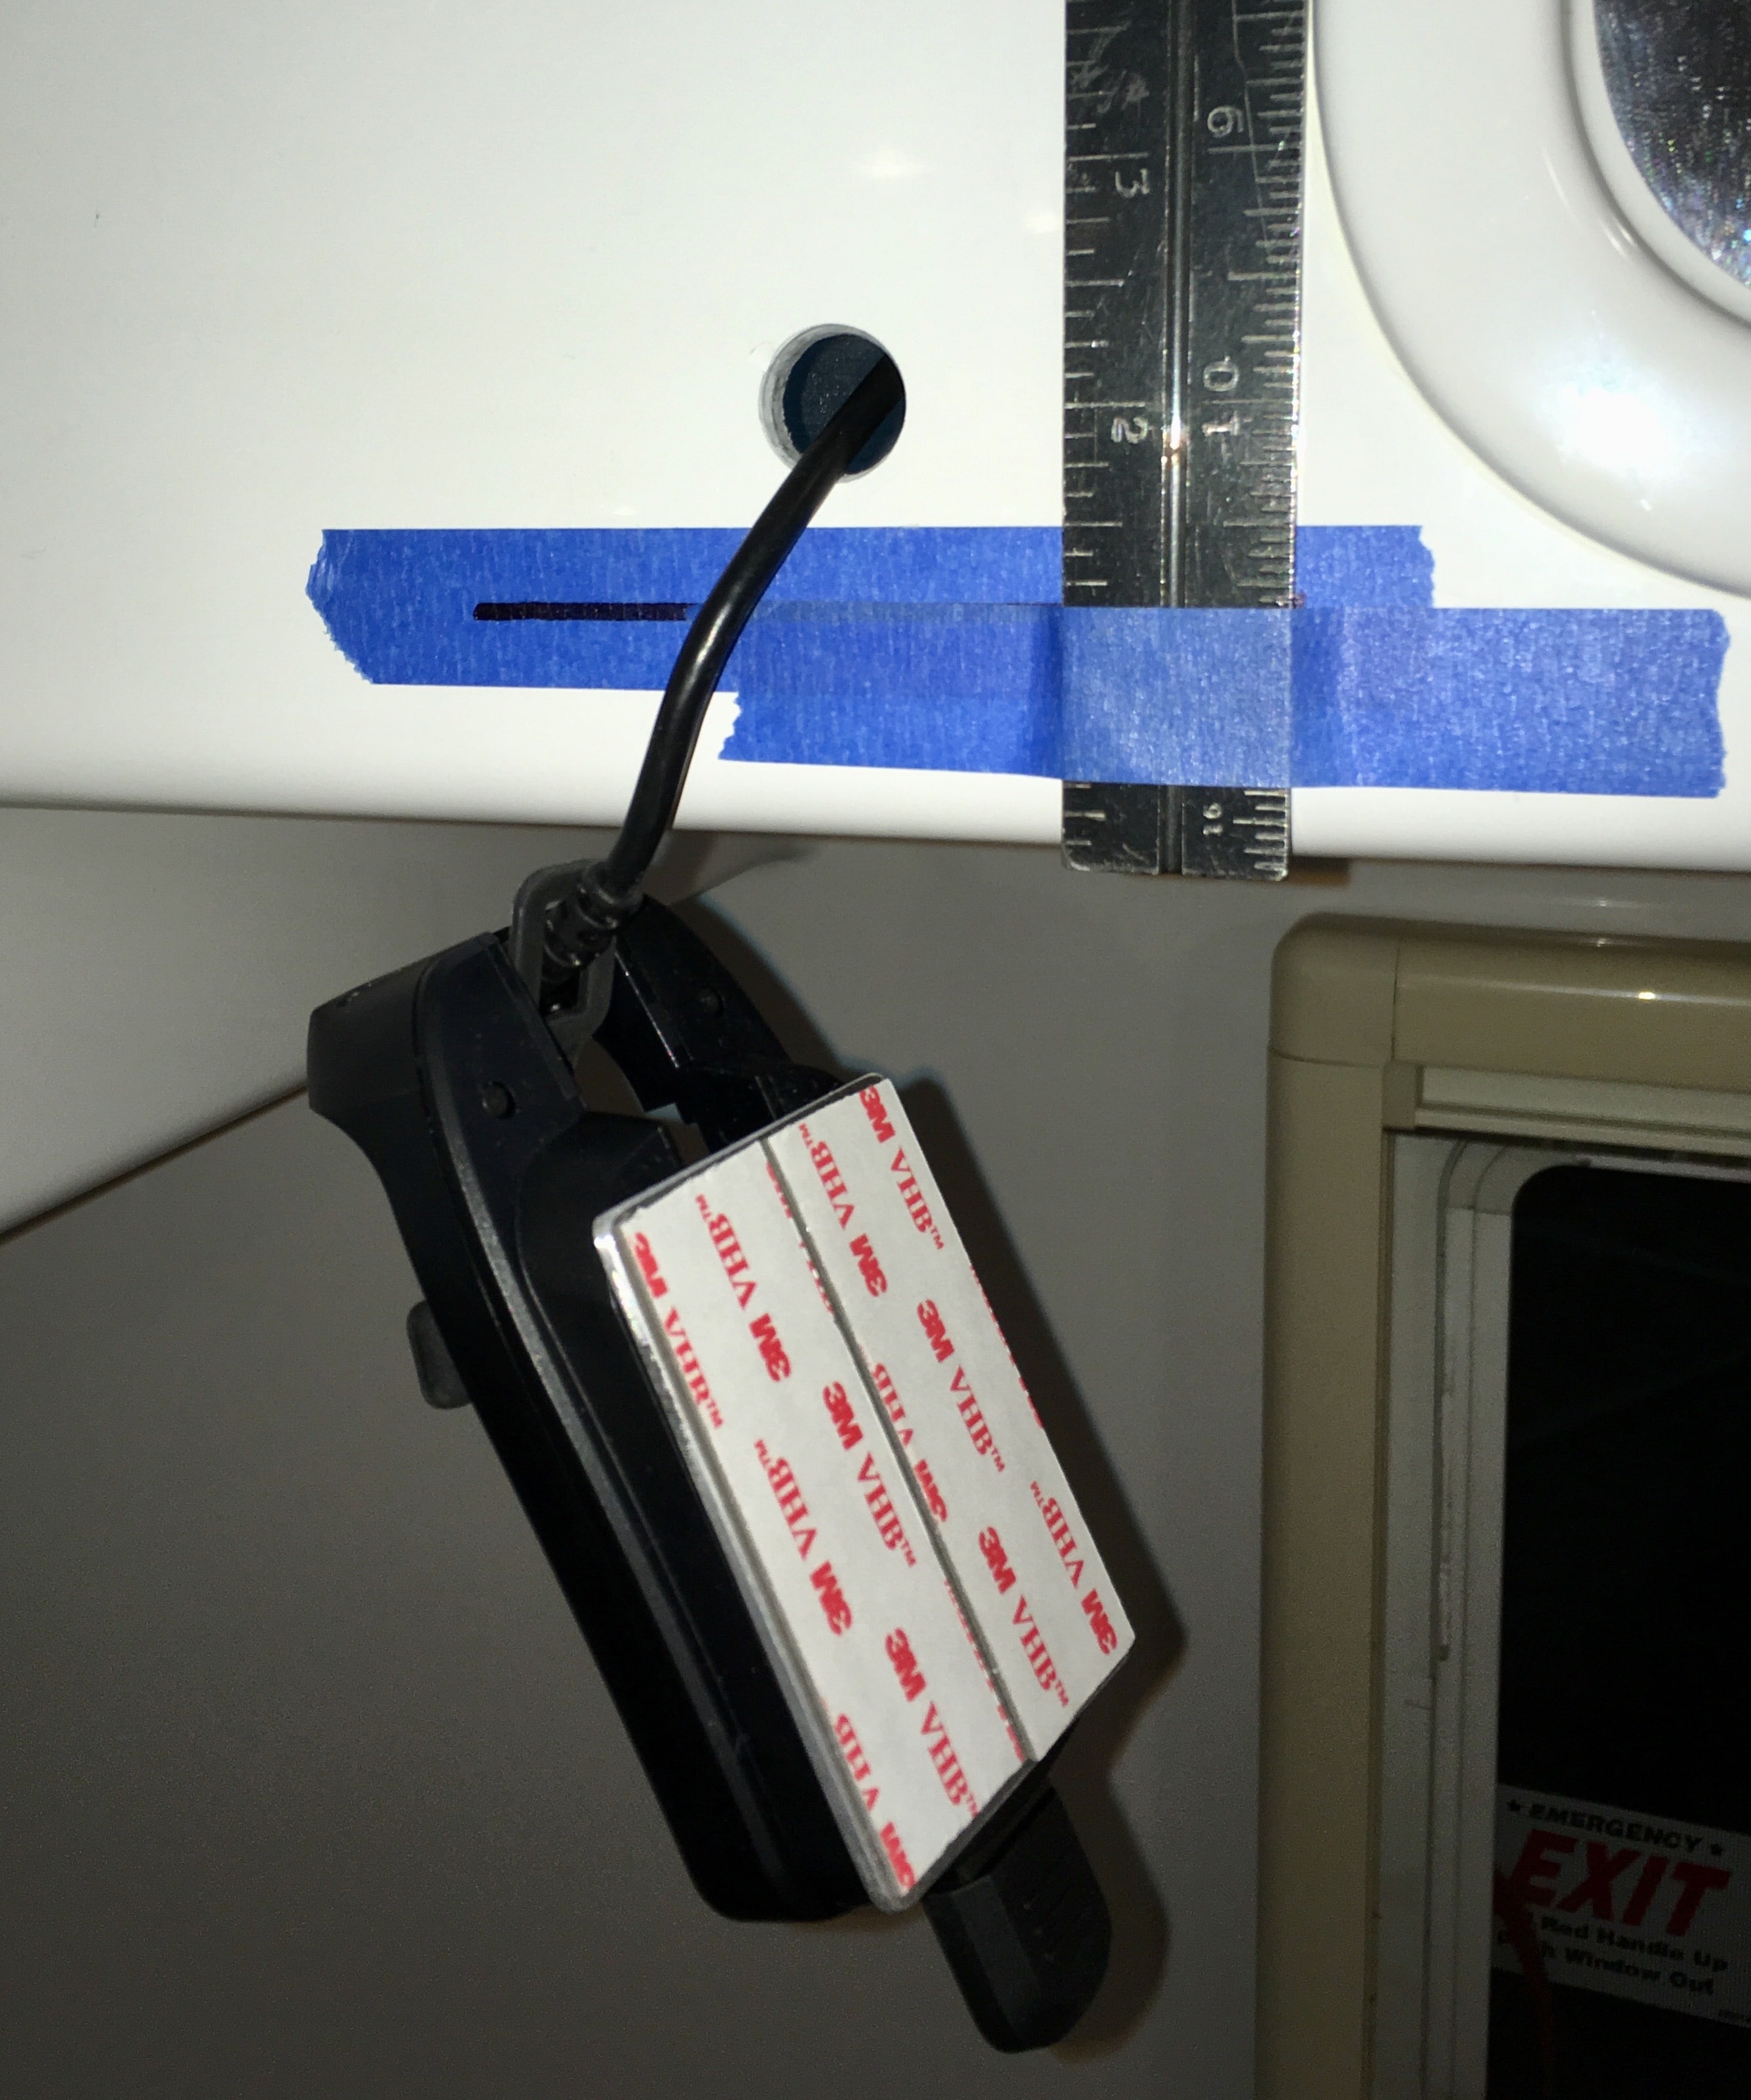
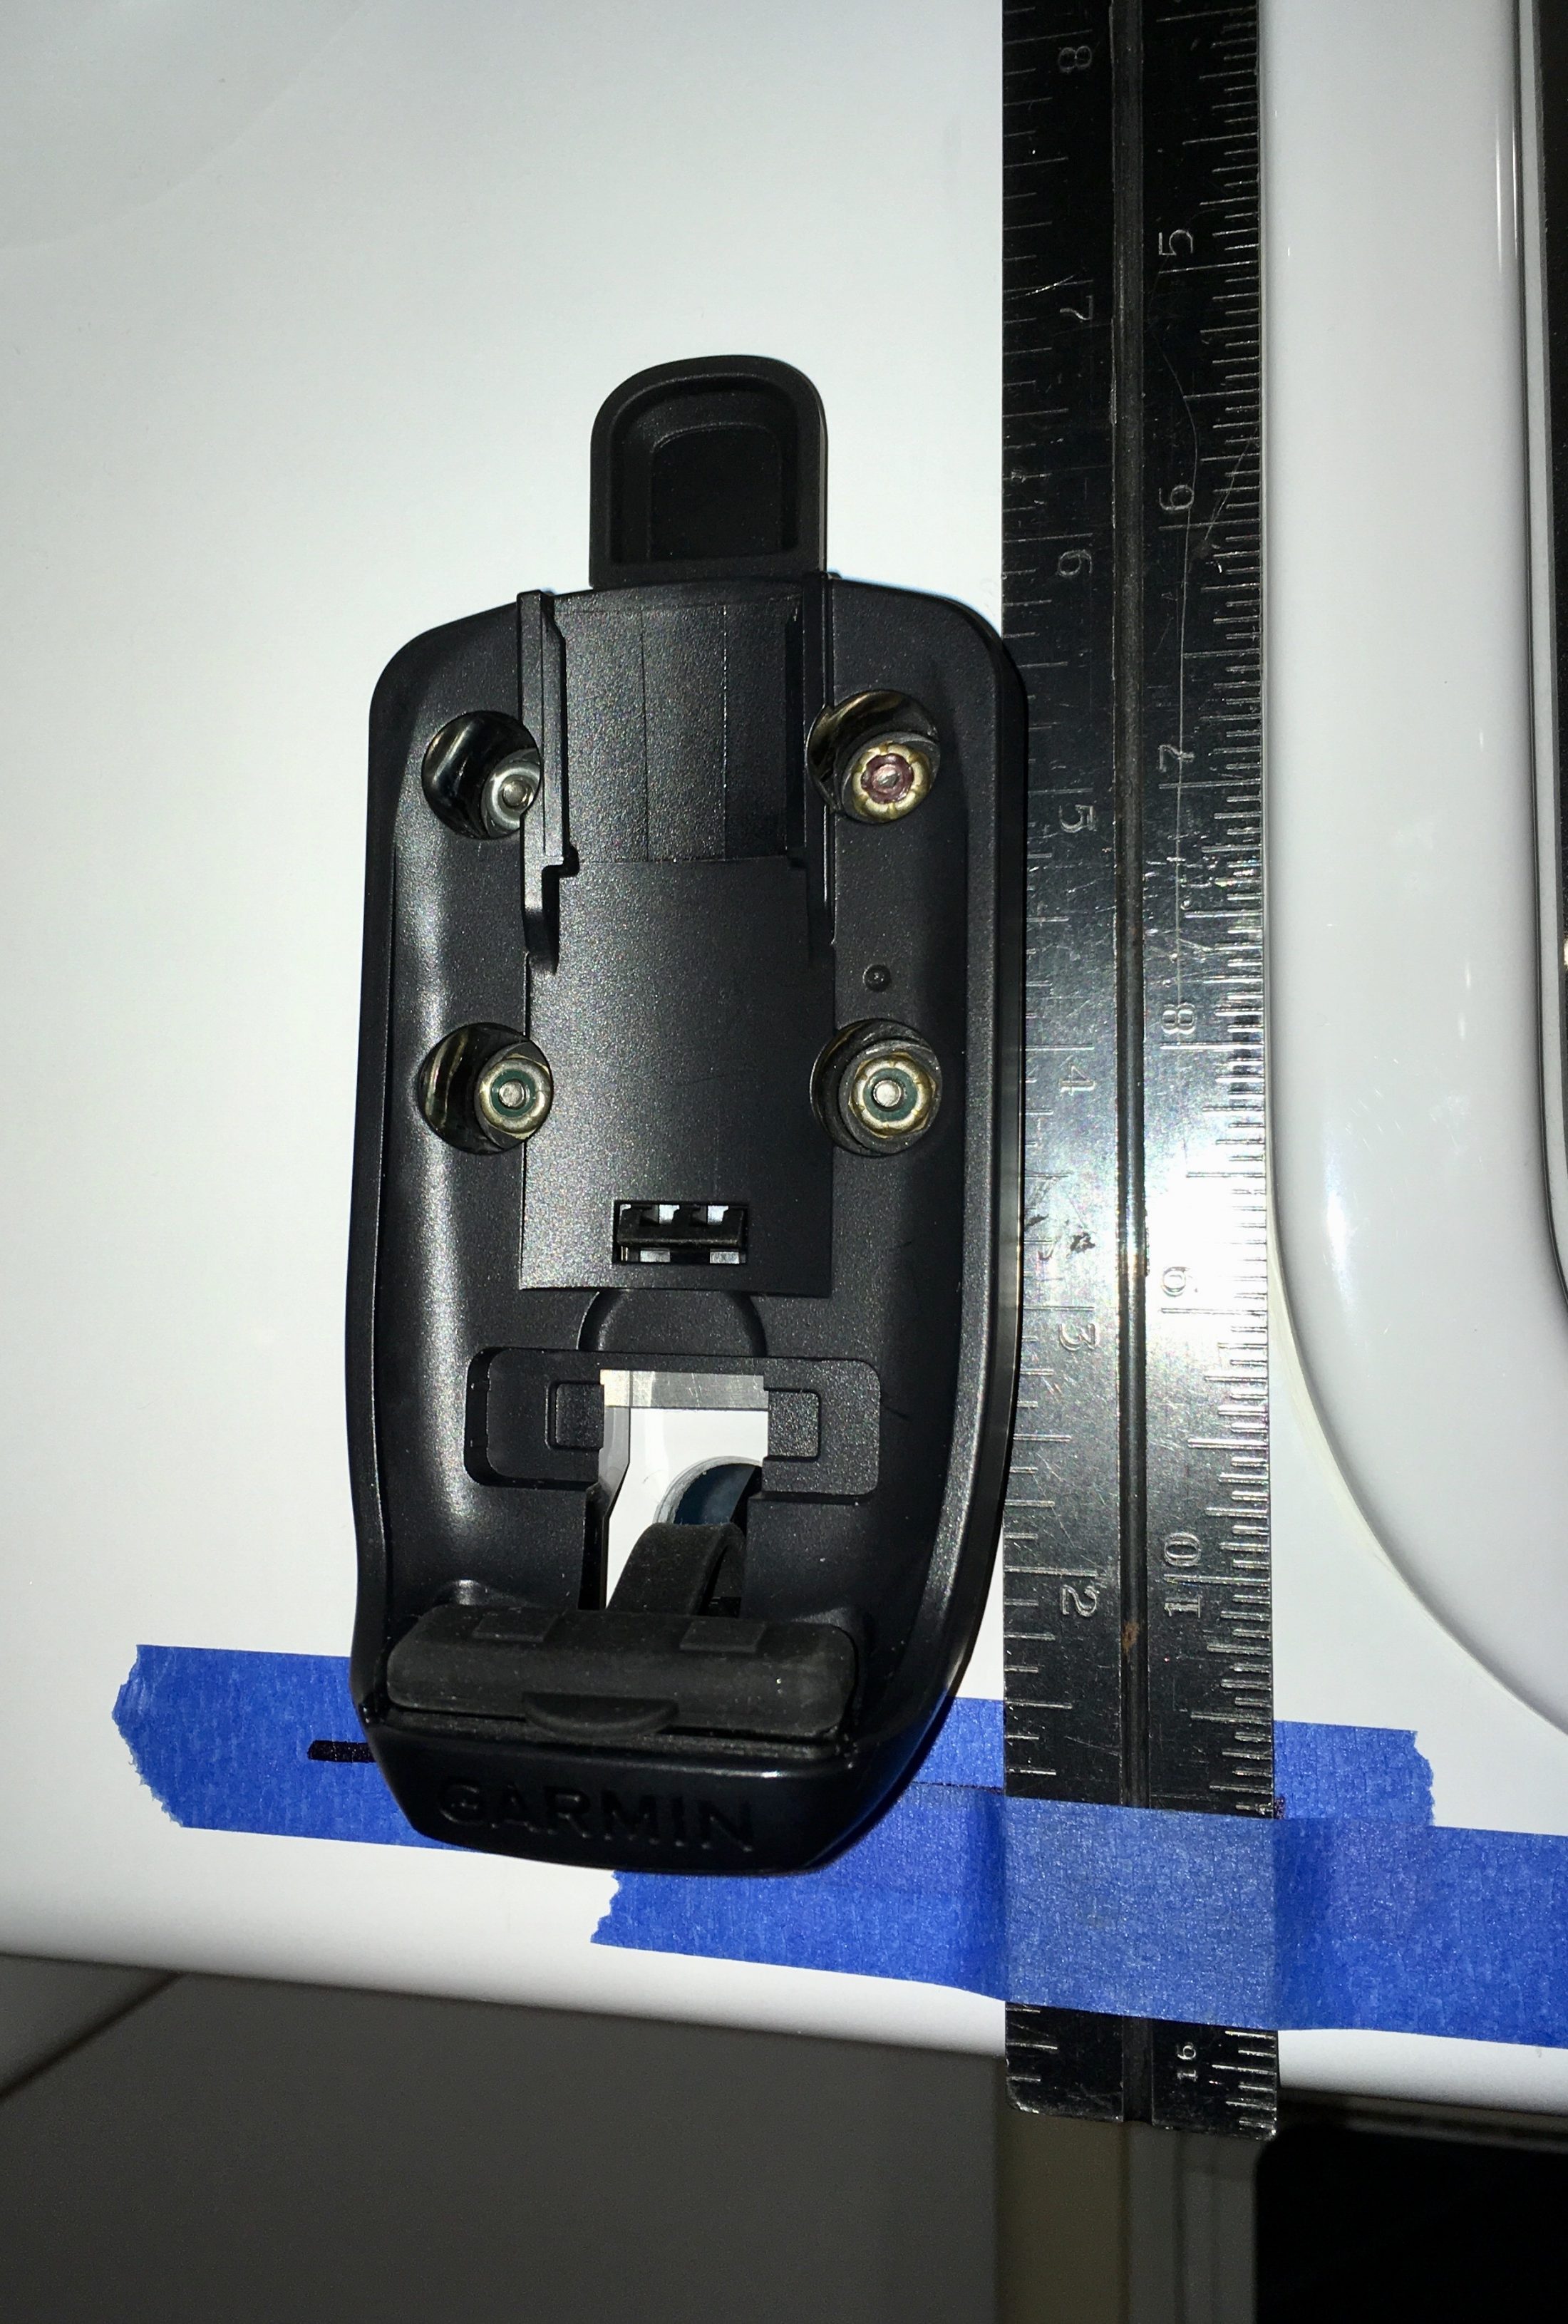
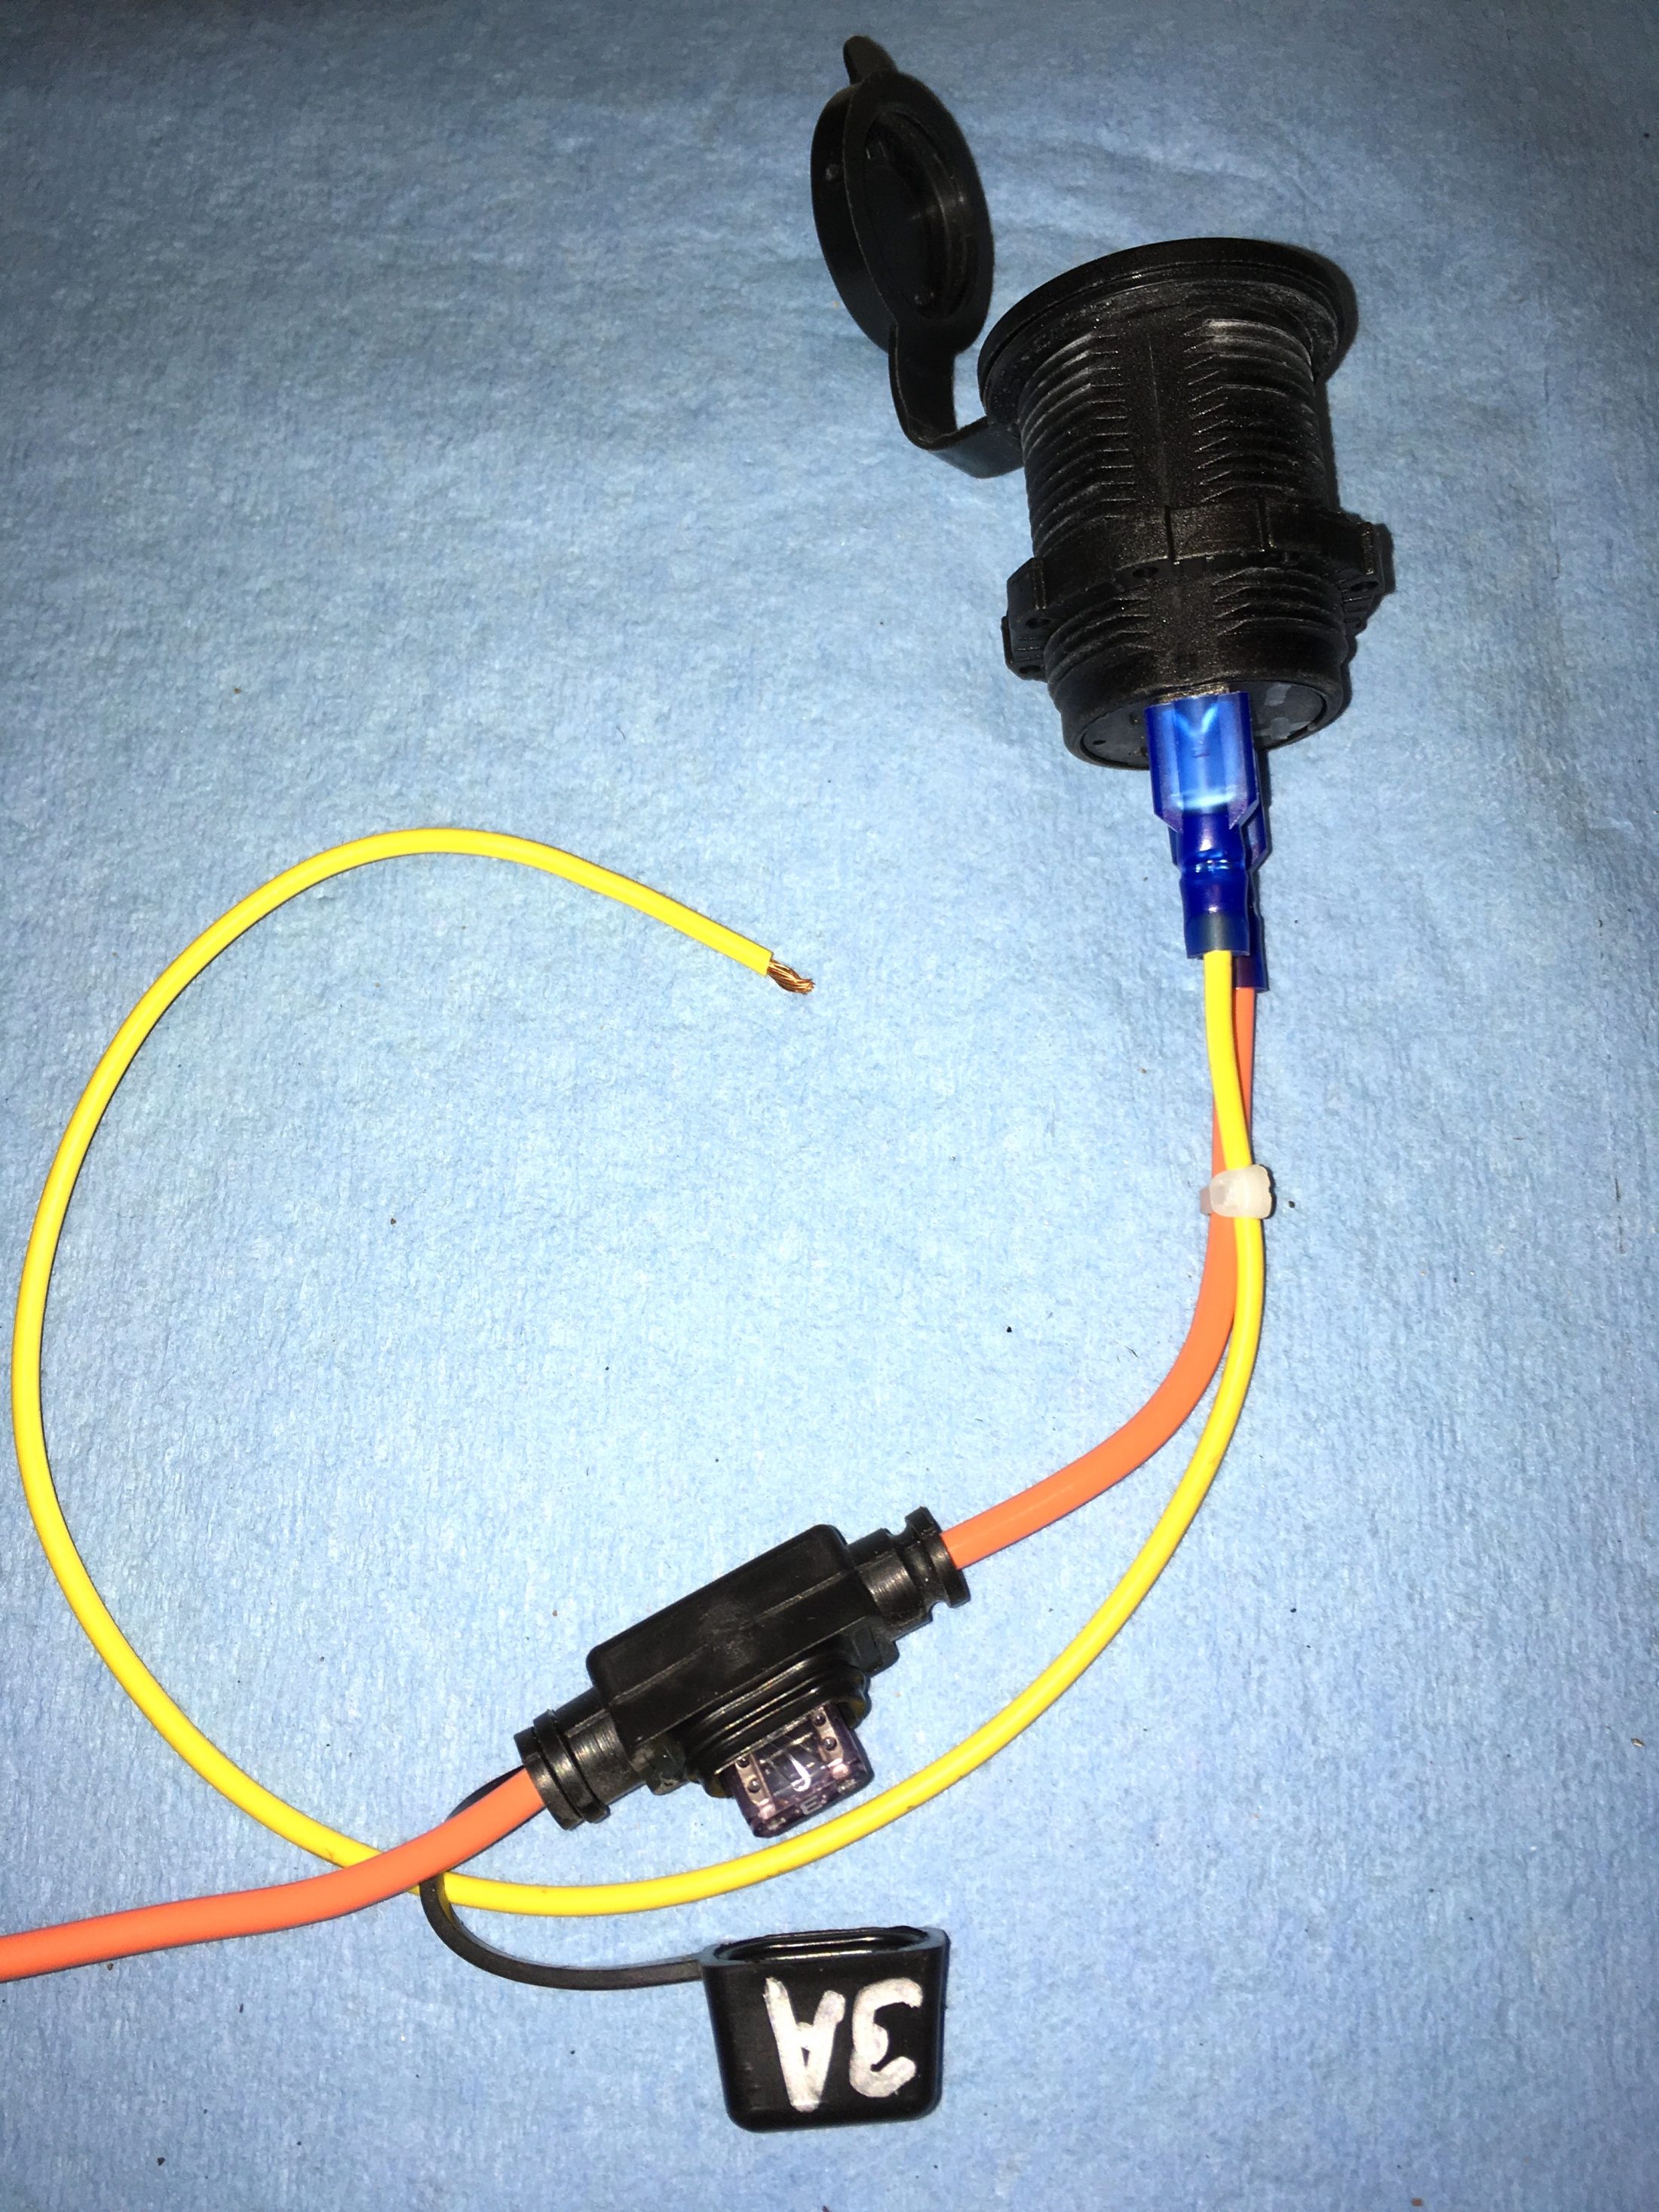
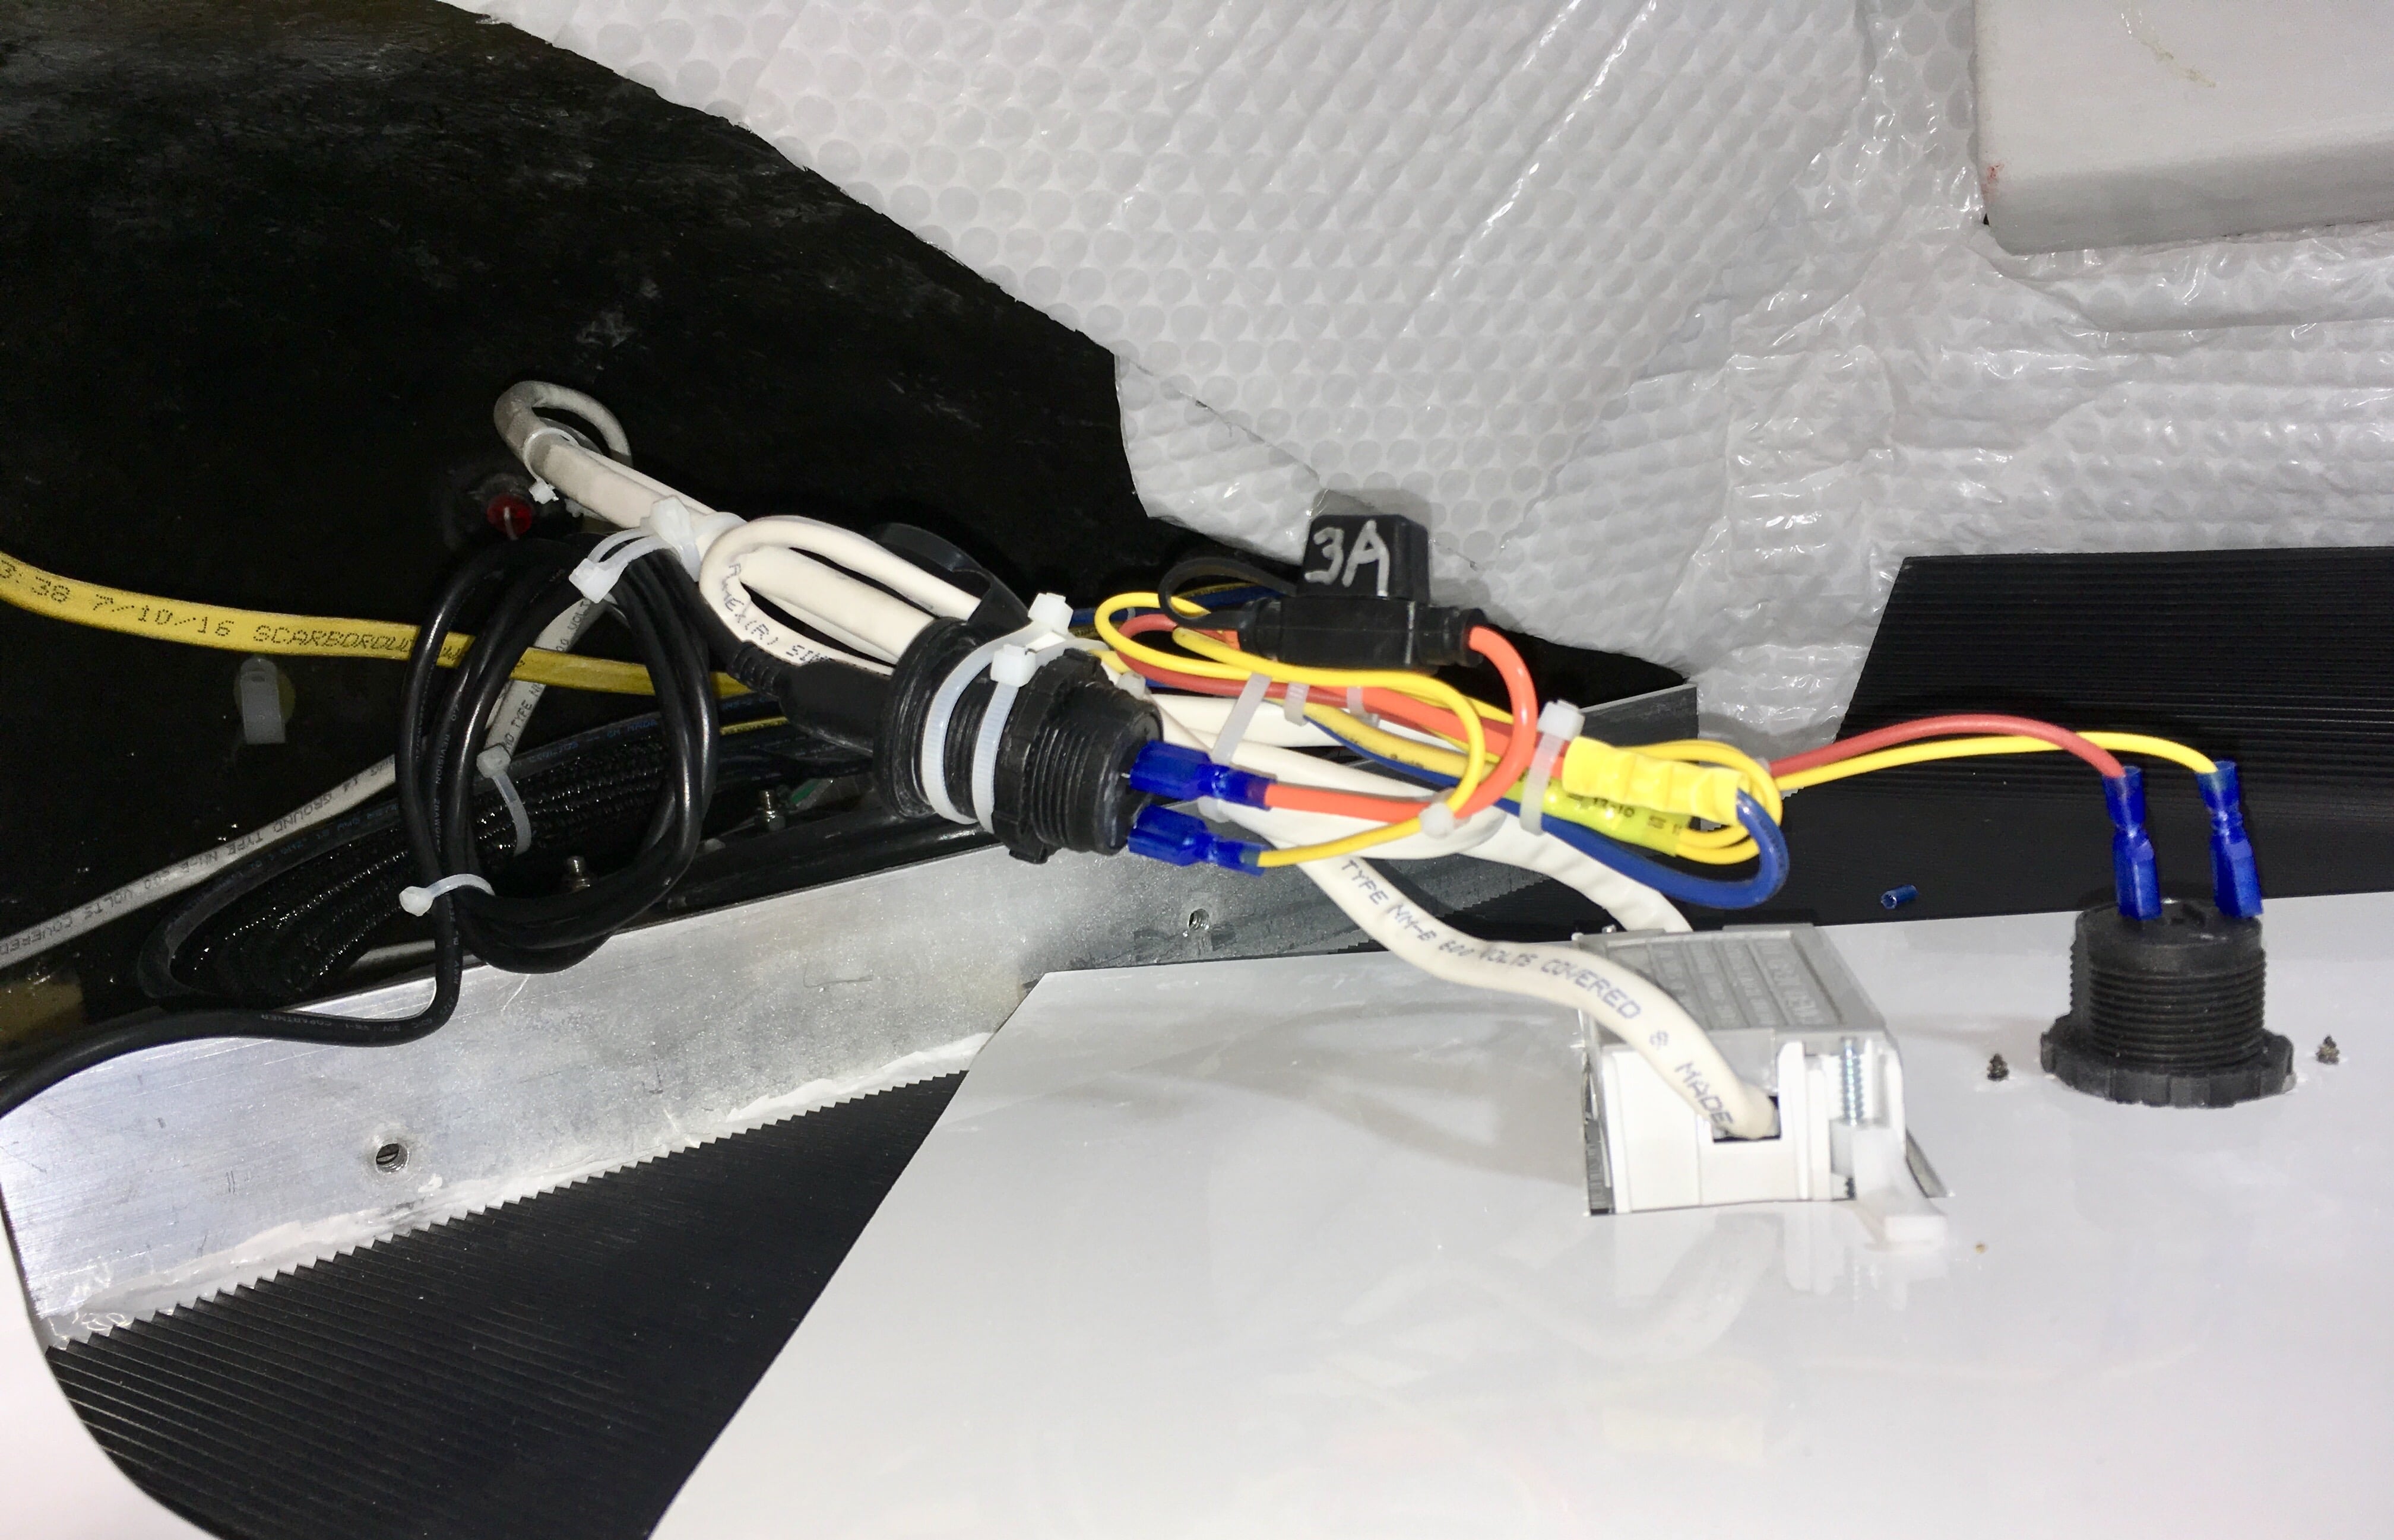
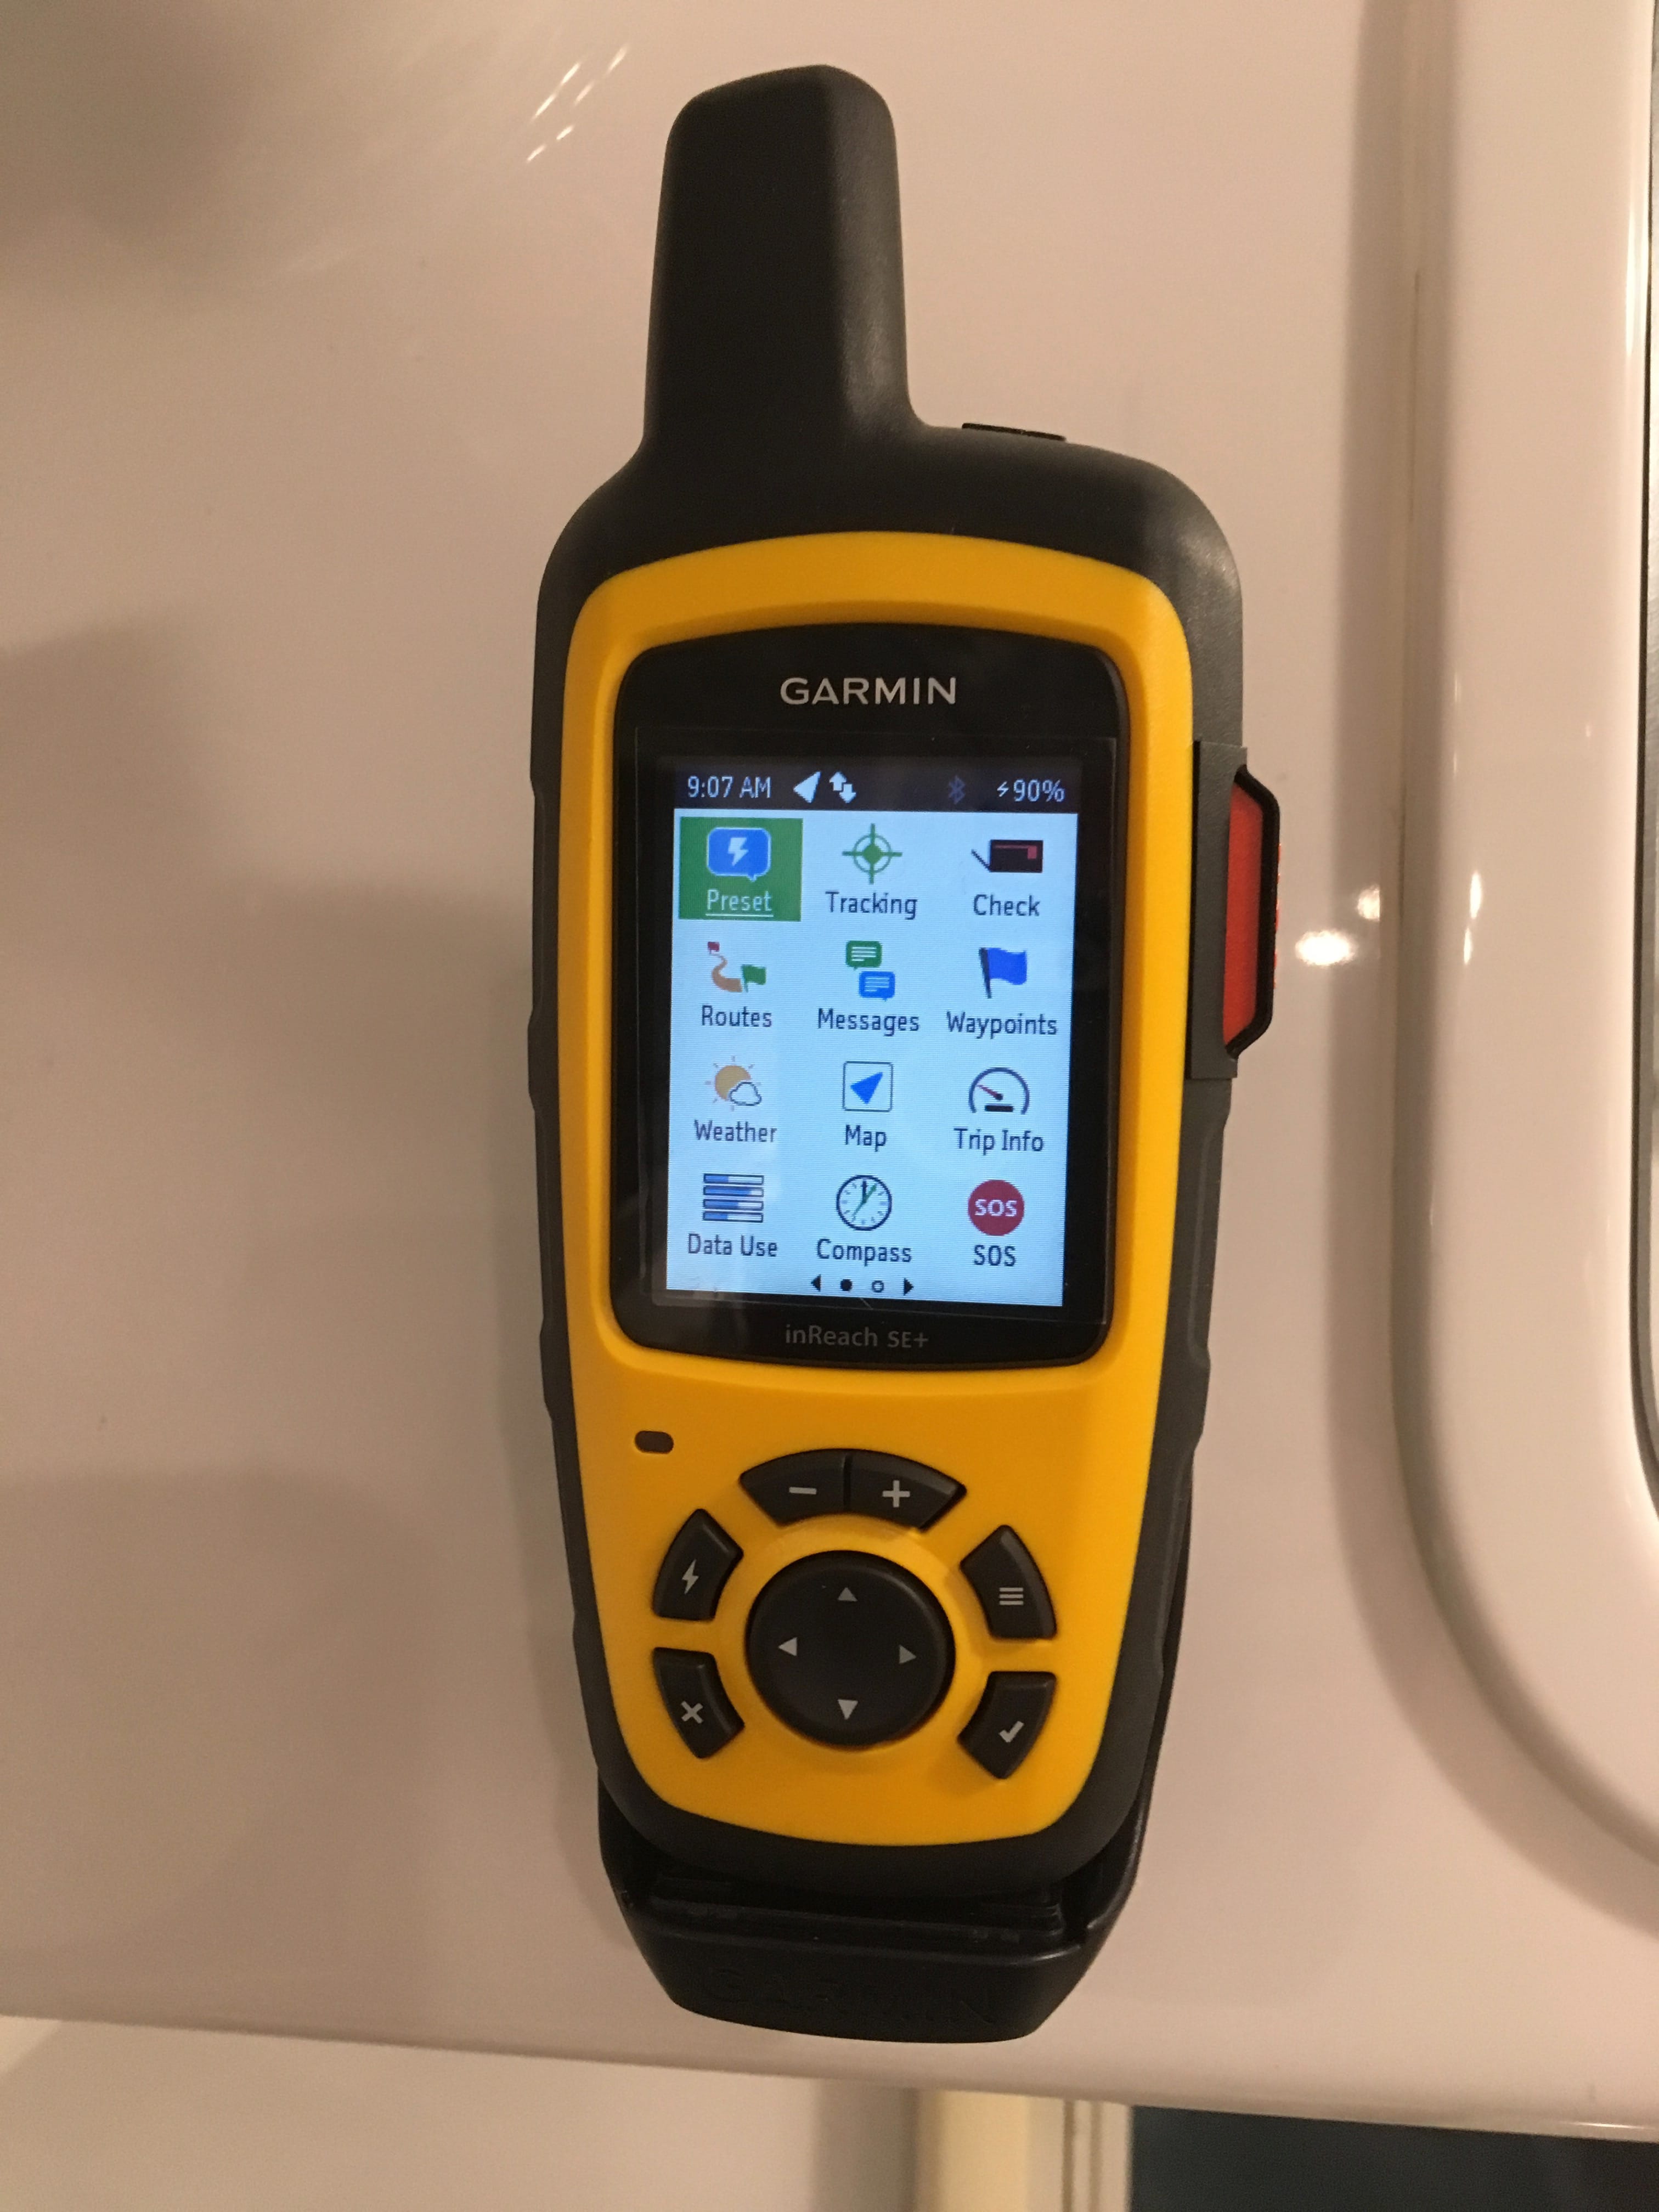
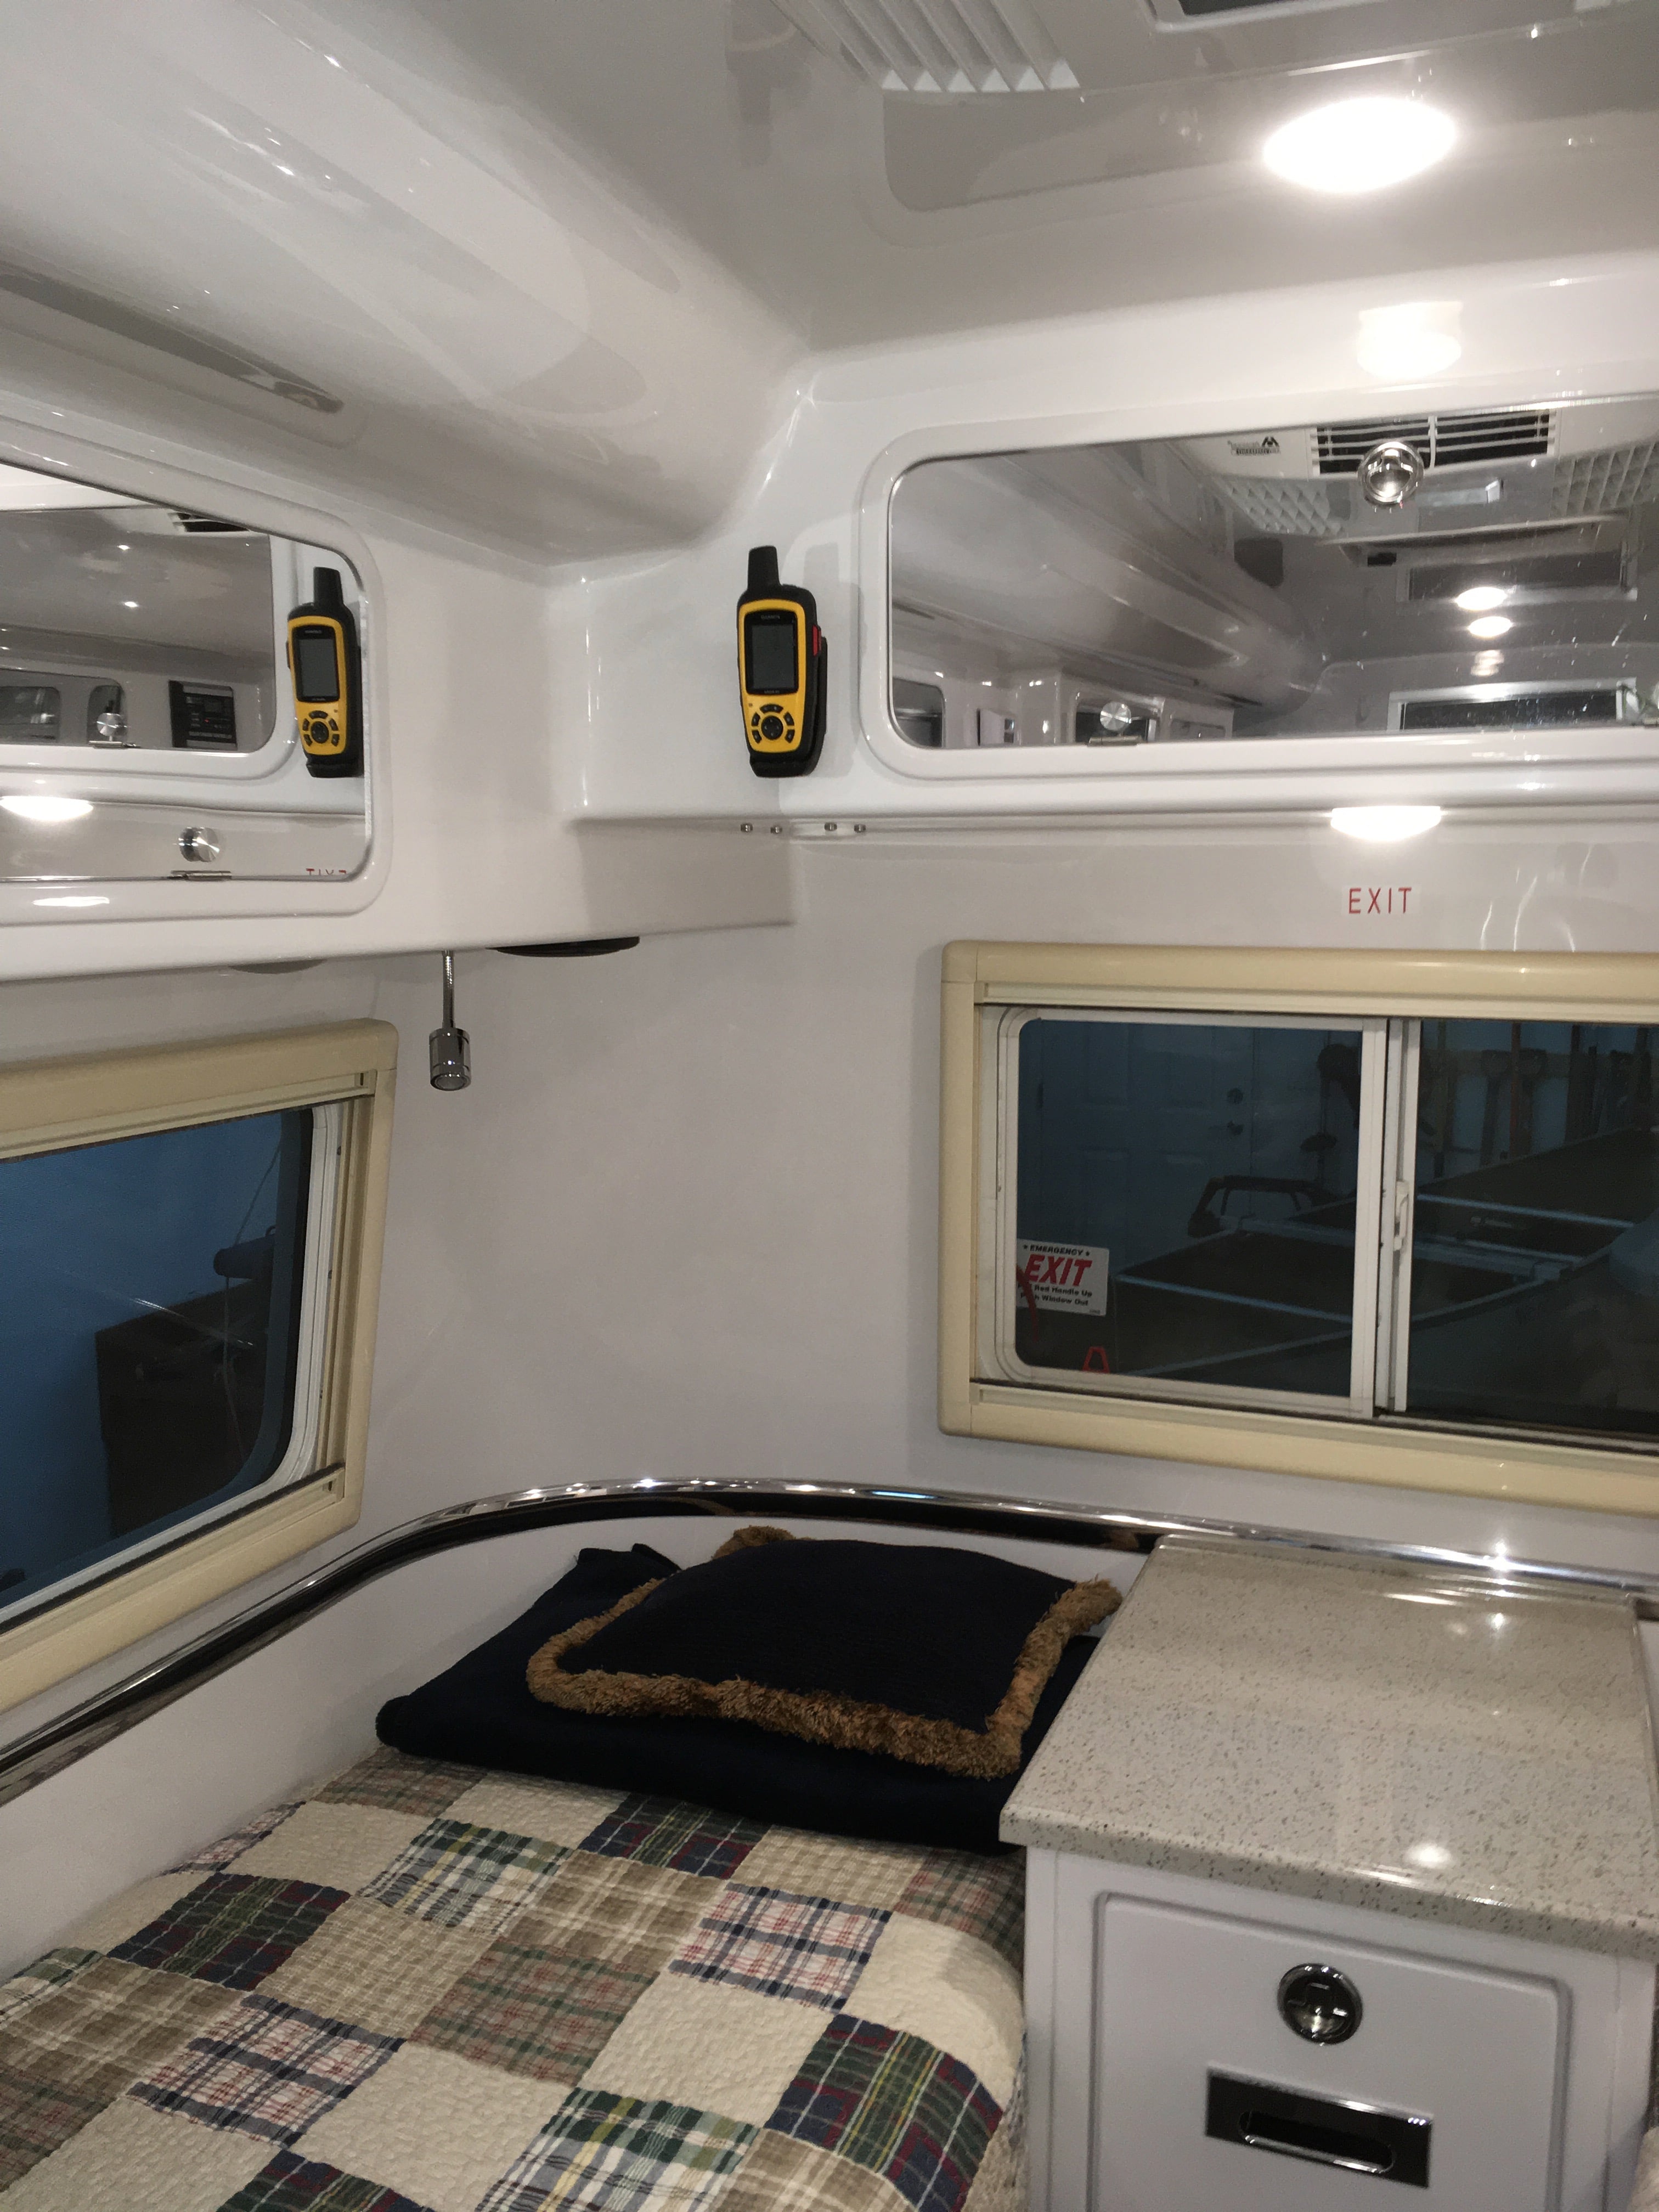
I spend a good amount of time traveling and camping way off the grid, where I have no cell signal. I have been using a SPOT ever since they came out, but I finally decided that I need more capability. The SPOT works great for continuous tracking while riding a motorcycle, but it is very crippled for sending help requests and the plan has gotten extremely expensive. I replaced it with a Garmin inReach SE+, so I can send and receive short text messages, send an SOS, and actually communicate real time with rescuers. It also links to the Garmin Earthmate app on my iPhone so I can use the phone to do stuff, such as access my Contacts. It provides great peace of mind and the basic plan is very affordable, and WAY less expensive than any sat phone. I am on the Freedom plan, and can suspend my monthly coverage if I want to , with no penalties. No mandatory annual subscription! I discovered that the inReach doesn't need to be outside, the fiberglass roof of the Ollie is completely transparent to its signals. I do think that the major appliances and pots and pans might get in the way, so I decided to install the powered mount at the back corner where it is easy to see and reach, and it can communicate from that location while it is charging. Normally a message will go out in under a minute, but sometimes it may be as long as ten. I needed clearance on top to lift the unit up and out of the cradle, and it needed to be positioned where I could route the USB charging cord into the upper rear compartment, so I could power a USB charger from the existing 12v round charger circuit... just to the left of the cabinet door frame looked ideal. I made an adapter plate from thick aluminum and screwed it in place using 6-32 stainless hardware: I taped a steel ruler to the frame, to act as an alignment jig. I was going to be spending hours looking at the mount from my bed and did not want it to be crooked! (Like my wonky rear window...) After adding 3M VHB tape, I stuck it in place: I took the factory installed Blue Sea USB low power charger from its location above the curbside bed, and wired it up: And spliced it into the existing 12 v system; That circuit stays hot all the time, and the inReach will charge whenever placed in the holder. It is easy to see from the galley or either bed (we sleep head to front) and it is easy to grab, and unsnaps from the mount with a flick of the safety catch. I have ordered an UNLIT USB high output dual charger for the empty hole over my bed. That will be a future thread. https://smile.amazon.com/gp/product/B01MRZ9ATL/ref=oh_aui_detailpage_o02_s00?ie=UTF8&psc=1 https://smile.amazon.com/gp/product/B01N2YKO3L/ref=oh_aui_detailpage_o02_s00?ie=UTF8&psc=1 John Davies Spokane WA
1 point
-
John, Let's just start off with WOW! The ability of Oliver Owners to think through problems, come up with solutions and share them with others is amazing. I for one consider this the NUMBER ONE benefit of owning an Oliver. With great admiration and appreciation,1 point
-
A few more.
1 point
-
Some of the Oliver owners I was able to catch outside.
1 point
-
More rally pictures! [attachment file=Lodge Panorama.jpg]
1 point


































-
Recent Achievements
-

















