Leaderboard


Popular Content
Showing content with the highest reputation on 06/16/2025 in all areas
-
Here’s some observations in using the Cielo Breez Max phone app, the phone’s Bluetooth must be turned on to pair the device and Wi-Fi is initially required to operate the A/C via the app. Once the A/C is powered up and set to run at a desired mode of operation and Wi-Fi is discontinued, the A\C will continue to run as set, but changes cannot be made. However, to make changes or when it comes time to turn off the A/C Wi-Fi is once again needed. I know this based on my experience a couple weeks ago, wherein I started the A/C using the phone app while at my house in order to run the Atmos via the inverter while in transit to the COW Barn for storage. Once stowed and ready to leave, I was unable to turn off the Atmos and found it necessary to use my wife’s cell hotspot in order to do so. Fast forward to yesterday, when I activated a recently acquired Starlink Mini and went back to the COW Barn to check on the Oliver and perform some tests. To no surprise, the SLM worked flawlessly, as well as the Cielo/Almos. It wasn’t a terribly hot day for Texas due to pending inclement weather, outside temp was 88°/relative humidity 77%; the Oliver registered 89°/72%. Yep, the dehumidifier was shutdown with a full reservoir and thus, the high humidity condition within! Not to worry, the SLM/Cielo phone app started and ran the Atmos for 45 minutes, at which time it powered off on Comfy Mode at the set temp of 75°/humidity was 45%. In approximately 20 minutes, the Atmos turned back on when the temp rose to 77°/humidity was 47%. It then ran 17 minutes before total shutdown again, humidity was 45%; no humidity spike whatsoever, YAHOO! Loving the Cielo Breez Max and the SLM is proving to be a worthy addition as well, as many of you already know. Hopefully other owners will try out the Cielo Breez Max on their respective A/Cs, and report on subsequent findings and experiences.3 points
-
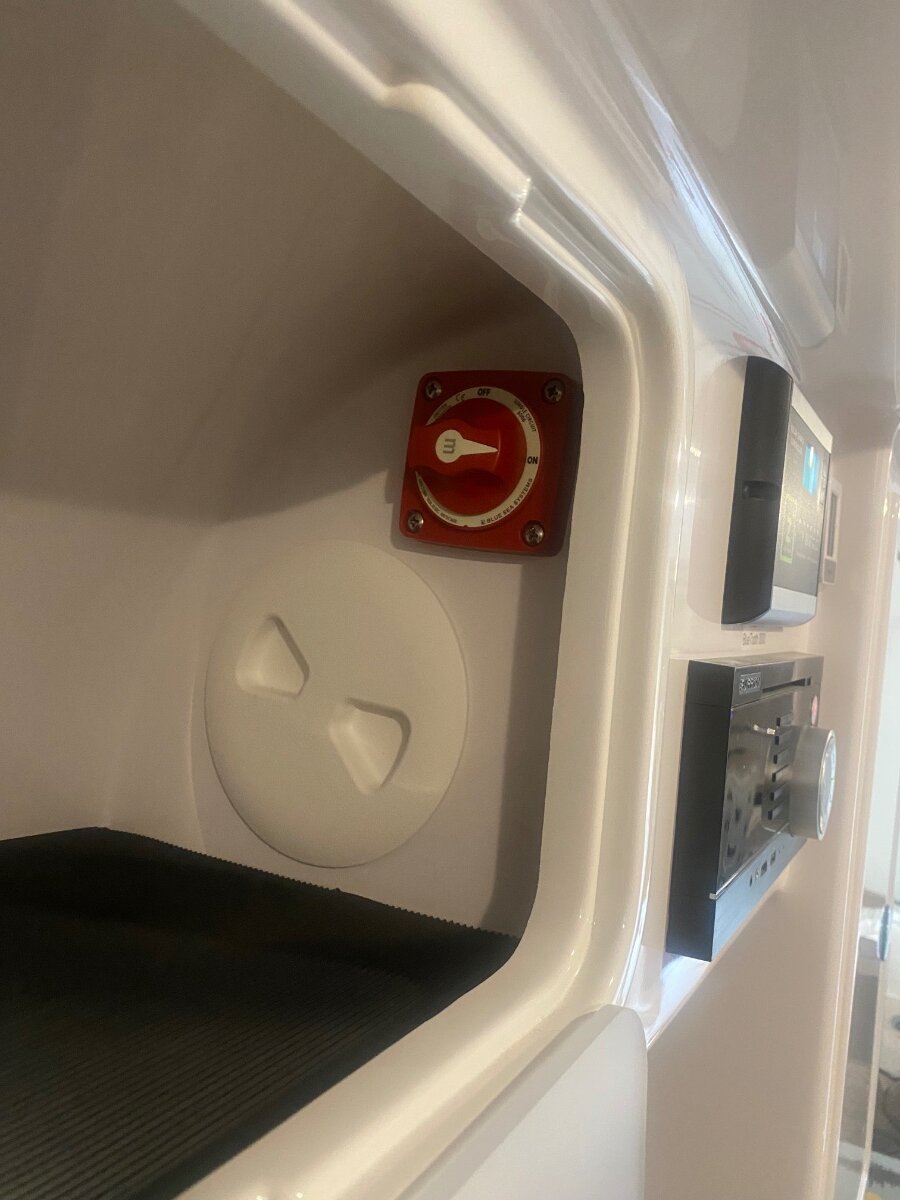
Tony and Rhonda, From your photo, it looks like you removed the round marine hatch to see the back of the ZAMP charger. My solar disconnect switch is mounted right next to that hatch. From what I can see from your wiring, there isn’t one there. This would be an easy, and recommended, install. A higher priority than a master battery switch. Let me know if you need a wiring sketch. Now on the other hand, I’m of a different opinion than some of the good folks about main battery switches. I think they're unnecessary. The only reason you’d need one is to disconnect the parasite loads while the trailer is in storage. But you can do that by simply switching-off the main DC panel circuit breaker. It's probably that one there in your picture. Just flip it off and see if it kills the lights. I did some measurements of the Oliver's parasite loads that you might find interesting. Individually they were mere milli amp values, but collectively they added up to almost 1/2 an amp. That could run your 300AH battery down in about a month! So you'd definitely want to open that breaker when storing. I posted those values in a post by @Dave and Kimberly Battery depletion rate 3% or more per day... with EVERYTHING off? https://olivertraveltrailers.com/forums/topic/10258-battery-depletion-rate-3-or-more-per-day-with-everything-off/ Cheers! Geoff3 points
-
Sorry guys. I forgot to post back up I replaced with the black and left an additional 3/4"-1" to push in. The cutters Patriot shared the link on were awesome. I did the work prior to the Rally.2 points
-
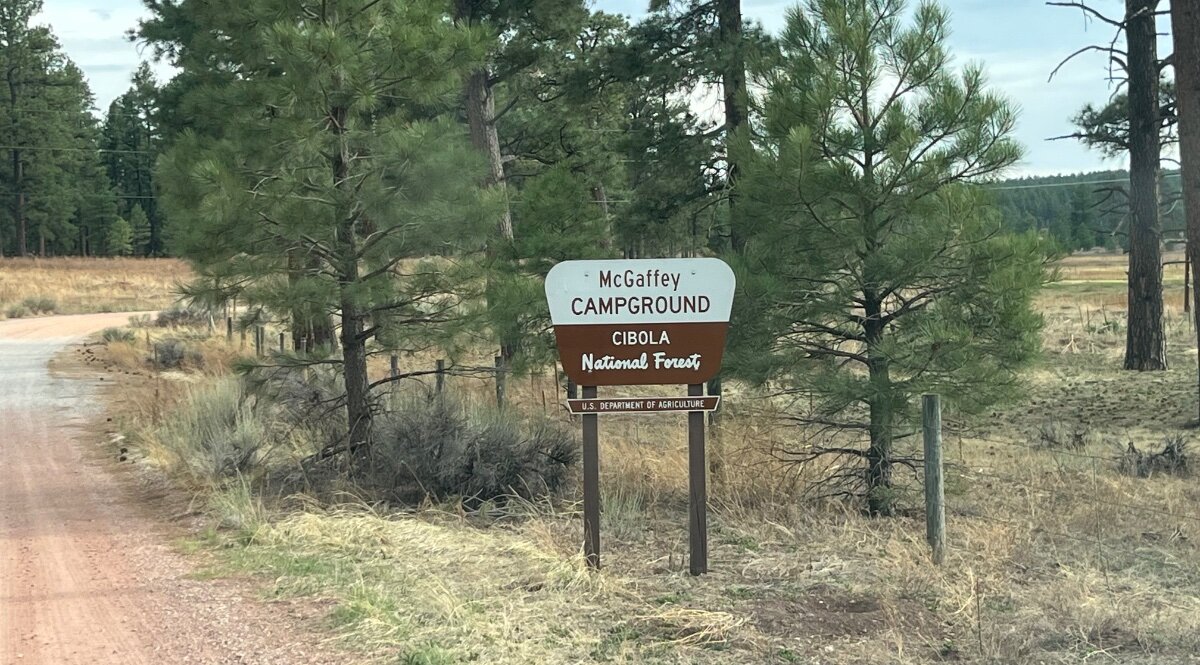
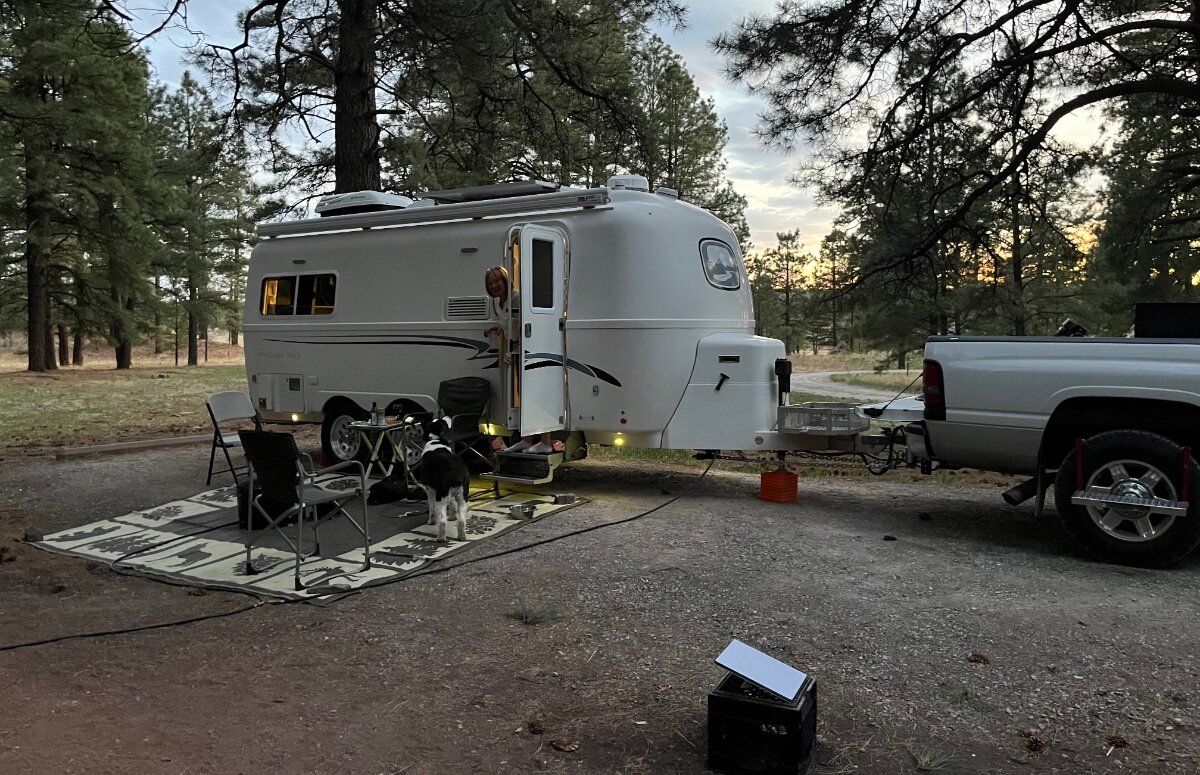
This will be a first for us, though common to many of you who have more time for travel. I have 6 weeks off work, for our personal longest camping trip ever. I was inspired by a post our friend Steve @ScubaRx made last year where wrote that he and Tali often travel across country without reservations! This is difficult for the Project Manager in me, but should make for a spontaneous and exciting adventure! First stop just 5 hours from home, we’ll stay 2 nights up at 7760 ft in this beautiful McGaffey Campground SE of Gallup NM.
 1 point
 -
If circuit breaker access is an issue as jd points out, then just add a second power panel switch in a more accessible location. It could be a breaker or a mini battery switch mounted just about anywhere. Under the dinette seat would be ideal! You could even put it in the battery compartment if you need outdoor access. It’s a relatively low amperage circuit compared to the main battery, and the wire is already oversized, so adding a little more wire length won’t be a problem. I took a photo of the solar switch location, it’s a Blue Sea No. 6006. Amazon has them for under $25. This would be a good choice for a power panel switch too. For wiring the solar switch, just remove the positive input wire from the ZAMP charger and terminate it the input terminal on the switch. Then add a short jumper wire from the switch output to the ZAMP input. Don’t use the typical hardware store construction wire, get the more flexible automotive wire. Mine has enough extra wire stuffed in that space that I could cut a piece off for the jumper. If you want to add a new switch to shut off the power panel, then just remove the panel positive feed wire and terminate it to the input on the switch. Then add a jumper from the switch output back to the panel. Hope this is useful for you. Cheers!, Geoff
1 point
-
Here's some stock Tundra HP/Torque differences. 2006 Tundra 4.7L: 271HP@ 5400RPM 313 FT/LBS @ 3400RPM 2020 Tundra 5.7L: 381HP @ 5600RPM 401FT/LBs torque @ 3600RPM 2022 Tundra 3.4L twin turbo/non-hybrid: 389HP @ 5200 RPM 479 FT/LBS @ 2400 RPM I have not towed with the 4.7L engine, it has lower HP/Torque compared to the two later Tundra engines. The 5.7L and 3.4L Tundra towed Ollie fine for us. https://www.autopadre.com/horsepower-and-torque/toyota-tundra1 point
-
Look here to see what others are using.1 point
-
1 point
-
Definitely. The two connecting bolts are stout and allow for more than a half inch unless you were to mount it in a panel. Then it would depend on mount and panel thickness. Here is a link to the one I used. The product photos show the measurments and a diagram of possible panel mounting...or not. https://www.amazon.com/dp/B00558LSJE?ref=ppx_yo2ov_dt_b_fed_asin_title&th=1 Mine does this as well when it detects just a bit of light but it's not enough to have any charge function. The buzzing sound on mine is a very faint kind-of hum. As soon as there is more light, it fully wakes-up and acts normal. I've never considered this to be a problem. If I'm wrong, someone please correct me.... I don't have any disconnect switch to isolate the solar panels. The only disconnect switch I'm aware of in my 2020 LEII is the one I installed at the batteries.1 point
-
@jd1923 When I opened the door on the storage bay and went inside the trailer, the Zamp was not happy. It was making a buzzing sound and all the lights were on/flashing. I covered the solar panels with a moving blanket and checked the Zamp again and it was silent and the lights were off. If no one on the forums can answer this, I'll call Zamp or Oliver. Thanks ,Tony1 point
-
Do that. We have a simple 1" drip edge on the curbside and do not get streaks. Nothing on the streetside, it gets streak. If I was to ever get our Oliver polished and waxed or otherwise coated, I would put new drip edge on BOTH sides.1 point
-
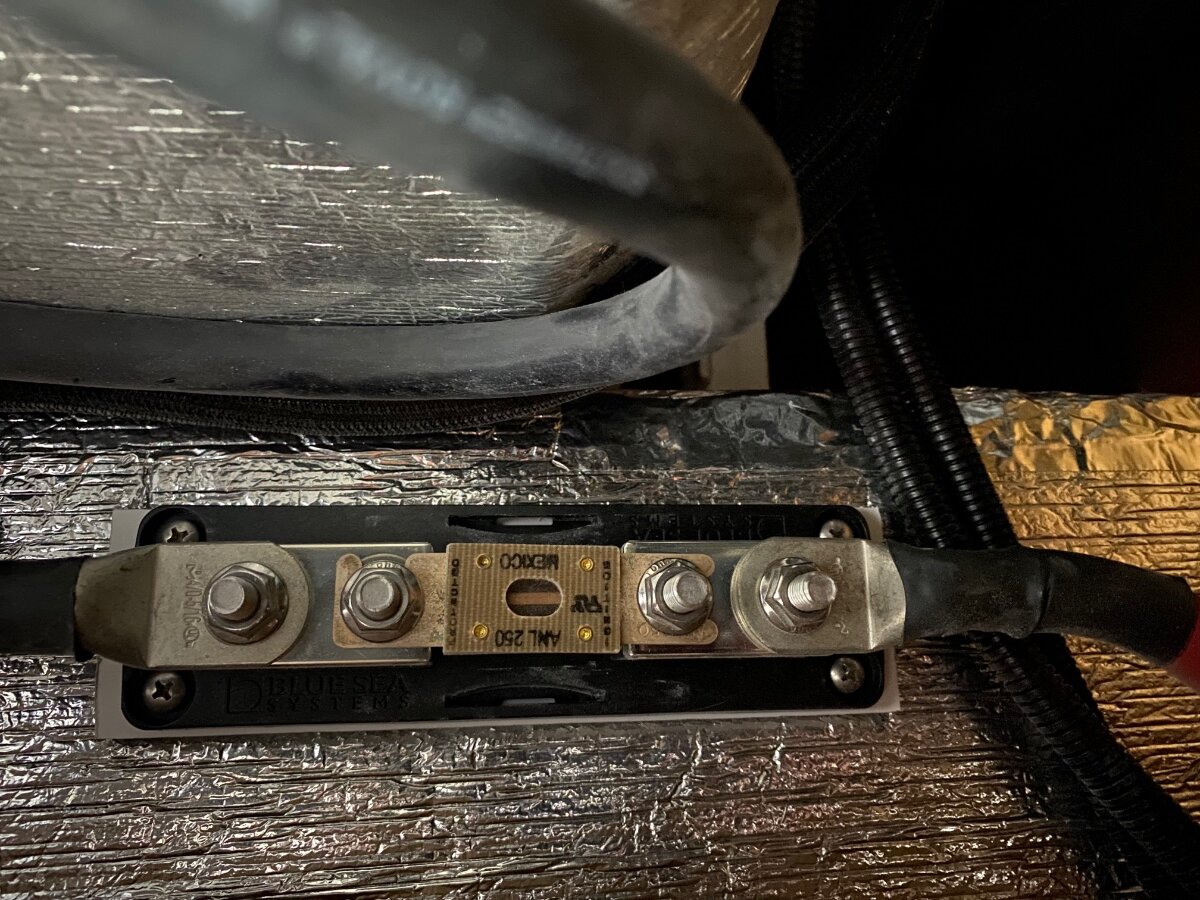
I found this while poking around my 2017 under the dinette seat It’s on the positive cable
1 point
-
I think what @jd1923 meant with the word "fuse" was that the positive side is an always-on direct connection (not that there was a fuse breaker installed). I didn't install any new fuse device. My install was intended to be as simple as possible. The use of the kill-switch on the negative main accomplished two things for me - 1. allows me to cut all power and isolate the batteries and 2. my existing negative cable that went through the wall of the trailer to the inverter was too short to reach to the front battery negative connector because it was previously connected at the rear on my four AGM batteries. --- so using the switch allowed me to re-use a short cable as an extension to reach. It also allowed another negative connection point as Oliver wired my trailer with a bunch of wire leads all the way to the battery terminals rather than using a busbar. This avoided stacking all the wire terminals on one negative battery post. (The blue seas switch has large, long terminal bolts that accomodate) JD and others have cleaned up the wiring by installing busbars. I wasn't completely confident altering this and didn't really want to take the time to figure out, so I just re-attached all the wires in the battery bay. If your goal is simply to install a kill-switch. Installing it in the negative main line somewhere is probably what you need. Others here are much more savy at electrical than me, including JD, so they may have be able to give more specific direction... Hope that helps...1 point
-
My intent was to try leaving it off, but after seeing how badly the curb side of the trailer streaks, I’m thinking now that I will install the new seal I purchased. The problem - as I see it - is that even with the seal removed, the awning creates a narrow gap that does catch tree debris. These are held here and create the streaks. The street side - in our case with no awning - has nothing to slow down the flow of water or trap debris, so everything washes right off. I was (un) pleasantly surprised to discover that after I removed the seal, cleaned off the whole roof and around the awning brackets, and cleaned and buffed away the streaks - it rained that night - bringing down tree litter - and re-streaked the curb side even worse than it was before!0 points


-
Recent Achievements
-


")


")


")

