Leaderboard


Popular Content
Showing content with the highest reputation on 02/16/2026 in Posts
-
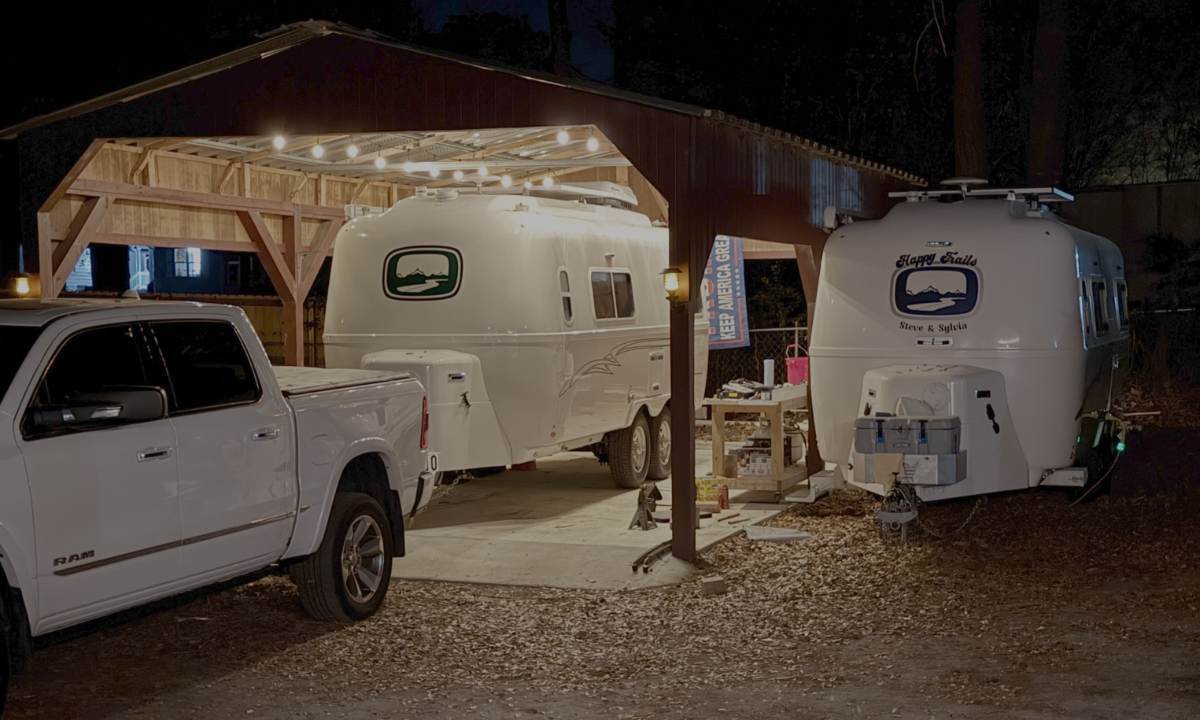
Good work, Chris. I know you will be happy towing your next time out! 😂 I'm guessing you did this at Steve's since both Olivers are there. GREAT carport with concrete pad, I'm jealous! We have a 3/4 acre parcel, but I can't figure out a spot 25 ft off property lines for the city, that's easy to back into, and is level. I'll have to keep hiding our Oliver behind the Tuff Shed where it partially blocks the southern exposure. Yeah, now 200 Alcan-upgraded Olivers! Welcome to the club! 😎2 points
-
Yes - the reason is that if you choose to use the onboard jack OR "legos" or "Andersen" type ramps, some type of device that tells you when you are level will be necessary. Just because Oliver is recommending to NOT use the jacks (for leveling) does not negate the fact that you still need to level. Bill1 point
-
Pro tip/field experience -make sure that when the techs do the install that they take extra care to make sure there are no kinks in condensation lines that connect the Truma to the OEM drain lines. I made sure to gently remind the installers of this and have never had any issues with our lines not kinked or draining. There were a few earlier installs that had this issue and eventually had to be corrected so it’s worthy of mention. It’s nice to use the OEM factory drain lines to keep water from draining onto the roof. It just makes for a nice clean OEM install and keeps your roof condensation free and ceramic coating or wax job looking great I can attest to the importance of no kink in the condensate lines. But with some minimal modification you really only need one to drain both cups.1 point
-
Well, thanks to my buddy Steve, we had a good time putting on the new springs at a great location. He's paying me back for helping him put his springs on. Based off what Lew at Alcan said, this is around 200 Oliver's receiving the springs. Pretty good. Once the weather clears I'll do the first 50 mile ride, come back, and retorque the U-Bolt nuts again to 90 pounds. Oh, and between two of you (us), do not lose your 7/8 inch deep impact socket, and do not forget to pick one up before starting the job. LOL Or, driving to the store to get one will delay you. LOL Helpful tools and hints: The new Ryobi impact drill, grease gun, and 4x4 hydraulic jack were all amazing - made things easy. Best to also have two small bottle jacks, 2x" & 4x" wood for cribbing. Not to mention PB Blaster, or equivalent, for the old U-bolts nuts, and small wire brush to clean off those old U-bolt threads before attempting to remove the nuts. One nut got bound up and I had to use old muscles and extra leverage to get the nut off. (Fun times). LOL
 1 point
 -
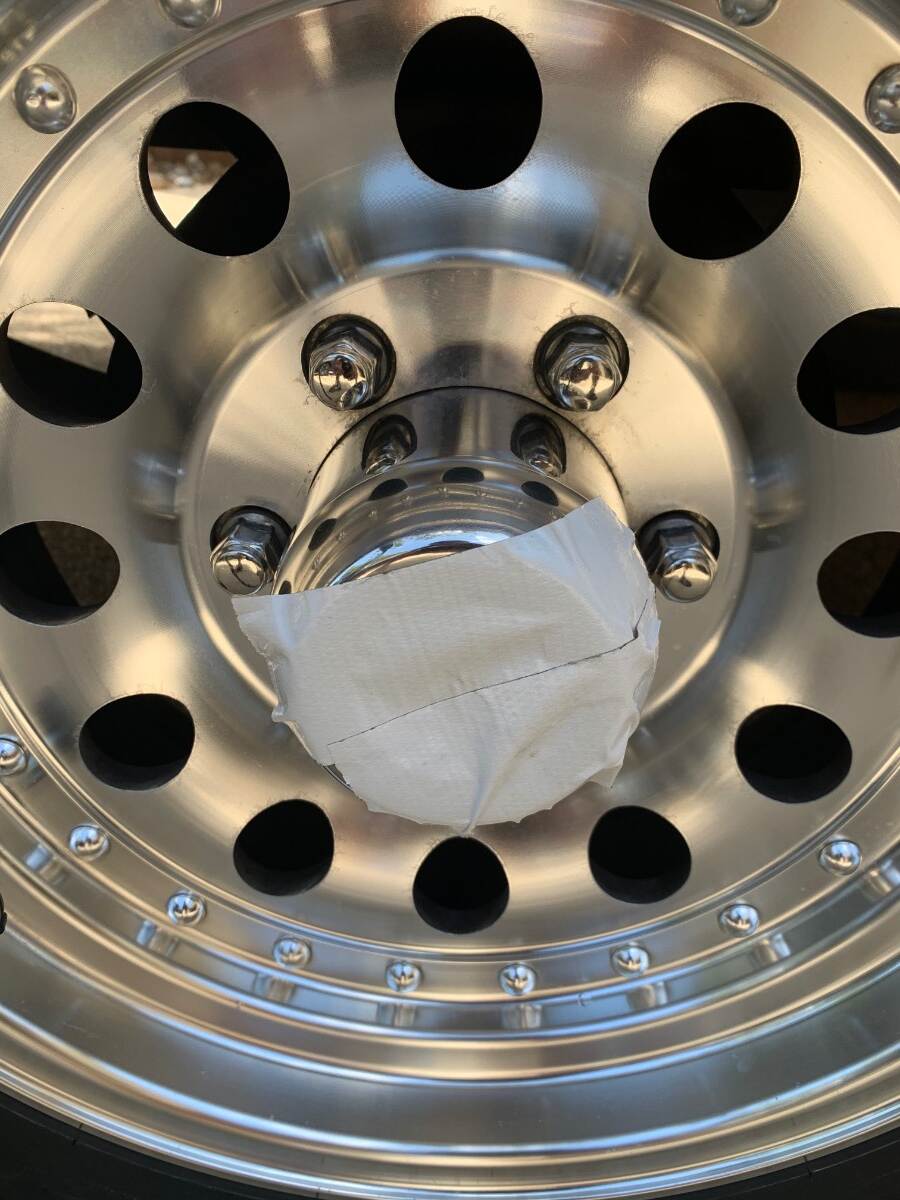
Here’s an improvised cover that anyone can make when out on the road….
1 point
-
The shorter your jacks, the more stable your trailer will be. We use the round Andersen Jack Stands. The Jack Stands reduce the jack extension by approximately 7"+.1 point
-
Hey John, I can’t say they add to further stabilization of the Oliver. They do help to not leave a foot print on hot black top at campsites. And as far as grounding from any type of lightning hit I have no idea. I think when I bought ours they offered a 2 pack and then I bought a single. I agree not cheap from what they are made which I think is recycled tires? Hope all is going well at the Q and hello to Wendy from us!1 point
-
Hi David...hope ya'll are well. We're n Quartzsite at the moment. Do these pads add any stabilization against rocking (IYO)? They do not sell in 3 packs but will sell individually and that makes them a little more expensive than the discounted 4 pack of $121.45 Thanks :) John1 point
-
When parking our Elite II on a crowned roadway, we use camper levelers for the jack, like those available through the link below, but upside down. We put the curved side down, with the larger end toward the curb, to create a fairly level platform for the jack. Ours came as a set of two. We use one red/black pair to raise one wheel on the curb side, and the other pair, inverted, under the jack on that side. https://www.lowes.com/pd/VEVOR-Camper-Levelers-2-Pcs-RV-Leveling-Blocks-up-to-8818-5lbs-Camper-Wheel-Chocks-Max-4in-Leveling-Height-Heavy-Duty-Curved-Levelers-RV-Camper-Leveler-Kit-with-Anti-Slip-Mat-Carrying-Bag-Level/7519497 The Snap Pads increase the surface area of the jack foot plate, so it is less likely to slip off a support block.1 point
-
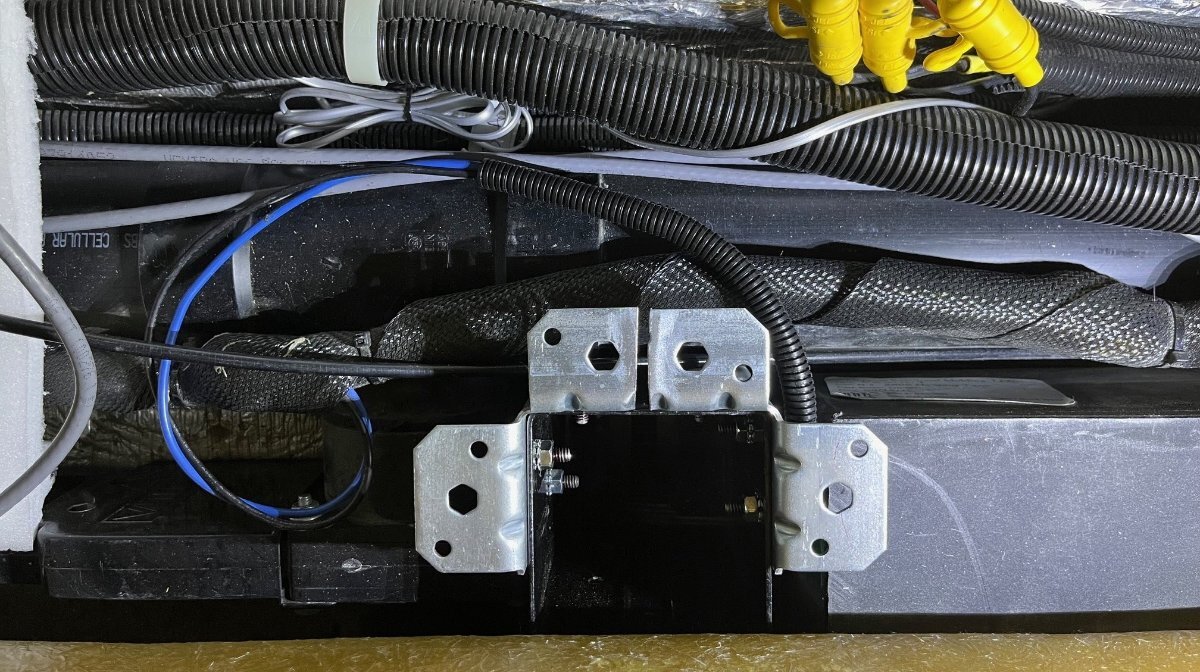
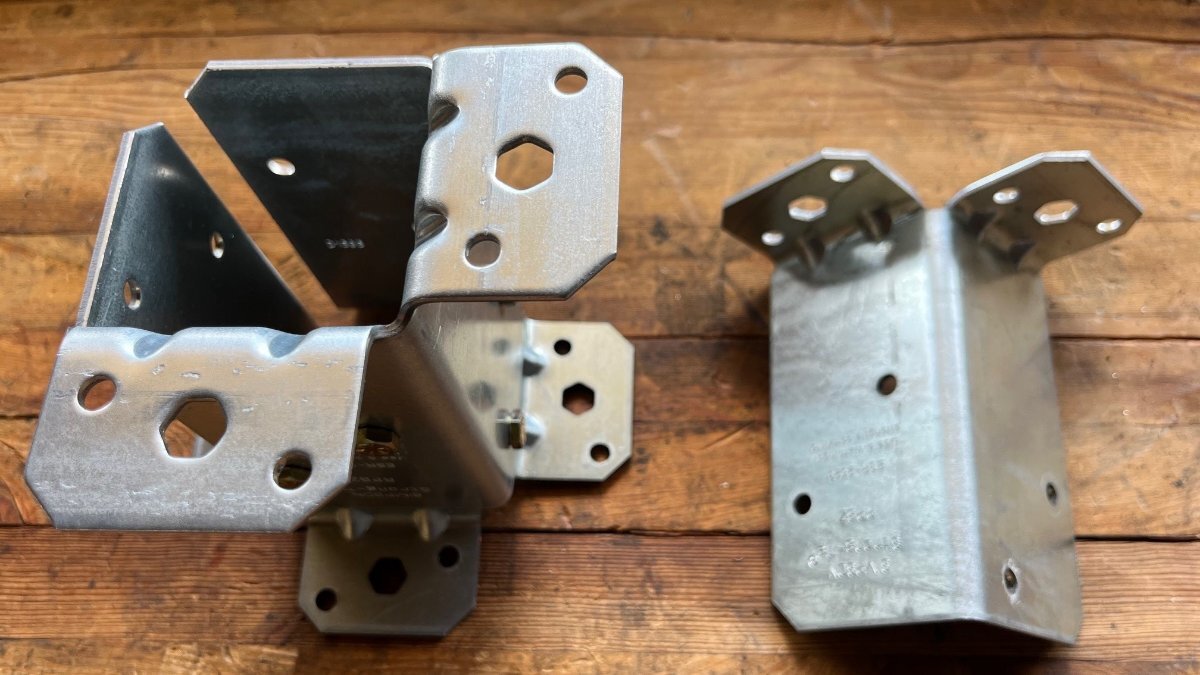
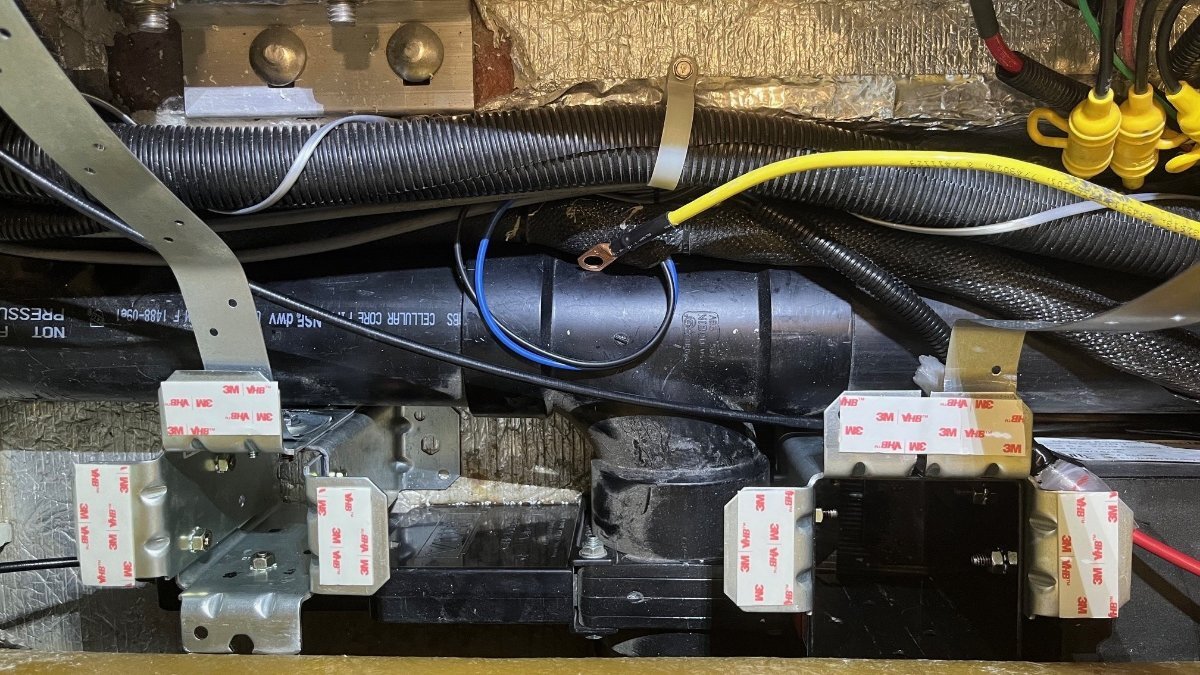
Next task was to build a platform for the MP2 to lay on it’s side and strapped to the wall. I purchased 4x4 post mounts and other Simpsom ties until it all came together. Notice the open area in the center of the first picture, rubber mat floor 4x4" in size. The area further back where the second mount would be would not take a 4x4 mount, closer to 3” width. The 4x4 in front just fit with one base tab cut off and the rear mount had to be inserted in the two parts pictured and bolted together in position. The rear mount as assembled was about 3/8” lower, so I added another layer of 3/8” HDPE board and the main board is 6x24” which you can see leveled in the last picture. I bolted strapping material to both bases prior to taping the shelf in place. Neither mount is bolted down since I did not want to penetrate the outer hull. Everything fits snuggly and the 42 LB weight of the MP2 (later) strapped above should hold it nicely.
1 point


-
Recent Achievements
-


")


")


