Leaderboard




Popular Content
Showing content with the highest reputation on 08/25/2026 in Posts
-
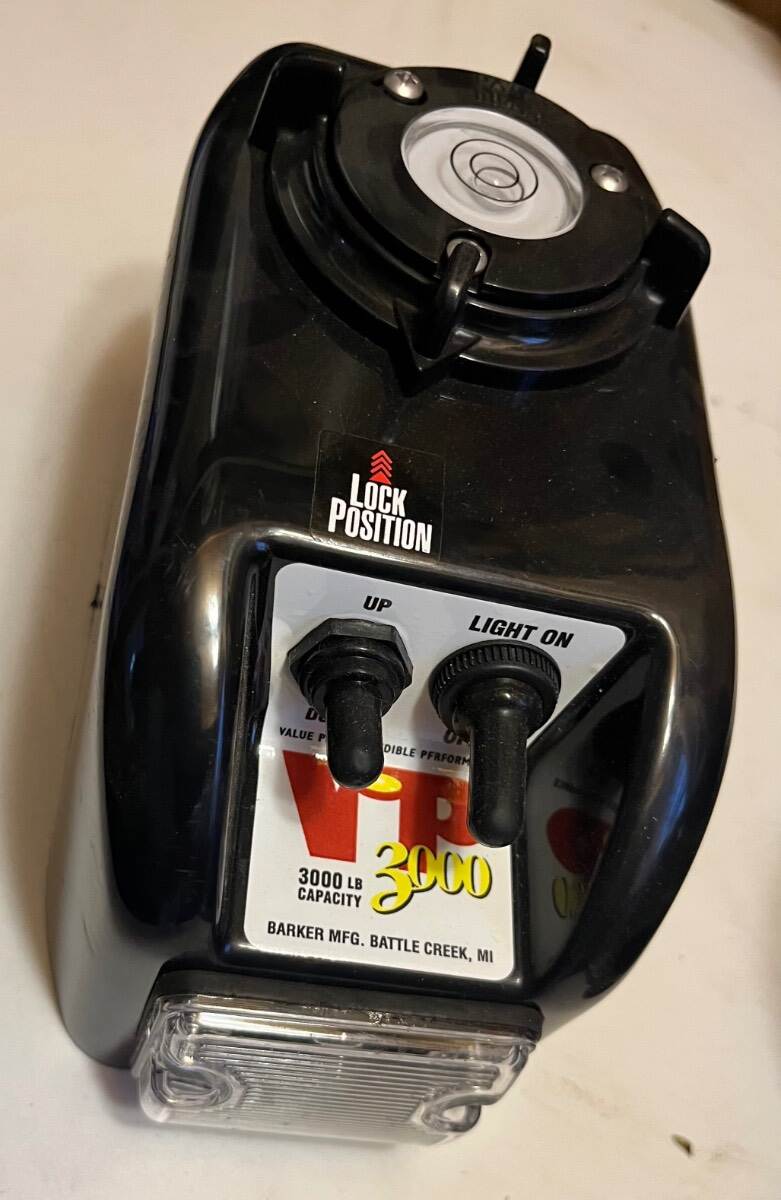
Dennis, PM me with your address and I’ll put a brand new original in the mail to you. 😎 Barker is great. I purchased two reconditioned heads for our rears and they came with new plastic covers, switches, etc. which of course you don’t need when replacing the rears. It would be my pleasure!
 3 points
 -
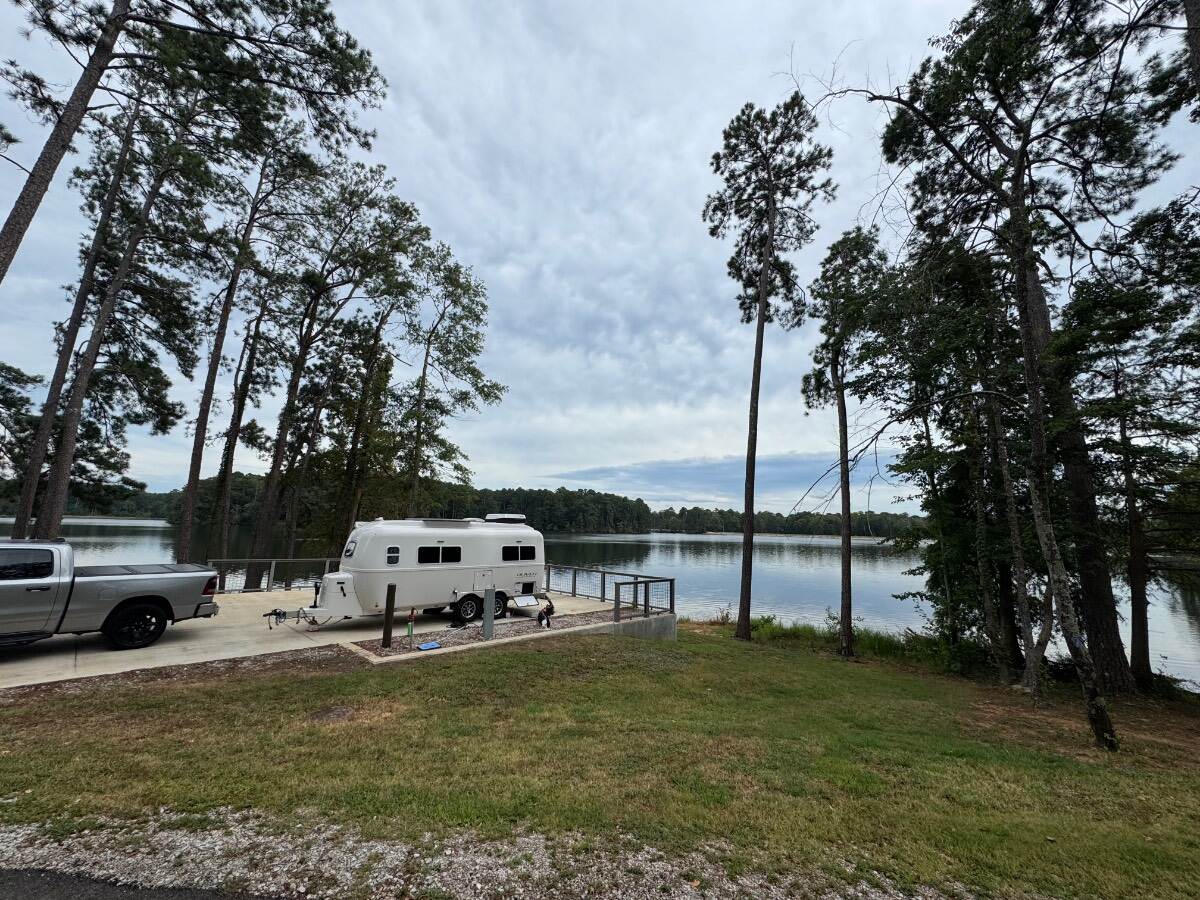
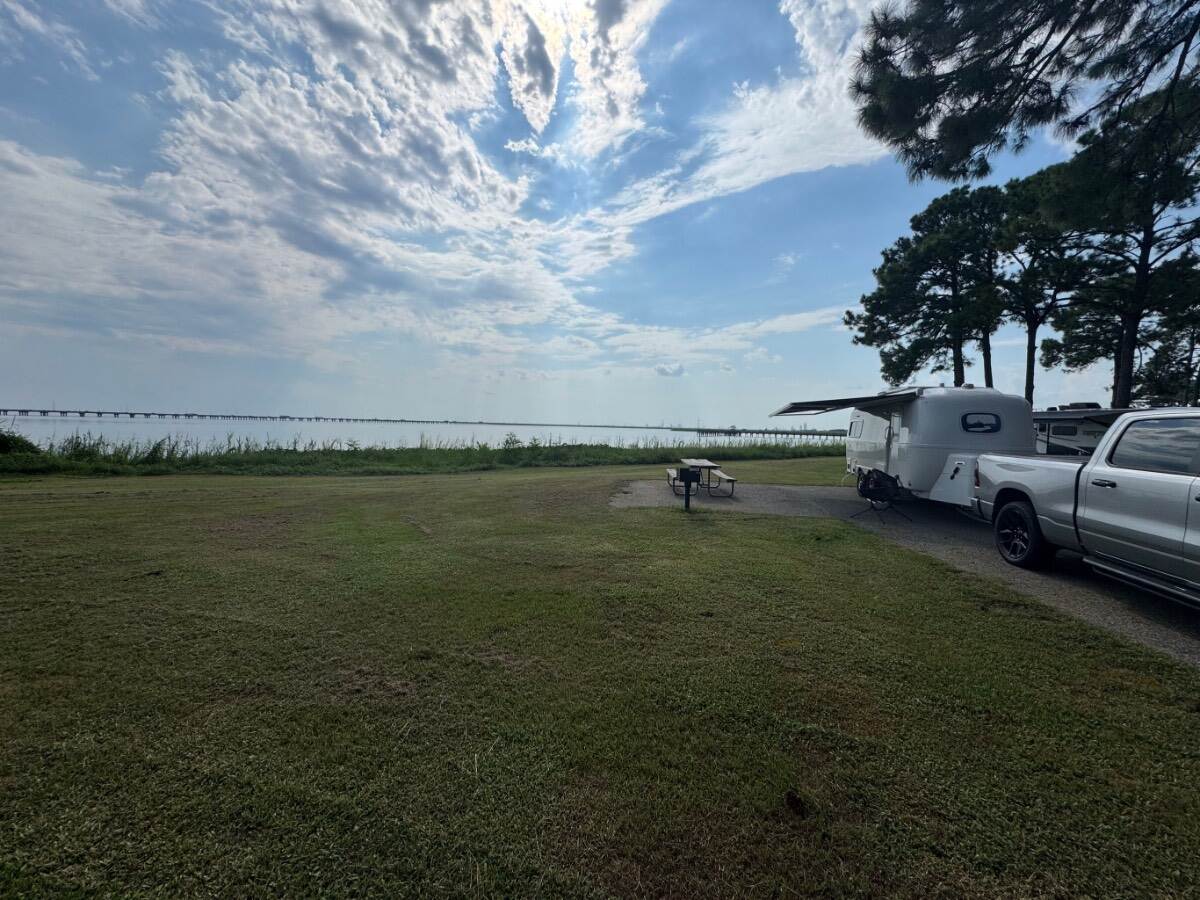
@Dennis and Melissa Meaher State Park, Alabama A sunset view from a site close to where you took yours. Mossey
2 points
-
2 points
-
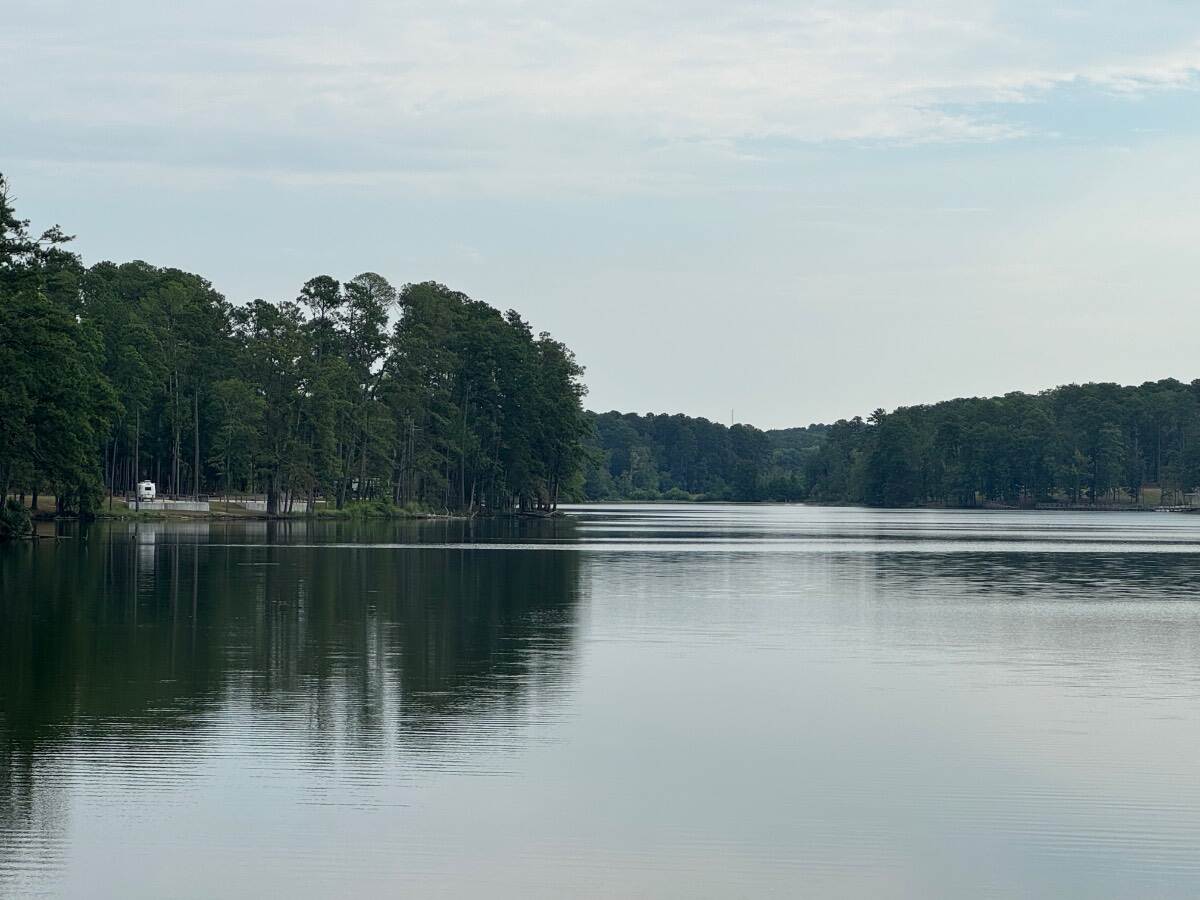
From across the lake
1 point
-
Some things I’ve found out that will be of interest, a lot of it from consulting with various AI’s which have gotten really good and more reliable than humans Trailer Cover I’ve debated getting a cover, but that’s more for the traditional trailers with leak prone seams that need protecting. Other than cost and difficulty to get on/off there’s a ‘greenhouse effect’. I’m seeing it now, I’ve got a tarp on the roof to keep morning dew off while the graphene cures. Already in the morning that inside ceiling gets hot. A cover bakes the trailer, better to graphene coat and no cover which lets moisture evaporate and radiate heat UV Protection What about preventing chalking? Hands down SiO2 without or without graphene is the best solution. Gel coat is rather porous, providing a perfect base for the coating to adhere to and it perfectly seals and prevents basically 100% UV protection. Just make sure to refresh it every few years, depending on use and climate it can last up to eight Graphene This is an additive to a regular SiO2 coating and solvent. By itself it can’t coat, but as a dopant it greatly improves the performance in many ways Which brand? Glidecoat. Originally made for marine applications it’s Elite level protection for your Oliver. Additionally its rated multi-surface, get the 30’ kit and you’ll have plenty to coat all the aluminum too, and probably much of your truck Why? Basically its the best protection for this trailer other than garaging it. Even then it’ll be easier to travel, you want to get bug guts off, droppings and sap because they eat the gelcoat. But after this treatment they just wipe off. Looks great too. And its cheaper than the alternatives. Garaging is expensive (and rare out West) and you want protection on the road anyhow. CalMark covers are near $2k and a pain, and this only requires minimal upkeep and maintenance. Total cost and tools was around $1k + sweat equity, or you can have CGI do it. Application The CGI Detailing is the best method, which is roughly Do a deep, deep clean For heavily oxidized trailers use a rotary polisher and heavy cutting compound Then (and for trailers in good condition) use an orbital polisher working in 2x2 or 3x3 squares with Inox Cutmax, four dots on a particular pad. Three passes, Wipe off Go to 6-4 polishing compound, same method IPA wipe off, two towel method Coat Lots of particular details here that are important, highlights Moisture must be managed. The solvent uses humidity to cure, but actual moisture will ruin it. Working outside is fine - I’m doing it - but I time it to periods during the day and cover the trailer at night for the first 48 hours to avoid morning dew and be out of the sunlight so it doesn’t flash off too quickly. Don’t wash the trailer with soap for at least a week. Do two coats, three doesn’t add anything In general use a two towel method and rotate pads. It took me two days do the roof, partly because I think it’s on the ladder so lots of moving that around, fiddling with the odd areas, and getting used to it. Next I’m taking three days to do the sides and back. First day to compound, second to polish and coat one side, final day to do the other side. Much easier outside as can pop the awnings to avoid any sun. Then finally I’ll take two days to do the front as that’s the most important1 point
-
Thanks to both of you. Ordering tomorrow and will let you know how it goes. Hooray for the Oliver community once again!1 point
-
Those are momentary motor reversing switches (spring return to center). Don't get a latching switch! A knock-off version is available from Amazon https://a.co/d/01EAzrSv . They are okay. Amazon includes the waterproof rubber cap, but many suppliers don't. No worries because they are available at ACE hardware and auto part stores. You can also use a center off or momentary Double Throw Double Pole DPDT switch in an emergency, but you would have to make your own jumpers as can be seen in your picture. Judging from the jumper wire in your picture, it looks like your switch was wired with the power leads going to the center terminals. That jumper wire is power for the lamp switch, and it's doubled up with the +12v power wire for the jack. Normally the power wires are on the outer terminals per the Barker jack wiring diagrams, but it makes no difference electrically. The lamp -12v wire is spliced to the jacks ground. Your jack motor leads go to the outer terminals (polarity is not important yet). With wires hooked up, look at the position of the notch or flat side of the switch threads for correct alignment with the jack housing. Then try the switch to verify that the jack is going the right direction. Just reverse the motor leads on the switch to change direction if needed. Use a piece of heat shrink over all the switches terminal spades. This prevents shorts, but more importantly it helps hole the spade terminals from coming off. Sometimes it's also necessary to pinch the wire terminals for better grip on the switch spades. Hope that is not too confusing! Cheers, Geoff1 point
-
This one off Amazon should work fine and you shouldn't have to do any rewiring. Waterproof Reverse Polarity Switch1 point
-
@Hokieman Not sure what to explain in regards to the shackles and wet bolts being heavier duty than Dexter parts. They simply appears bigger/larger. Once you get over the fact that the wet bolts could possible spin over time due to no spines in the shackles, all is well, I guess. As to why Oliver is using Dexter parts with Alcan springs, I'm not sure. If they are, I can only think of a few reasons why: They have tons of Dexter spare parts and want to use them up & save $$$. Or they are making a less than desirable decision to save $$ and use Dexter parts with Alcan springs. 🤷♂️ The parts will be fine I'm sure. Most of those bolts & shackles had held up pretty well. Oh sure, a few reports of broken ones over the years, but only time will tell with pure Alcan parts. Again, a business does not stay in business since 1971 if they make crap parts, I would think. Us men can be so darn anal detailed oriented with our data-point comparisons that it surely creates super long threads. 🤣. It's like our chess games but with RV parts. 😉 I spend much of my time in recent years ensuring I know how to retire and if I did a good enough job with the portfolio (I think so). And now whether or not I want to go thru a full RV Tech school to have a better foundation, or simply goof-off in early retirement. Decisions, decisions.1 point
-
Take a look at Good Sam Insurance.Agency.1 point
-
Sounds interesting1 point
-
A little hot, but beautiful.
1 point
-
It helps to open the shower drain valve (either manual or automatic) to allow some air into the (forward/high/uphill) end of the gray tank... making it somewhat easier for the liquid to pour out of the rear/low/downhill end of the tank. Don't forget to close this valve when moving the camper or parking extremely nose-down or the gray tank fluid may burble up into the shower floor pan from the long & shallow gray tank, which may not be pleasant. This valve must be open when using either the shower or the bathroom vanity sink.. otherwise these will not drain into the gray tank as expected and the fluid will either stay in or flow into the shower floor plan.1 point
-
I serviced my VIP 3000 power jack a couple days ago. I have Hull 329 (2018) and I think Oliver has used these jacks for quite awhile (and continues to use them, I believe). In my exuberance (I've done this before) I disconnected the light and up/down switches and re-greassed the gears but did not take any photos to help with reassembly. Now I'm scratching my head trying to figure out what goes where. Can anyone help? The last pic shows the top of the jack motor...it has 3 wires (2 black and 1 red with one of the black wires being thicker at 10GA while the other black wire and the red wire are both 12 GA). The second to last pic shows the motor head cover and wires for the light. I do know that the orange wire is grounded on the top of the motor head. The second pic shows the switch for the jacks up/down control and the first pic shows the switch for the light. The manufacturers wiring diagram is of little help (for me). Maybe a pic or 2 showing what goes where on your rig? I know this is kinda specialized and a big ask. I would appreciate the help. Thanks.
1 point
-
Update for anyone out there wondering. The trailer is in the shop at Bretz RV in WA. Truma needed the issues confirmed by a certified rep, of course. They thought it was part A, and it was confirmed to be part A. However, the shop reached out to order part A, and Truma is saying they don't sell just that part, so now there is a debate about whether we have to buy a new furnace! The warranty is 2 years, and the trailer was built in 2023, so that is nice that it recently expired. At this point, no idea when we will get her back, and we have a departure date of next Saturday for a long long trip. urgh.0 points


.thumb.jpg.e34bf01ef7f7d5e99ad31856d45afbeb.jpg)







-
Recent Achievements
-