
Townesw
-
Posts
573 -
Joined
-
Last visited
-
Days Won
24
Everything posted by Townesw
-
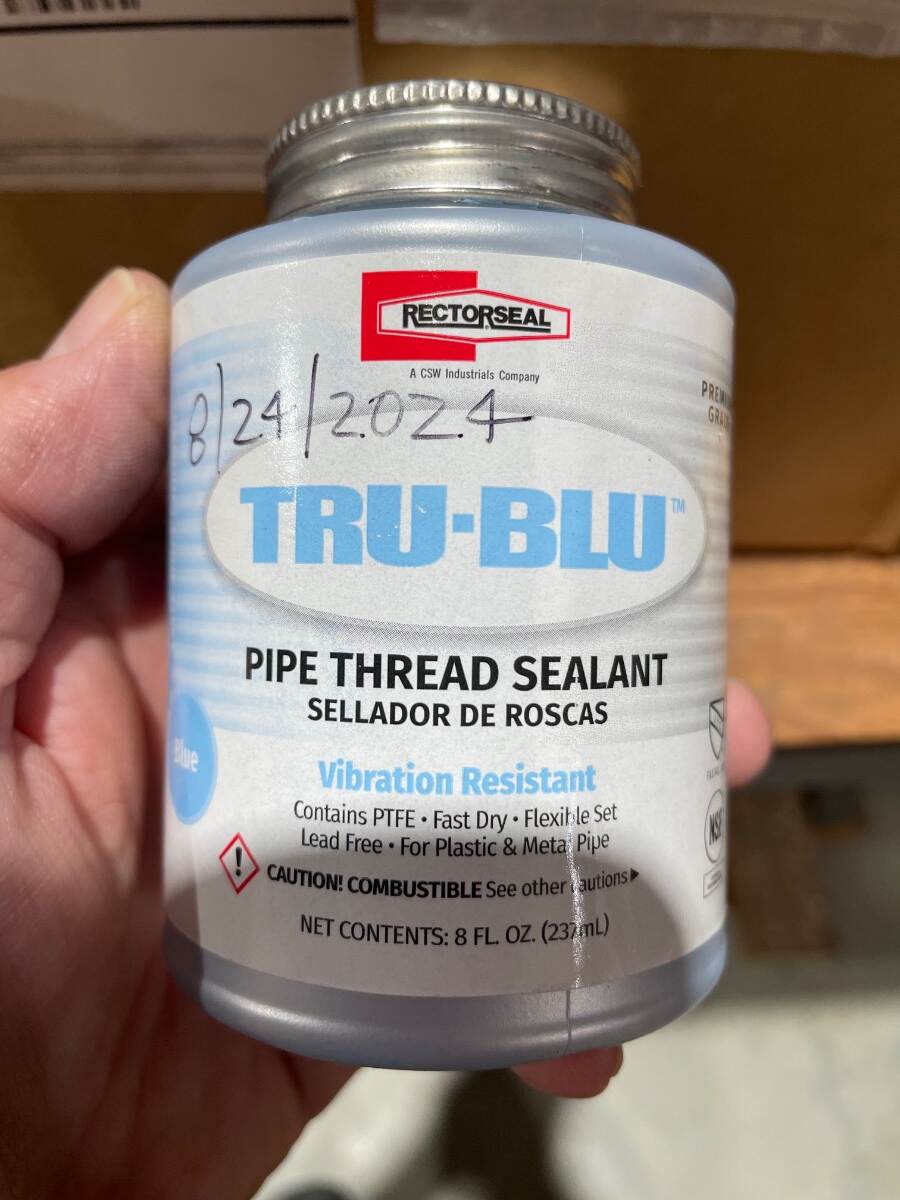
@Boudicca908Thank you. If you order the MEGR 253 I think it comes with straight inverted flare fittings installed in the inlet connections. You should be able to connect your current pigtails to these fittings if you don’t want to convert to the 90 degree inlet fittings. You will still need pipe sealant or tape to attach the 3/8 inch fitting on the supply hose from the trailer to the outlet connection on the bottom of the regulator. If you get teflon tape be sure it’s rated for use on propane and natural gas. It will probably be yellow. Most Teflon tape you see is for water and air. Before applying new sealant or tape be sure to clean all of the old sealant or tape off of any reused male or female pipe threads and don’t let any of it fall into the regulator or hoses. If using teflon tape start the tape just shy of the end of the male threads so it doesn’t obstruct the opening and wrap it in the same direction that you will be turning the item with the female threads. I’m afraid that my instructions seem intimidating but this really is an easy project. Bill
-
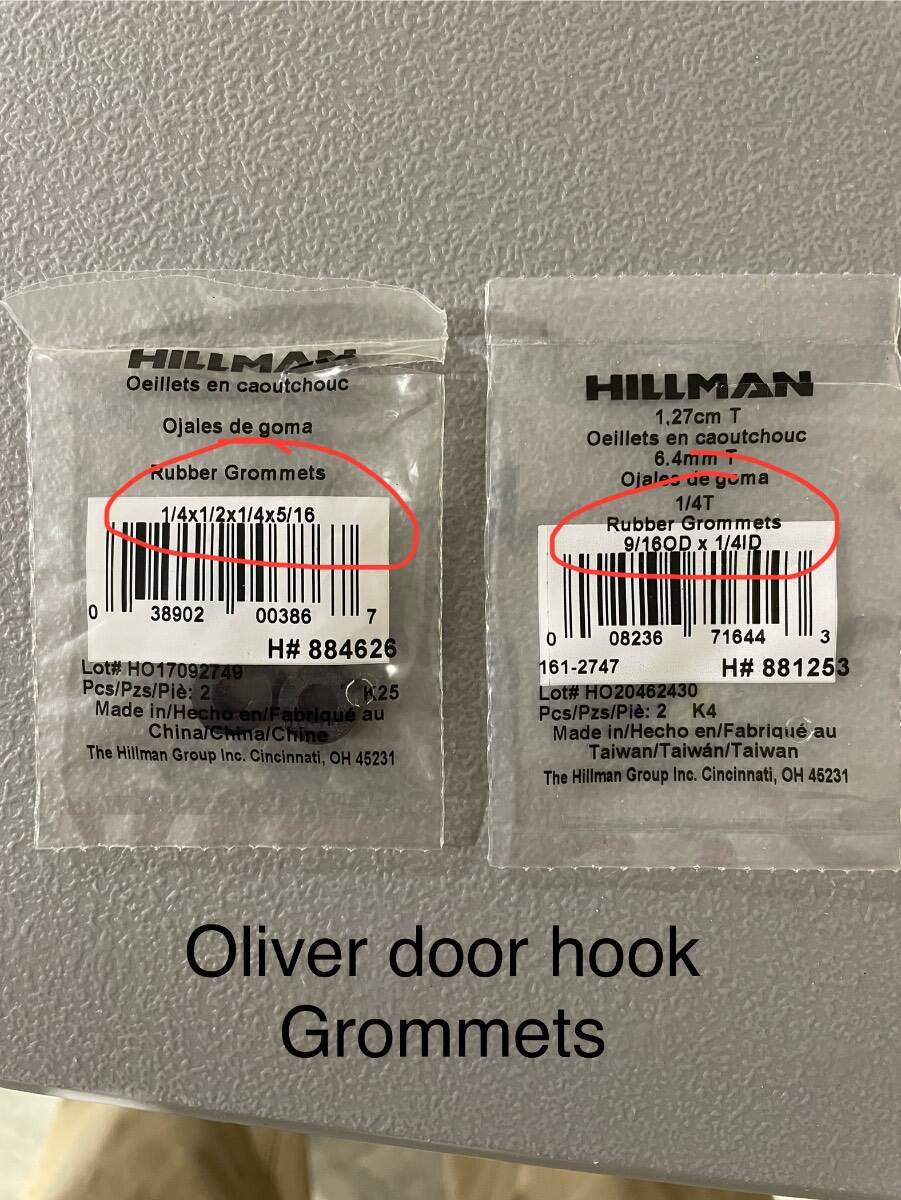
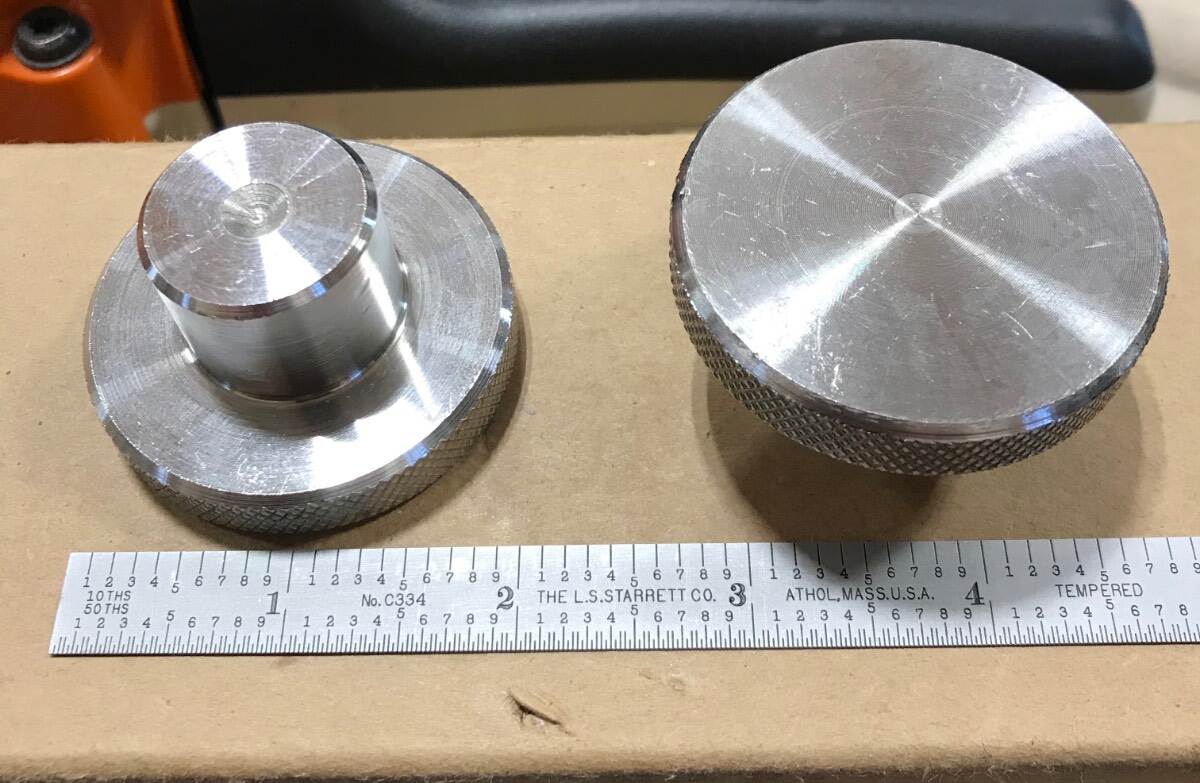
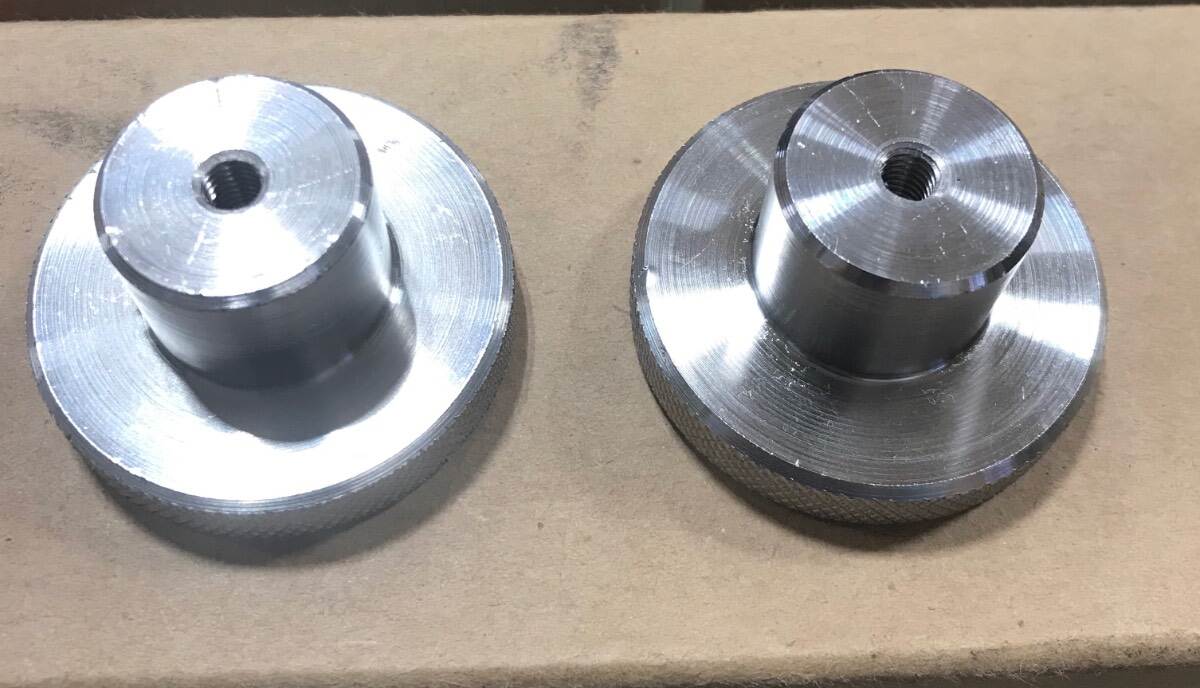
 These came from the Hillman drawers at Lowe’s. I can’t remember why I bought 2 sizes other than I found that 2 sizes would fit so I bought both. One may have rounded edges and the other square edges. Bill

-
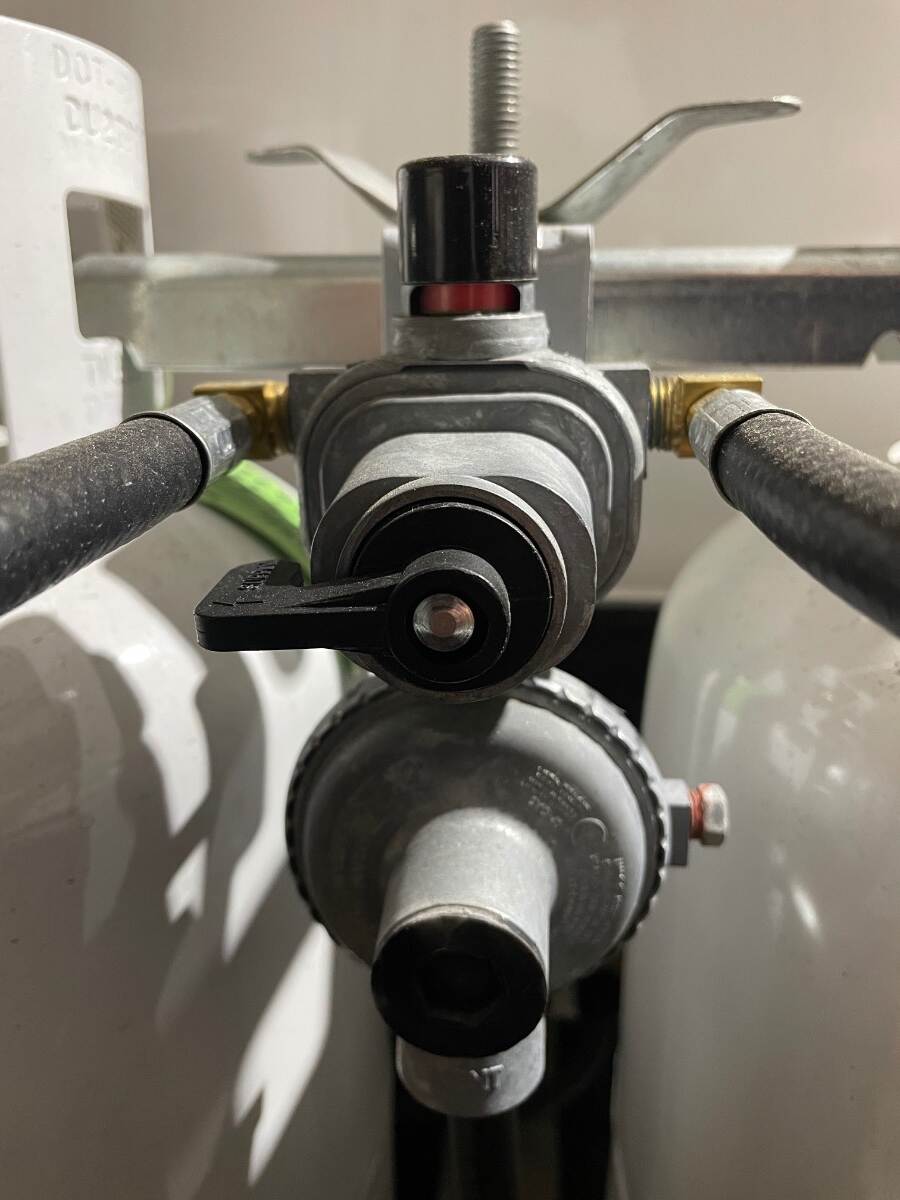
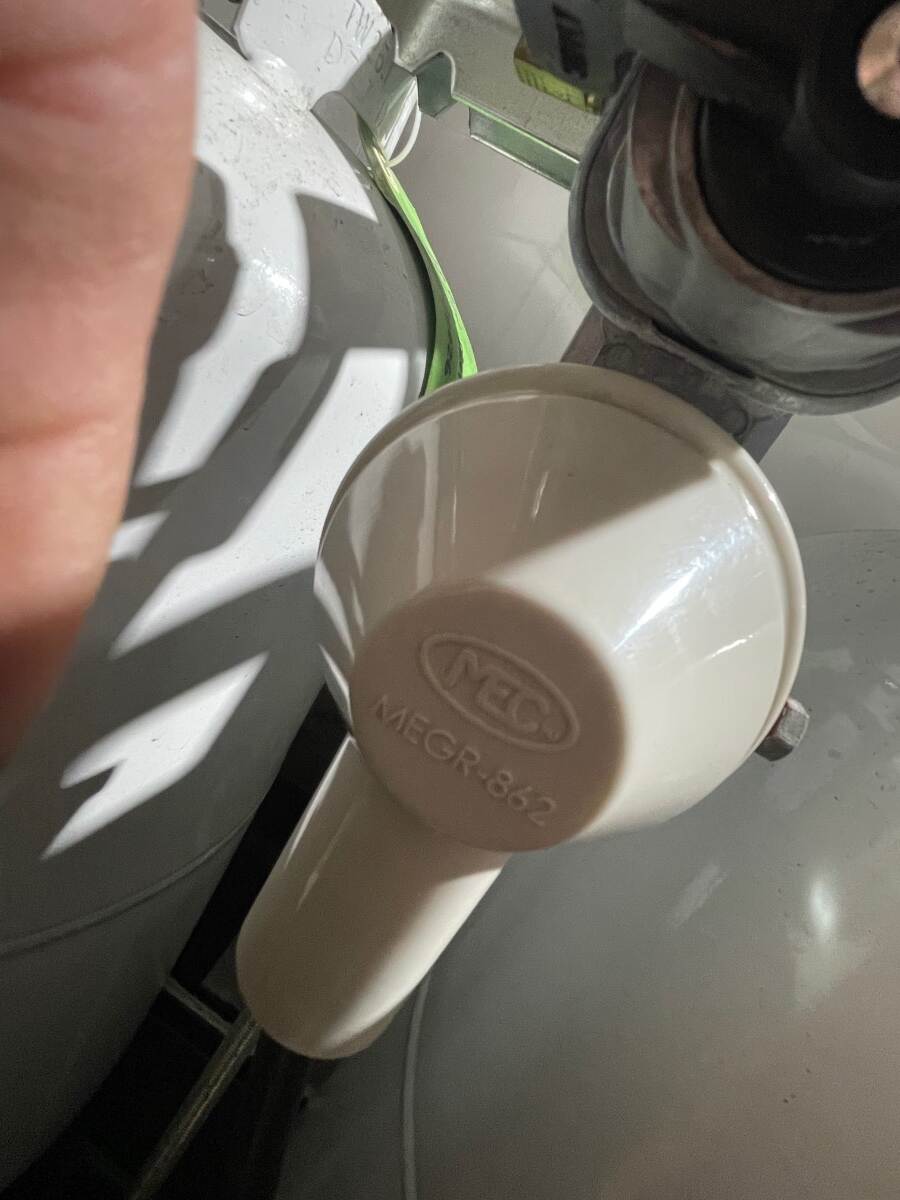
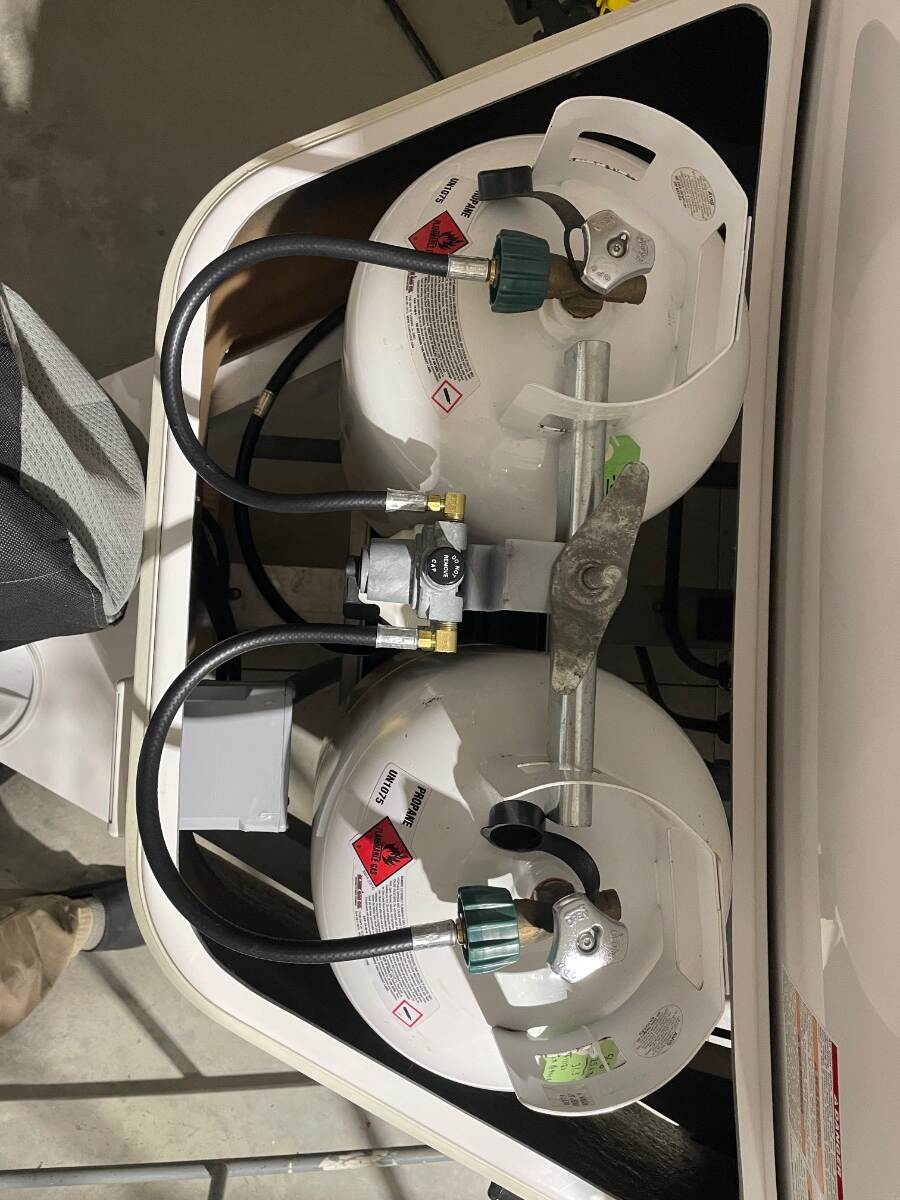
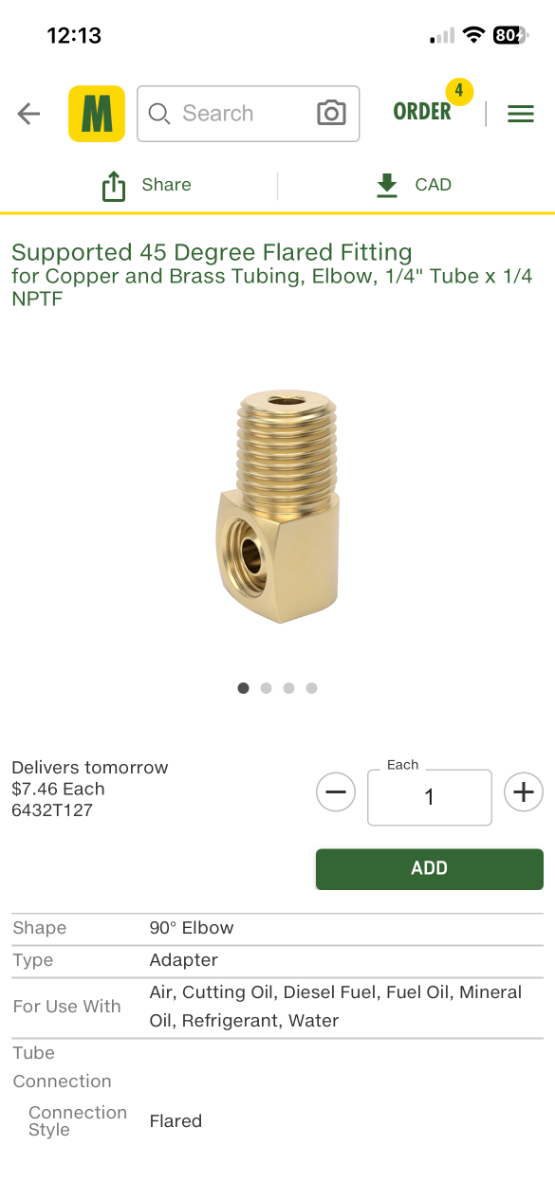
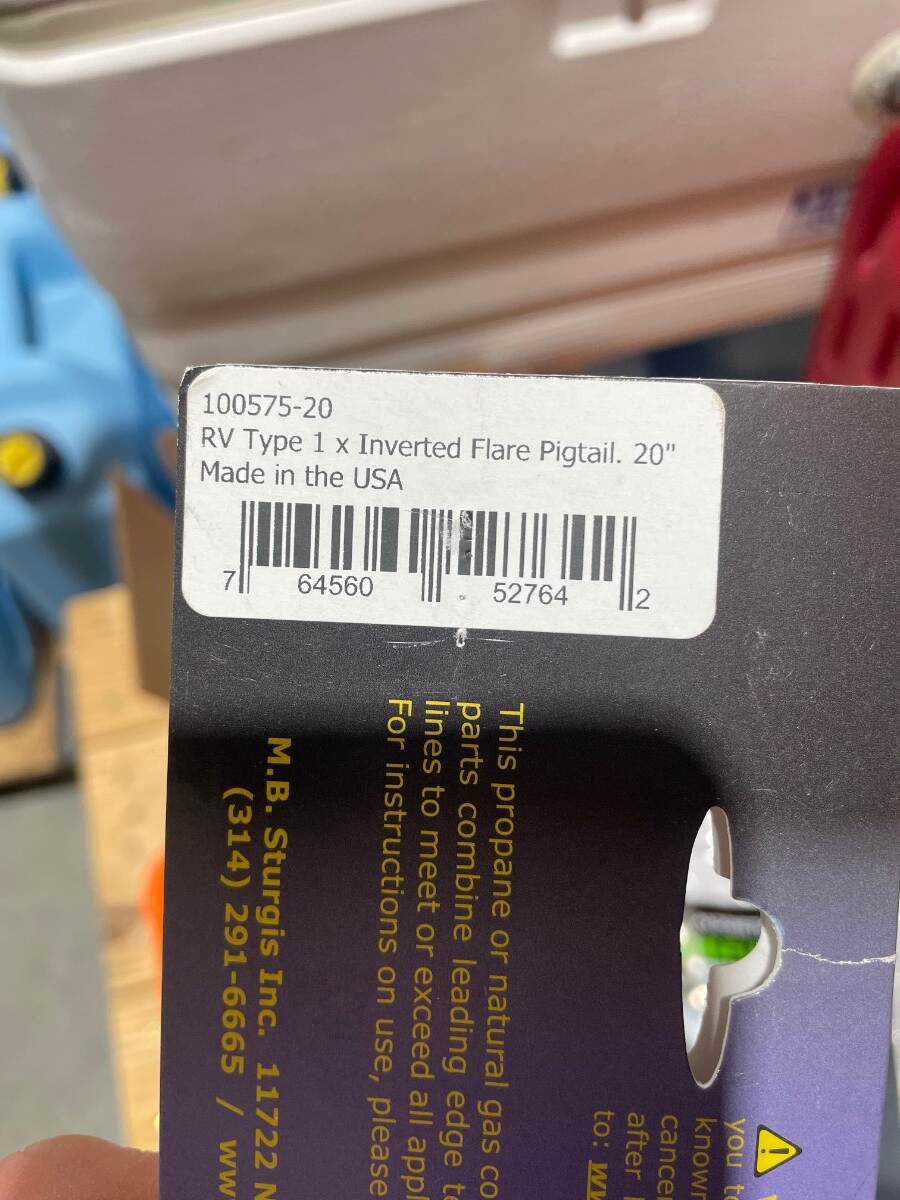
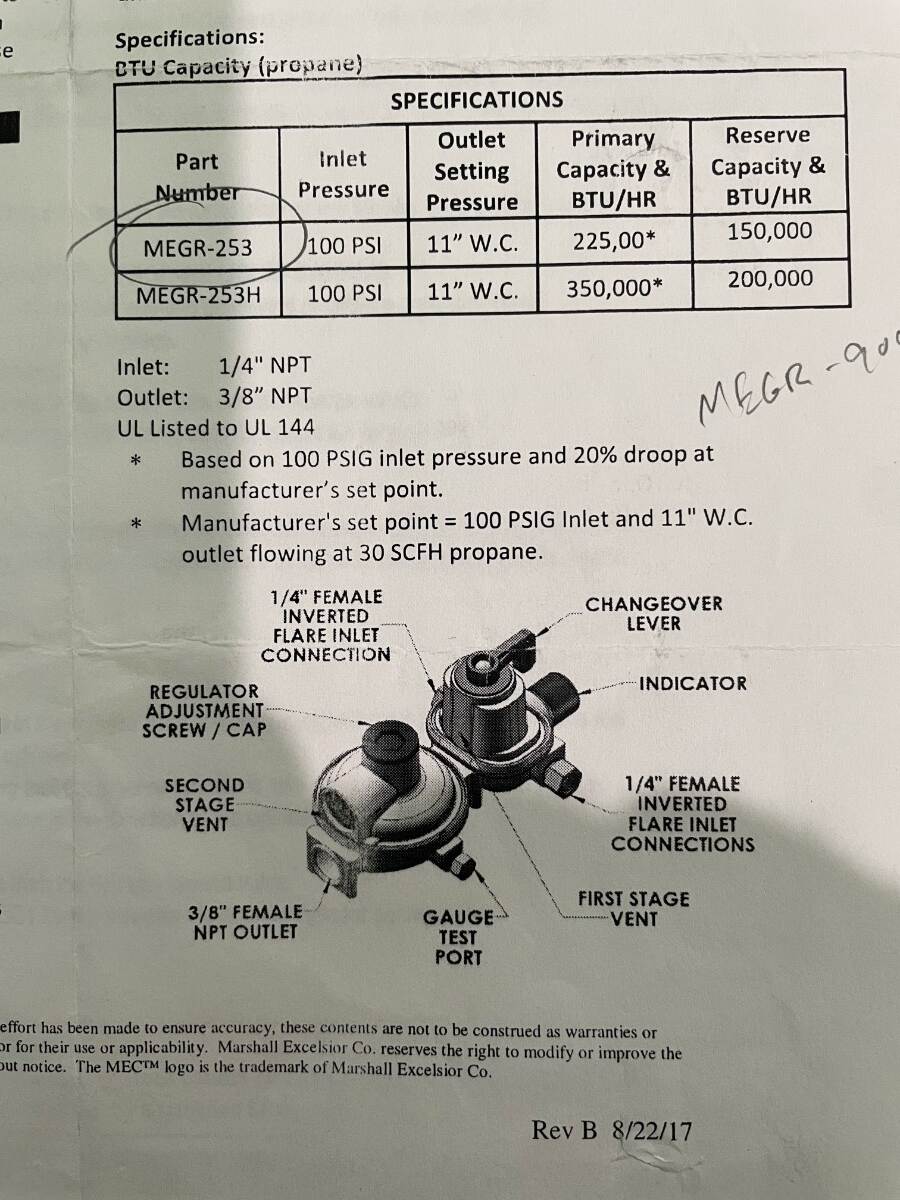
I replaced the original Gas-Flo regulator by Fairview Fittings and Mfg. Ltd. with a Marshall Excelsior 2-stage automatic changeover regulator model MEGR-253 in September of 2020 and have not had any problems with it. I replaced the original because it didn’t do what it was supposed to do one time and I didn’t want to give it a second chance. Marshall Excelsior MEGR 253 regulator with weather guard removed I used the mounting bracket off of the original regulator but you’ll have to order the weather guard (MEGR 862) as an extra item. It probably isn’t necessary because our regulators are covered but I put it on my regulator anyway. In May of 2026 I replaced the original pigtails with new MB Sturgis inverted flare 20” pigtails (Mfg # 100575-20) ... …and added 90 degree fittings on the inlet ports of the regulator. This removed the “S” in the pigtails. The hoses don’t actually stick out as much as the photo shows. They don’t reach the inside of the propane tank cover. I can’t find a “before” picture but this is the “after” picture. I ordered the brass 90 degree fittings (1/4 inch female 45 degree inverted flare x 1/4 inch male pipe thread) from McMaster Carr (item 6432T127). I ordered a couple extra to carry as spares. You’ll need to use pipe dope (sealant) on the pipe threads. Don’t use pipe dope or tape on flare fittings. Also, use the correct size open end wrenches on brass fittings. Adjustable wrenches (Cresent style), adjustable pliers (Channel Lock style), and pipe wrenches may slip and leave the wrench flats rounded or marred. Turn the tanks on and use soapy water in a spray bottle to check for leaks. Be sure to flip the changeover lever to both sides when checking for leaks. Also check the 3/8 inch female pipe thread outlet on the bottom of the regulator where the supply line goes to the trailer. Bill
-
RM 2454 Problem Heading into SE Colorado Boondocking
Townesw replied to Geronimo John's topic in Mechanical & Technical Tips
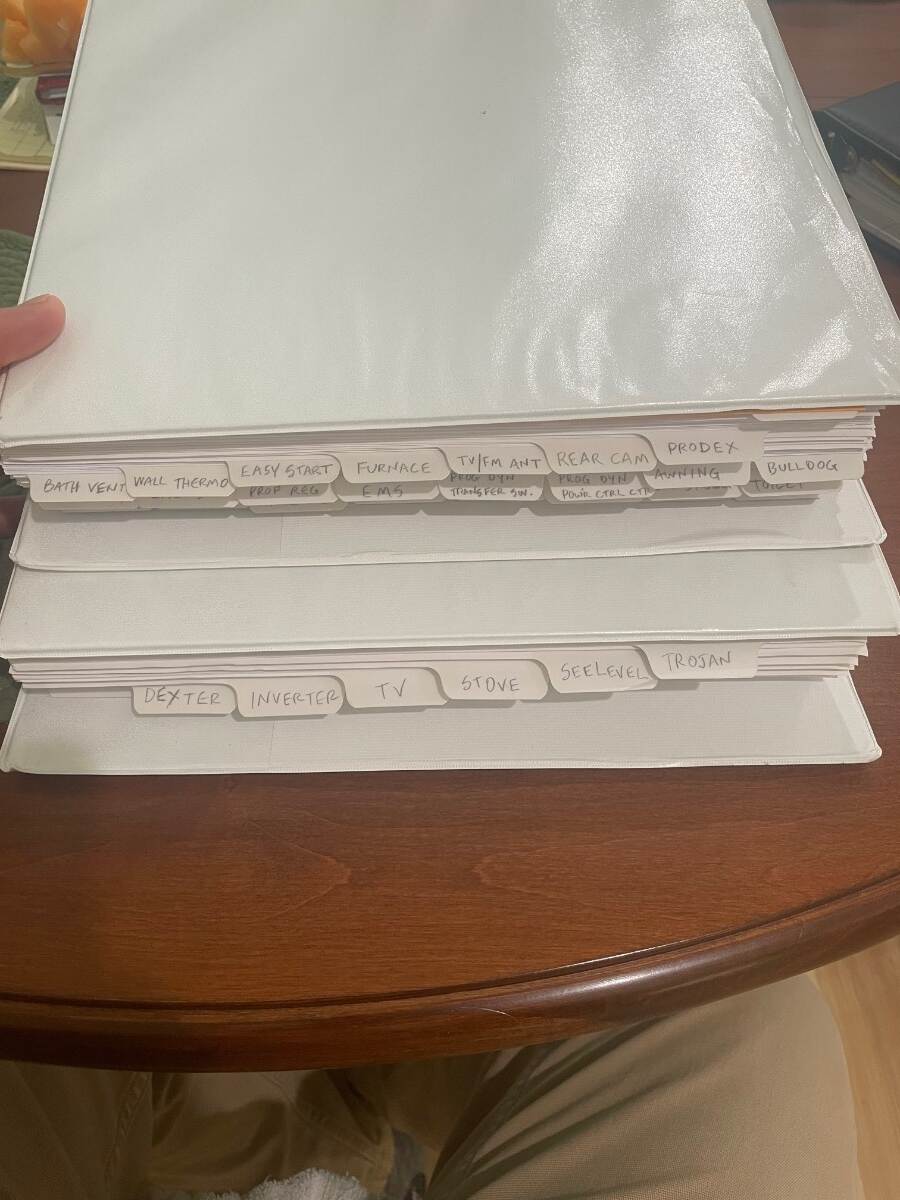
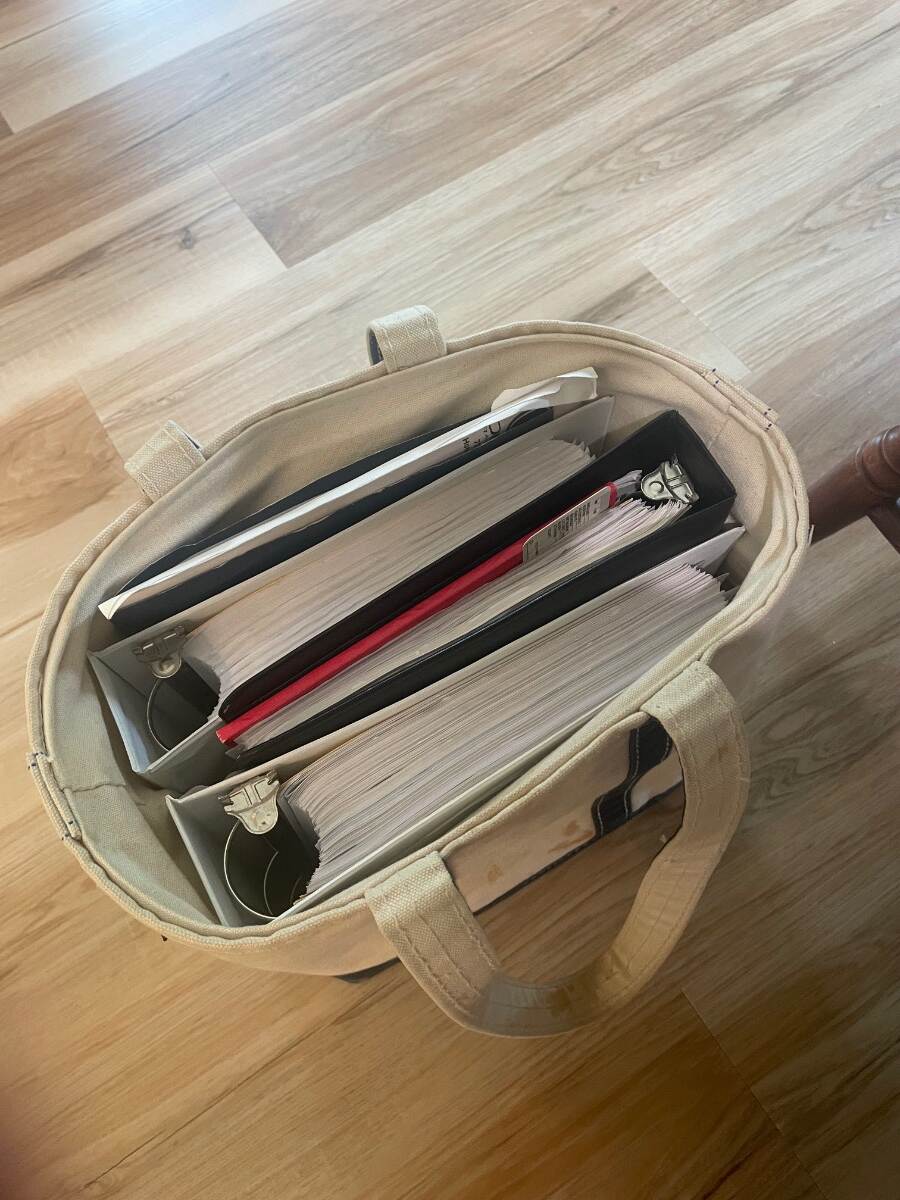
@Geronimo JohnI hope that has the answers that you are looking for. When I brought hull 313 home in March 2018 I crawled all over it taking pictures of data plates on equipment with model numbers and serial numbers. I then went online and found manuals (owner’s, installation, service, parts, whatever I could find) for the model and serial numbers that were on our Oliver. Some of the manuals on the Oliver site aren’t the correct manual for the model and serial number range of the equipment used in our Oliver. I then printed out the manuals and put them in 3-ring binders that I carry in a tote that fits under the front dinette seat. I know it’s bulky and isn’t as convenient as a link on a phone but I can open a manual and look at it and make notes while I’m working on something. Bill
-
RM 2454 Problem Heading into SE Colorado Boondocking
Townesw replied to Geronimo John's topic in Mechanical & Technical Tips
@Geronimo Johnsee if you can find any answers in this service manual https://fourwheelcampers.com/NewDometicRefrigeratorManual.pdf I had trouble getting my RM2454 to cool in Ashland VA last week after working fine for 3 weeks. It was just too hot there at 97F for the absorption cycle to work well. I temporarily added a double bladed window fan from Lowes. Still wouldn’t work even at night. Turns out that too much air movement is as bad as not enough. I turned the temporary fan off and the refrigerator started working again. Bill -
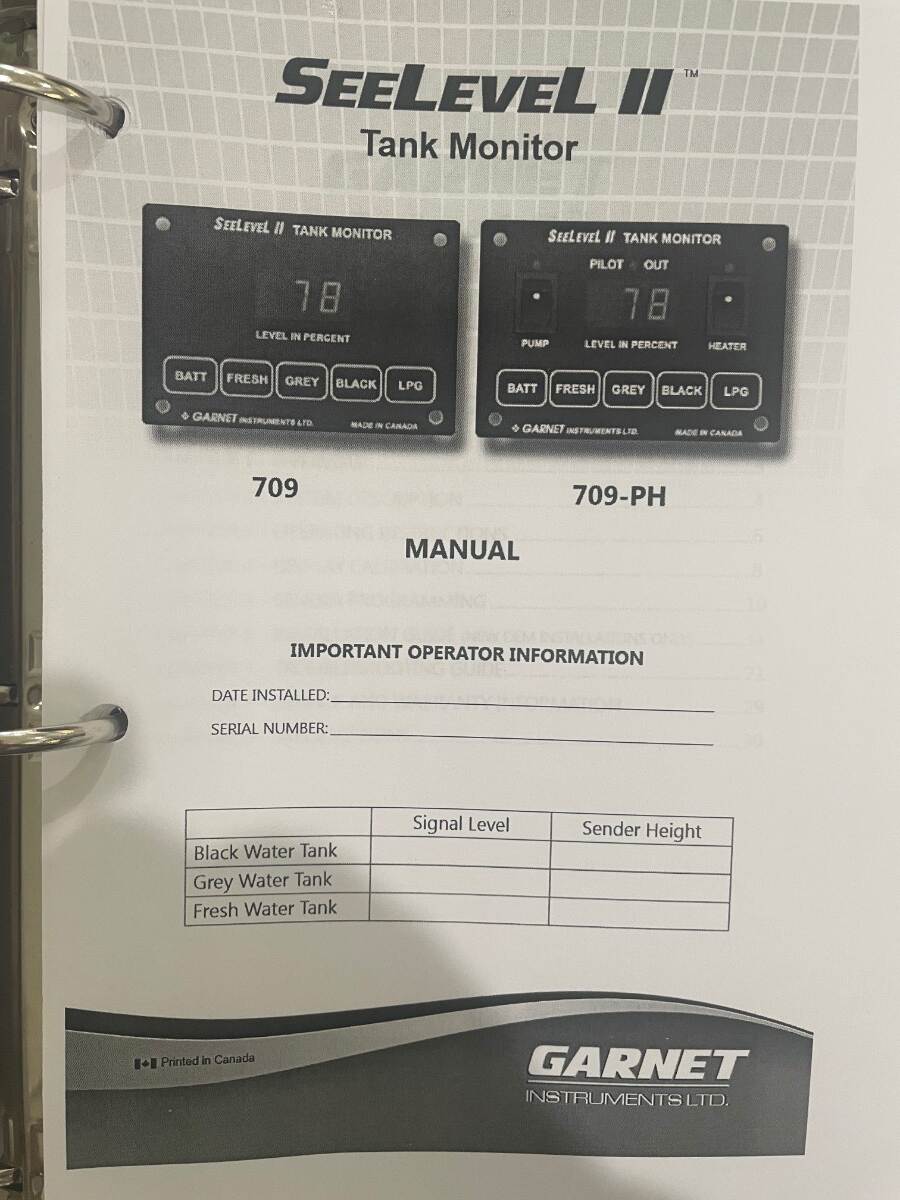
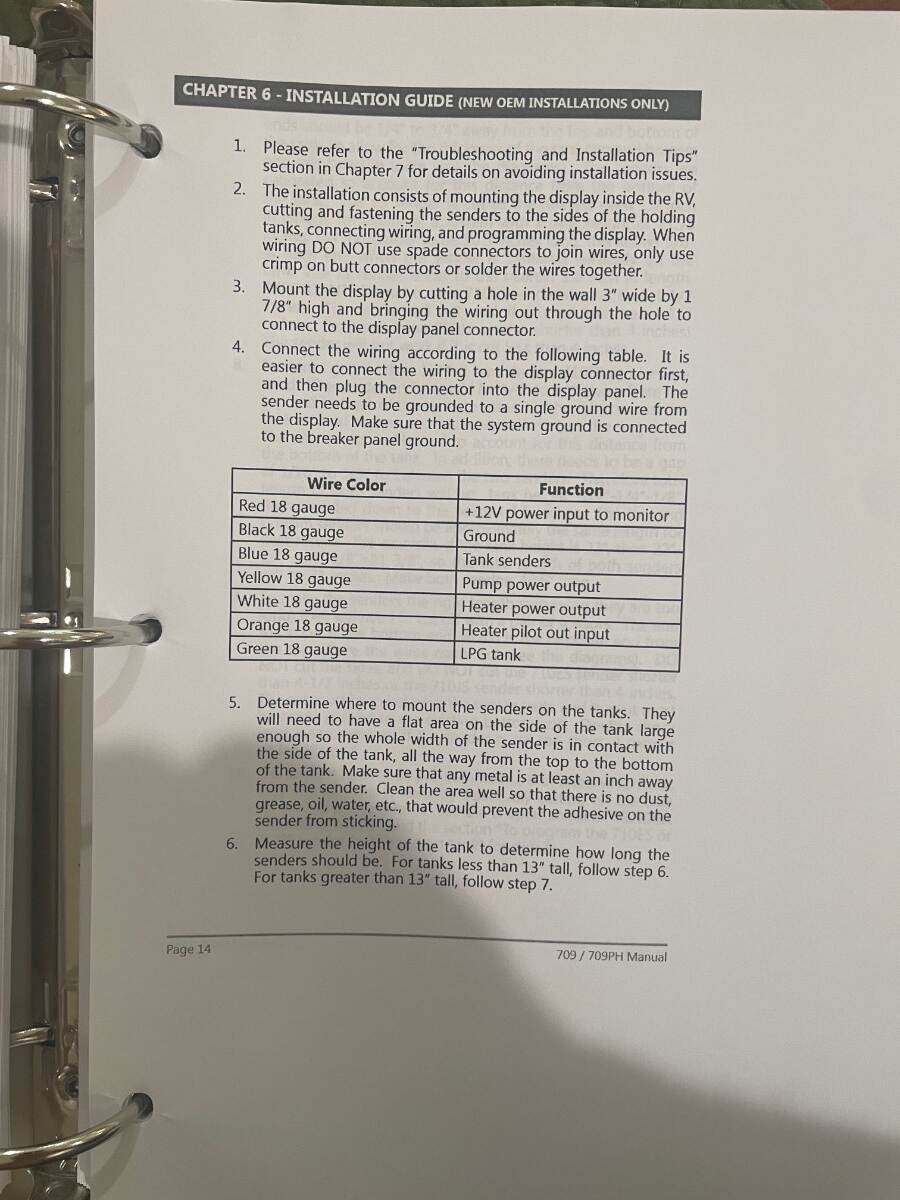
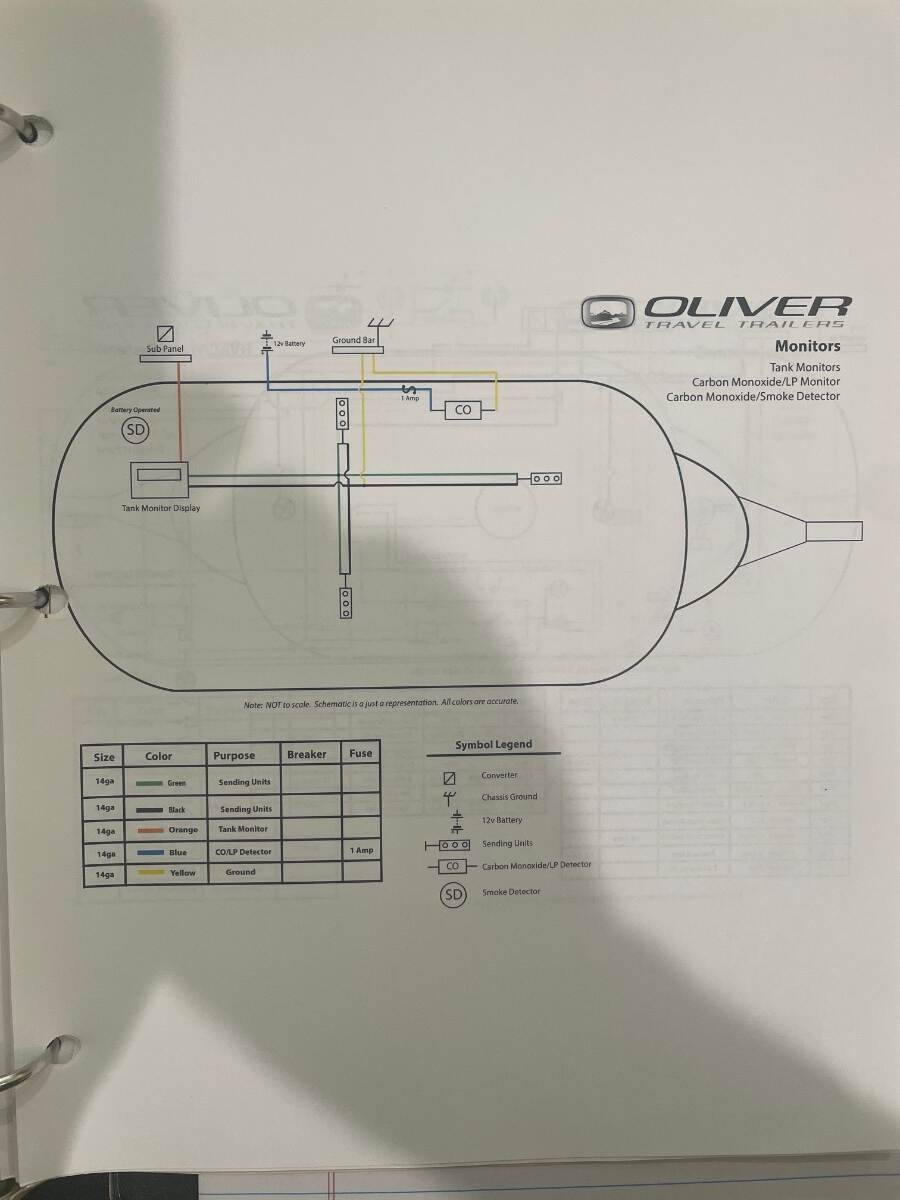
I have a manual for model 709 and 709-PH. The battery level displayed is determined by the voltage supplying the SeeLevel panel. As others have said see if it’s getting power. You said the tech plugged a new panel in and it was dead also. I can’t believe that the tech didn’t also check the fuses as that would have taken a few minutes. I would check the voltage going into the panel and work back from there This schematic is for 2018 LEII hull 313 so it might not be the same for your hull Bill
-
Spare Tire wobbles inside the fiberglass cover
Townesw replied to Dirt Duff's topic in Mechanical & Technical Tips
Mine wasn’t wobbly. It was very secure. Always has been tight. I just didn’t like the stain that the tire was leaving on the gelcoat. @Dirt Duffyou’ve got something else going on. You need to determine what is loose. -
Spare Tire wobbles inside the fiberglass cover
Townesw replied to Dirt Duff's topic in Mechanical & Technical Tips
Ok now I’m thinking that the second nut is a jam nut to hold the first nut on and both have backed off somehow. I would remove both nuts and see if the aluminum cylinder is threaded on that rod and check for something that might have loosened. Bill -
Spare Tire wobbles inside the fiberglass cover
Townesw replied to Dirt Duff's topic in Mechanical & Technical Tips
Yes I put those on there. I got a roll of stick-on UHMW from Rockler. People put it on tablesaw fences. Bill -
Spare Tire wobbles inside the fiberglass cover
Townesw replied to Dirt Duff's topic in Mechanical & Technical Tips
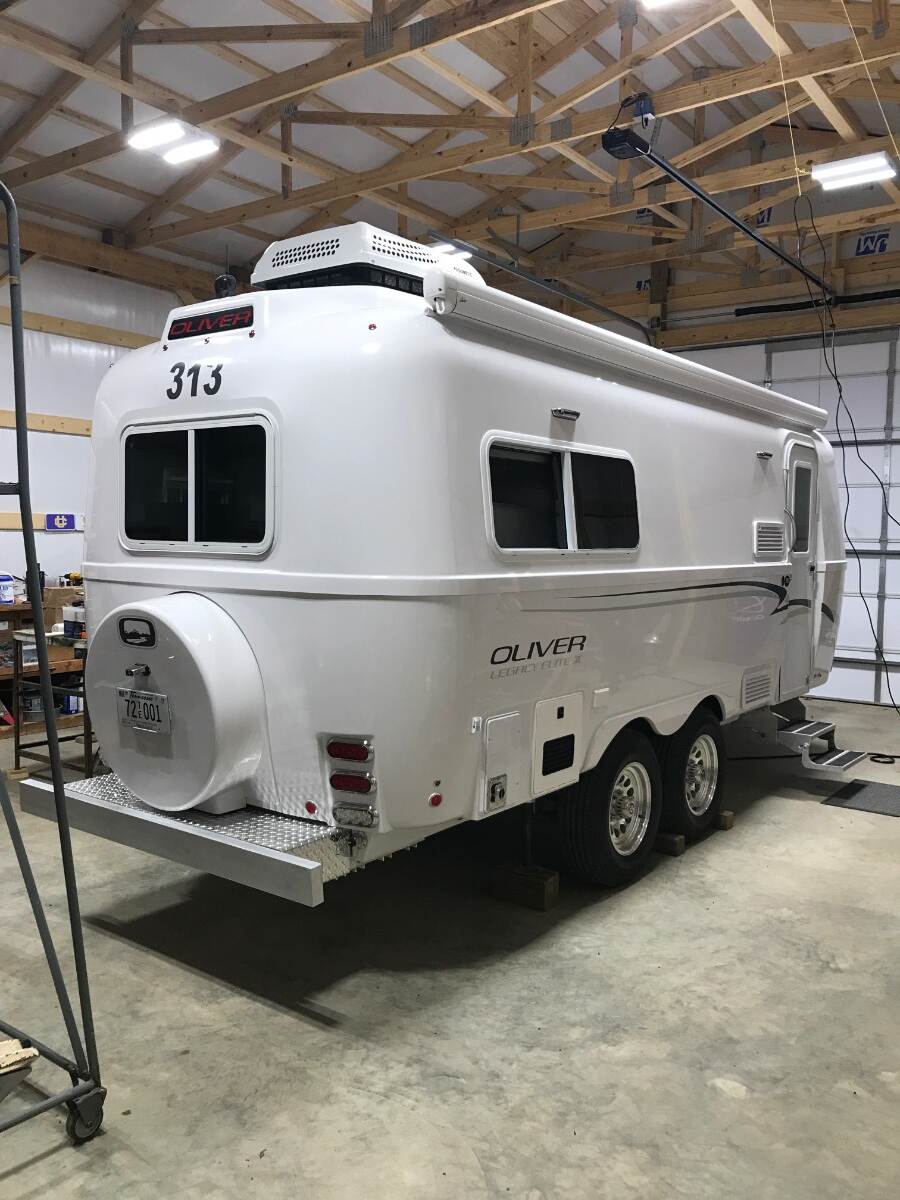
I have hull 313. This is what my spare tire mount looks like. It looks like you have an extra nut. Those two pieces of UHMW plastic keep the spare from rubbing and staining the gelcoat. I use a disk cut from a bucket lid to make the large ring that secures the spare easier to tighten. Bill
-
You can get an idea of the water quality at a campground by looking for places where their lawn or landscaping sprinklers have been spraying and at the faucet, pipe, post, and ground under the water hook ups. If these areas are stained there’s a good chance that the water might not be the quality that you are accustomed to. Bill
-
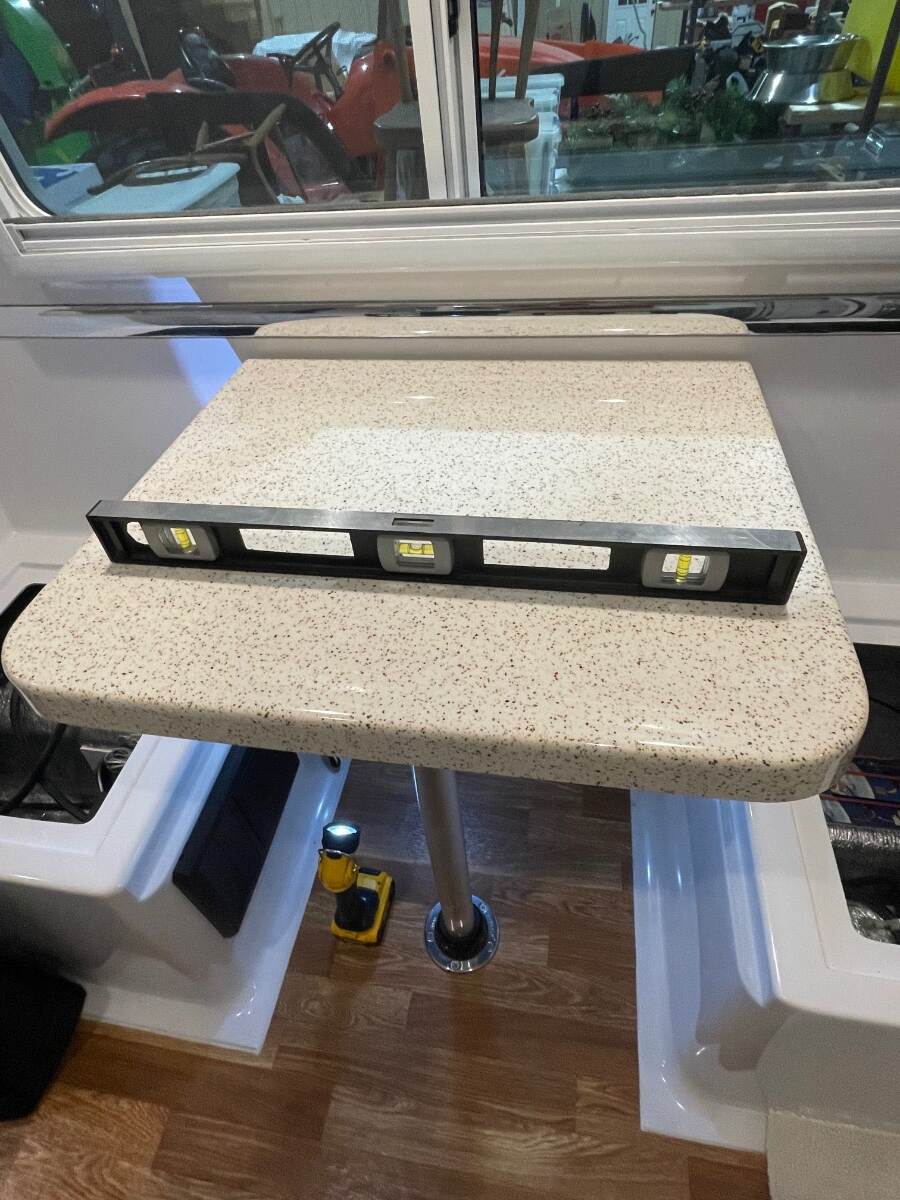
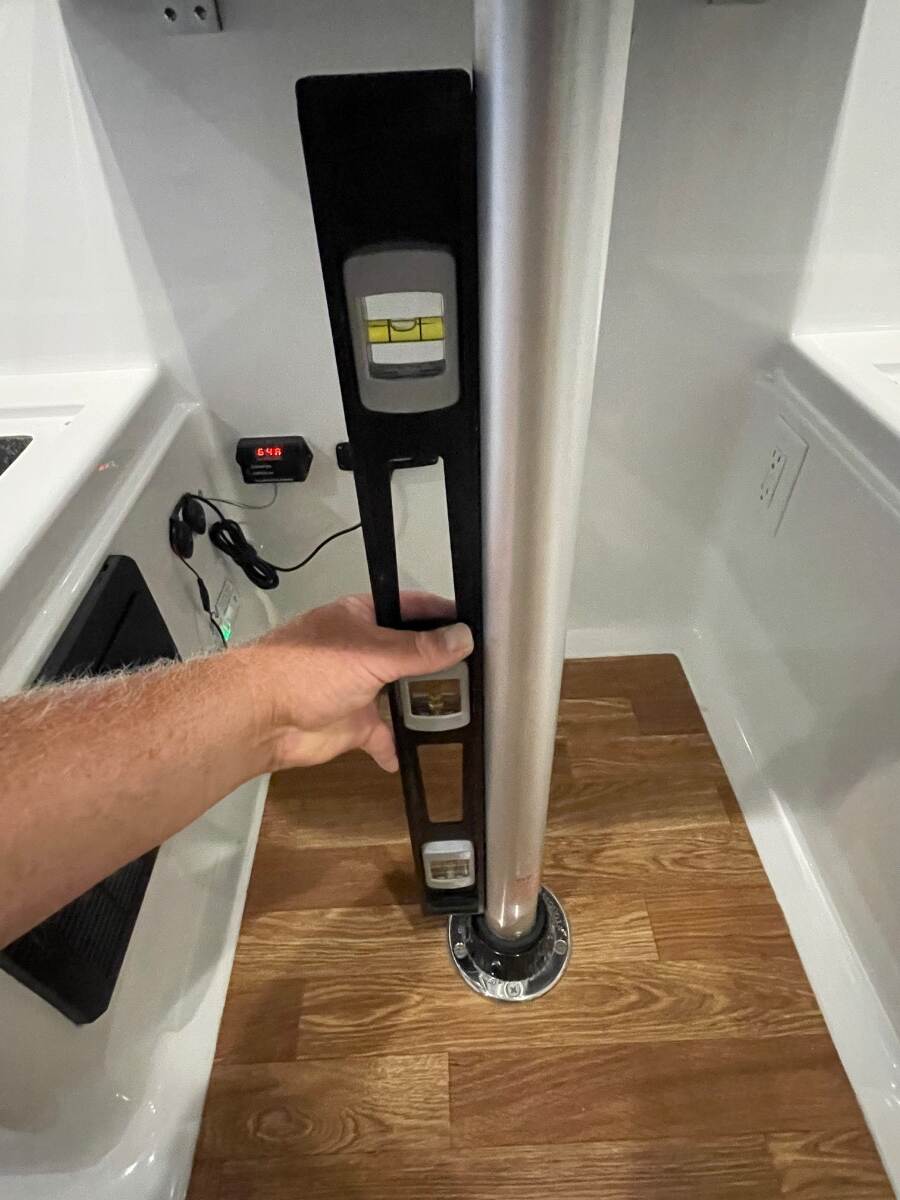
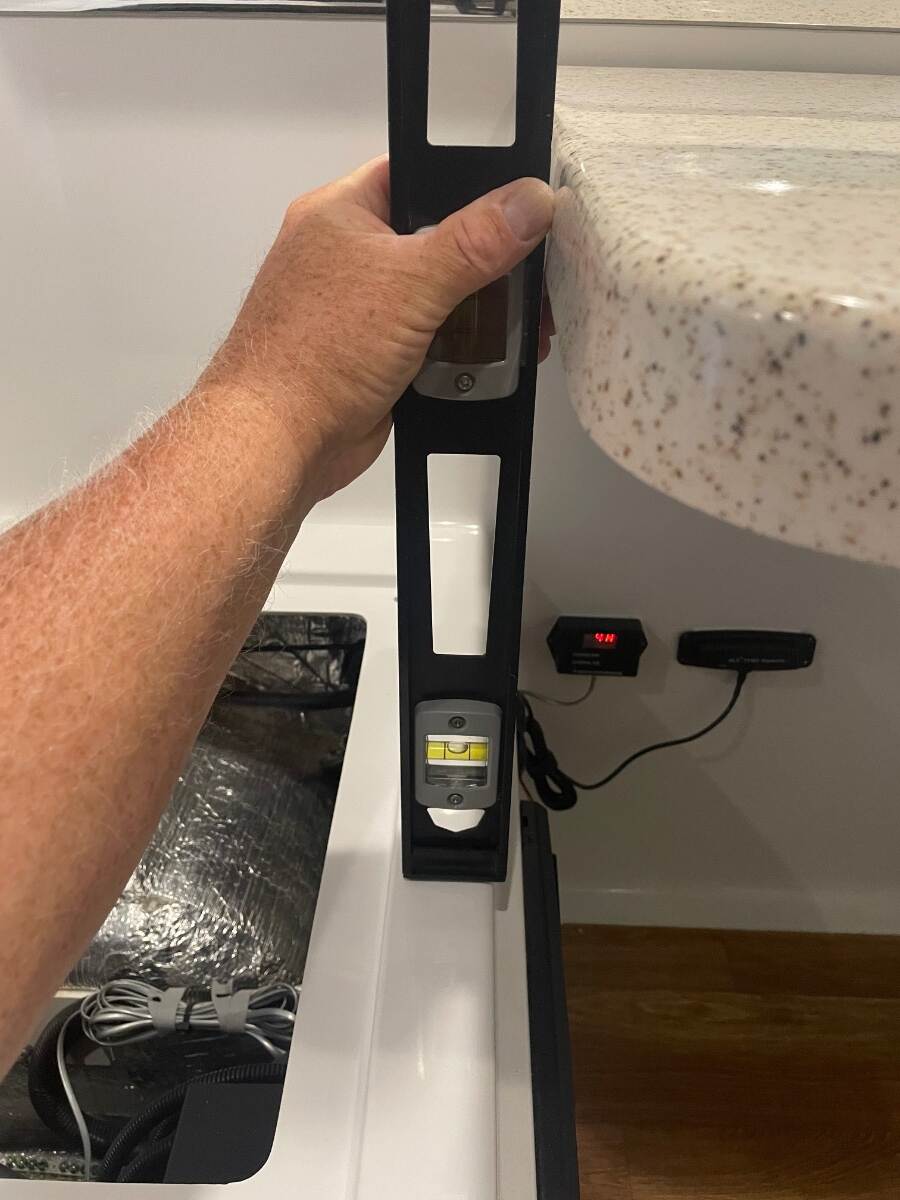
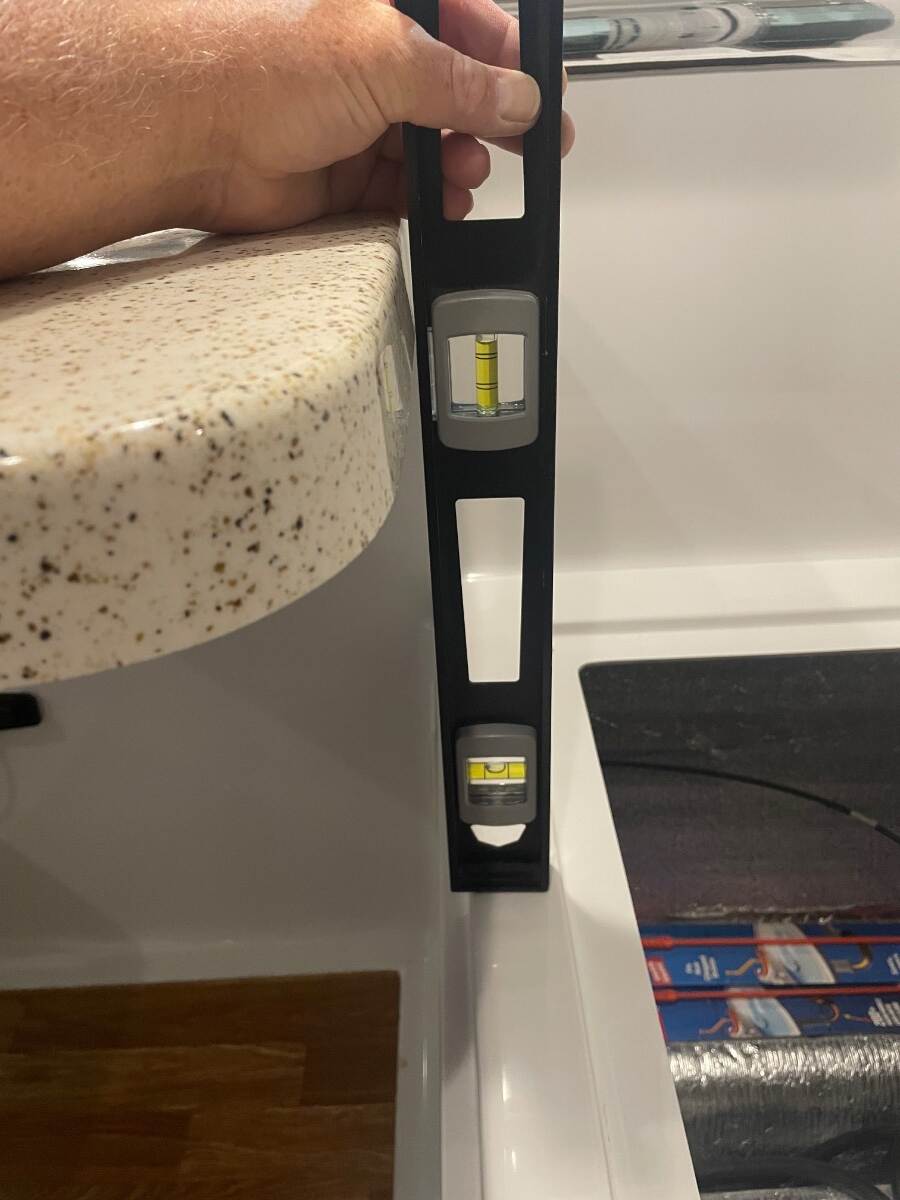
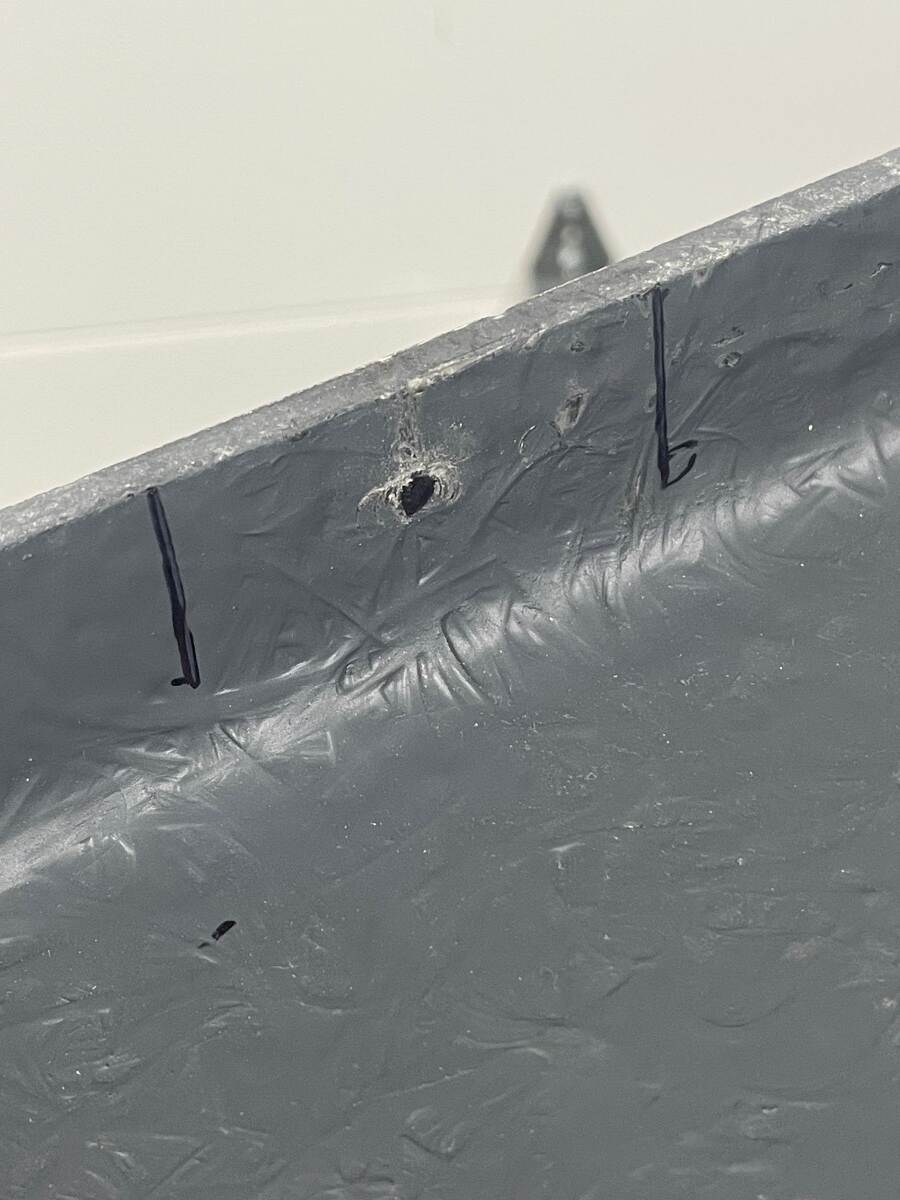
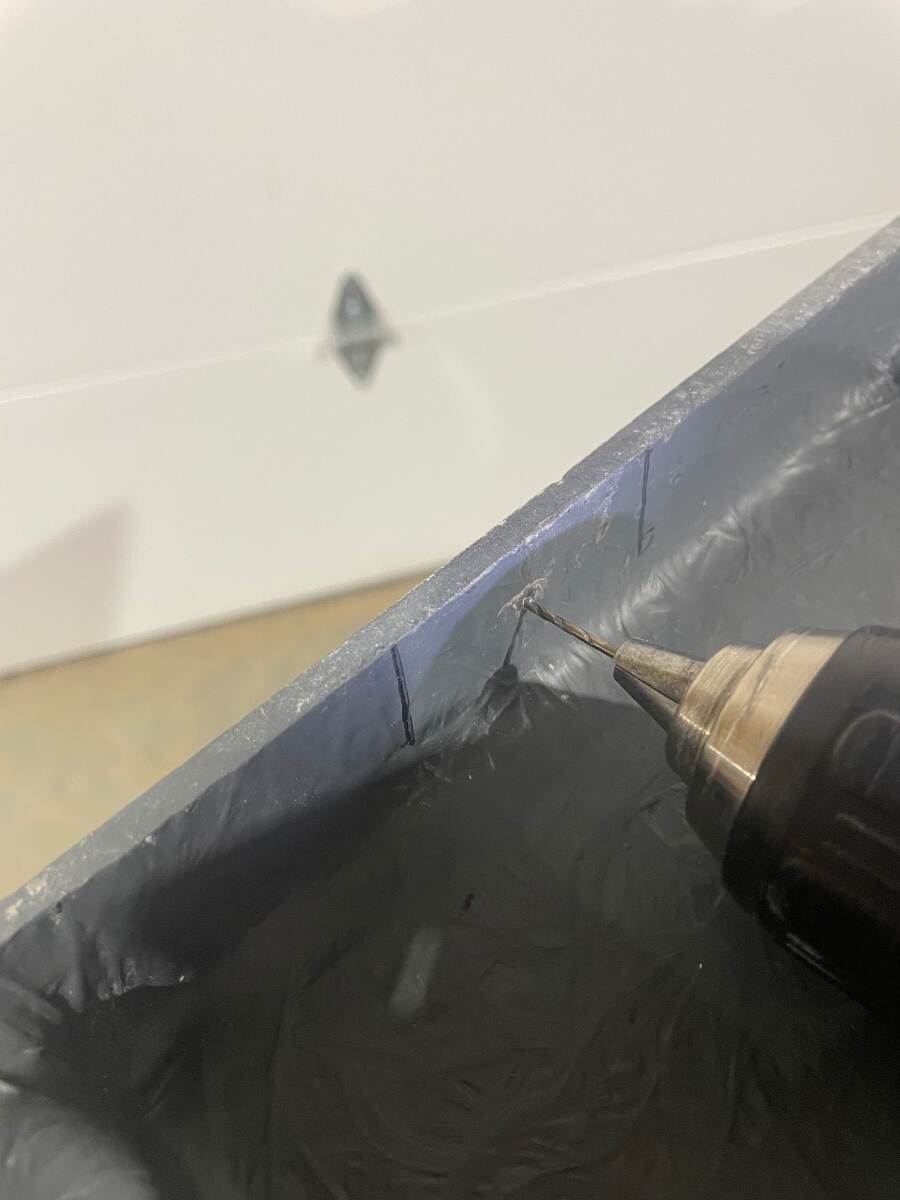
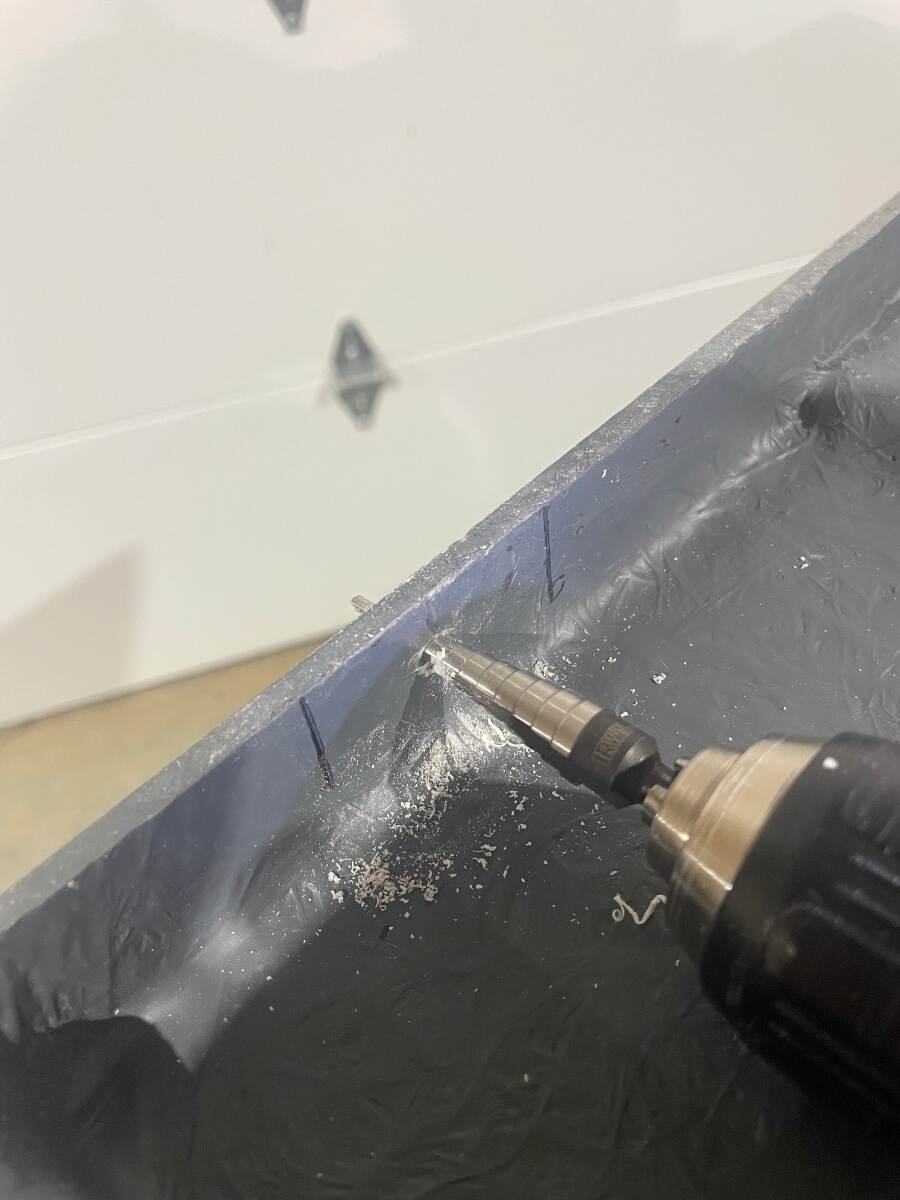
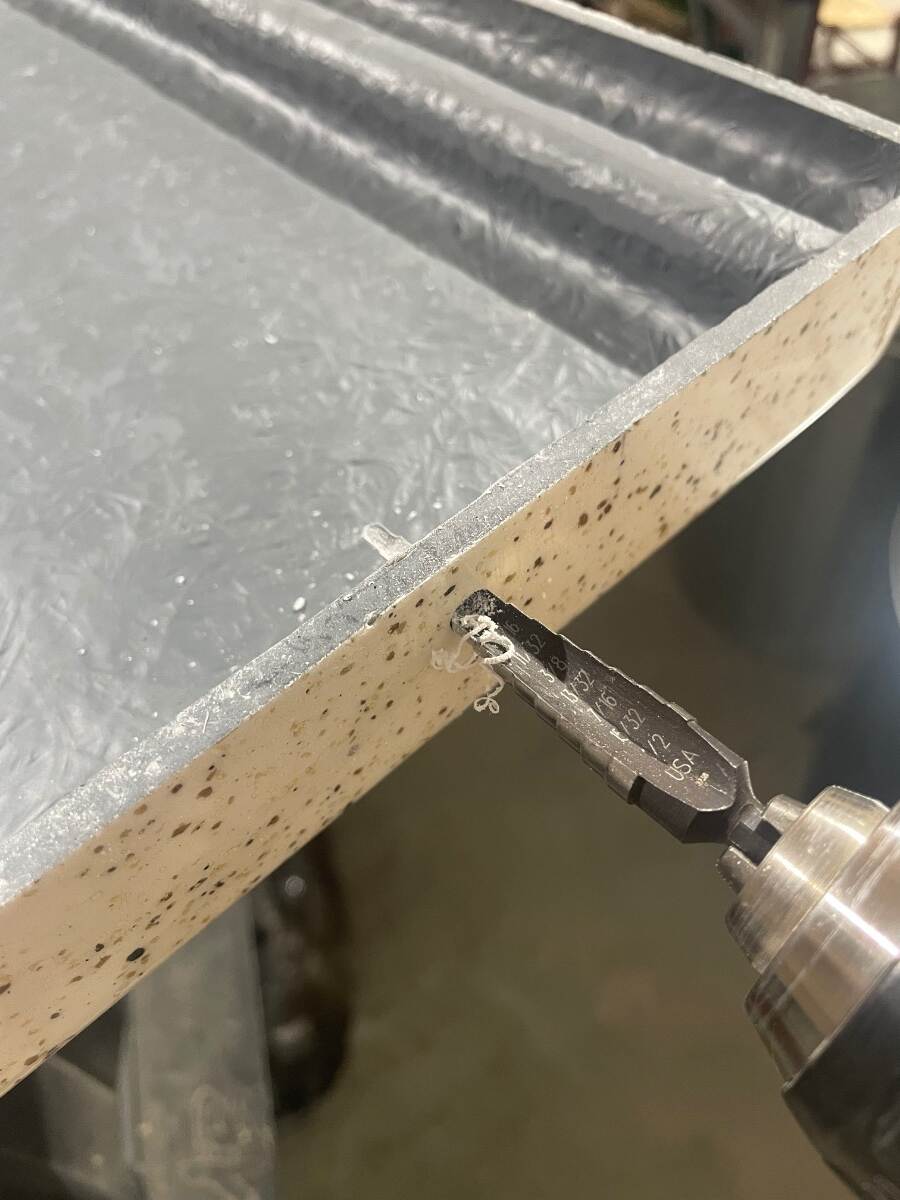
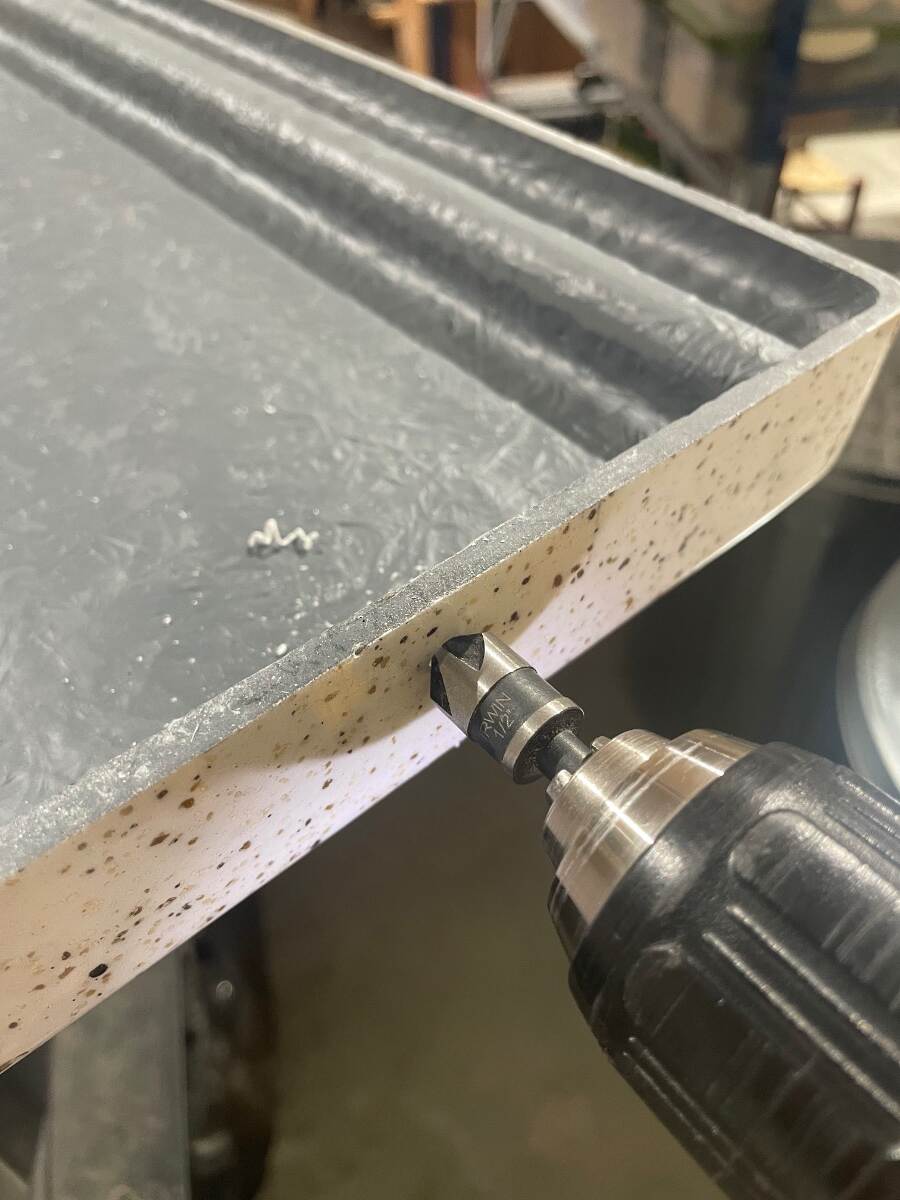
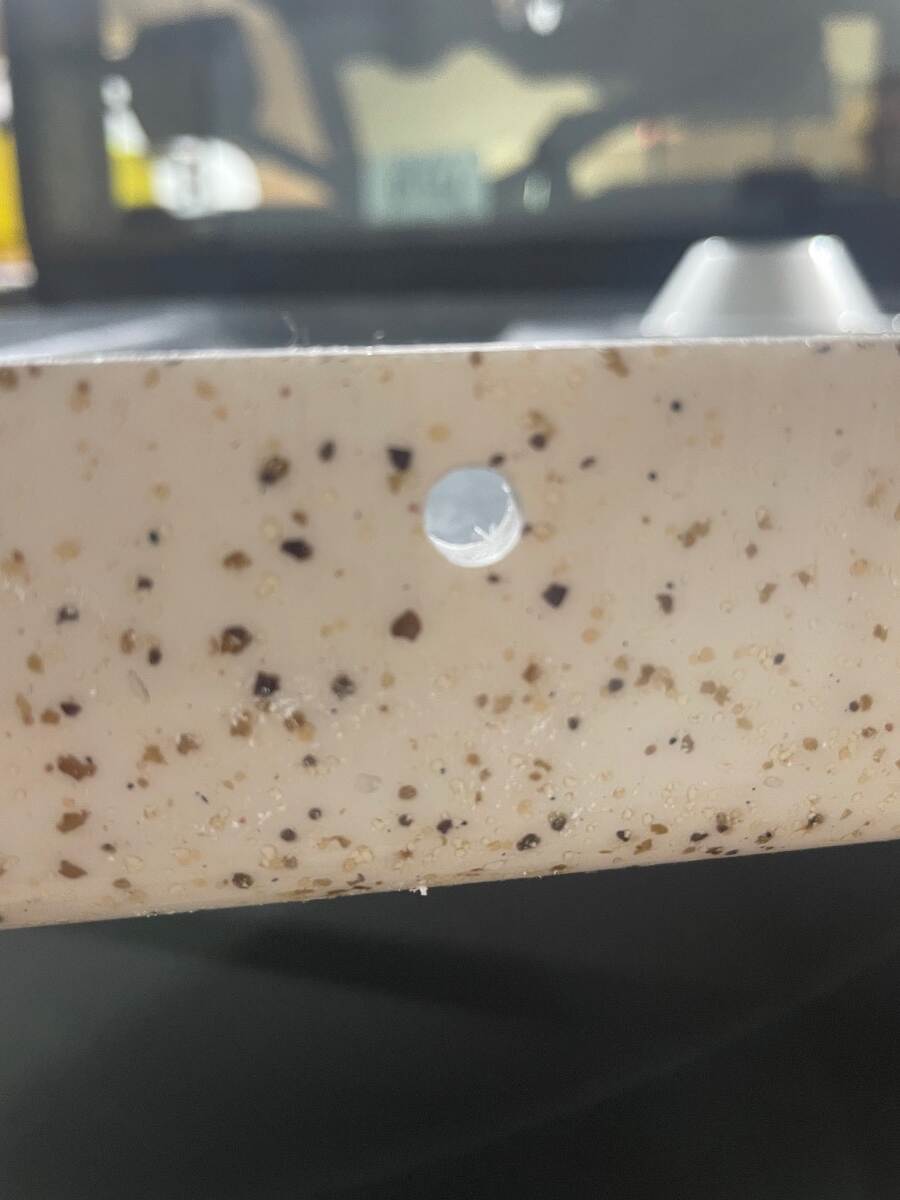
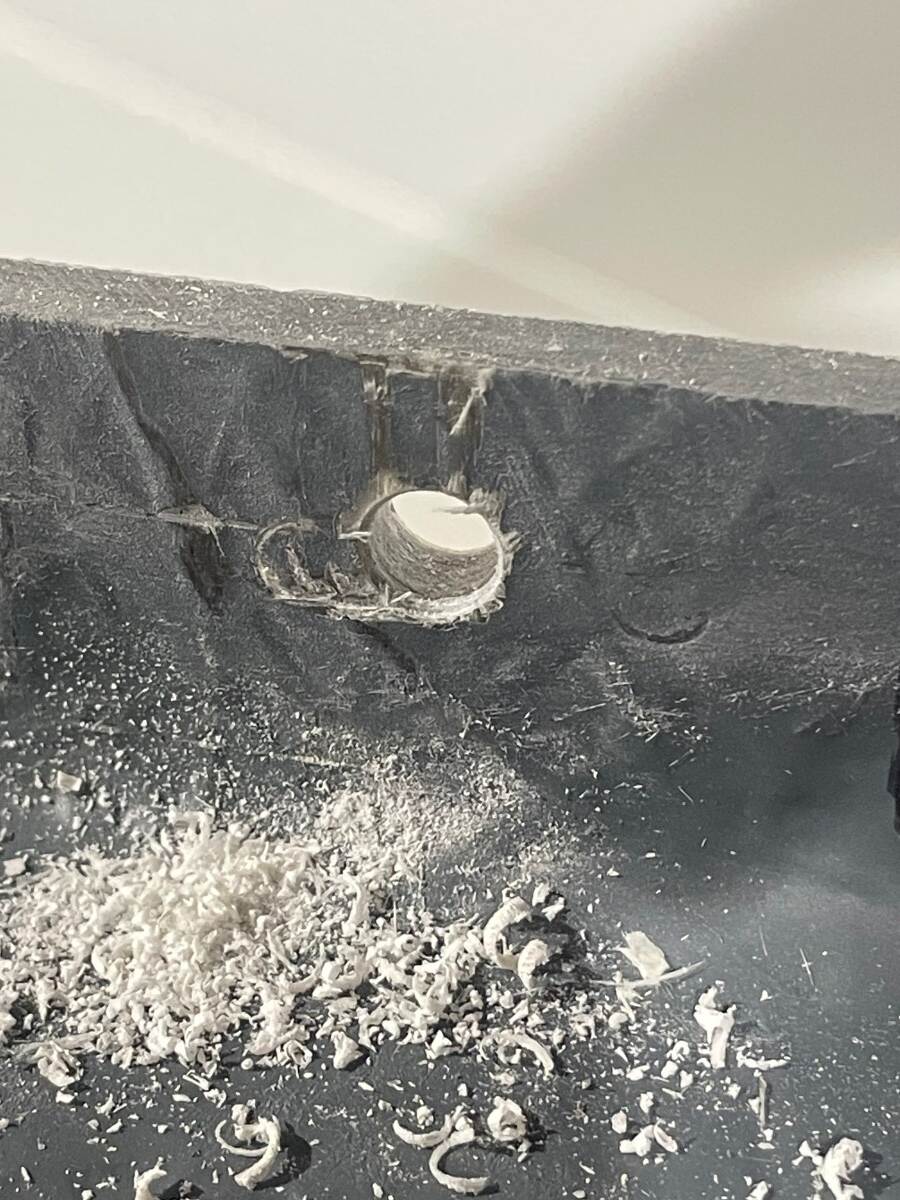
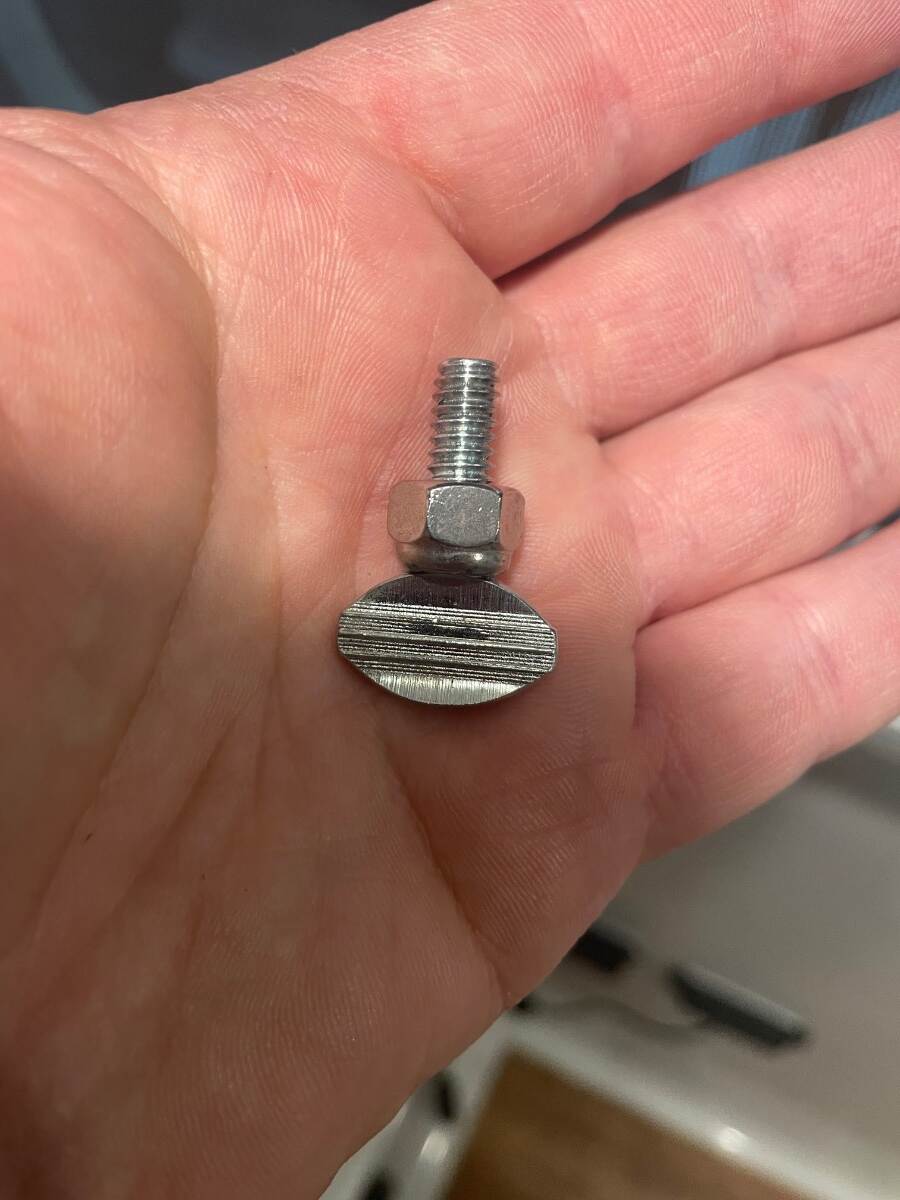
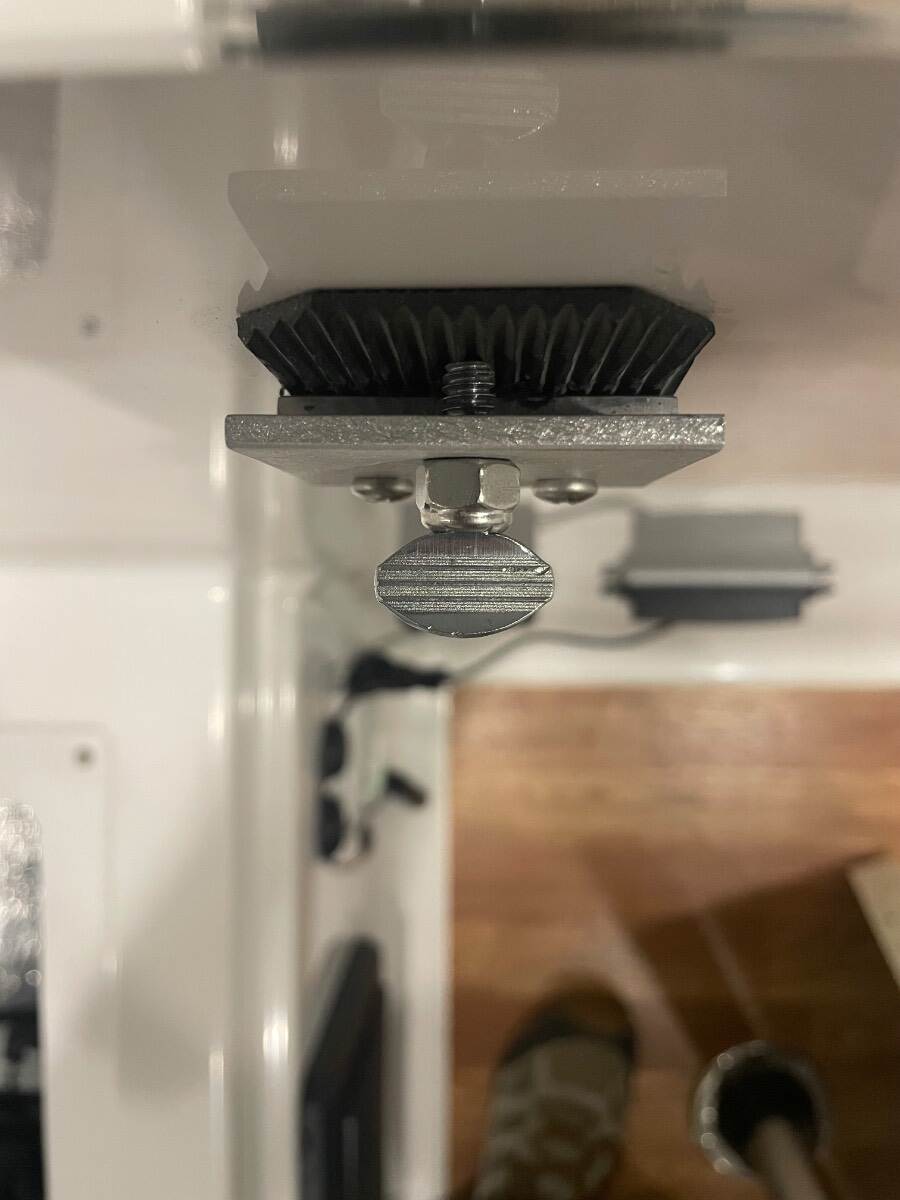
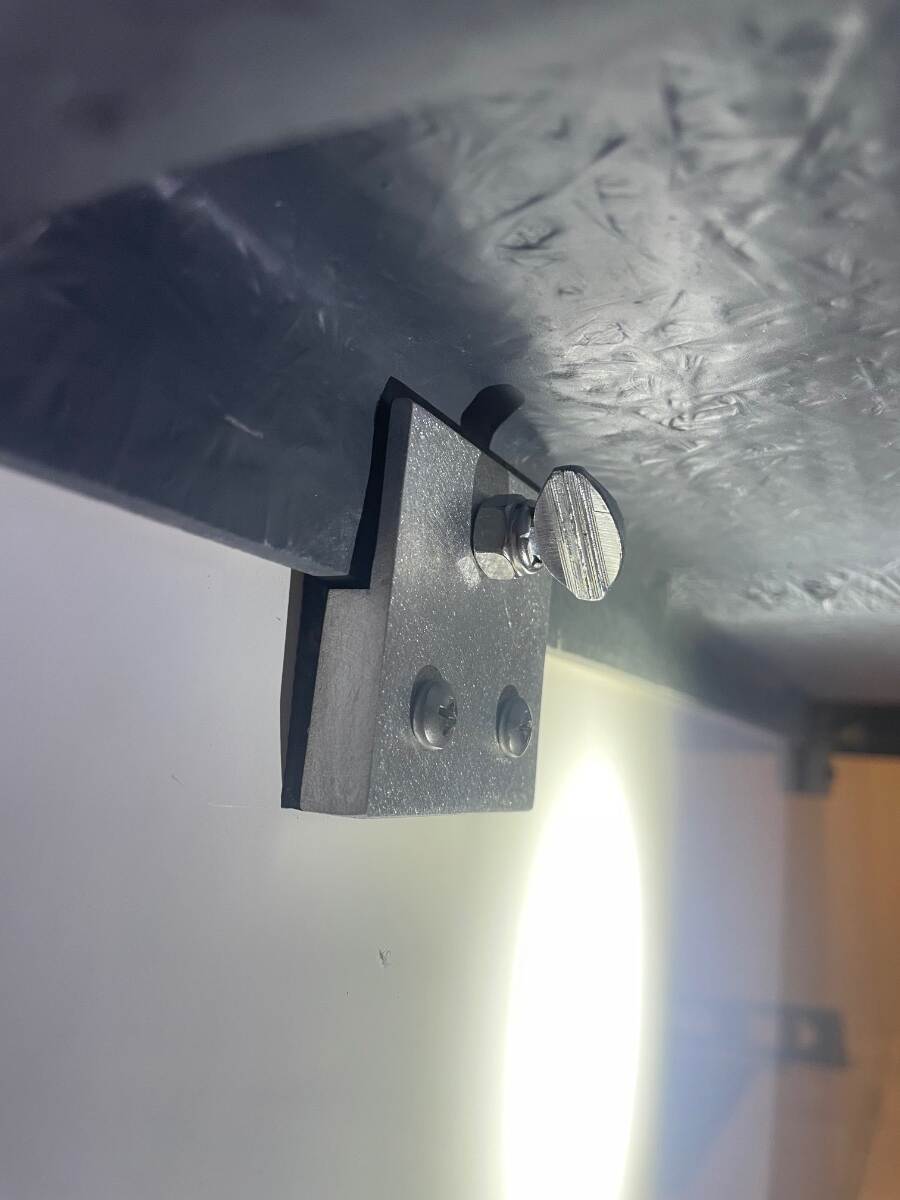
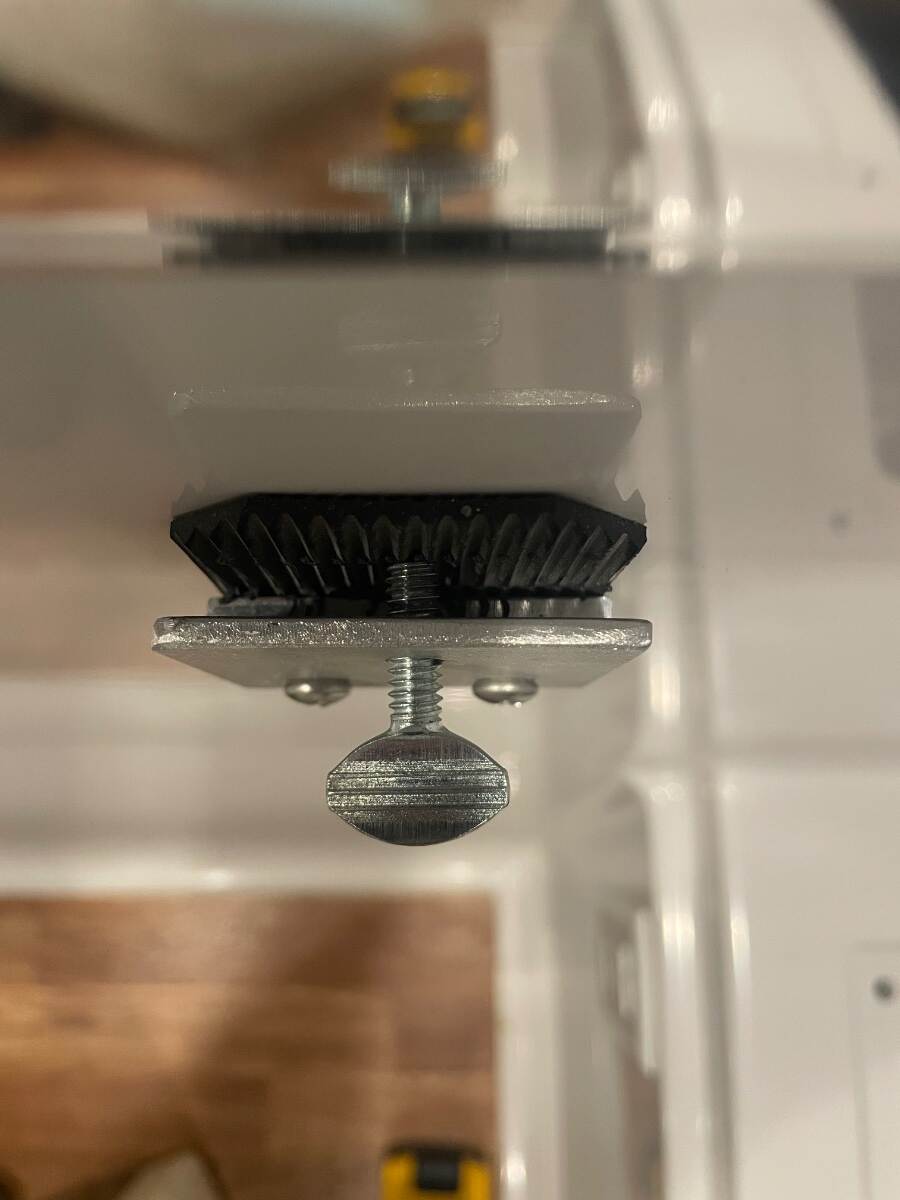
Occasionally I will place my hand on one of the front corners of our dinette table and it will cause the opposite back corner to lift up out of its bracket. I don’t tighten those two thumb screws down too tight because I don’t want to bend the aluminum bracket or break the screws that secure it to the wall. I drilled two holes in the back edge of the table so that the thumb screws would pass through them to prevent the table from slipping up out of the brackets. If you want to do this, start off by leveling your trailer then check to see if your table top is level. Make sure your table leg is plumb. Place a level against one side of the table, plumb it, and see how far the edge of the table falls away from the edge of the seat. Repeat the previous step on the opposite side of the table. I did this to make sure the table was centered between the two dinette seats before I drilled any holes. After verifying that the table is in the middle of the dinette mark the edges of each bracket and the location of the holes. Drill pilot holes using a small bit at very low speed. Enlarge the pilot holes with a step bit at slow speed. I stepped the hole size up to 1/4 inch. Use the step bit again to enlarge the holes on the back side of the table top so that you have a 1/4 inch hole all the way through the table edge. The step bit will chamfer the hole but I used a countersink bit to widen the chamfer. The thumb screws should be screwed in until they just touch the rubber bumper behind the bracket. I found that a 1/4 Nylock nut threaded on the thumb screw backwards made a good stop nut. I used a stainless steel nut because that’s what I had. The Nylock nut was the right height to stop the thumb screw at the proper depth. Finished product. If you find that the second thumb screw doesn’t quite line up with the second hole you can elongate one or both holes with a rat tail (round) file. I did this on hull 313. I don’t know if Oliver continued to mount the table this way so this might not work on tables in newer Olivers. Bill
-
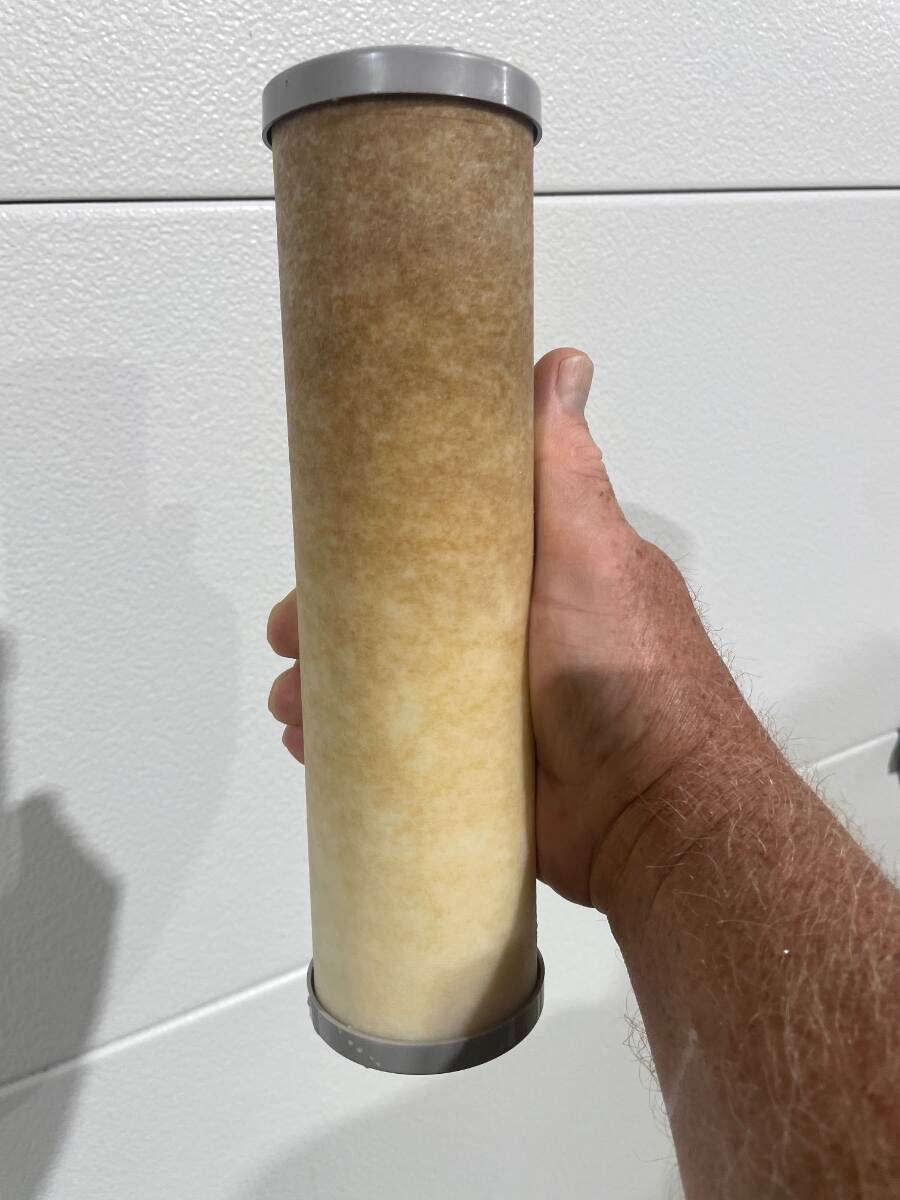
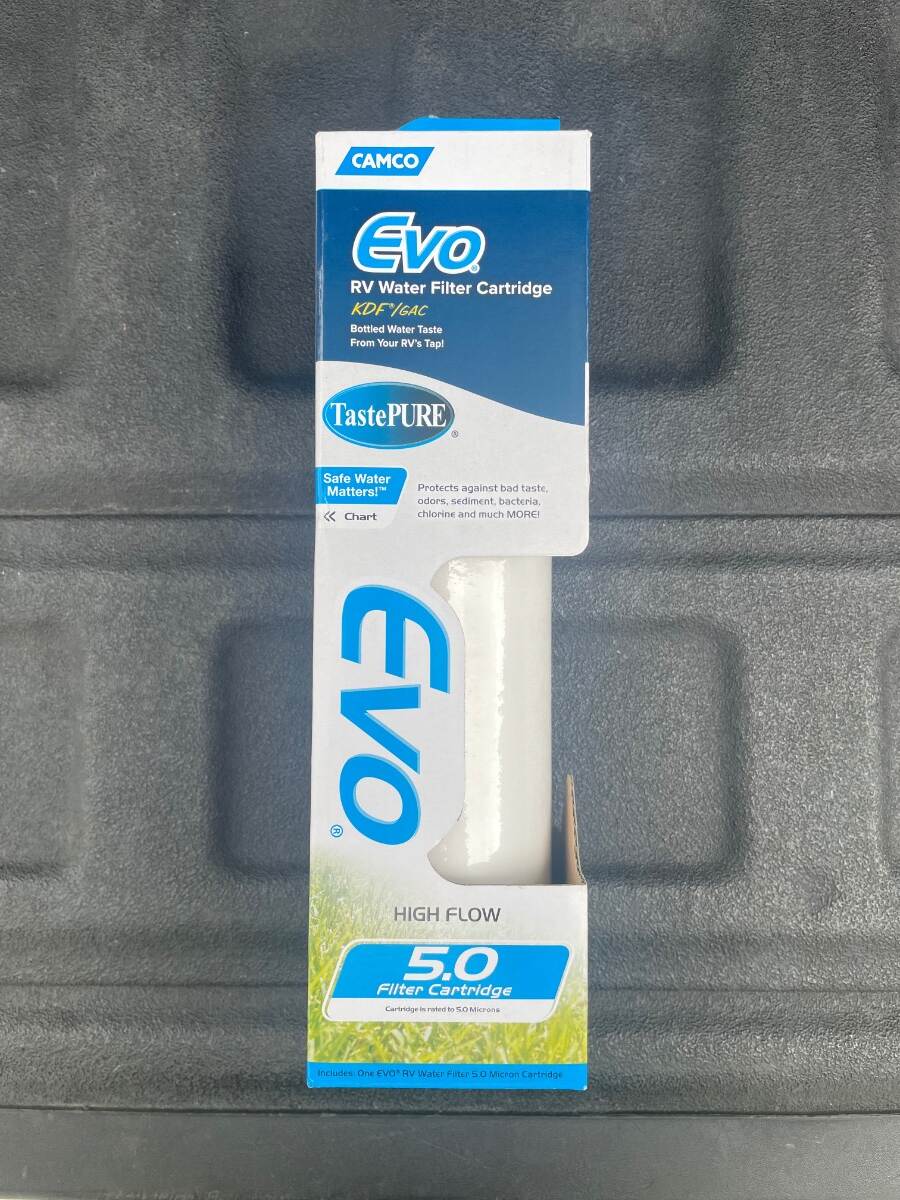
This is a Camco Evo water filter cartridge that has been used on one trip for 20 nights in 6 different campgrounds in 5 different states. We set up for 3 additional single nights in 3 more CGs where we didn’t hook up to the water. I don’t know which CG water caused it to look like this. We don’t drink campground water and sometimes we can’t even shower with it. This is not the worst we’ve seen. The worst case was near Leech Lake MN a few years ago where I had to change the cartridge after 1 night. Those of you using the blue bullet water filters should probably be changing them every few days. Water with high mineral or organic tannins content will stain your plumbing fixtures and certainly your clothes if you wash in it. Bill
-
Was the clamp open when you looked at it immediately following the incident? Bill
-
@mossemi And thank you Sir for your help. Bill
-
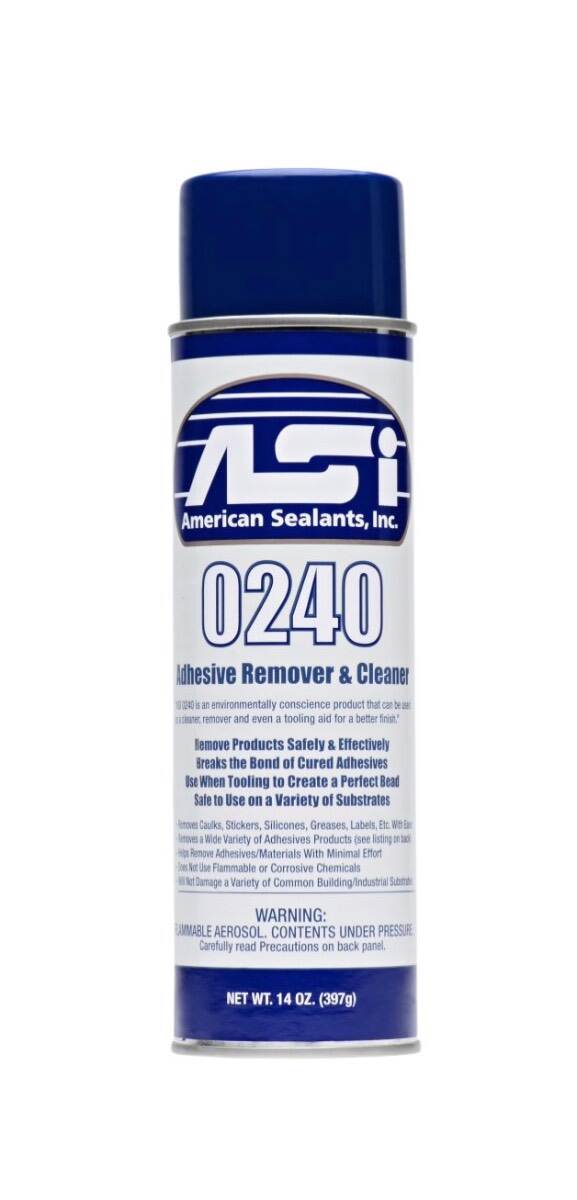
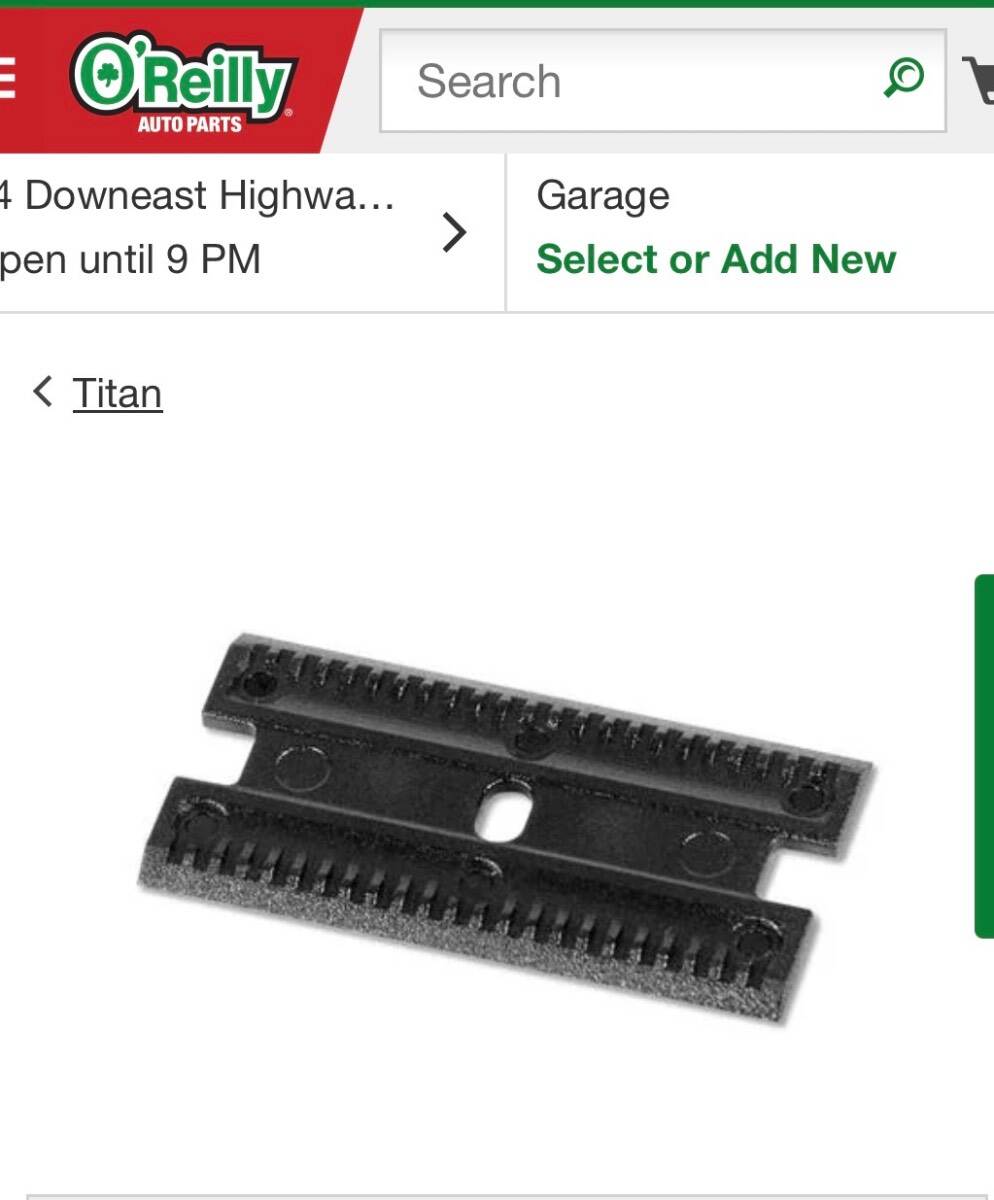
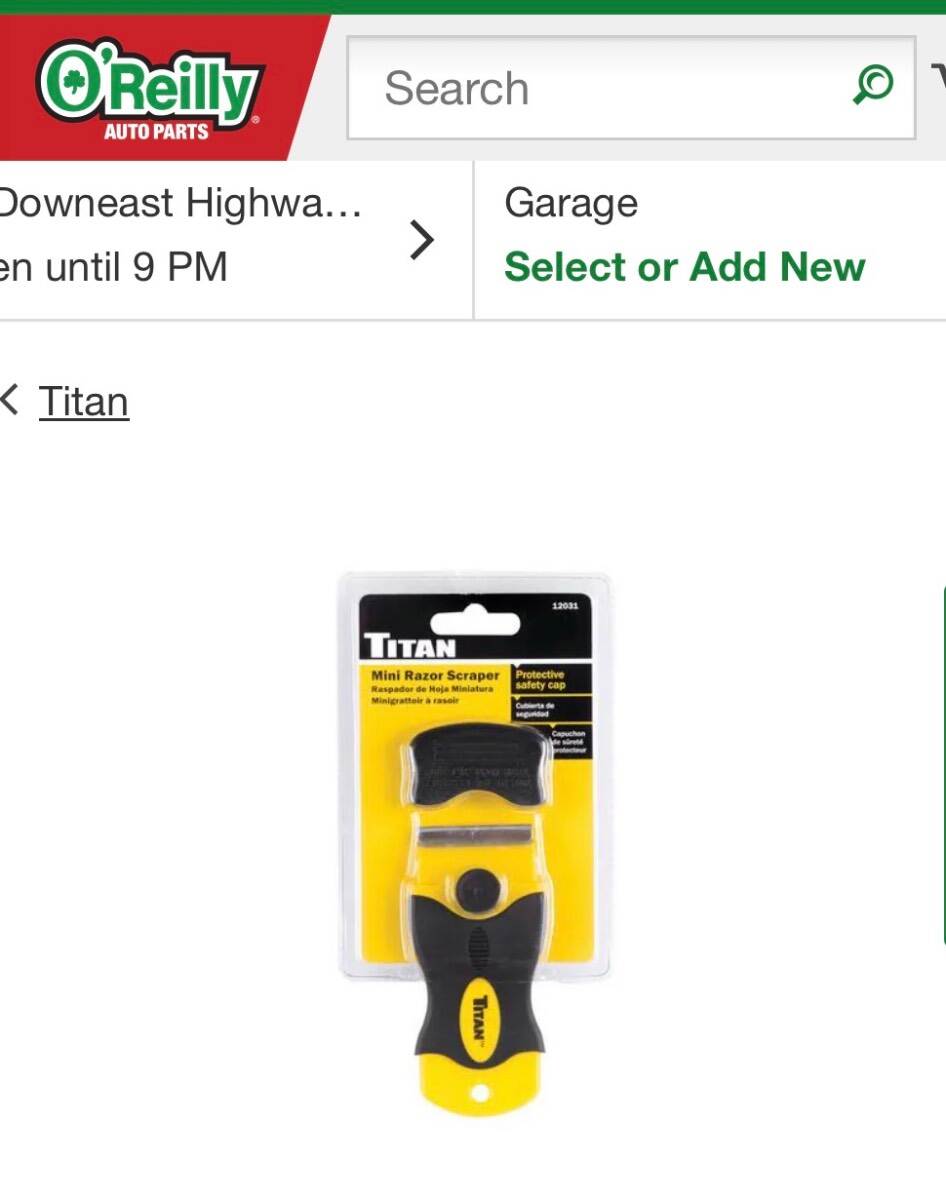
Caulk used Adhesive remover used Plastic razor blades from O’Reilly Razor blade holder also from O’Reilly Bill
-
Maxxfan Dome installation (previously orientation)
Townesw replied to Townesw's topic in Ollie Modifications
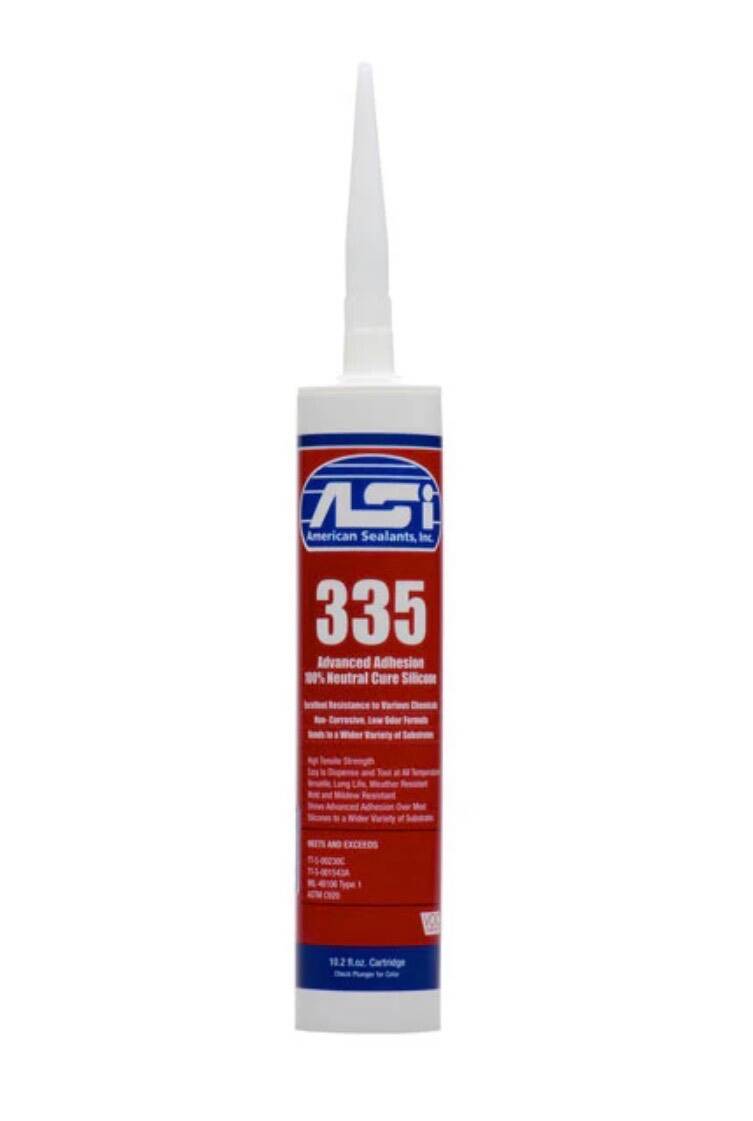
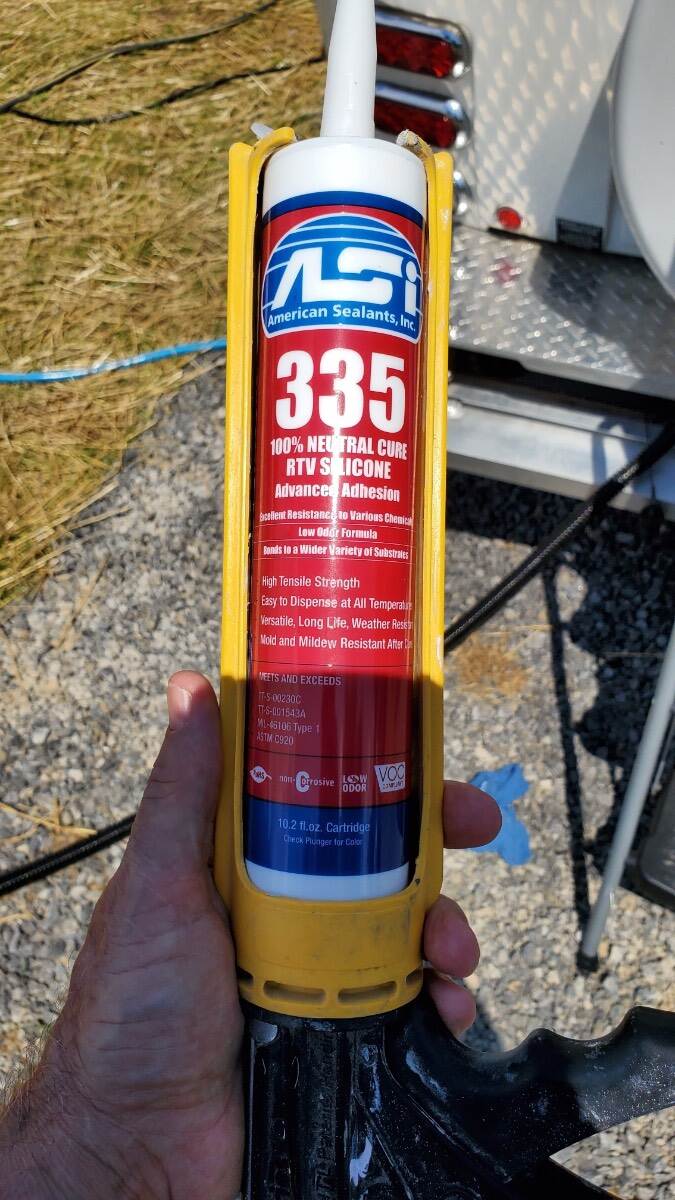
I sent a message to Meridian Products regarding the difference between ASI 335 and ASI 335WS. This was the response that I received: (And I apologize for the change in the font size) “…The 335 and the 335 Window Seal are the same base technology, the difference is the window seal label. In addition the Window is listed with AMMA for Window Installation.” I suspect that the “AMMA” that they refer to is actually “AAMA” , the American Architectural Manufacturers Association. Bill -
@jd1923 It is interesting that our tongue weights are the same but your total trailer weight is 600 lbs more than mine. Bill
-
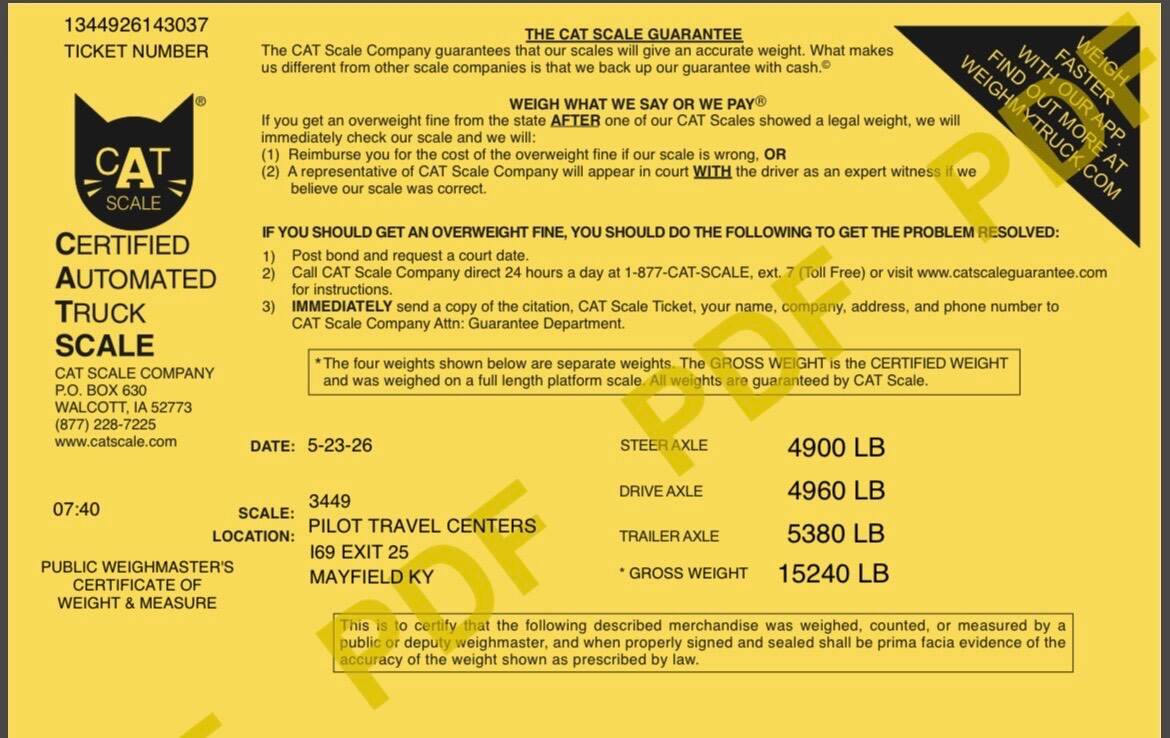
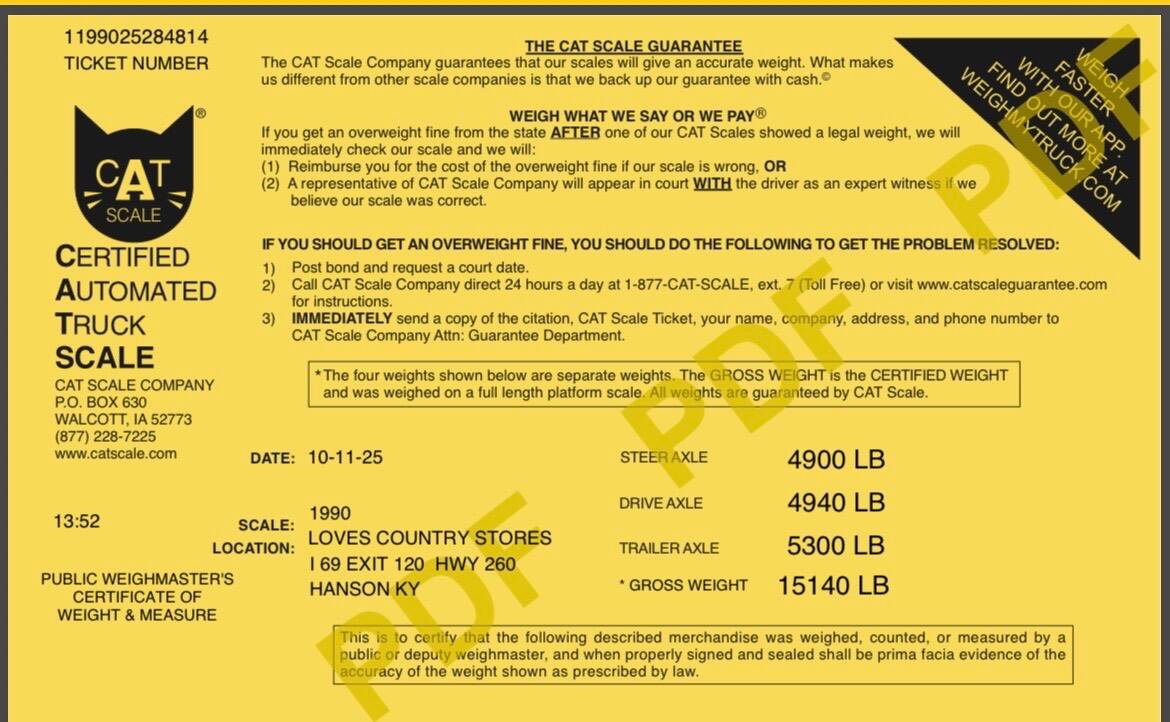
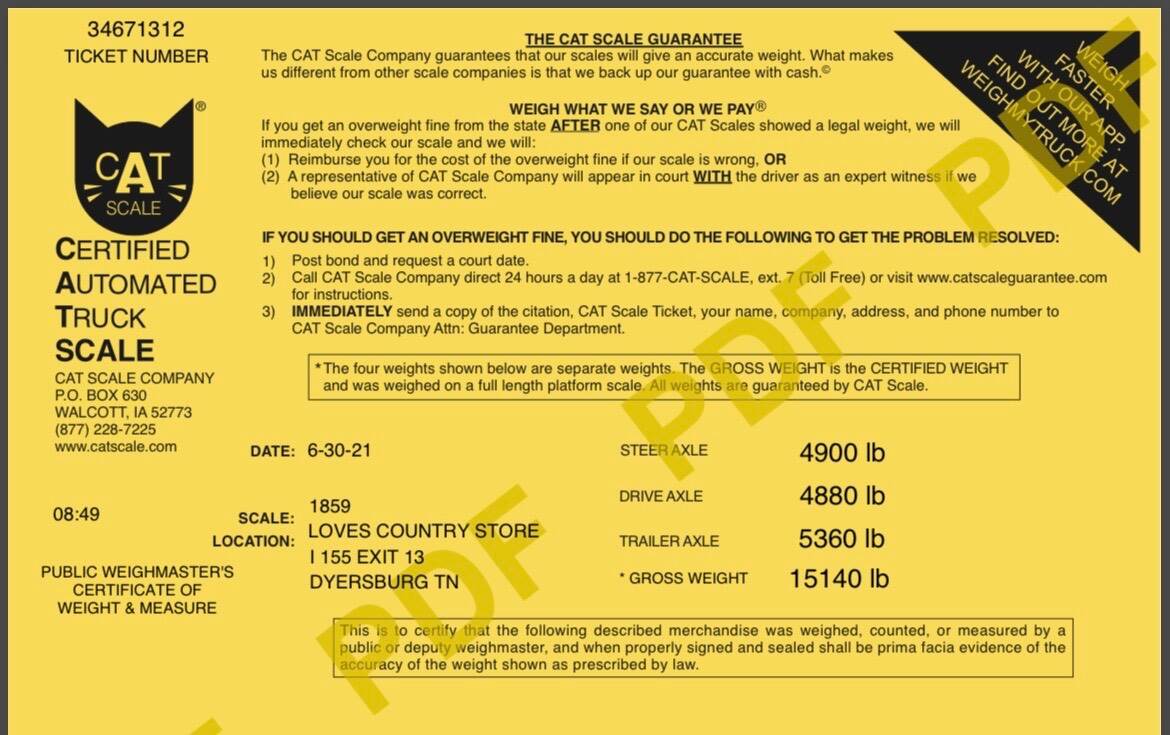
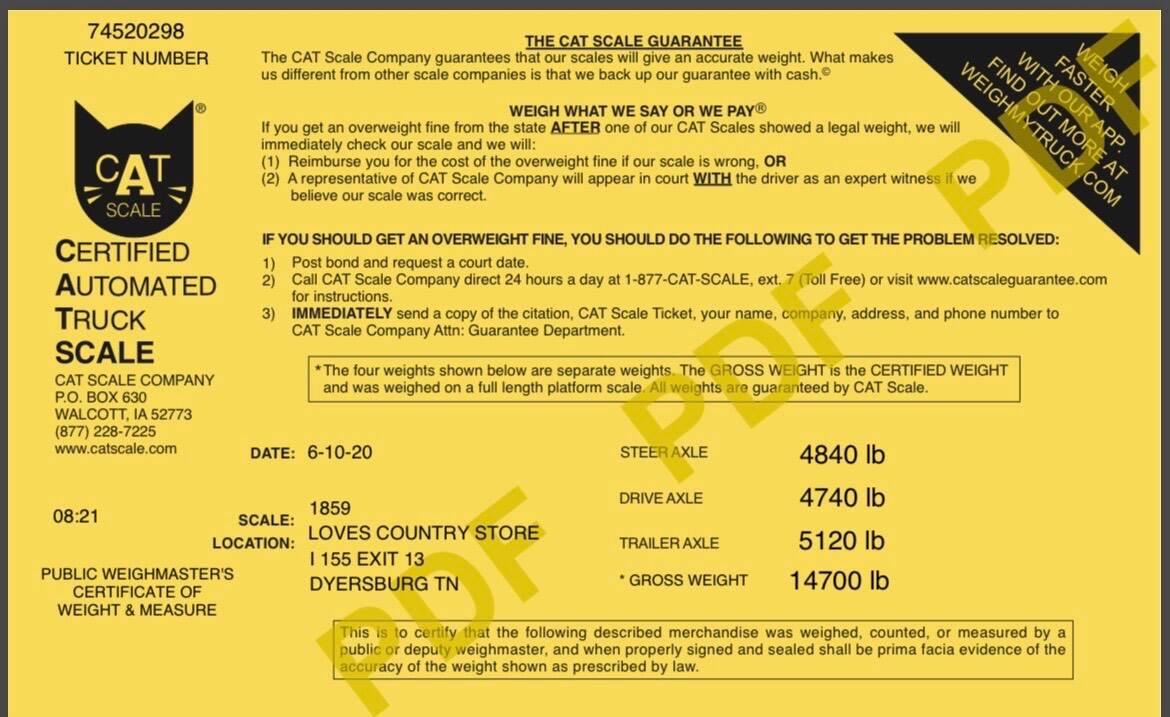
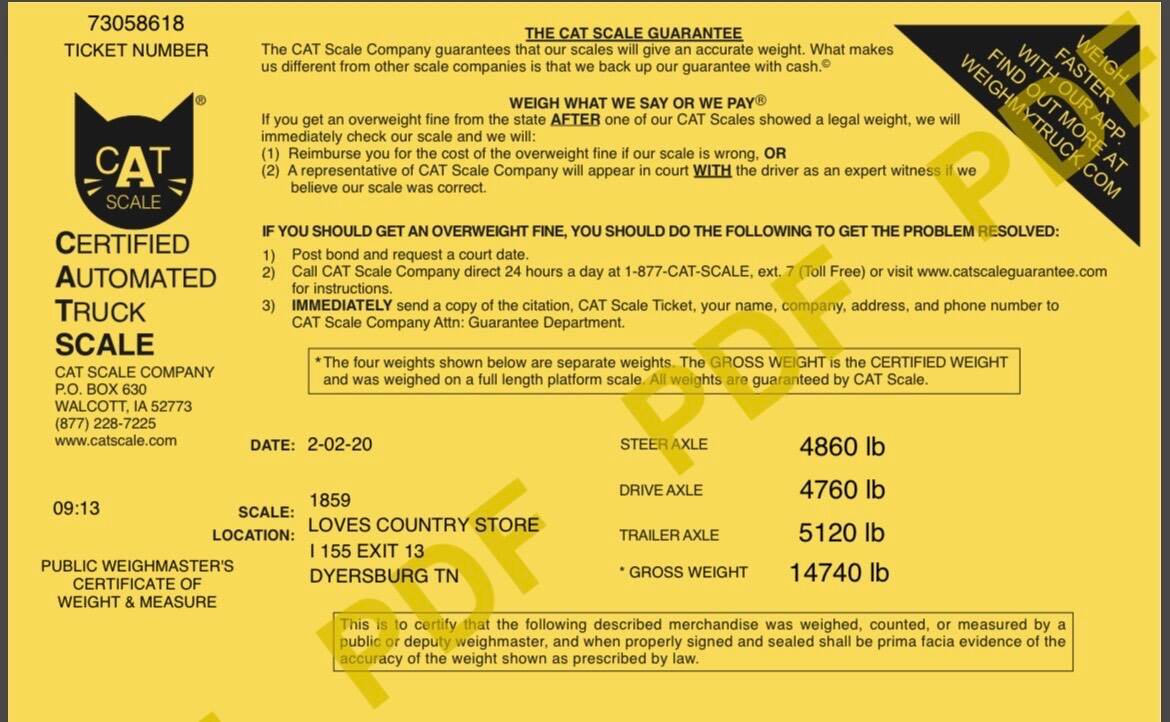
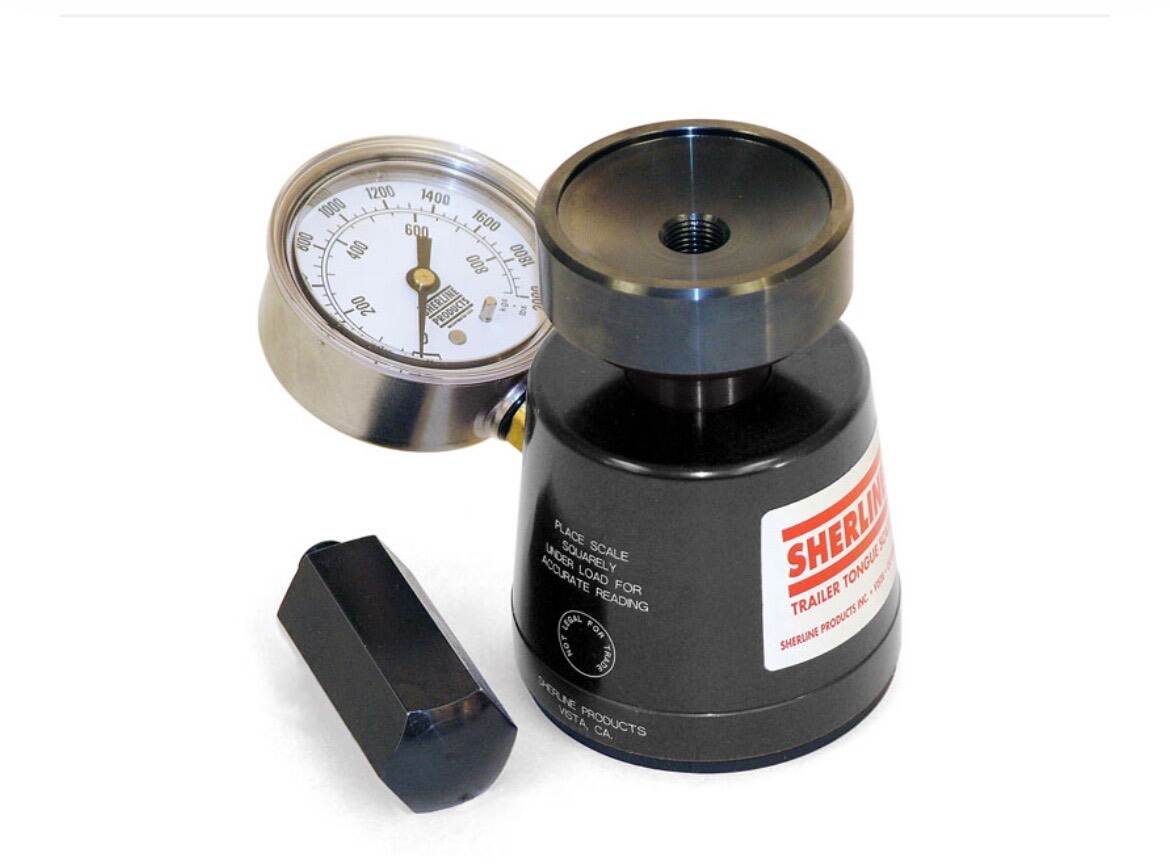
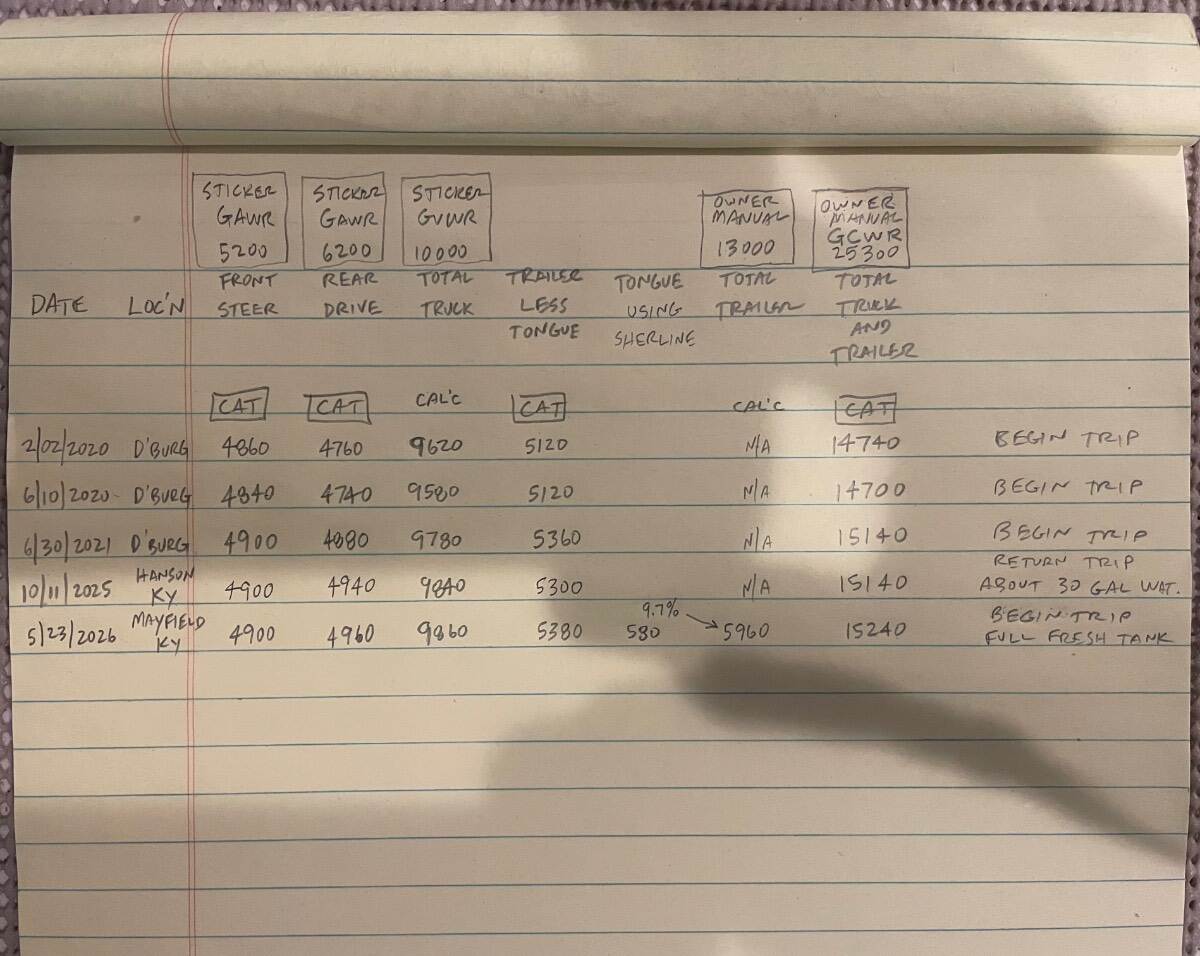
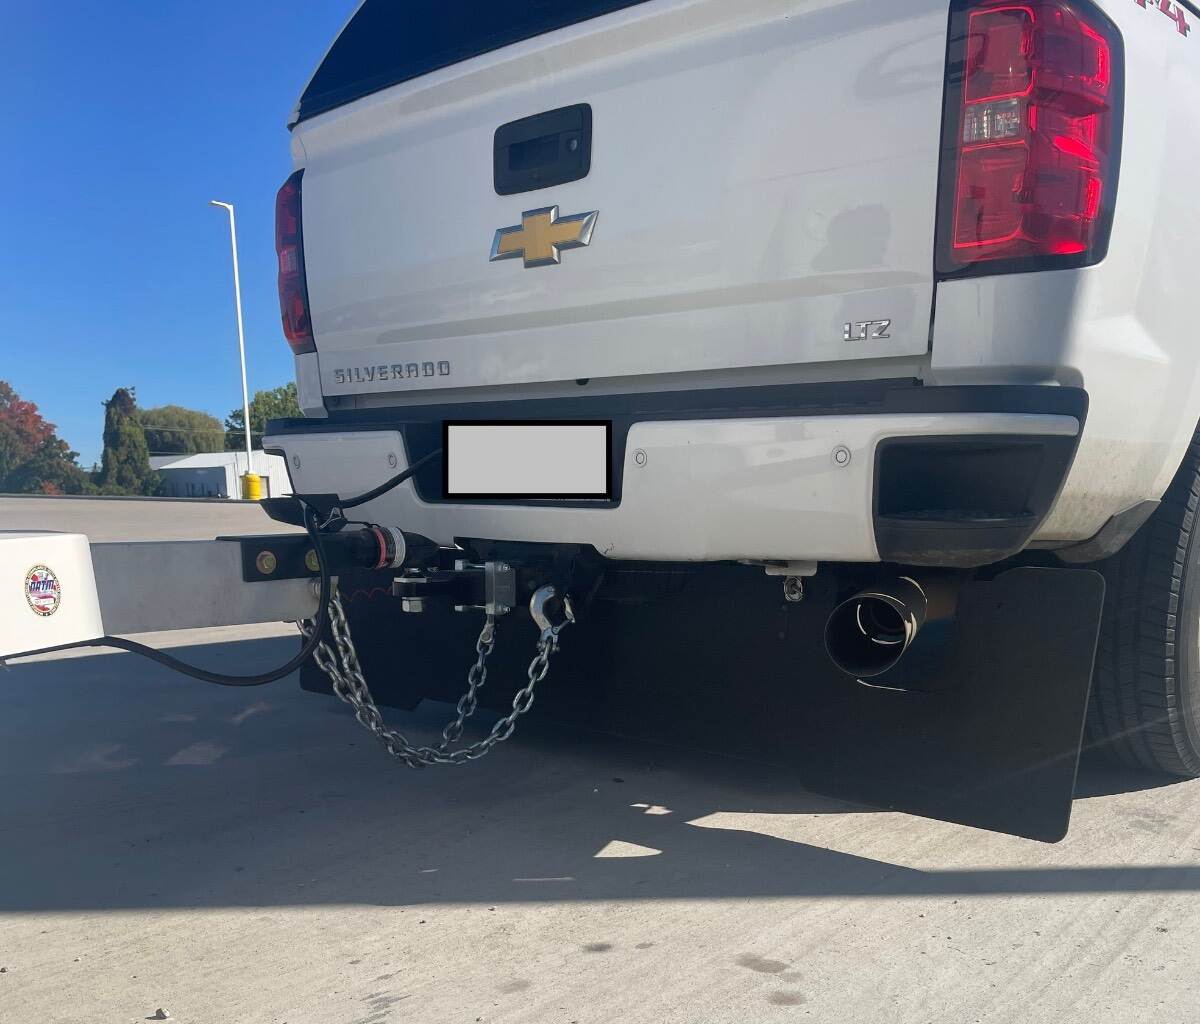
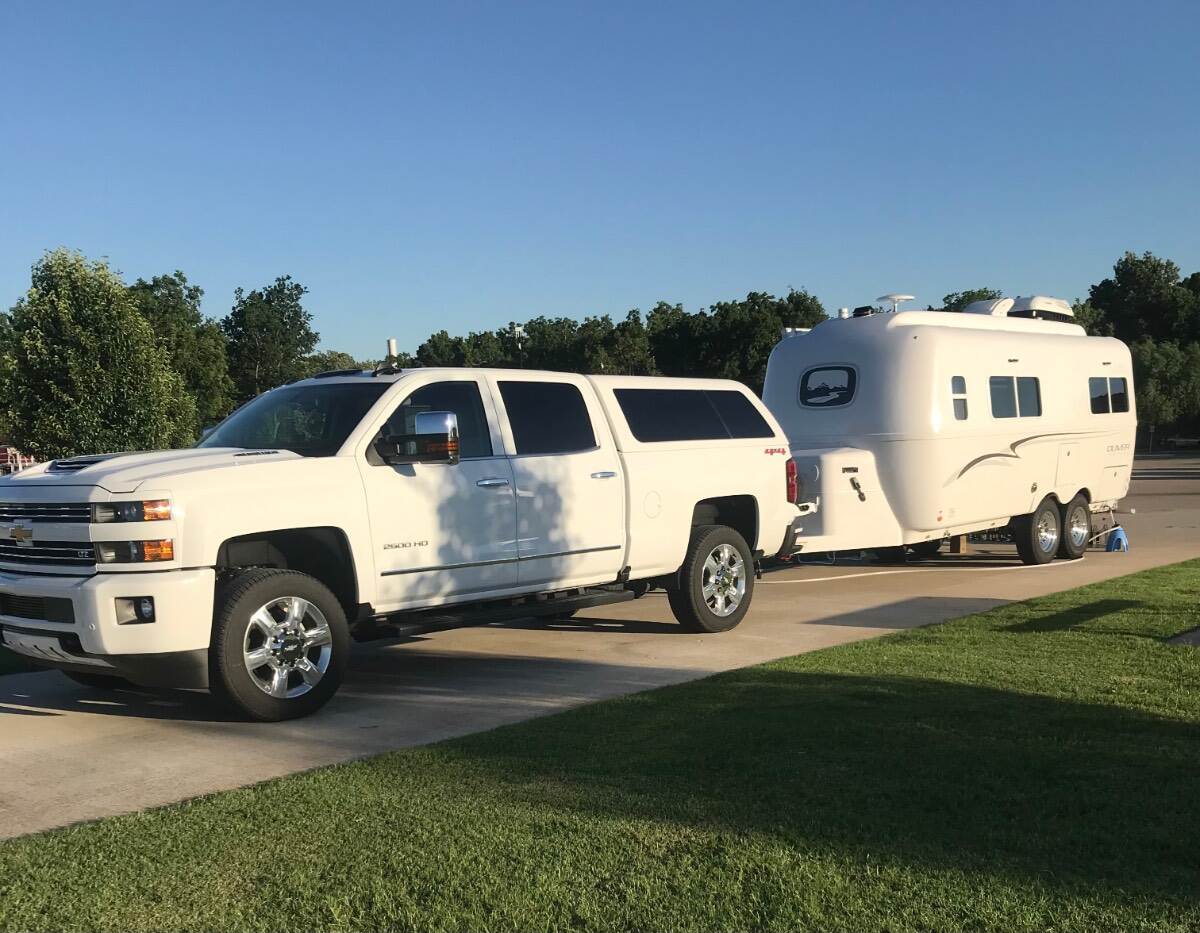
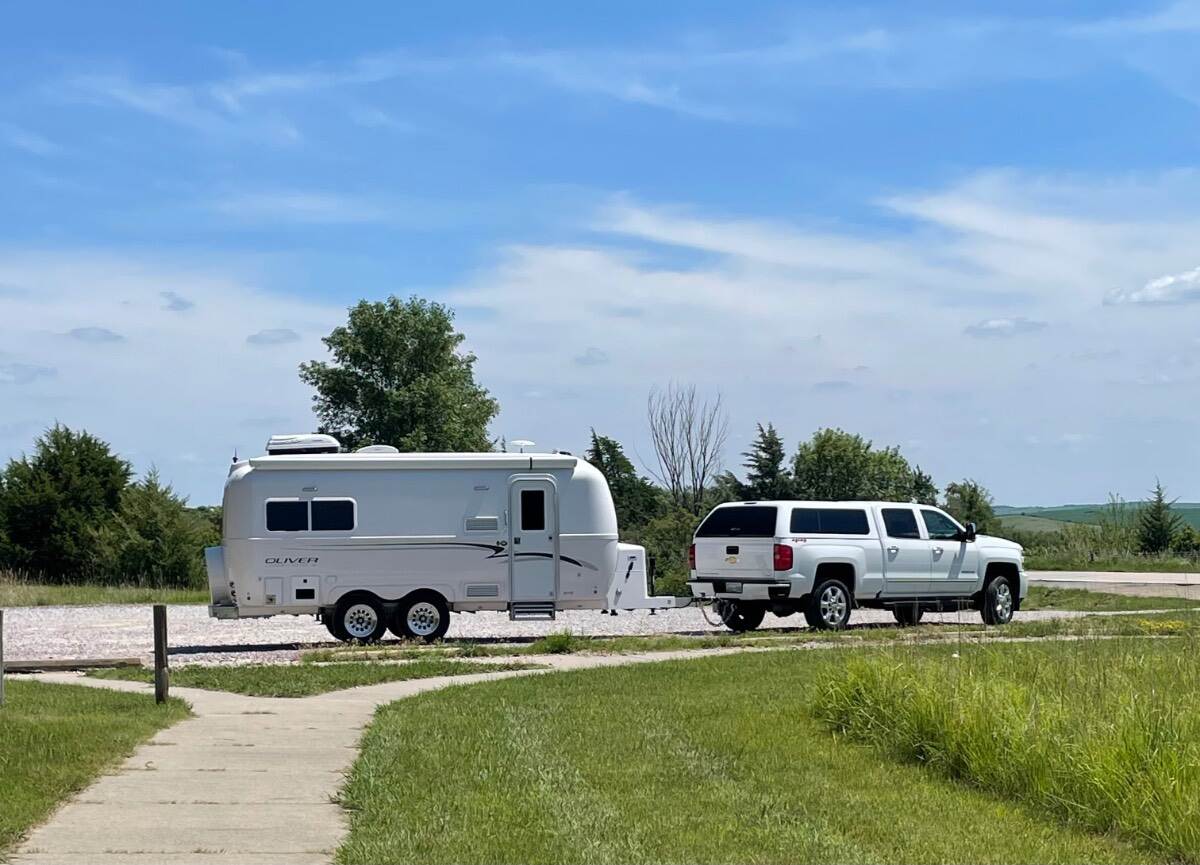
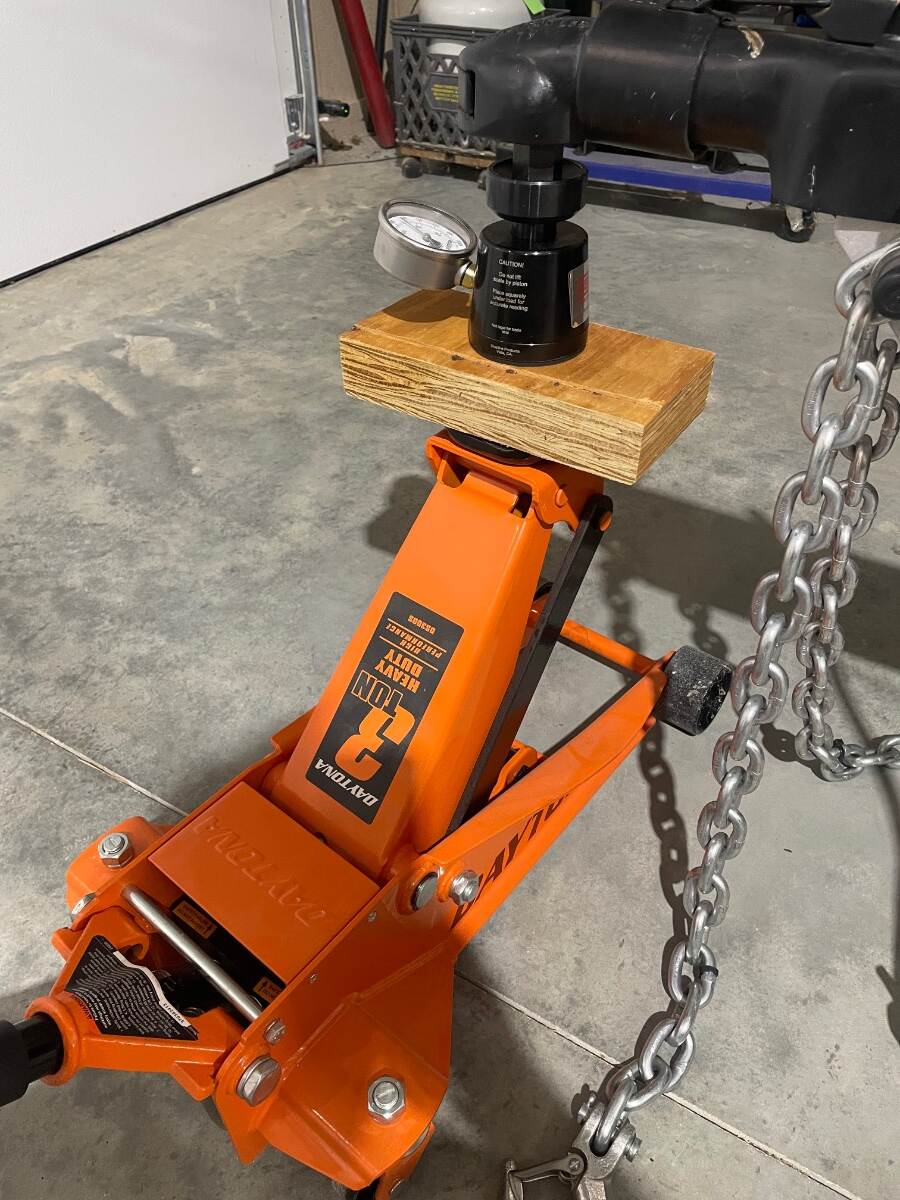
Here are my scale tickets since I have started using CAT scales. I tow with a 2019 Chevrolet Silverado LTX 2500HD with 6.6L Duramax and 6 Speed Allison automatic transmission. ARE bed topper with full bed. Both front seats occupied. Full width RockStar Commercial Tow Flap. Full diesel tank 36 gallons. Sticker FRT GAWR 5200 Sticker RR GAWR 6200 Sticker GVWR 10,000 Owners Manual Max trailer 13,000 Owners Manual GCWR 25,300 Just started using a Sherline Tongue Weight Scale Loaded tongue weight at the beginning of the current trip is 580 lbs. Full fresh water tank (30 gallons of water weigh 250 lbs). Empty black and gray tanks. Full 30 lb propane tanks (About 110 lbs). Full refrigerator. No tongue basket. No bumper attachments. Four AGM batteries. No solar. Here’s a spreadsheet that I scratched out this morning “CAT” is a weight off the CAT scale ticket. “CAL’C” is a calculated weight “Sticker” is a weight off of the vehicle placard. “Owners Manual” is a weight out of the owners manual for my truck. I tow without a weight distribution hitch. Trailer brake gain usually set on 4, bump up to 5 or 6 if raining and/or hilly. Front 60, rear 75, trailer 50 cold tire pressures. Tow/haul, exhaust braking, Cruise control on. Original brakes, I’ve installed new Timken or NTN bearings at 6,400 miles and 20,000 miles, and will install new bearings at about 32k. Just over 30,000 miles total on the trailer. Trailer stays in heated and air conditioned shop when at home. I am very pleased with how the truck and trailer operate together at these weights. I’ve posted this information for those who are interested in how other folks tow. Bill
-
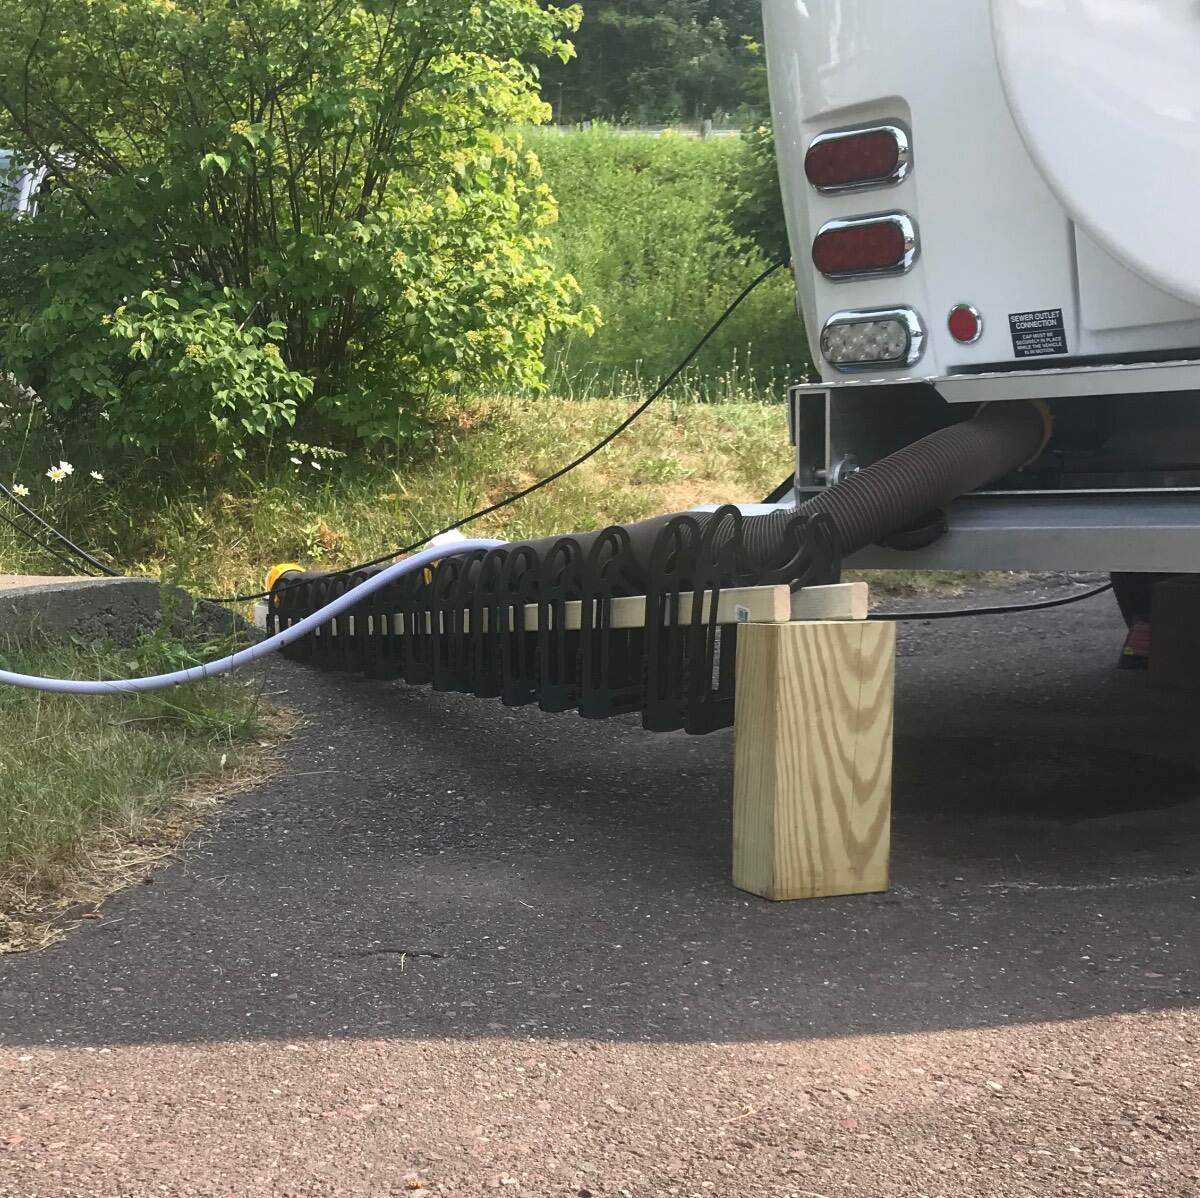
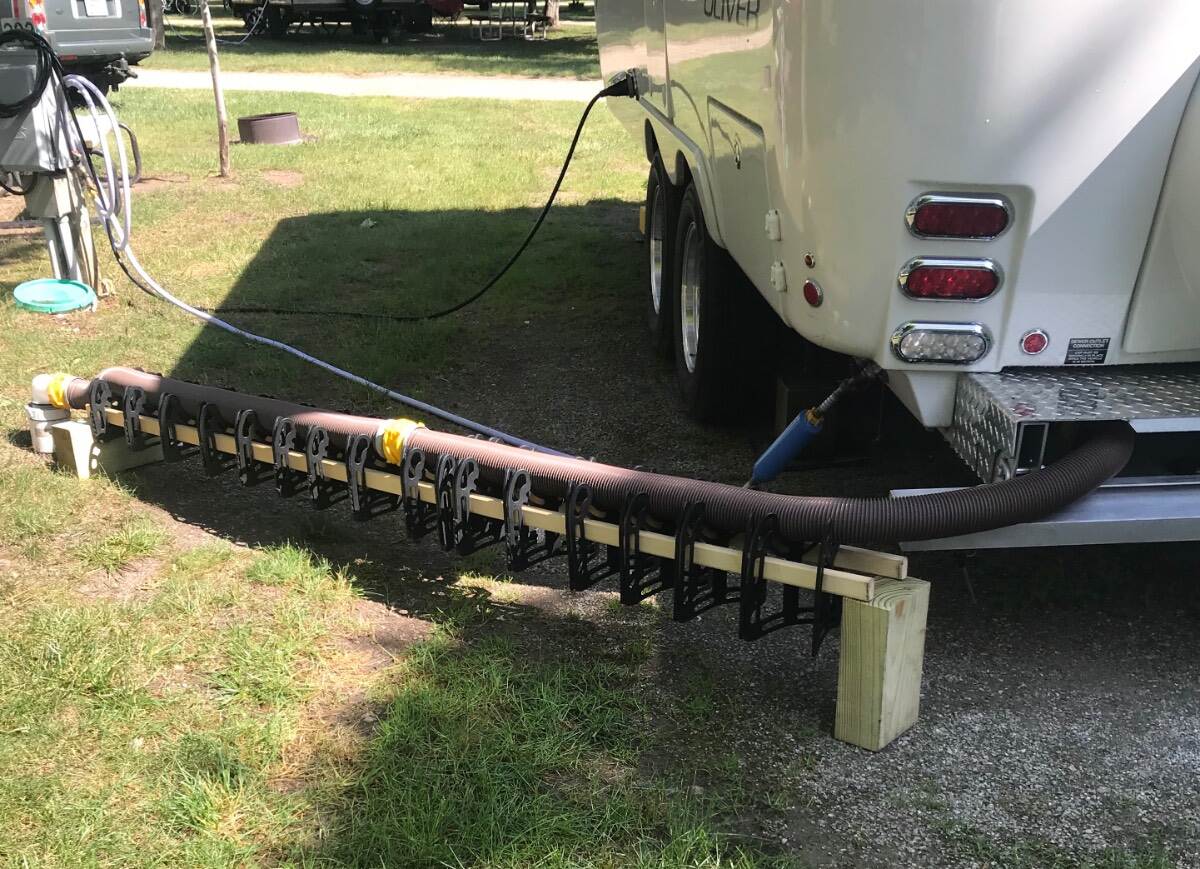
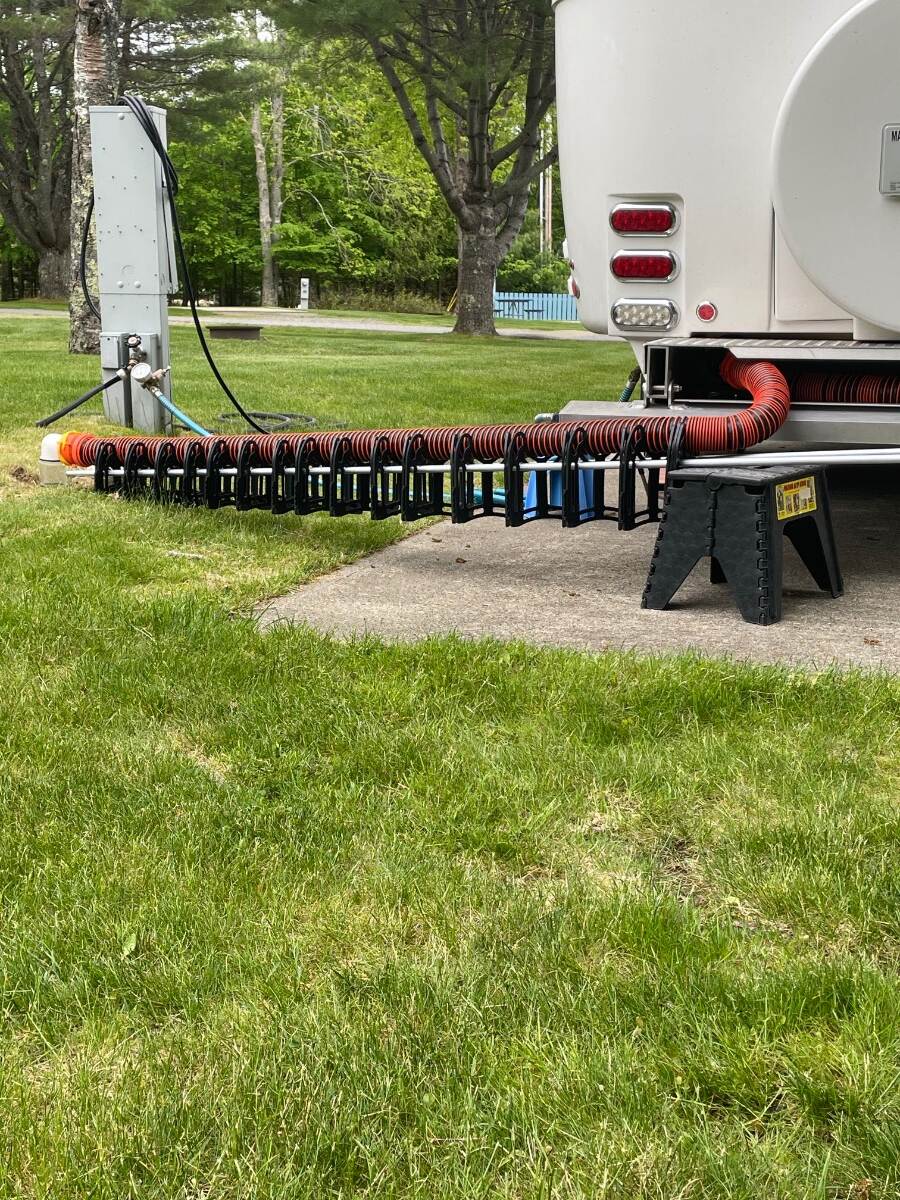
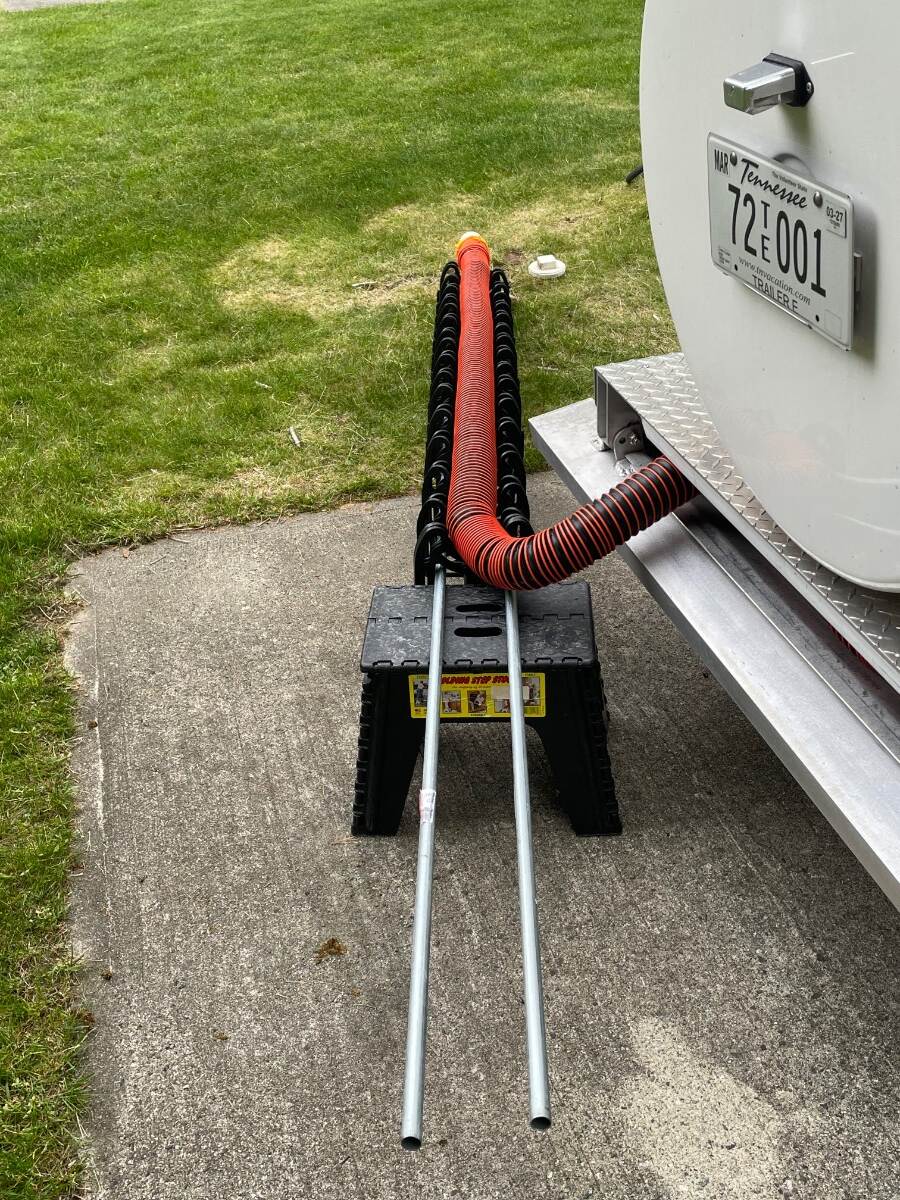
Here’s a trick to dump your tanks when the sewer hookup is uphill from your bumper. Here I used (2) 1”x2”x8 ft from an Ace Hardware store on the Keweenaw Peninsula Houghton MI Door County WI This time I picked up (2) pieces of 1/2”x10 ft EMT conduit from HD in Ellsworth ME. I like the conduit better than the 1x2 wood. The sewer hose supports slide better on the conduit and when I get home I’ll cut each conduit in half and turn a steel rod to just fit inside the conduit to make a splice for the halves. I thought I could stick the whole 10ft length into the Oliver aluminum rectangle frame rail but bolts through the rail prevent my doing this. Bill
-
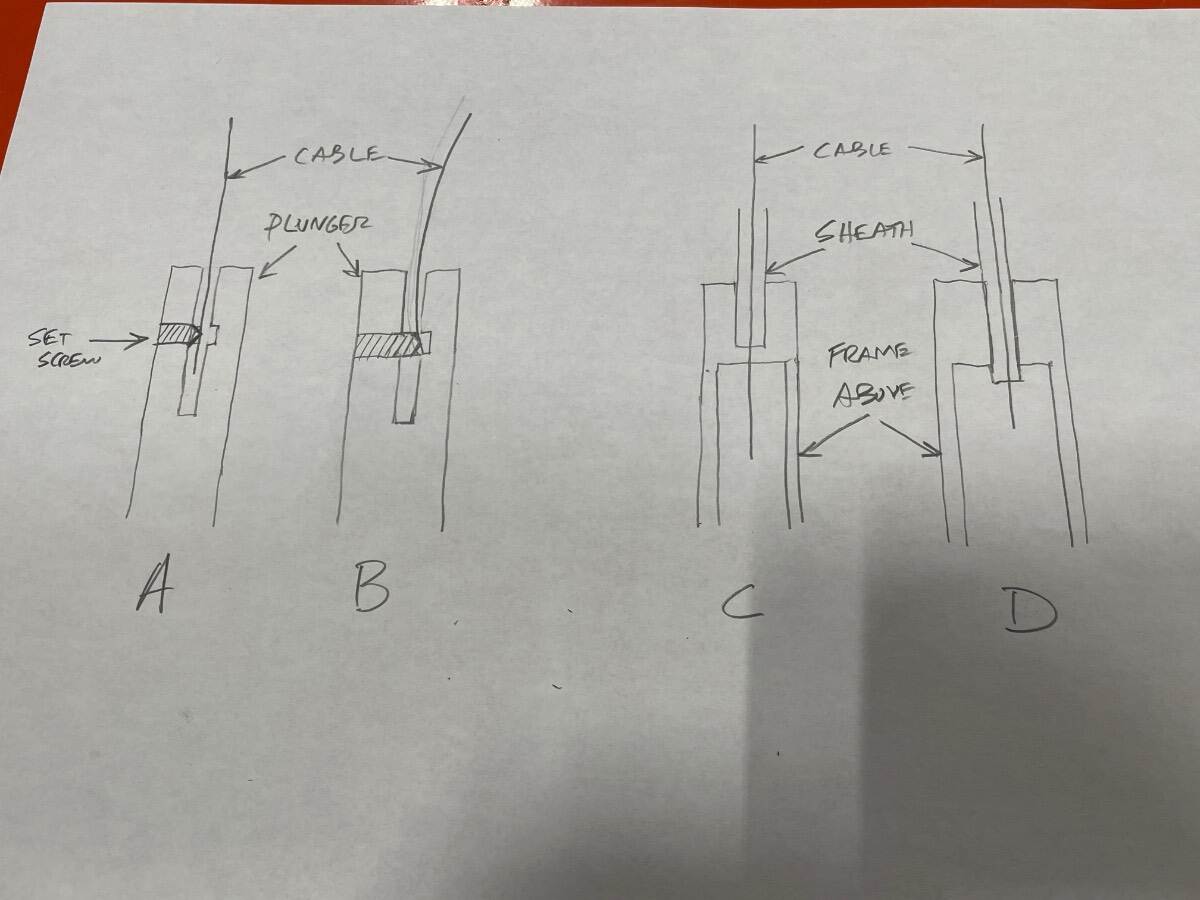
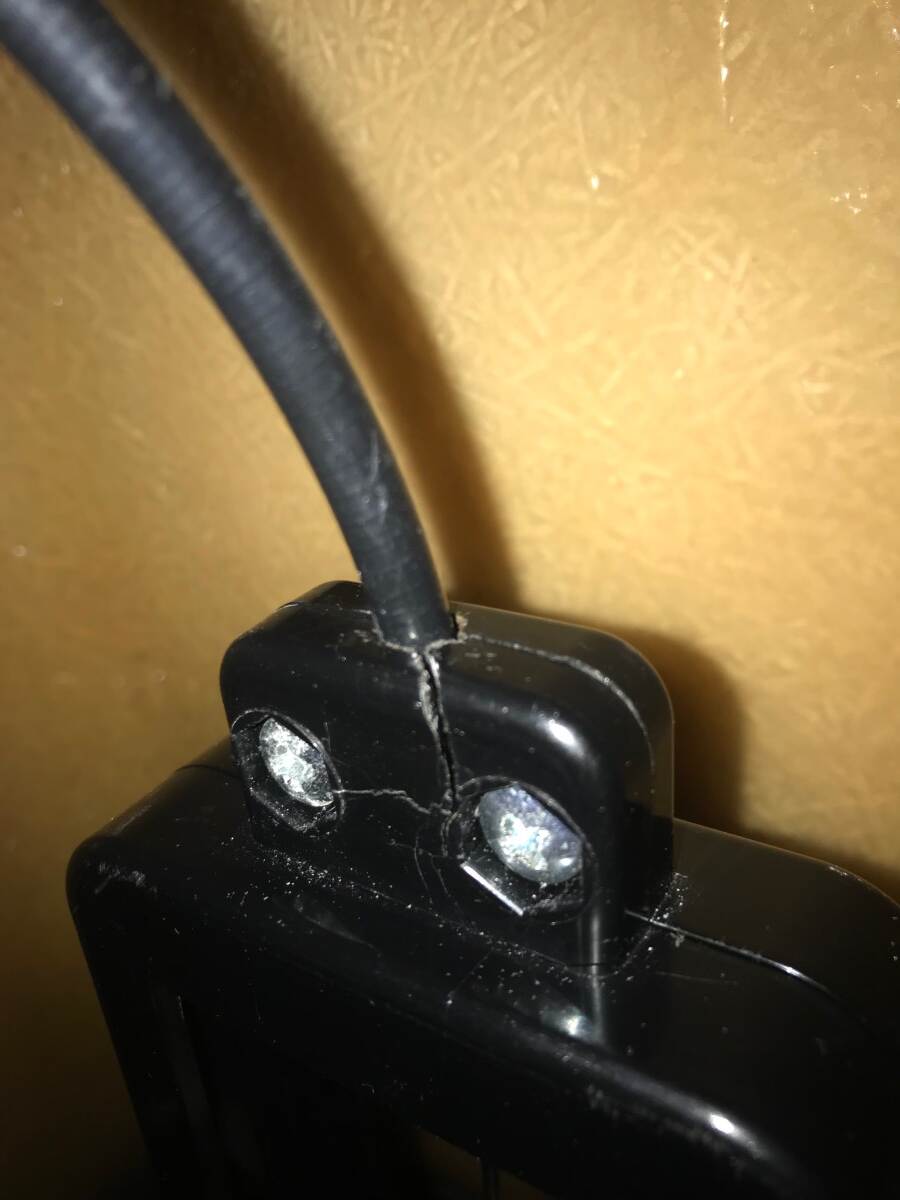
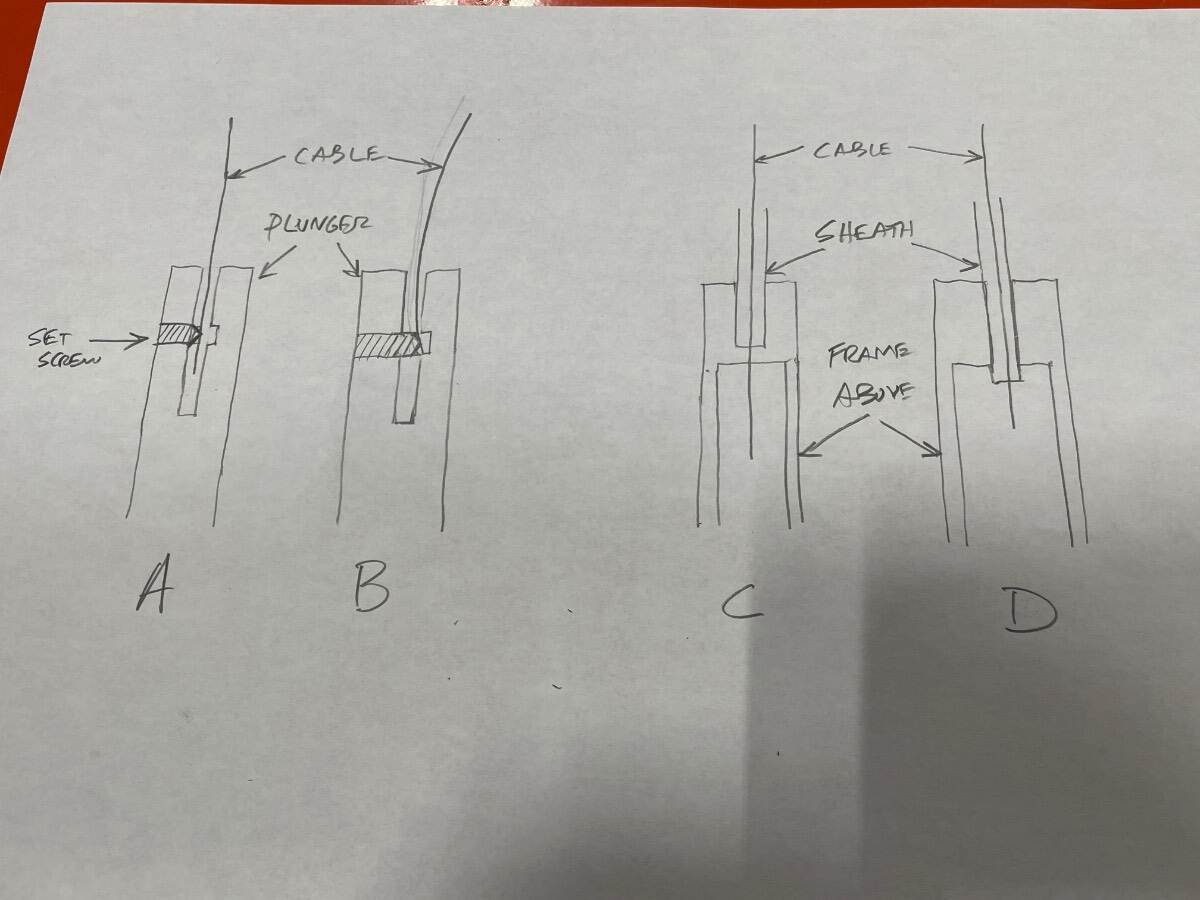
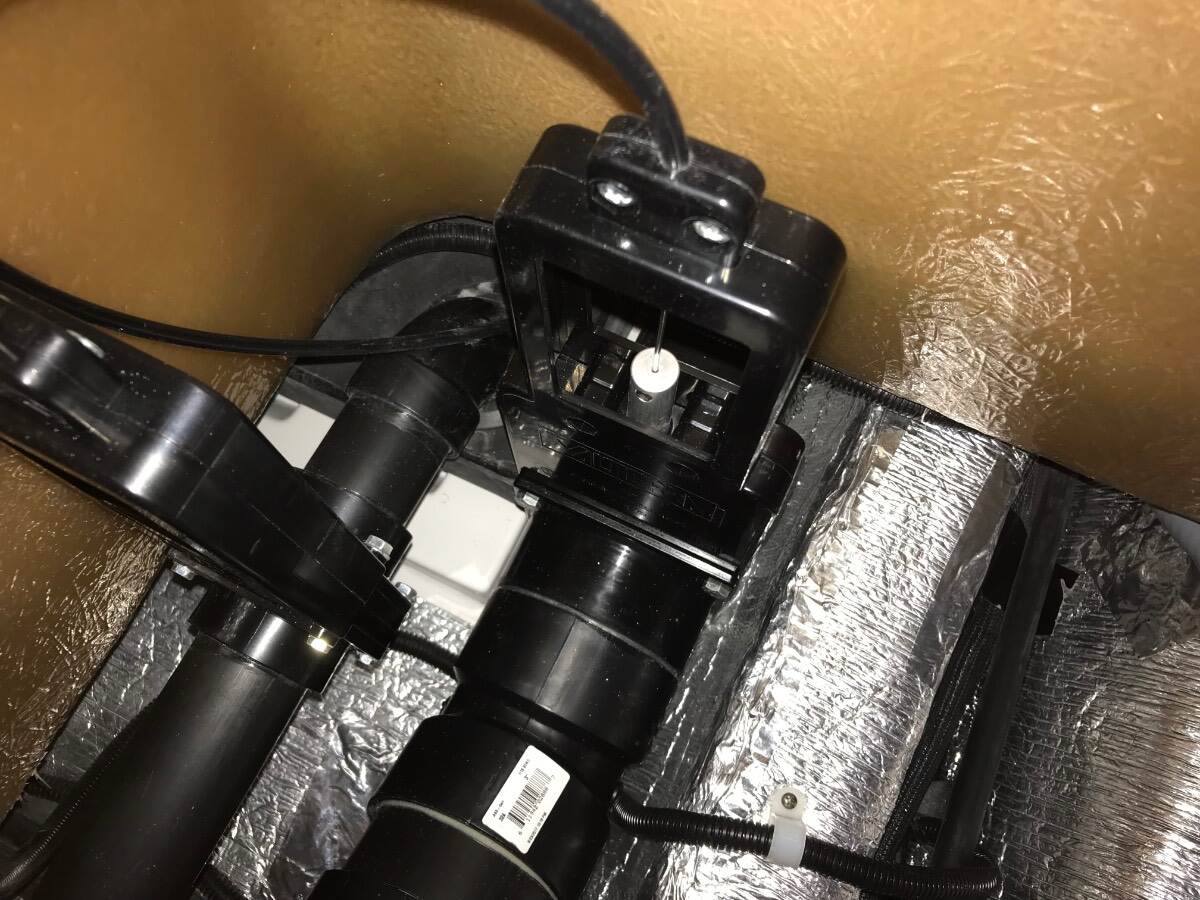
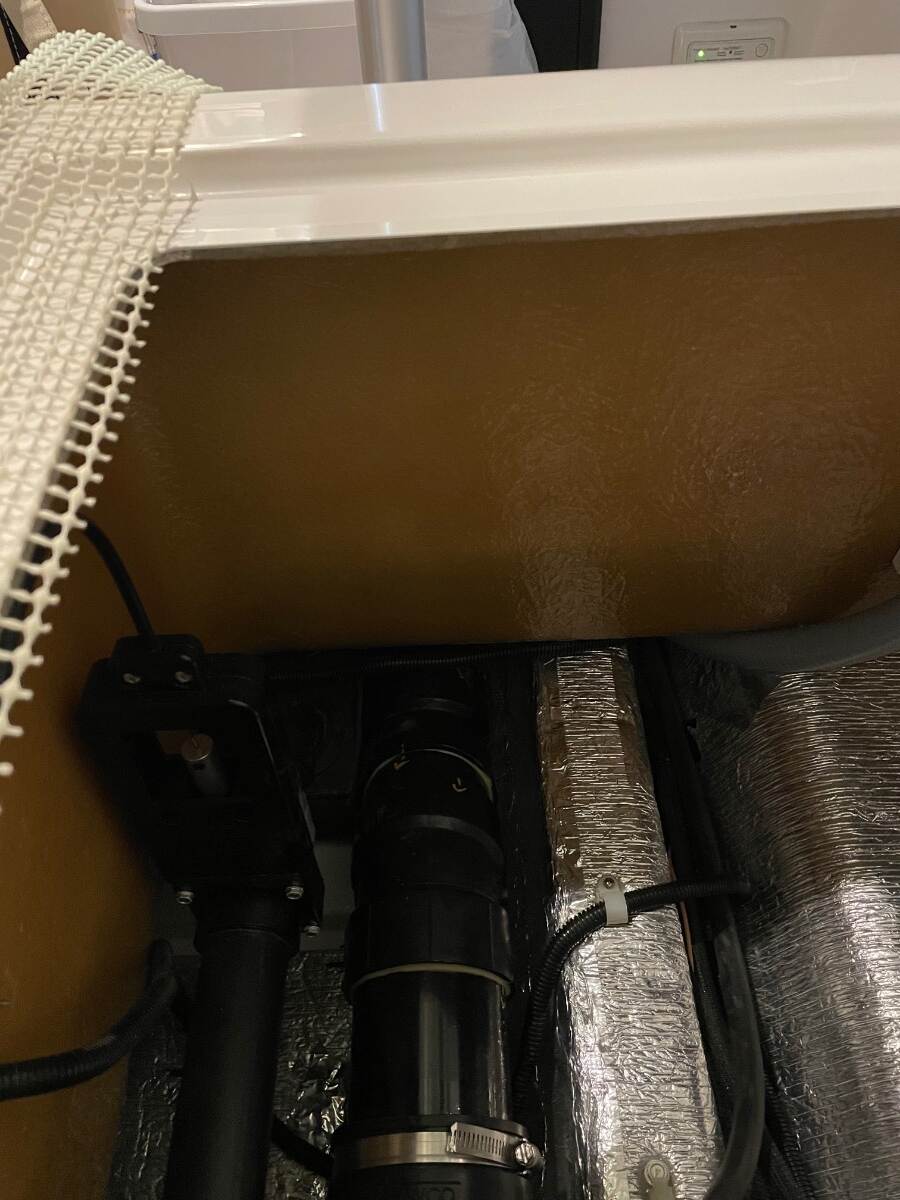
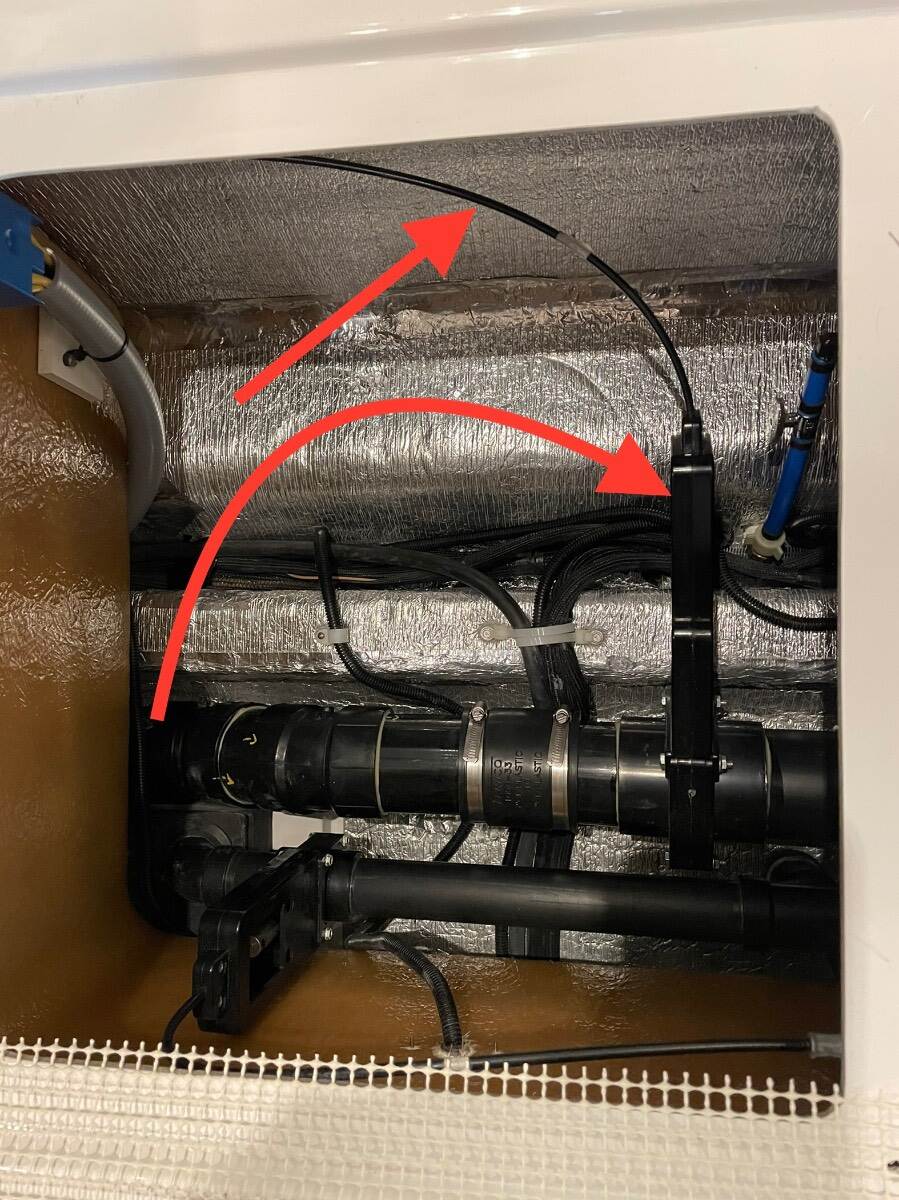
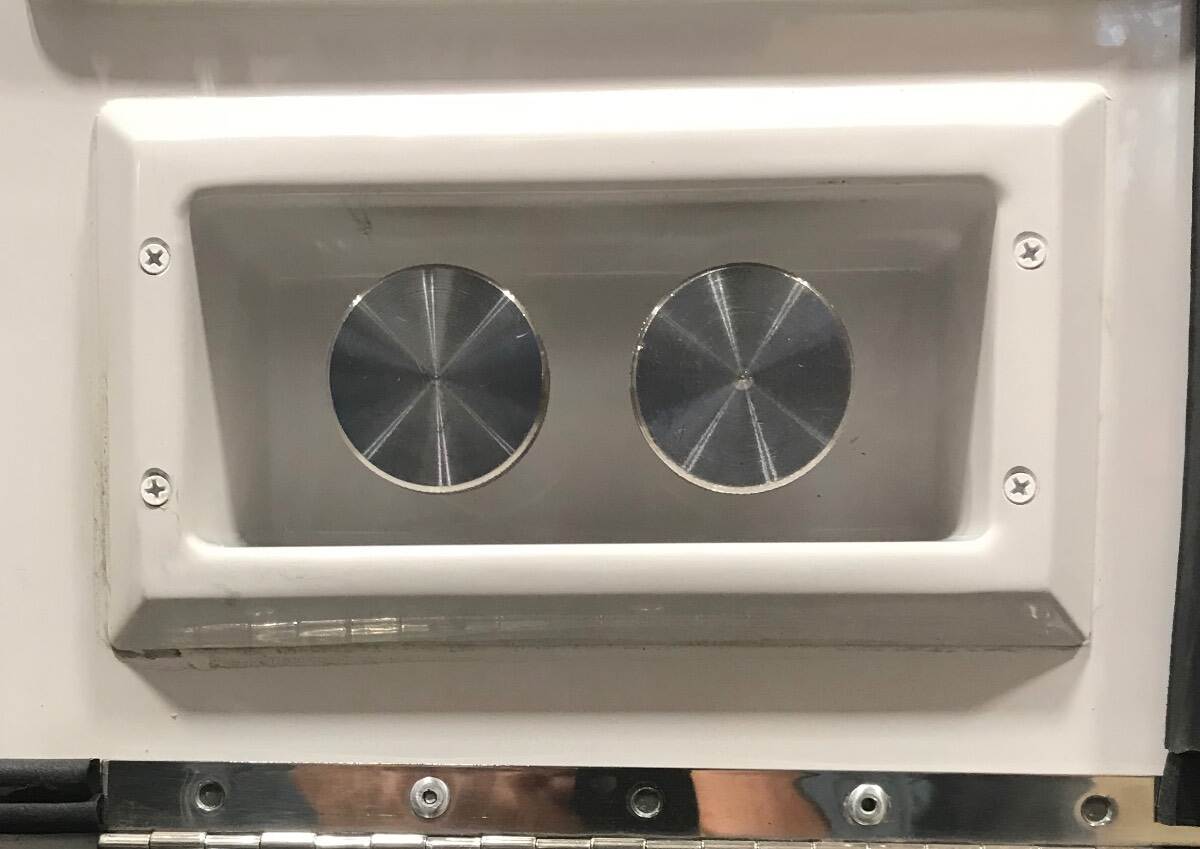
My black tank dump valve was hard to close from day 1, March 14, 2018. During the Summer of 2018 I found the installation instructions for the cable and valve and realized that it was at best a marginal install. I pulled the cable out and lubed it with a dry type lubricant and straightened the kink in the very end of the cable where the factory had screwed the set screw in and barely caught the end of the cable and bent it into the hole opposite the threaded set screw hole. This caused the cable to be slightly bowed which didn’t help the situation (See A and B below) and didn’t make valve closure any better. I also noticed that the clamp on the frame above the valve was broken and didn’t properly secure the cable sheath. I could get some clamping force but not enough to suit me. Given this and the fact that the cable/sheath/clamp length and position relationship weren’t going to permit full closure of the blade (if you have worked on bicycle brakes, throttle cables, choke cables you know what I mean) I decided to modify the clamp portion of the frame above the valve. I disassembled the frame and drilled the hole where the sheath is clamped through the bottom of the frame (See C and D below). I used a drill size that would create a tight fit of the sheath in the clamp hole. I reassembled everything, pushing the sheath lower in the frame (which also allowed me to push the end of the cable down past the set screw in the plunger) and this permitted the blade to completely close. Now with the valve closing completely I wasn’t having water in the sewer hose when I went to hook it up at a campsite but it was still difficult to open and close the valve due to the routing of the cable. Winter of 2020, I finally accepted that manual operation of the dump valve wasn’t going to be as smooth as I expected it to be so I ordered (2) stainless steel knobs from McMaster Carr, drilled and tapped them to fit on the opposite end of the cables, and installed them in place of the Valterra handles that came on the trailer. This made it easier to pull and push the cables without concern about breaking the handles. I think it was Spring 2021 when I talked to the service department about my findings and what I had done and that I still wasn’t pleased with the force required to operate the valve and that I thought it was due to the cable routing. They offered to relocate the black tank dump valve and since the sheath clamp part of the frame was broken I took them up on their offer. The service department relocated my black tank dump valve as shown below. This resulted in the valve assembly being tilted about 75 degrees from the vertical to the street side and the cable was rerouted from under the dinette seats to the street side of the dinette seat. This resulted in an improvement in valve operation, not perfect, but it is an improvement. Valve location before After, showing only the 1.5 inch sink/shower drain valve New location of the valve showing also the new routing of the cable I hope that this information is helpful to those trying to improve the operation of the black tank dump valve. I also hope my high school English teachers don’t read this. They would be appalled. Bill Very early 2018 Hull 313
-
Maxxfan Dome installation (previously orientation)
Townesw replied to Townesw's topic in Ollie Modifications
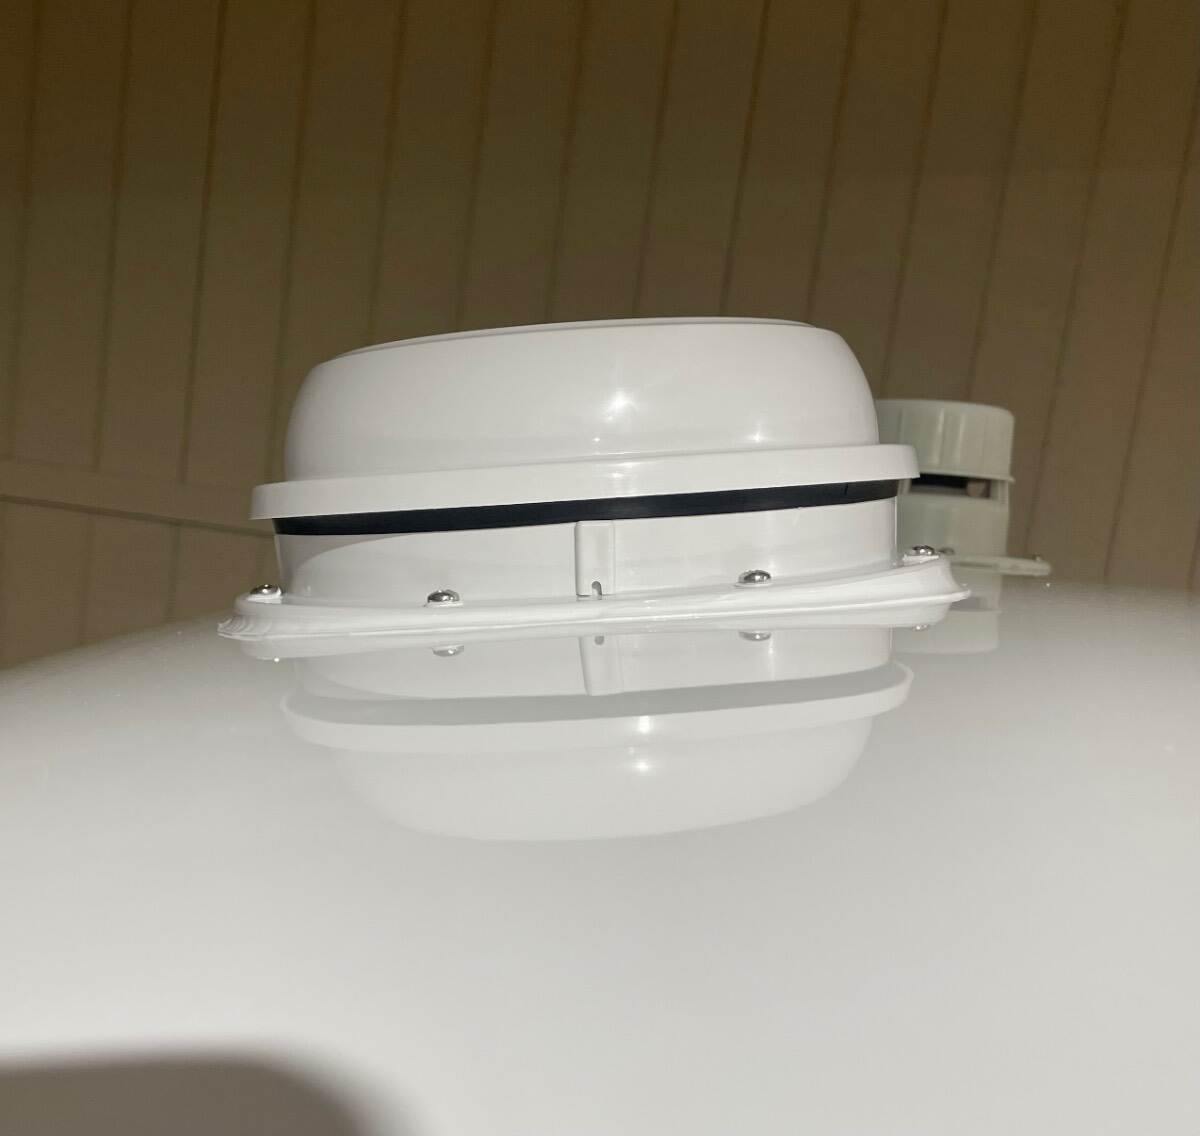
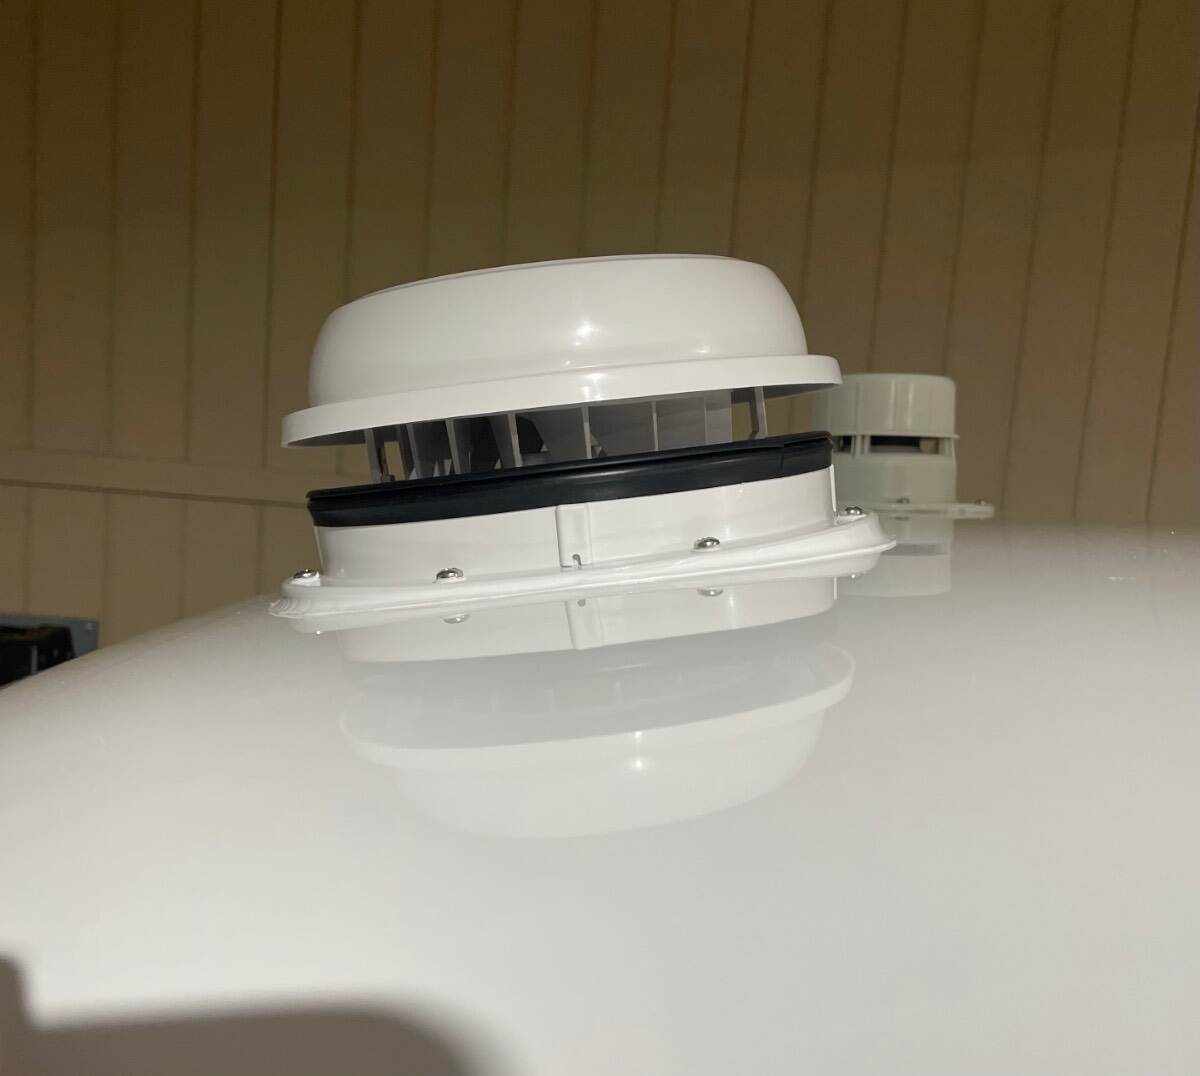
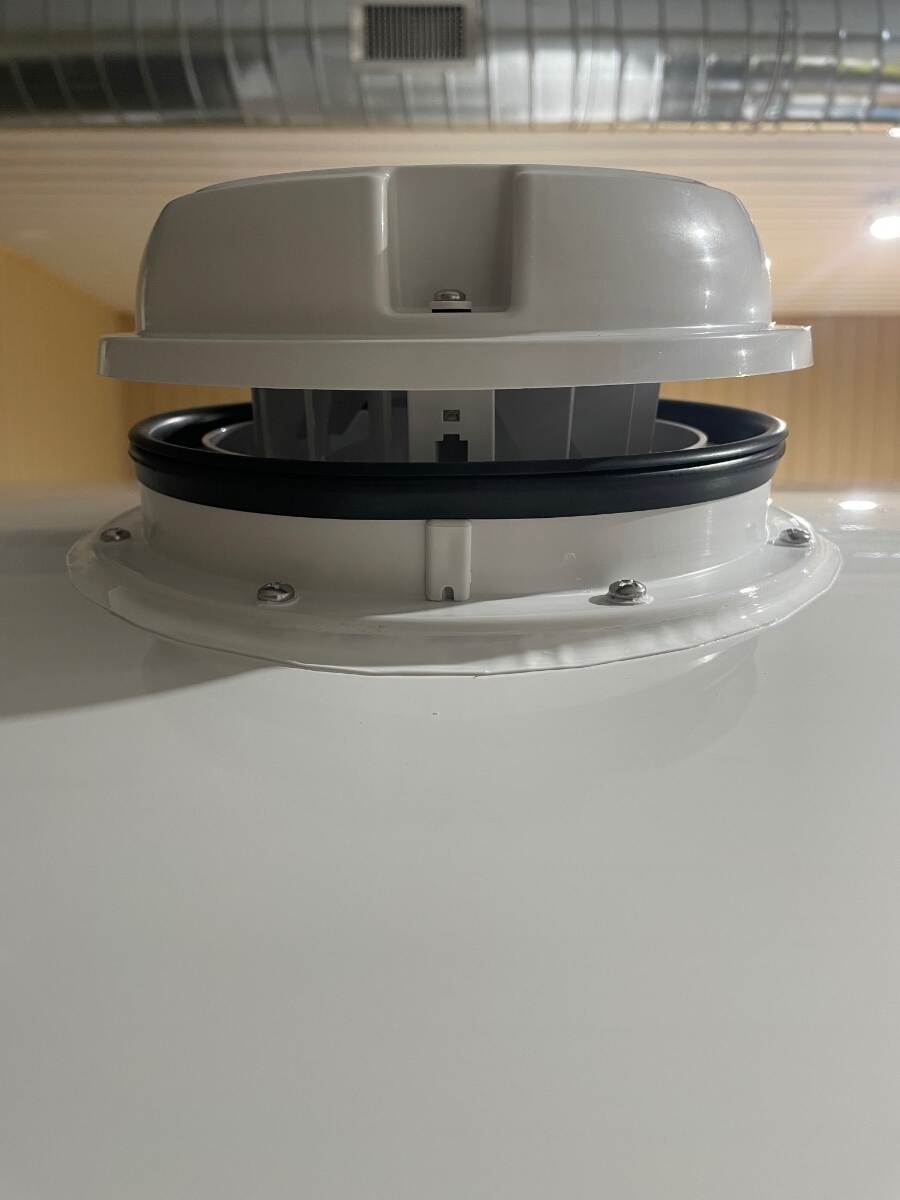
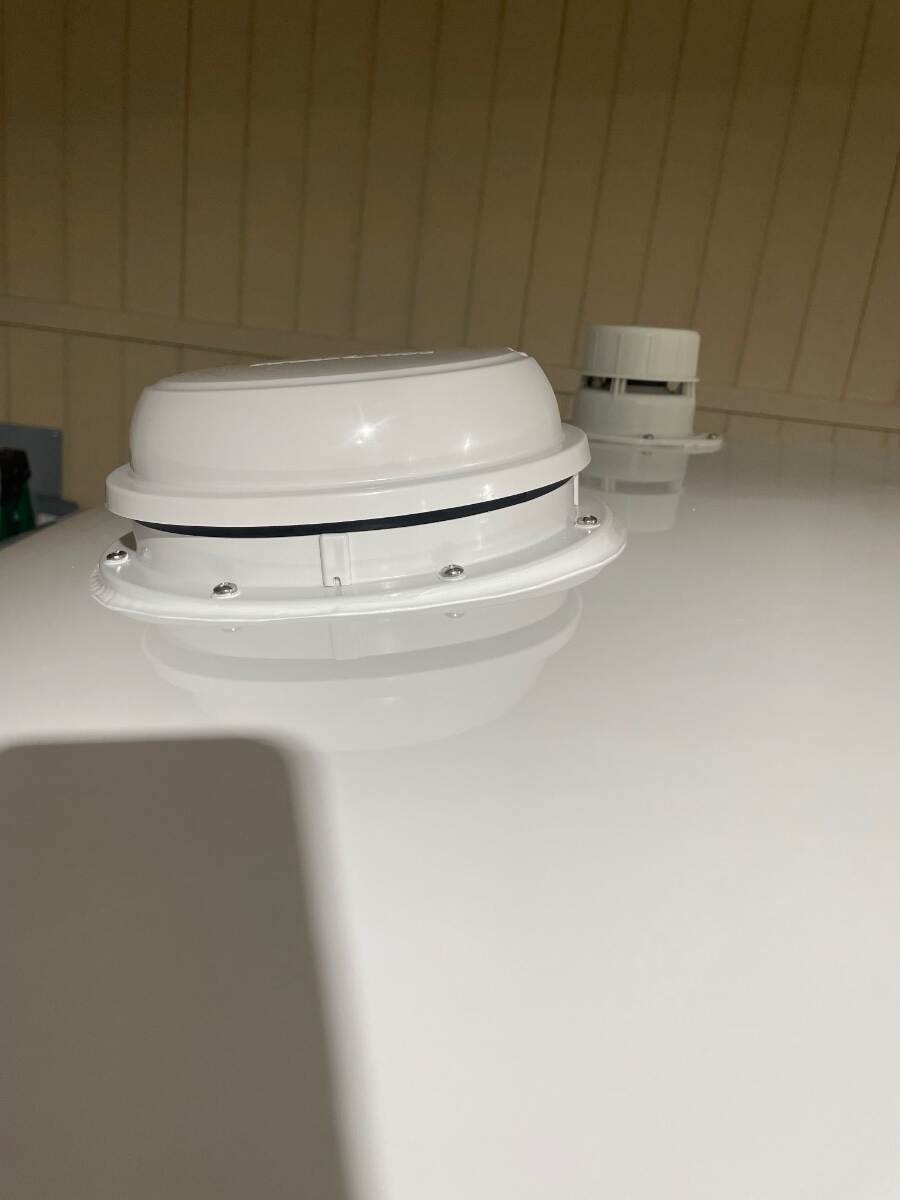
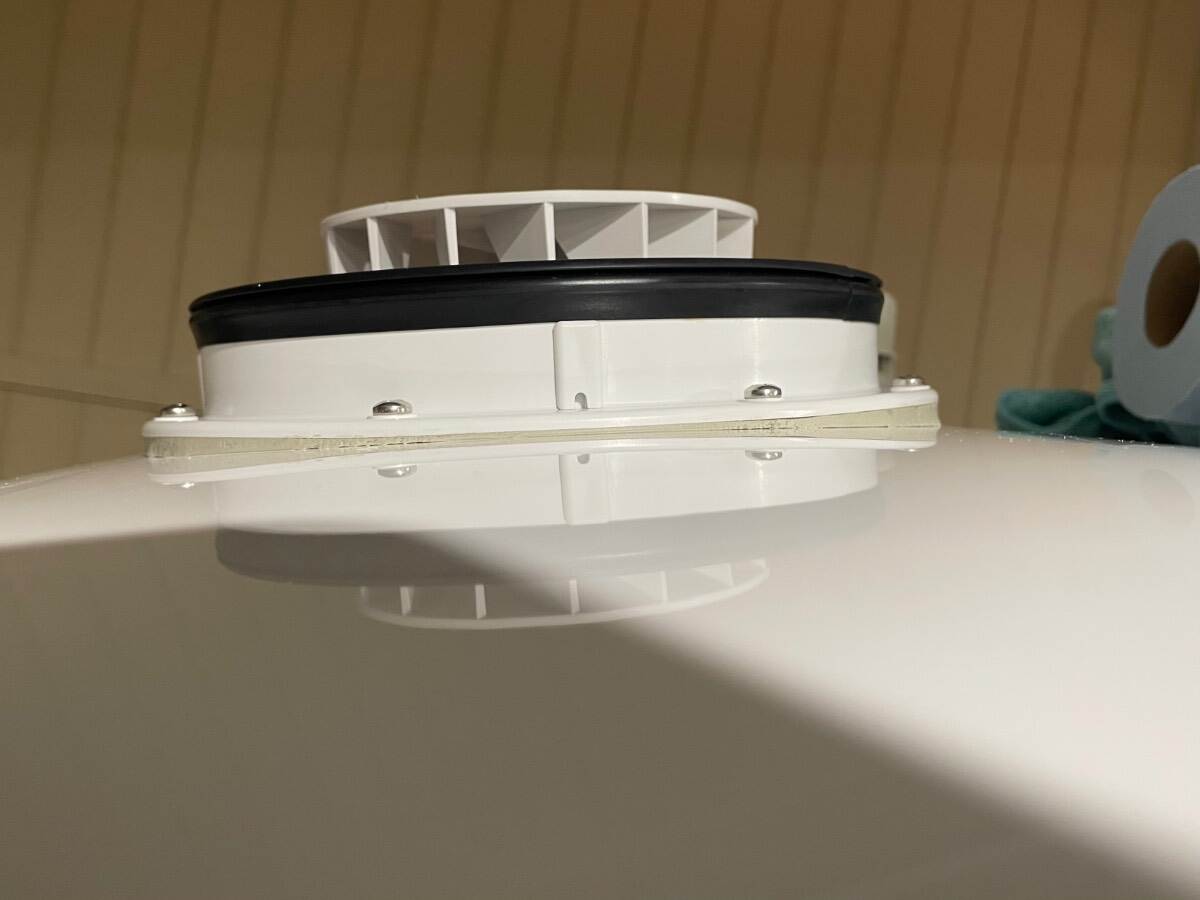
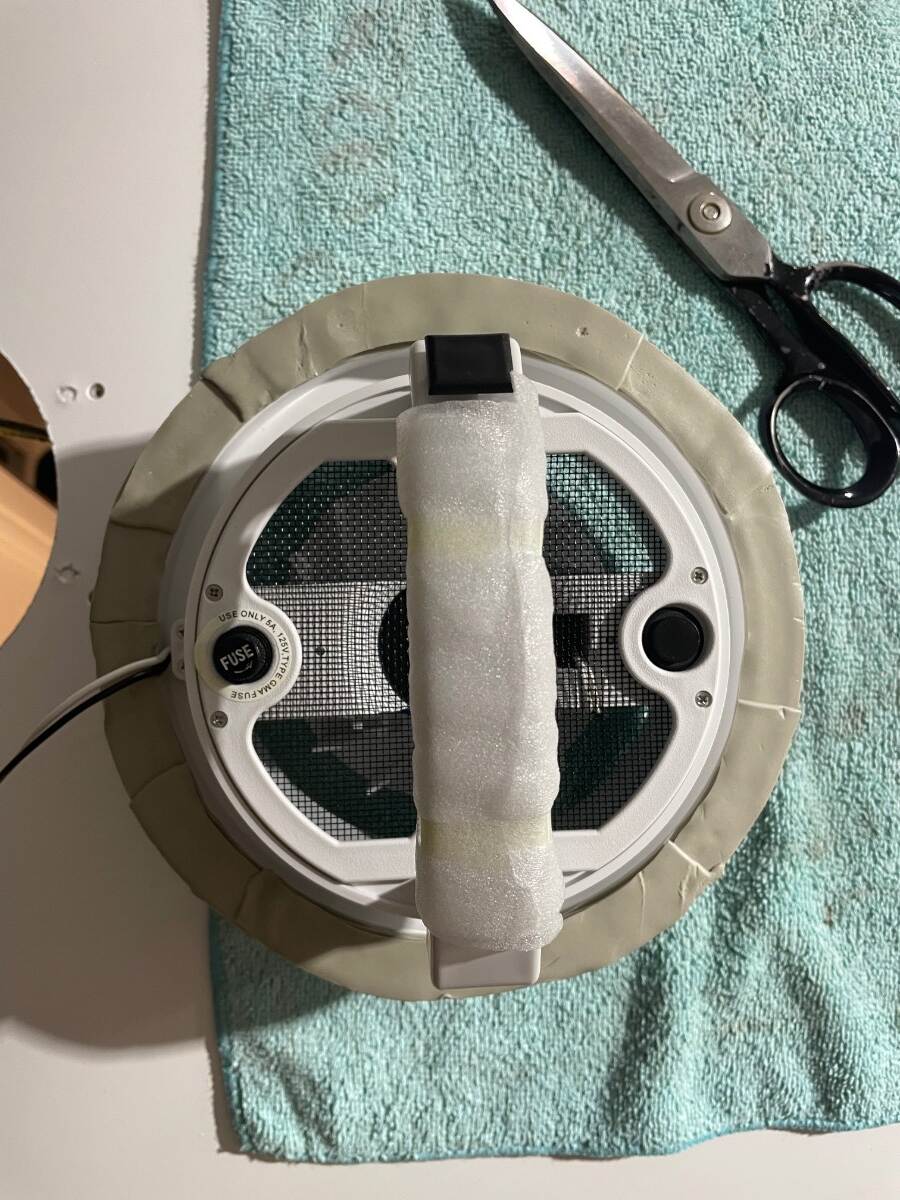
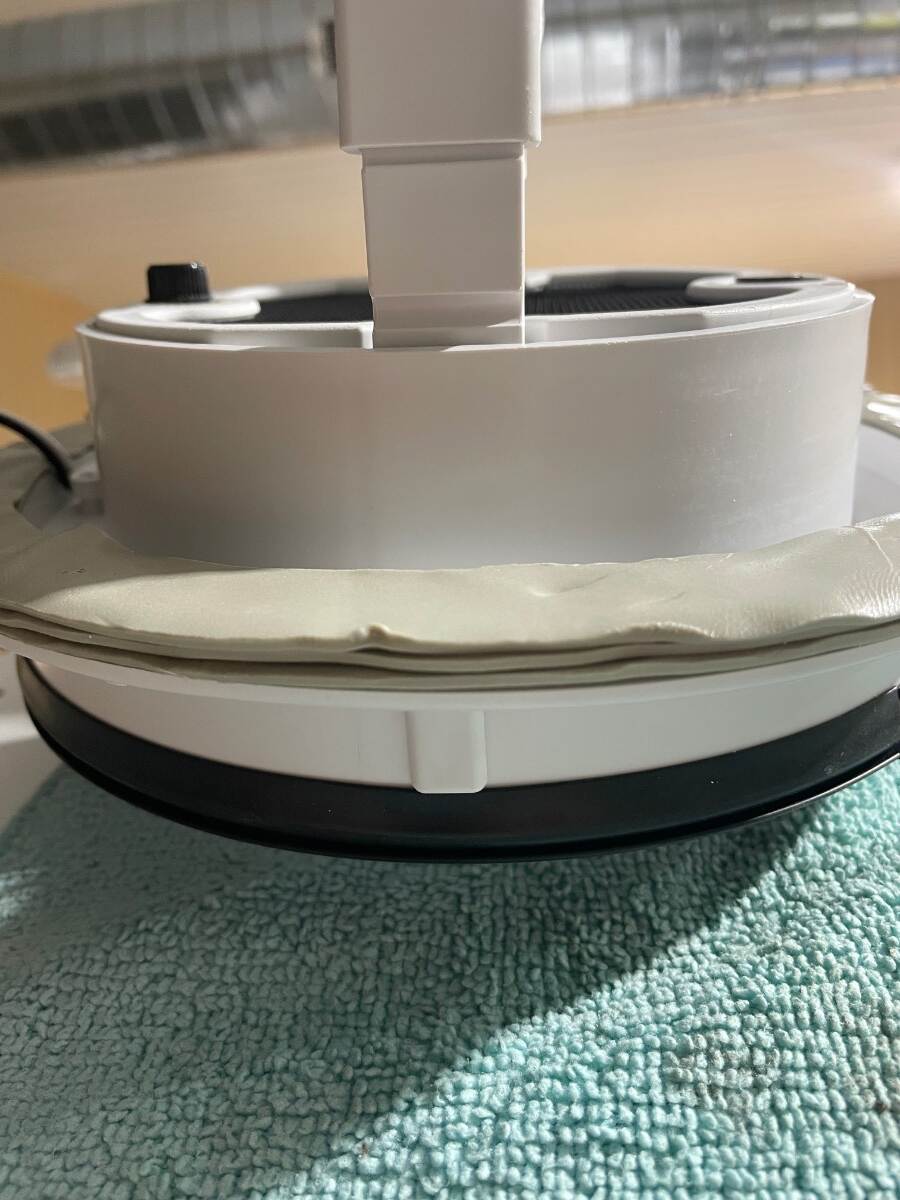
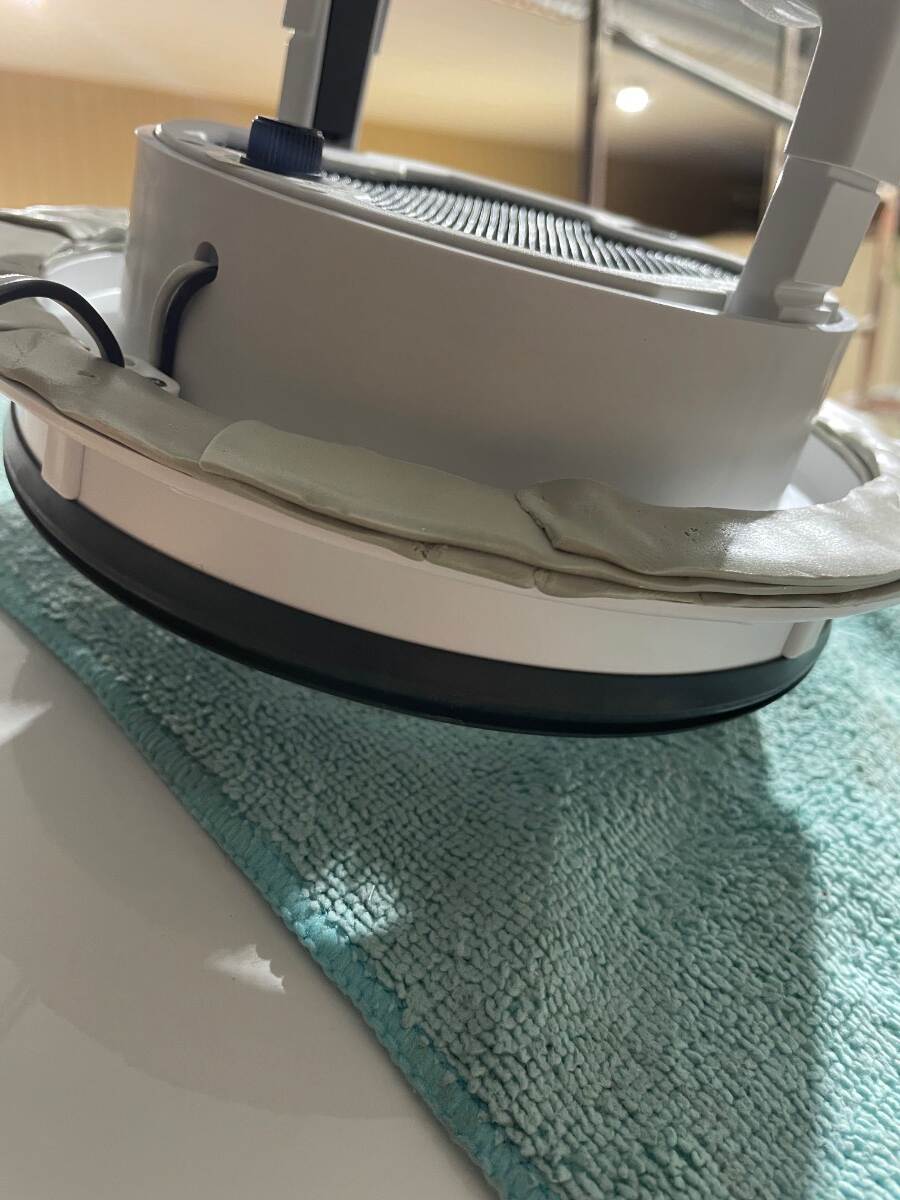
With the inside work complete I went back to the roof area, trimmed the oozed butyl, wiped with isopropyl alcohol again, and taped off the area to be caulked leaving about a quarter inch gap from the edge of the flange in the front and rear and about an 1/8 inch gap on the sides where the caulk would be the shortest. I applied the caulk 3 times, wiping it off the first two times, reapplying the tape and recaulking each time because I didn’t like the way it looked. I finally left it alone because I decided that if I kept messing with it I would keep screwing it up and it was close to supper time and I was starting to get hungry. This picture shows the fan after the oozed butyl was trimmed back. It shows the built-up butyl in front of and behind the fan to keep the flange straight. This next picture is after the ASI 335 was applied. Notice that the black seal is straight, not bowed down at the front and rear due to having the flange pulled down to touch the roof. The black seal must remain straight so that the cover will seal properly when closed. I applied the ASI 335 to the screws but didn’t like the way they looked so I wiped it off. I had applied ASI 335 to the screw holes and the screws were twisted in through up to 3 layers of butyl so I figured they were sealed well enough. The caulk job wasn’t perfect but it looks good from the ground. The ripples are from my hand shaking after going through the process 3 times before finally accepting that it wasn’t going to be perfect. I actually like the stepped edge of the caulk versus a feathered edge because I think the feathered edge of caulk doesn’t hold up well after repeated washing, drying, and waxing. We’ve pulled the trailer through wind and rain for 1350 miles and it has remained closed and hasn’t leaked. I can’t completely say that it is quieter than the original Ventline fan but it does not have the rattle that it did. ASI 0240 https://meridianadhesives.com/products/asi-0240/ ASI 335 https://meridianadhesives.com/products/?product_search=335 It looks like ASI has two versions of the 335. The stuff I used looked like this Good luck on your installation. Bill
-
Maxxfan Dome installation (previously orientation)
Townesw replied to Townesw's topic in Ollie Modifications
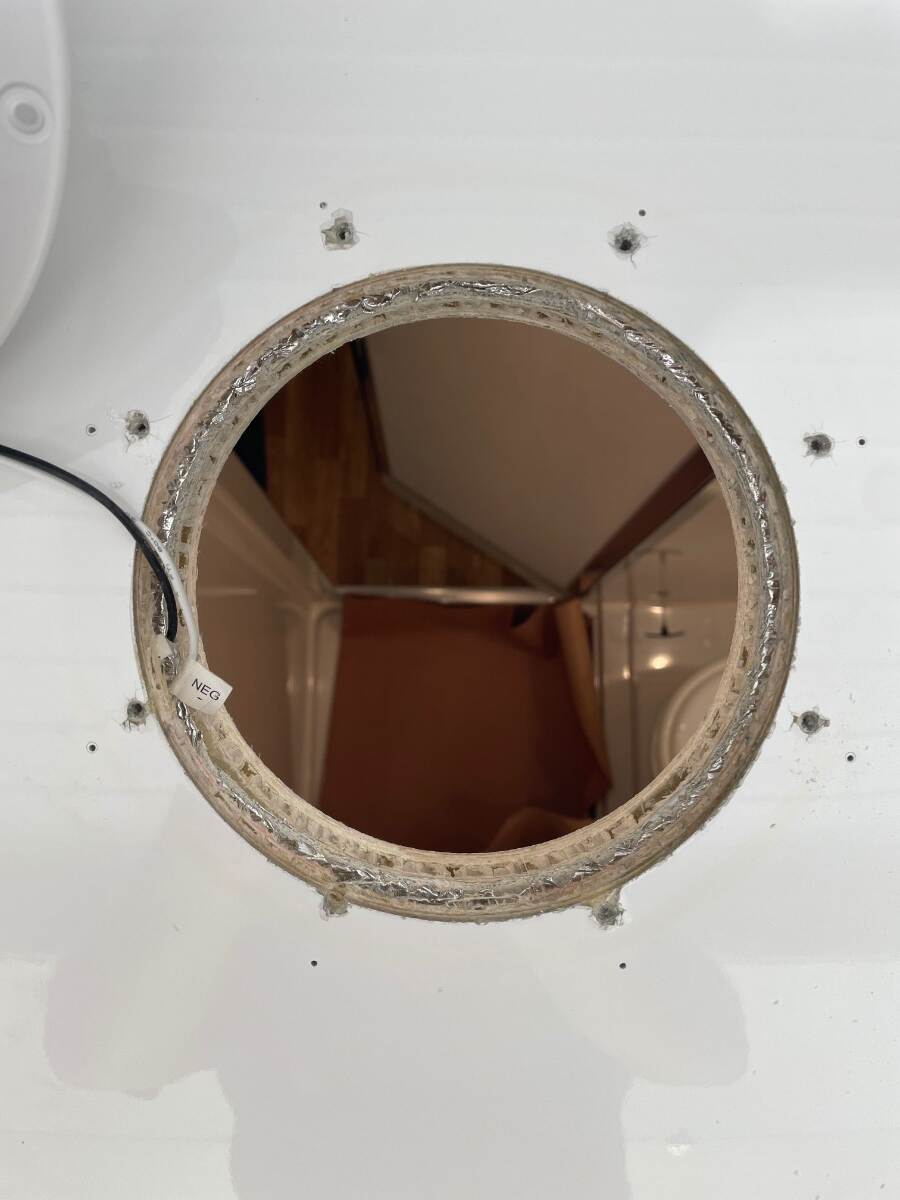
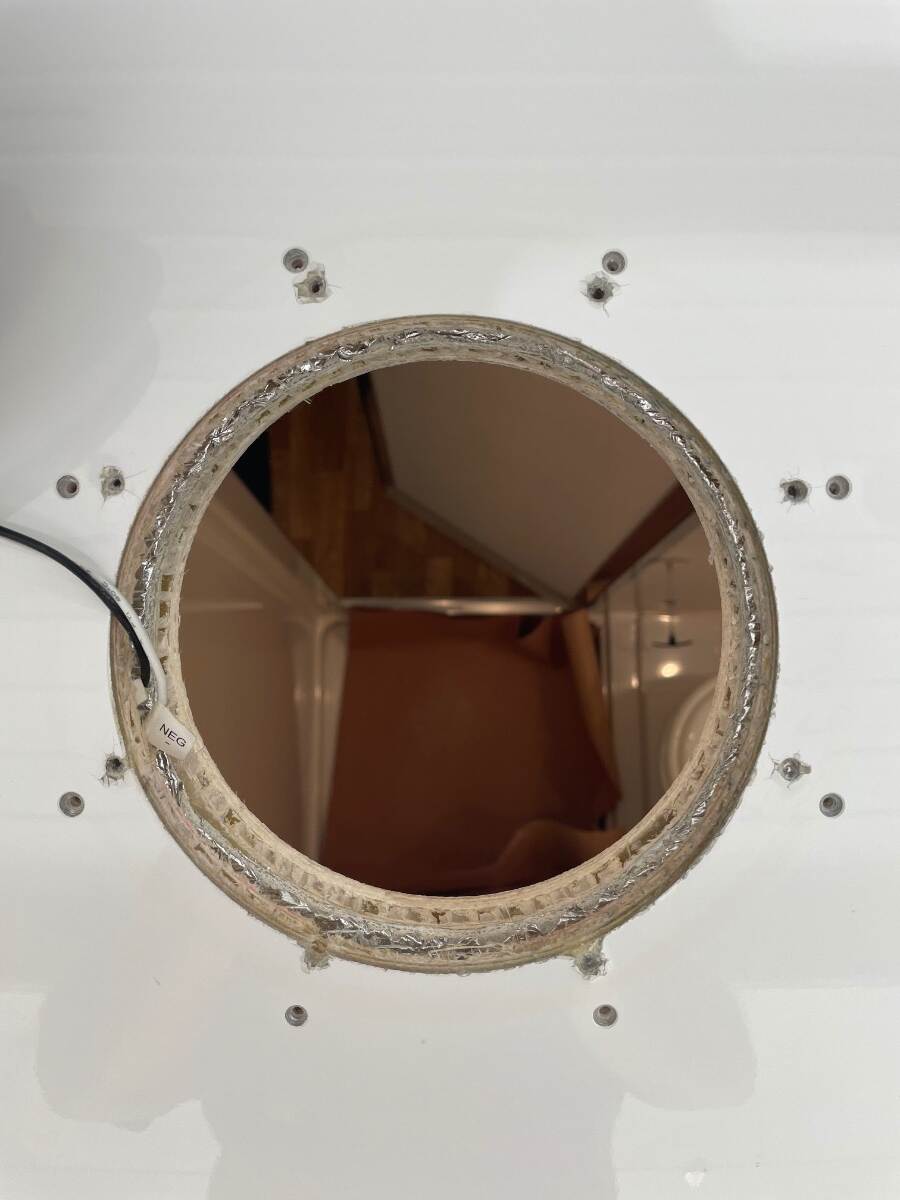
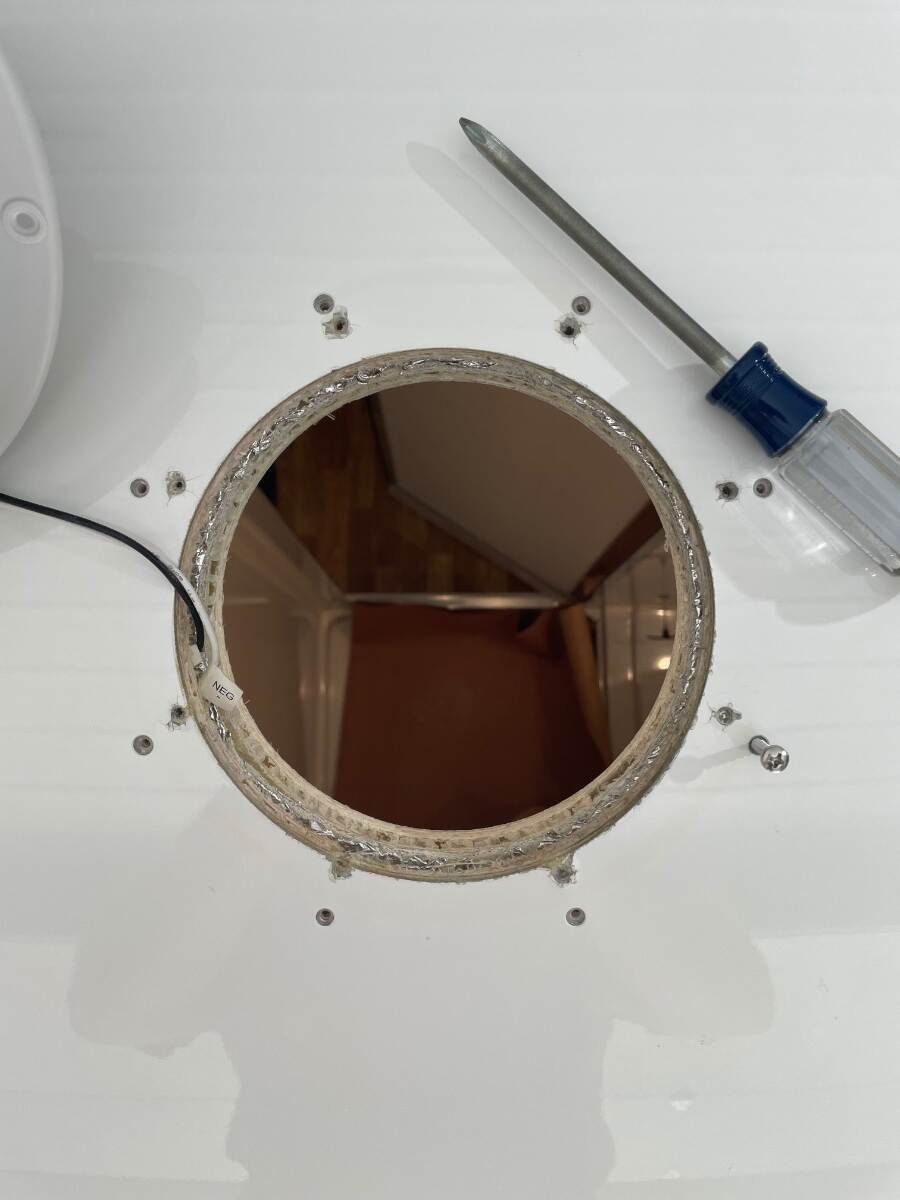
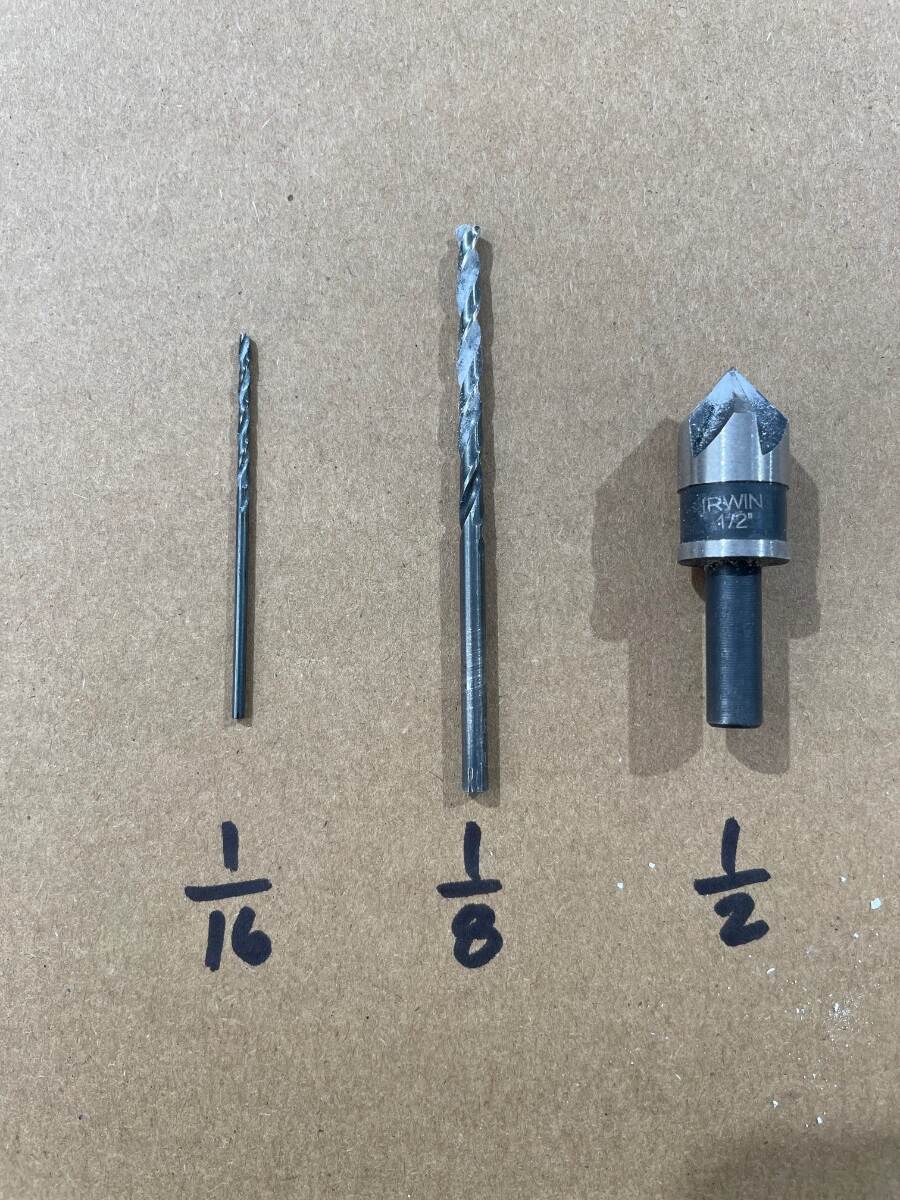
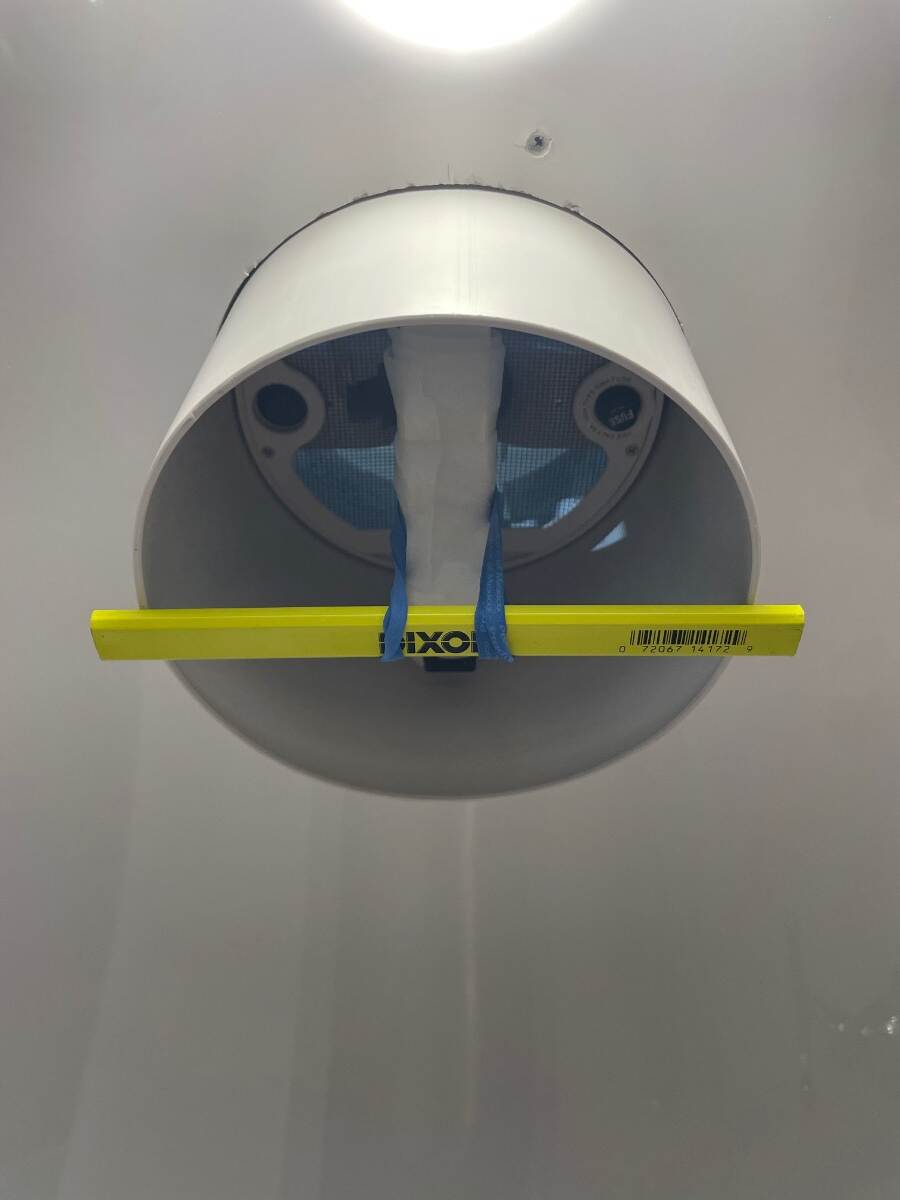
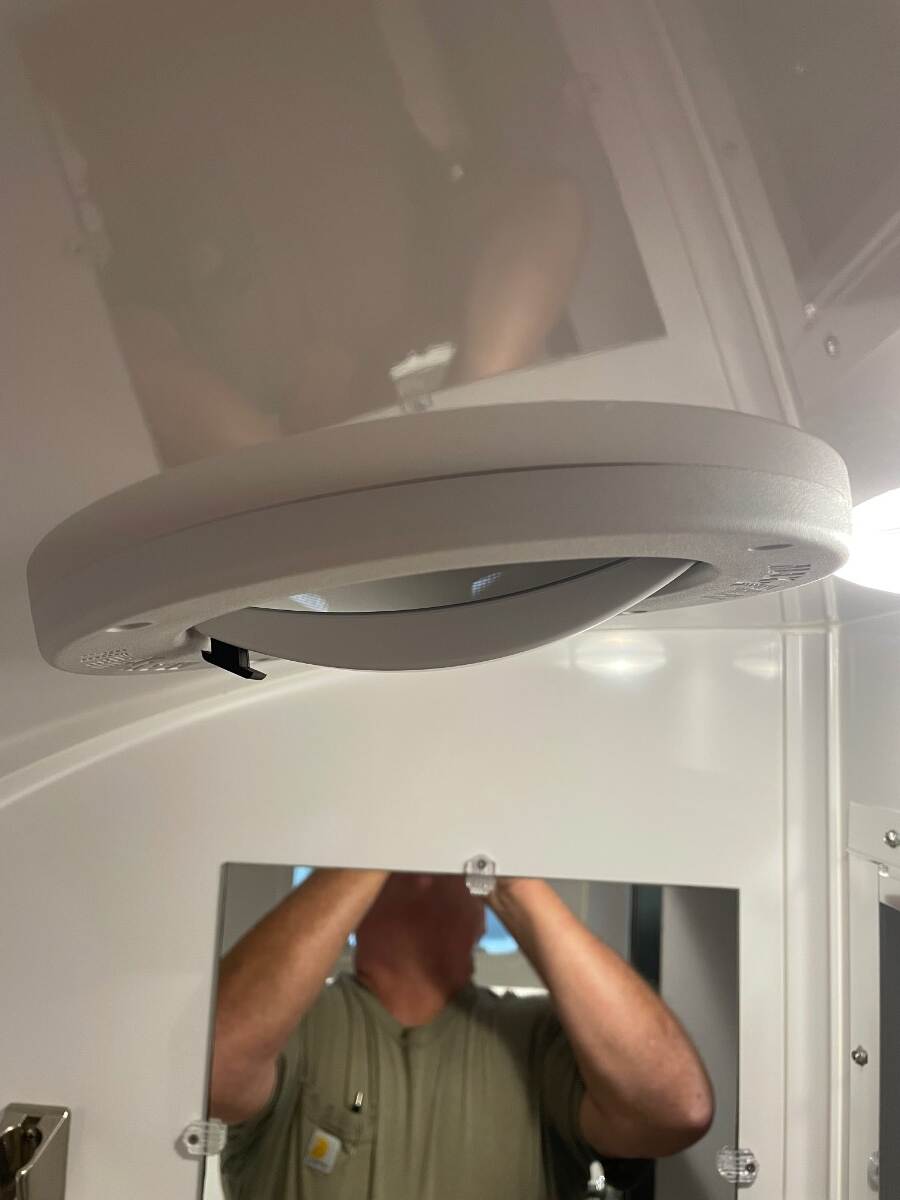
Picture below shows old Ventline fan removed and the roof area cleaned up. I used ASI 0240 adhesive remover and plastic razor blades. I cleaned up the edges of the original holes with a chamfer bit in a drill motor. The factory didn’t align the old vent with the hole very well resulting in screw holes too close to the edge of the opening and didn’t drill and chamfer the holes which resulted in chipped gelcoat. In this picture the pilot holes (1/16”) for MaxxFan Dome are located and drilled. I wanted the screws to be perpendicular to the MaxxFan mounting flange not the roof line so I tried to drill them at the correct angle to the surface of the roof. I did a lot of test fitting inside and out. The outside fan, the middle sleeve, and the interior trim ring must fit together well for this retrofit to work out right. I used a carpenter’s pencil and 2 rubber bands from of a bunch of broccoli to hold the sleeve in place while I got the pieces located just right. I did this before I marked the holes for the flange. New pilot holes are enlarged to 1/8 inch and chamfered Test fit the screws to make sure they are not too tight. If they are too tight you risk twisting the screw in two in the hole. This would be bad. Very bad. If the test fit is too tight go up to 9/64 inch bit. I used a 1/16 inch drill for a pilot then enlarged with a 1/8 inch drill and finished with a 1/2 inch chamfer bit. Be sure to use sharp bits and drill SLOW. I wanted the flange to be straight, not pulled down to fit the curved roof. I applied one layer of butyl all the way around the bottom of the flange. I then applied 2 short strips between about 10:00-2:00 and 4:00- 8:00. I again applied 2 even shorter strips between 10:30-1:30 and 4:30-7:30. I tried to build the butyl up in the places where the widest gaps would occur, that is the front and back of the fan. I wiped the mounting location with isopropyl alcohol and let it dry and filled the old and new screw holes with ASI 335 and set the fan in place using a couple of screws inserted through the flange and butyl for alignment. The black button on the handle goes toward the front of the trailer. Work the wires and splice connectors into the space between the hulls while inserting the fan assembly into the hole in the roof. Go back inside the bathroom and put the sleeve, pencil, and broccoli rubber bands in place to help maintain alignment of the fan on the roof. Back on top, tighten each screw down a little at a time and try to keep from distorting the flange. I would tighten the screws and leave them for a while to let the butyl push out then I would tighten them a little more until I got the flange sitting like I wanted it to sit and then left the butyl to do what it wanted to for a while. While the butyl was oozing I went inside the trailer and made sure the sleeve was in place with the upper edge of the sleeve against the bottom of the fan and the notch in the sleeve for the wire retainer properly located. Using a pencil I marked a line around the sleeve where it exits the curved ceiling. I drew another line 0.35” below this line to account for the interior trim ring and cut the sleeve to this line using a pair of heavy shears and a razor knife and finished to fit with a sanding block. I attached the trim ring and tightened the screws enough to pull the ring up to conform to the curvature of the ceiling.
-
UPDATED : Check your accumulator and other stuff
Townesw replied to Townesw's topic in Mechanical & Technical Tips
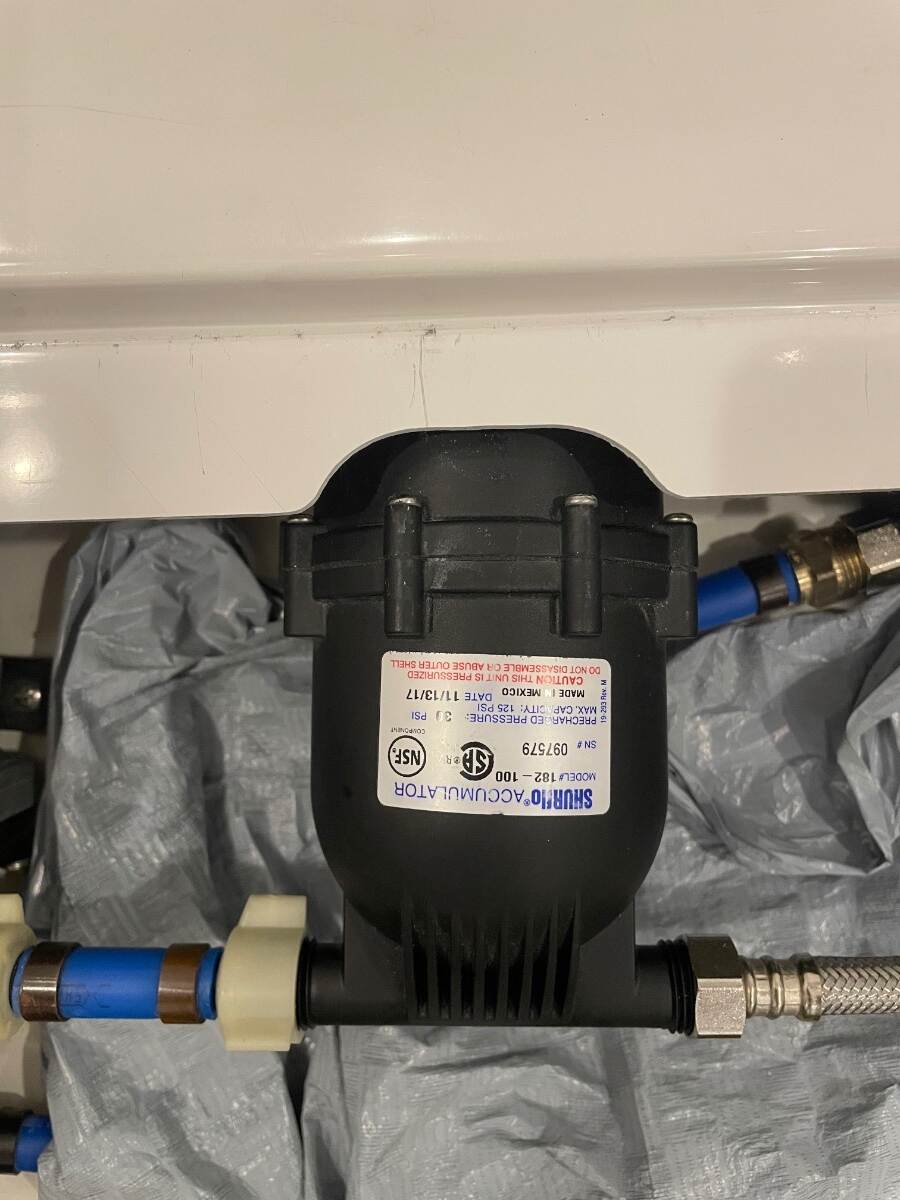
Finally got around to fixing the problems that I identified in my original post almost 2 years ago. I used a small drum sander on a cordless drill motor to make a cutout for the part of the accumulator that was rubbing. This also quieted a vibration heard during pump operation While I had the drum sander out I enlarged the cutouts above both rear jack manual operation studs so that I can now get the manual crank on them if needed I placed a couple of spare bolt protectors on some 1/2 inch nuts and threaded them on the exposed bolt ends where they contacted the heater duct I know that these are really simple fixes but they might help someone that doesn’t know that the problems even exist. Bill
-
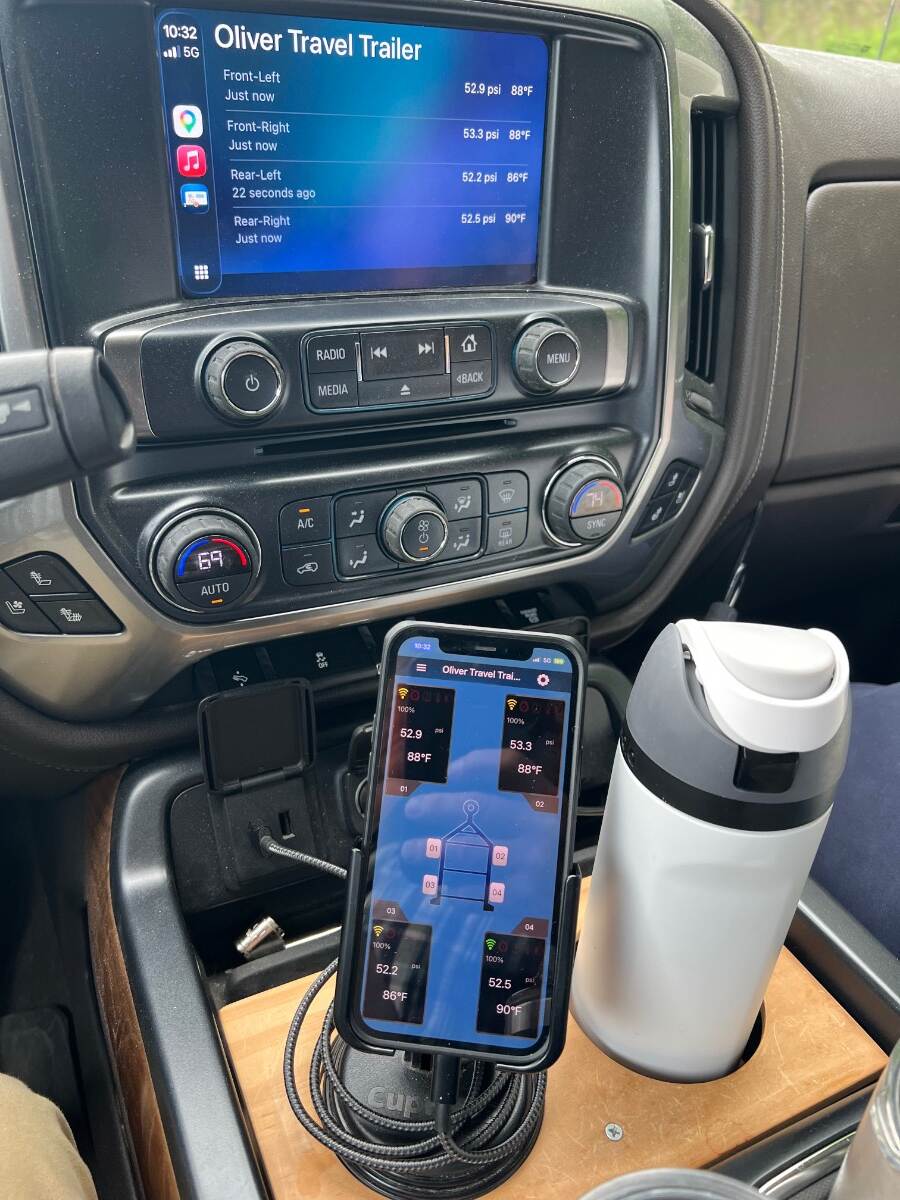
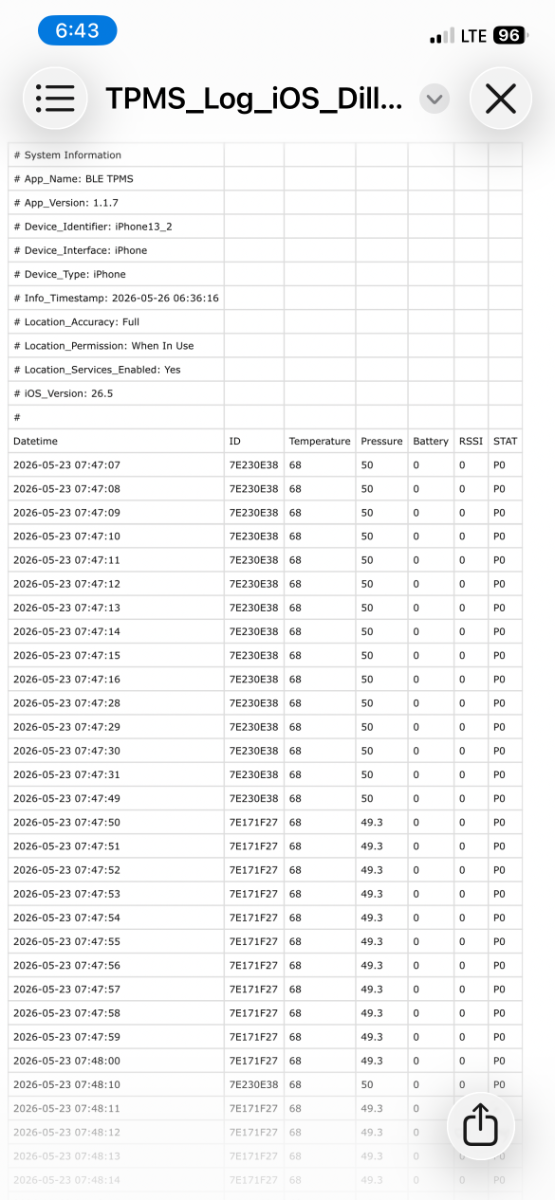
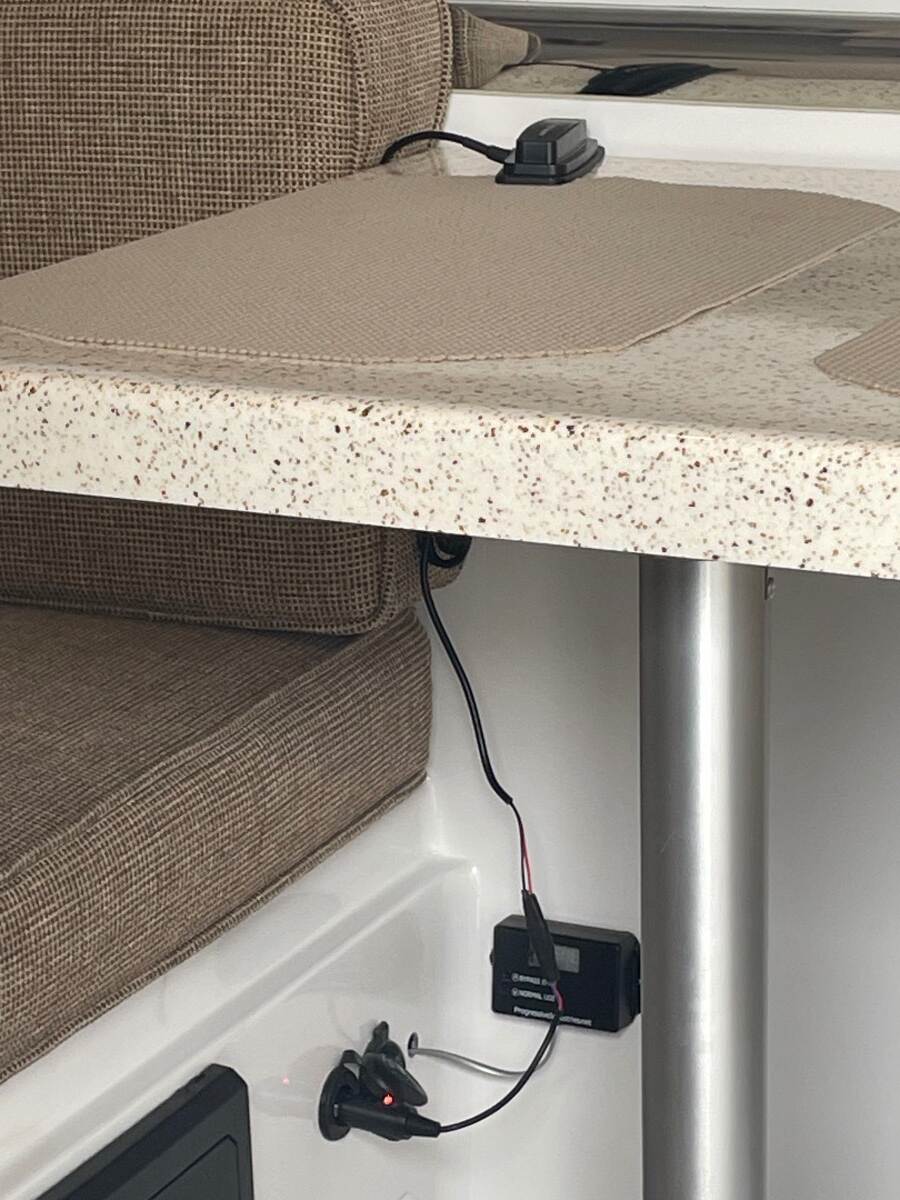
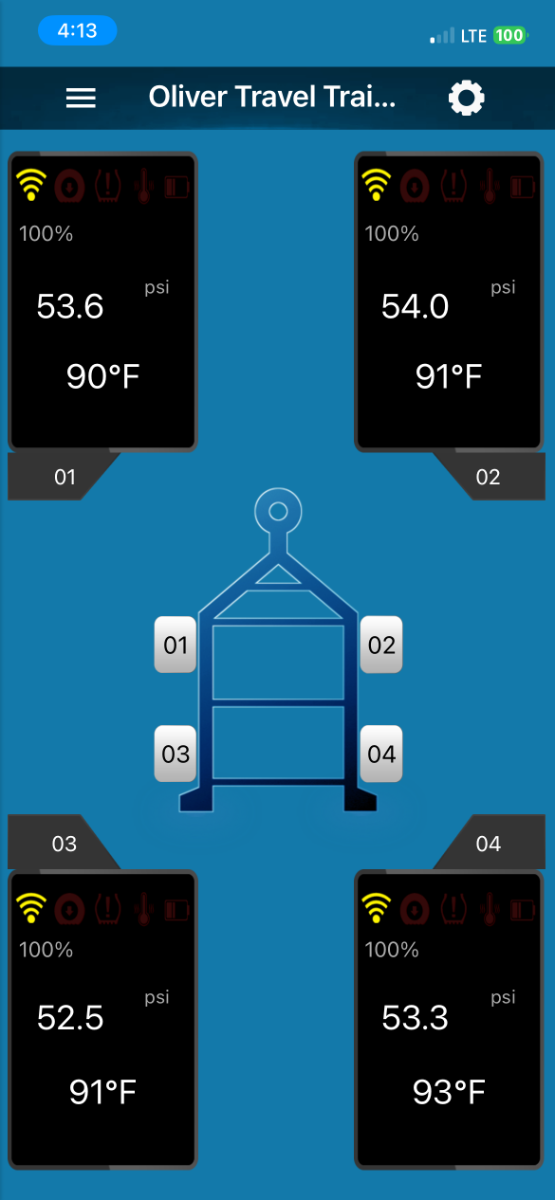
Update to my original post I replaced my original Dill TPMS system with the new Dill Bluetooth TPMS system and have used it for the last 3 days. These sensors are internally mounted just like the sensors on your truck and automobile tires. My truck doesn’t have the required RPO necessary to receive the sensor signals but the output is displayed on my truck infotainment screen when my phone is plugged in. I usually keep my phone display on the Dill app and keep Google Maps displayed on the infotainment screen but here is a picture that shows the Dill output on both screens You can download the data from the sensors into Excel. Dill recommends that you use a BLE signal repeater to extend the signal to your phone. I am trying different locations for the repeater but for now I have it on the left rear corner of the dinette and plugged into the 12v accessory receptacle under the dinette. I attached the 12v accessory plug to the repeater wires. I am getting 100% signal reception with the repeater located here. Signal reception is noted on the app display. I really like this version of Dill’s TPMS system compared to the older version that I used from 2019-2025.